
Kathirikai Rasavangi | Kathirikai Pitlai | Brinjal Pitlai | Brinjal Kootu
Kathirikai Rasavangi | Brinjal rasavangi | Brinjal pitlai | Brinjal Recipe | Kathirikai kootu with step-by-step pictures and video recipe. Check out the kathirikai rasavangi. If you like the video pls SUBSCRIBE to my channel.
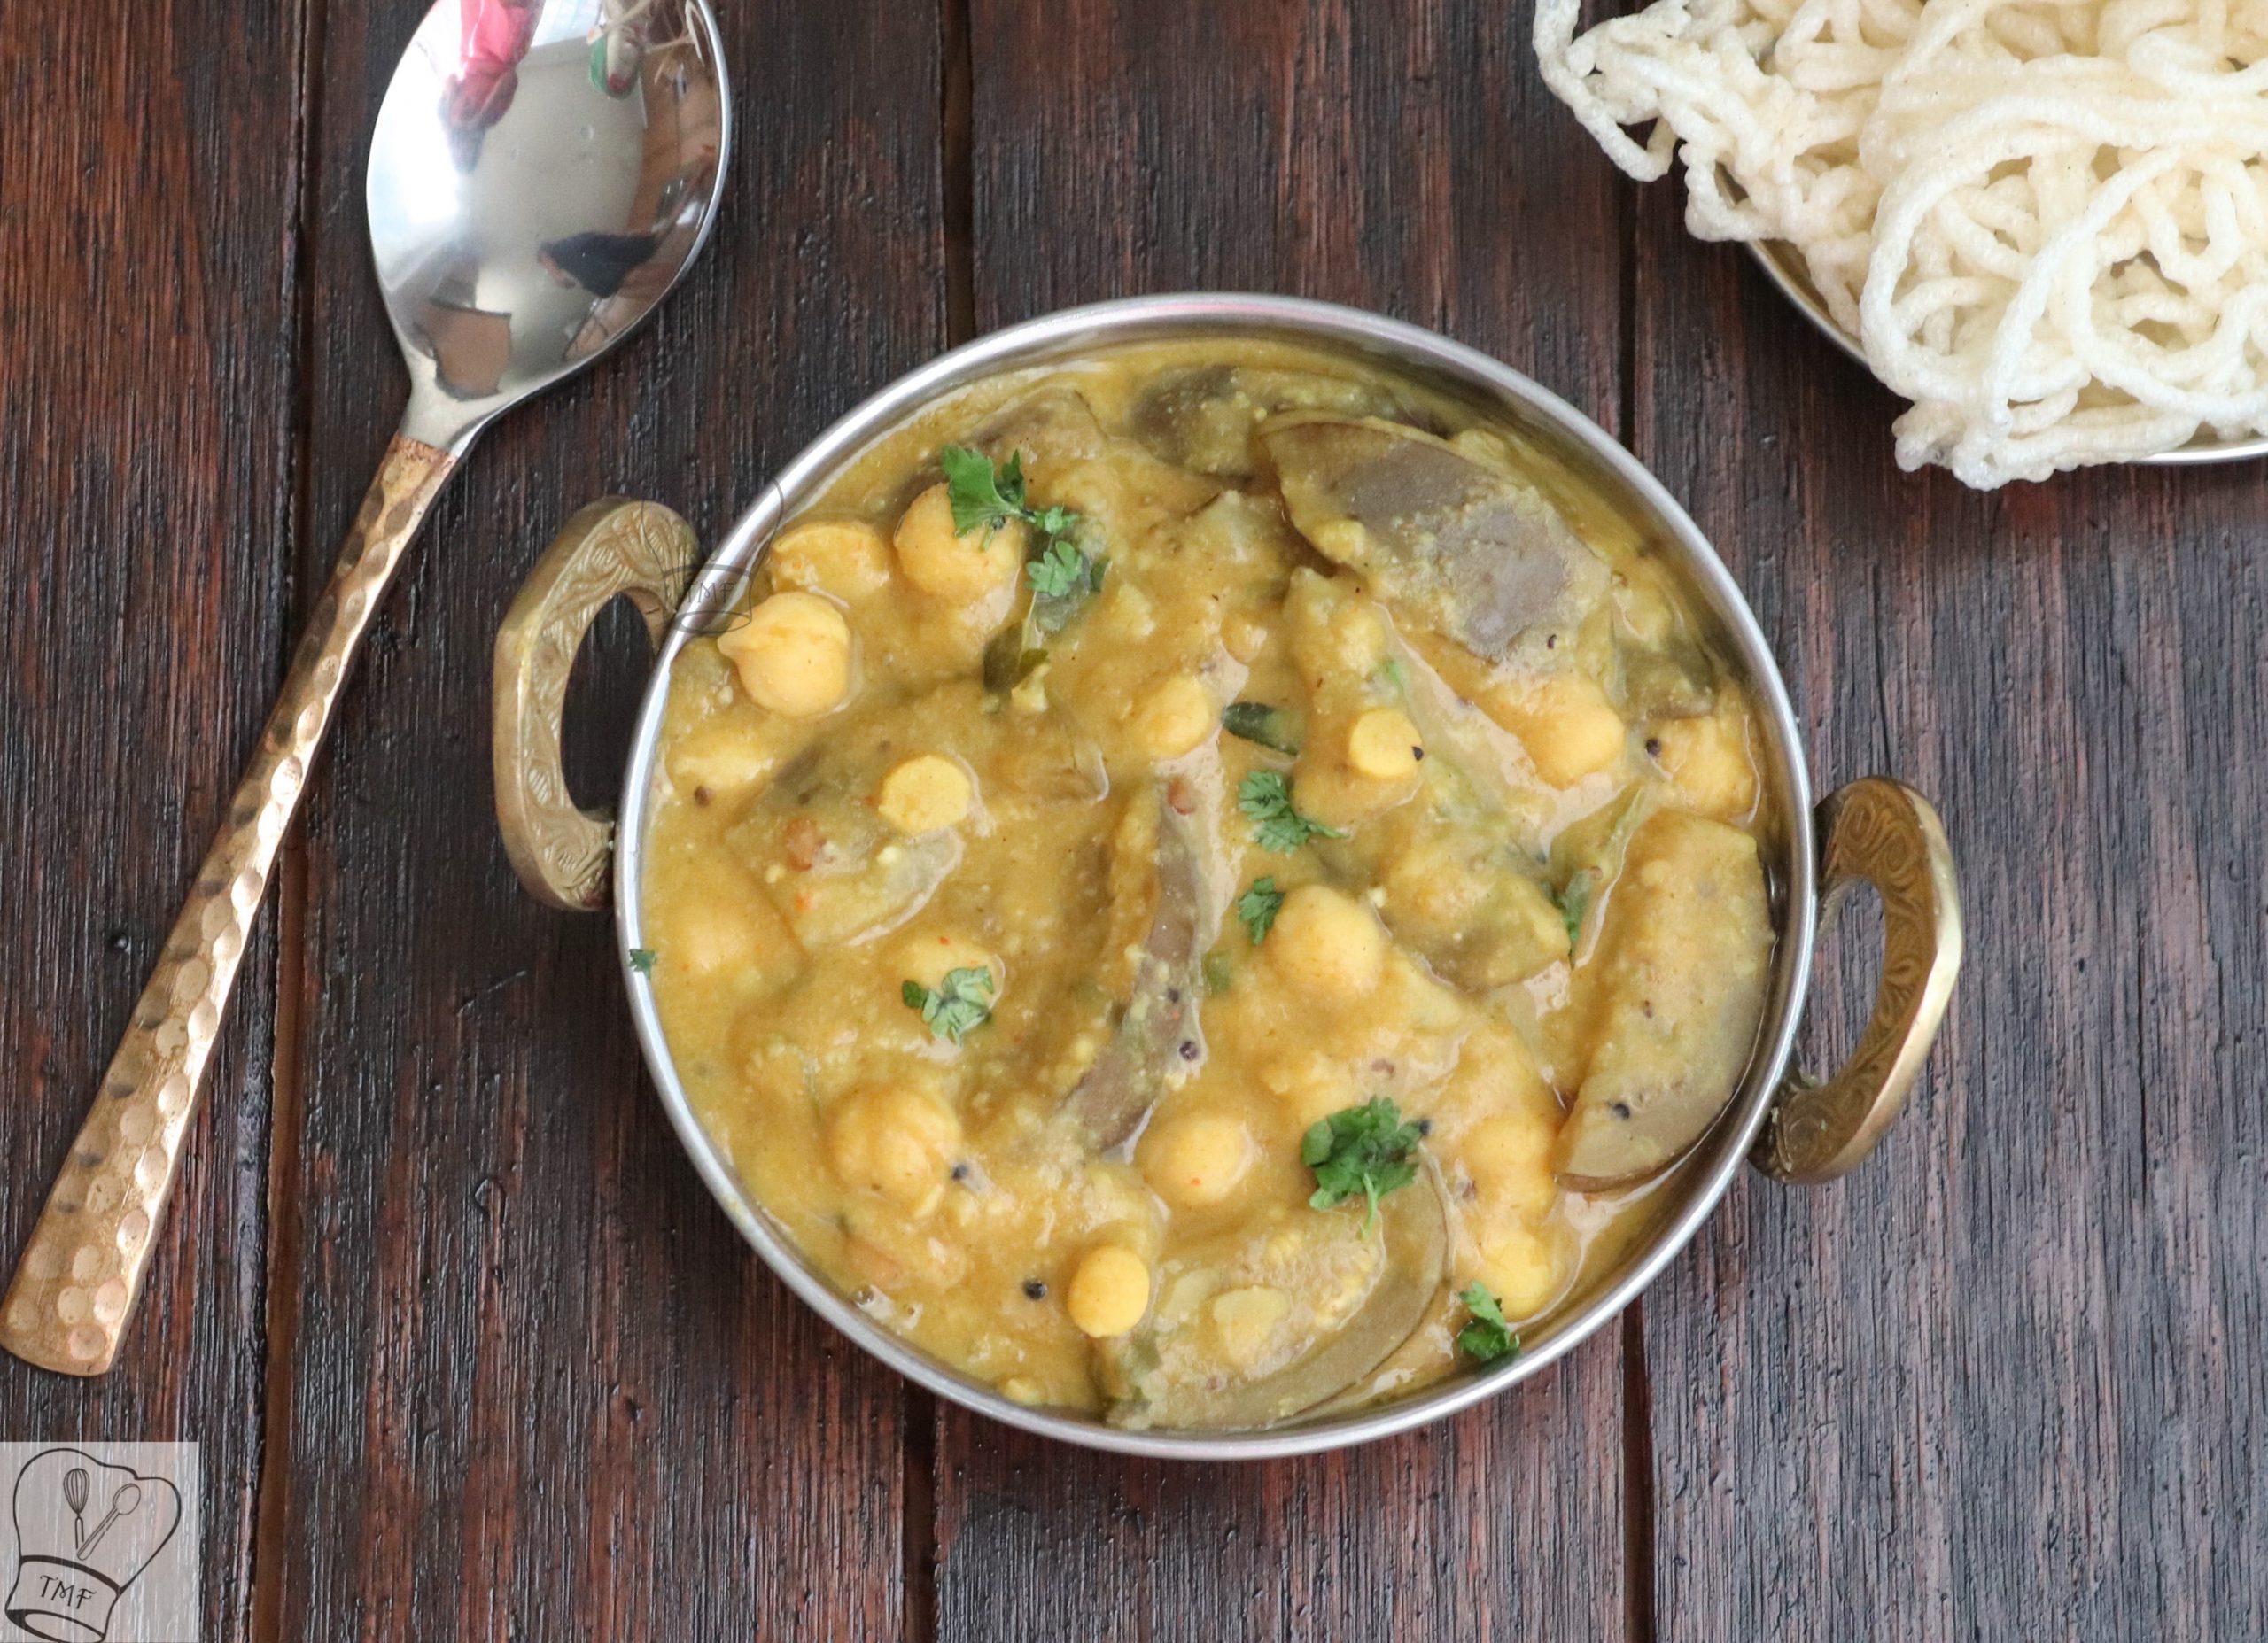
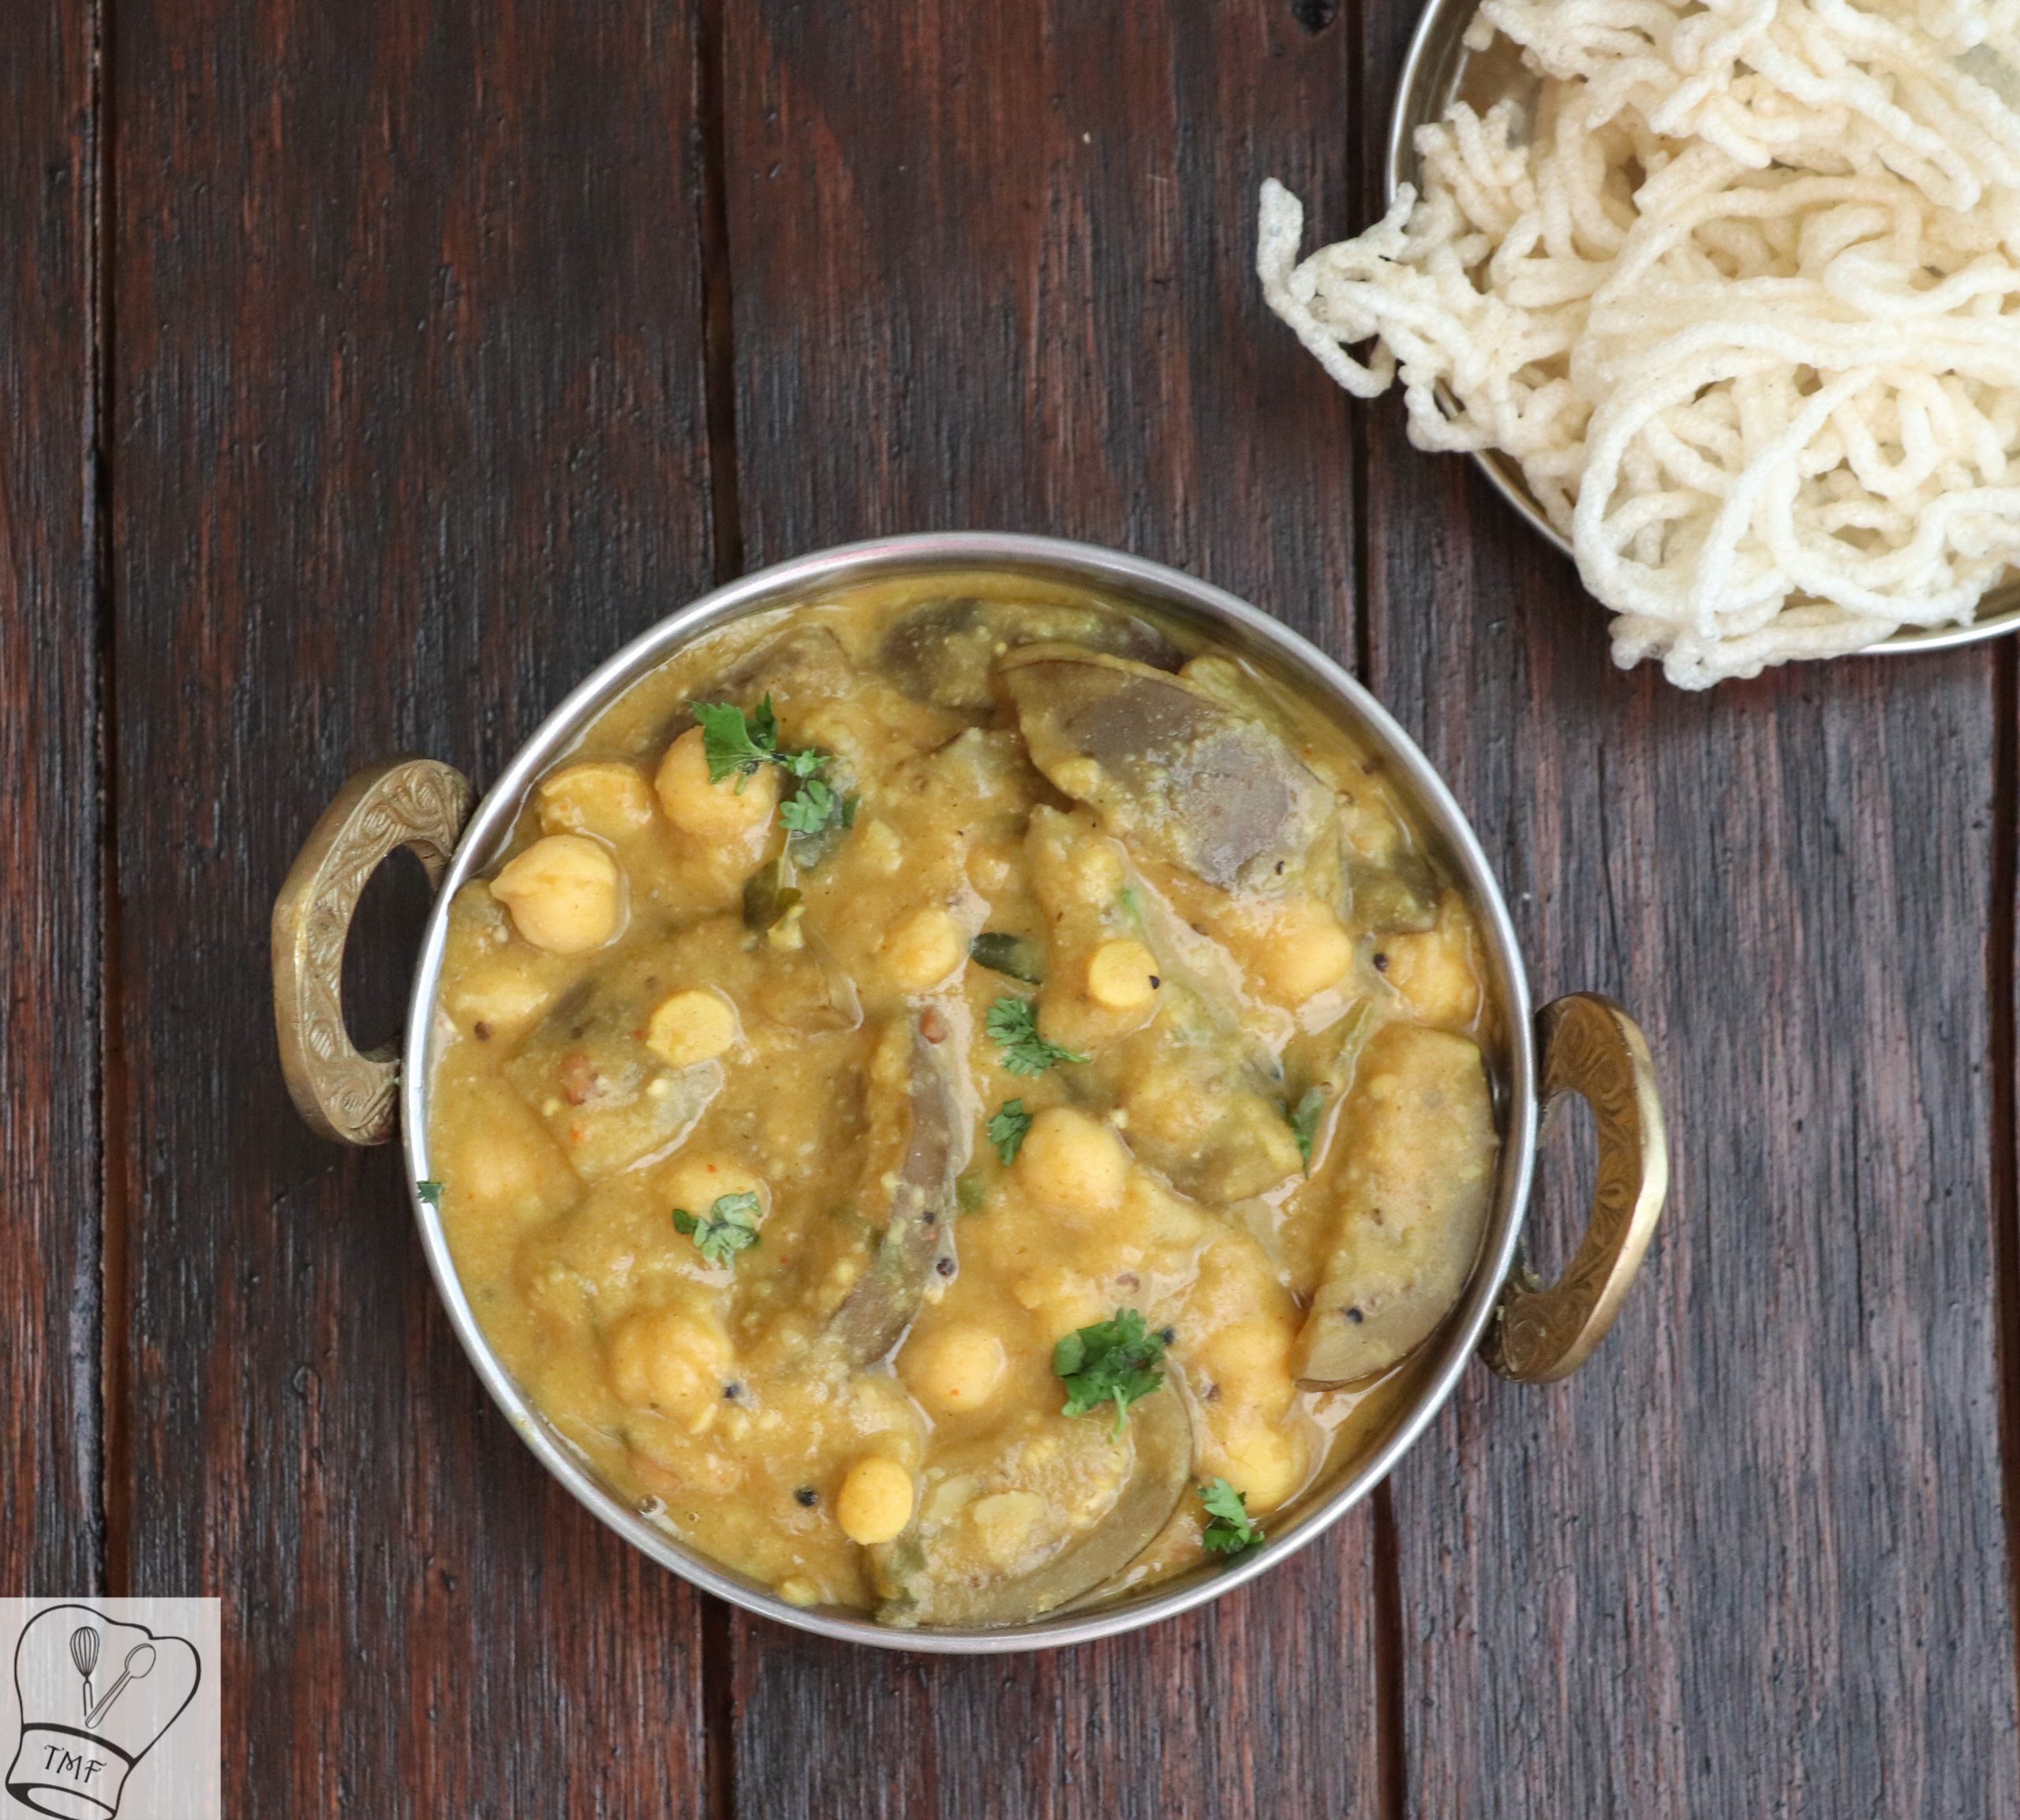
Kathirikai Rasavangi, also known as Brinjal Rasavangi or Brinjal Pitlai, is a classic Tamil Brahmin–style kuzhambu made with brinjal, lentils, tamarind, and a freshly ground coconut‑based spice paste. This traditional South Indian rice accompaniment is rich, aromatic, and deeply comforting — a beautiful blend of tanginess, mild sweetness from jaggery, and the earthy flavor of roasted spices.
Often described as a cousin to Arachuvitta Sambar and Pavakkai Pitlai, this dish is a treasured recipe passed down through generations. The Kumbakonam‑style preparation gives it a unique depth of flavor,
What is Kathirikai Rasavangi?
It is a traditional Tamil Brahmin kuzhambu made with brinjal, lentils, tamarind, and a roasted coconut‑spice paste.
Is Rasavangi the same as Pitlai?
They are very similar. Rasavangi is slightly thicker and richer, while Pitlai may use more lentils.
Which brinjal variety works best?
Any fresh, tender brinjal works — long purple, green, or small round varieties.
Why add jaggery?
A small amount of jaggery balances the tanginess of tamarind and enhances the overall flavor.

Can I skip coconut?
Coconut is essential for authentic taste. Reducing is fine, but skipping changes the flavor profile.
Do I need three types of dal?
Toor dal, channa dal, and chickpeas together give the dish its signature texture and richness.
What does Rasavangi pair well with?
Steamed rice, potato fry, arbi roast, vazhakkai poriyal, appalam, idli, dosa, or upma.
Can I prepare the spice paste ahead of time?
You can roast and store the dry ingredients, but grind with coconut only when cooking.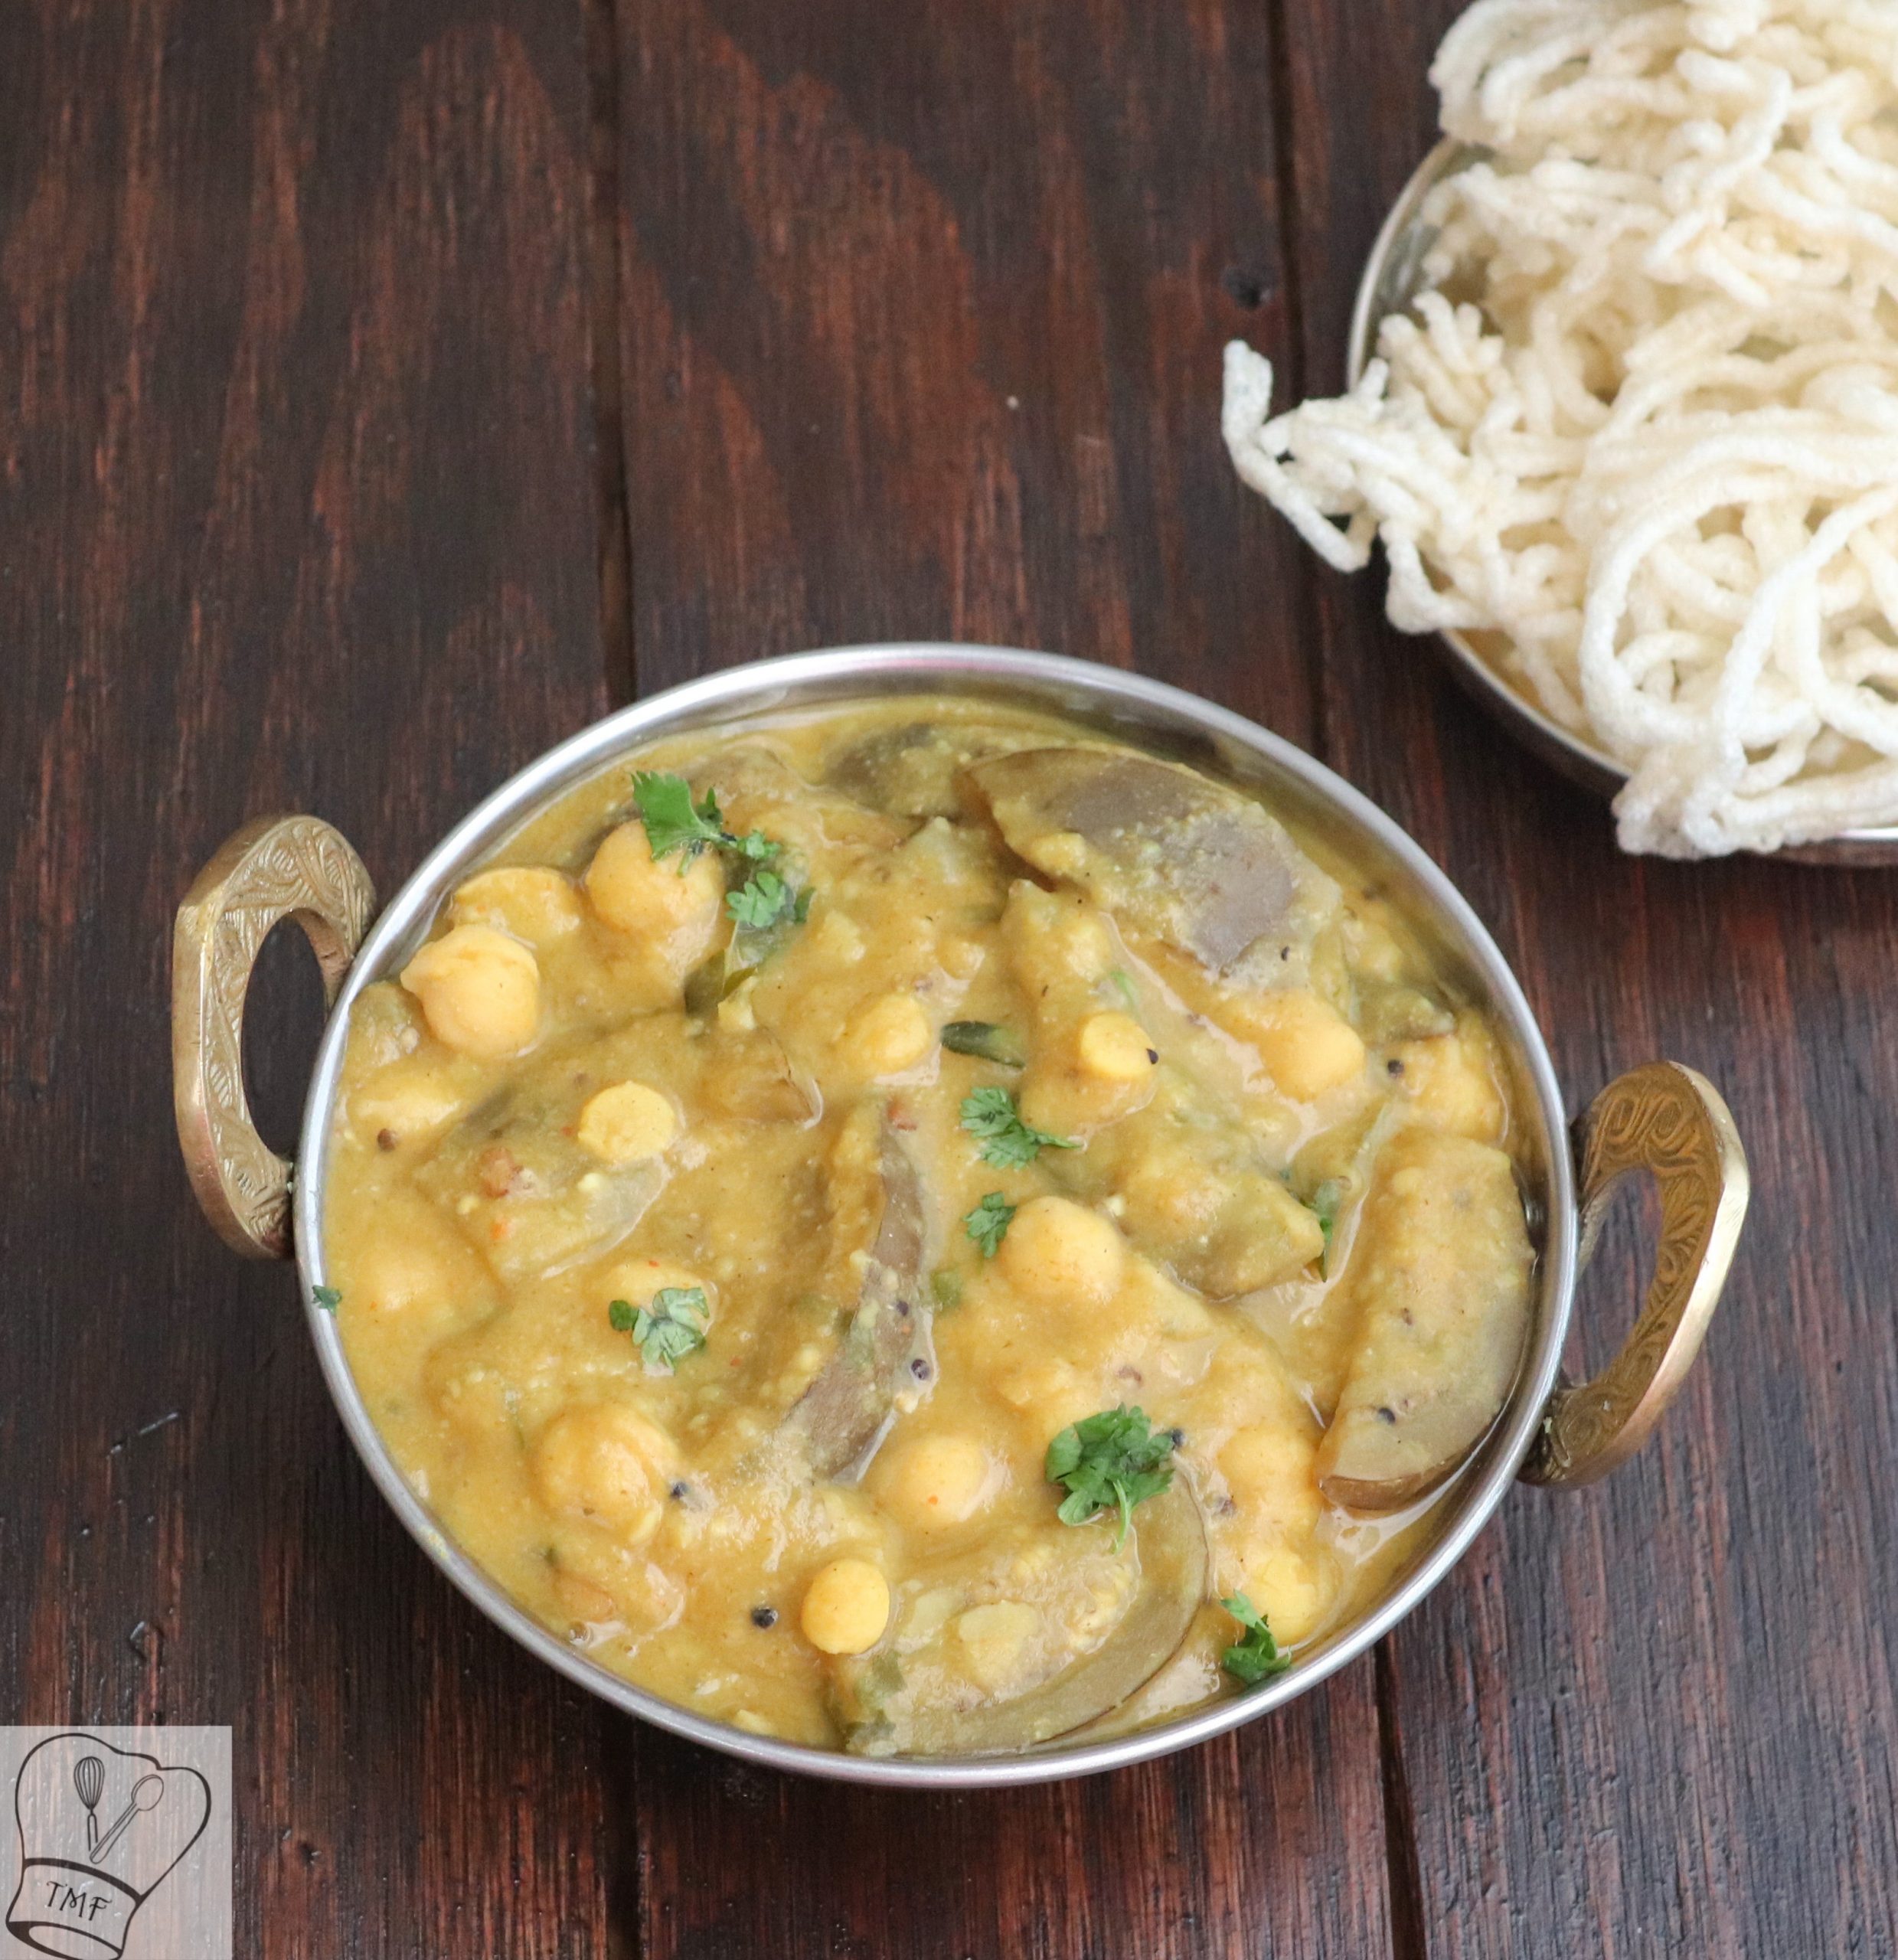
Kuzhambu varieties with tamarind
Kuzhambu varieties without tamarind
Brinjal recipes in TMF
Kootu recipe collection in TMF


Other Sambar varieties in TMF

Kathirikai Rasavangi
Ingredients
- Brinjal - 8 chopped into big size
- Toor dal – 1/2 cup
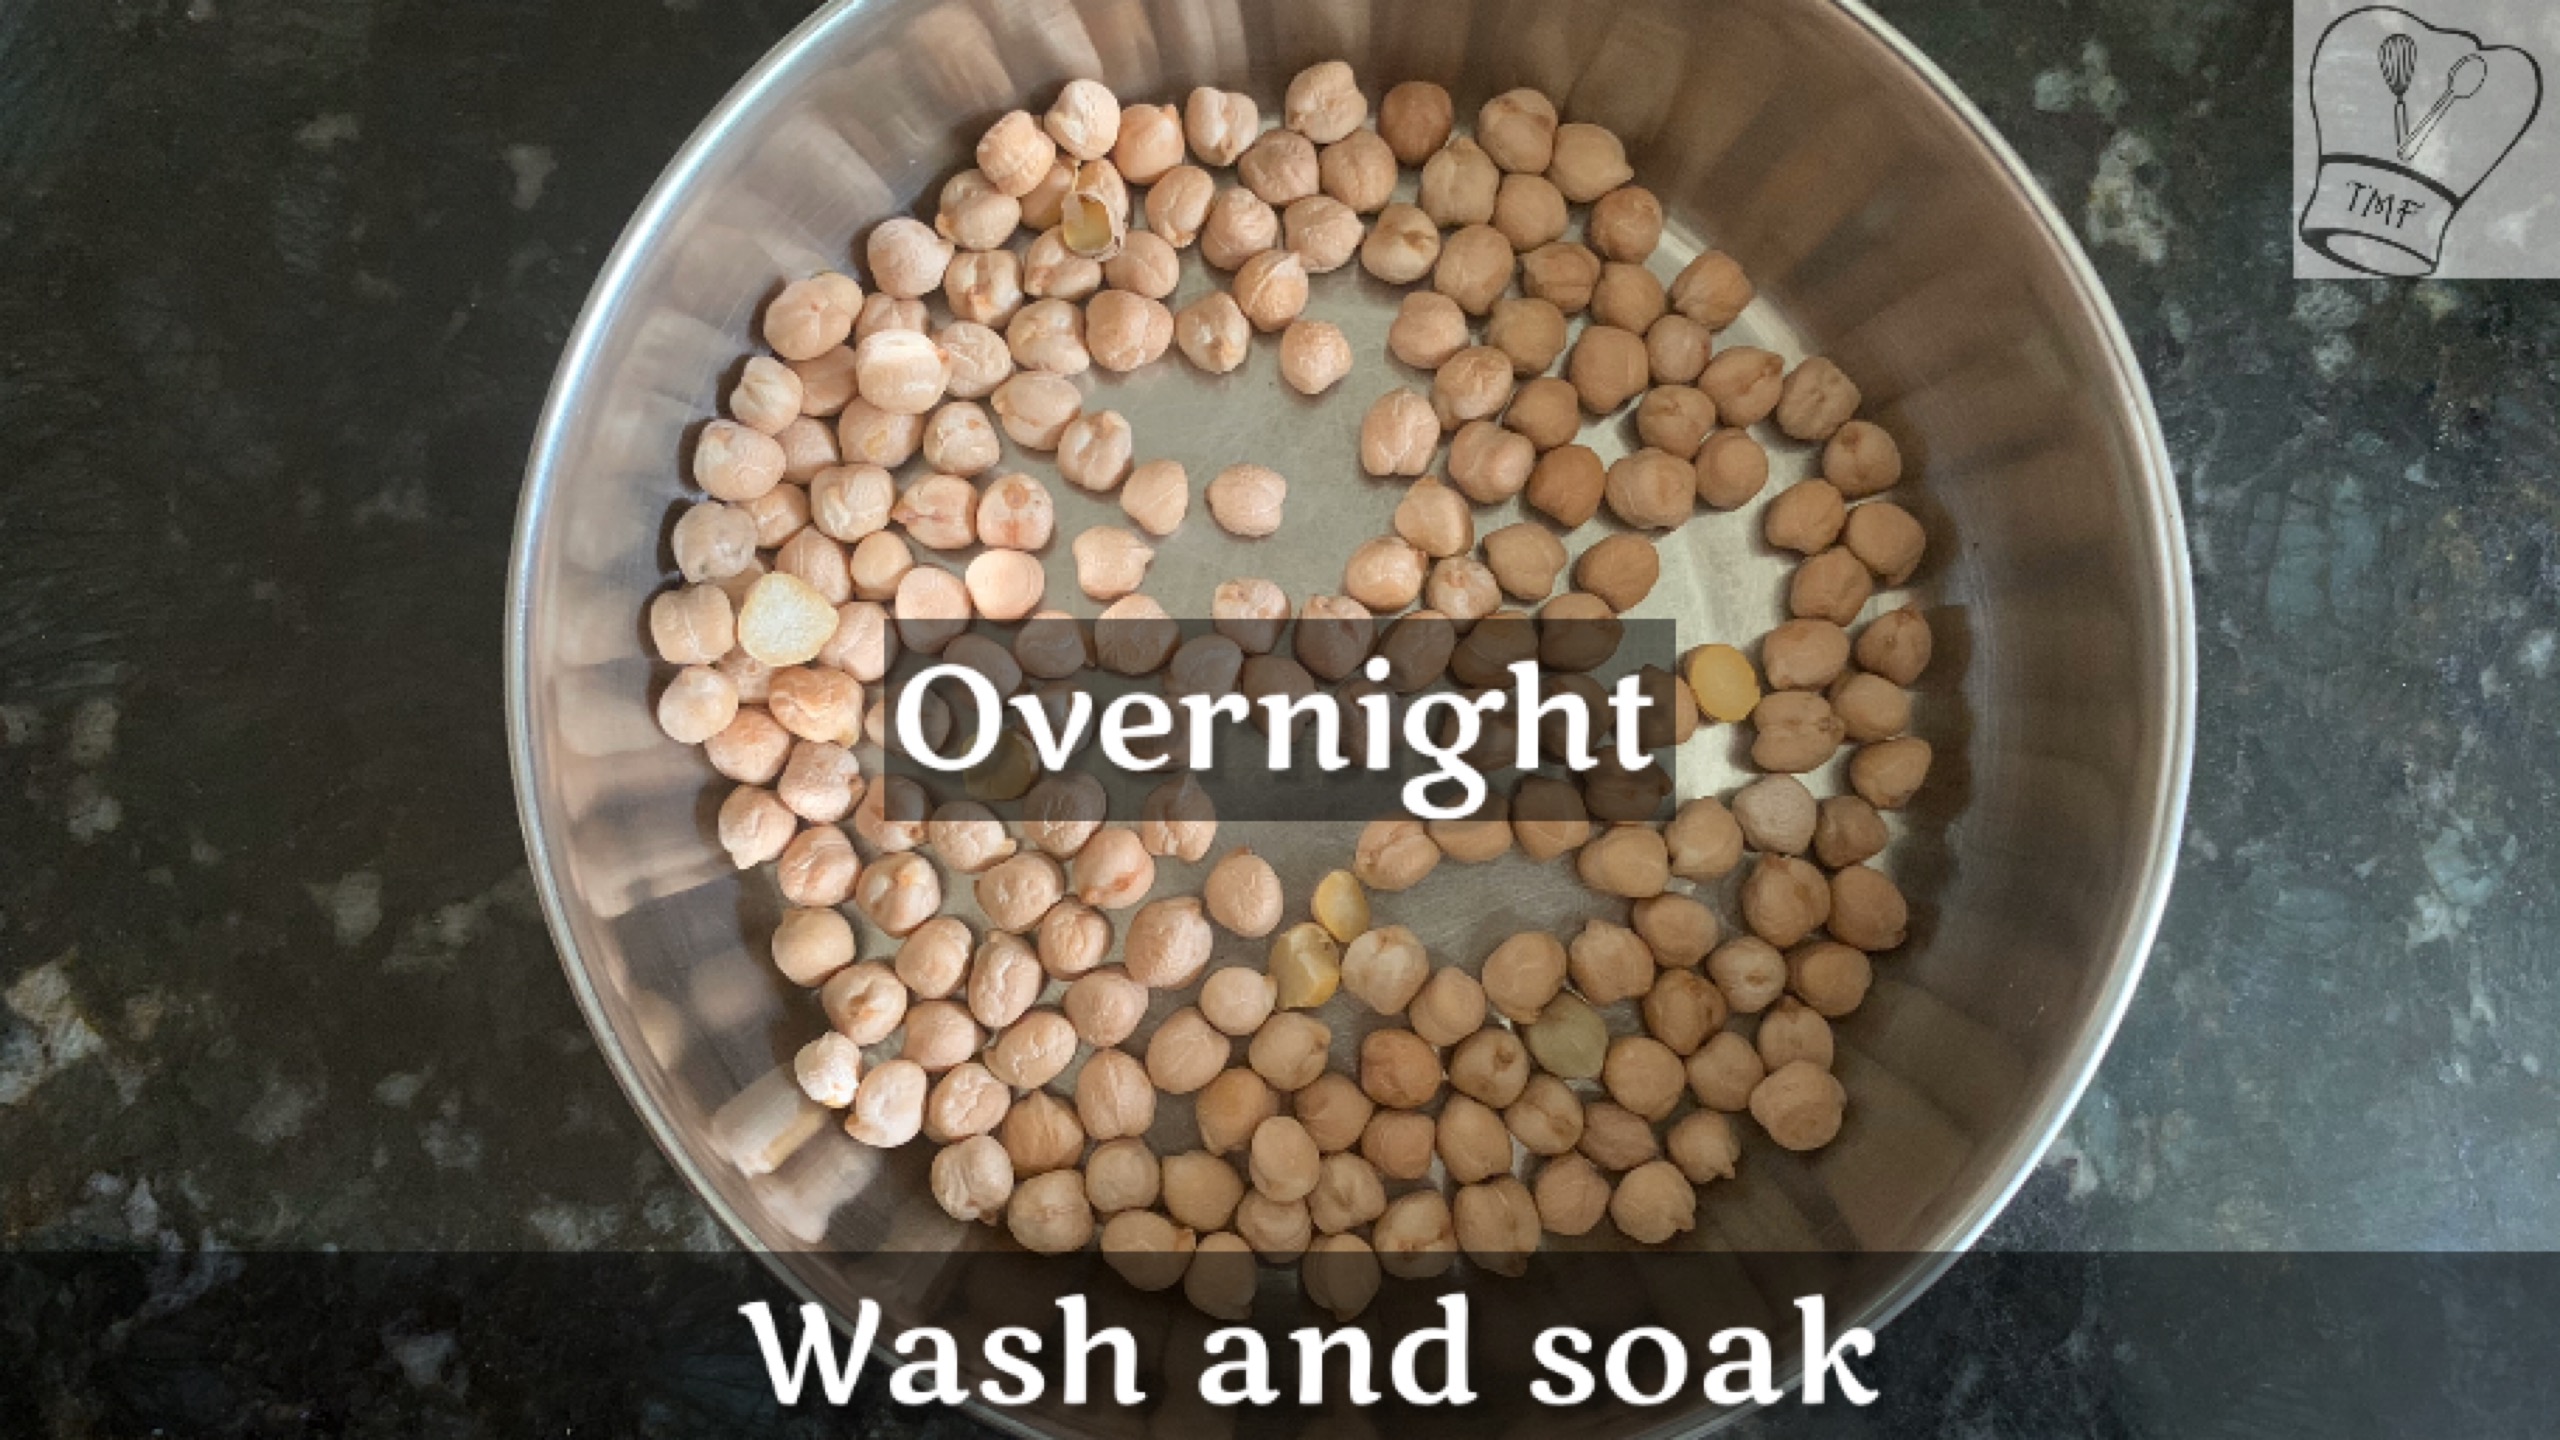
- Channa/ Chickpea – 1/3 cup
- Channa dal – 2 tbsp
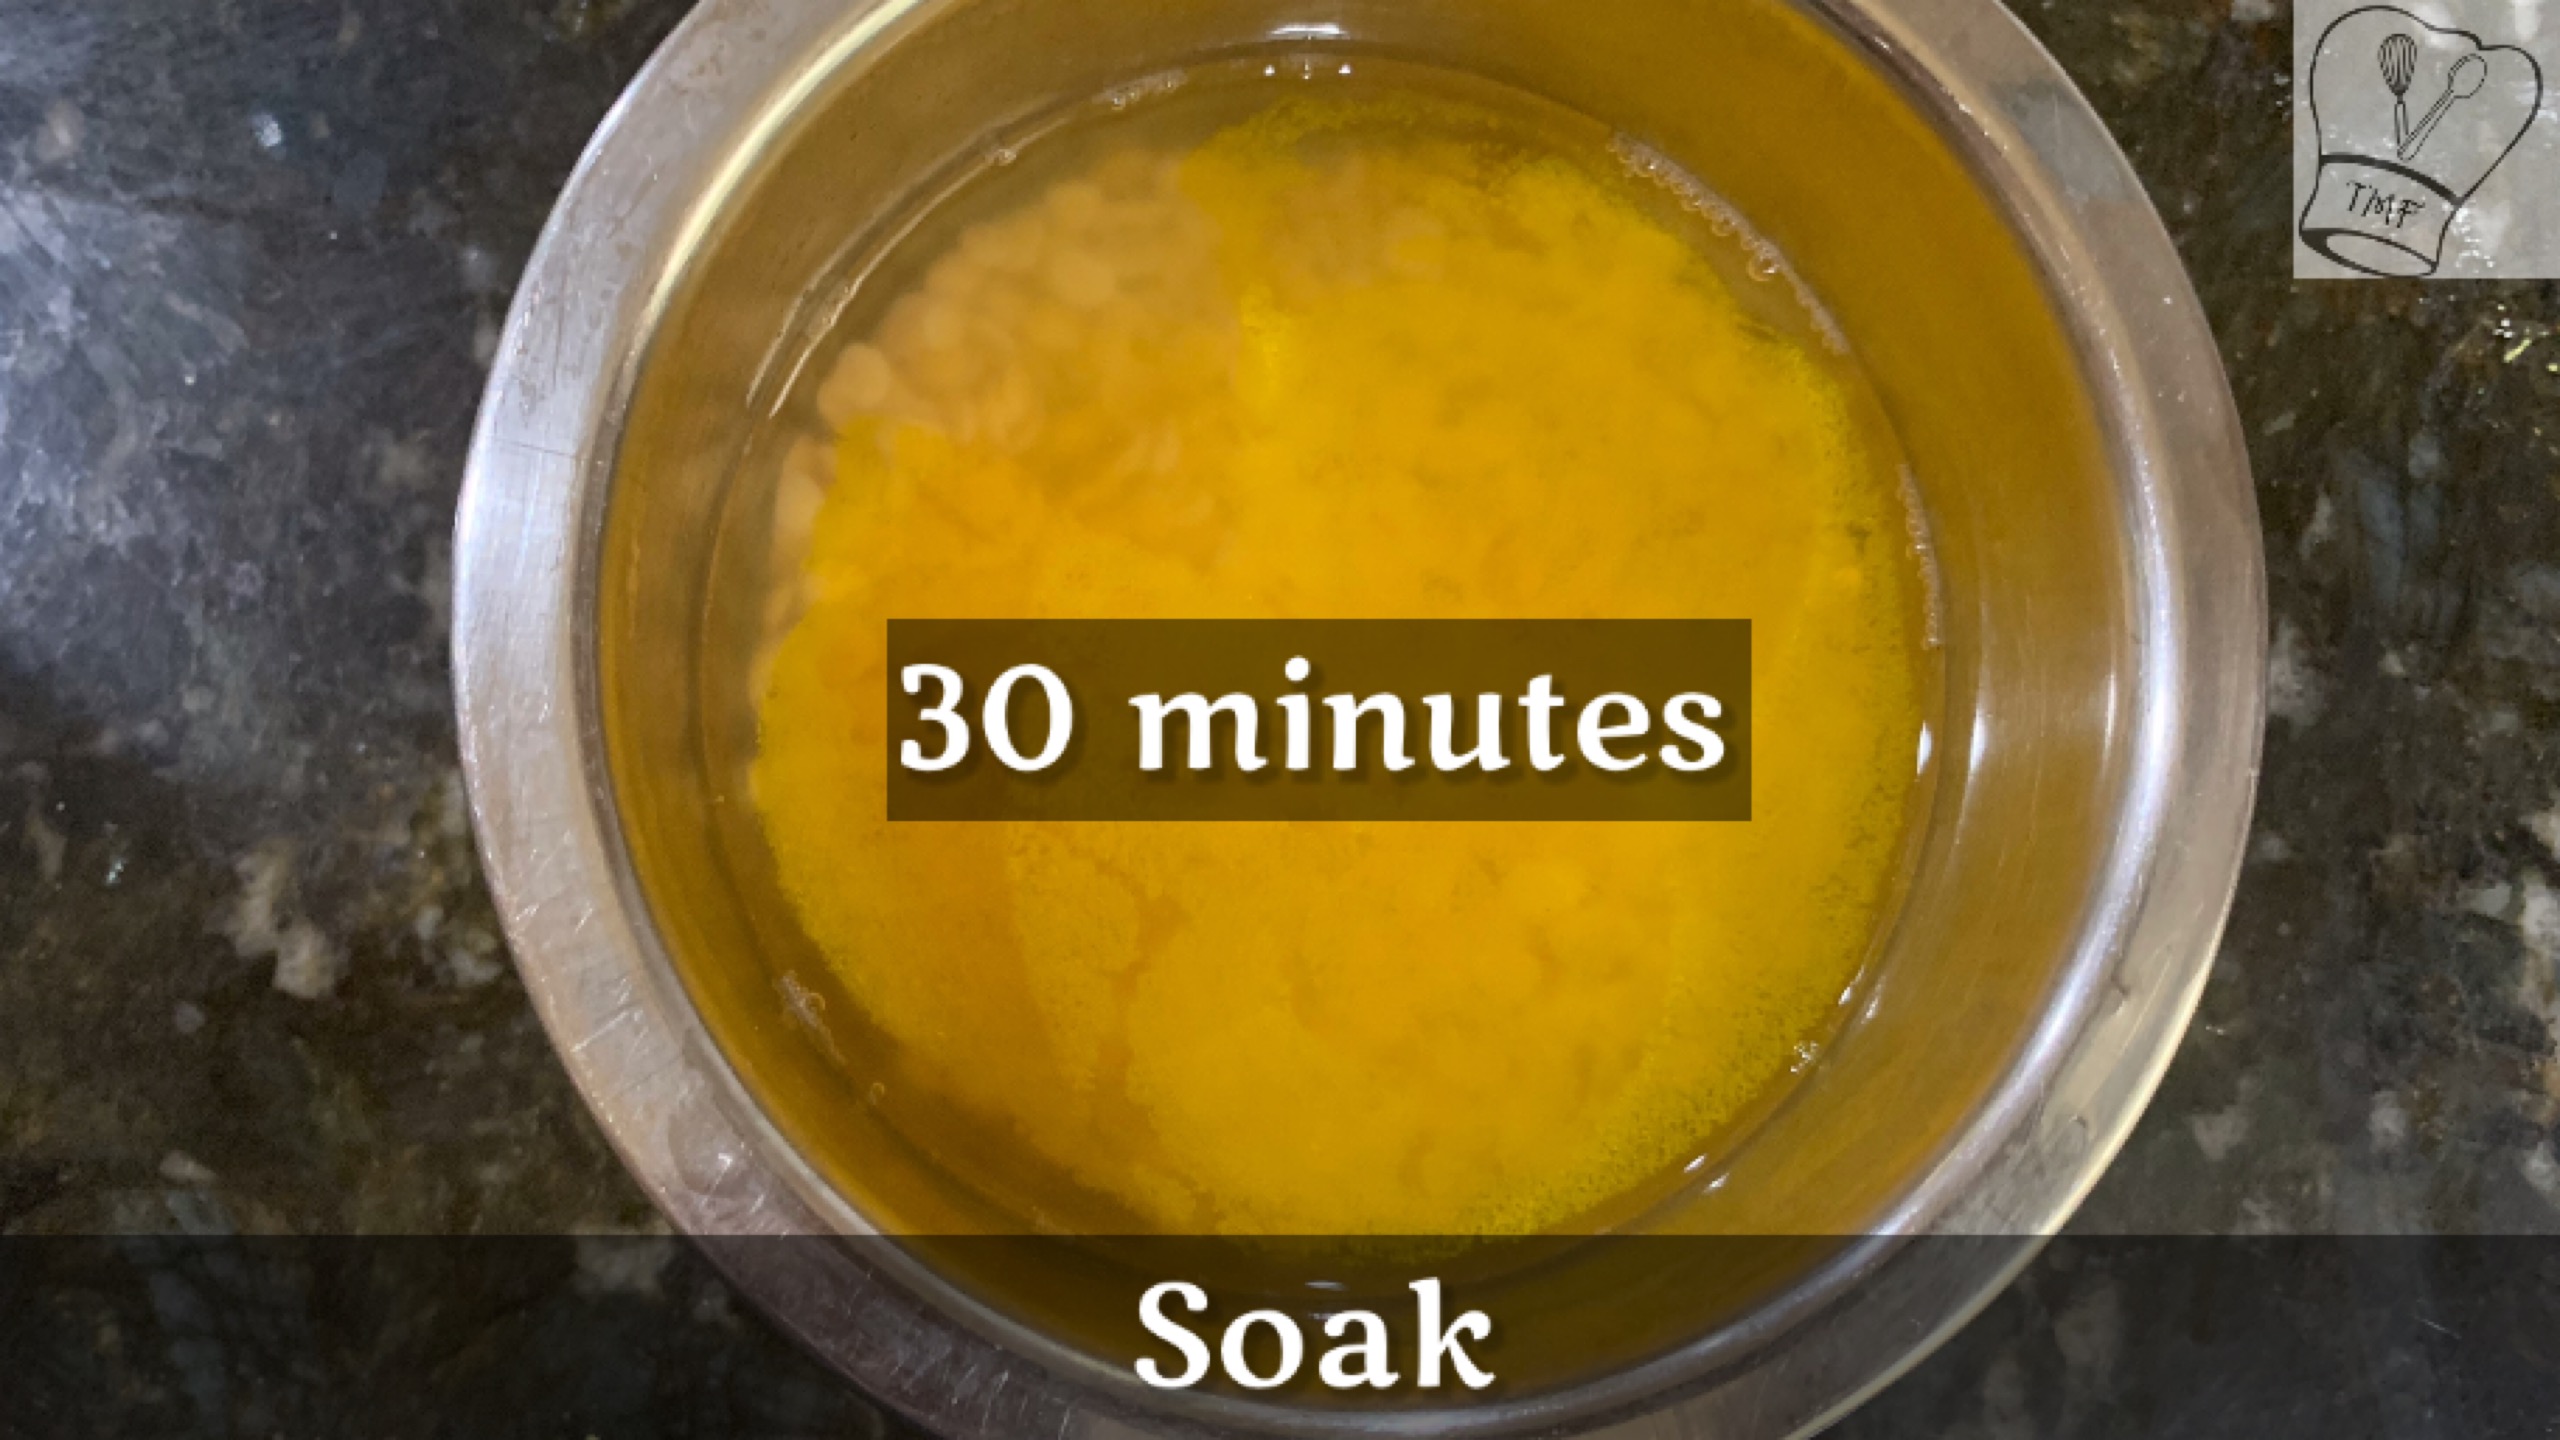
- Tamarind extract - 1 + 1/2 cup extracted from a big gooseberry size tamarind
- Sambar Powder– 1 tsp
- Asafetida – generous pinch
- Jaggery – 1 tbsp heaped
- Salt – as needed
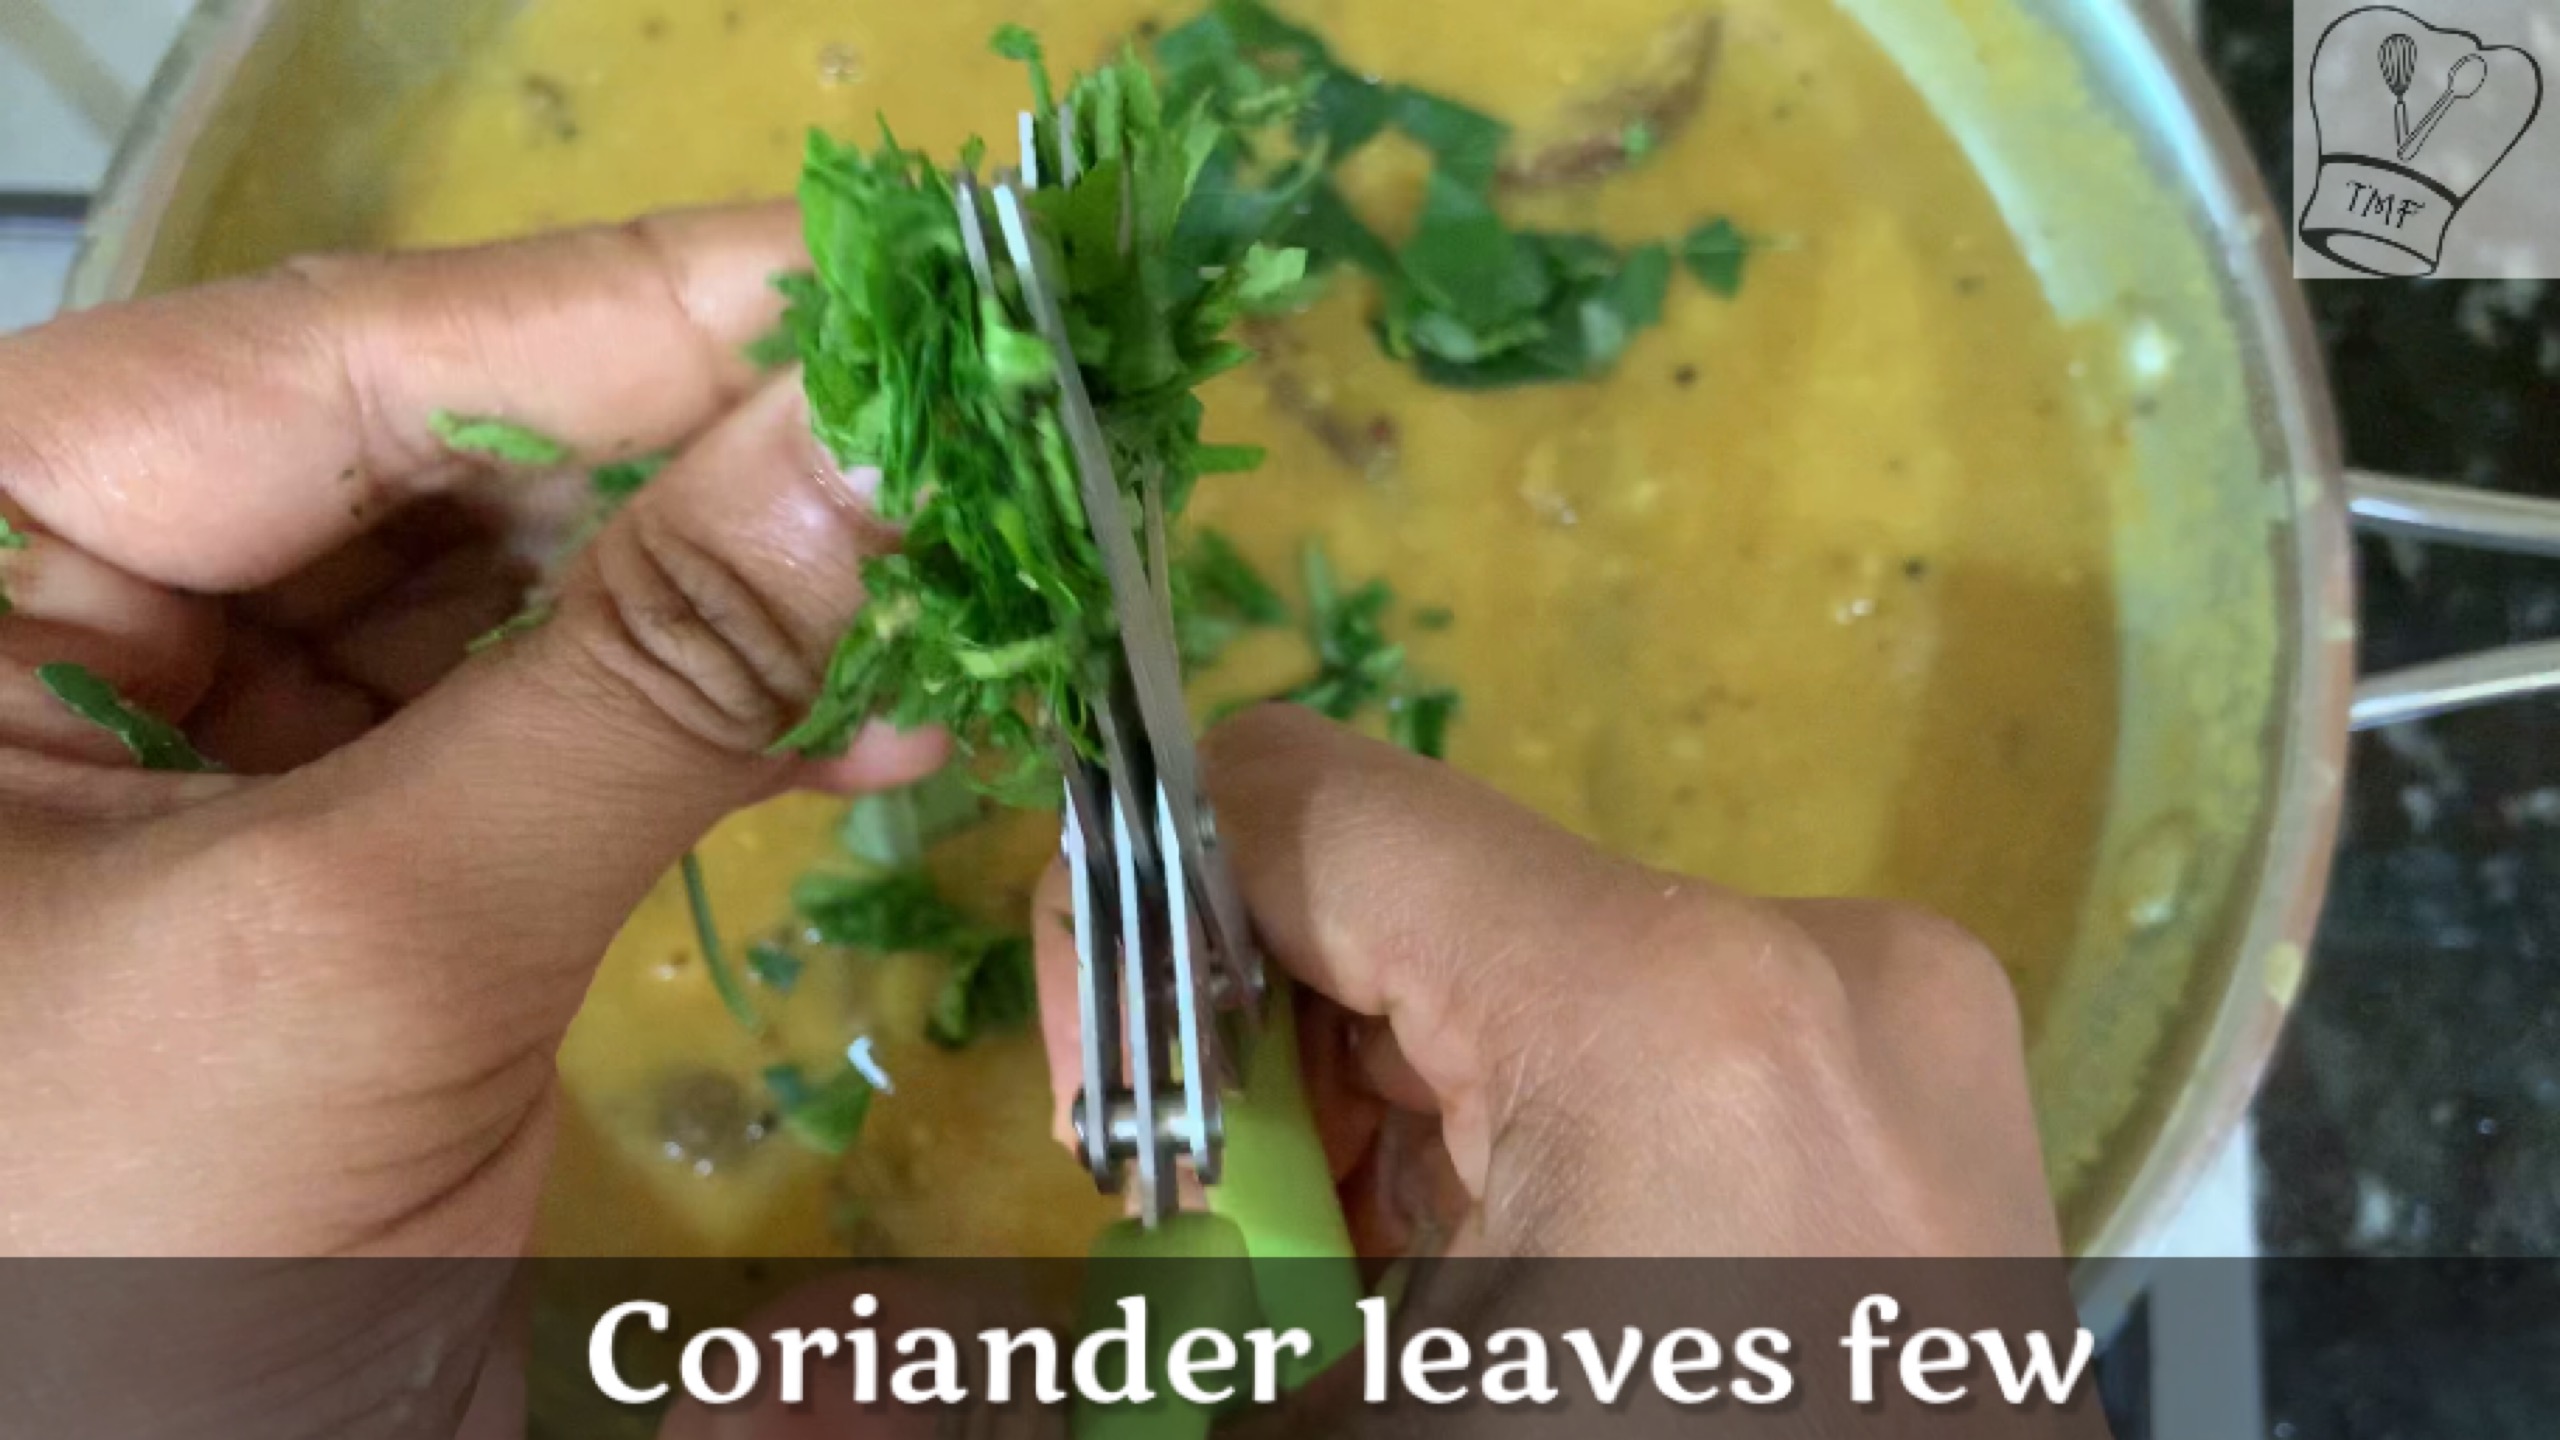
- coriander leaves - few
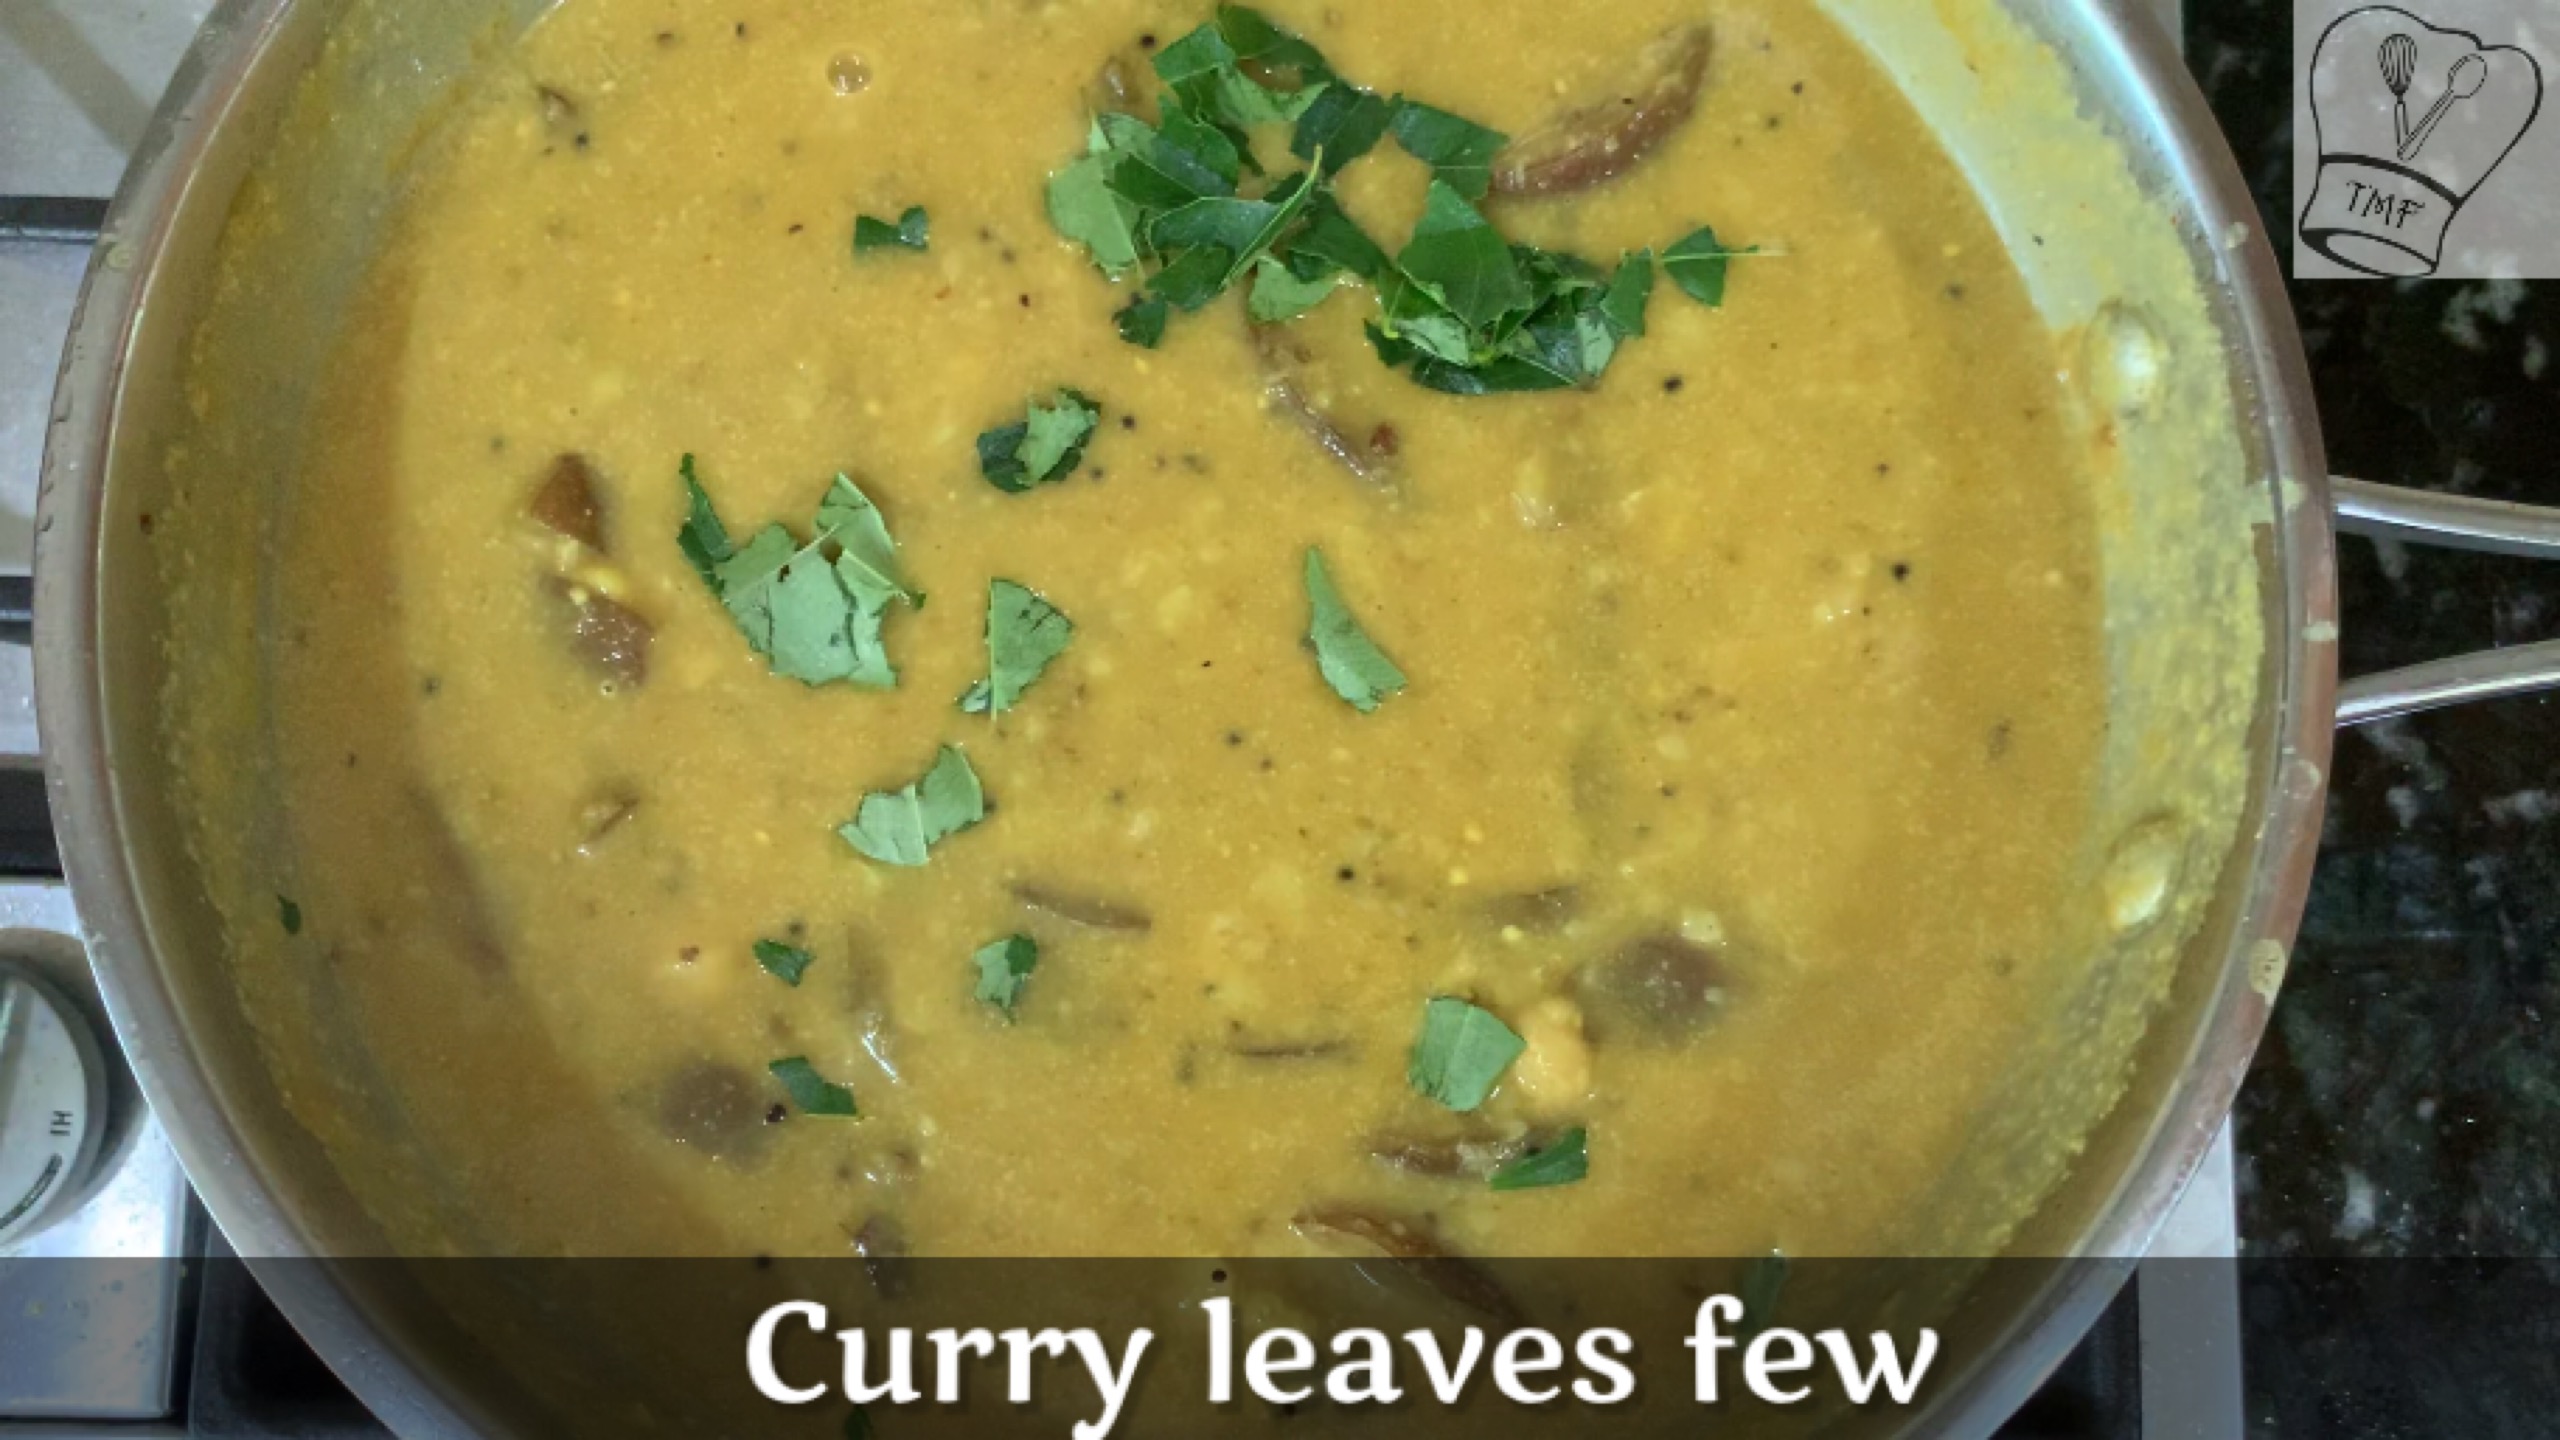
- Curry leaves – few
To grind:
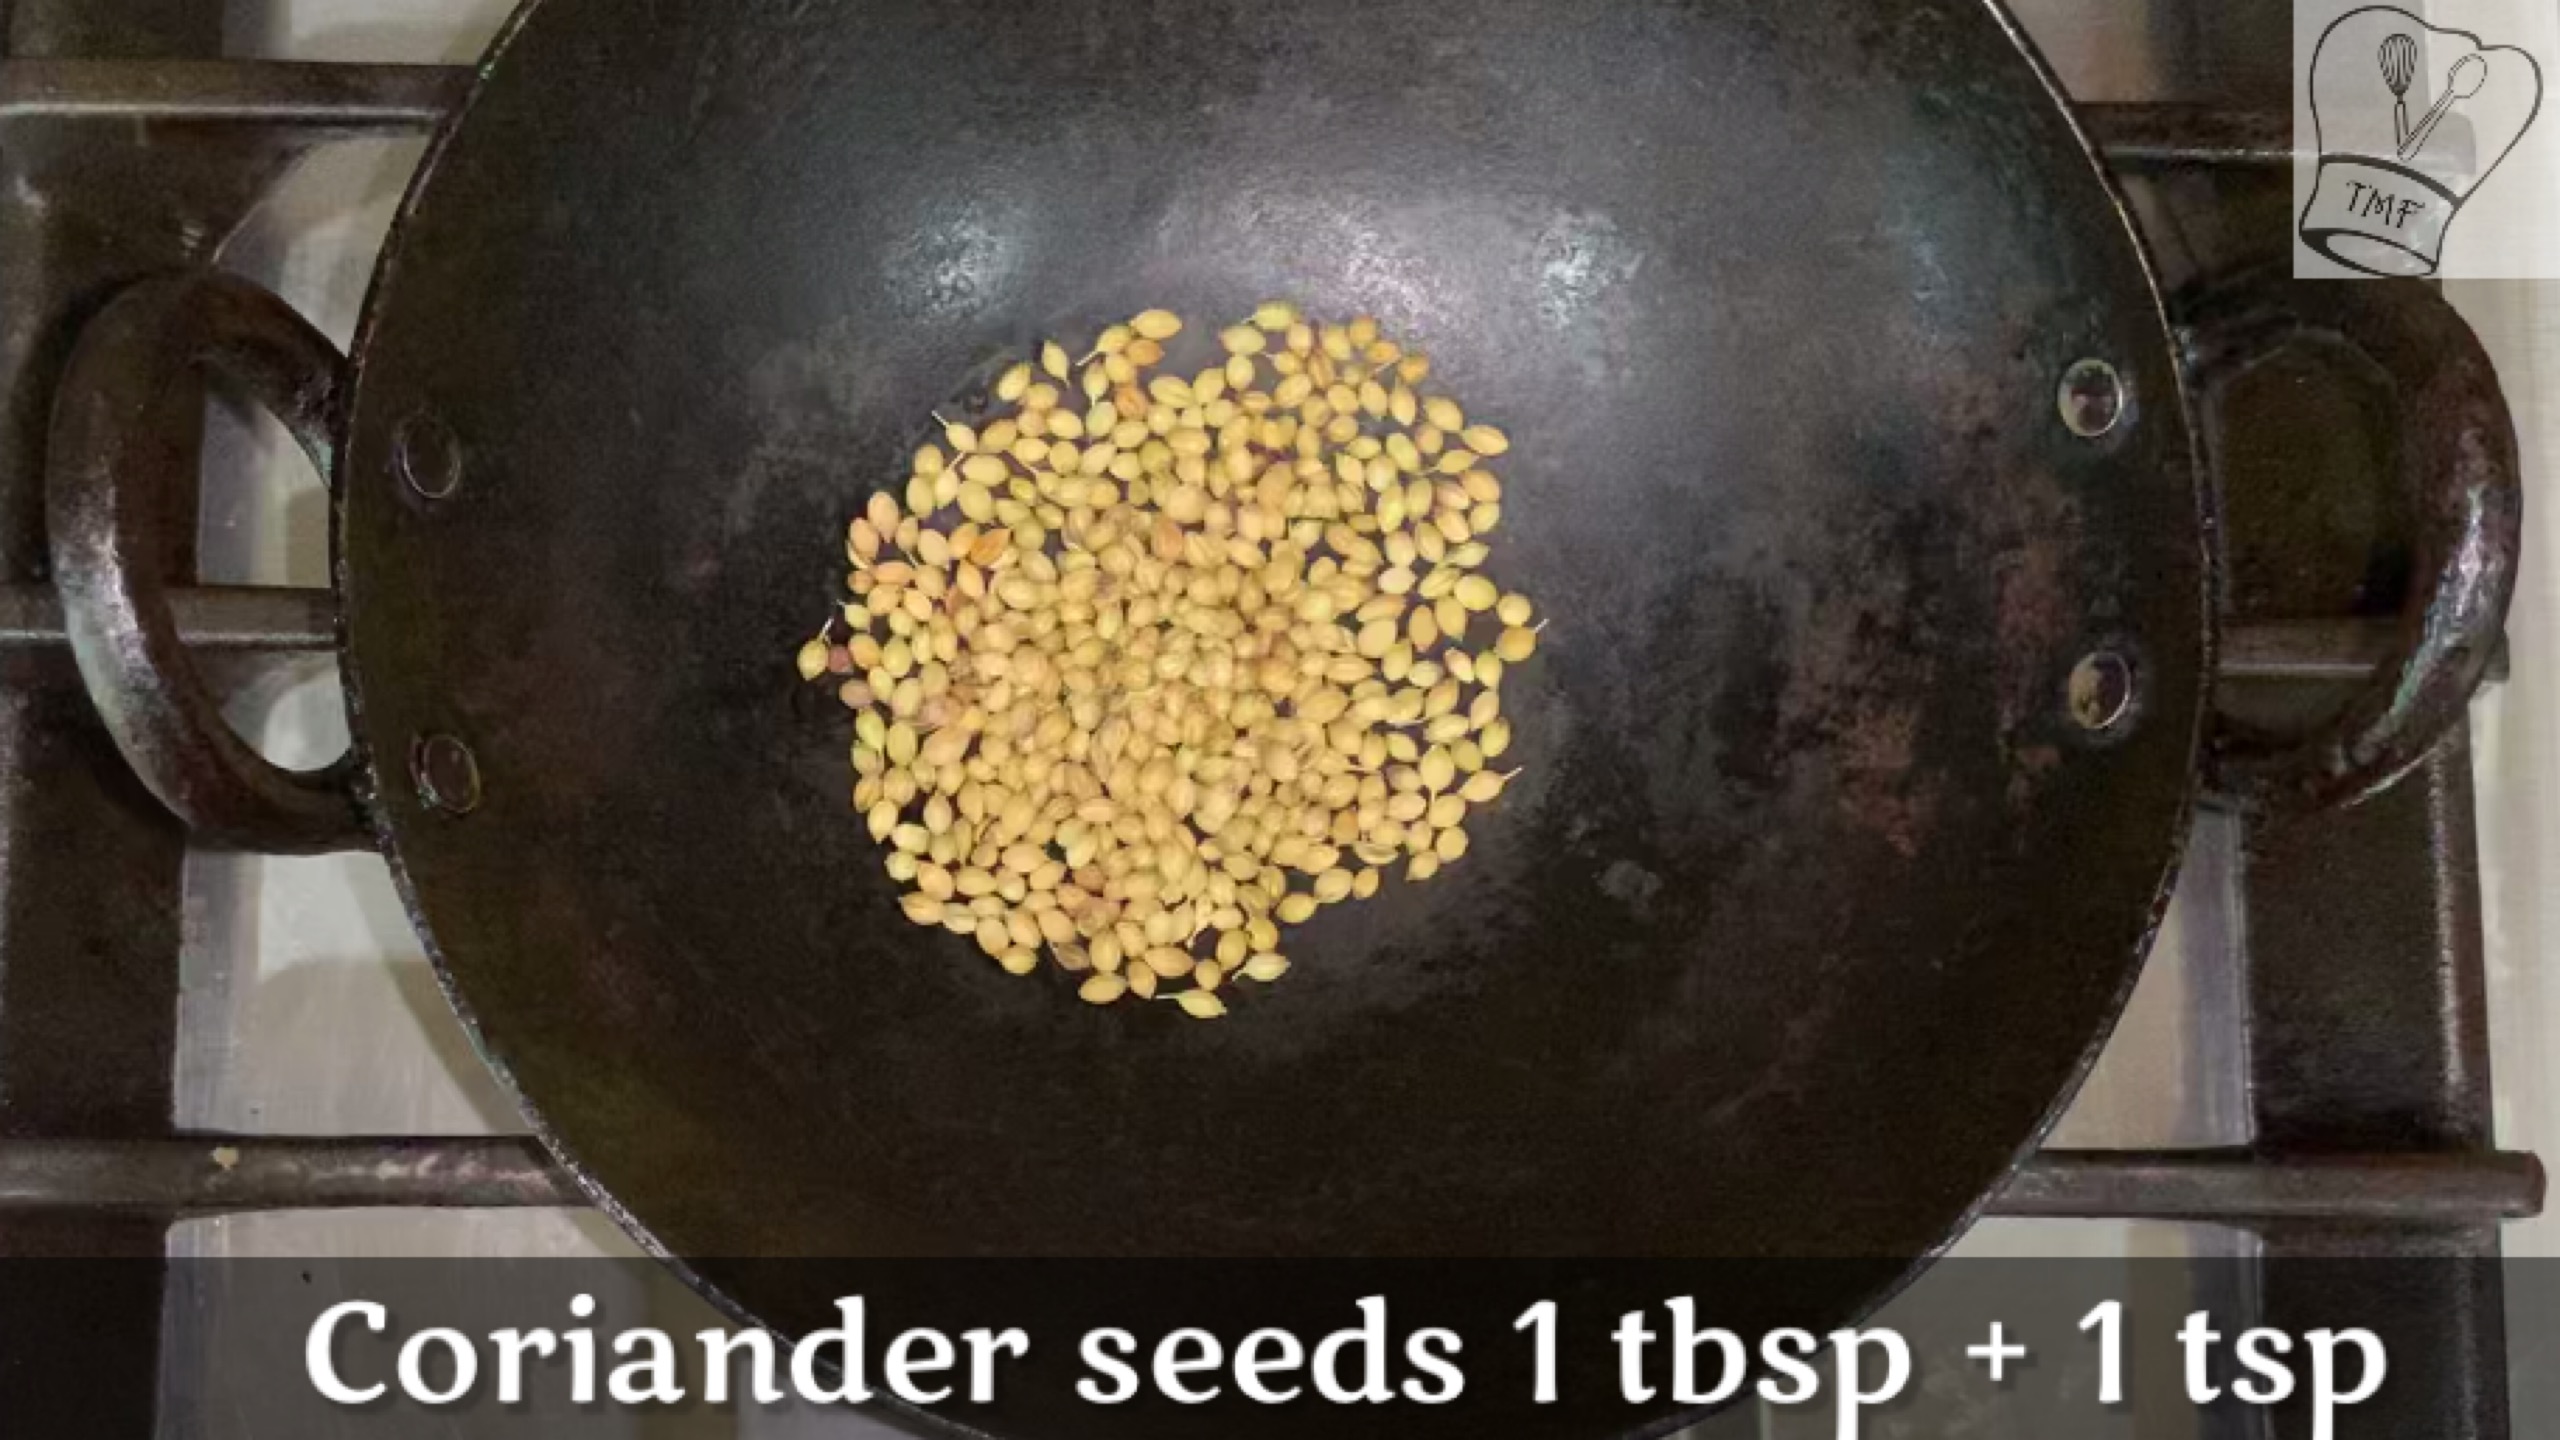
- Coriander seeds - 1 tbsp + 1 tsp
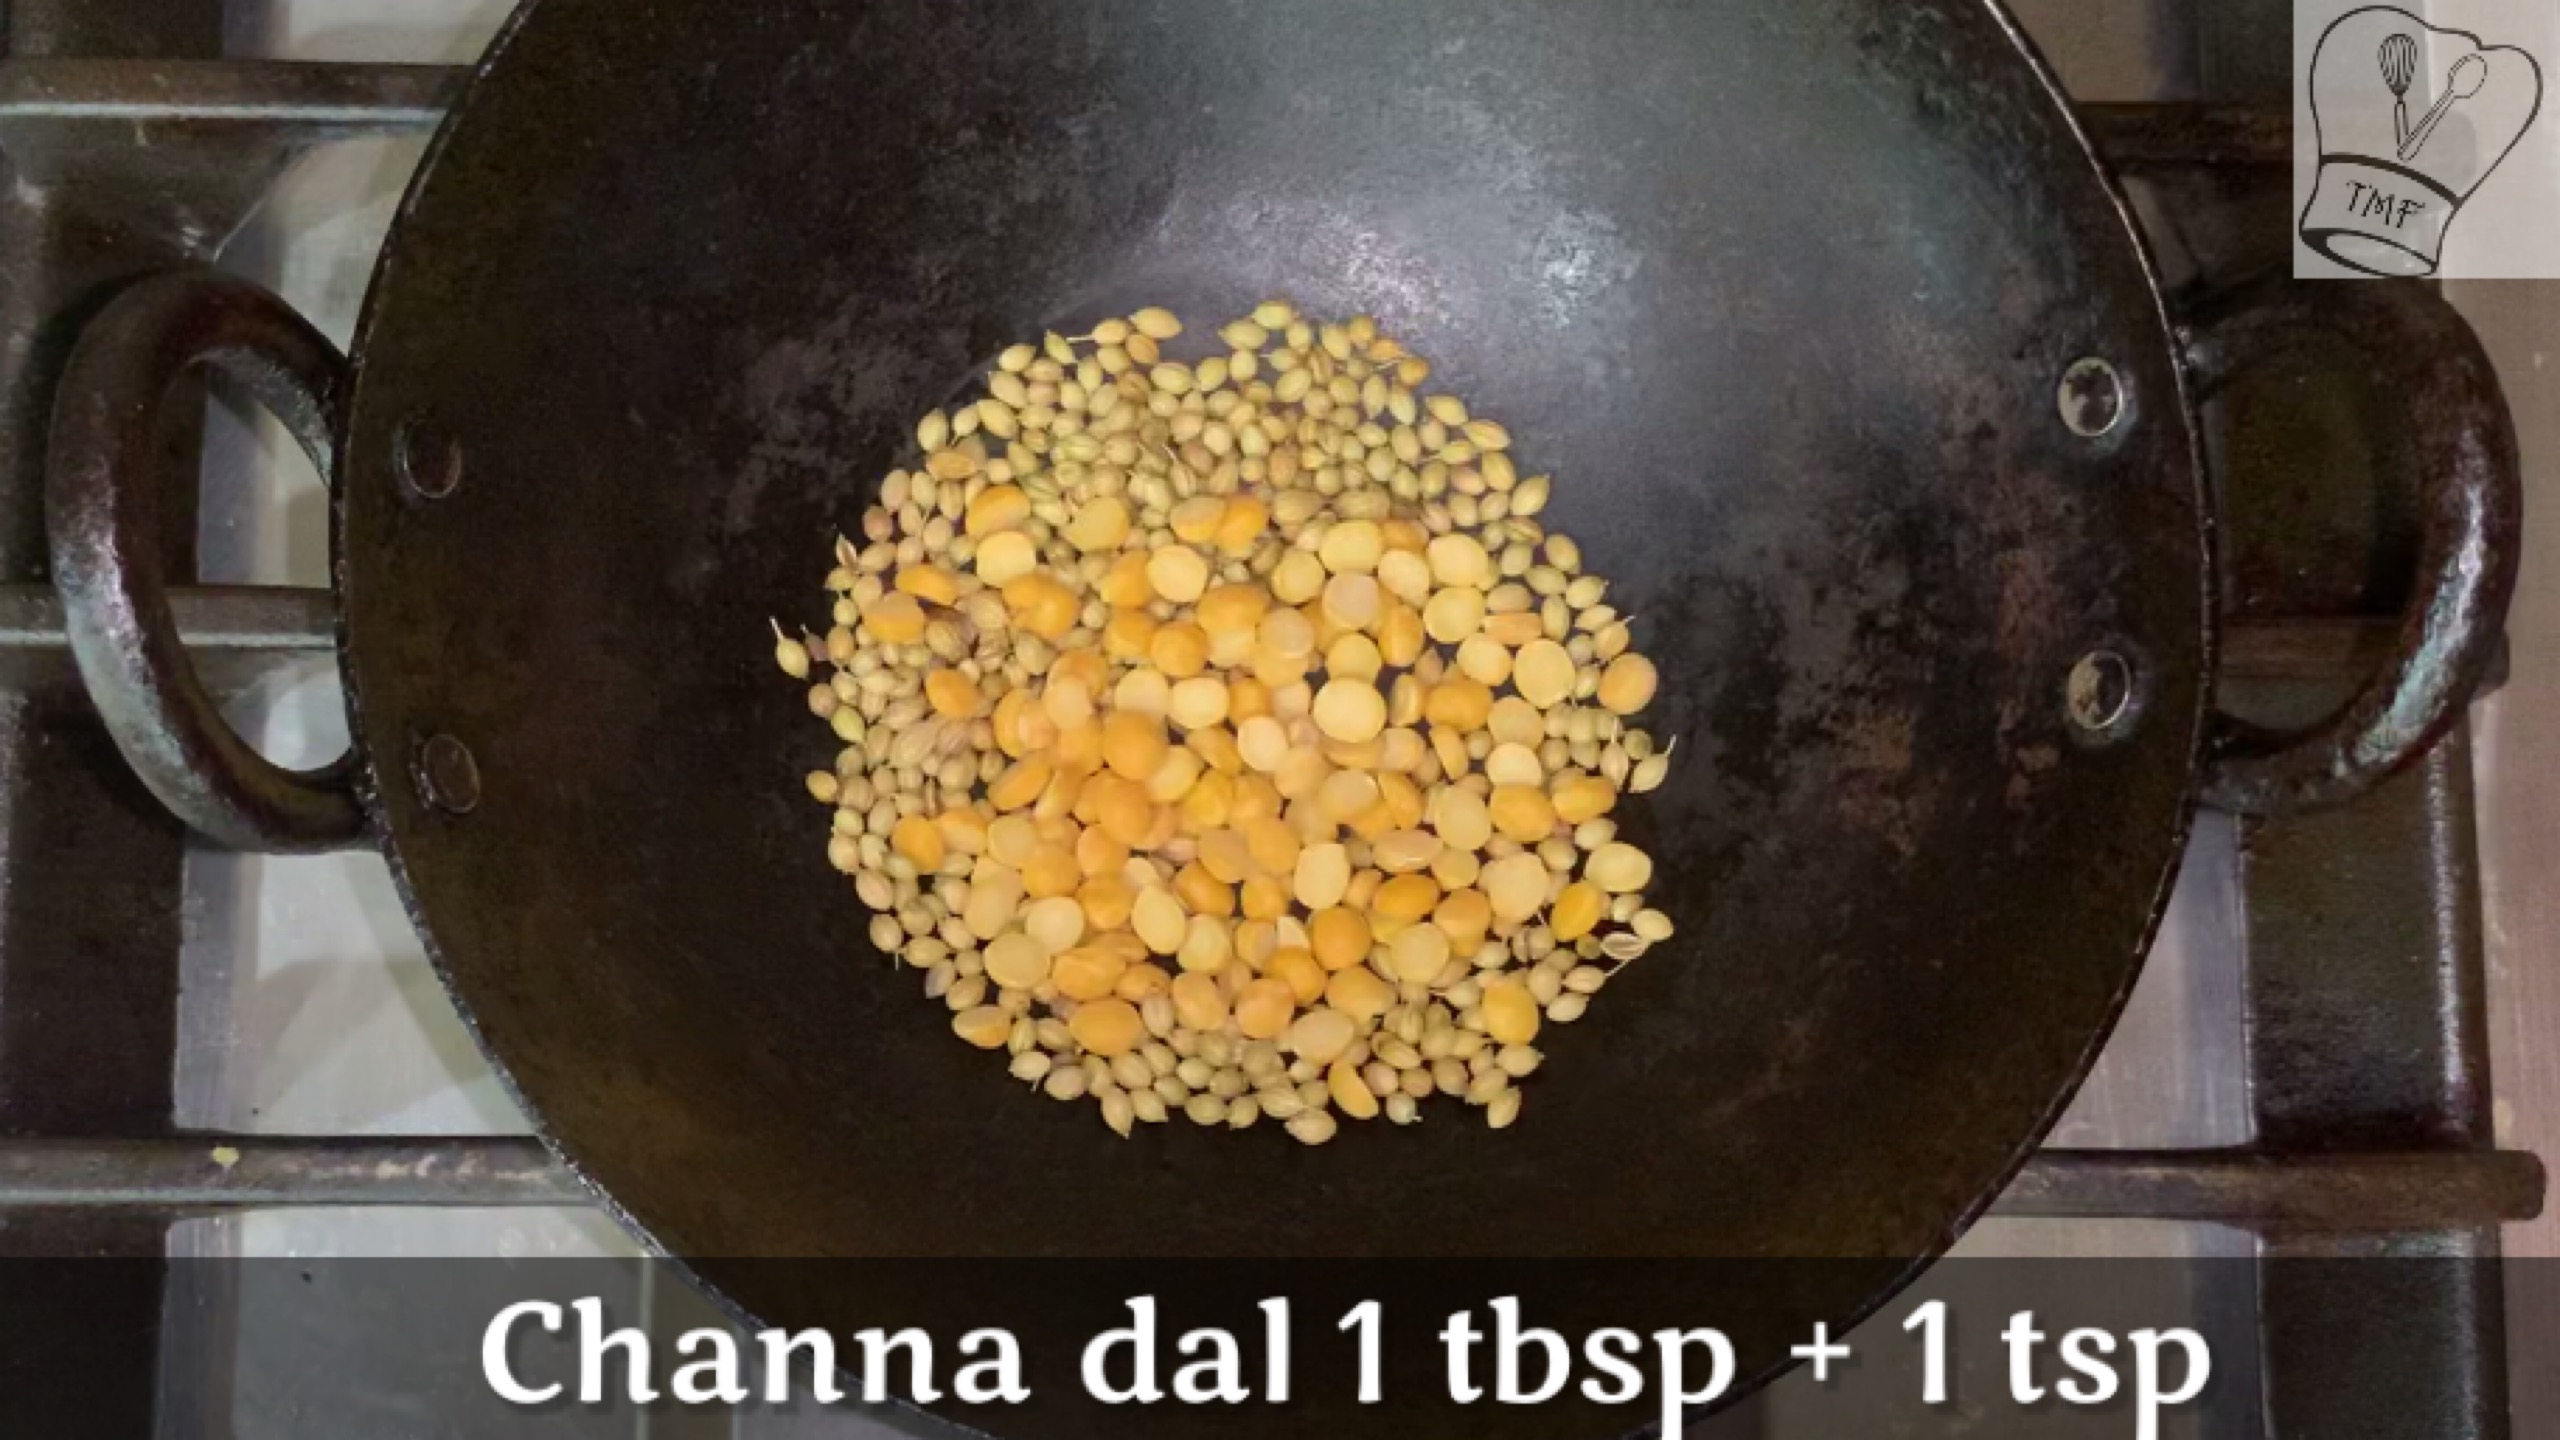
- Chana dal - 1 tbsp + 1 tsp
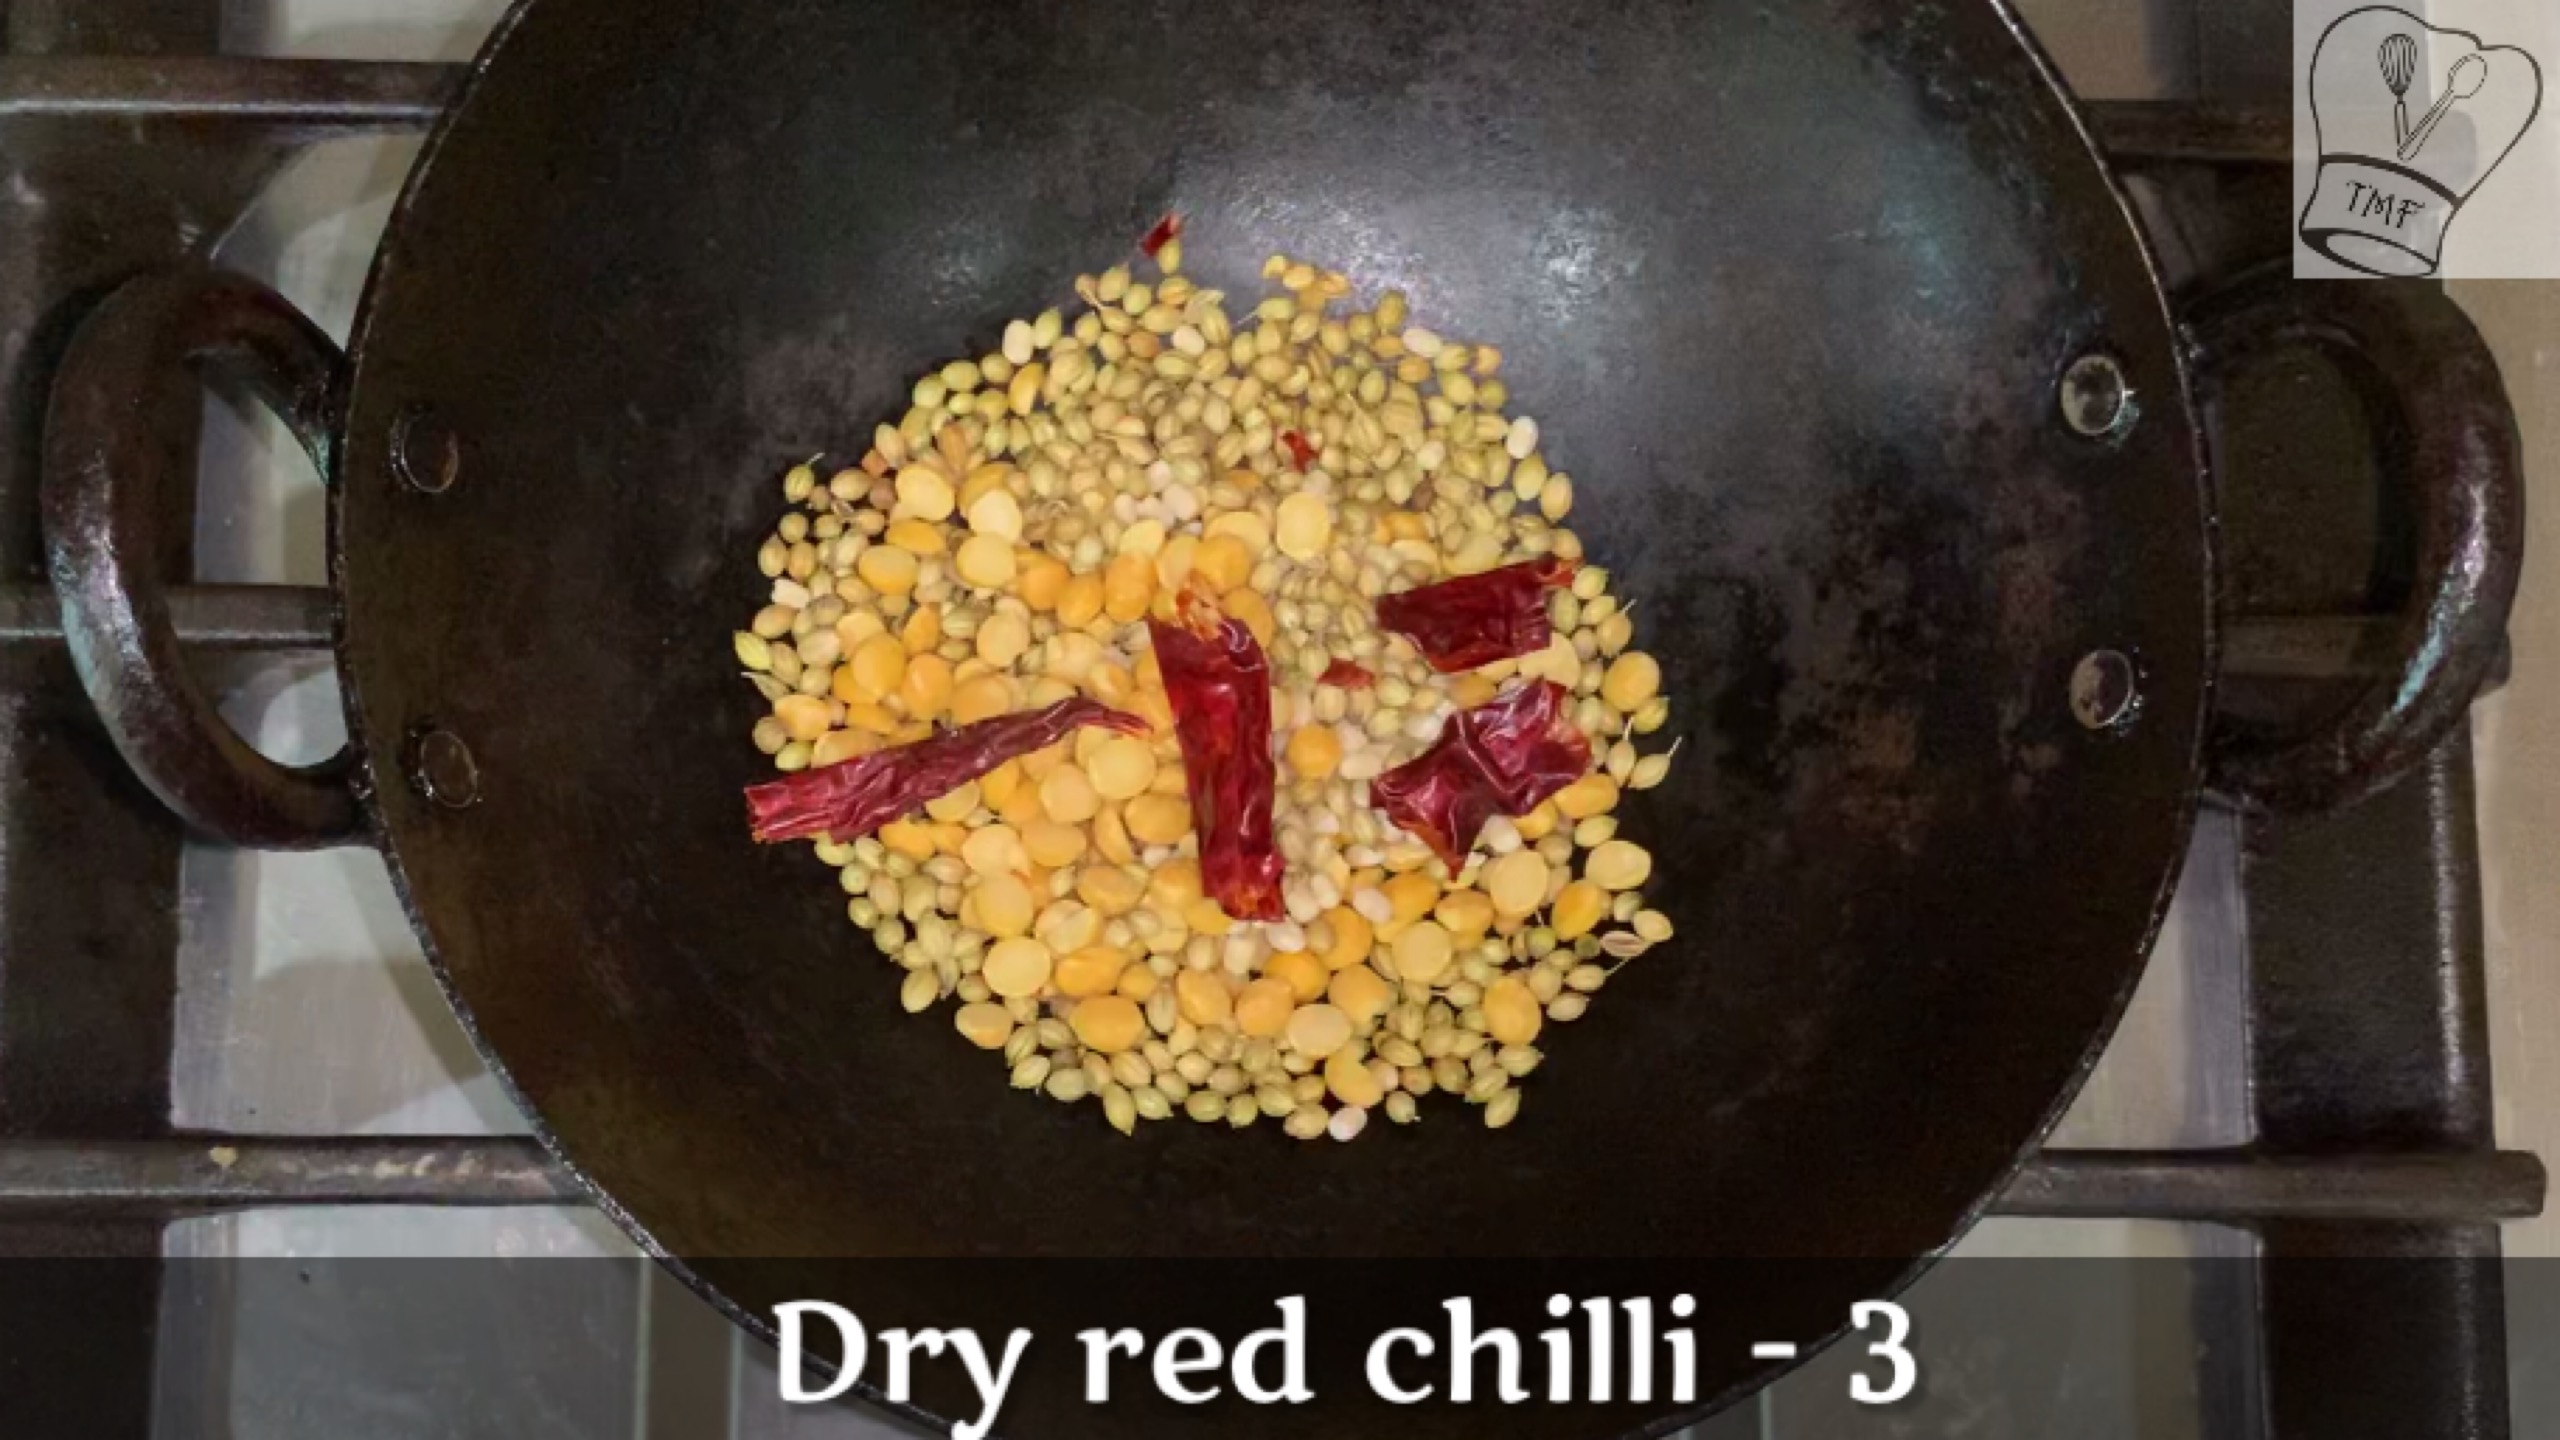
- Red chilli – 3 adjust according to your spice level
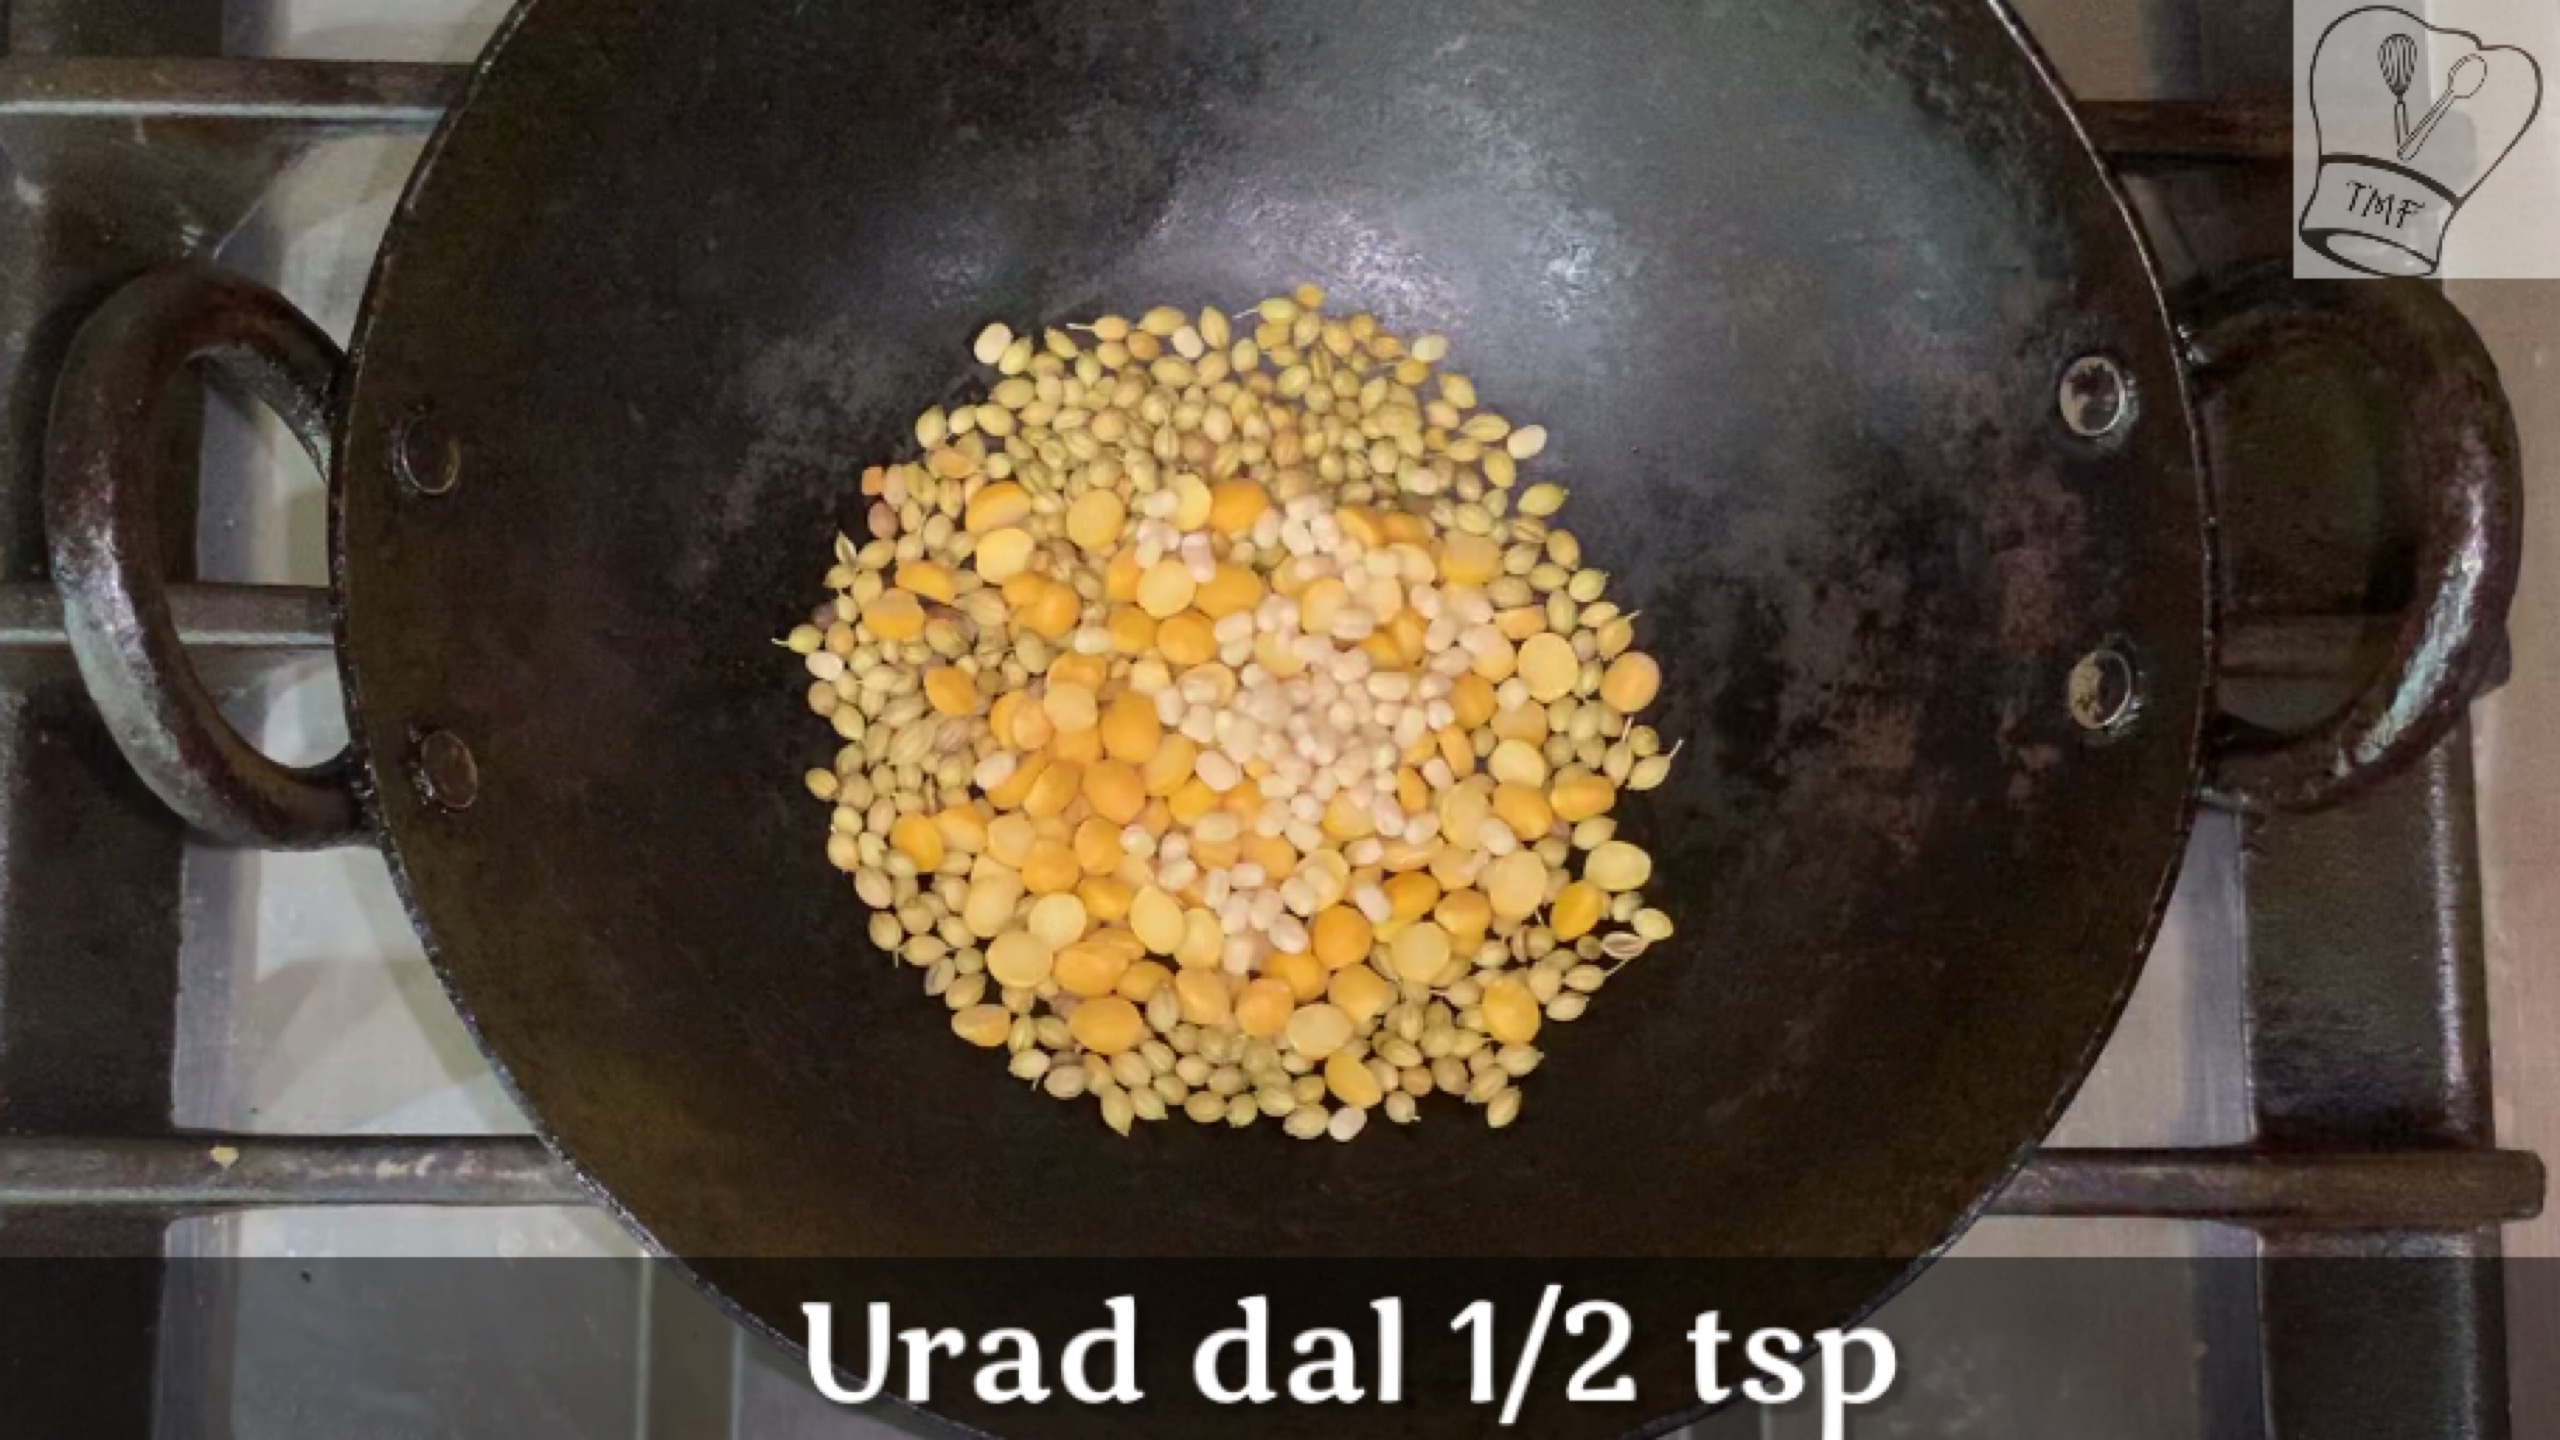
- Urad dal – ½ tsp
- Fenugreek seed - 7 to 8
- Coconut – 1/3 cup
To temper :
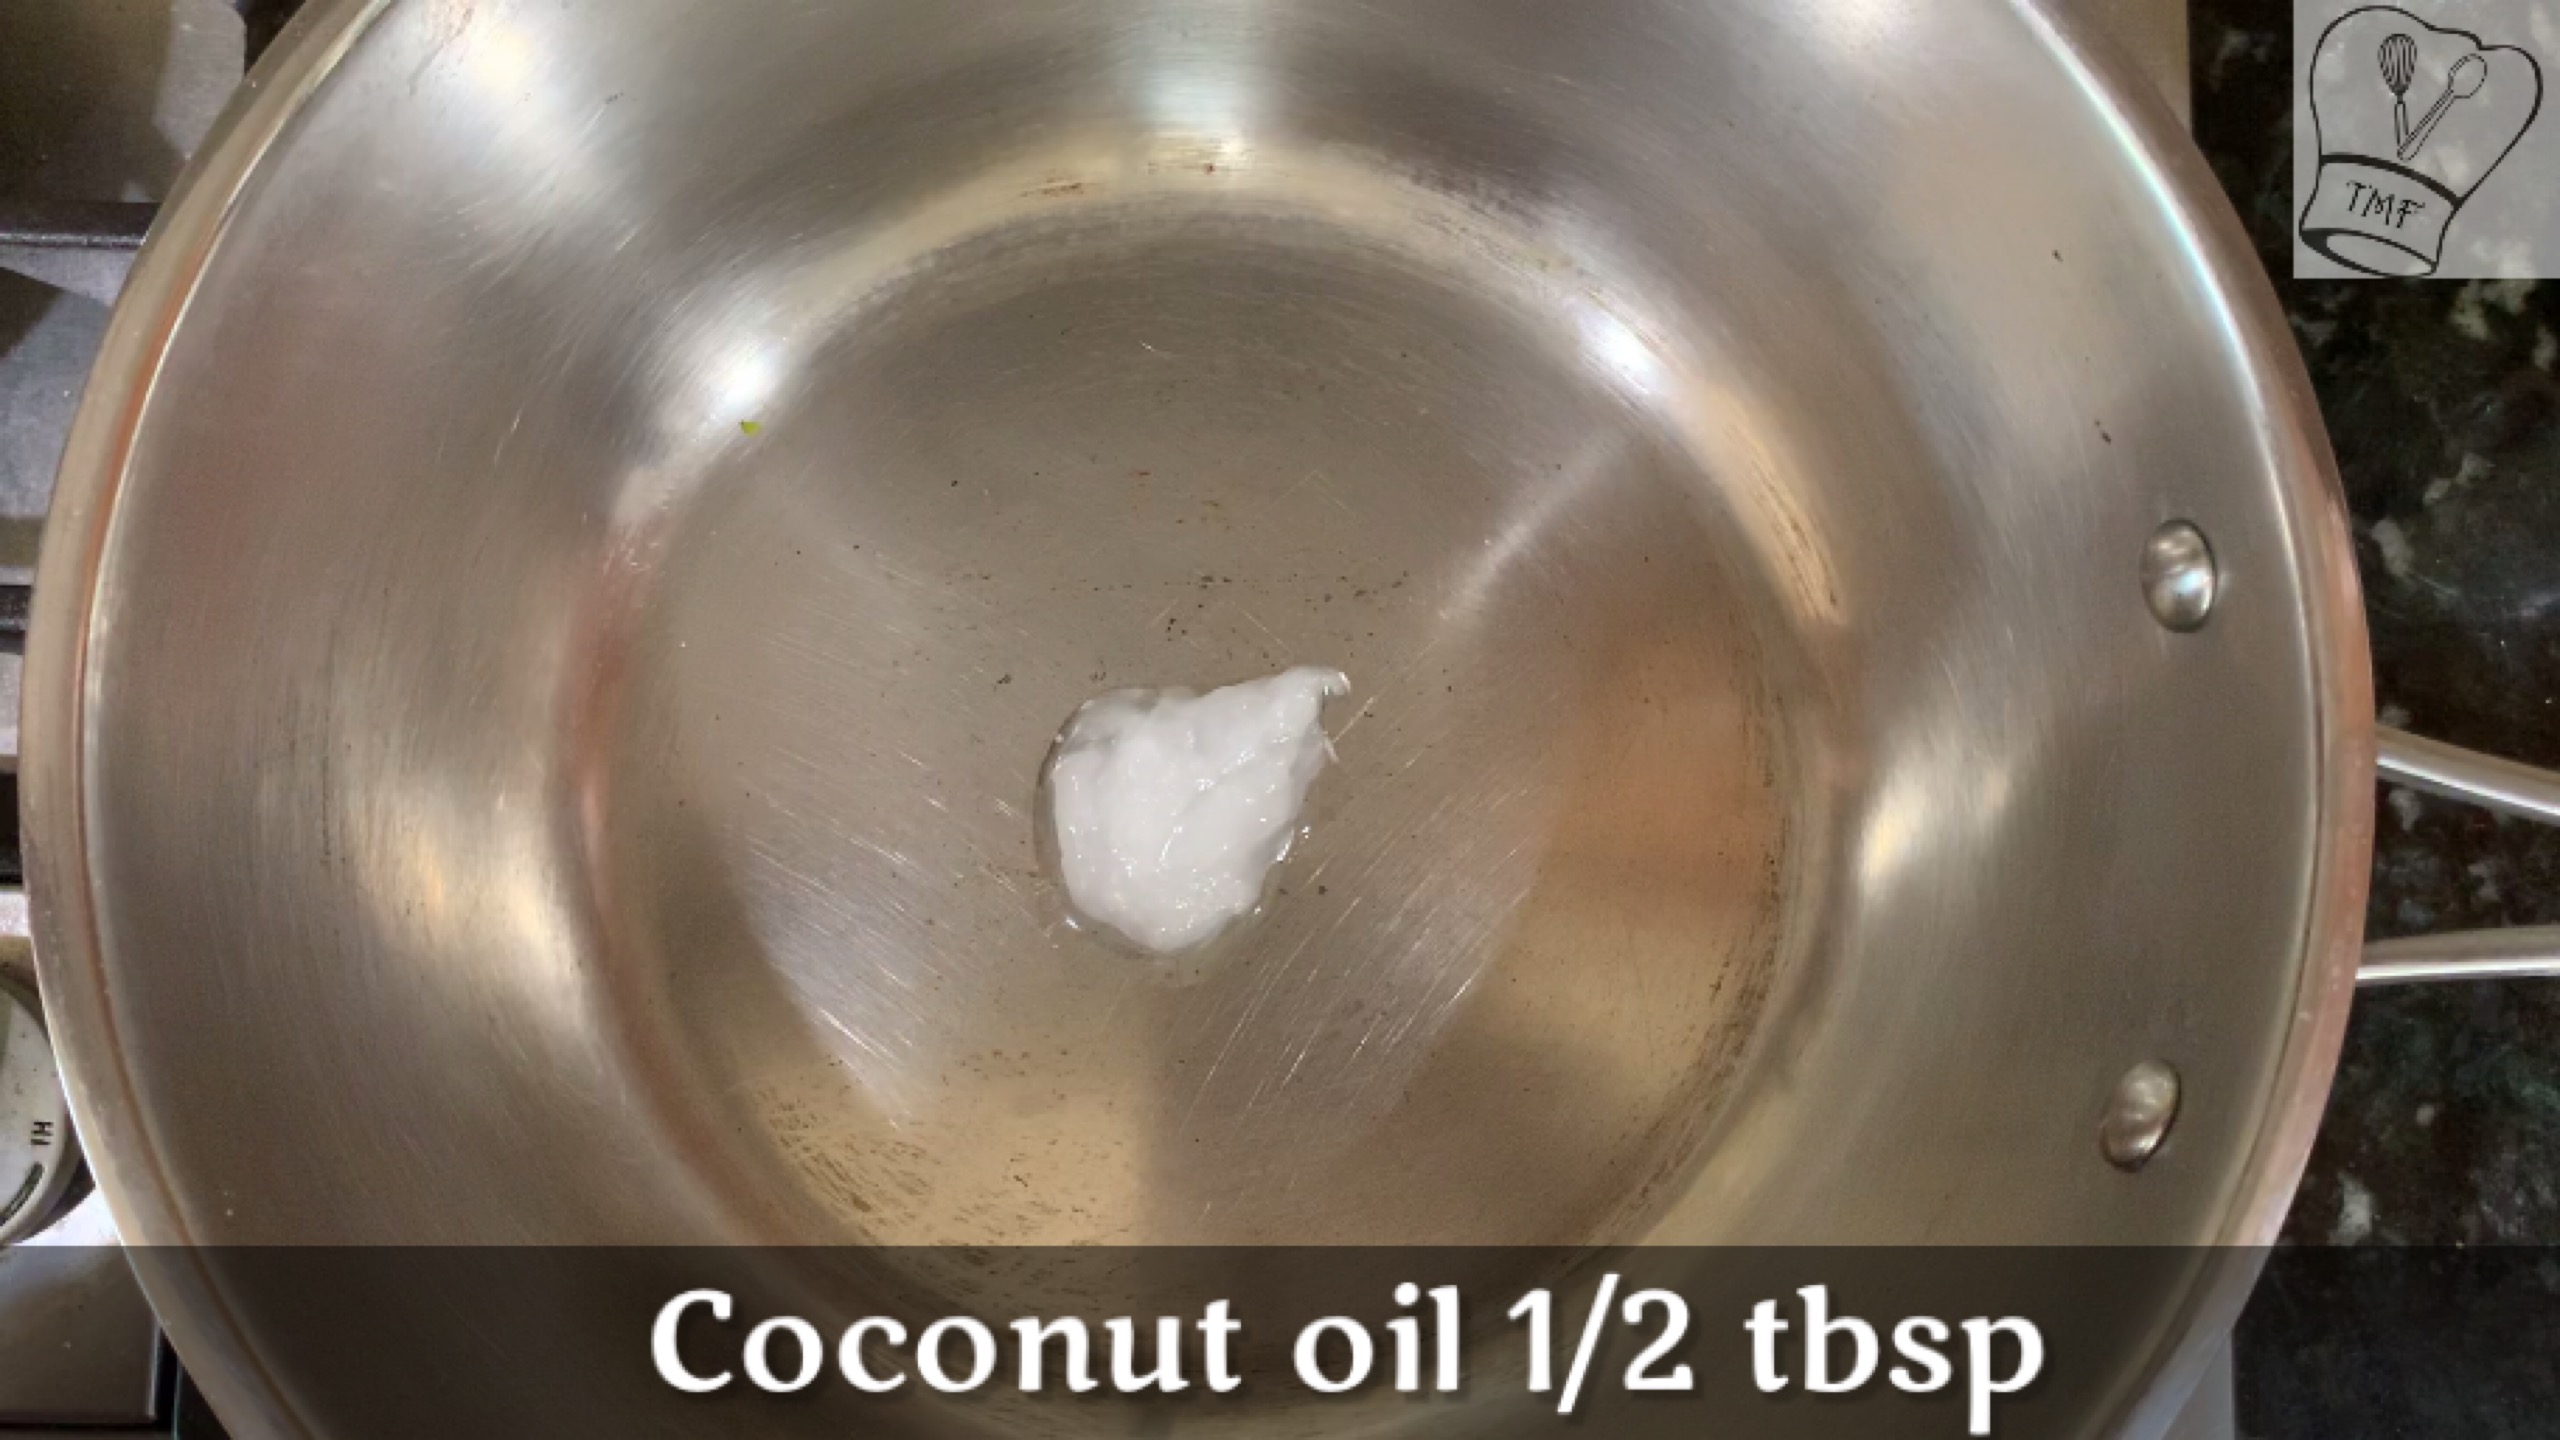
- Coconut Oil - ½ tbsp
- Mustard seeds – 1/2 tsp
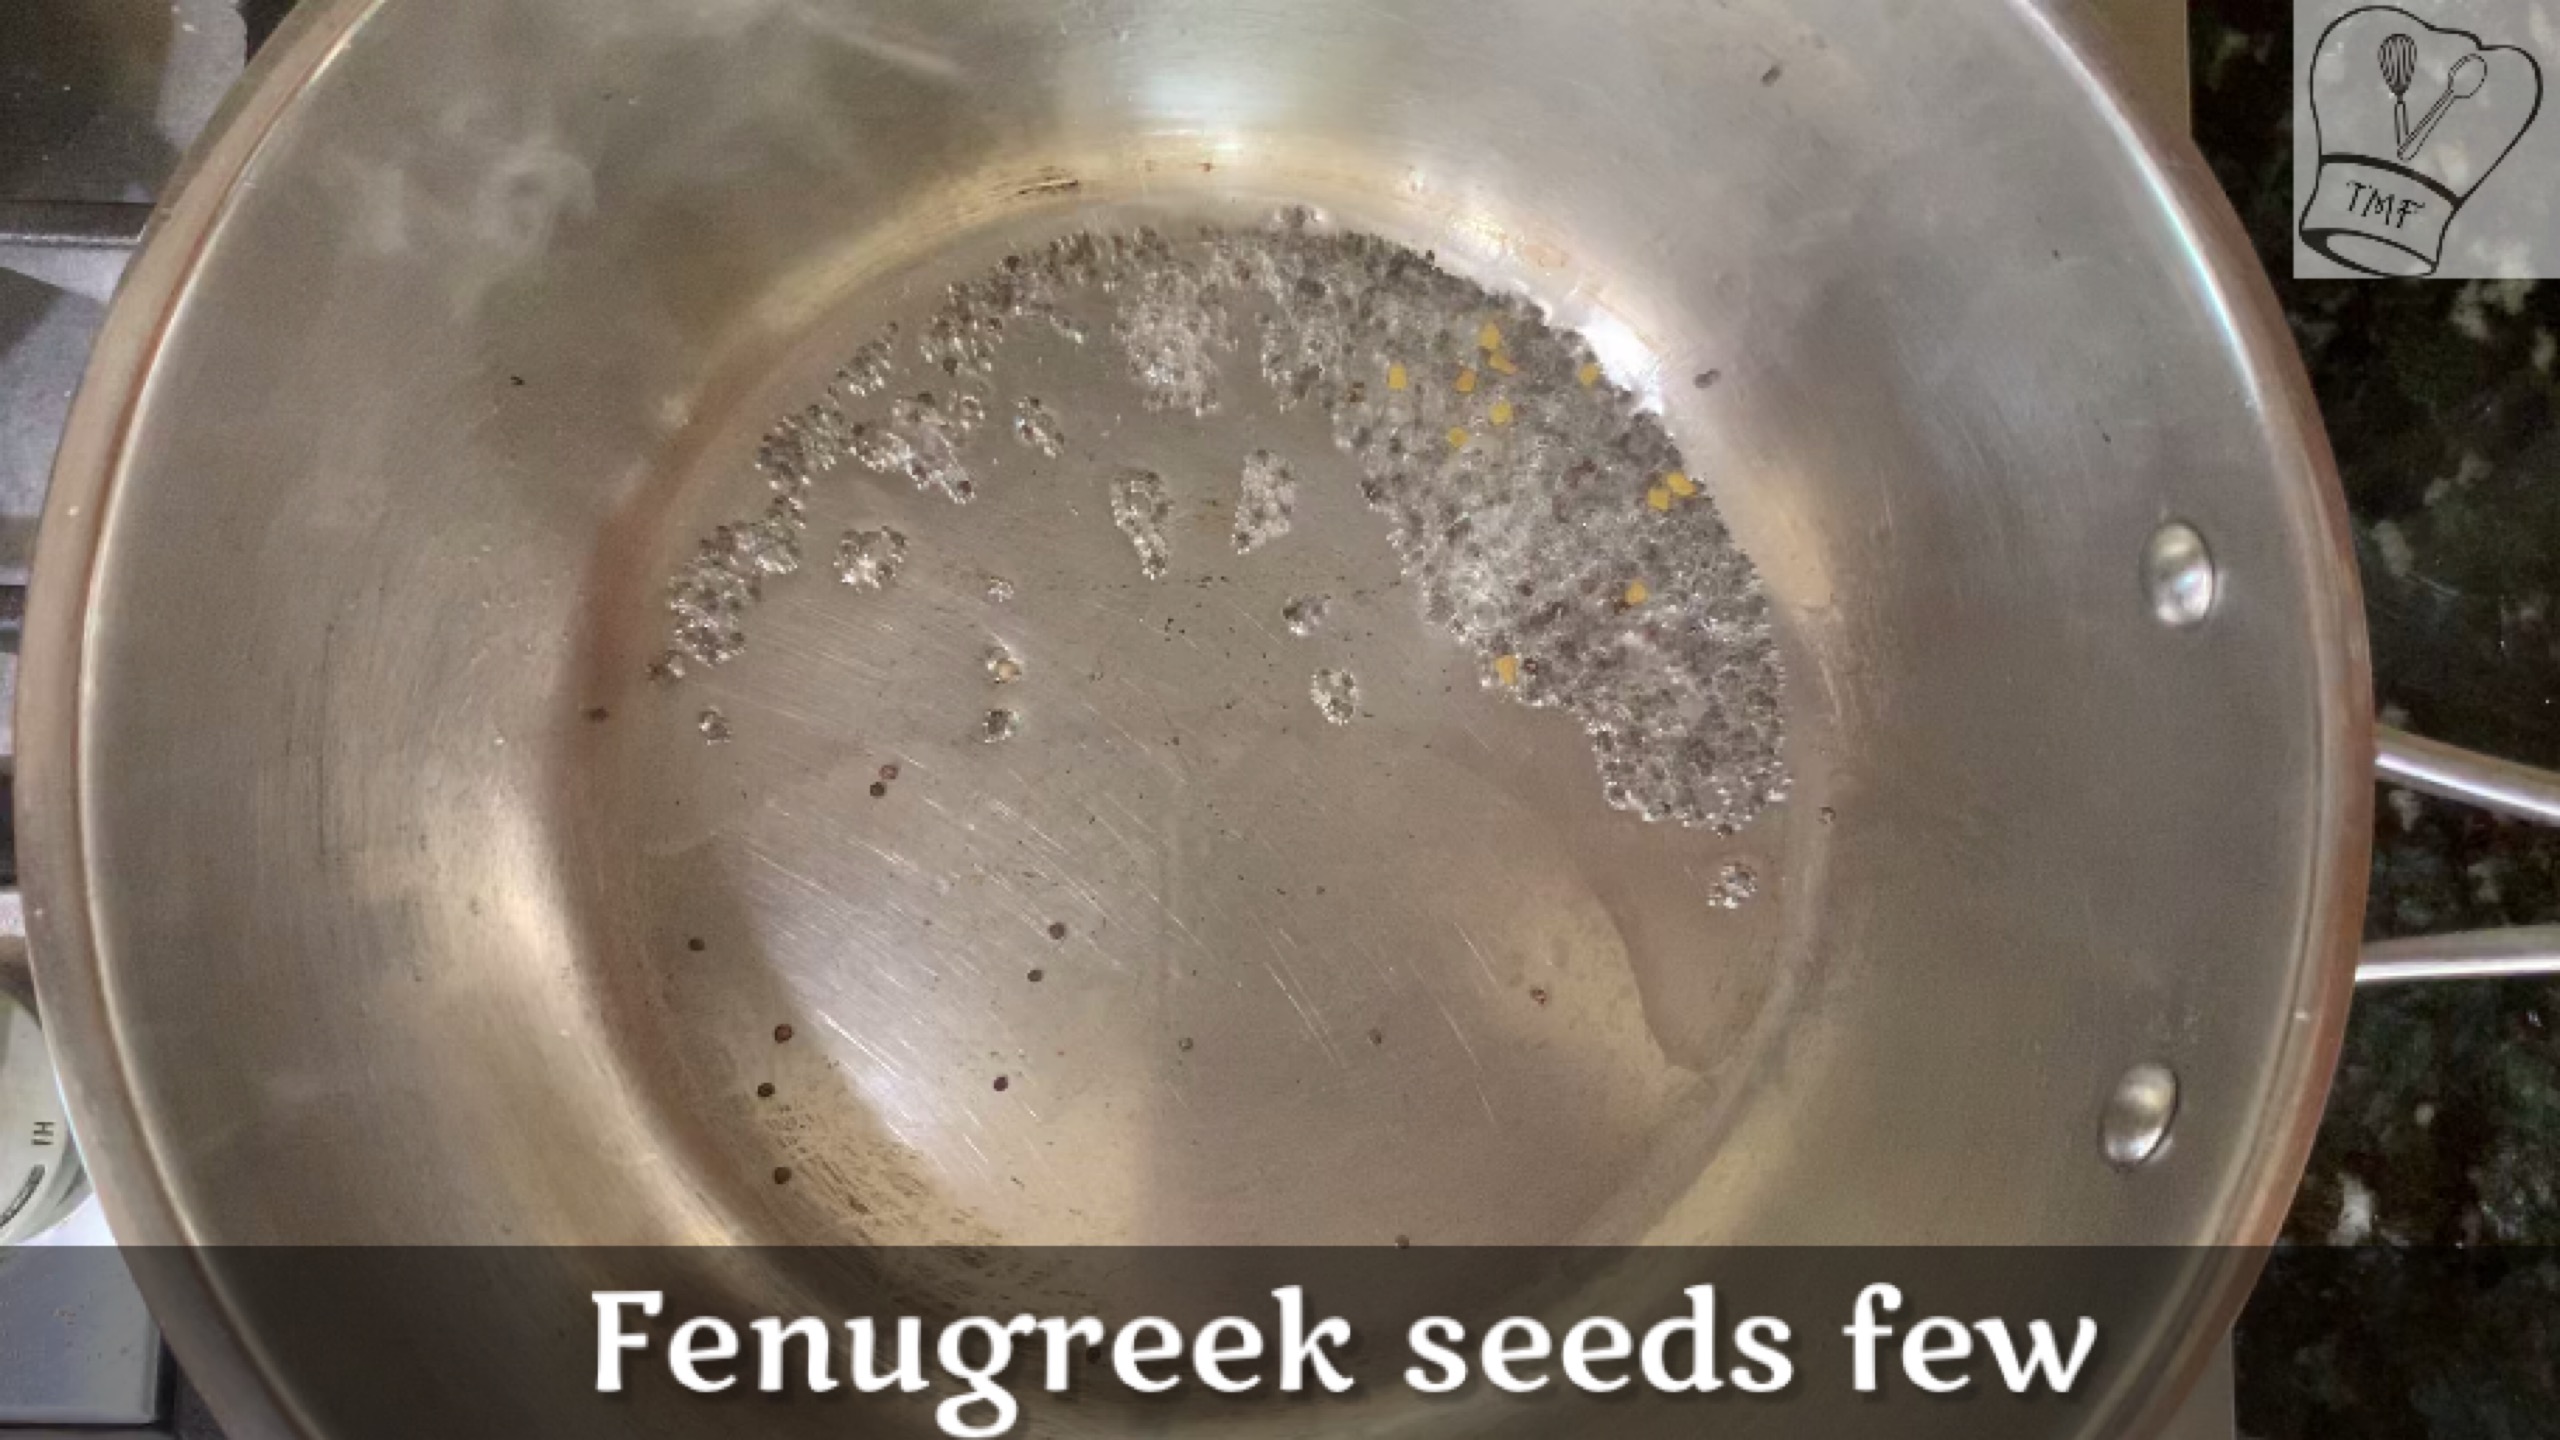
- Fenugreek seeds – Very few
- Urad dal - 1 tsp
Instructions
- Soak channa over night or in warm water for 3 - 4 hours
- Wash and Soak channa dal and toor Dal separately with enough water
- Pressure cook three dals separately with enough water for 3 whistles and let the pressure releases naturally
- Soak tamarind in warm water for 10-15 minutes and extract the juice
- In a pan dry roast red chilli, coriander seeds , fenugreek seeds, urad dal and channa dal till the dal becomes golden brown. Transfer them into a plate
- In the same pan dry roast coconut in medium flame till the color slightly changes for around 3-4 minutes. Let it cool
- Grind everything together into paste with little water
- In a separate pan on medium heat, add oil and when the oil is hot add the items under “to temper” and let it crackle
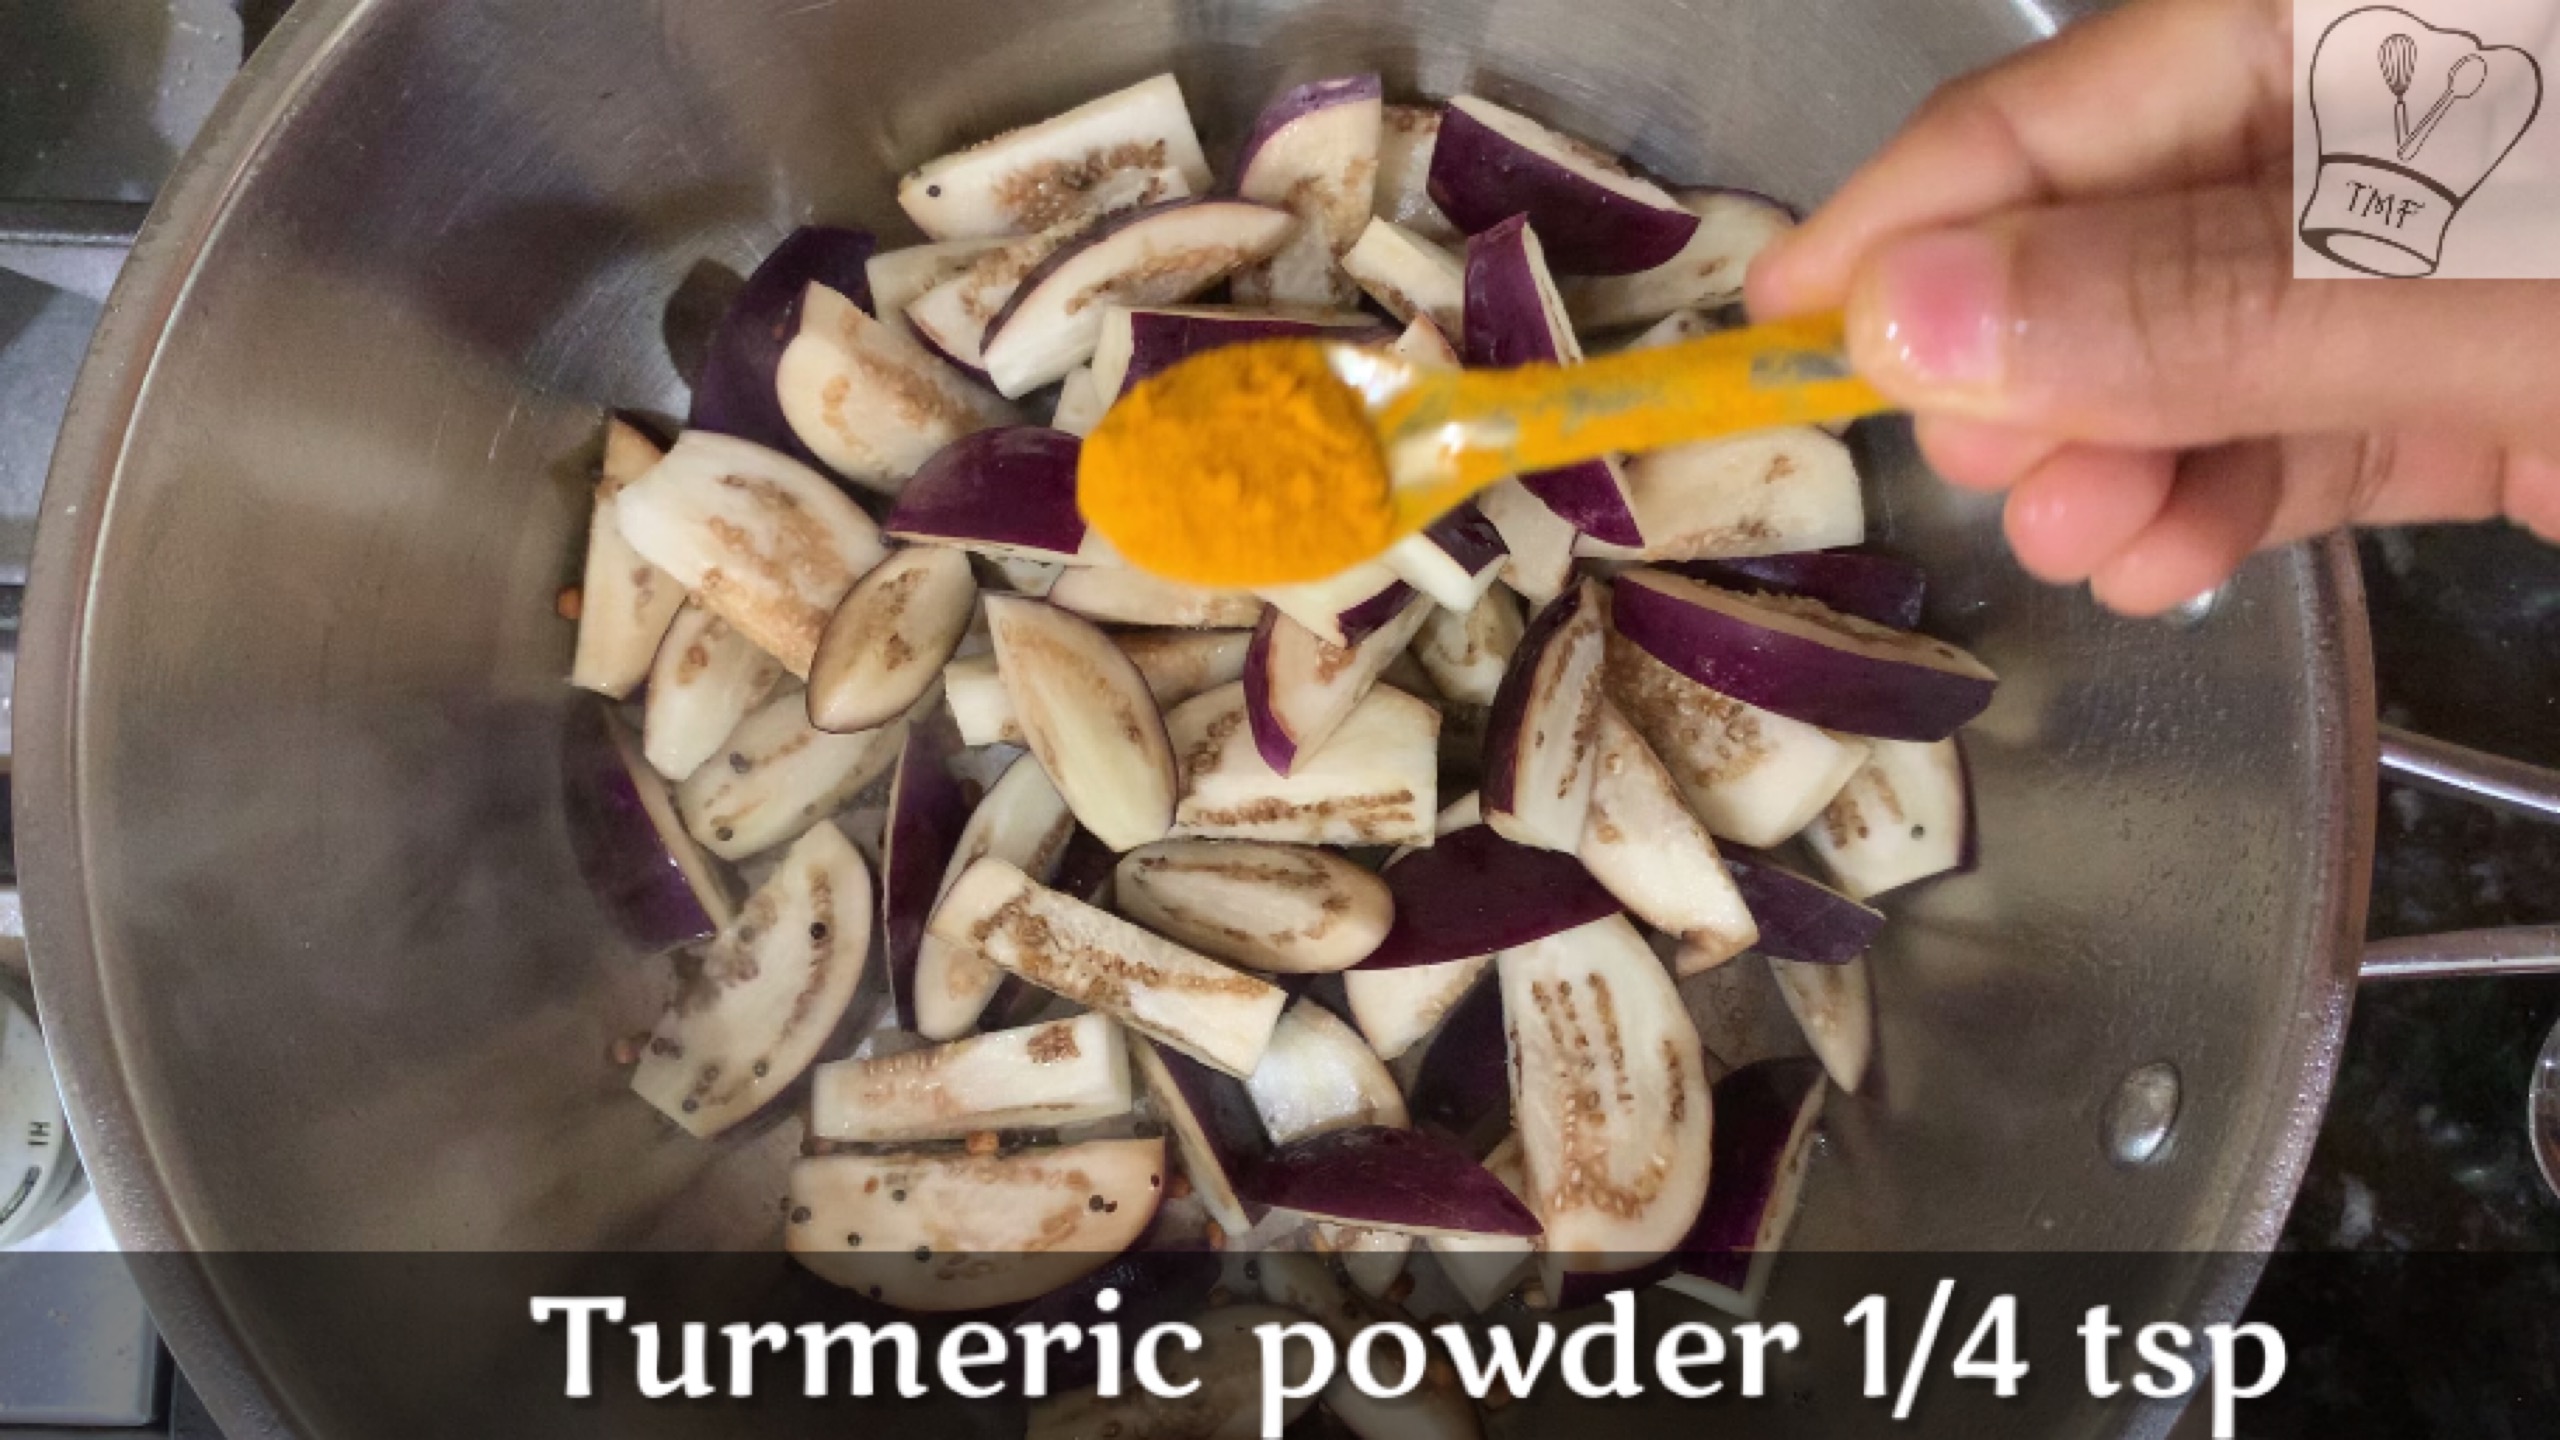
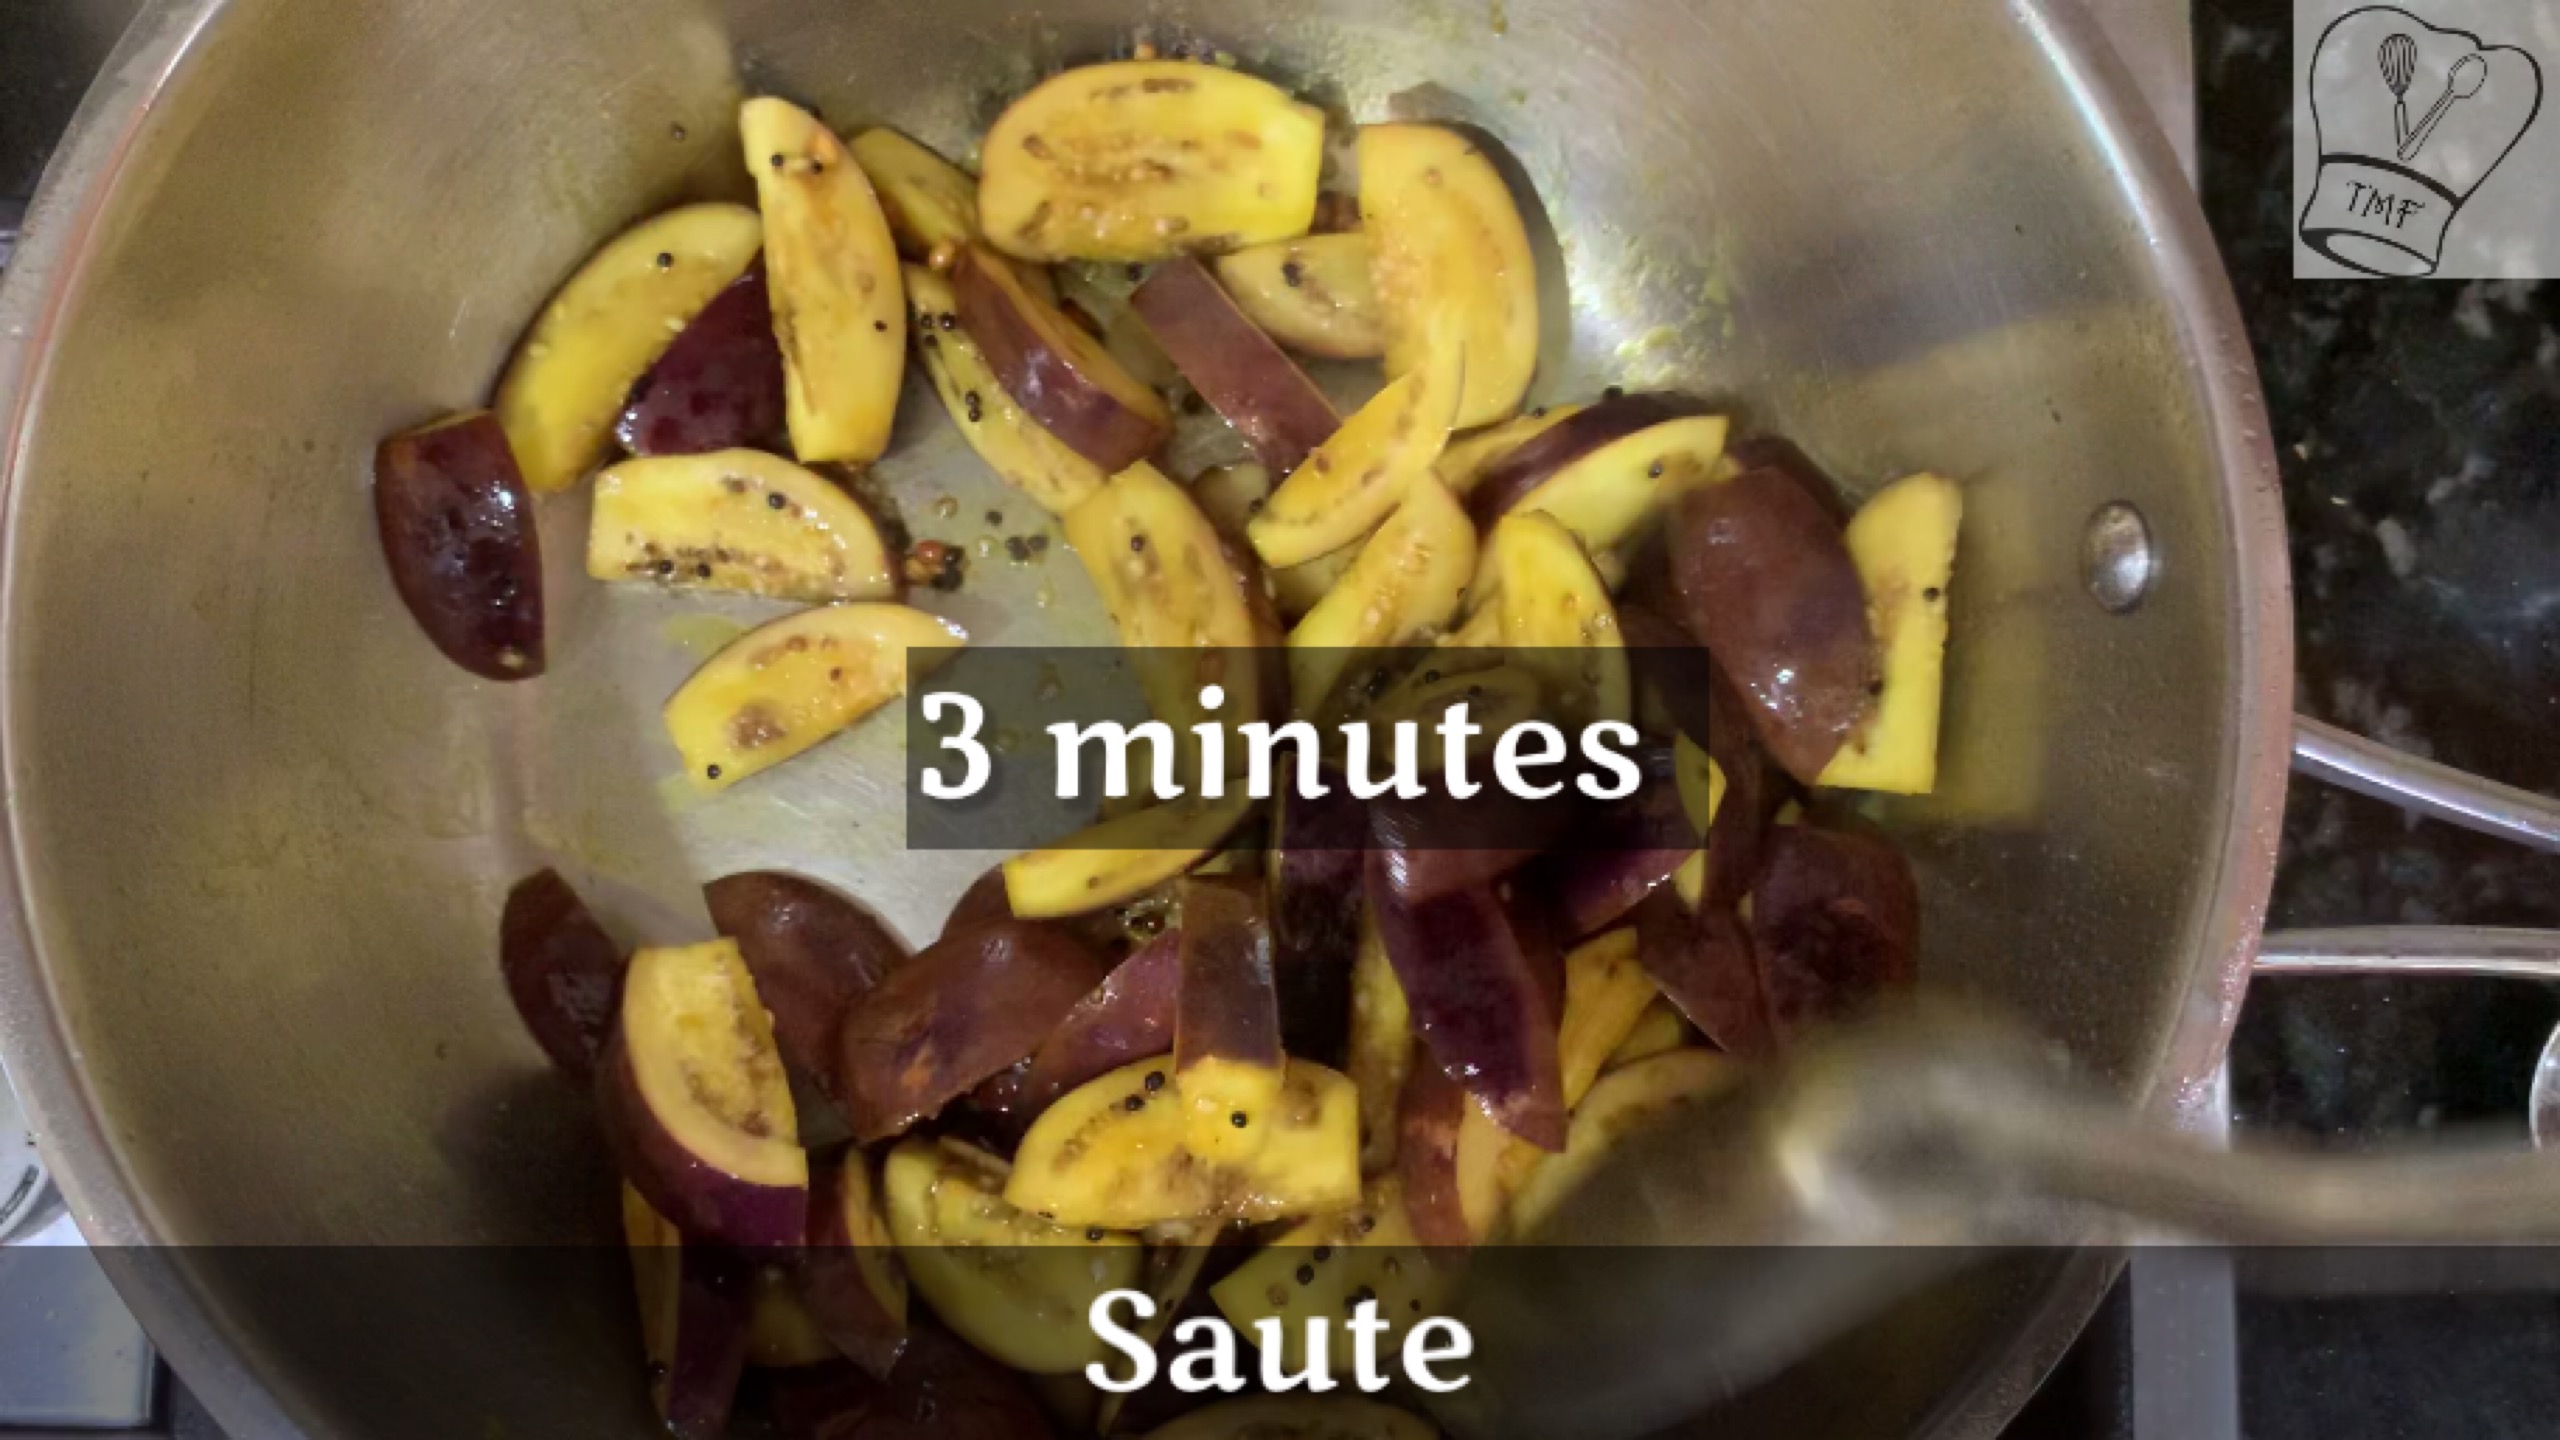
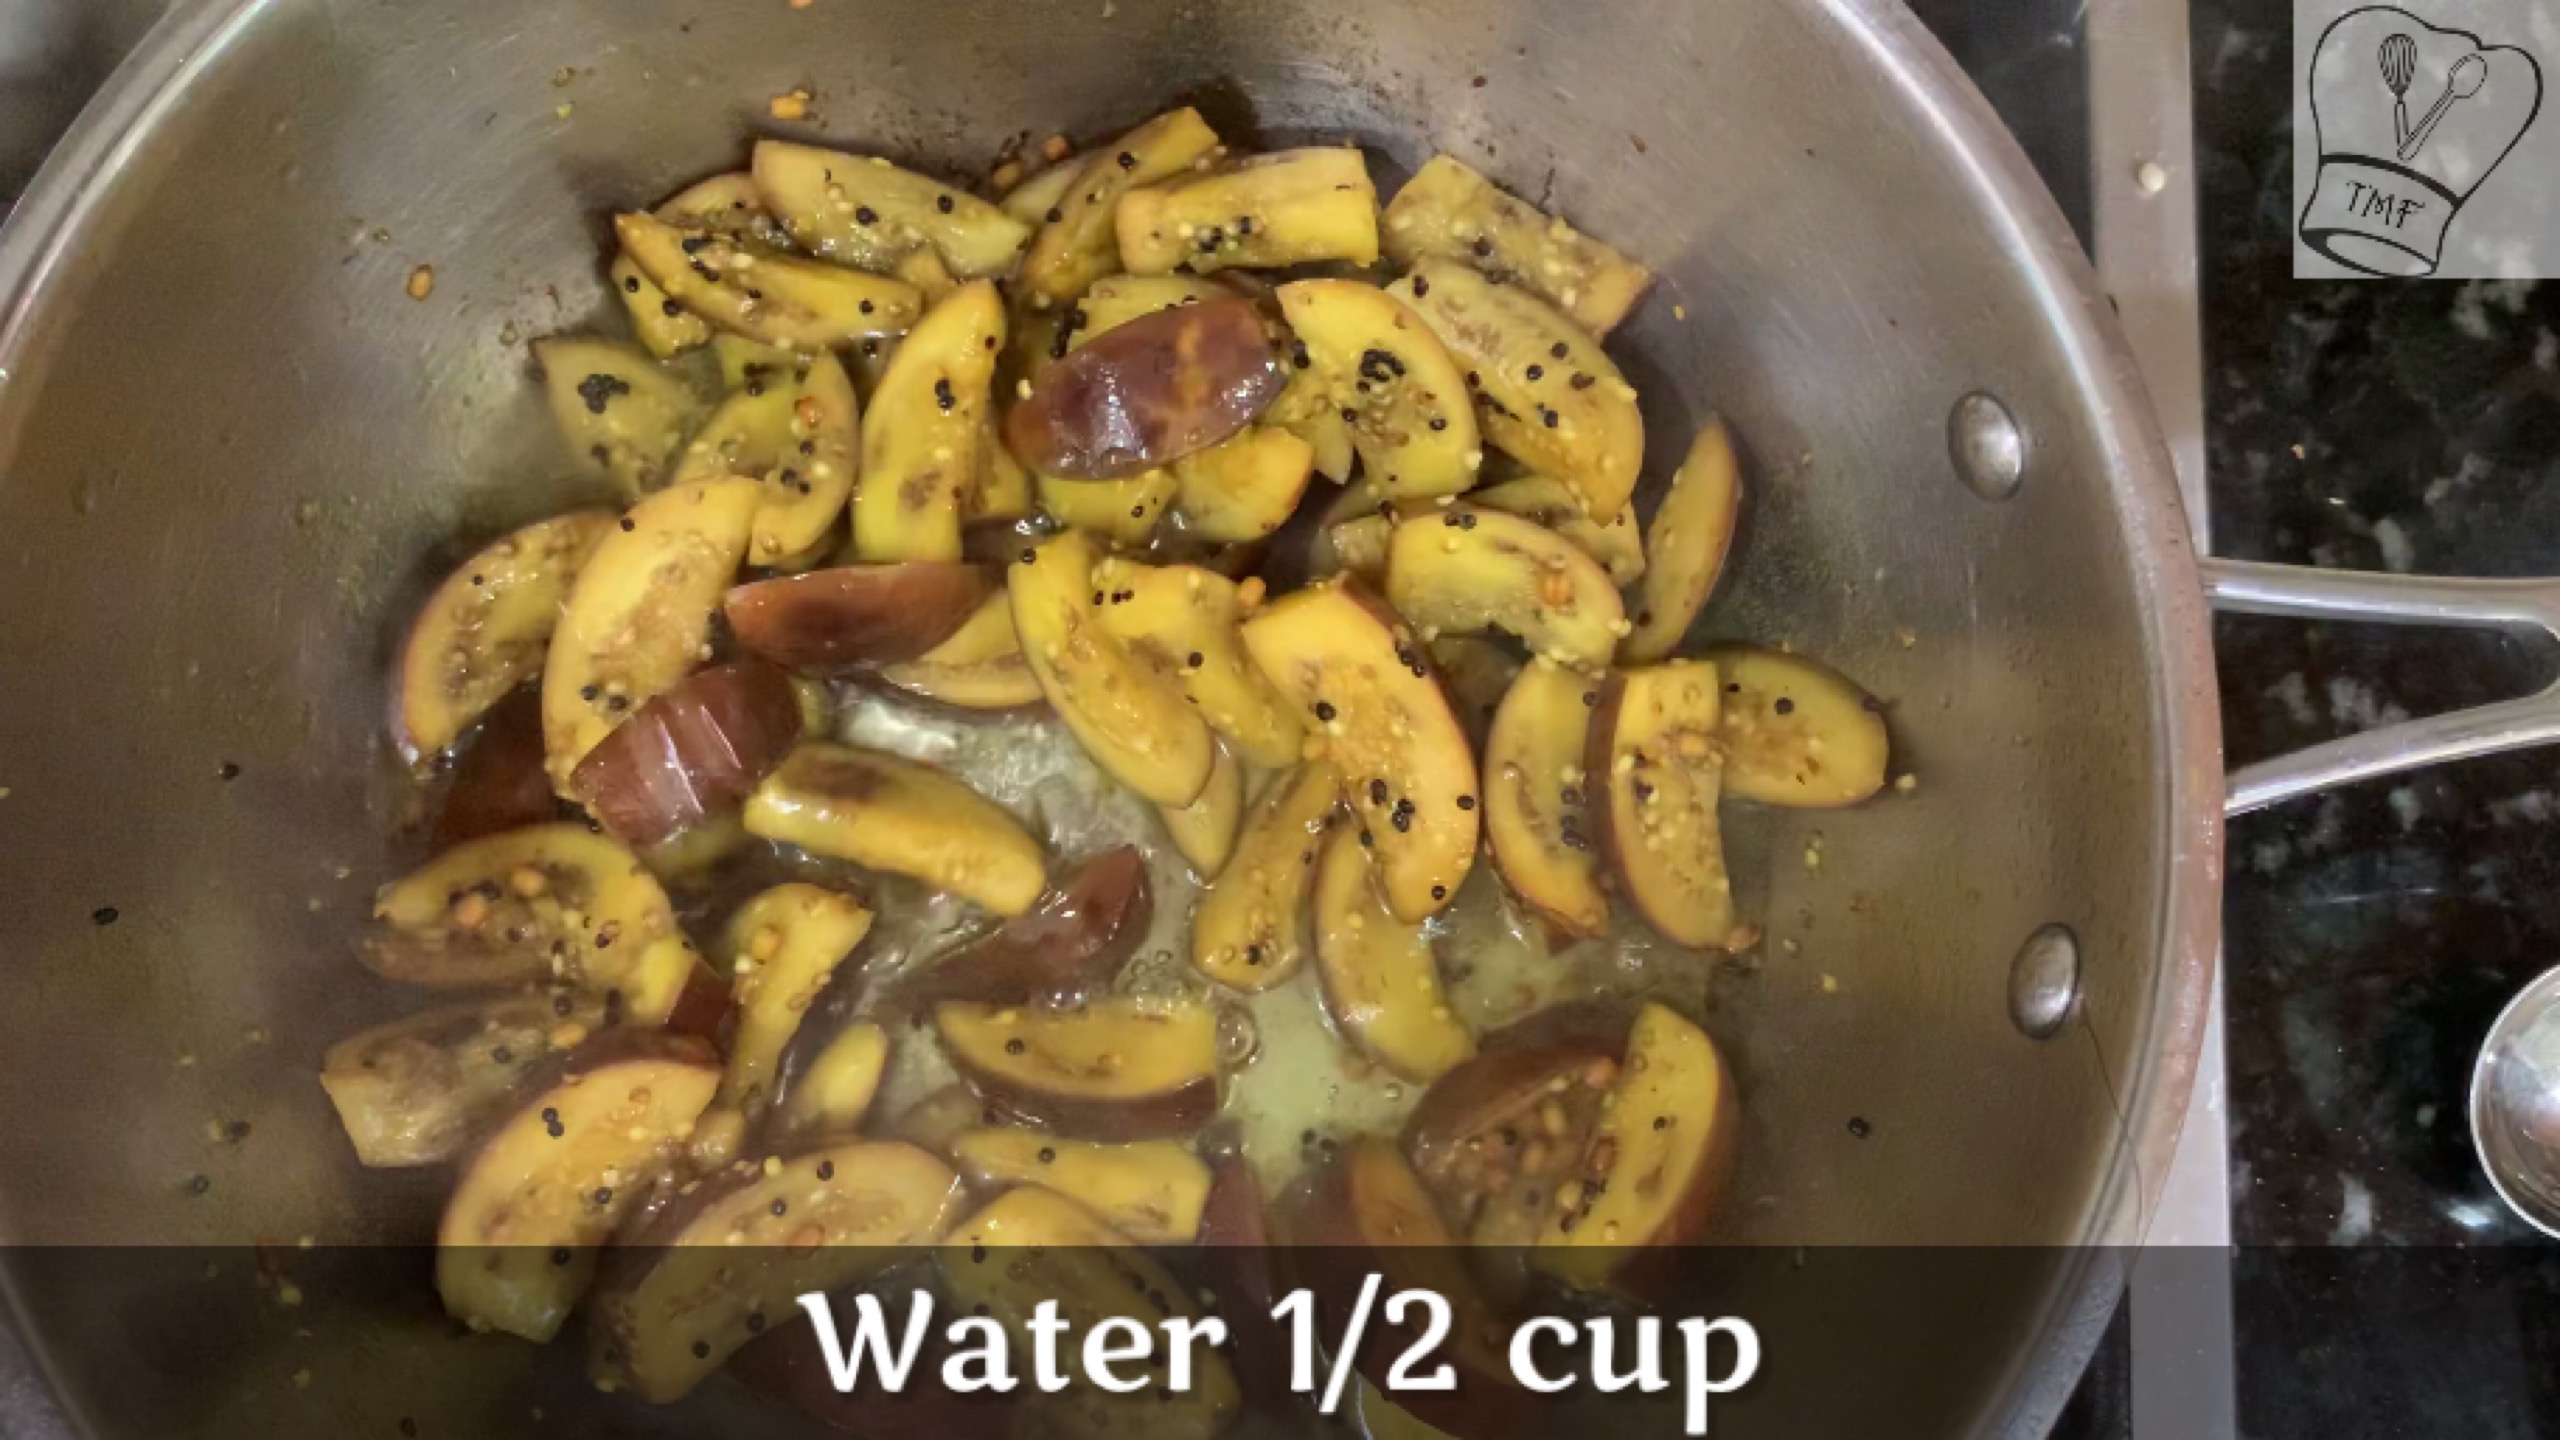
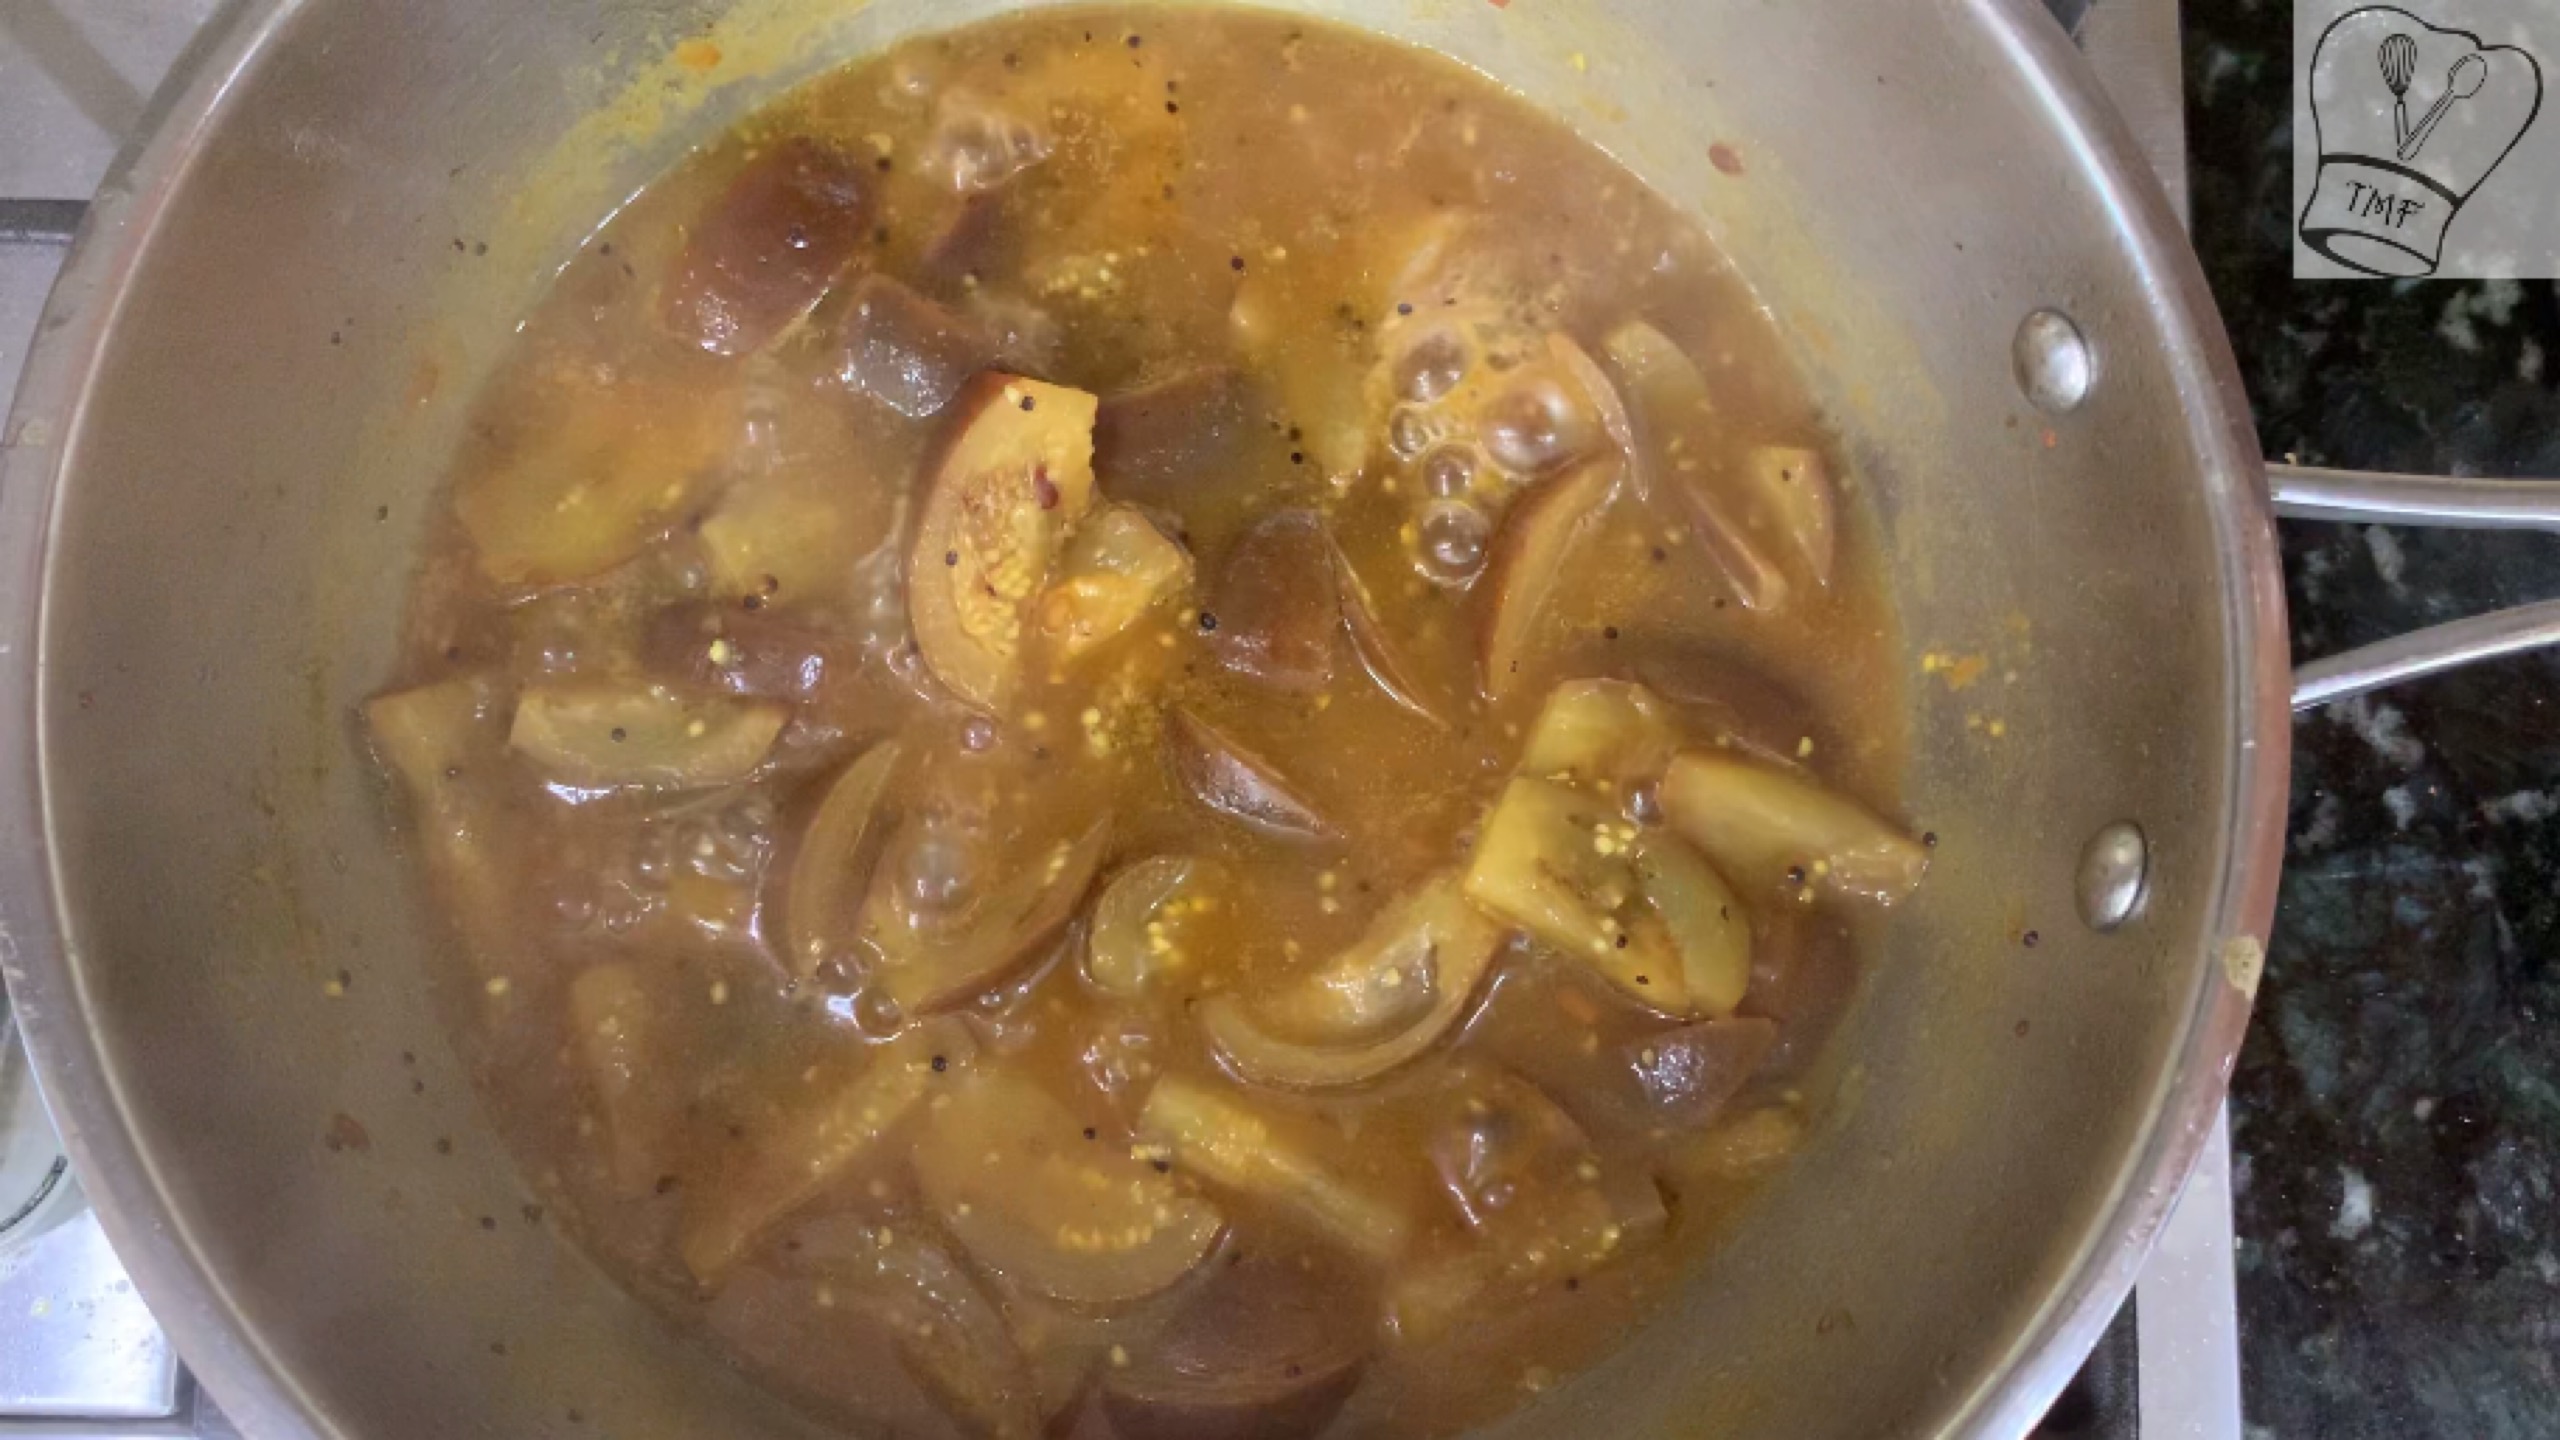
- Add the brinjals and turmeric powder; sauté for 3-4 minutes
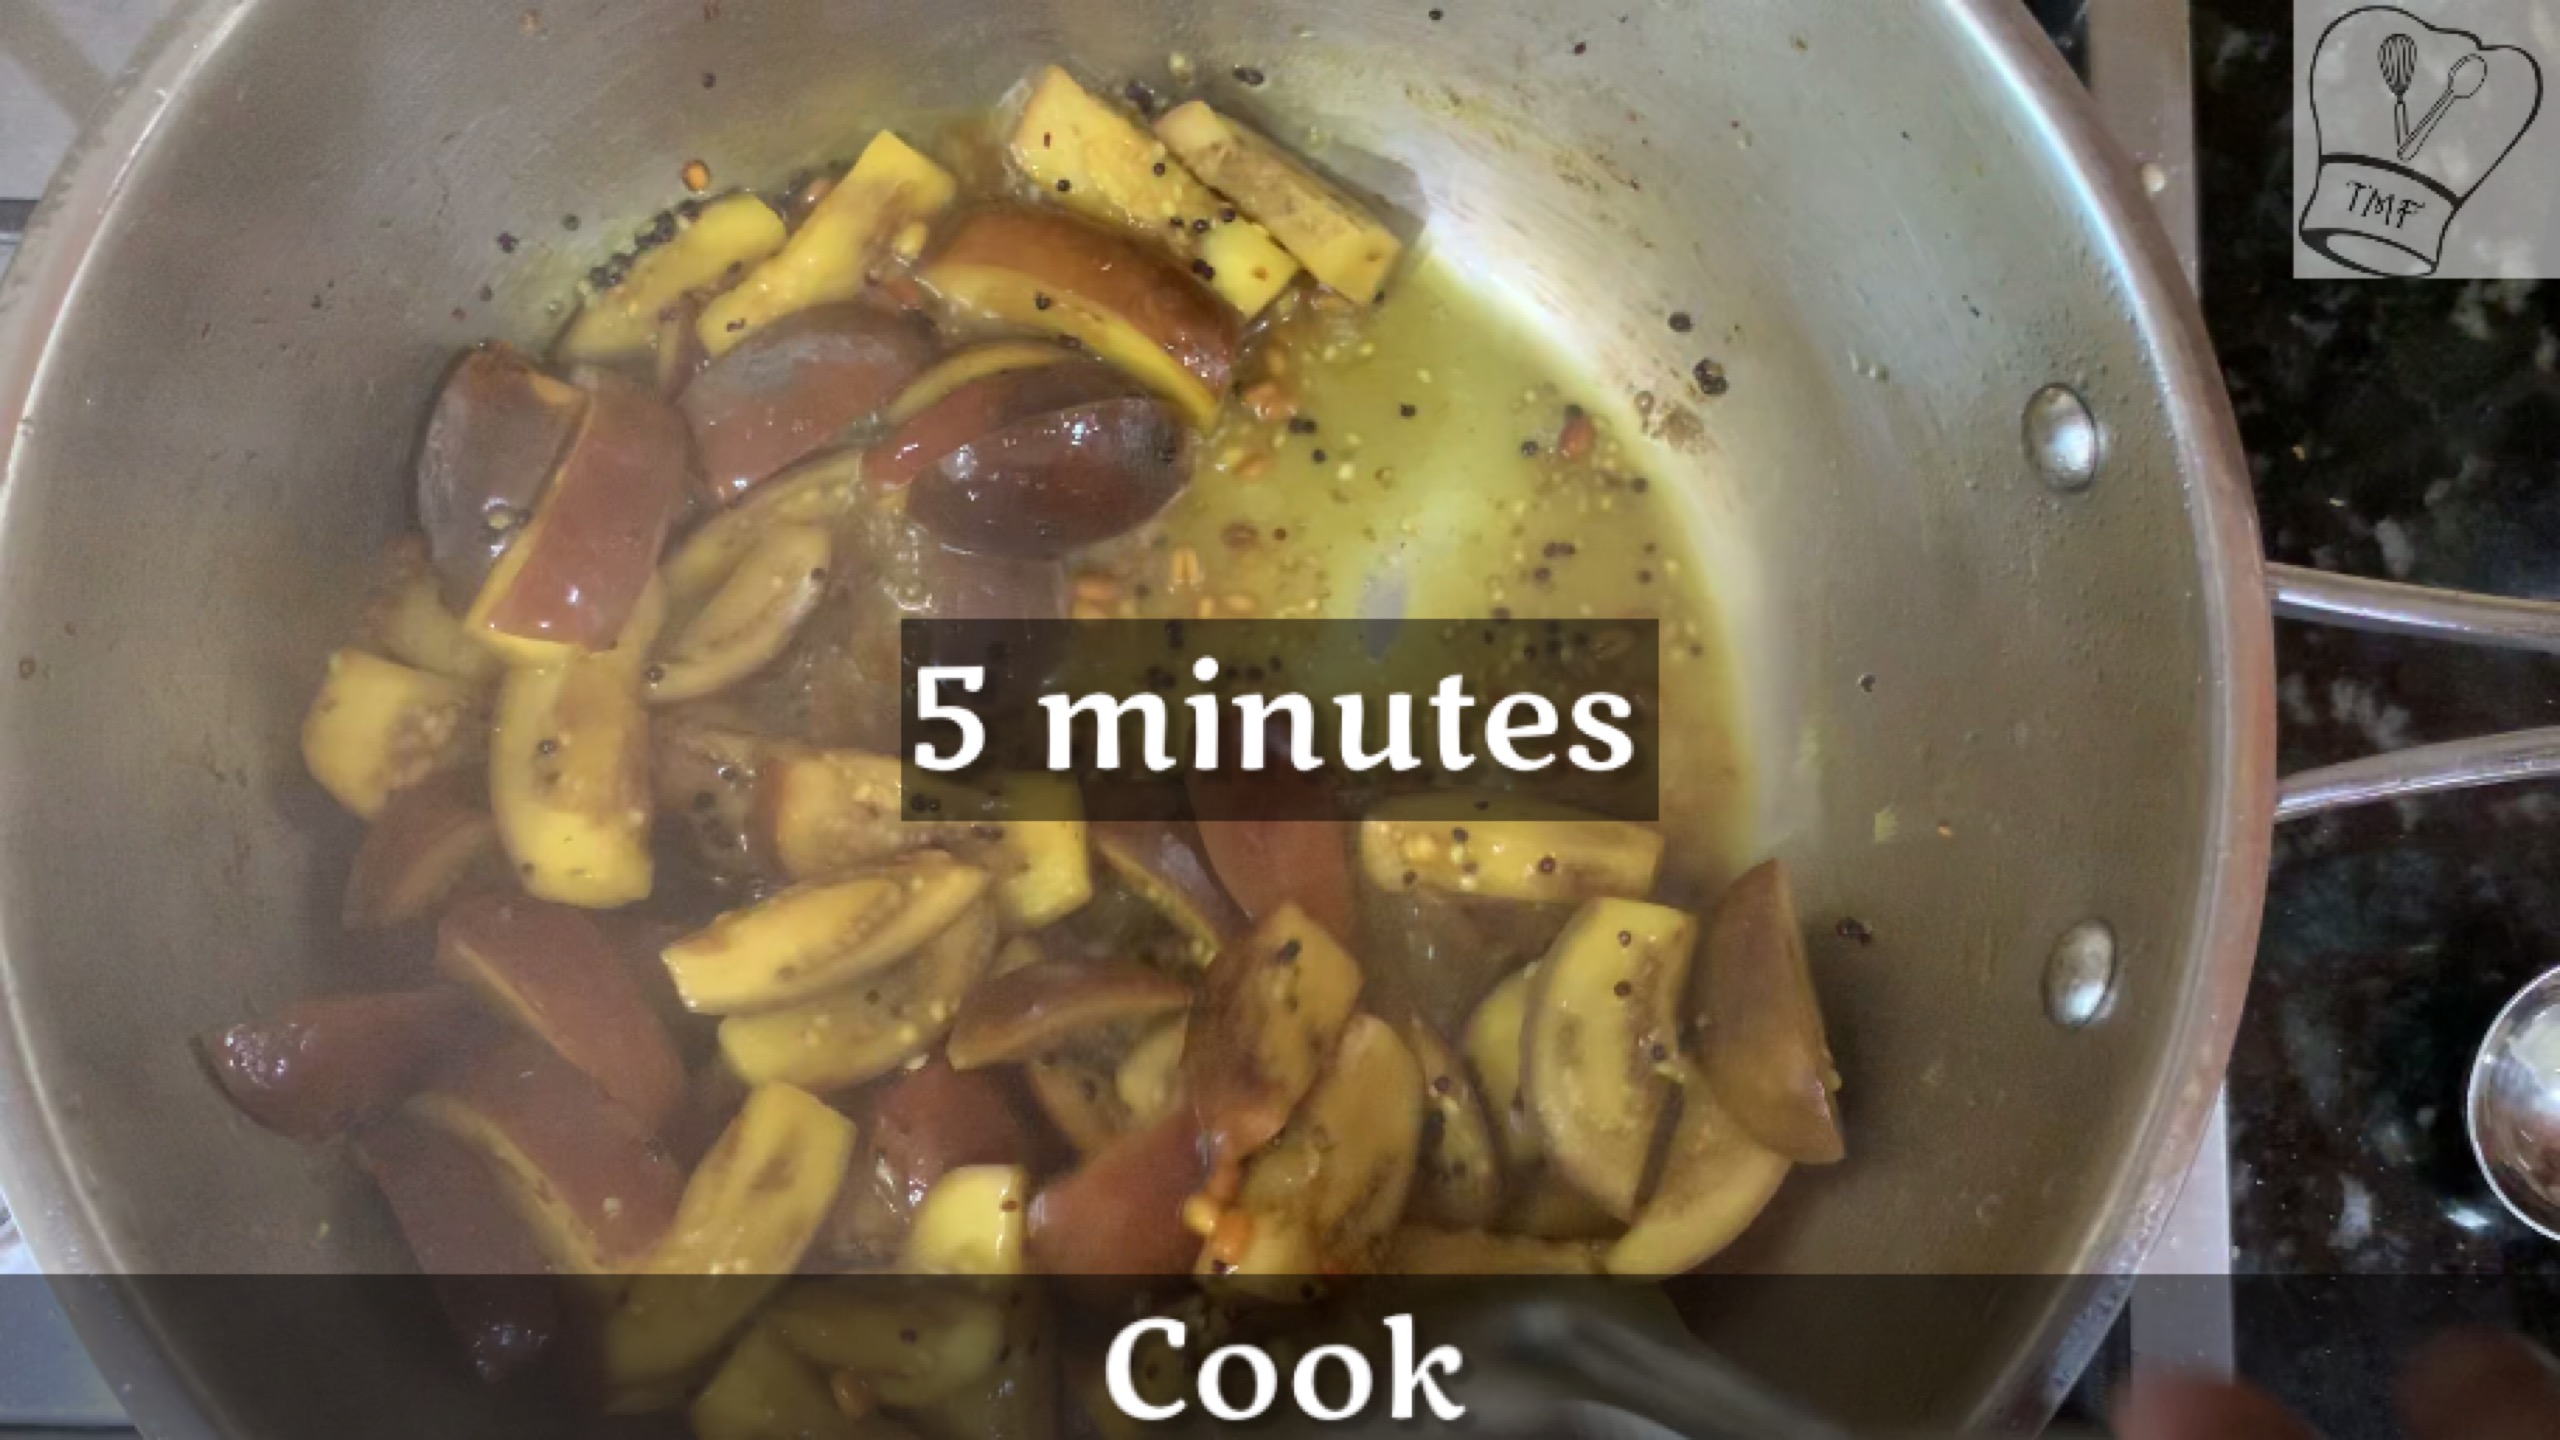
- After brinjal is sautéd add 1/2 cup of water and cover the pan. Cook for 5 minutes
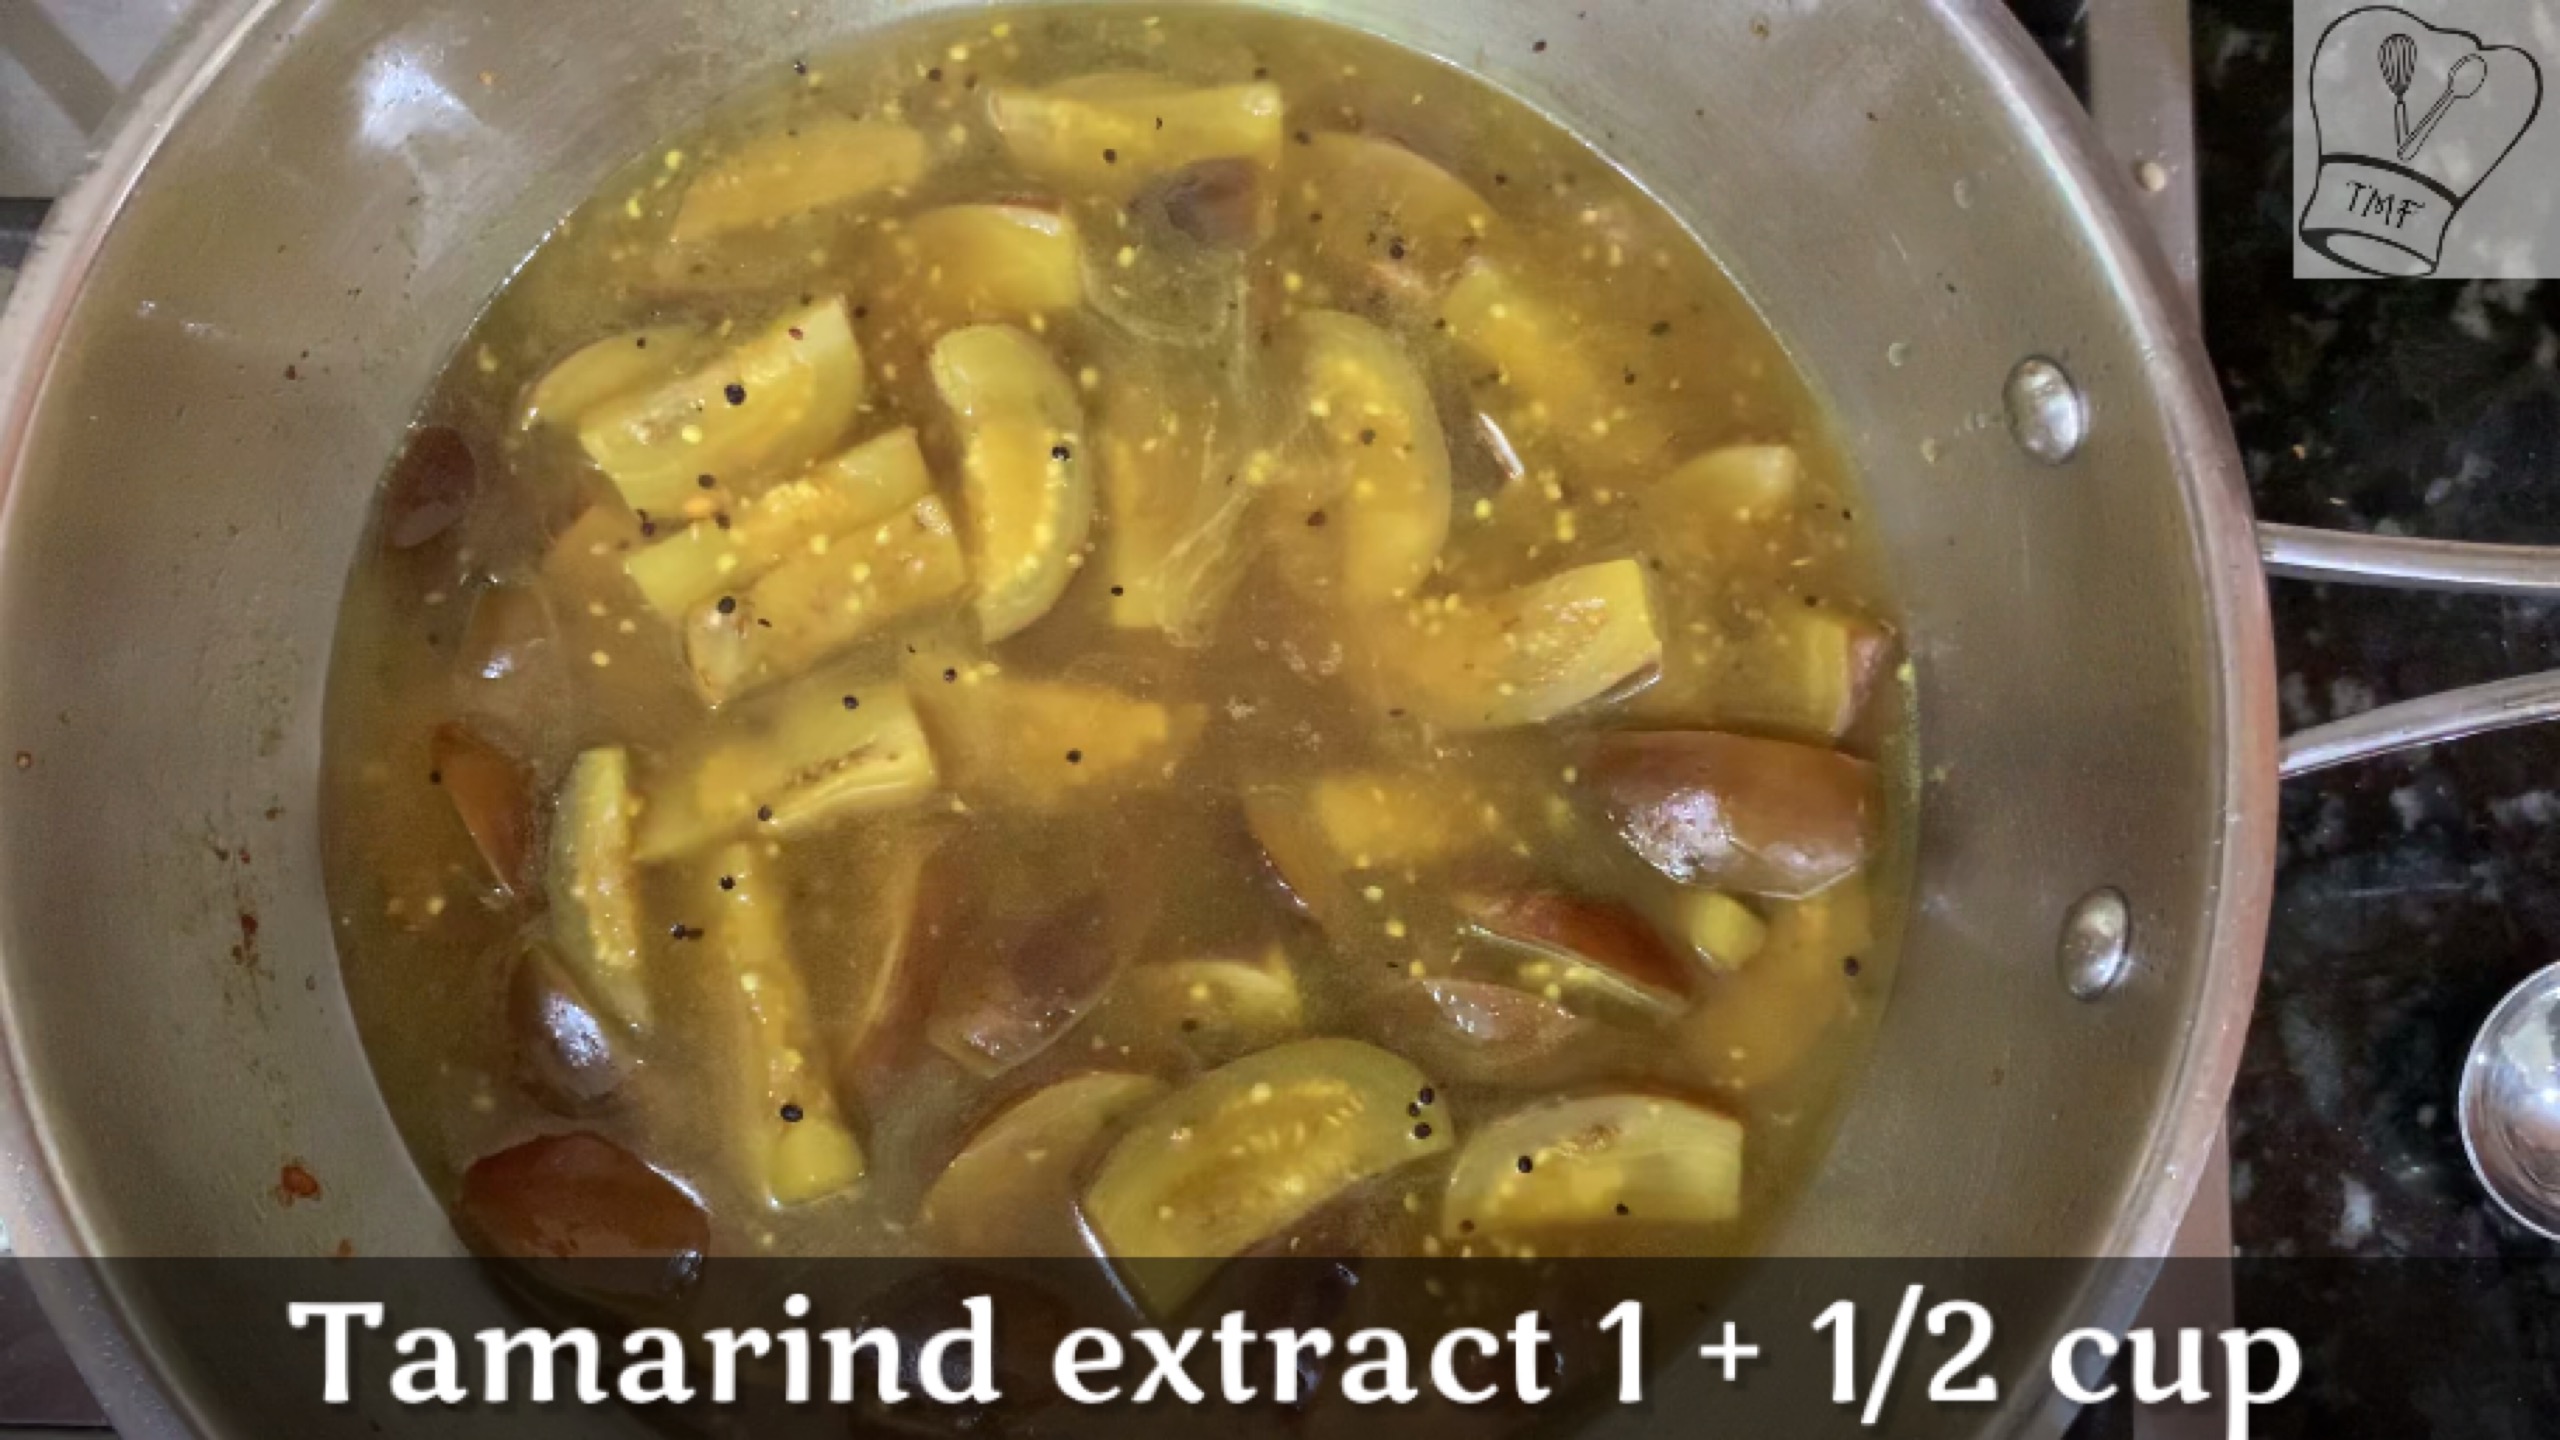
- Pour tamarind extract and mix well. Add salt and Sambar powder; mix well and cook for 10 minutes
- Add ground spice paste and mix well
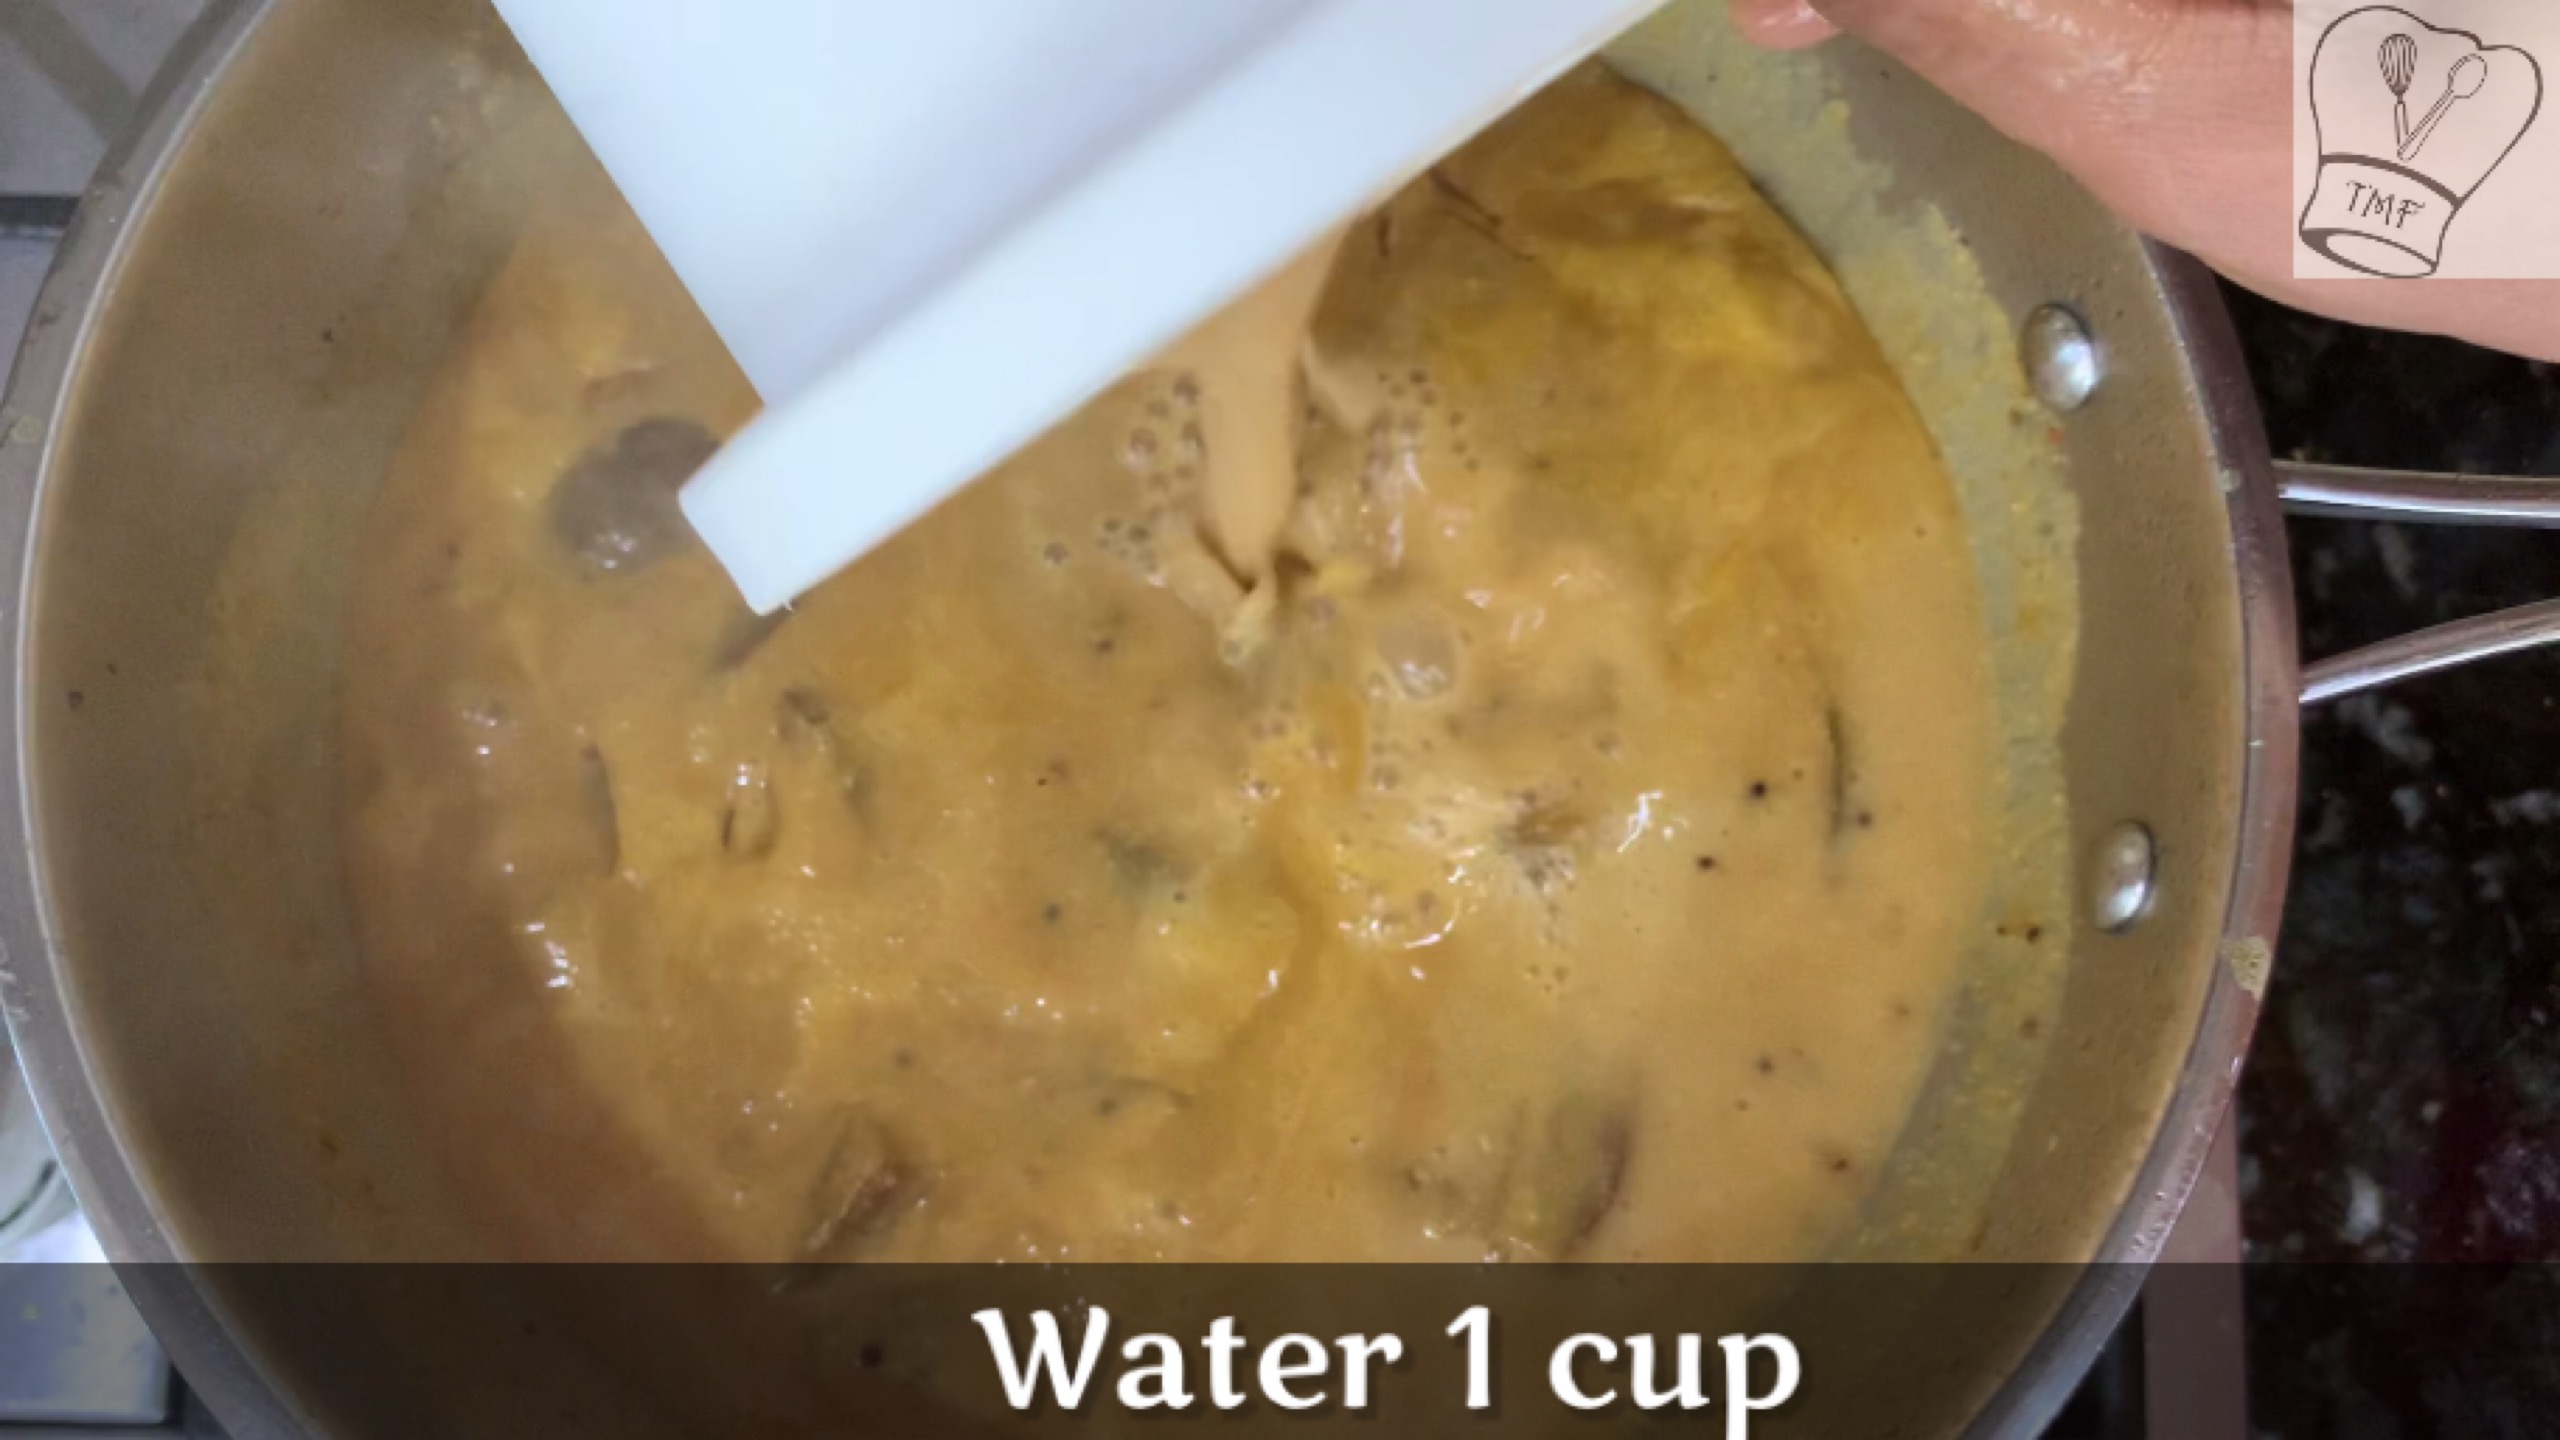
- Pour 1 cup of water to the mixie jar and add it to the Kuzhambu, let it cook for 5 minutes
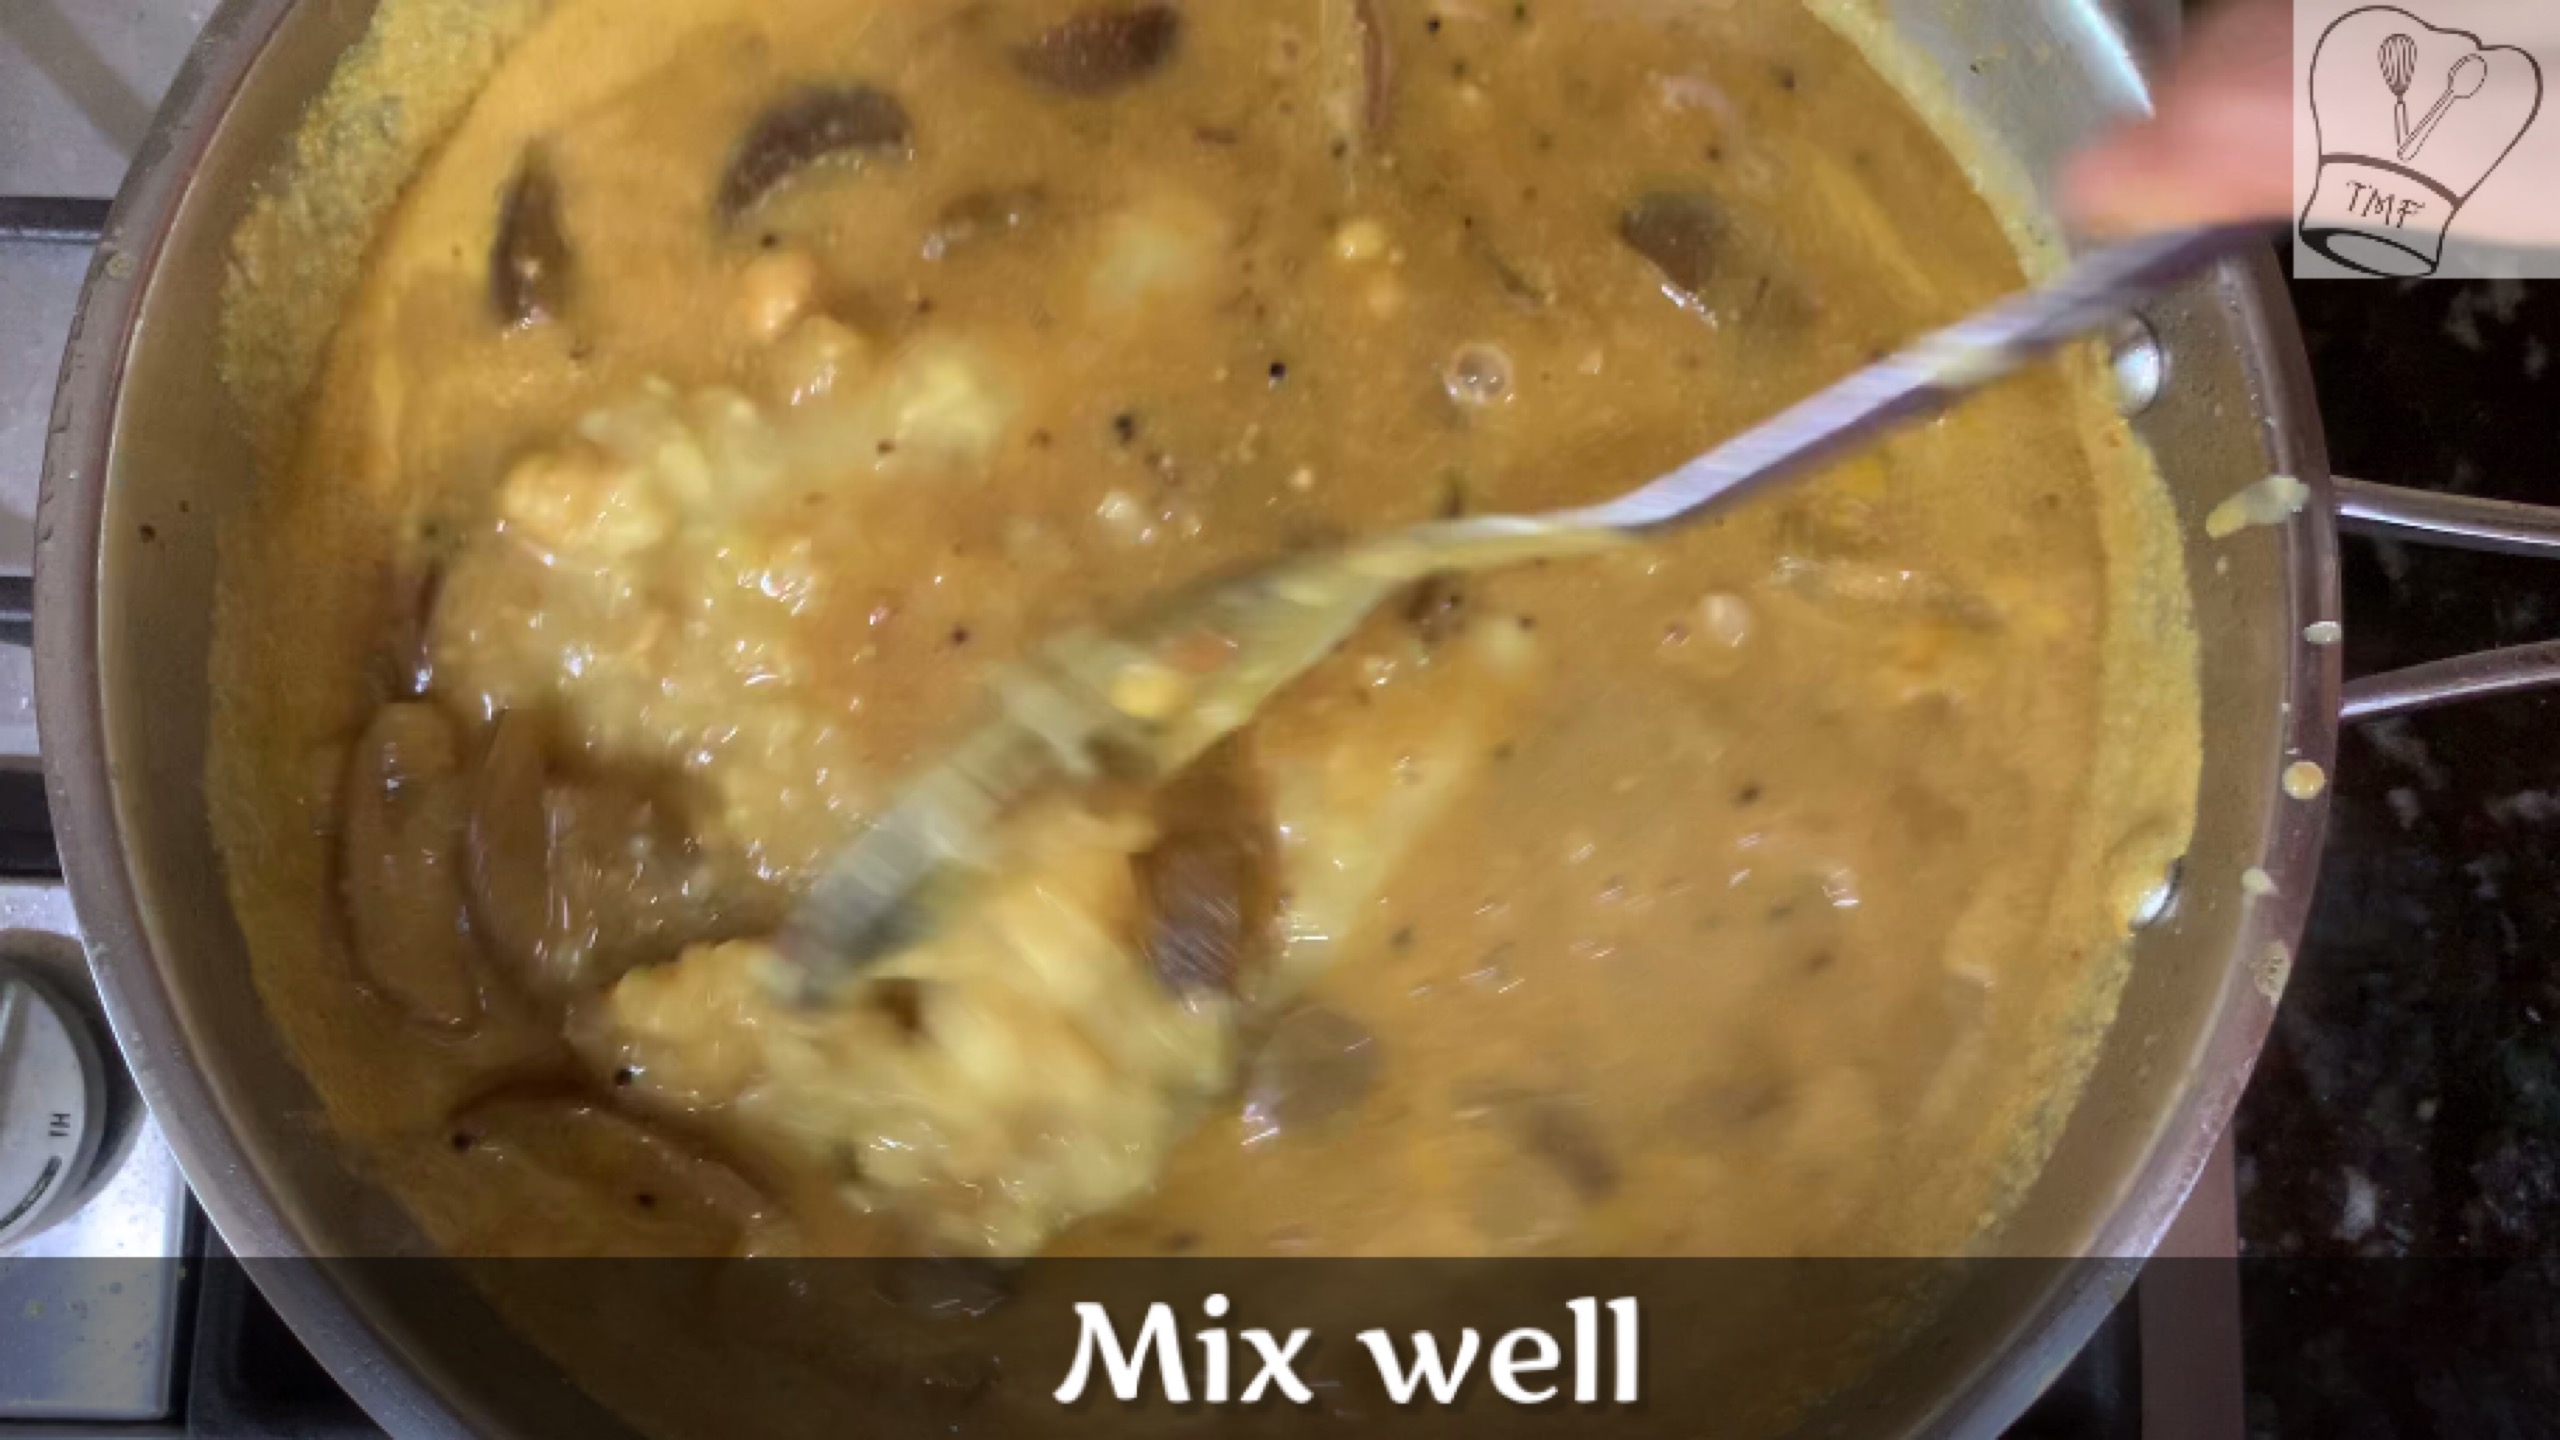
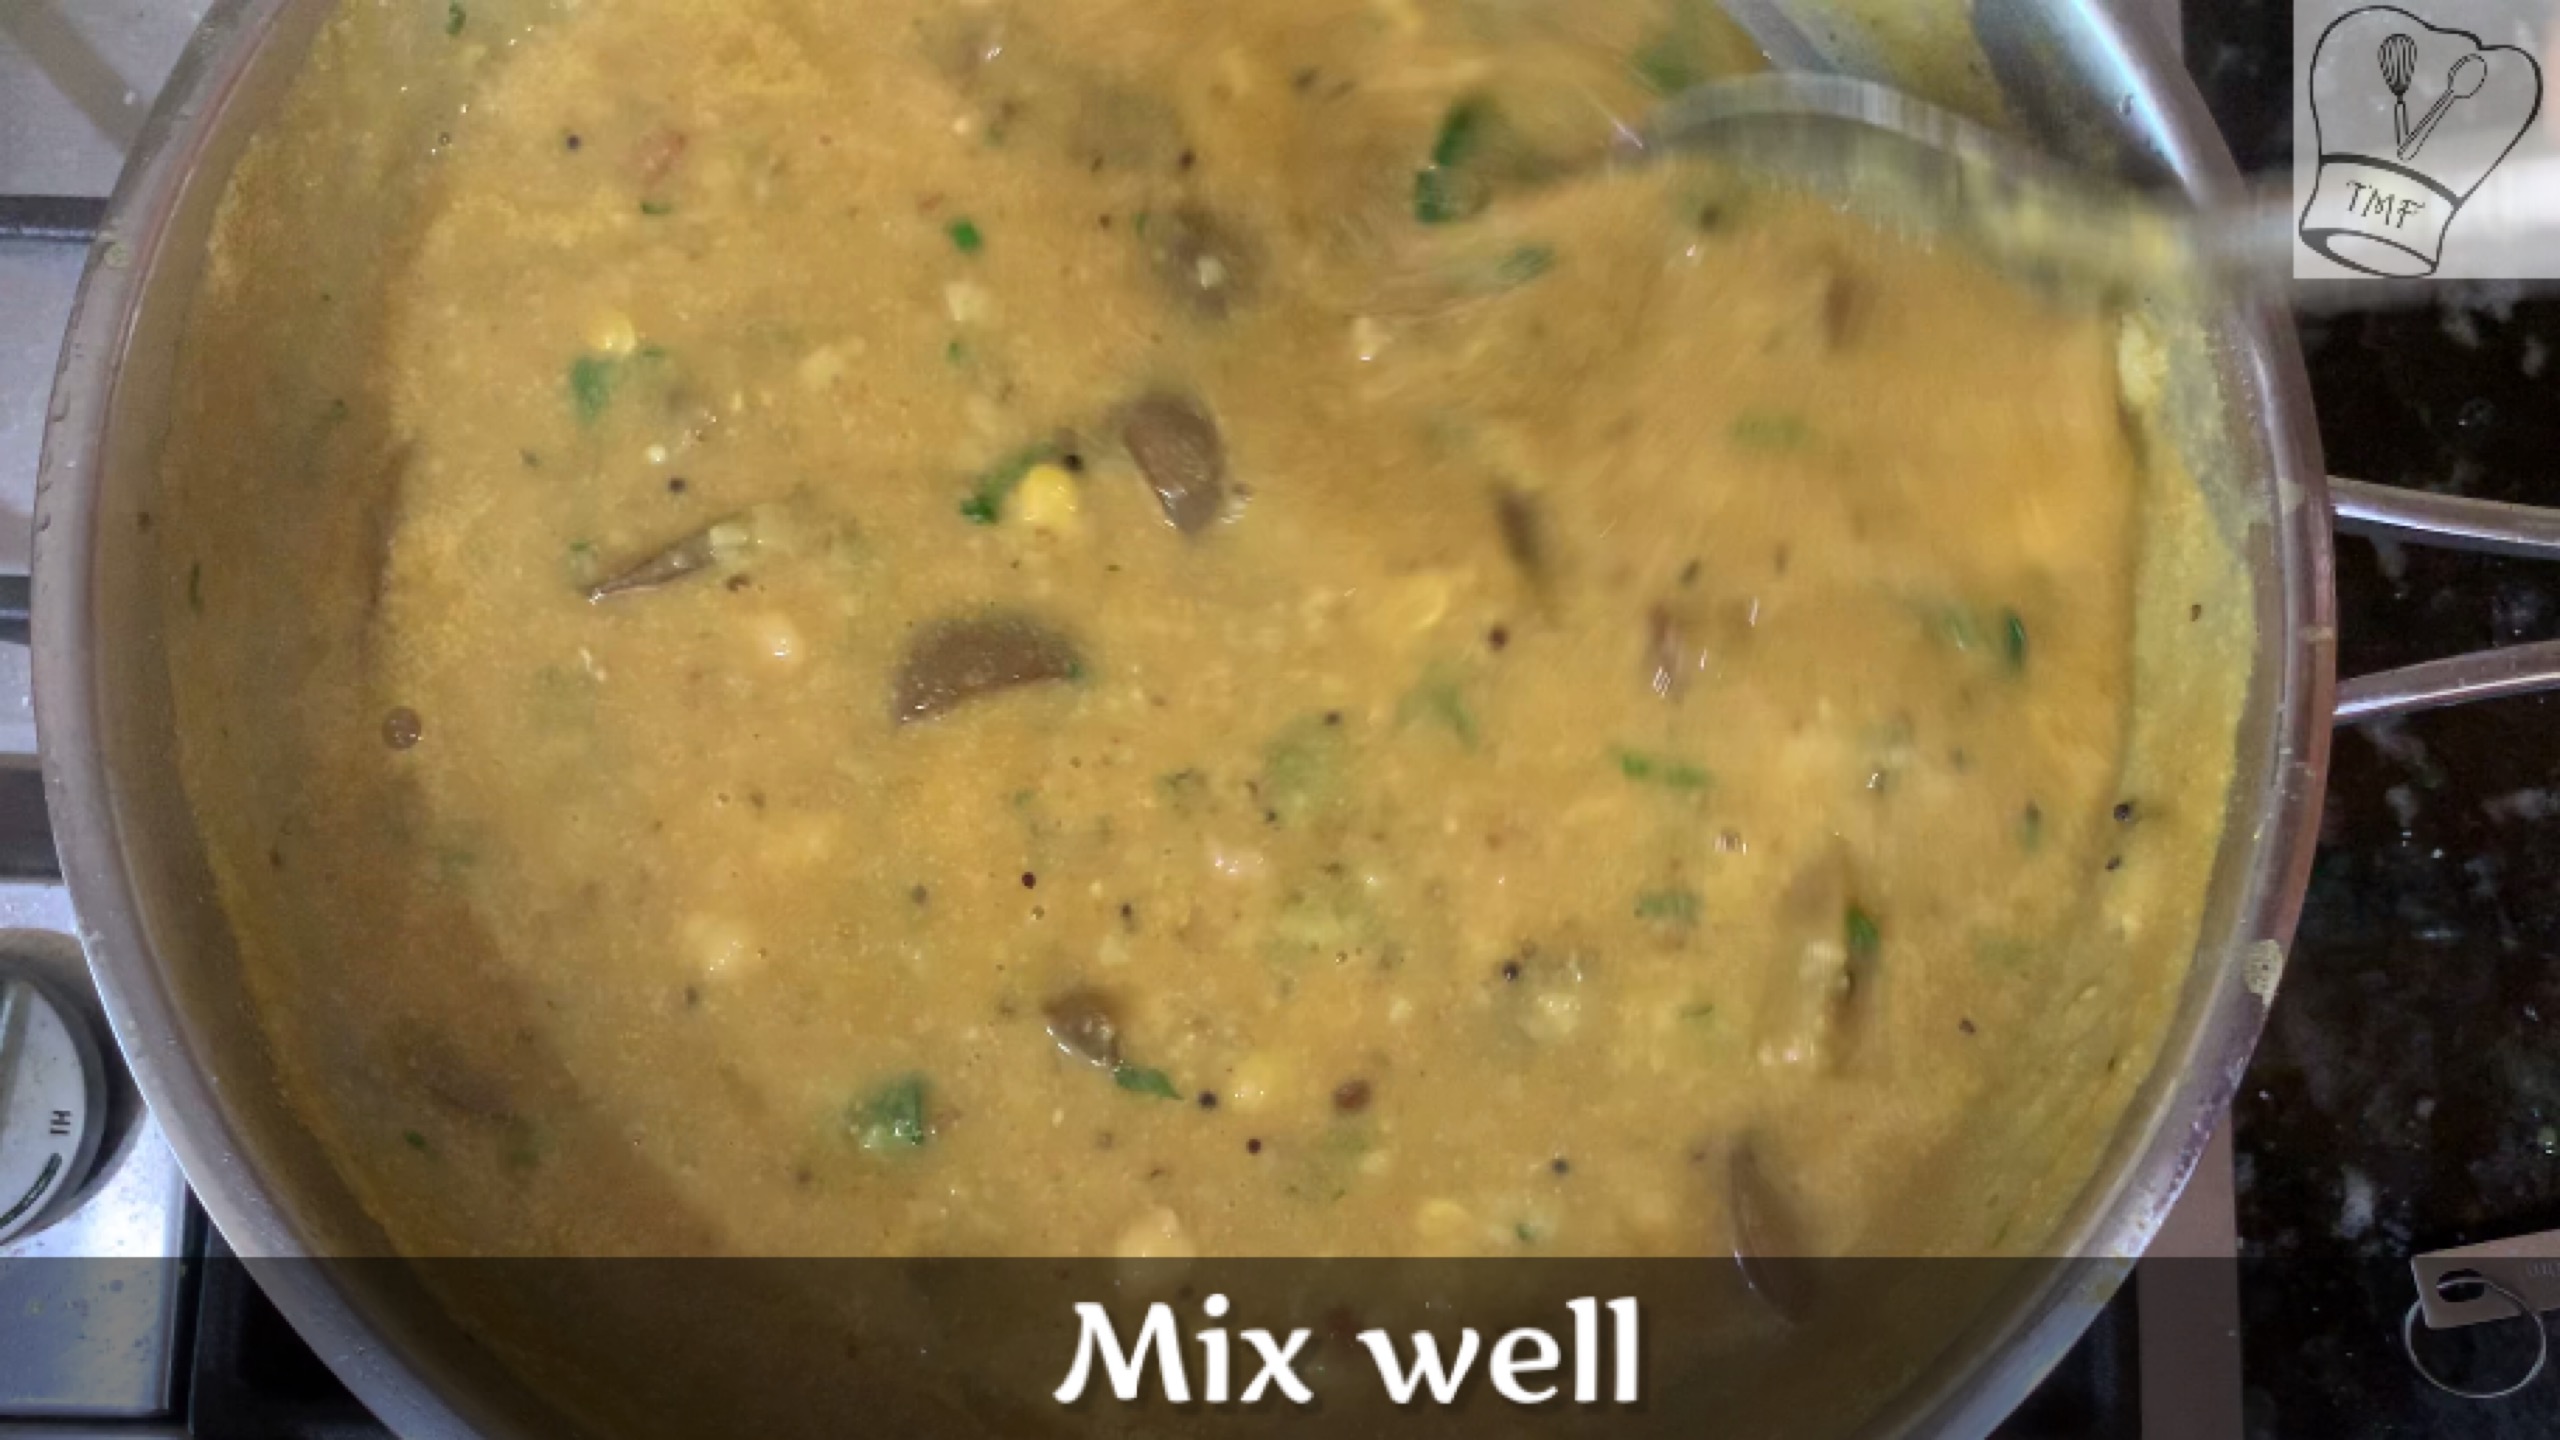
- Add all the cooked dal one by one and mix well
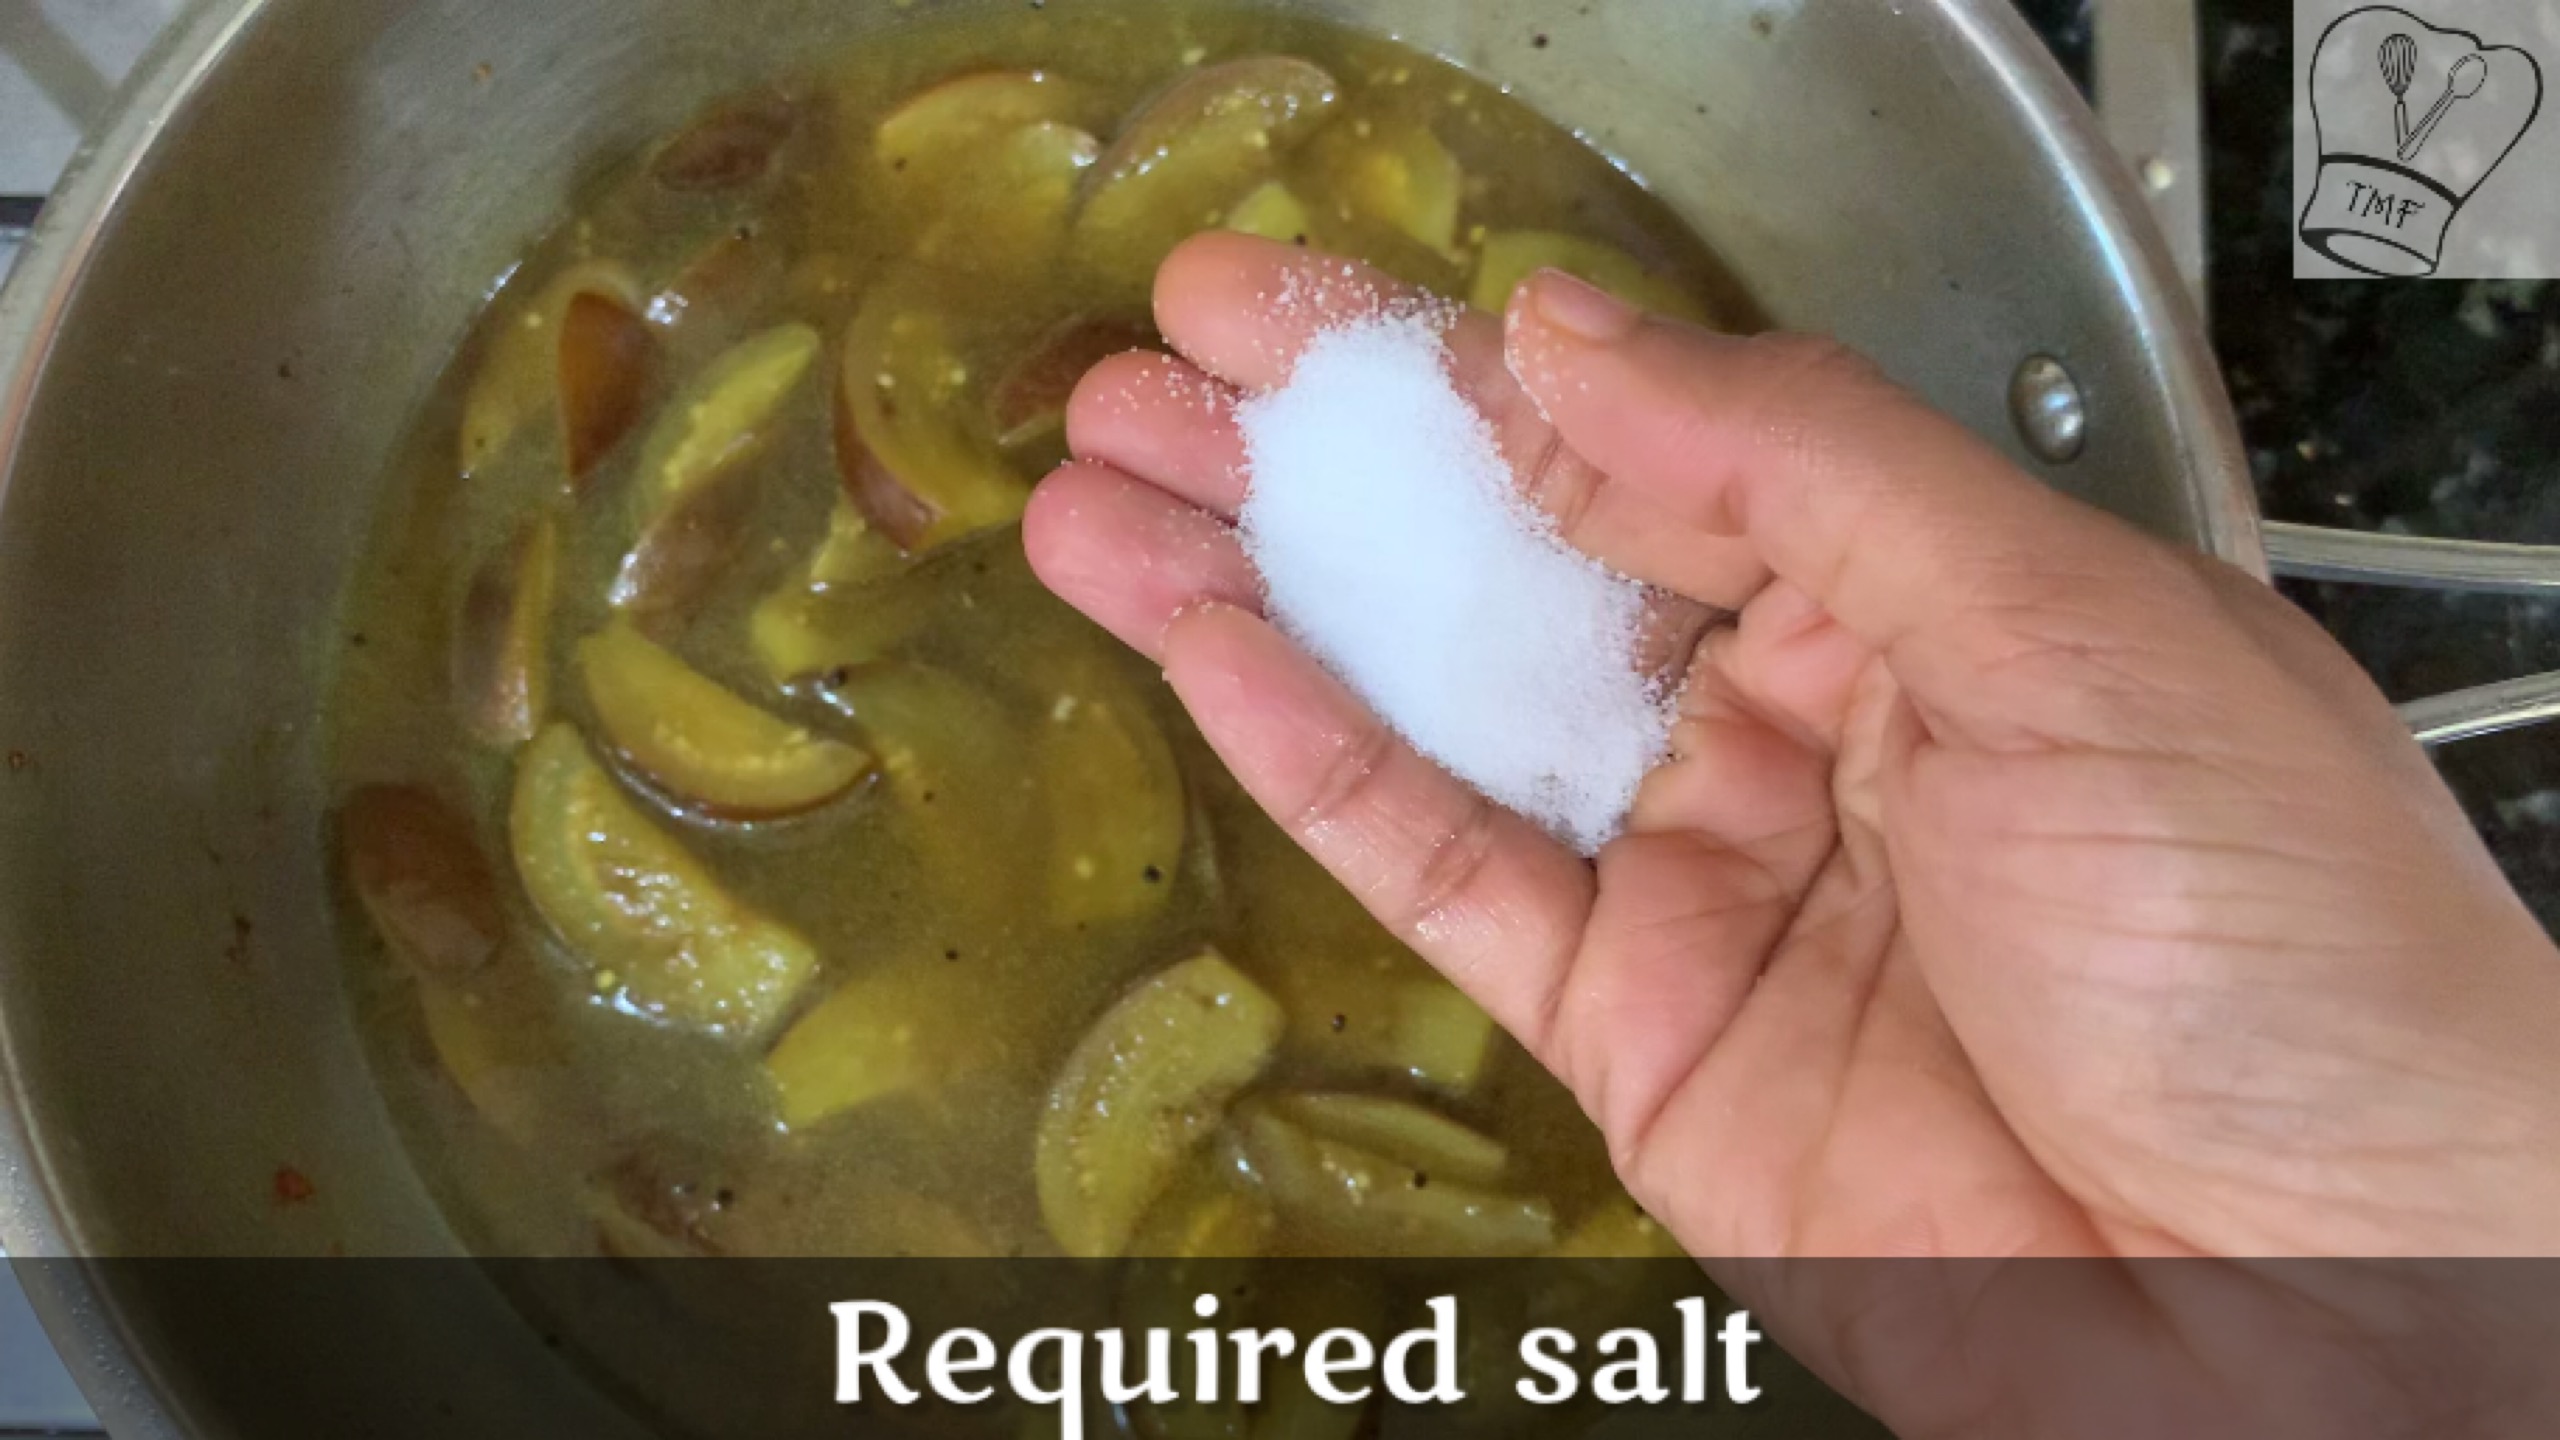
- Check the seasoning and add salt of required
- Sprinkle chopped curry leaves, coriander leaves and jaggery; mix well
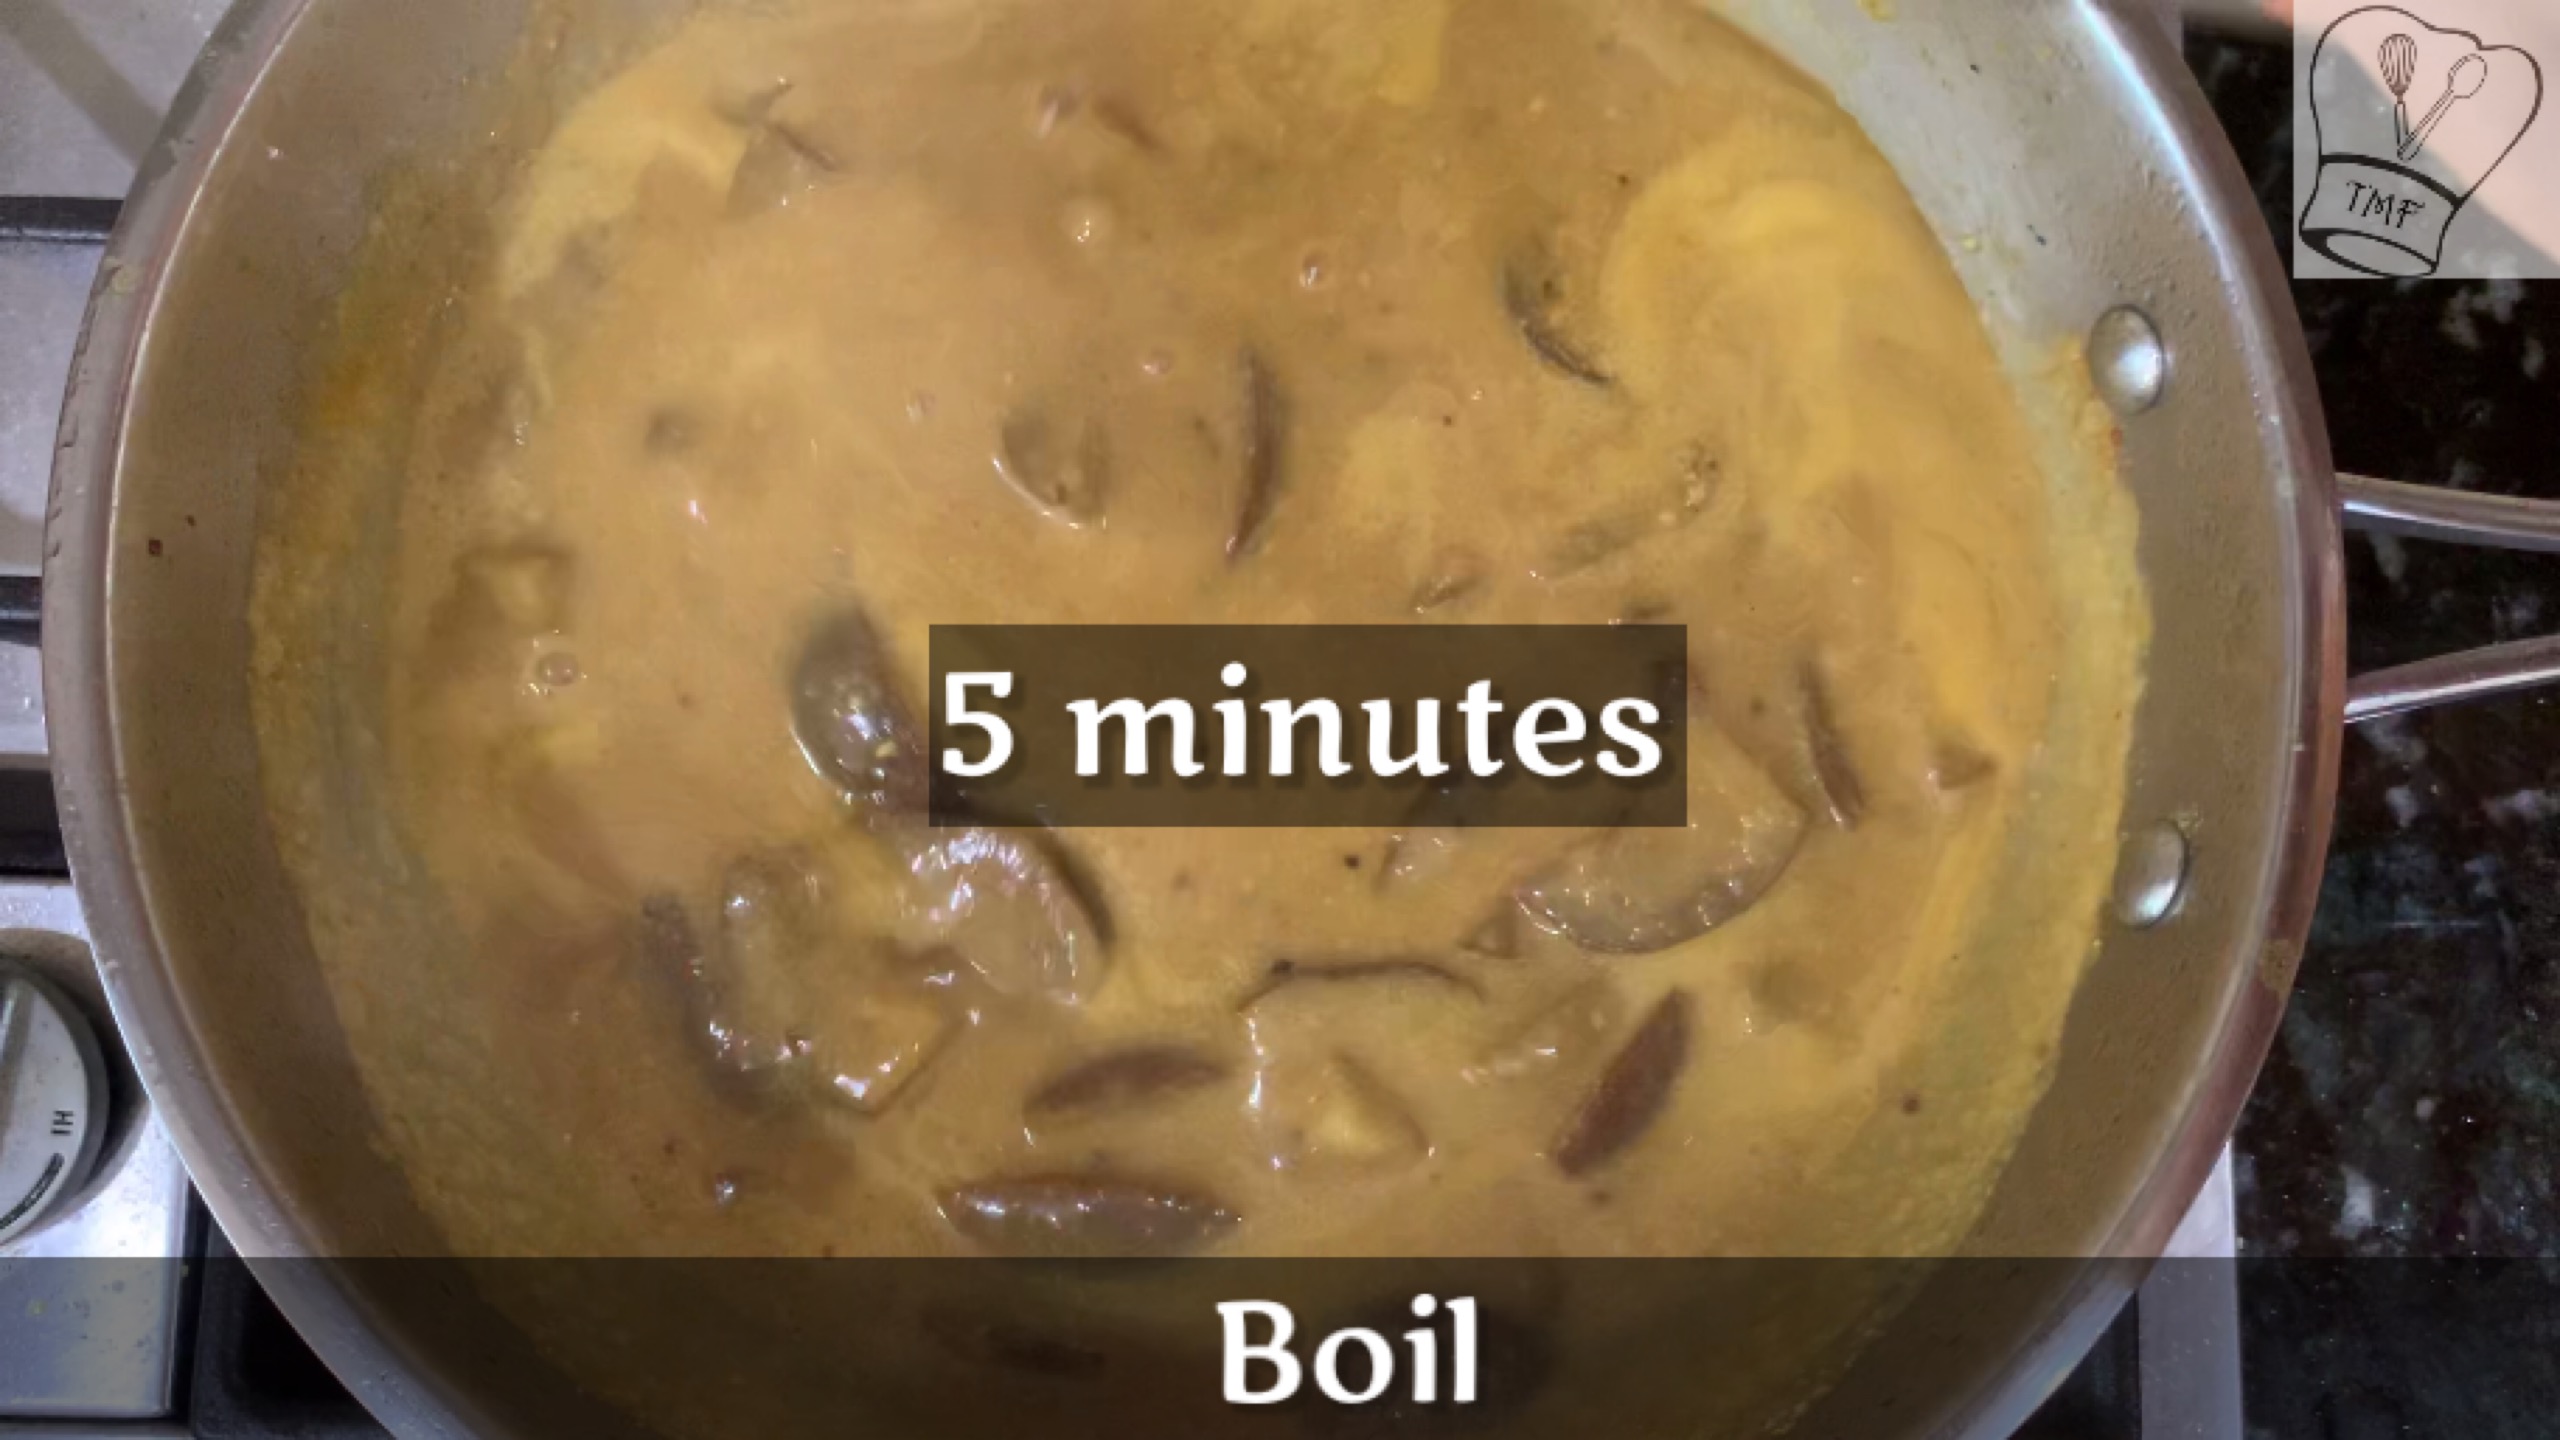
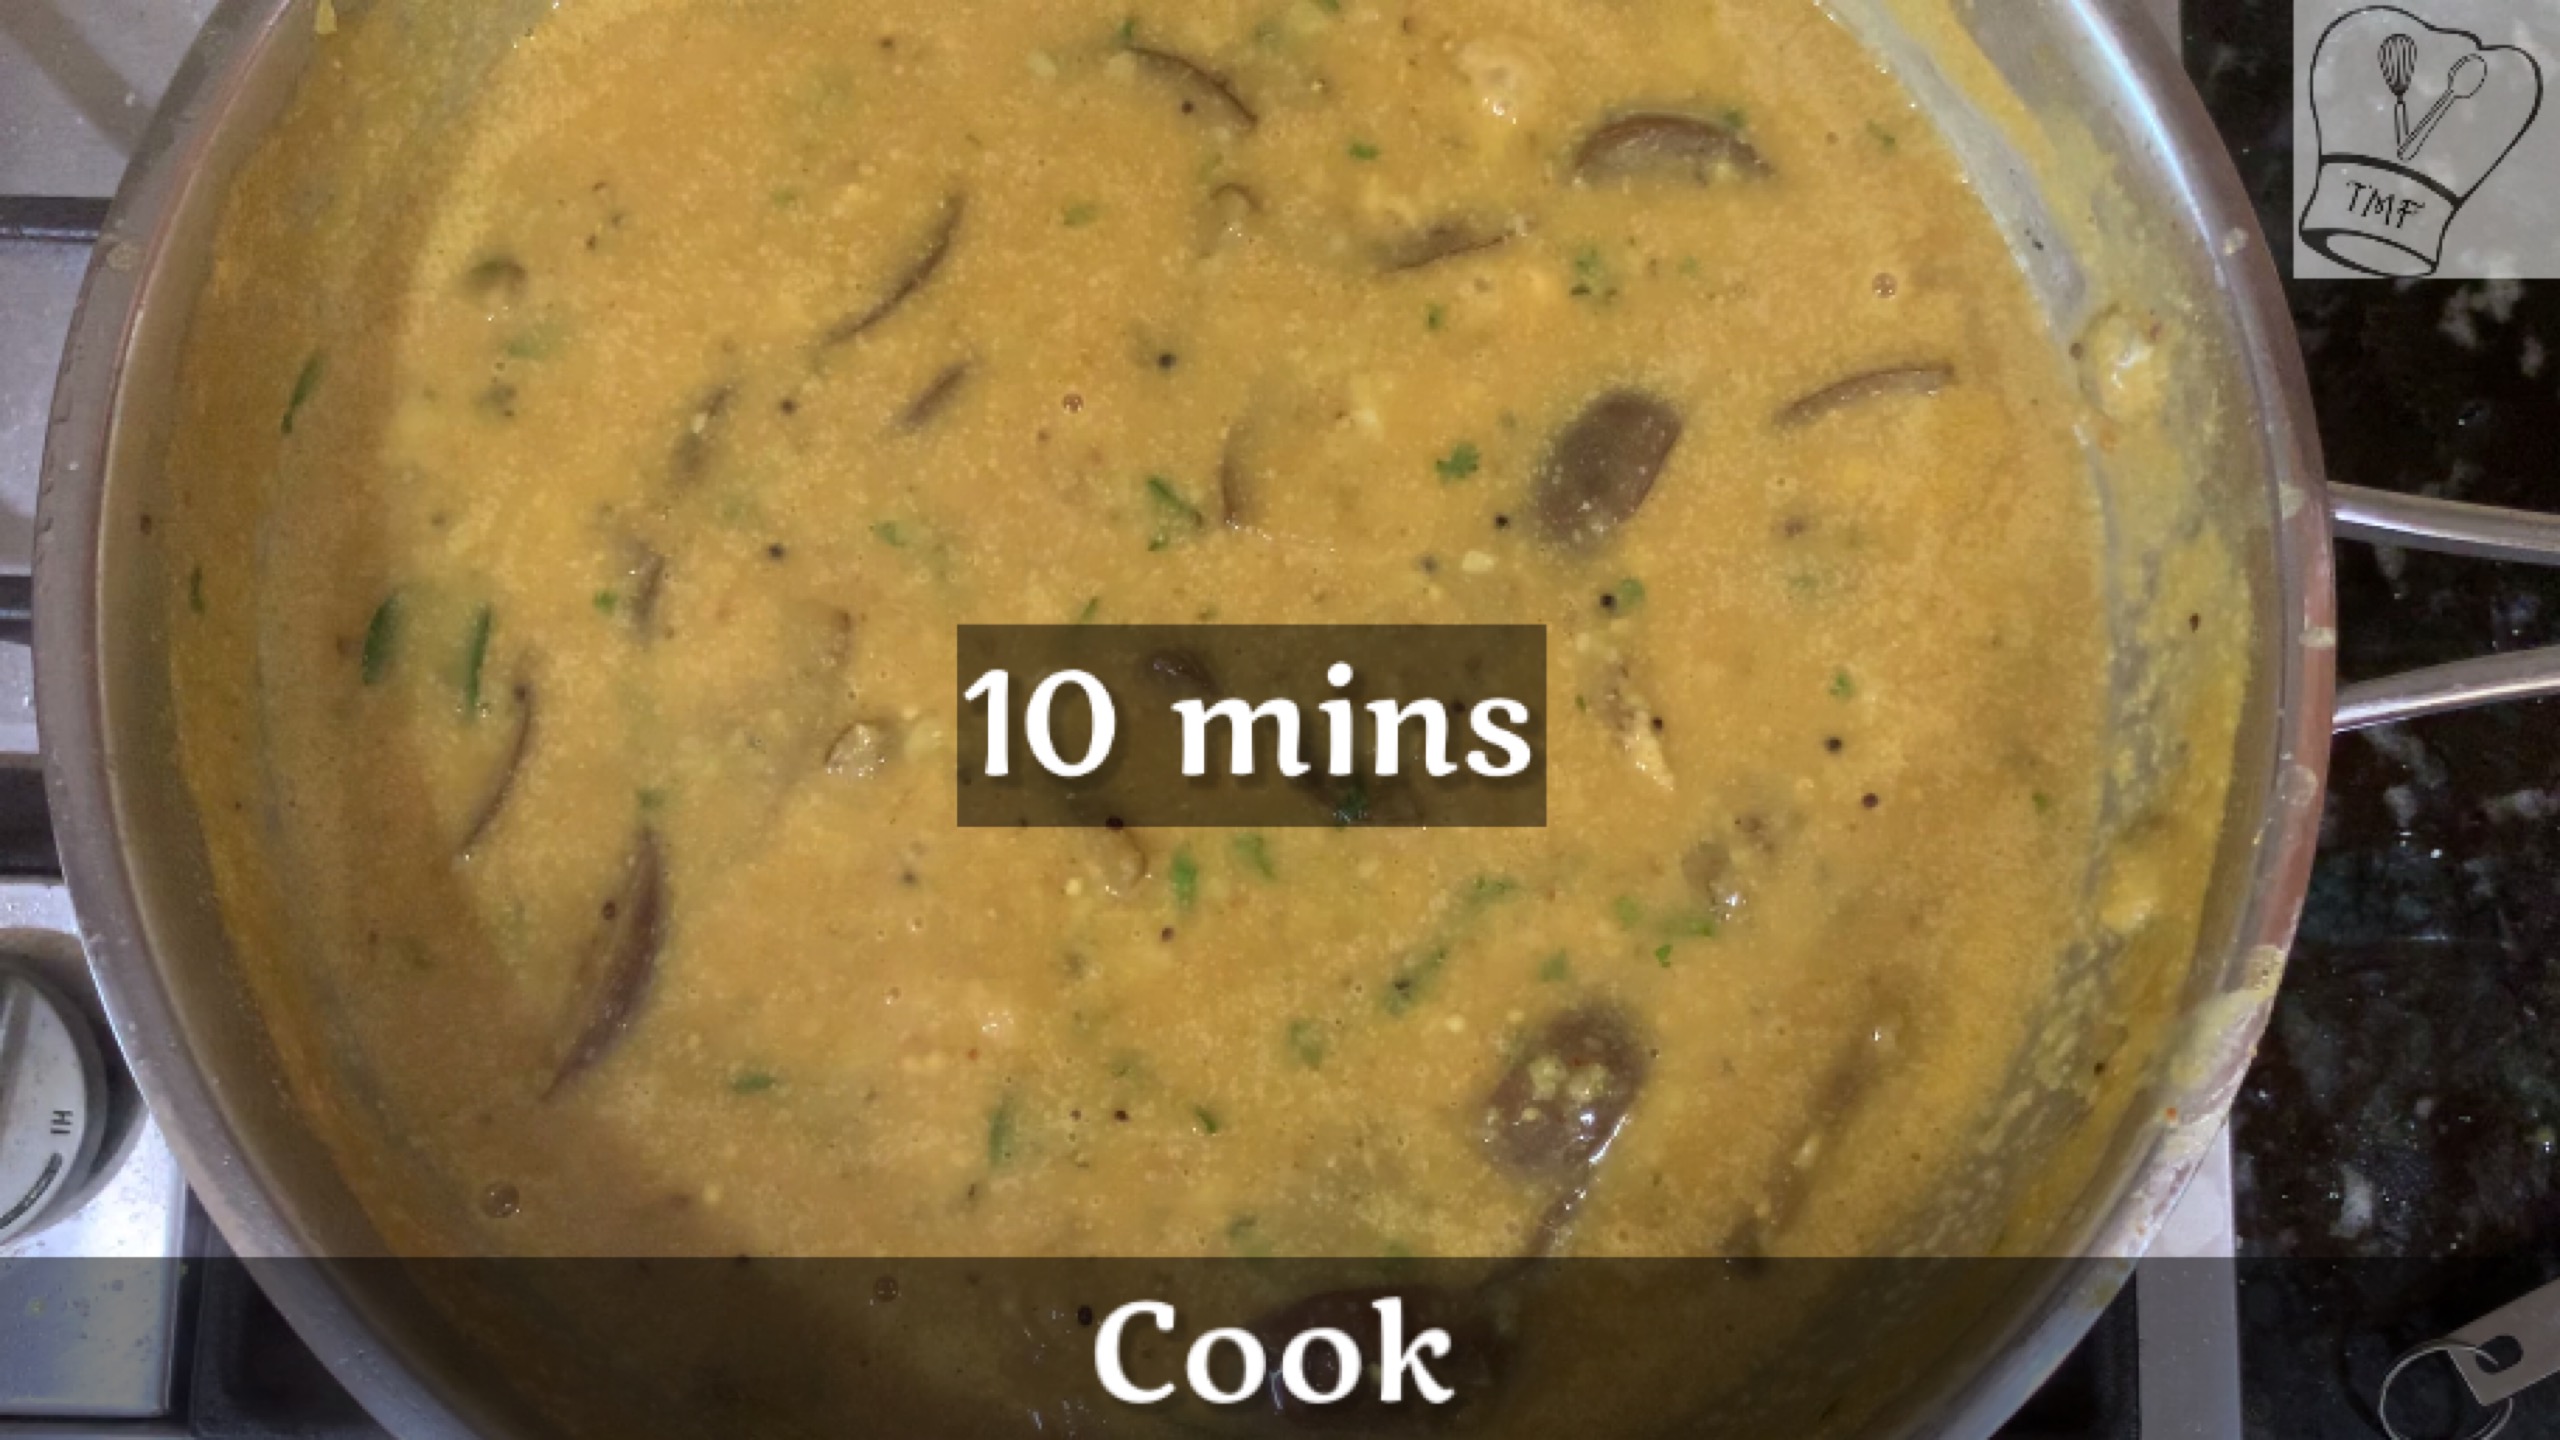
- Cook for 10 minutes till the Kuzhambu boils well and everything comes to together
Video
Notes
- Any variety of Brinjal can be used for this kuzhambu
- Adjust the water according to the consistency you prefer
- chana dal I buy doesn't get mushy so easily hence I have pressure cooked. If the channa dal you are using cooks fast then cook it directly in the pan
Ingredients:
Brinjal – 8, chopped into big pieces
Toor dal – 1/2 cup
Channa/ Chickpea – 1/3 cup
Channa dal – 2 tbsp
Tamarind extract – 1 + 1/2 cup ( extracted from a big gooseberry-sized tamarind)
Sambar Powder– 1 tsp
Asafetida – generous pinch
Jaggery – 1 tbsp, heaped
Salt – as needed
coriander leaves – a few
Curry leaves – a few
To grind:
Coriander seeds – 1 tbsp + 1 tsp
Chana dal – 1 tbsp + 1 tsp
Red chilli – 3, adjust according to your spice level
Urad dal – ½ tsp
Fenugreek seed – 7 to 8
Coconut – 1/3 cup
To temper :
Coconut Oil – ½ tbsp
Mustard seeds – 1/2 tsp
Fenugreek seeds – Very few
Urad dal – 1 tsp
How to make Kathirikai Rasavangi:
- Soak channa overnight or in warm water for 3 – 4 hours
- Wash and soak channa dal and toor Dal separately with enough water
- Pressure cook three dals separately with enough water for 3 whistles and let the pressure release naturally
- Soak tamarind in warm water for 10-15 minutes and extract the juice
- In a pan, dry roast red chilli, coriander seeds, fenugreek seeds, urad dal, and channa dal till the dal becomes golden brown. Transfer them to a plate
- In the same pan, dry roast coconut on a medium flame till the color slightly changes for around 3-4 minutes. Let it cool


- After everything is cool, grind them together with a little water
- In a separate pan on medium heat, add oil, and when the oil is hot, add the items under “to temper” and let it crackle


- Add the brinjals and turmeric powder; sauté for 3-4 minutes

- After the brinjal is sautéd, add 1/2 cup of water and cover the pan. Cook for 5 minutes
- Pour tamarind extract and mix well. Add salt and Sambar powder; mix well and cook for 10 minutes

- Add the ground spice paste and mix well

- Pour 1 cup of water into the mixie jar and add it to the Kuzhambu, let it cook for 5 minutes
- Add all the cooked dal one by one and mix well
- Check the seasoning and add salt if required
- Sprinkle chopped curry leaves, coriander leaves, and jaggery; mix well

- Cook for 10 minutes till the Kuzhambu boils well, and everything comes together
- Add the hing, mix well, and turn off the stove

My cousin sister got married with a Telegu boy,earlier she used to live in Pune, one day she came to my house and made this.It was so tasty,after that whenever would come ,make this dish . Thanks for sharing the recipe, noe I can make it at home.
Hi Vidya, congrats on getting your recipe published. I love recipes that have been handed down from generation to generation, this sounds delicious!
Oh my gosh – that’s huge – CONGRATS on getting your recipe published! But I am not surprised because it sounds delicious – love lentils and brinjals!
Congrats Vidya once again and great recipe pa
I love lentils, this looks like the perfect comfort food for wintertime, thank you for sharing this recipe!
Congrats on getting published! That’s huge! This looks delicious.
I love eggplant! And I love Indian food. This looks and sounds so flavorful and delicious! Congrats on getting your recipe published…very exciting!
love the flavors here! sounds very delicious! Congratulations on your recipe getting published dear 🙂
Congratulations! This recipe sounds amazing! I love eggplant.
Love the combo of brinjal with lentils. Bookmarked it
Congrats Vidhya… my hubby likes anything with Brinjal will try this soon…..
Congrats Vidya! This recipe is something new to me. Looks so delicious and flavorful!
What great news! Congrats on the publication this recipe looks very delicious
Congratulations Vidya! This looks delicious!
Kathrikai rasavangi is my favorite dish you made it perfectly.
I love veggies with dhal and coconut,will definitely try this soon Vid….
Lovely recipe! Definitely trying! And congrats!
A heirloom recipe recreated with so much love, definitely has to end up becoming famous. Many congratulations and very well deserved. Chana dal is a family favourite and I am book marking this recipe so that I can introduce my family to this delicious dish. Kathrikai Rasavangi is one truly tasty dish.
Brinjal Rasavangi is looking so delicious Vidya ! Congrats Vidya, on your recipe being published in Hindu!!
Never been a fan of Egg plants except for the few recipes that happened to be a hit at our home. This dish really sounds tasty! And the fact that you mentioned its good for weight loss, I should definitely start Egg plants on a larger basis at home I guess!!
Looks so delicious and tempting. Deserves to be published in the Hindu. Congrats 🙂
Nice recipe!! LOve the combination of dal and aubergines :)…will be a treat to eat with rice!!