Paruppu podi recipe, pappula podi, iyer Paruppu podi, iyengar style podi, Kandi podi , dal powderwith step-by-step pictures and video recipe. Check out the Parruppu powder recipe. If you like the video pls SUBSCRIBE to my channel. Check out other podi varieties' video
Traditional paruppu podi
This is an authentic Tamil Brahmin version Dal powder recipe I learnt from my Patti. With Minimal ingredients, podi can be prepared within 10 minutes. Stays good for months.
WHAT IS SPECIAL ABOUT dal CHUTNEY POWDER?
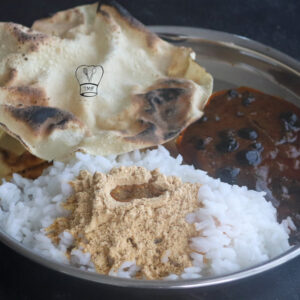
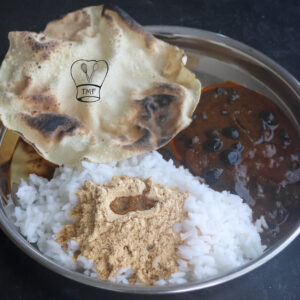
Podi is a South Indian condiment. Andhra-style pappula podi popularly known as kandi chutney is super easy to make. It tastes best when mixed with rice with a dollop of ghee or a few drops of sesame oil. you can also serve paruppu podi as chutney powder with sesame oil for idli | dosai tiffin variety
10 MINS tamilnadu-STYLE paruppu podi
If you are bored with regular rice accompaniment this instant podi recipe comes in handy. Protein-rich tasty podi.
TIPS TO ROAST RED CHILLI
I would recommend roasting the red chilli along with other ingredients. Always roast the whole red chilli. if you remove the chilli cap, seeds might turn bitter while roasting.
WILL THE PODI TASTE SPICY?
I used Karnataka chilli and pepper. Adjust the chilli quantity according to your spice. My version of Iyer paruppu podi is not spicy.
SHELF LIFE OF dal podi
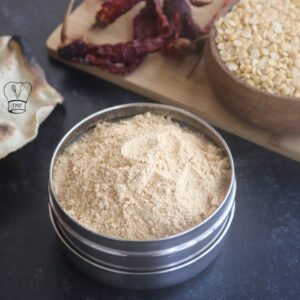
Cool the podi completely then store it in an airtight container. You can store the premix at room temperature or in the fridge. Podi stays good for months. Always use a dry and clean spoon for a longer shelf life
ALWAYS ROAST IN LOW- medium FLAME
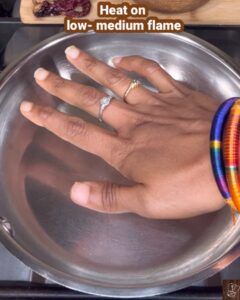
Initially heat the pan on medium flame but Always roast the ingredients on low - medium. Since we roast all the ingredients together it is important to spread them well.
PODI RECIPE COLLECTION
Ingredients
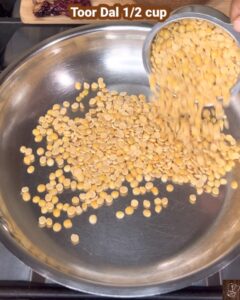
1/2 cup toor dal
1 tablespoon chana dal
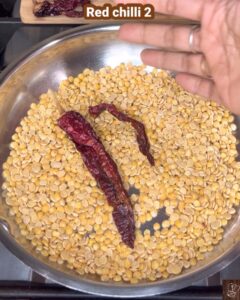
2 Karnataka red chilli
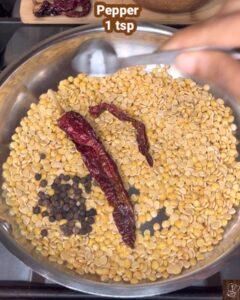
1 teaspoon pepper
1/2 teaspoon salt
1 teaspoon asafoetida
how to make lentil powder with step-by-step pictures
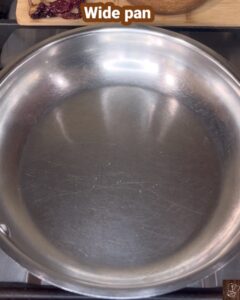
- first, heat wide bottomed pan on a medium flame
- turn down to low - medium flame
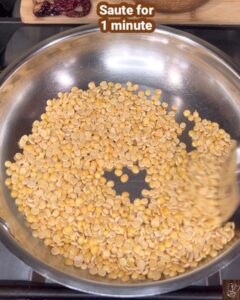
- Furthermore, add toor dal; mix well and roast for a minute
- Spread well in between roasting
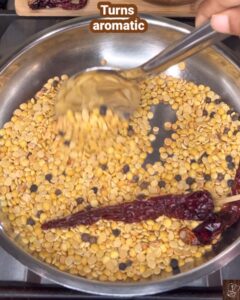
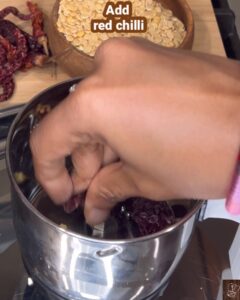
- Add pepper and red chilli; mix well and roast
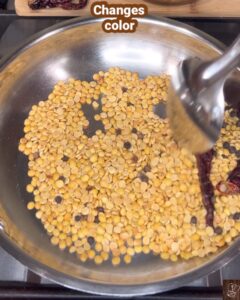
- Roast till the dal starts to change colour
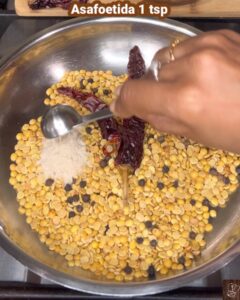
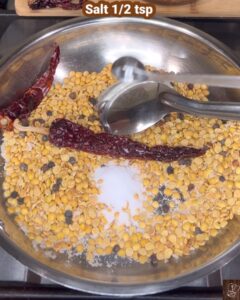
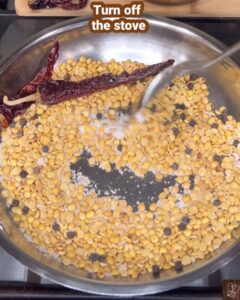
- Finally, add asafoetida and salt; mix well and turn off the stove
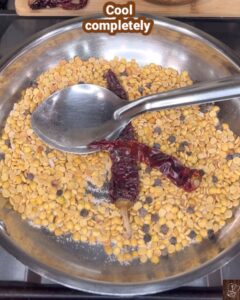
- let it cool in the same pan. Pan heat is enough to roast other ingredients
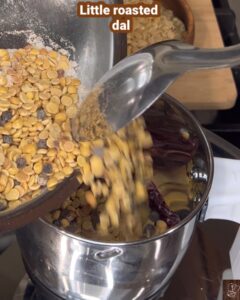
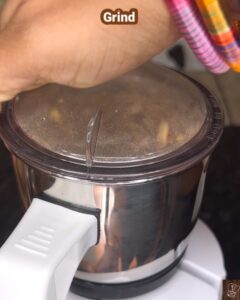
- Remove the red chilli cap and grind them first along with a little roasted dal
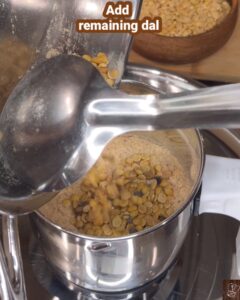
- Add the rest of the dal; Grind paruppu podi. Mix well in between
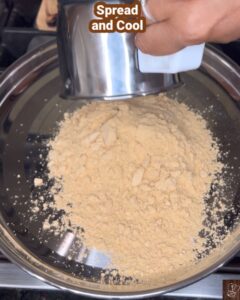
- Transfer to a plate and spread
- cool completely then store in an airtight container

Ingredients
- 1/2 cup toor dal
- 1 tablespoon chana dal
- 2 Karnataka red chilli
- 1 teaspoon pepper
- 1/2 teaspoon salt
- 1 teaspoon asafoetida
Instructions
- first, heat wide bottomed pan on a medium flame
- turn down to low - medium flame
- Furthermore, add toor dal; mix well and roast for a minute
- Spread well in between roasting
- Add pepper and red chilli; mix well and roast
- Roast till the dal starts to change colour
- Finally, add asafoetida and salt; mix well and turn off the stove
- let it cool in the same pan. Pan heat is enough to roast other ingredients
- Remove the red chilli cap and grind them first along with a little roasted dal
- Add the rest of the dal; Grind paruppu podi. Mix well in between
- Transfer to a plate and spread
- cool completely then store in an airtight container
Notes
- I would recommend roasting the red chilli along with other ingredients. Always roast the whole red chilli. if you remove the chilli cap, seeds might turn bitter while roasting
- I used Karnataka chilli and pepper. Adjust the chilli quantity according to your spice. My version of Iyer paruppu podi is not spice
- Cool the podi completely then store it in an airtight container. You can store the premix at room temperature or in the fridge. Podi stays good for months. Always use a dry and clean spoon for a longer shelf life
- Initially heat the pan on medium flame but Always roast the ingredients on low - medium. Since we roast all the ingredients together it is important to spread them well.




Comments
No Comments