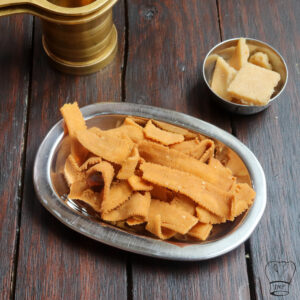
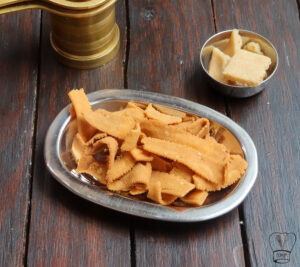
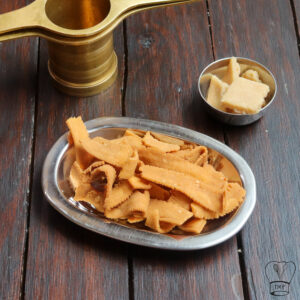
Garlic Ribbon pakoda | garlic ribbon murukku | garlic seeval | otta pakoda | ola pakoda | Nada thenkuzhal | Nada Thenkuzhal murukku | ribbon pakoda with garlic | poondu murukku | instant crispy murukku | traditional crunchy fried snacks recipe with step-by-step pictures and video recipe. Check out the poondu ribbon murukku recipe and if you like the video pls SUBSCRIBE to my channel.
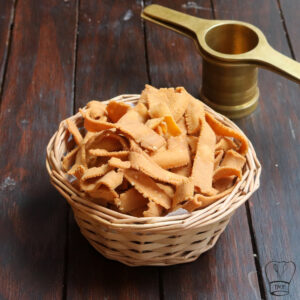
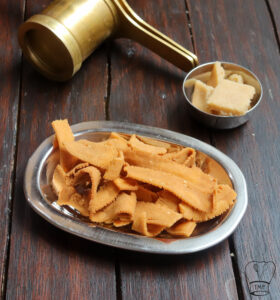
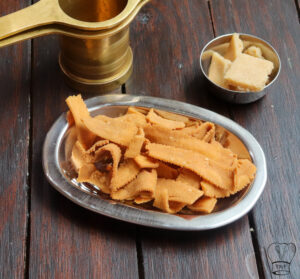
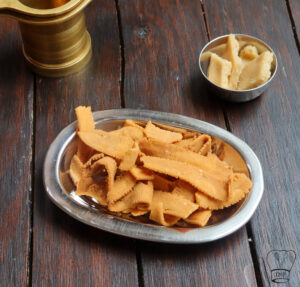
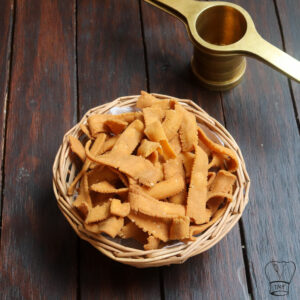
Garlic ribbon pakoda is a popular tea-time South Indian snack recipe perfect. Simple tasty snack recipe is also widely prepared during festive seasons. Great tea-time snacks. Ribbon pakoda is a crispy murukku variety made of rice flour, besan flour, pottukadalai, garlic, and some spices
SHOULD I MEASURE POTTUKADALAI OR POTTUKADALAI POWDER?
The measurement of rice flour is proportional to the roasted gram flour, not the roasted gram.
WHY SHOULD I GRIND GARLIC ALONG WITH FLOUR?
For fine grinding always follow this method. Else you might end up with garlic granules
Murukku maker for Ribbon pakoda
To prepare a homemade ribbon pakoda with garlic we need a press commonly known as murukku achu or "Sev Sancha". Traditionally it is made out of brass but nowadays stainless murukku achu is widely available. Outside India, murukku maker is available in Indian stores and on Amazon. Murukku achu comes with various press attachments to make Indian savory snacks we need the straight long-line press or curved long-line press, that resembles a ribbon.
Should I make rice flour at home for ribbon pakoda?
Traditionally ribbon pakoda is made after grinding rice but to make it fast, I have used store-bought rice flour. Choose fine rice flour for the best result. Idiyappam flour can also be used for ribbon pakoda with poondu. Instant homemade crispy ribbon pakoda without compromise in taste.
Can I skip sesame seeds?
I have used white sesame seeds for extra flavor. Instead, You can use black sesame seeds. Ajwain or cumin seeds can also be added, according to your preference. If the ribbon murukku press you use has a thin slit (ribbon-like) line for ribbon pakoda avoid cumin seeds as they might get stuck.
Can I skip butter for ribbon pakoda?
Little butter gives a nice texture and taste to ribbon pakoda but if you are planning to make ribbon pakoda vegan skip the butter and use 2 tablespoon got oil instead of butter.
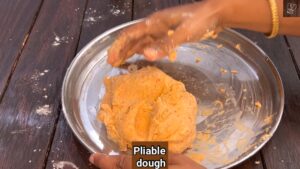
What should be the consistency of ribbon pakoda dough?
Very hard ribbon pakoda dough makes it difficult to press through the mold, it will impact ribbons to break while it is pressed out through the pakoda pres. Also with too much water in the dough, ribbon pakodas will absorb a lot of oil while frying. Make the right consistency pliable dough
turns hard to press after a few batches
Besan flour and pottukadalai maavu might absorb water and make the dough dry. In that case, sprinkle water and knead.
How to check if the oil is at the right temperature?
Check the oil temperature by adding a small piece of the dough. If the dough comes up gradually and steadily on top, the oil is hot enough to fry. If it comes up too quickly, then the oil is too hot. Simmer and adjust to the right temperature. If it settles down at bottom of Kadai or comes up very slowly, the oil is not hot enough, increase the heat
Variation for poondu ola pakoda?
I have used chilli powder instead you use pepper powder. other seasonings of choice can be used.
Shelf Life for poondu ottu pakoda
Ribbon pakoda stays fresh and crispy for up to 2 weeks. Always store in a clean airtight container. I keep them in stainless dhabba. Let the ribbon pakoda cool completely then close the lid
ingredients
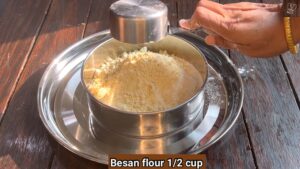
1/2 cup Besan flour
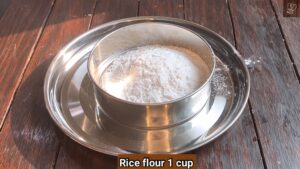
1 cup Rice flour
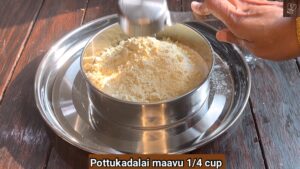
1/4 cup pottukadalai maavu
1 tablespoon softened butter
Required salt
1 tablespoon Hot Oil
1/2 teaspoon asafoetida
1 teaspoon Kashmiri Chilli powder
sesame seeds 1 tsp
How to make garlic Ribbon pakoda with step-by-step pictures
- Keep oil in a deep pan for frying pakoda
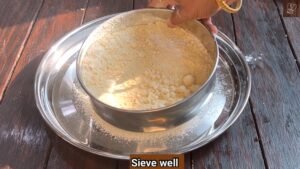
- Sieve and add rice flour, besan flour, and pottukadalai maavu
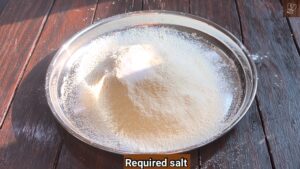
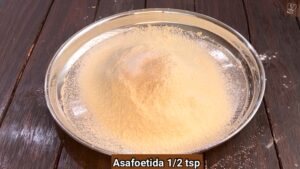
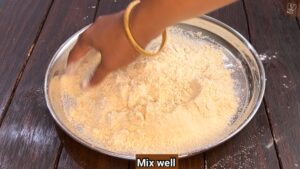
- Furthermore, add salt and asafoetida; mix well
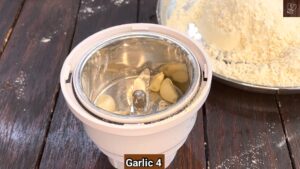
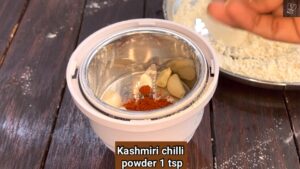
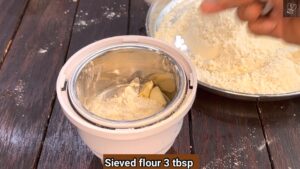
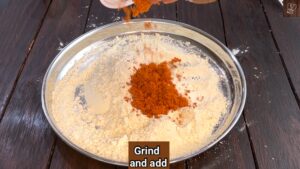
- Add garlic, Kashmiri chilli powder, and 3 tablespoon of sieved flour
- Furthermore, add it to the flour mixture
- Add sesame seeds and mix well
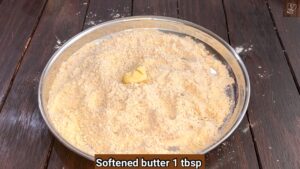
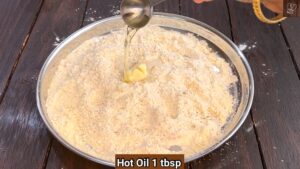
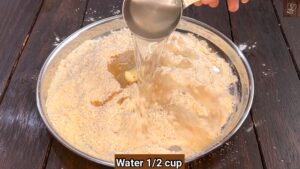
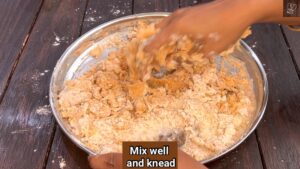
- Furthermore, add butter, hot oil, and 1/2 cup of water; mix well
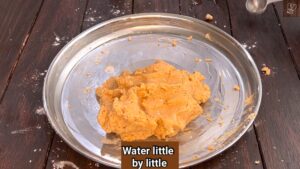
- Gradually add water little by little until you form a pliable dough, smooth, non-sticky dough
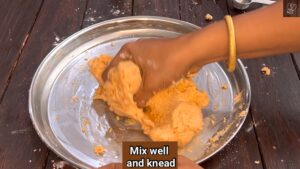
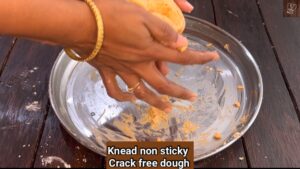
- grease yours hands with little oil and knead the nonsticky, crack-free pliable dough
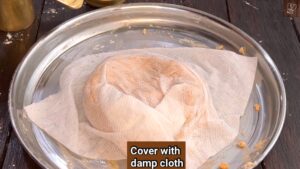
- Cover the dough with a damp cloth or damp kitchen towel
- furthermore, take ribbon pakoda press/mold (straight slit or wavy slit) and fix it to the murukku maker
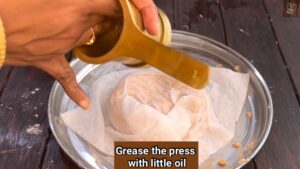
- grease the murukku maker with some oil. this prevents the dough from sticking to the mold
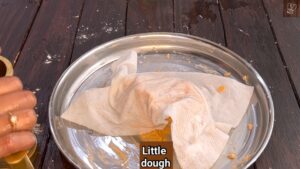
- Pinch a portion of the dough and roll it into a cylindrical shape out of dough and place the dough inside the maker
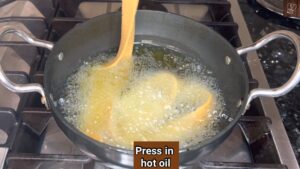
- Place the other part on top of it and directly press holding the murukku maker on top of the oil and let the ribbon murukku directly fall into the oil
- While pressing the ribbon pakoda rotate the press in a concentric circle from the center to outwards similar to making the ribbon pakoda Do not overcrowd the Kadai with ribbon pakoda
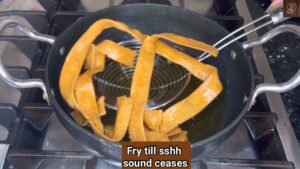
- After adding the murukku, avoid flipping the ribbon immediately with the slotted ladle as they tend to break. Let the froth vanish and at one stage oil stops bubbling, flip over the ribbon pakoda and fry on the other side
- Once the sizzling sound stops and the ribbons start to turn golden, remove them using a slotted ladle and drain the excess oil out
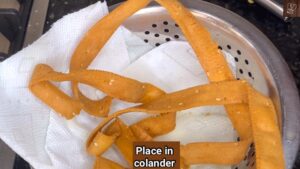
- Place it on a colander covered with an absorbent tissue paper/ kitchen towel
Ingredients
- 1/2 cup Besan flour
- 1 cup Rice flour
- 1/4 cup pottukadalai maavu
- 1 tablespoon softened butter
- Required salt
- 1 tablespoon Hot Oil
- 1/2 teaspoon asafoetida
- 1 teaspoon Kashmiri Chilli powder
- sesame seeds 1 tsp
Instructions
- Keep oil in a deep pan for frying pakoda
- Sieve and add rice flour, besan flour, and pottukadalai maavu
- Furthermore, add salt and asafoetida; mix well
- Add garlic, Kashmiri chilli powder, and 3 tablespoon of sieved flour
- Furthermore, add it to the flour mixture
- Add sesame seeds and mix well
- Furthermore, add butter, hot oil, and 1/2 cup of water; mix well
- Gradually add water little by little until you form a pliable dough, smooth, non-sticky dough
- grease yours hands with little oil and knead the nonsticky, crack-free pliable dough
- Cover the dough with a damp cloth or damp kitchen towel
- furthermore, take ribbon pakoda press/mold (straight slit or wavy slit) and fix it to the murukku maker
- grease the murukku maker with some oil. this prevents the dough from sticking to the mold
- Pinch a portion of the dough and roll it into a cylindrical shape out of dough and place the dough inside the maker
- Place the other part on top of it and directly press holding the murukku maker on top of the oil and let the ribbon murukku directly fall into the oil
- While pressing the ribbon pakoda rotate the press in a concentric circle from the center to outwards similar to making the ribbon pakoda Do not overcrowd the Kadai with ribbon pakoda
- After adding the murukku, avoid flipping the ribbon immediately with the slotted ladle as they tend to break. Let the froth vanish and at one stage oil stops bubbling, flip over the ribbon pakoda and fry on the other side
- Once the sizzling sound stops and the ribbons start to turn golden, remove them using a slotted ladle and drain the excess oil out
- Place it on a colander covered with an absorbent tissue paper/ kitchen towel
- Similarly, press the remaining dough
Video
Notes
- The measurement of rice flour is proportional to the roasted gram flour, not the roasted gram
- For fine grinding always grind garlic with sieved flour. Else you might end up with garlic granules
- To prepare a homemade ribbon pakoda with garlic we need a press commonly known as murukku achu or "Sev Sancha". Traditionally it is made out of brass but nowadays stainless murukku achu is widely available. Outside India, murukku maker is available in Indian stores and on Amazon. Murukku achu comes with various press attachments to make Indian savory snacks we need the straight long-line press or curved long-line press, that resembles a ribbon
- Traditionally ribbon pakoda is made after grinding rice but to make it fast, I have used store-bought rice flour. Choose fine rice flour for the best result. Idiyappam flour can also be used for ribbon pakoda with poondu. Instant homemade crispy ribbon pakoda without compromise in taste
- I have used white sesame seeds for extra flavor. Instead, You can use black sesame seeds. Ajwain or cumin seeds can also be added, according to your preference. If the ribbon murukku press you use has a thin slit (ribbon-like) line for ribbon pakoda avoid cumin seeds as they might get stuck
- Little butter gives a nice texture and taste to ribbon pakoda but if you are planning to make ribbon pakoda vegan skip the butter and use 2 tablespoon got oil instead of butter
- Very hard ribbon pakoda dough makes it difficult to press through the mold, it will impact ribbons to break while it is pressed out through the pakoda pres. Also with too much water in the dough, ribbon pakodas will absorb a lot of oil while frying. Make the right consistency pliable dough
- Besan flour and pottukadalai maavu might absorb water and make the dough dry. In that case, sprinkle water and knead.
- Check the oil temperature by adding a small piece of the dough. If the dough comes up gradually and steadily on top, the oil is hot enough to fry. If it comes up too quickly, then the oil is too hot. Simmer and adjust to the right temperature. If it settles down at bottom of Kadai or comes up very slowly, the oil is not hot enough, increase the heat
- have used chilli powder instead you use pepper powder. other seasonings of choice can be used
- Always, avoid overcrowding the oil as murukku will not cook from inside
- Ribbon pakoda stays fresh and crispy for up to 2 weeks. Always store in a clean airtight container. I keep them in stainless dhabba. Let the ribbon pakoda cool completely then close the lidLet the ribbon pakoda cool down completely then store them in an airtight container
- You can use garlic powder instead of garlic




Comments
No Comments