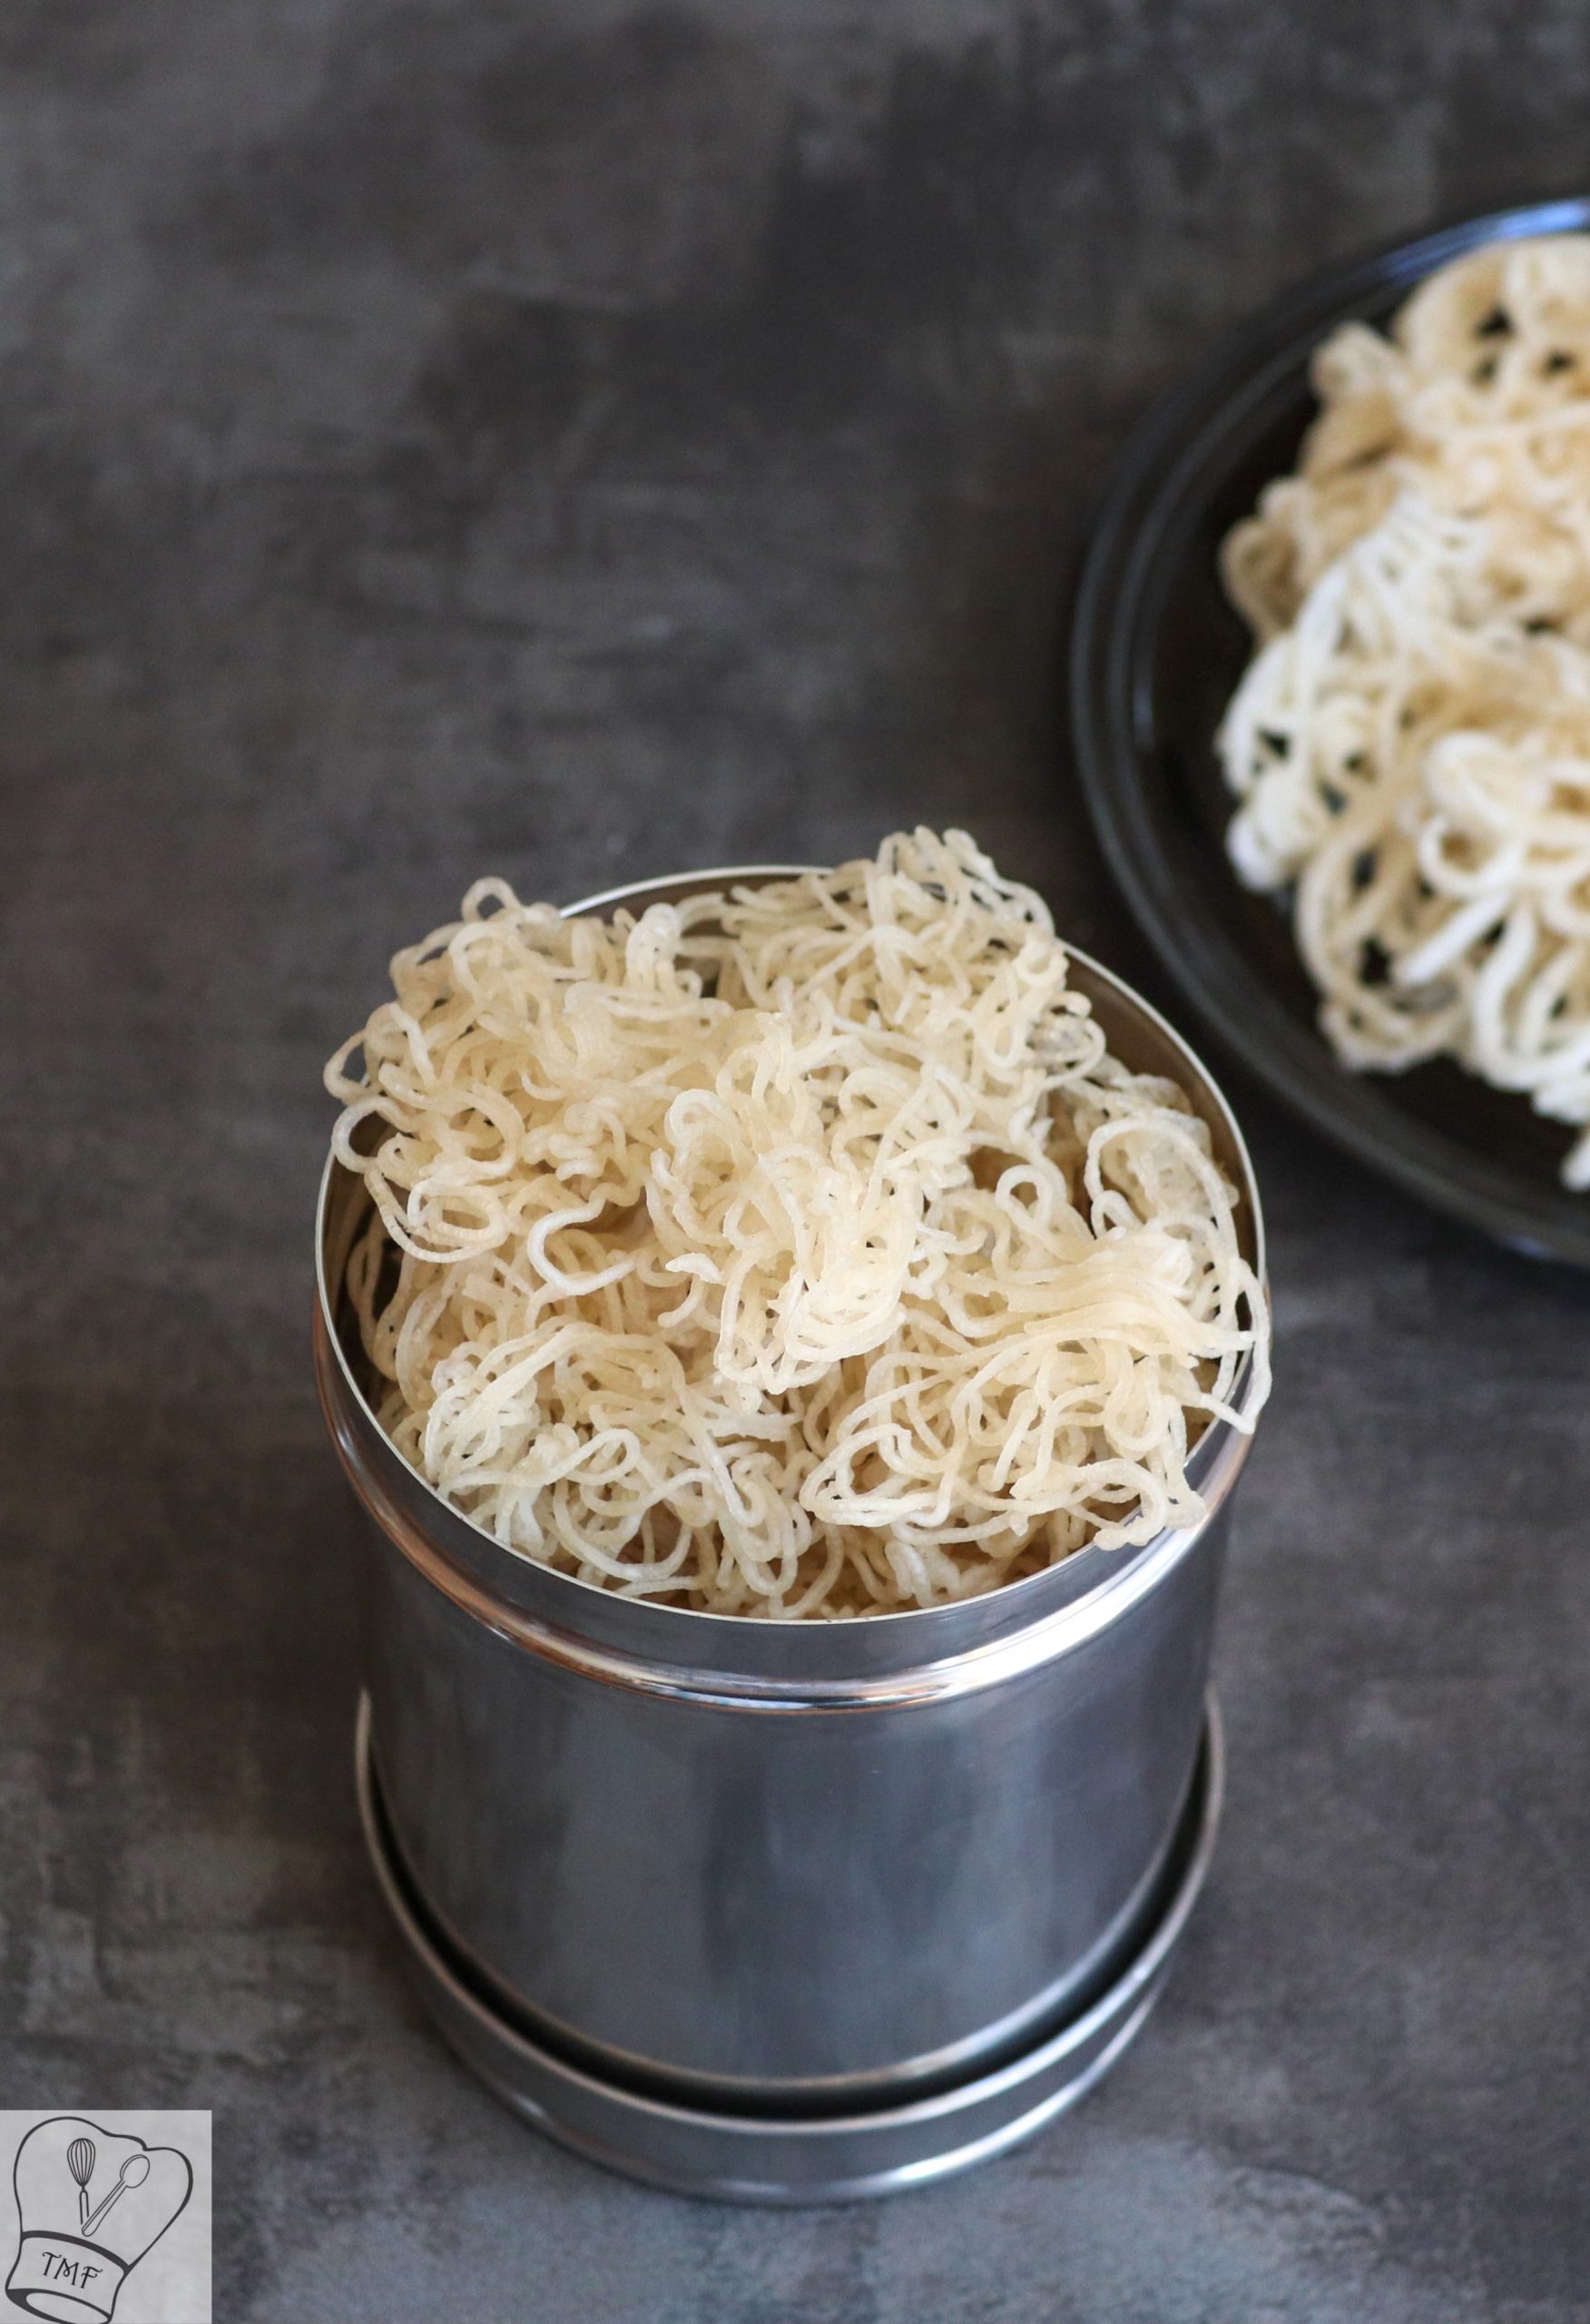
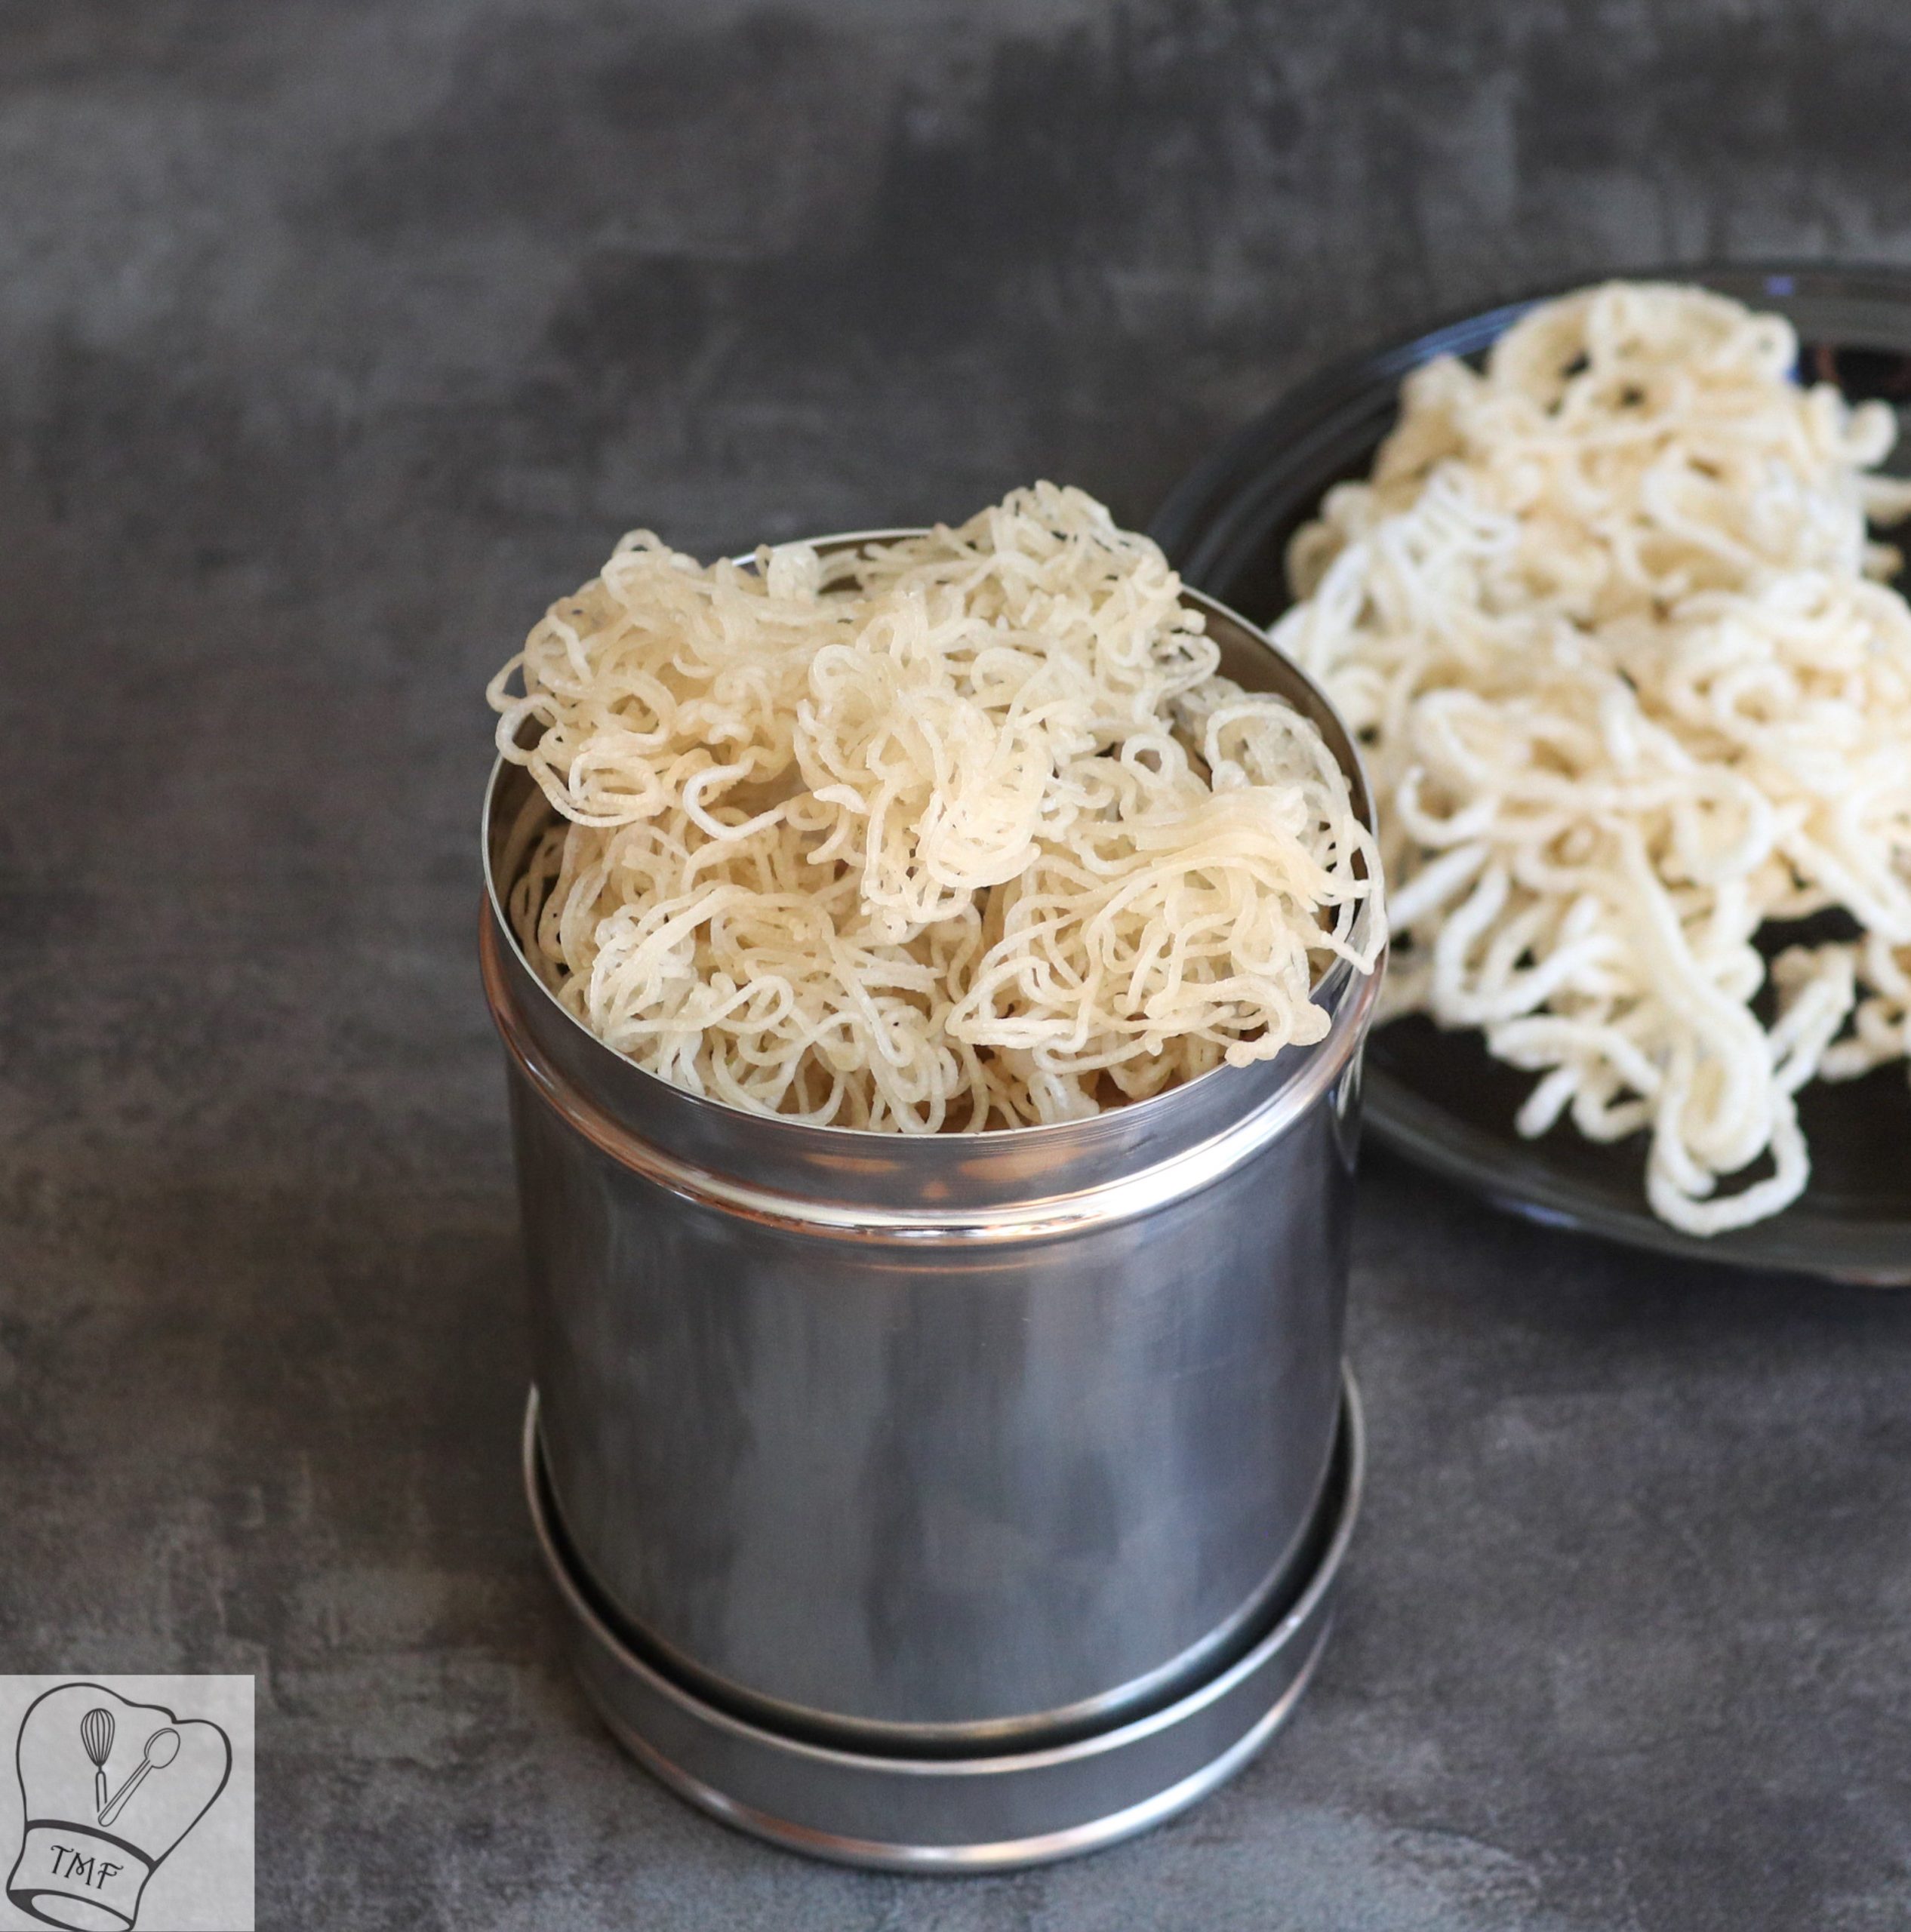
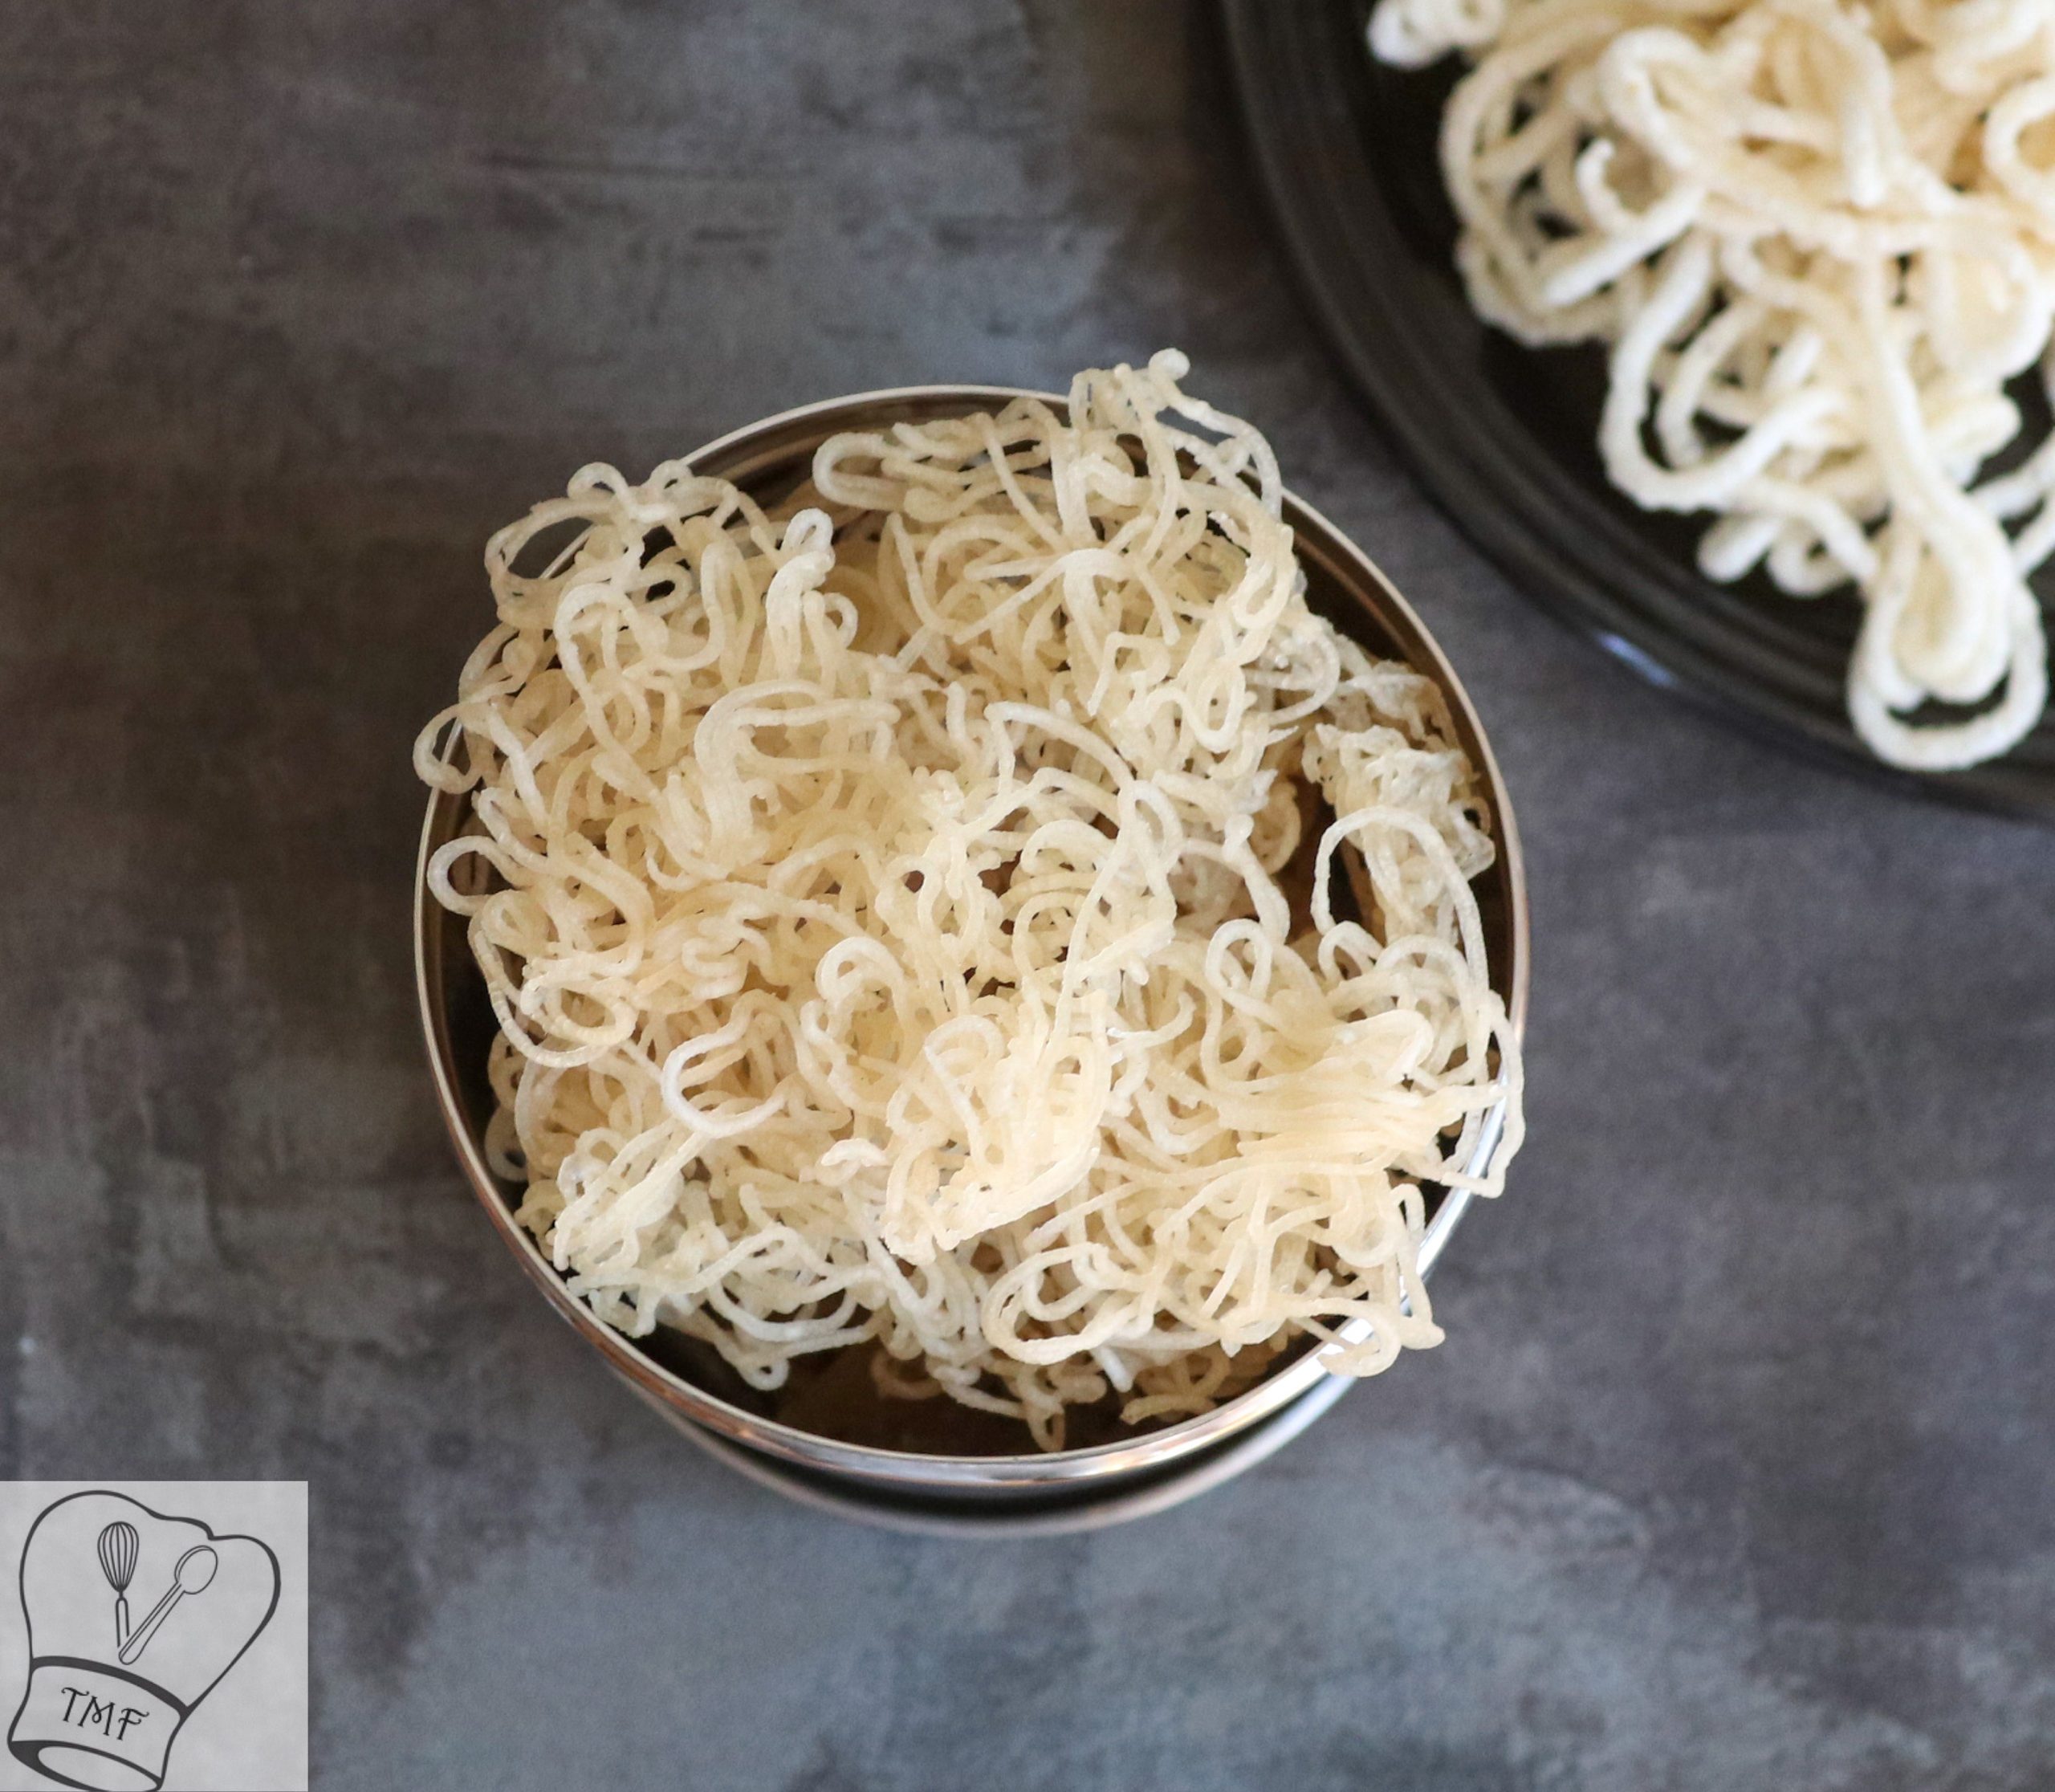
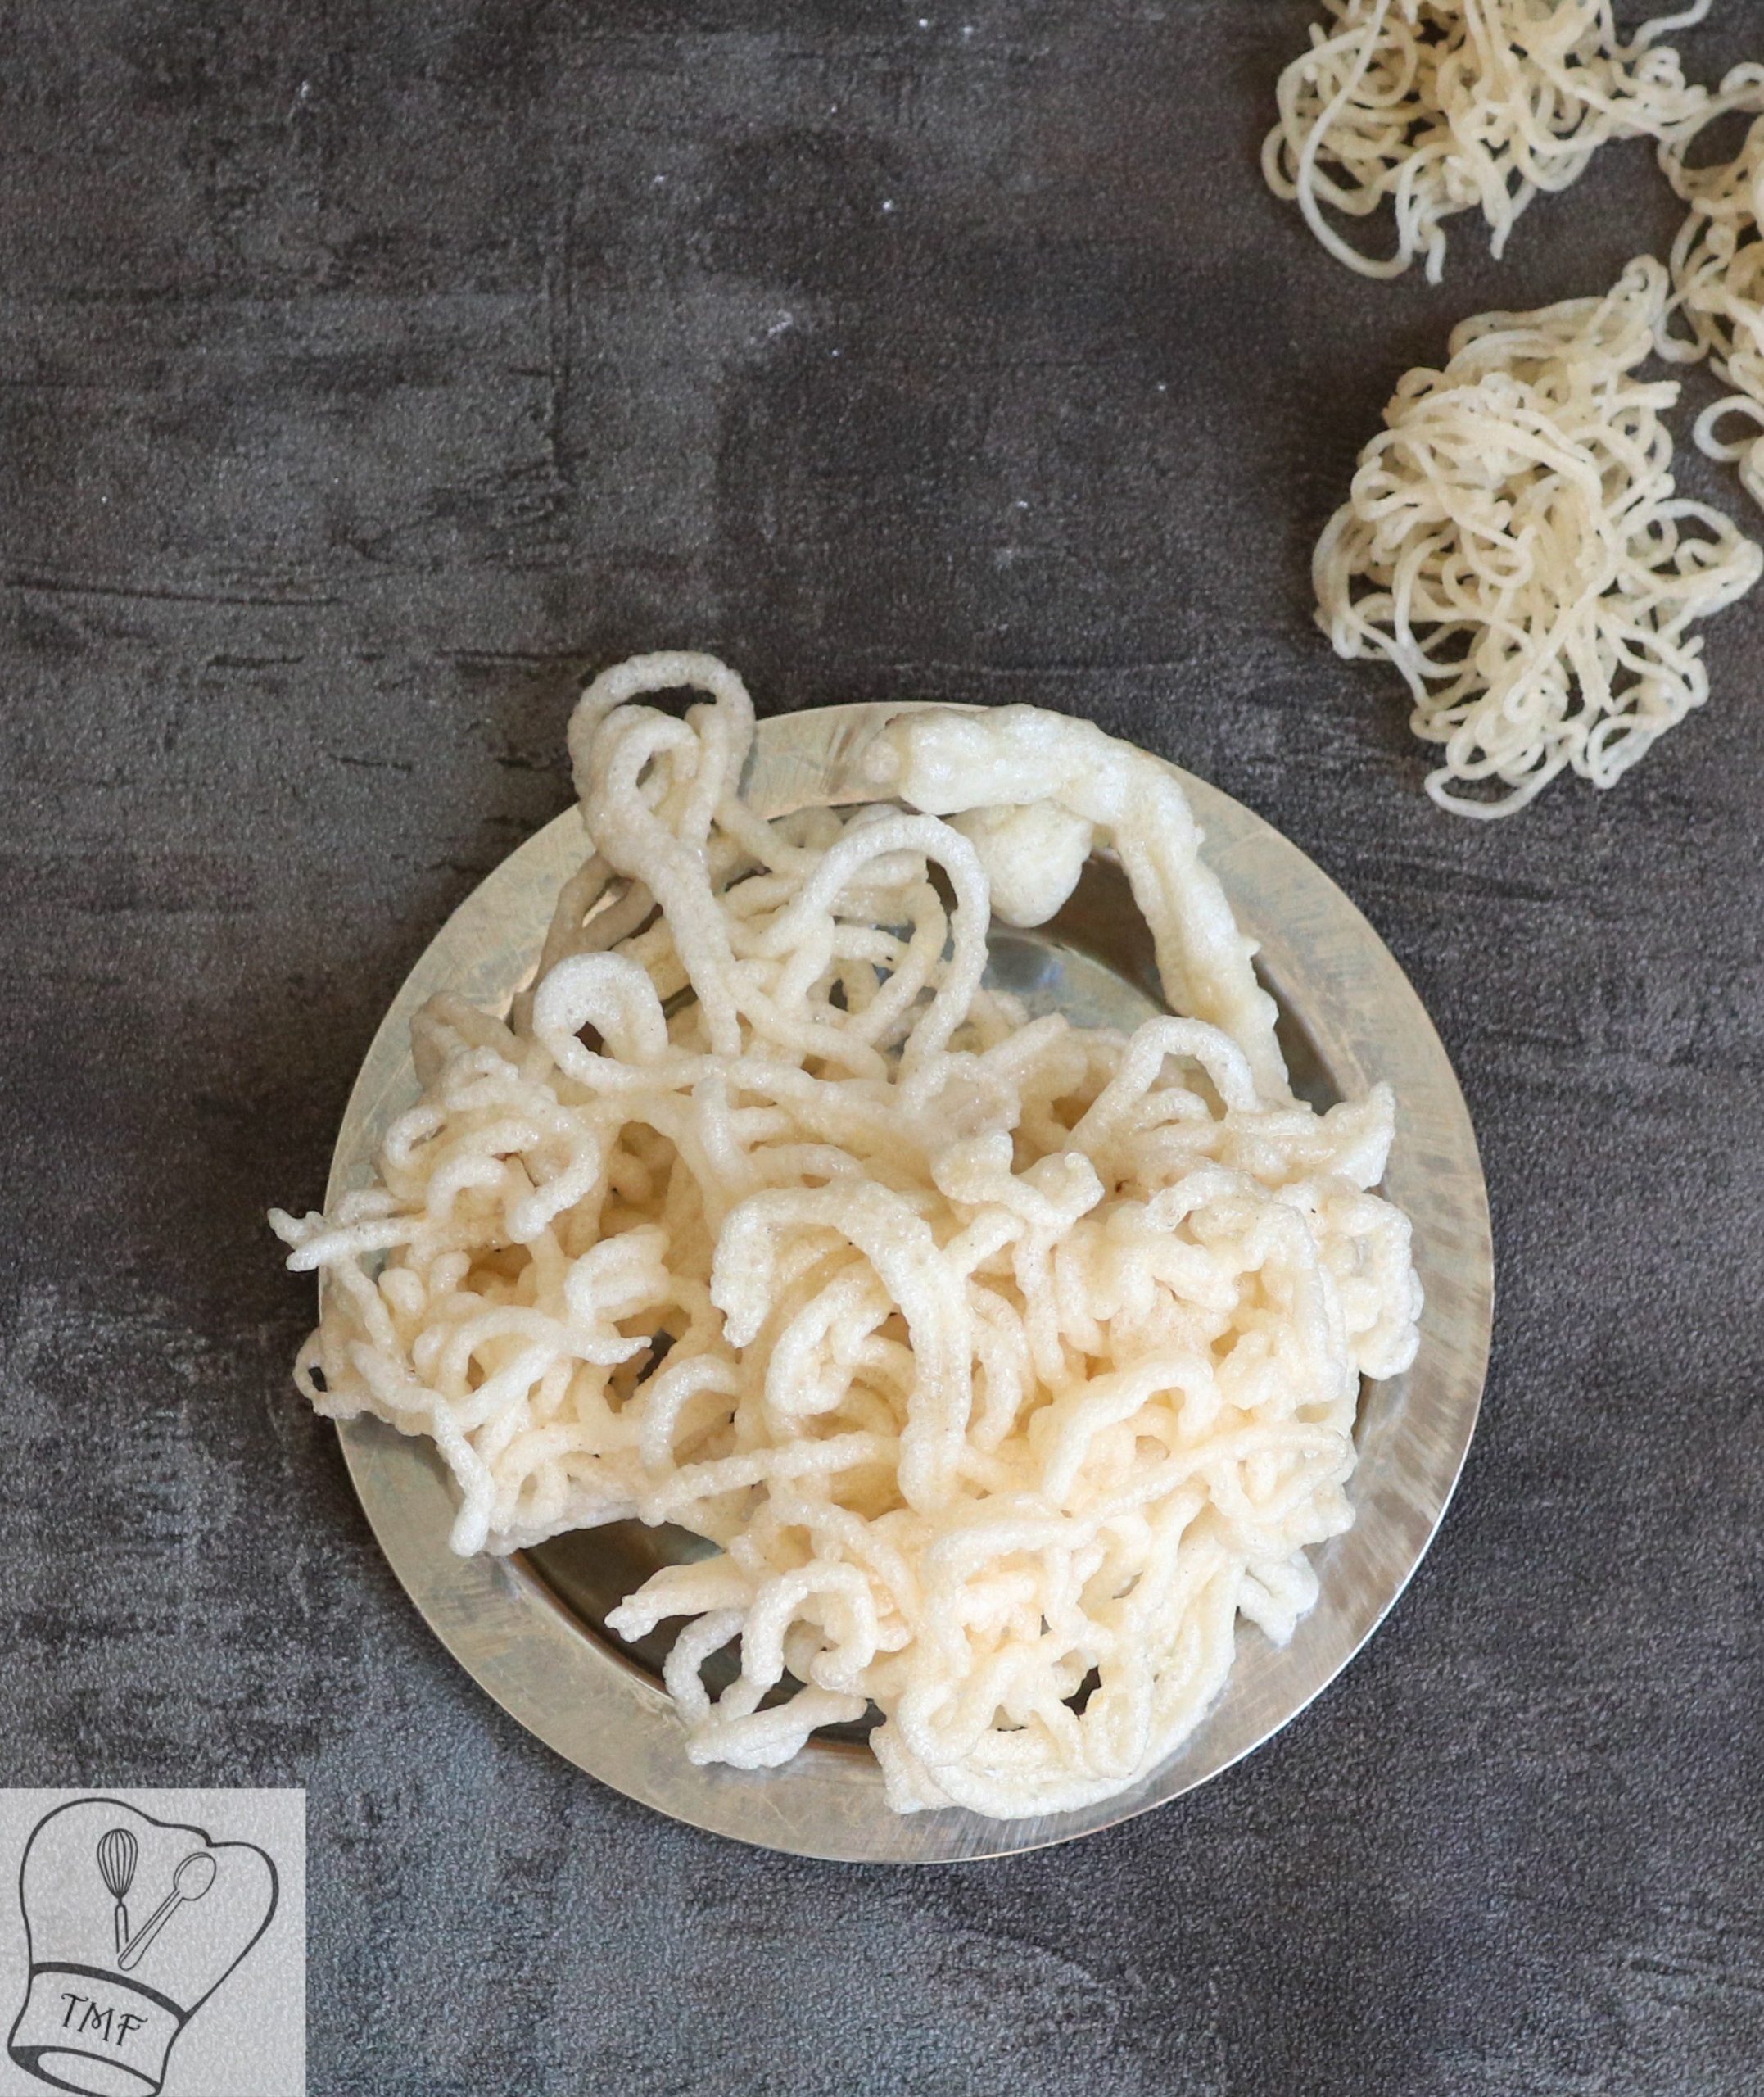
Arisi Vadam | Arisi Vathal | அரிசி வடம் செய்வது எப்படி | அரிசி வத்தல் | koozh vadam | koozh vathal detailed step by step photo and video recipe. Check out the Arisi Vadam video and if you like the video pls SUBSCRIBE to my channel
Arisi Vadam | Arisi Vathal | அரிசி வடம் செய்வது எப்படி | அரிசி வத்தல் | koozh vadam is a tasty homemade fryum that's can be easily prepared with store brought rice flour and javvarisi.
The moment I think about summer Vadam is something that comes to my top of the head. Amma makes javvarisi, Arisi Vadam , vengaya Vadam every year. I love eating Vadam maavu. I do frequent trips to upstairs to eat Vadam maavu. That half dried Vadam just tastes perfect.
When to put Vadam?
Always plan and put the Vadam. Make sure you get good 3 consecutive sunny day for Vadam to dry well in the sun.
For the past two weeks it had been super sunny here in Seattle and we utilized it best. Amma made Arisi Vadam, javvarisi Vadam and my bestie made Ellai Vadam. Hopefully you will be seeing some Vadam post in TMF.
What kind of Rice flour should I use for Arisi Vadam?
Back in India Arisi Vadam is made by grinding Rice and sago in mill. Here in USA that’s not possible . Few years back when Amma visited us she experimented it with rice flour and sago, rice flour and sago flour- bingo Amma came up with a perfect recipe for homemade Arisi Vadam.
I have used store brought rice flour as it makes the process super easy and convenient instead rice flour can also be made in home. Every store brought rice flour varies slightly always buy a super fine rice flour which is must as it will be easy to press. I buy Udupi rice flour but any fine rice flour should works fine for Arisi Vadam
Should I use Sago for Arisi Vadam?
If you are planning to make Arisi Vadam with just rice flour like koozh Vadam, sago is not required I will be sharing that recipe soon. For this particular version sago is must as it gives nice texture and crispness for the Vadam.
 Can I use store brought sago flour instead of sago?
Sago flour can be used instead of sago but required extra water and dough is slightly hard to press when compared to the dough prepared with sago.
Should it be a two day job?
Since we are using sago it needs to be soaked for atleast 2-3 hours before cooking. Vadam is generally made during the morning so that it can be dried well in sun so soaking it previous night makes it easy if not we might miss sun or need to soak in the early morning
Ingredients
- 1 cup Rice flour
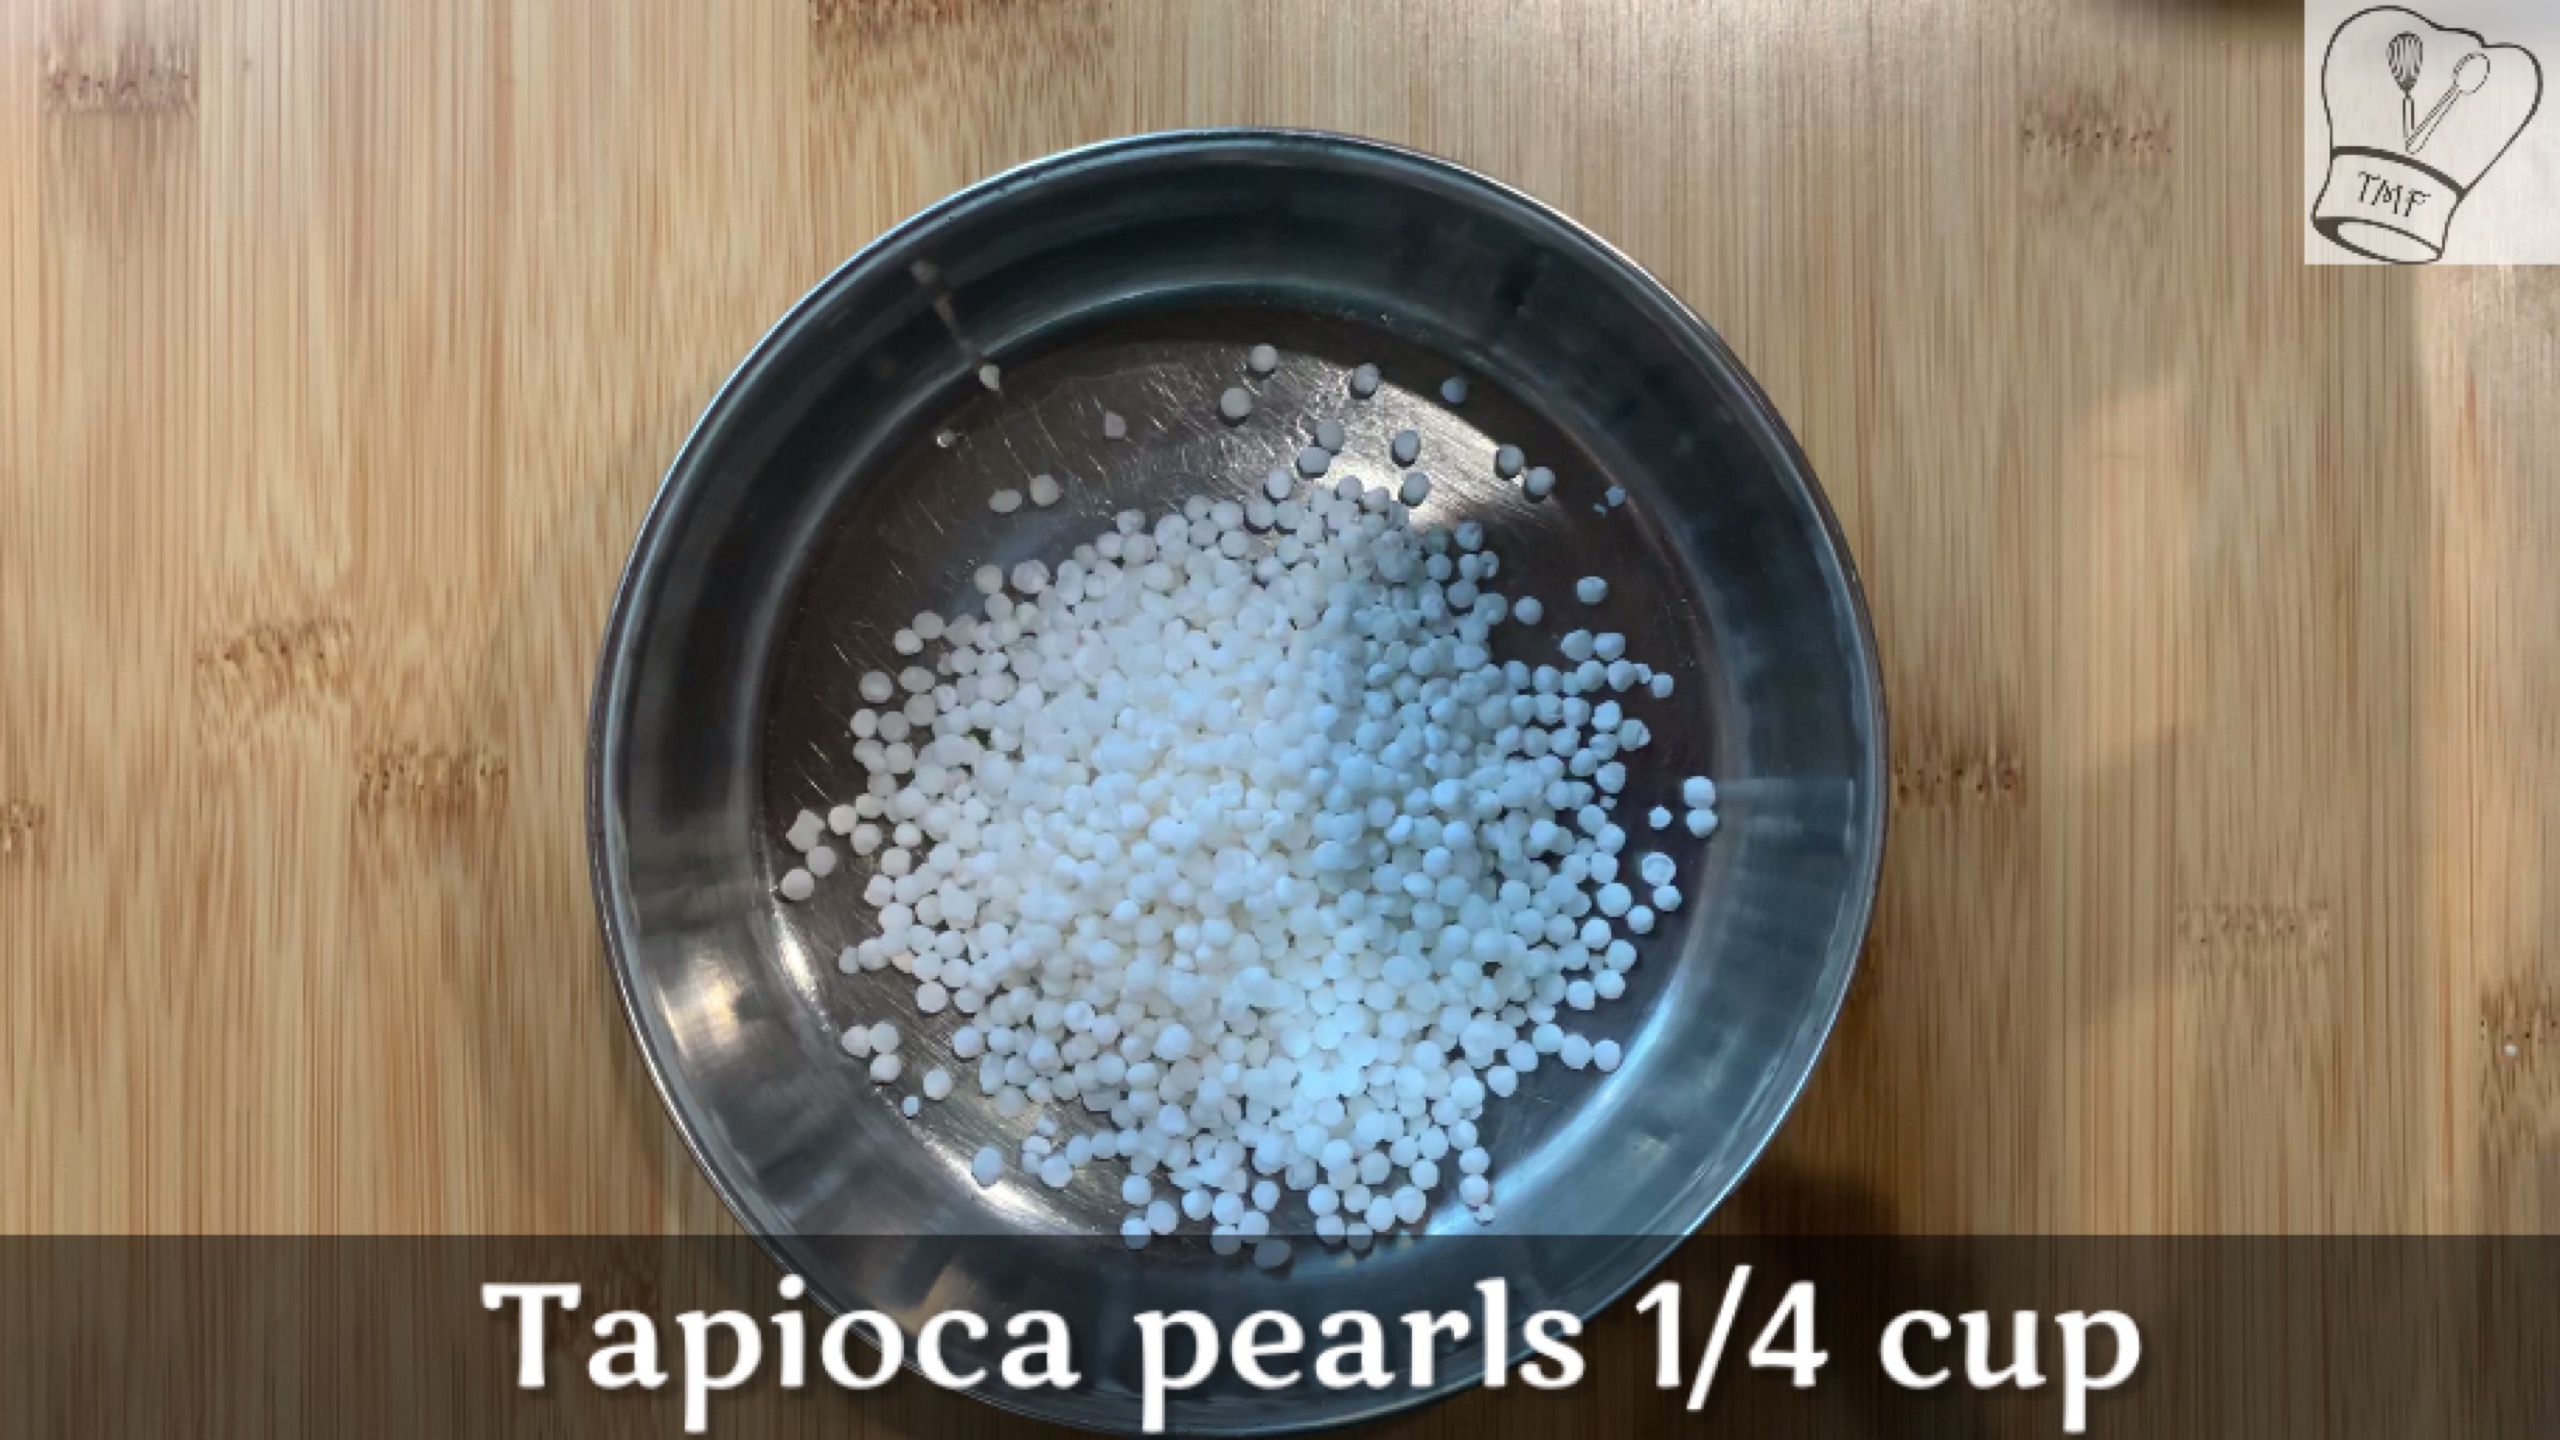
- 1/4 cup Javvarisi
- Salt - as needed
- Green Chilli - according to your taste
- Hing - generous pinch
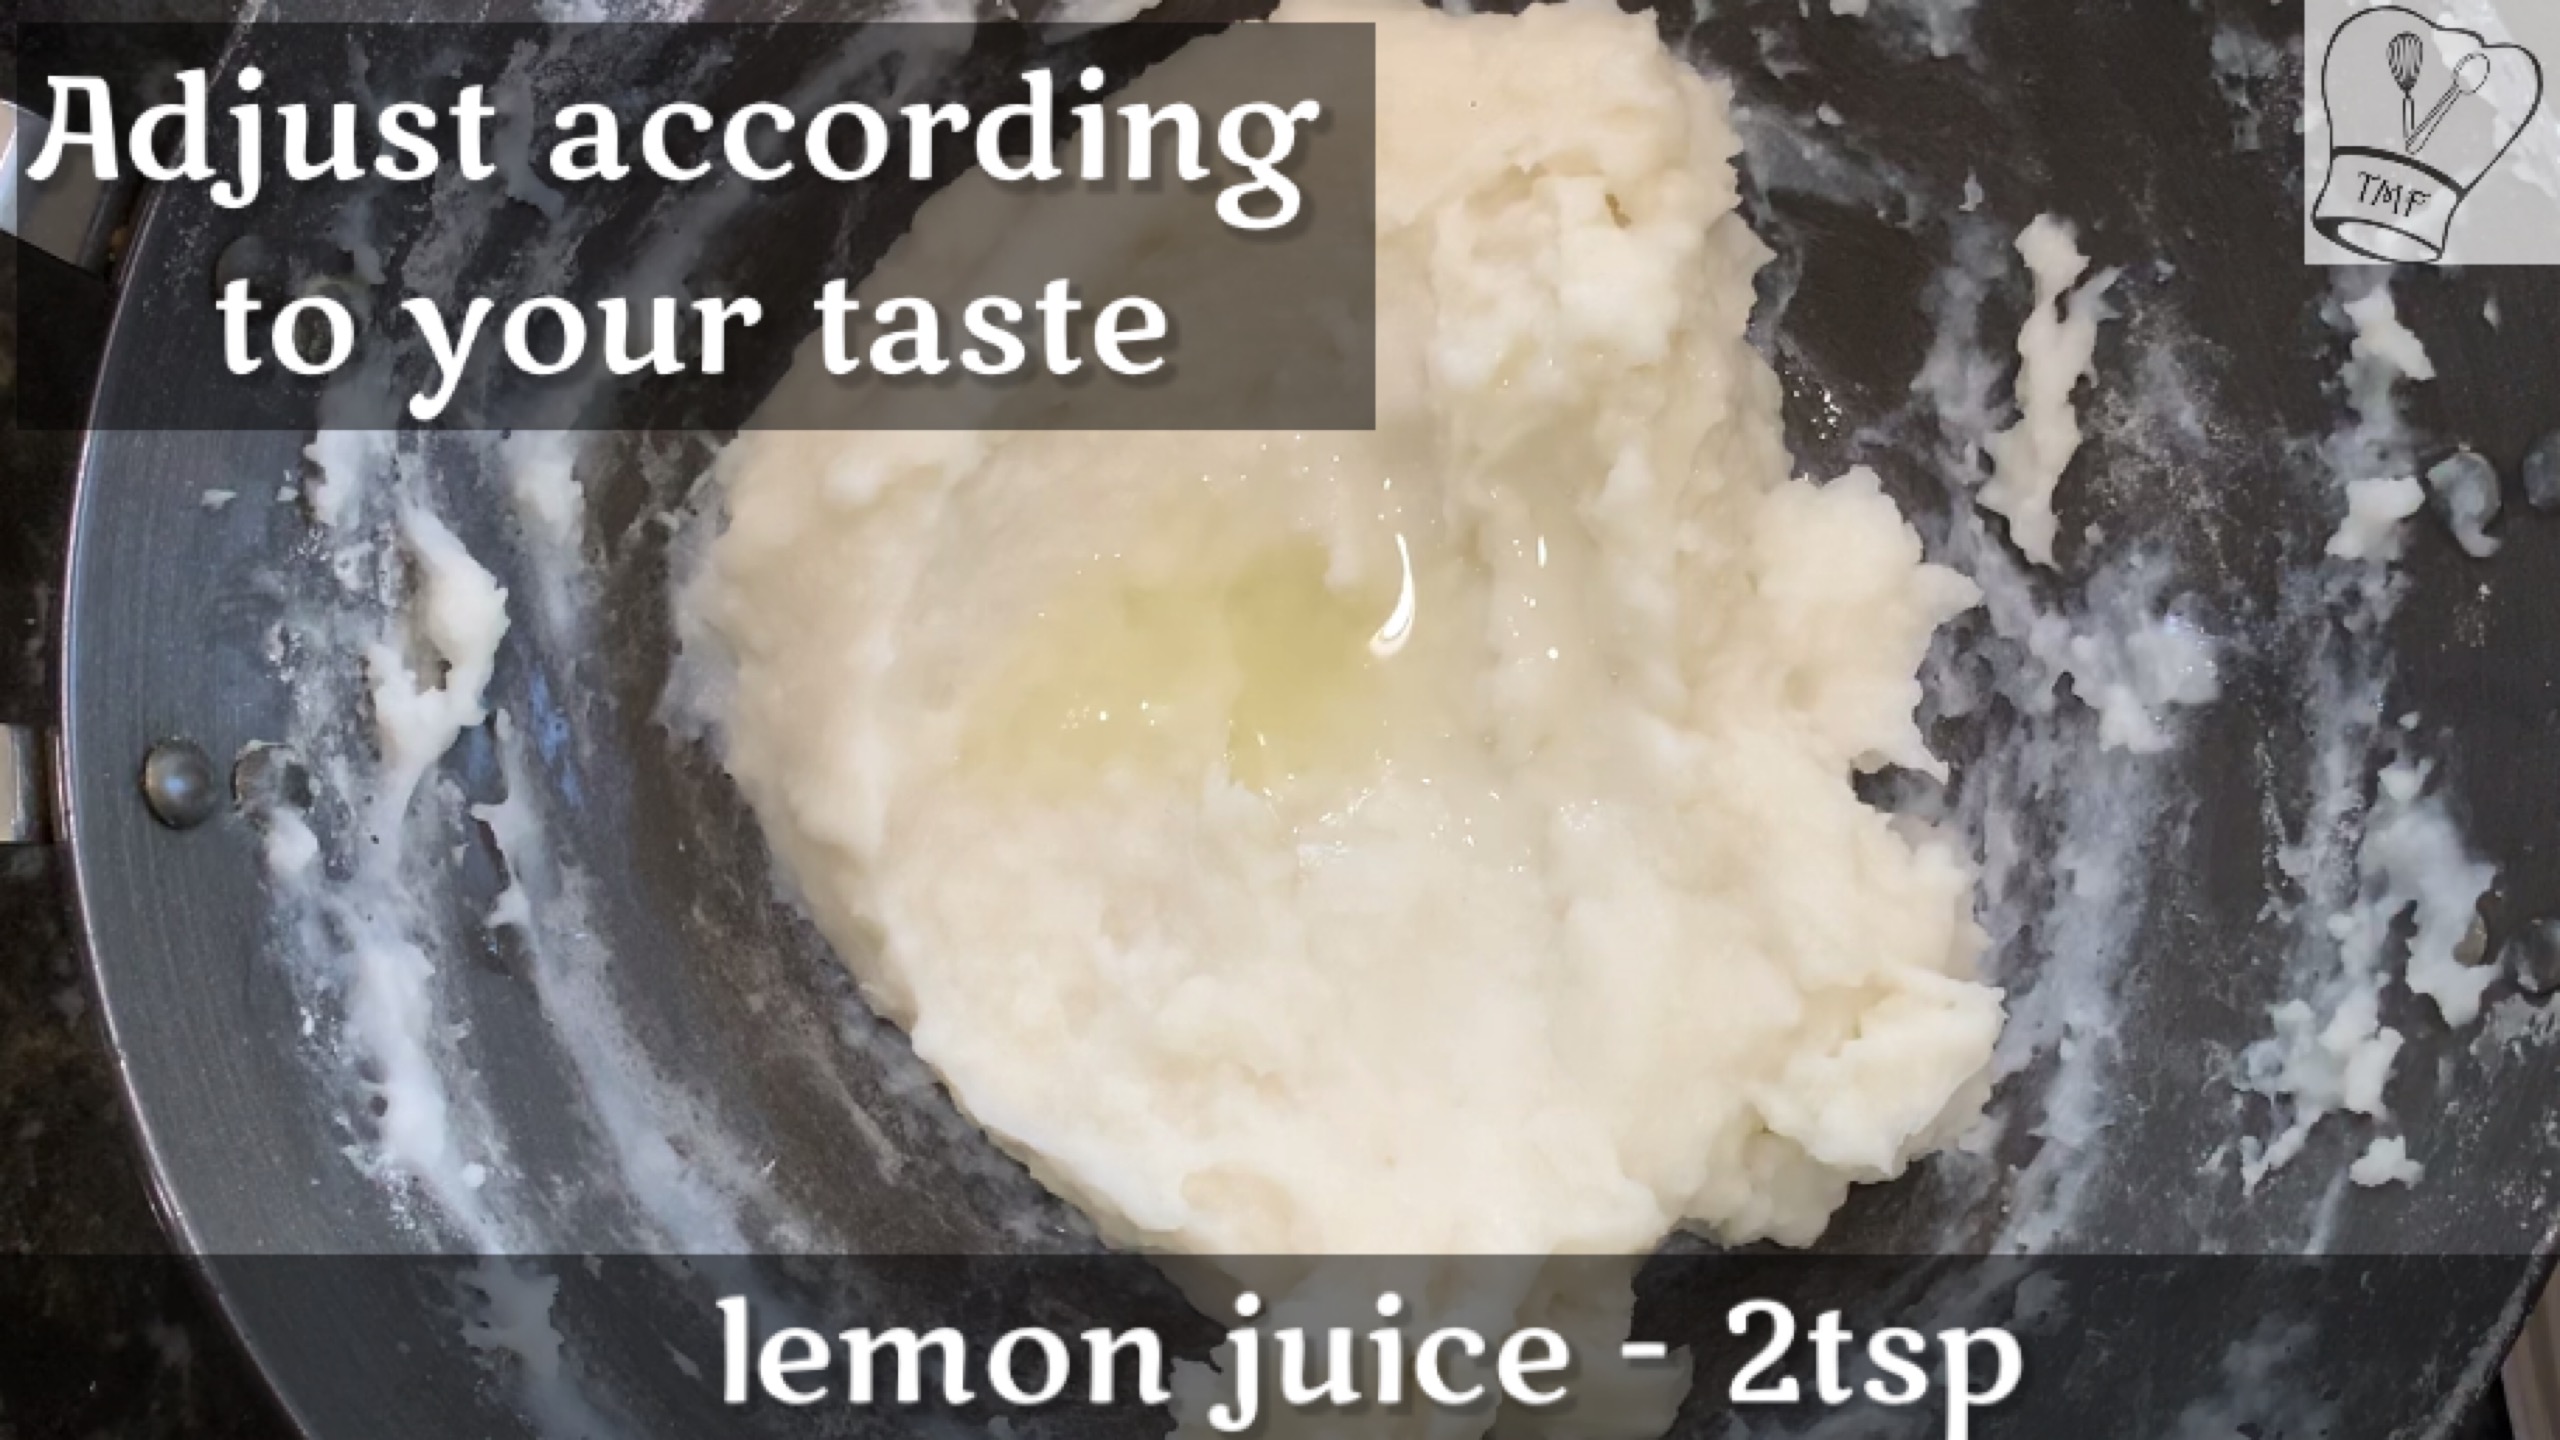
- 2 teaspoon Lemon juice adjust according to your taste
Instructions
- Rinse the sago twice just to remove the impurities not more as we need to retain the starch
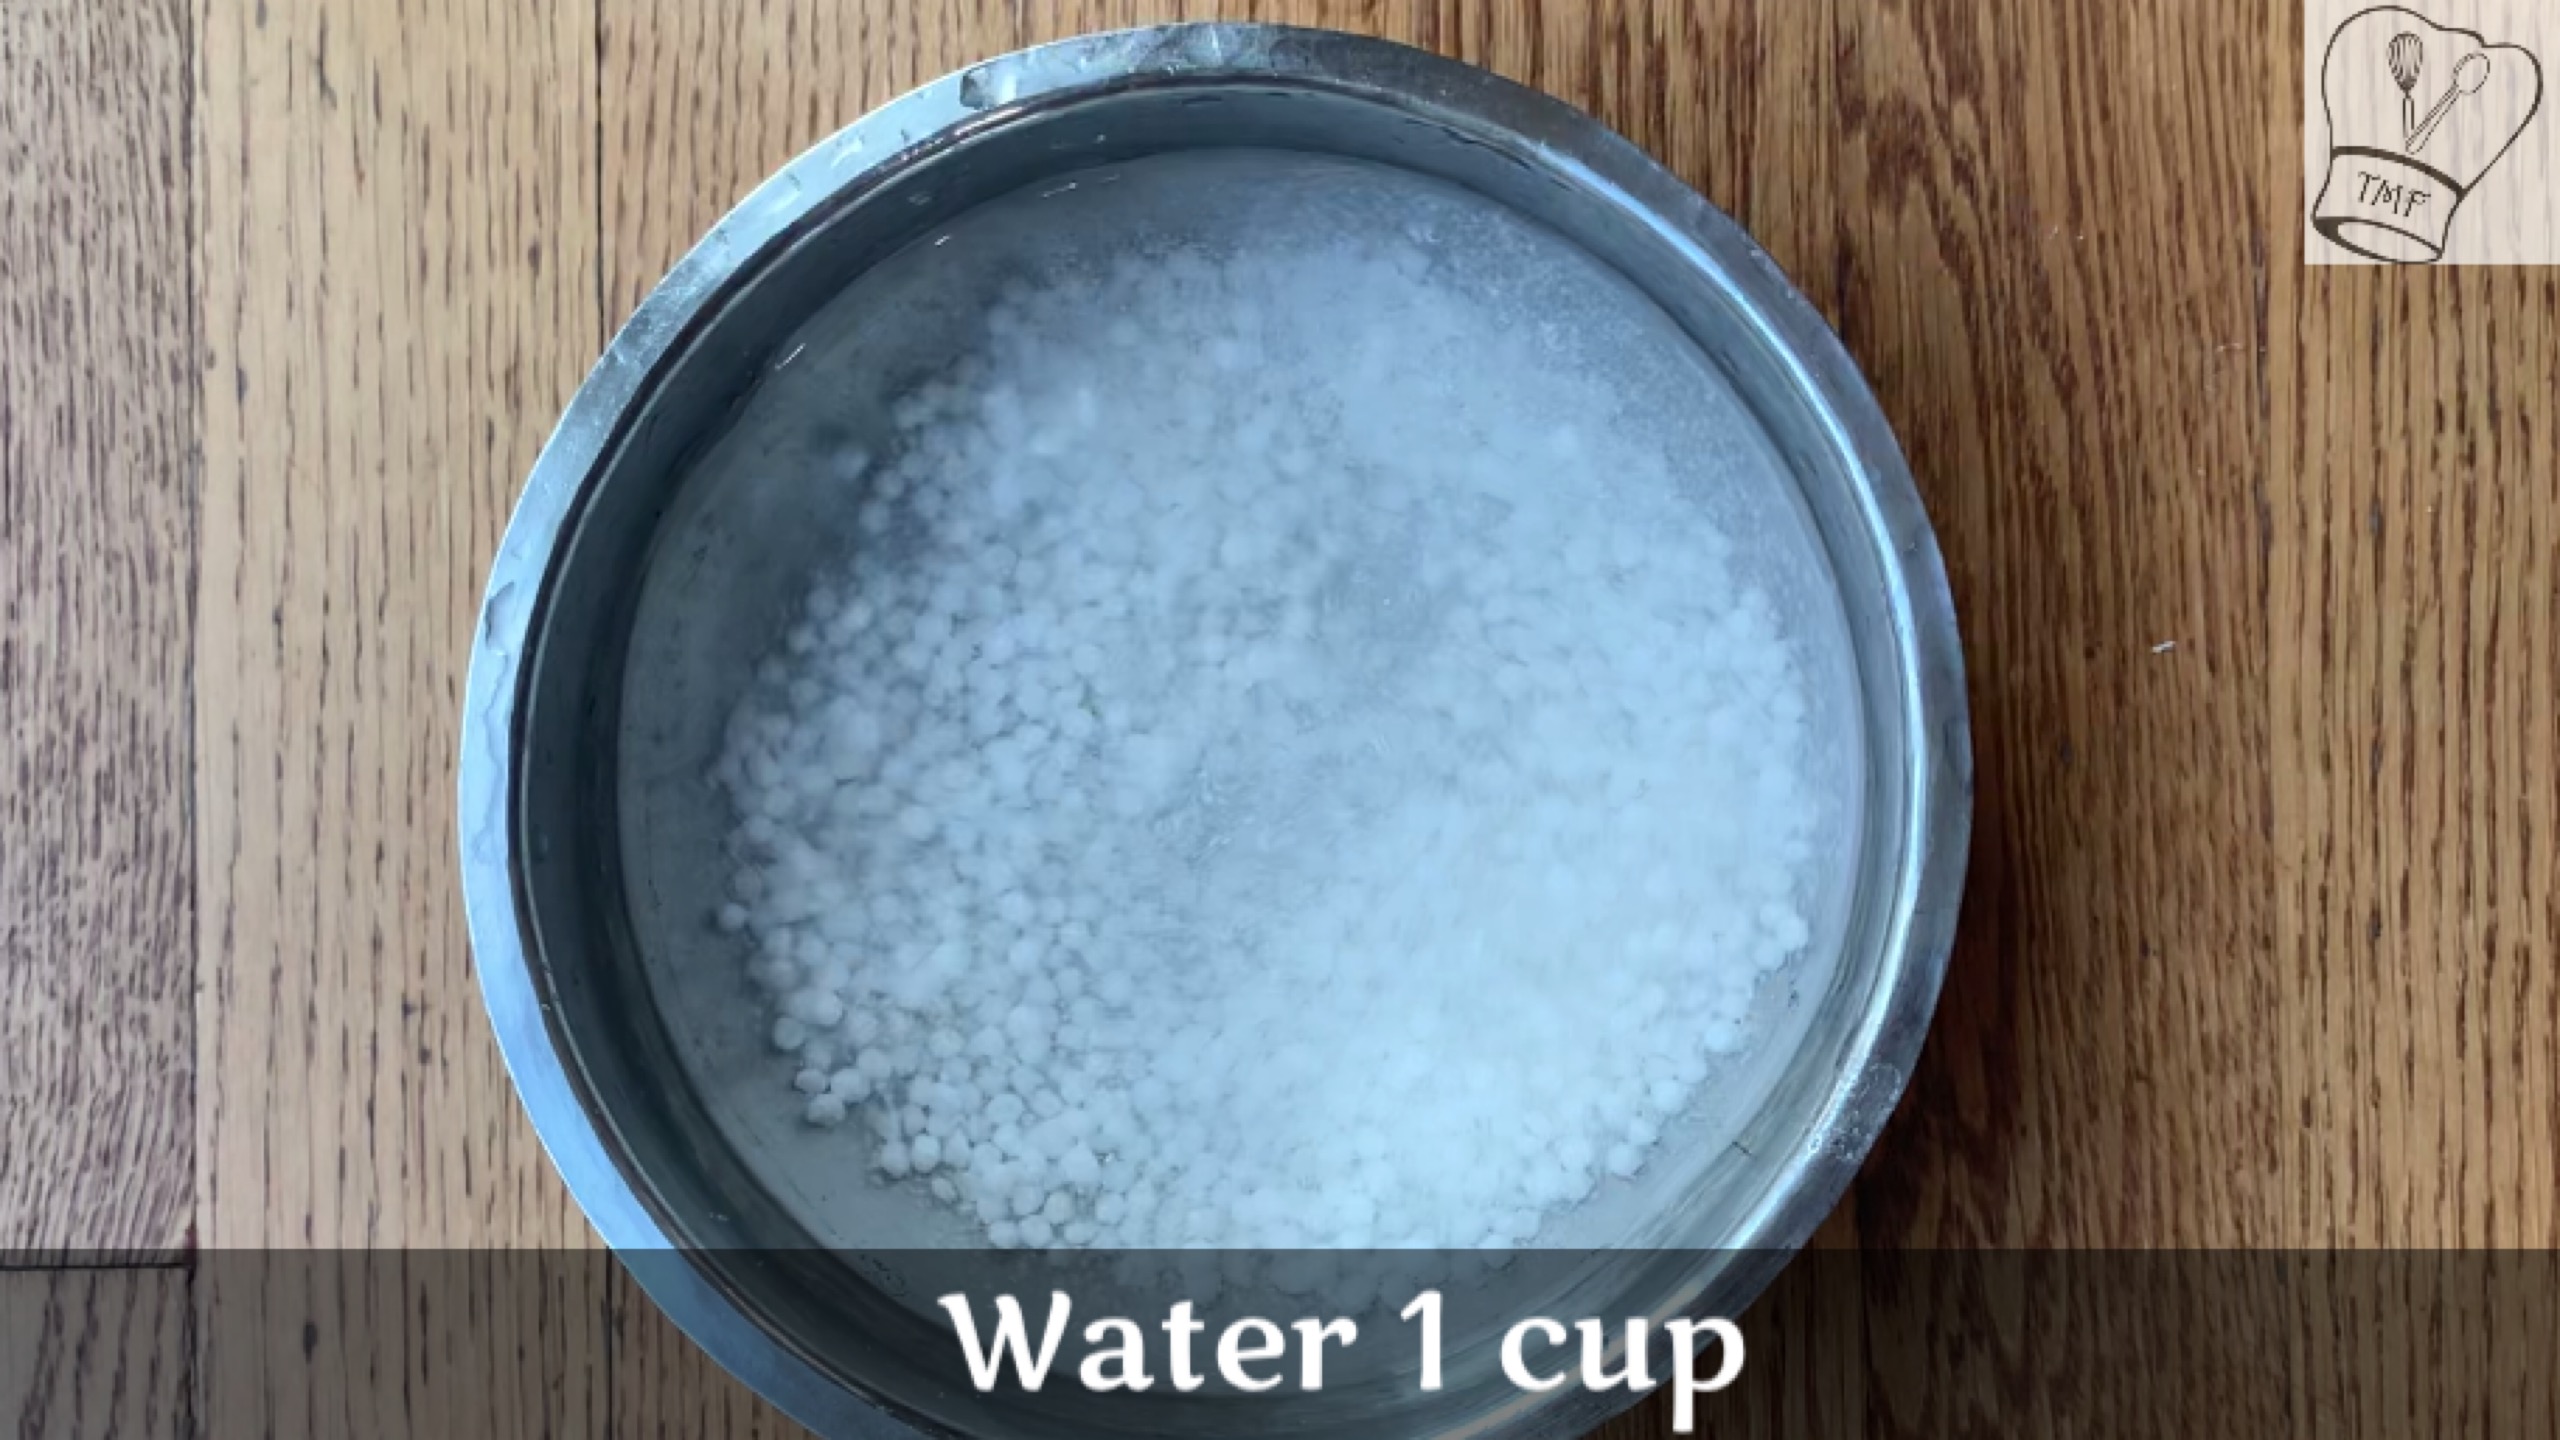
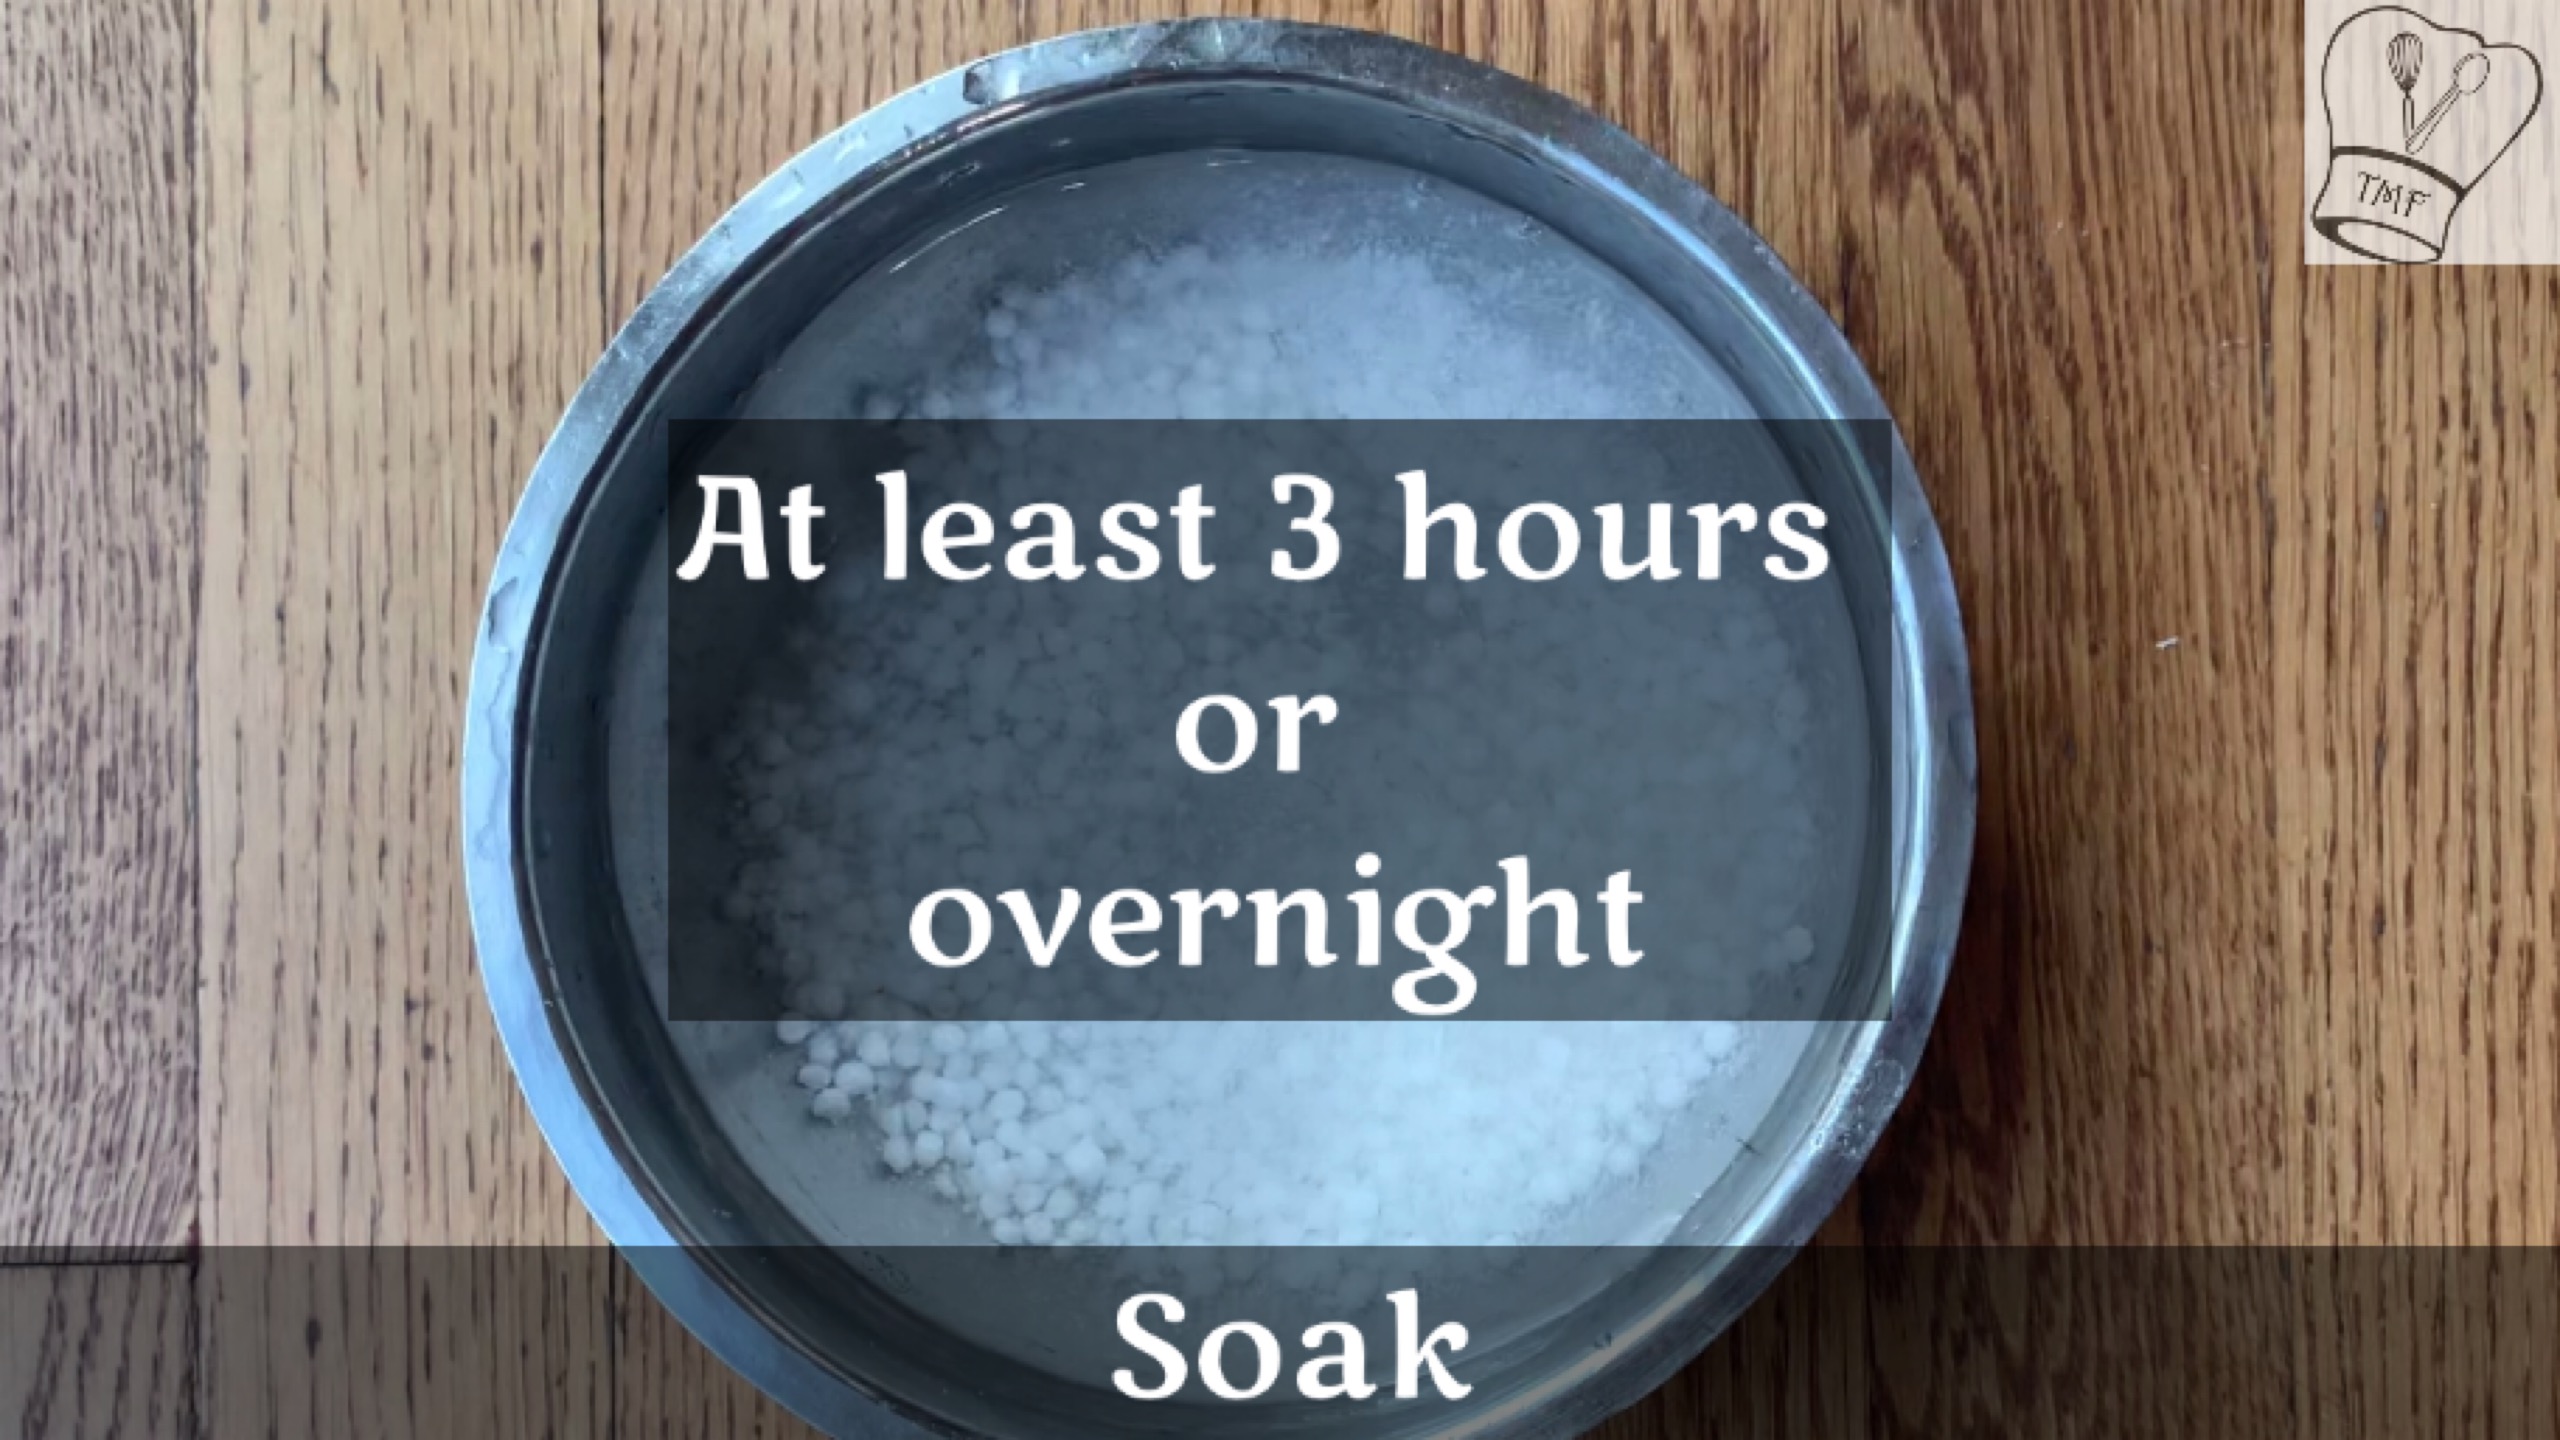
- Soak the sago with 1 cup of water overnight or for 4-5 hours
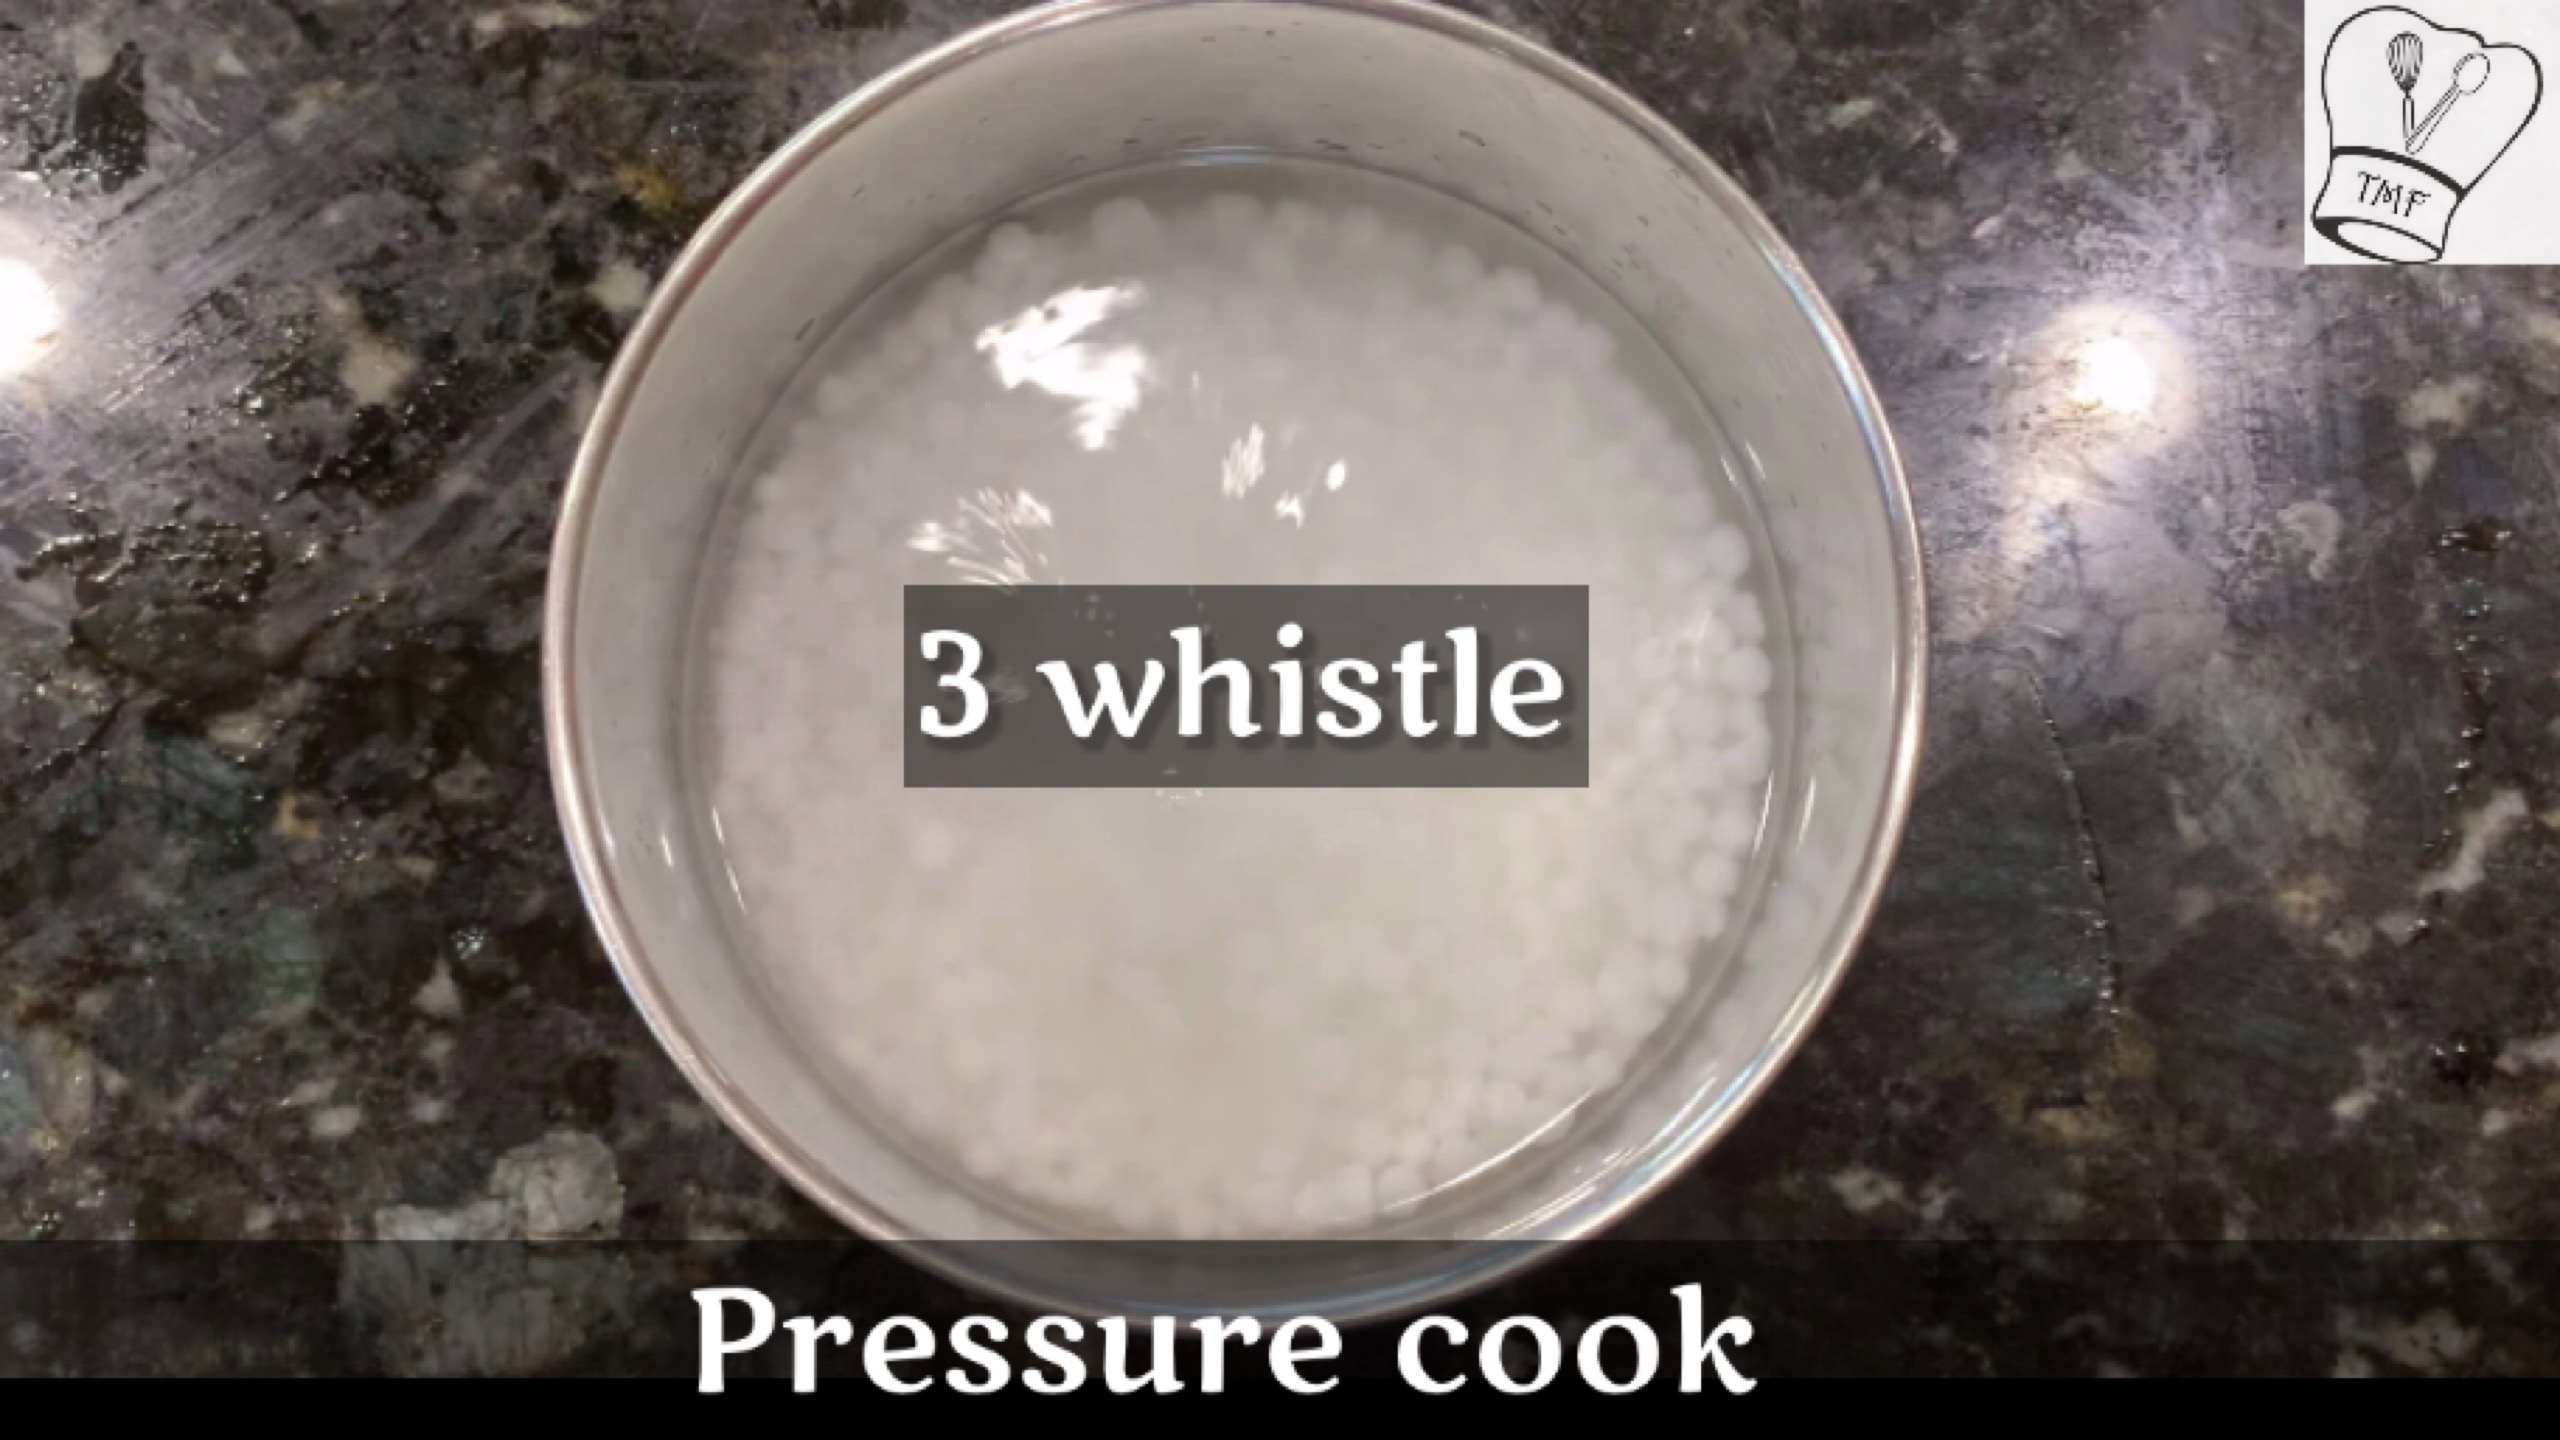
- Furthermore add 1/4 cup water and cook it in a separator for 2-3 whistles; let the pressure subsided naturally
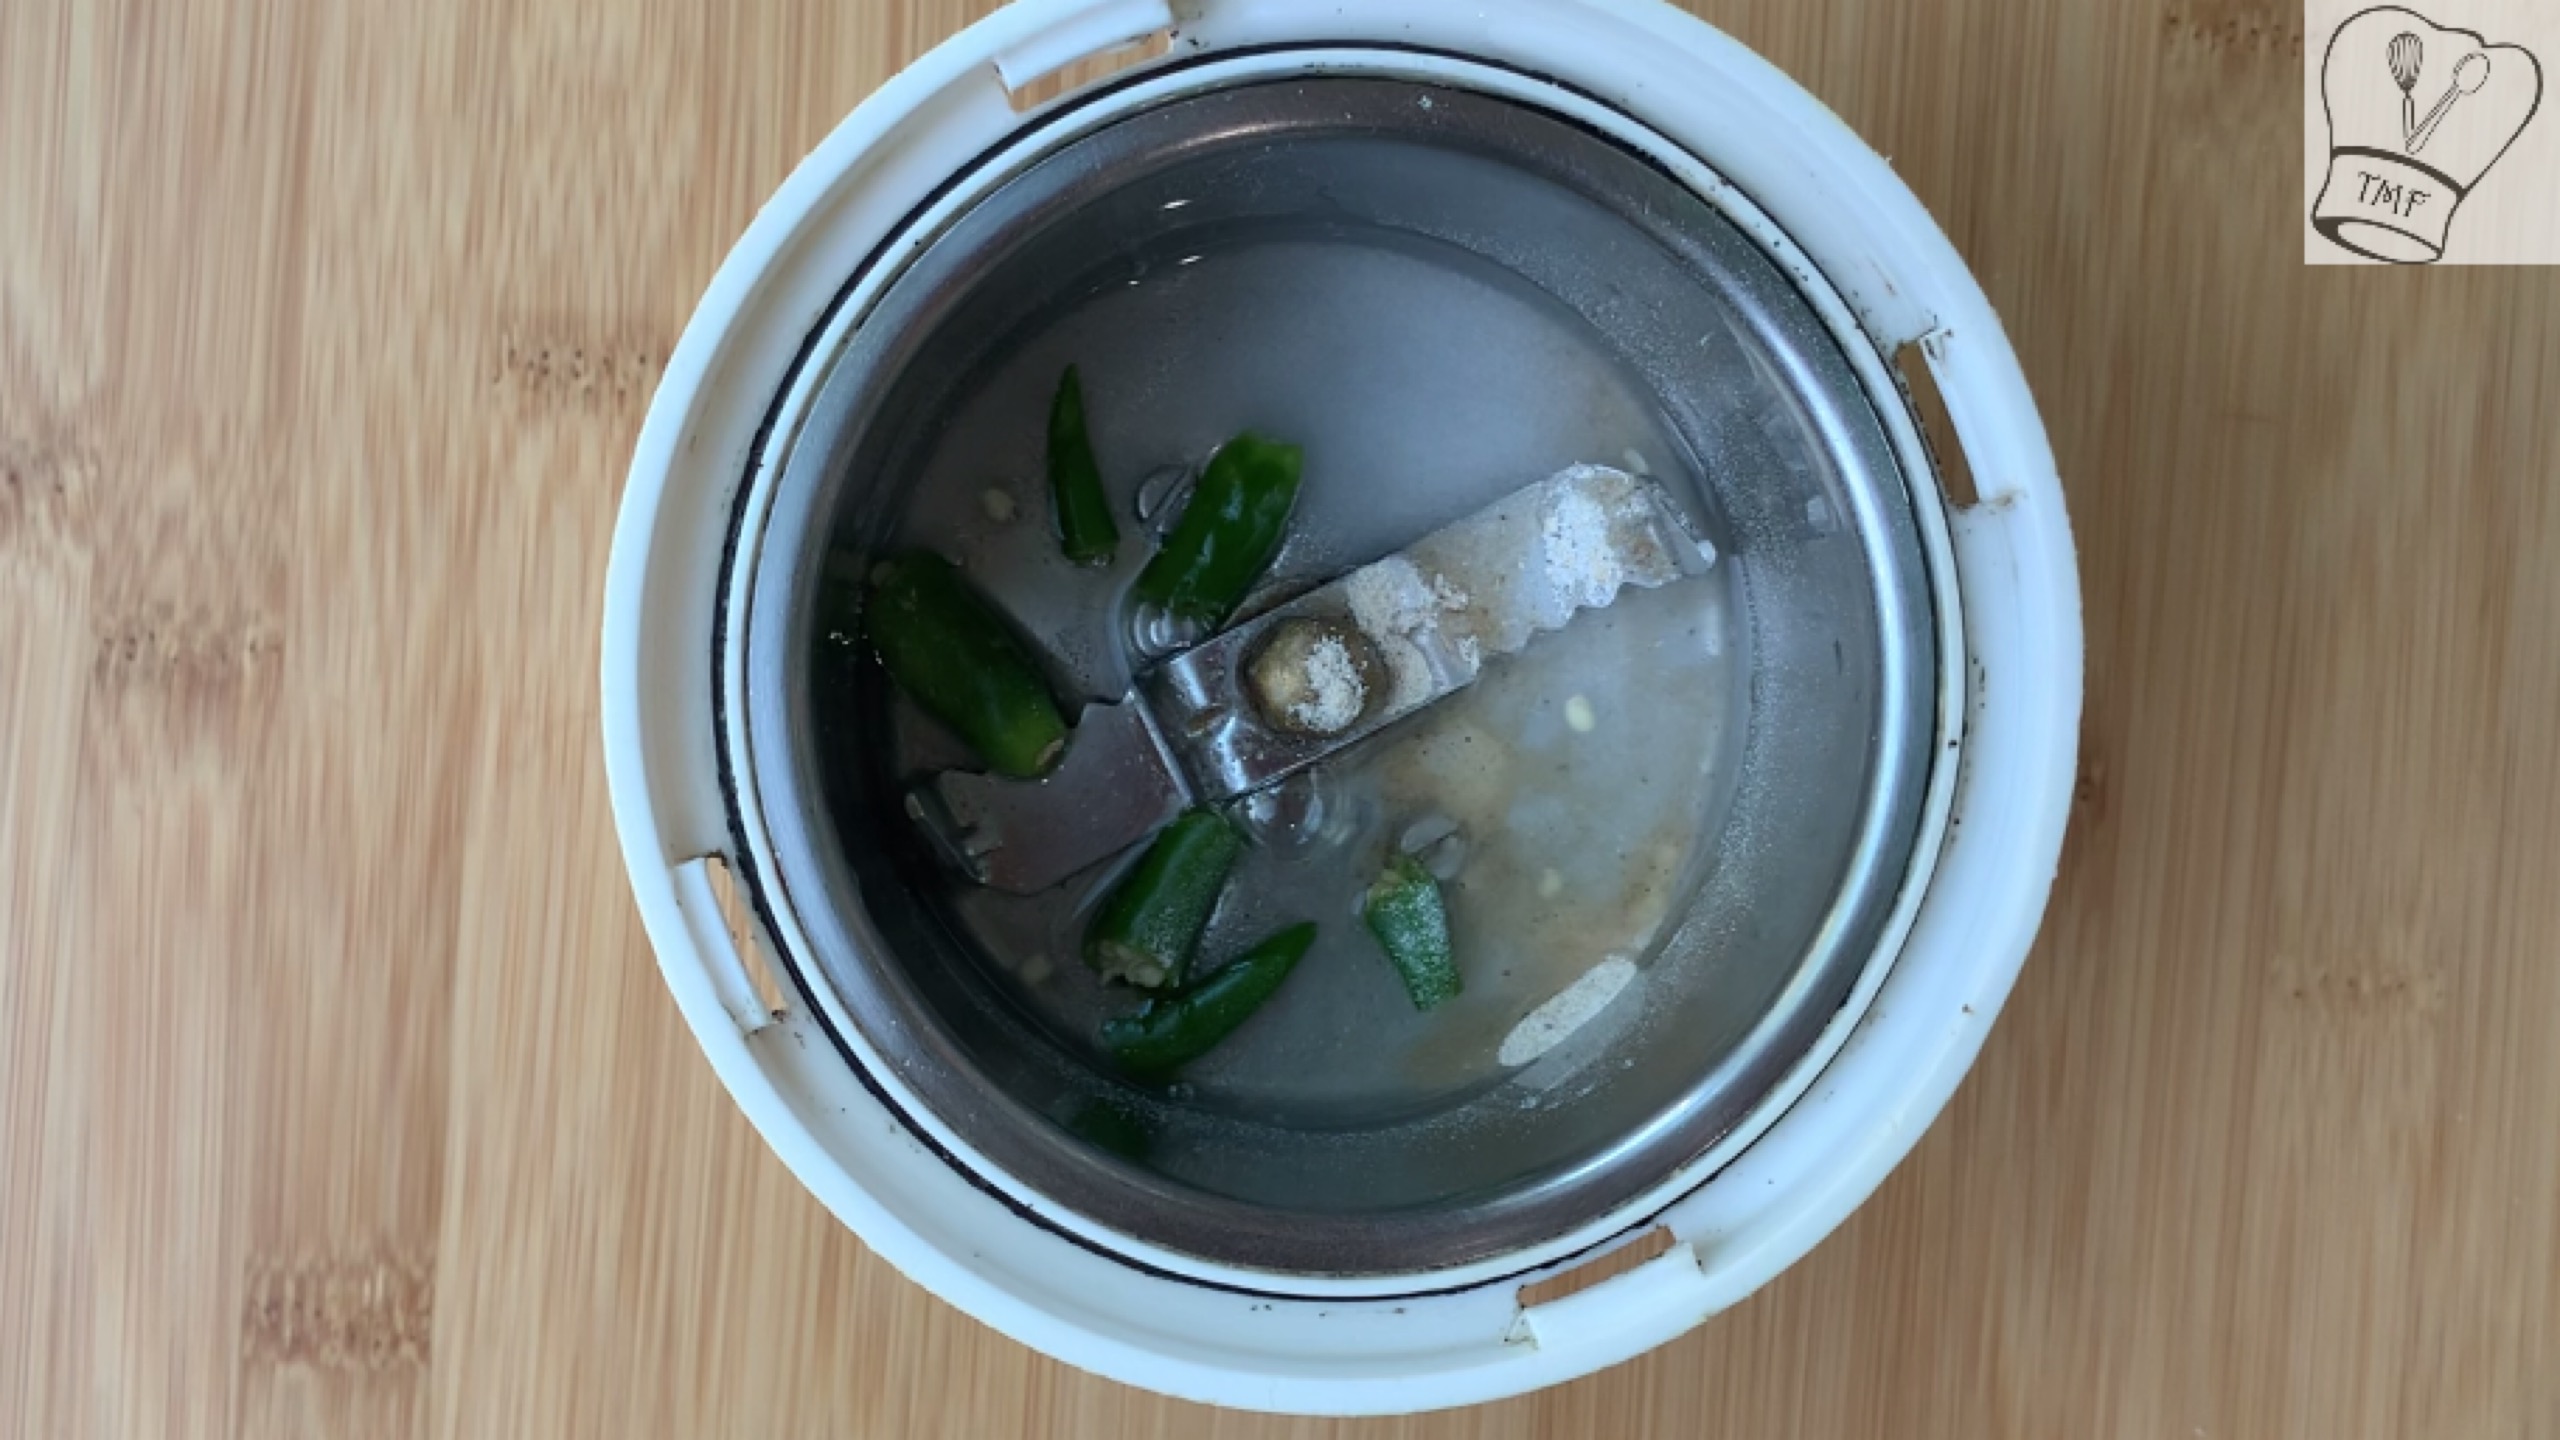
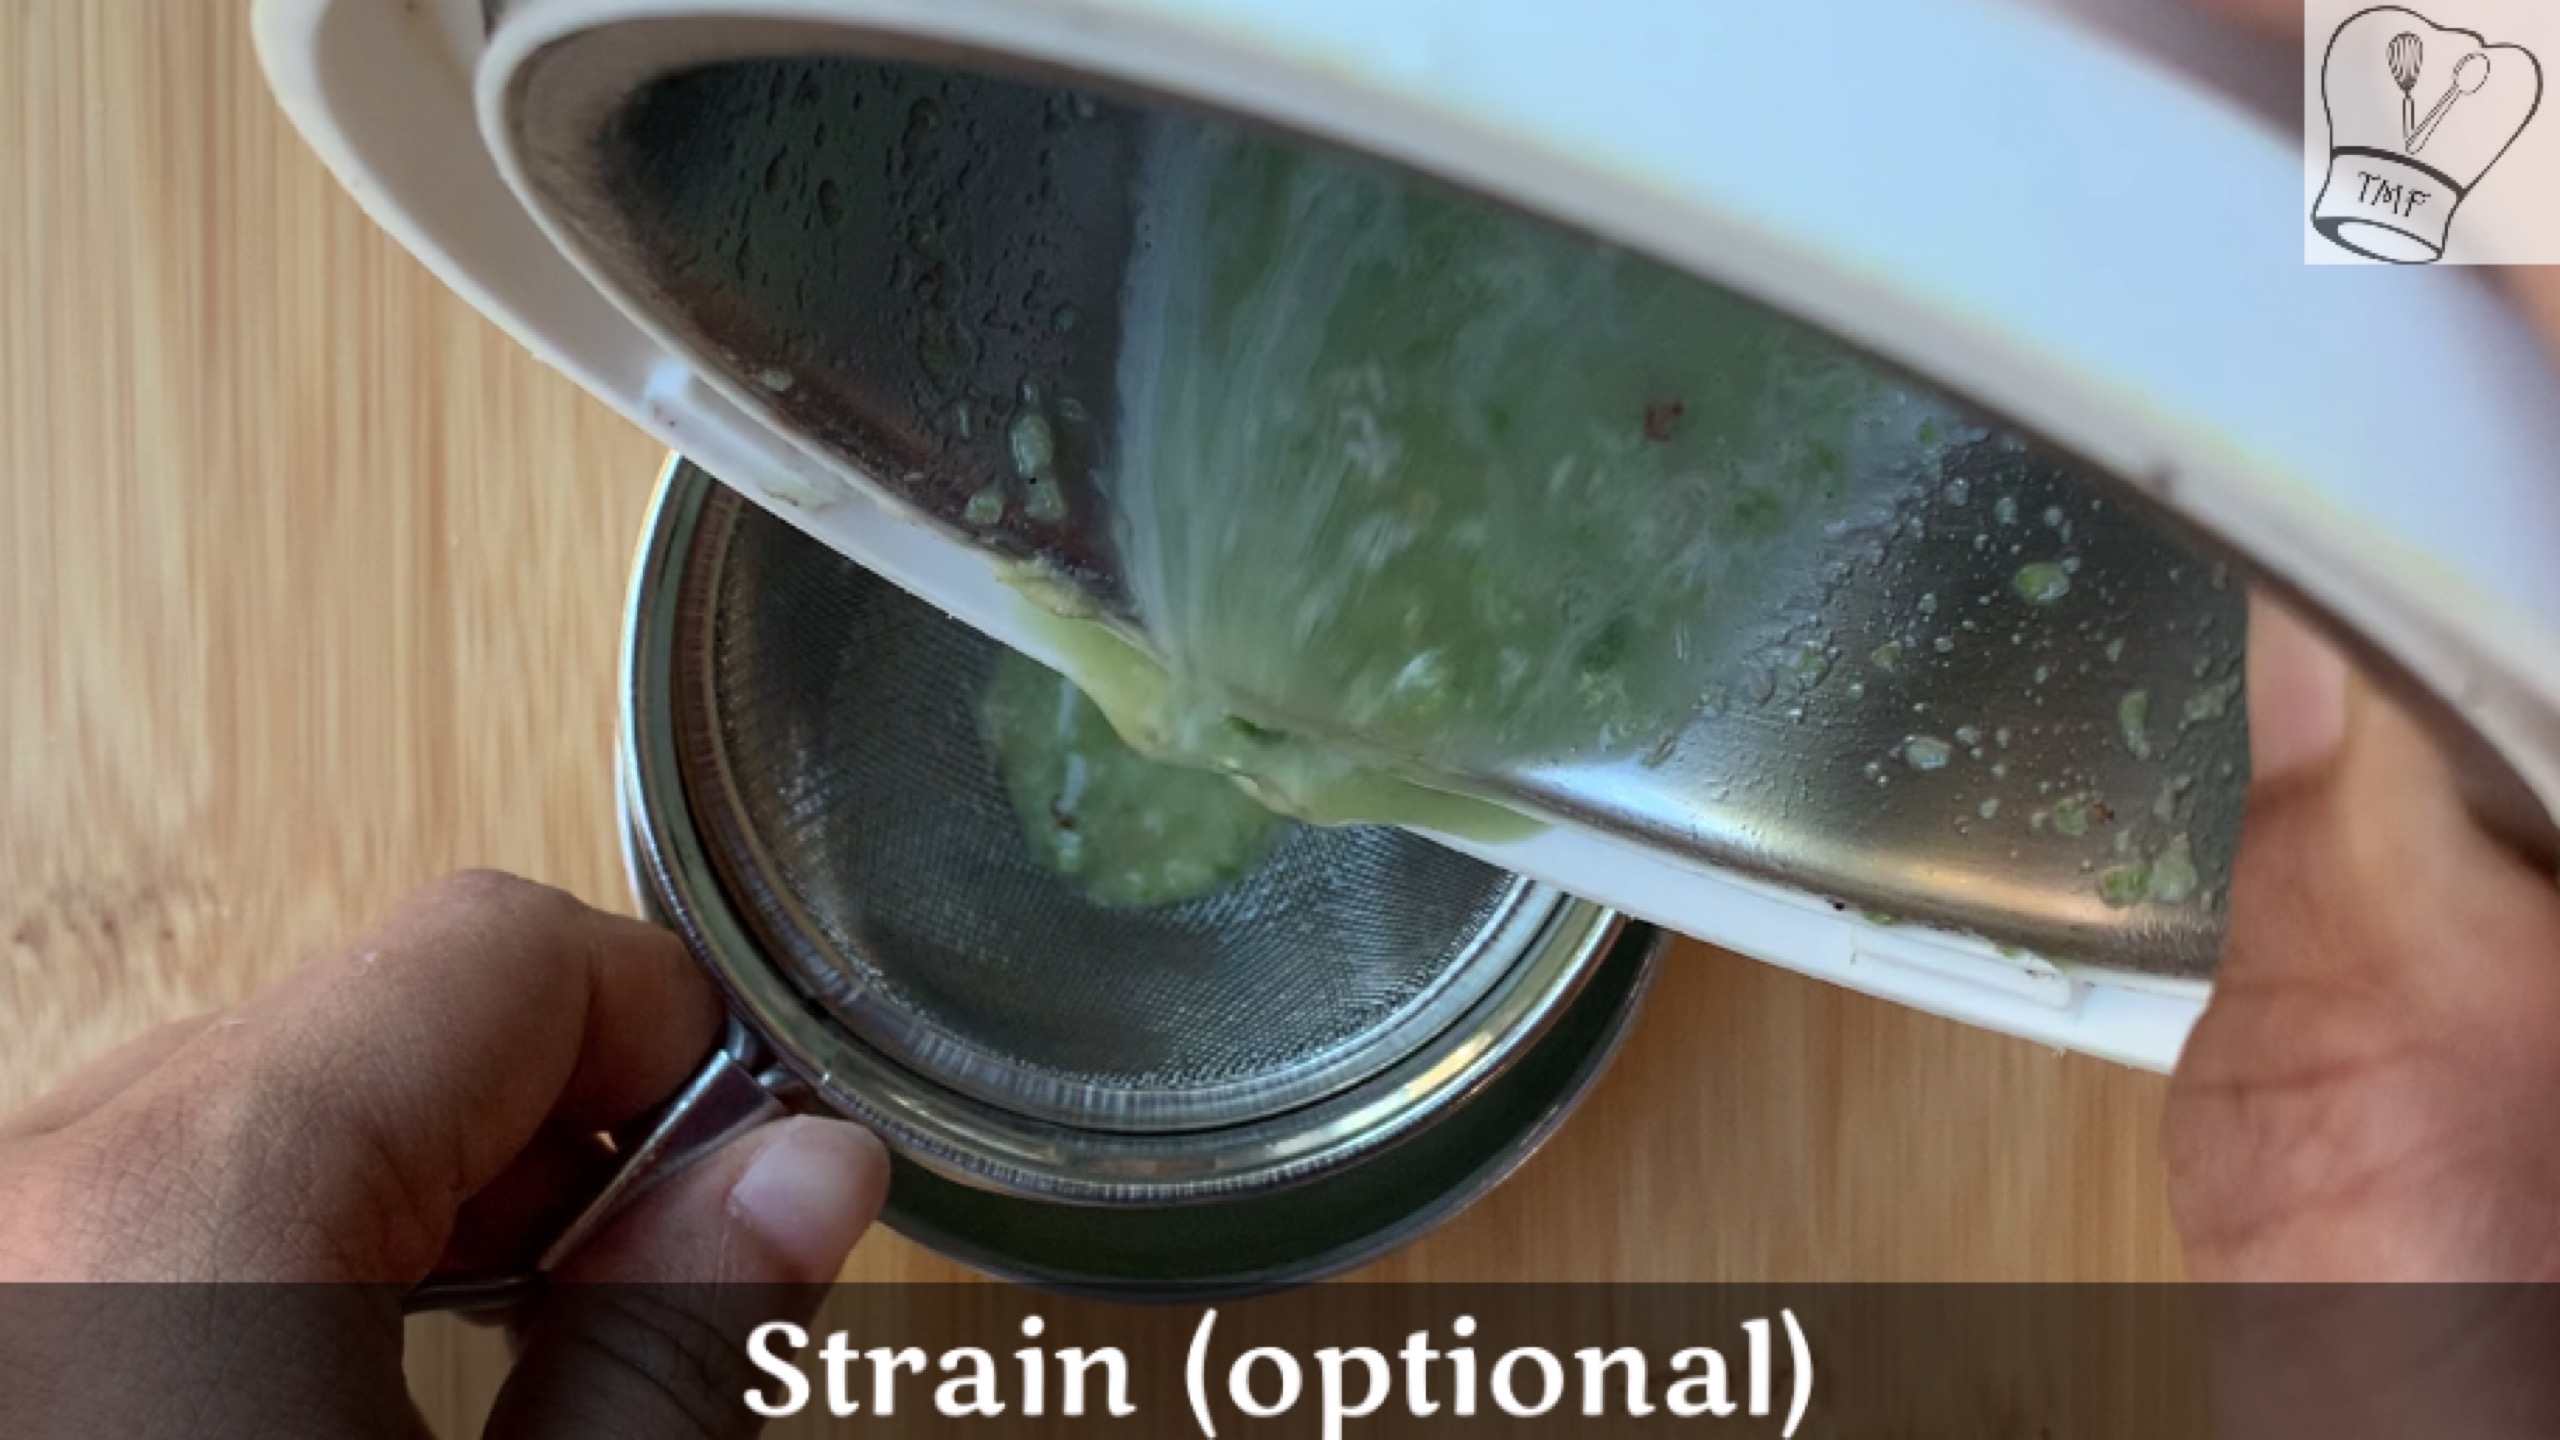
- In a small mixie jar add green Chilli, hing, salt and little water and grind. Strain the green Chilli water and keep aside
- Let the cooked javvarisi cool completely. Grind it into a fine mixture
- Keep parchment paper/ cabinet liner or plastic sheet ready
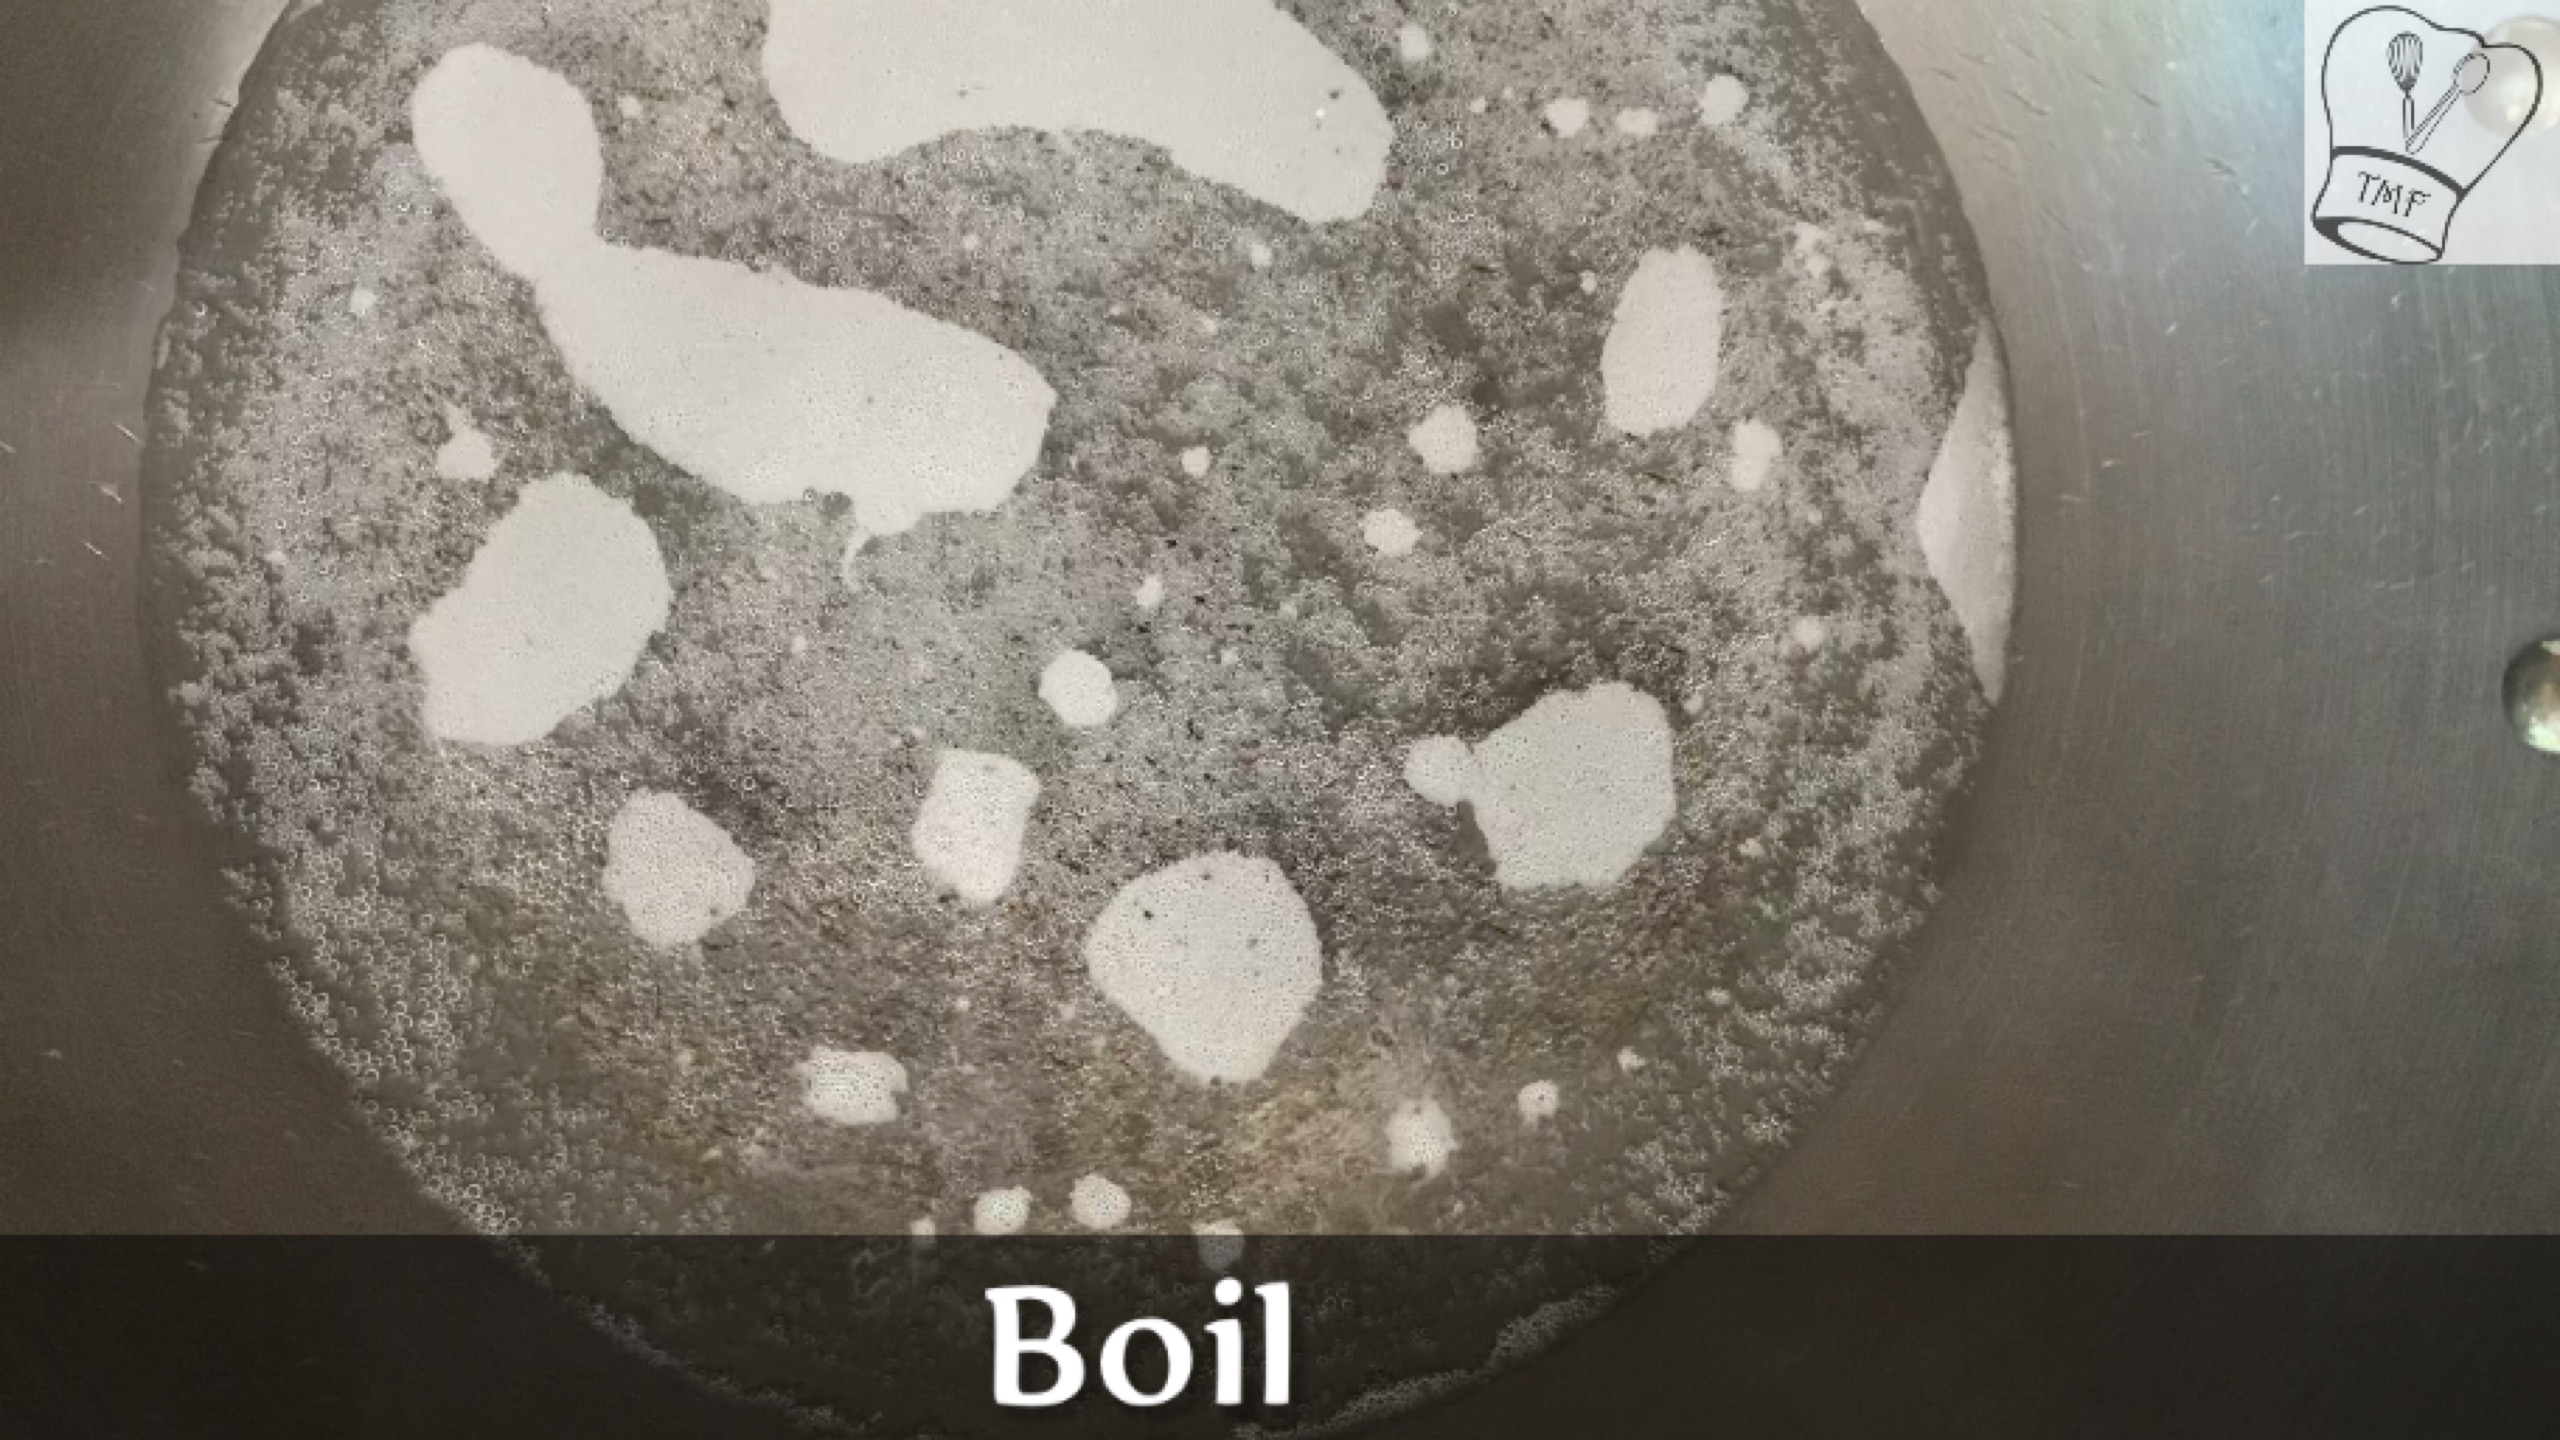
- In a wide heavy bottomed pan add 2 cups of water and let it boil
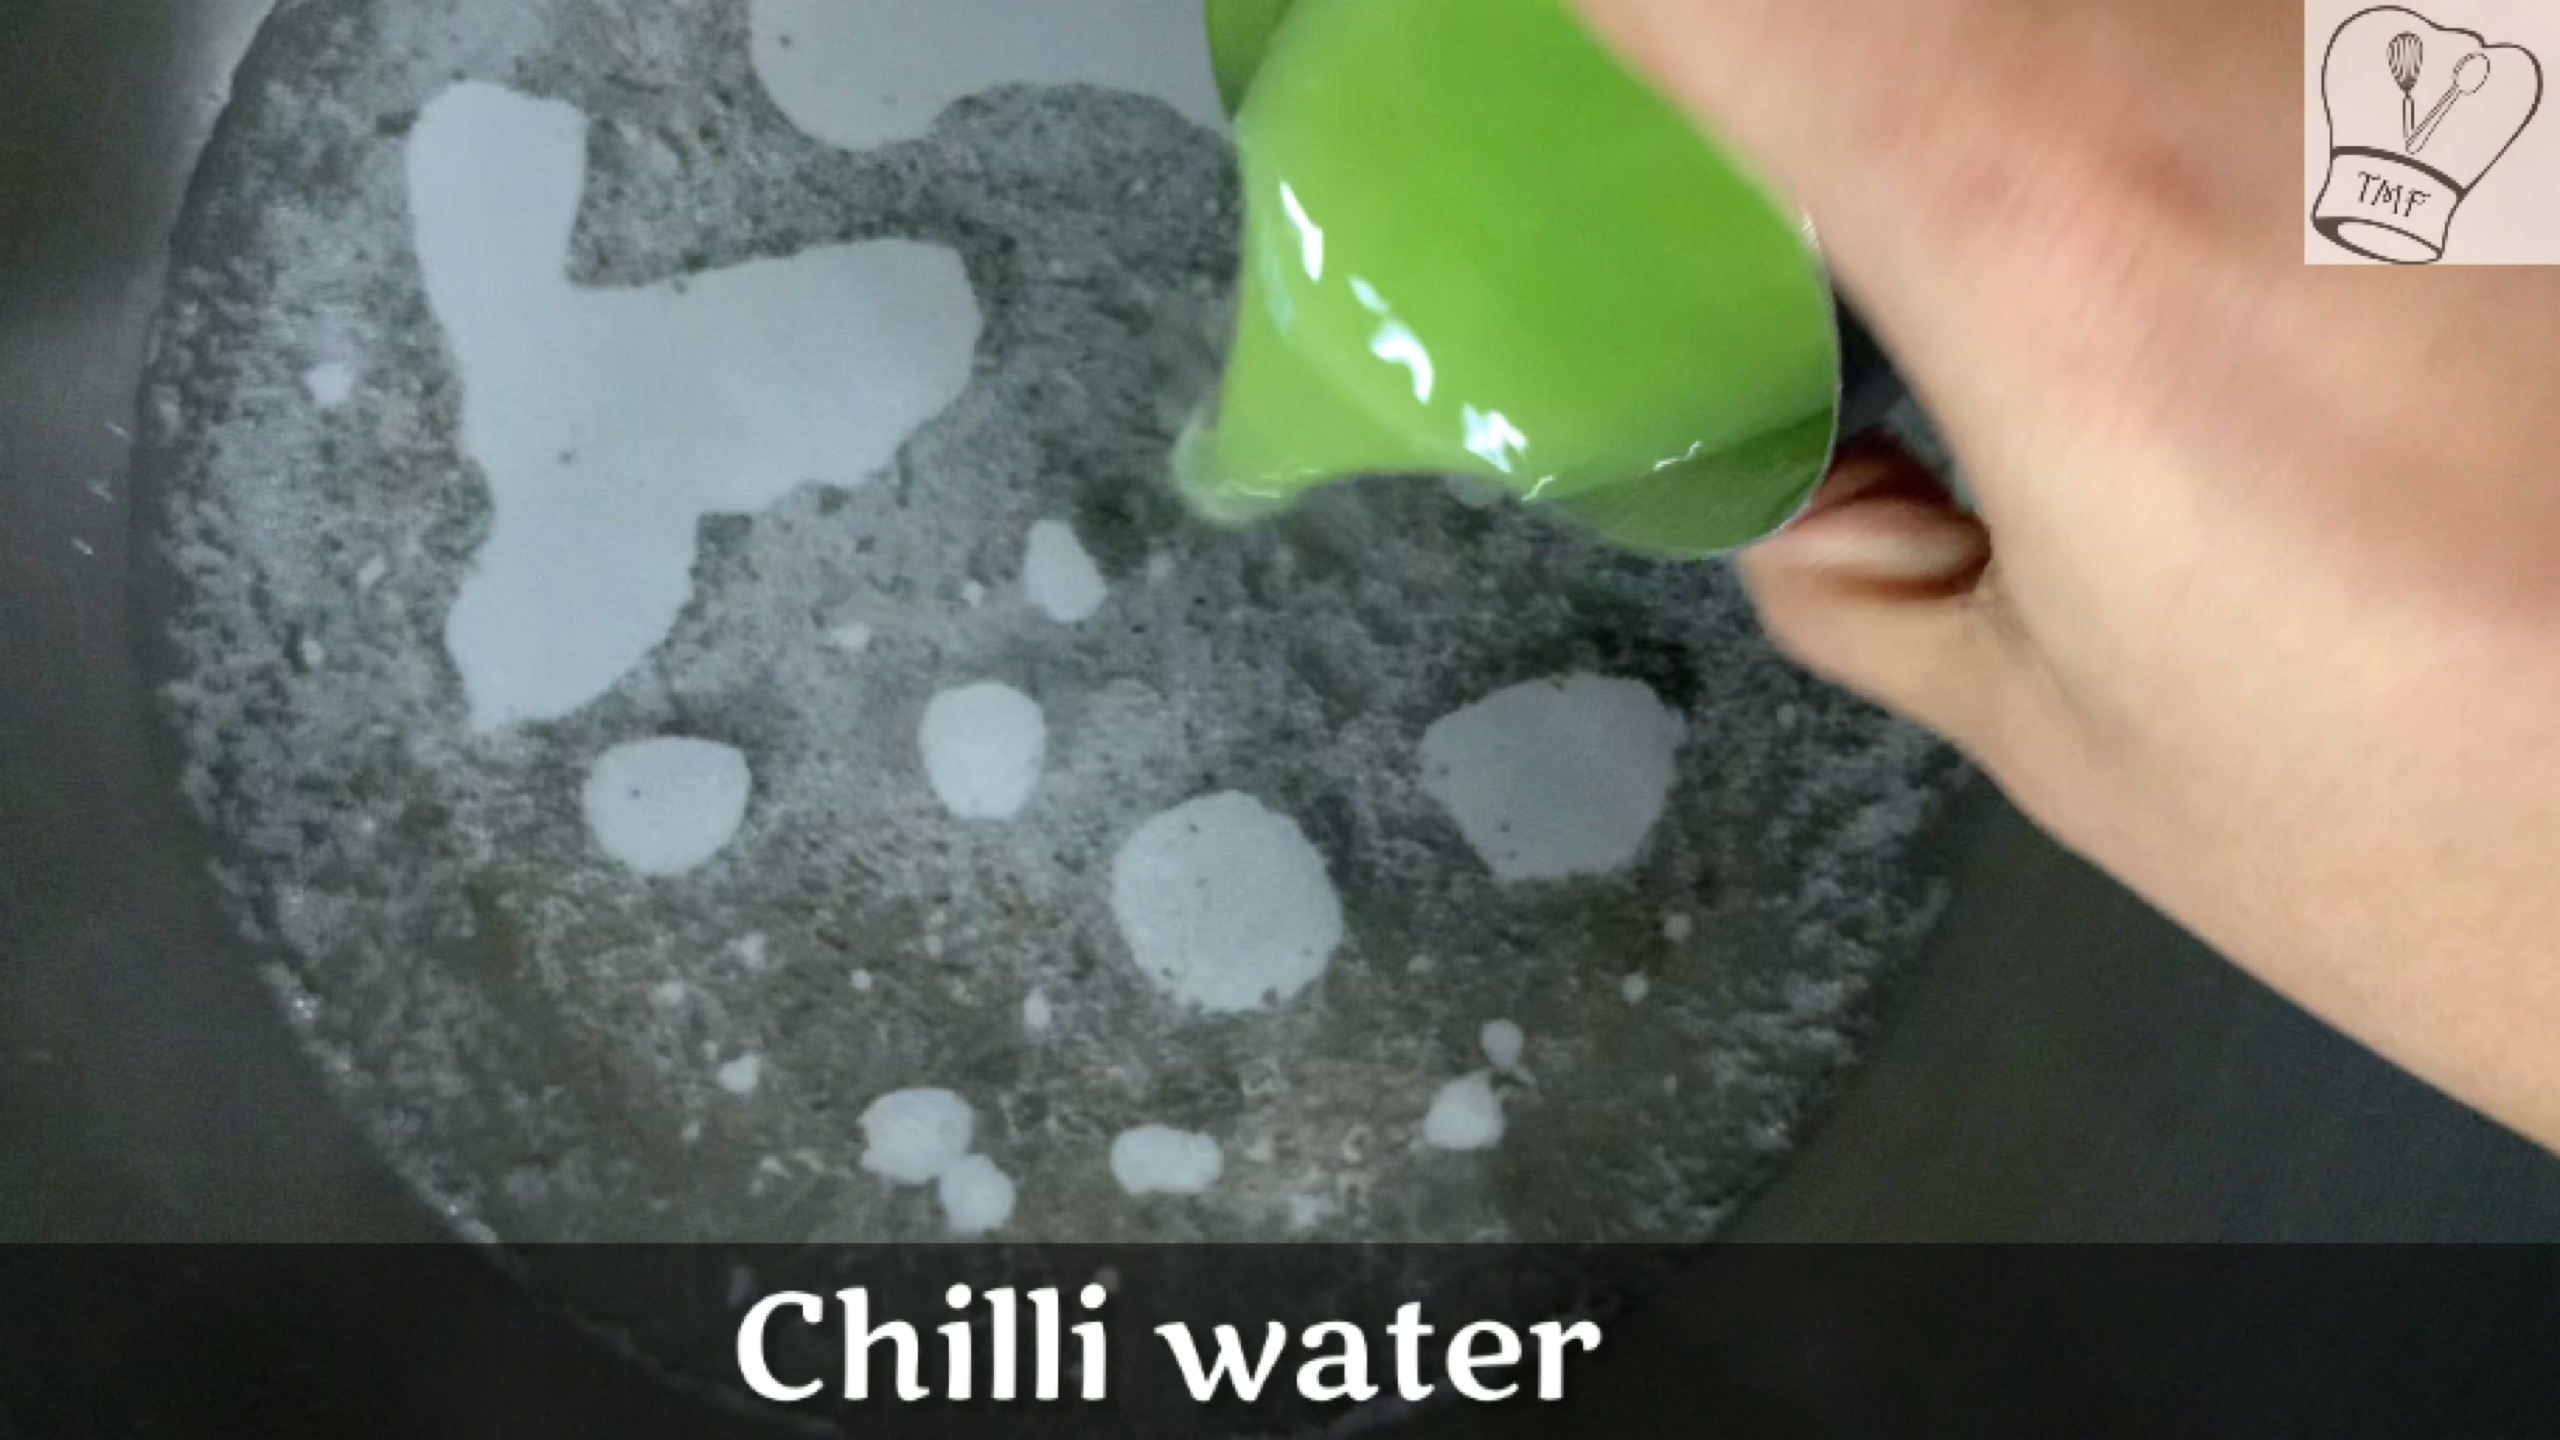
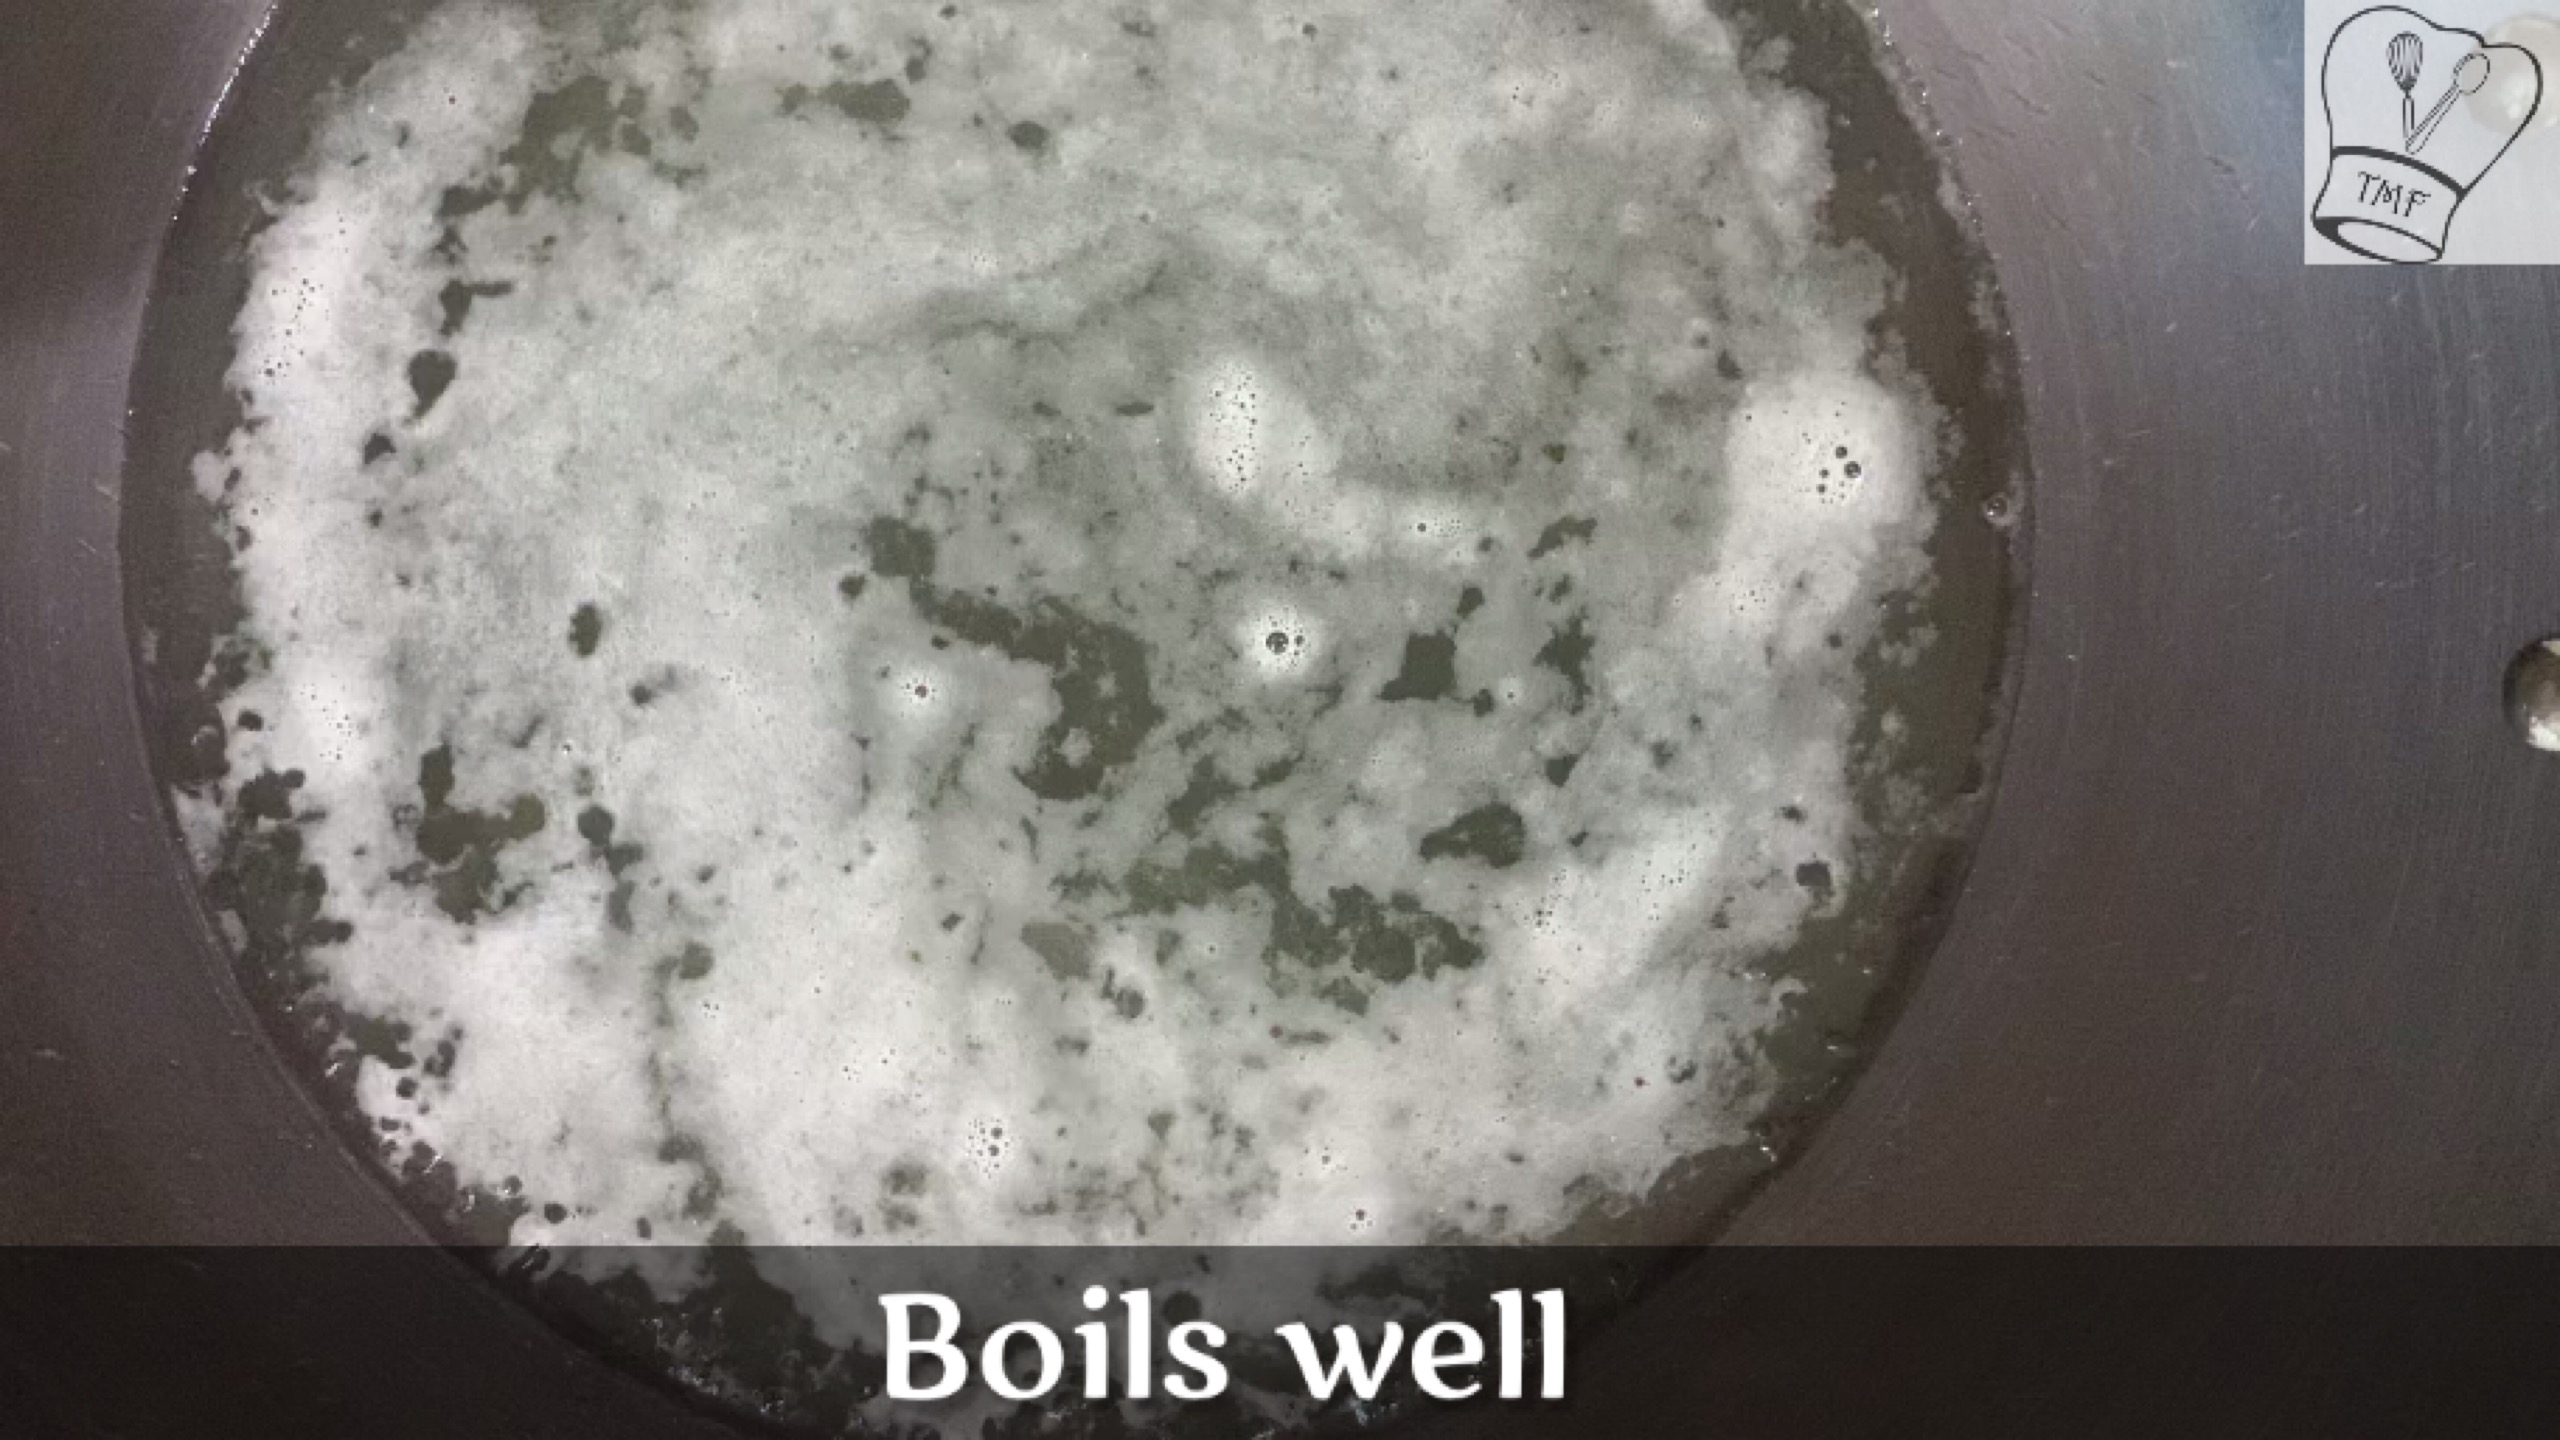
- Once Water starts to boil add green Chilli water and let it boil
- After the water comes to boil simmer the flame
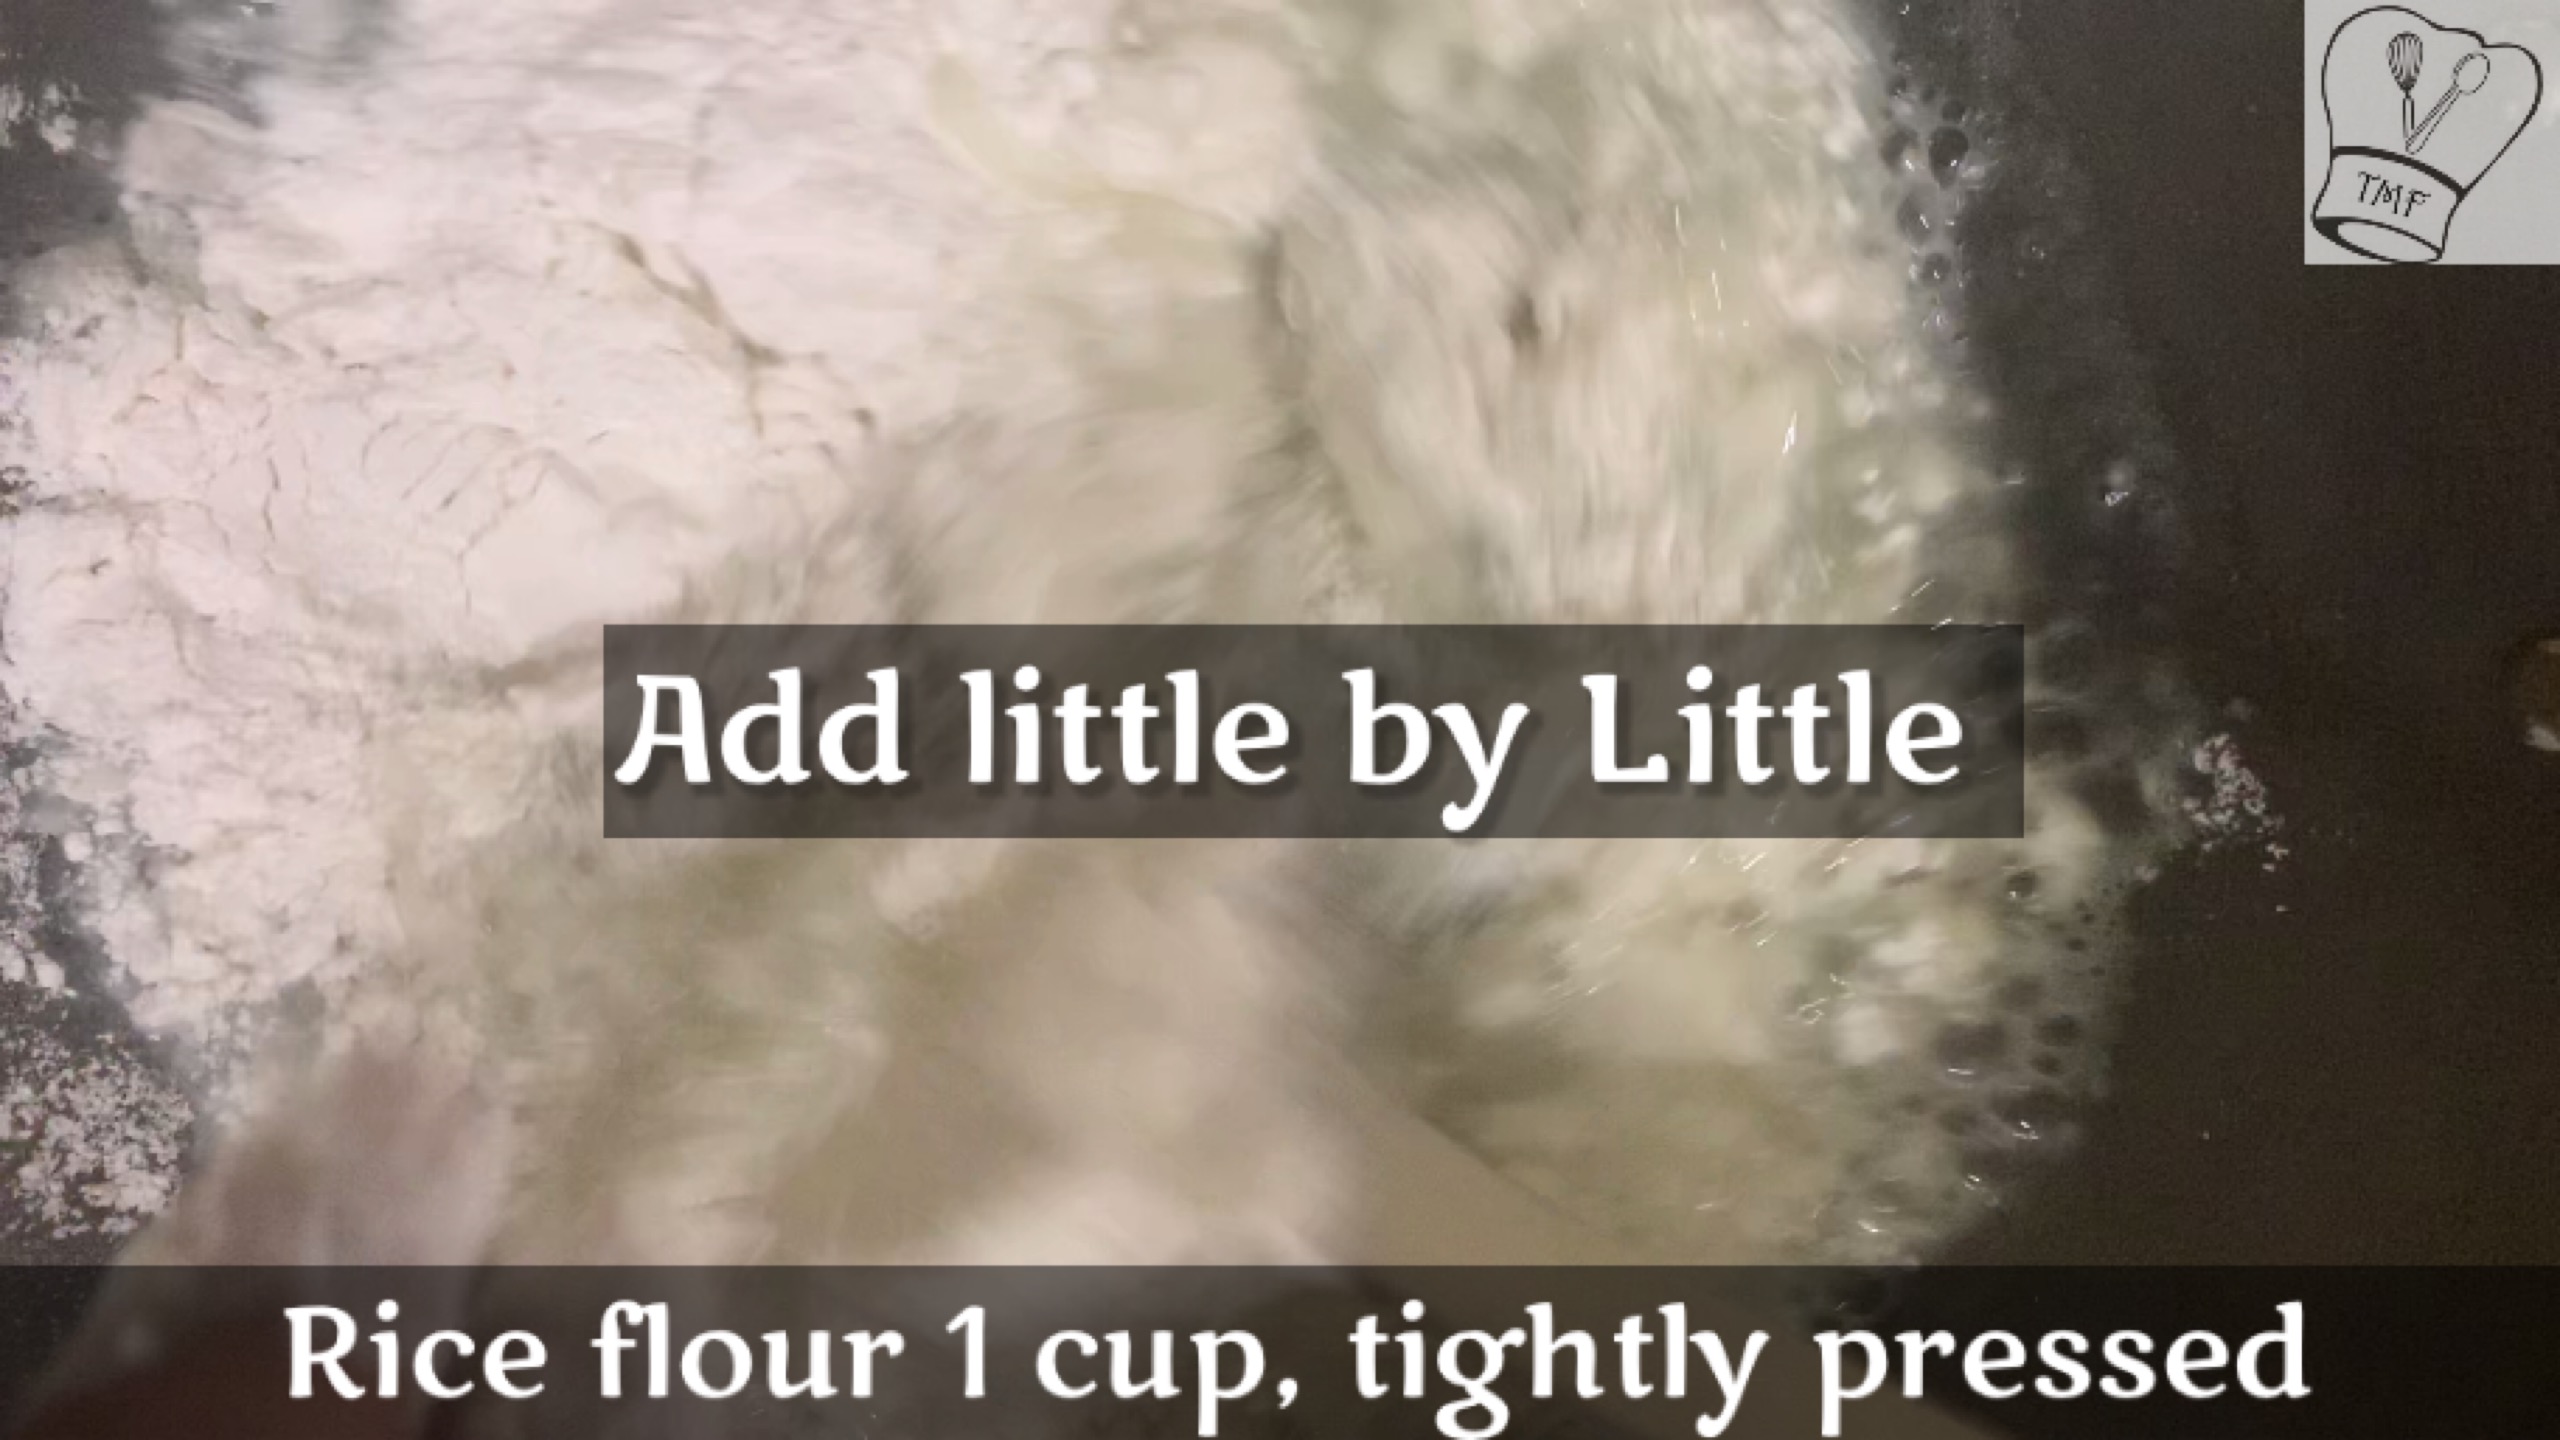
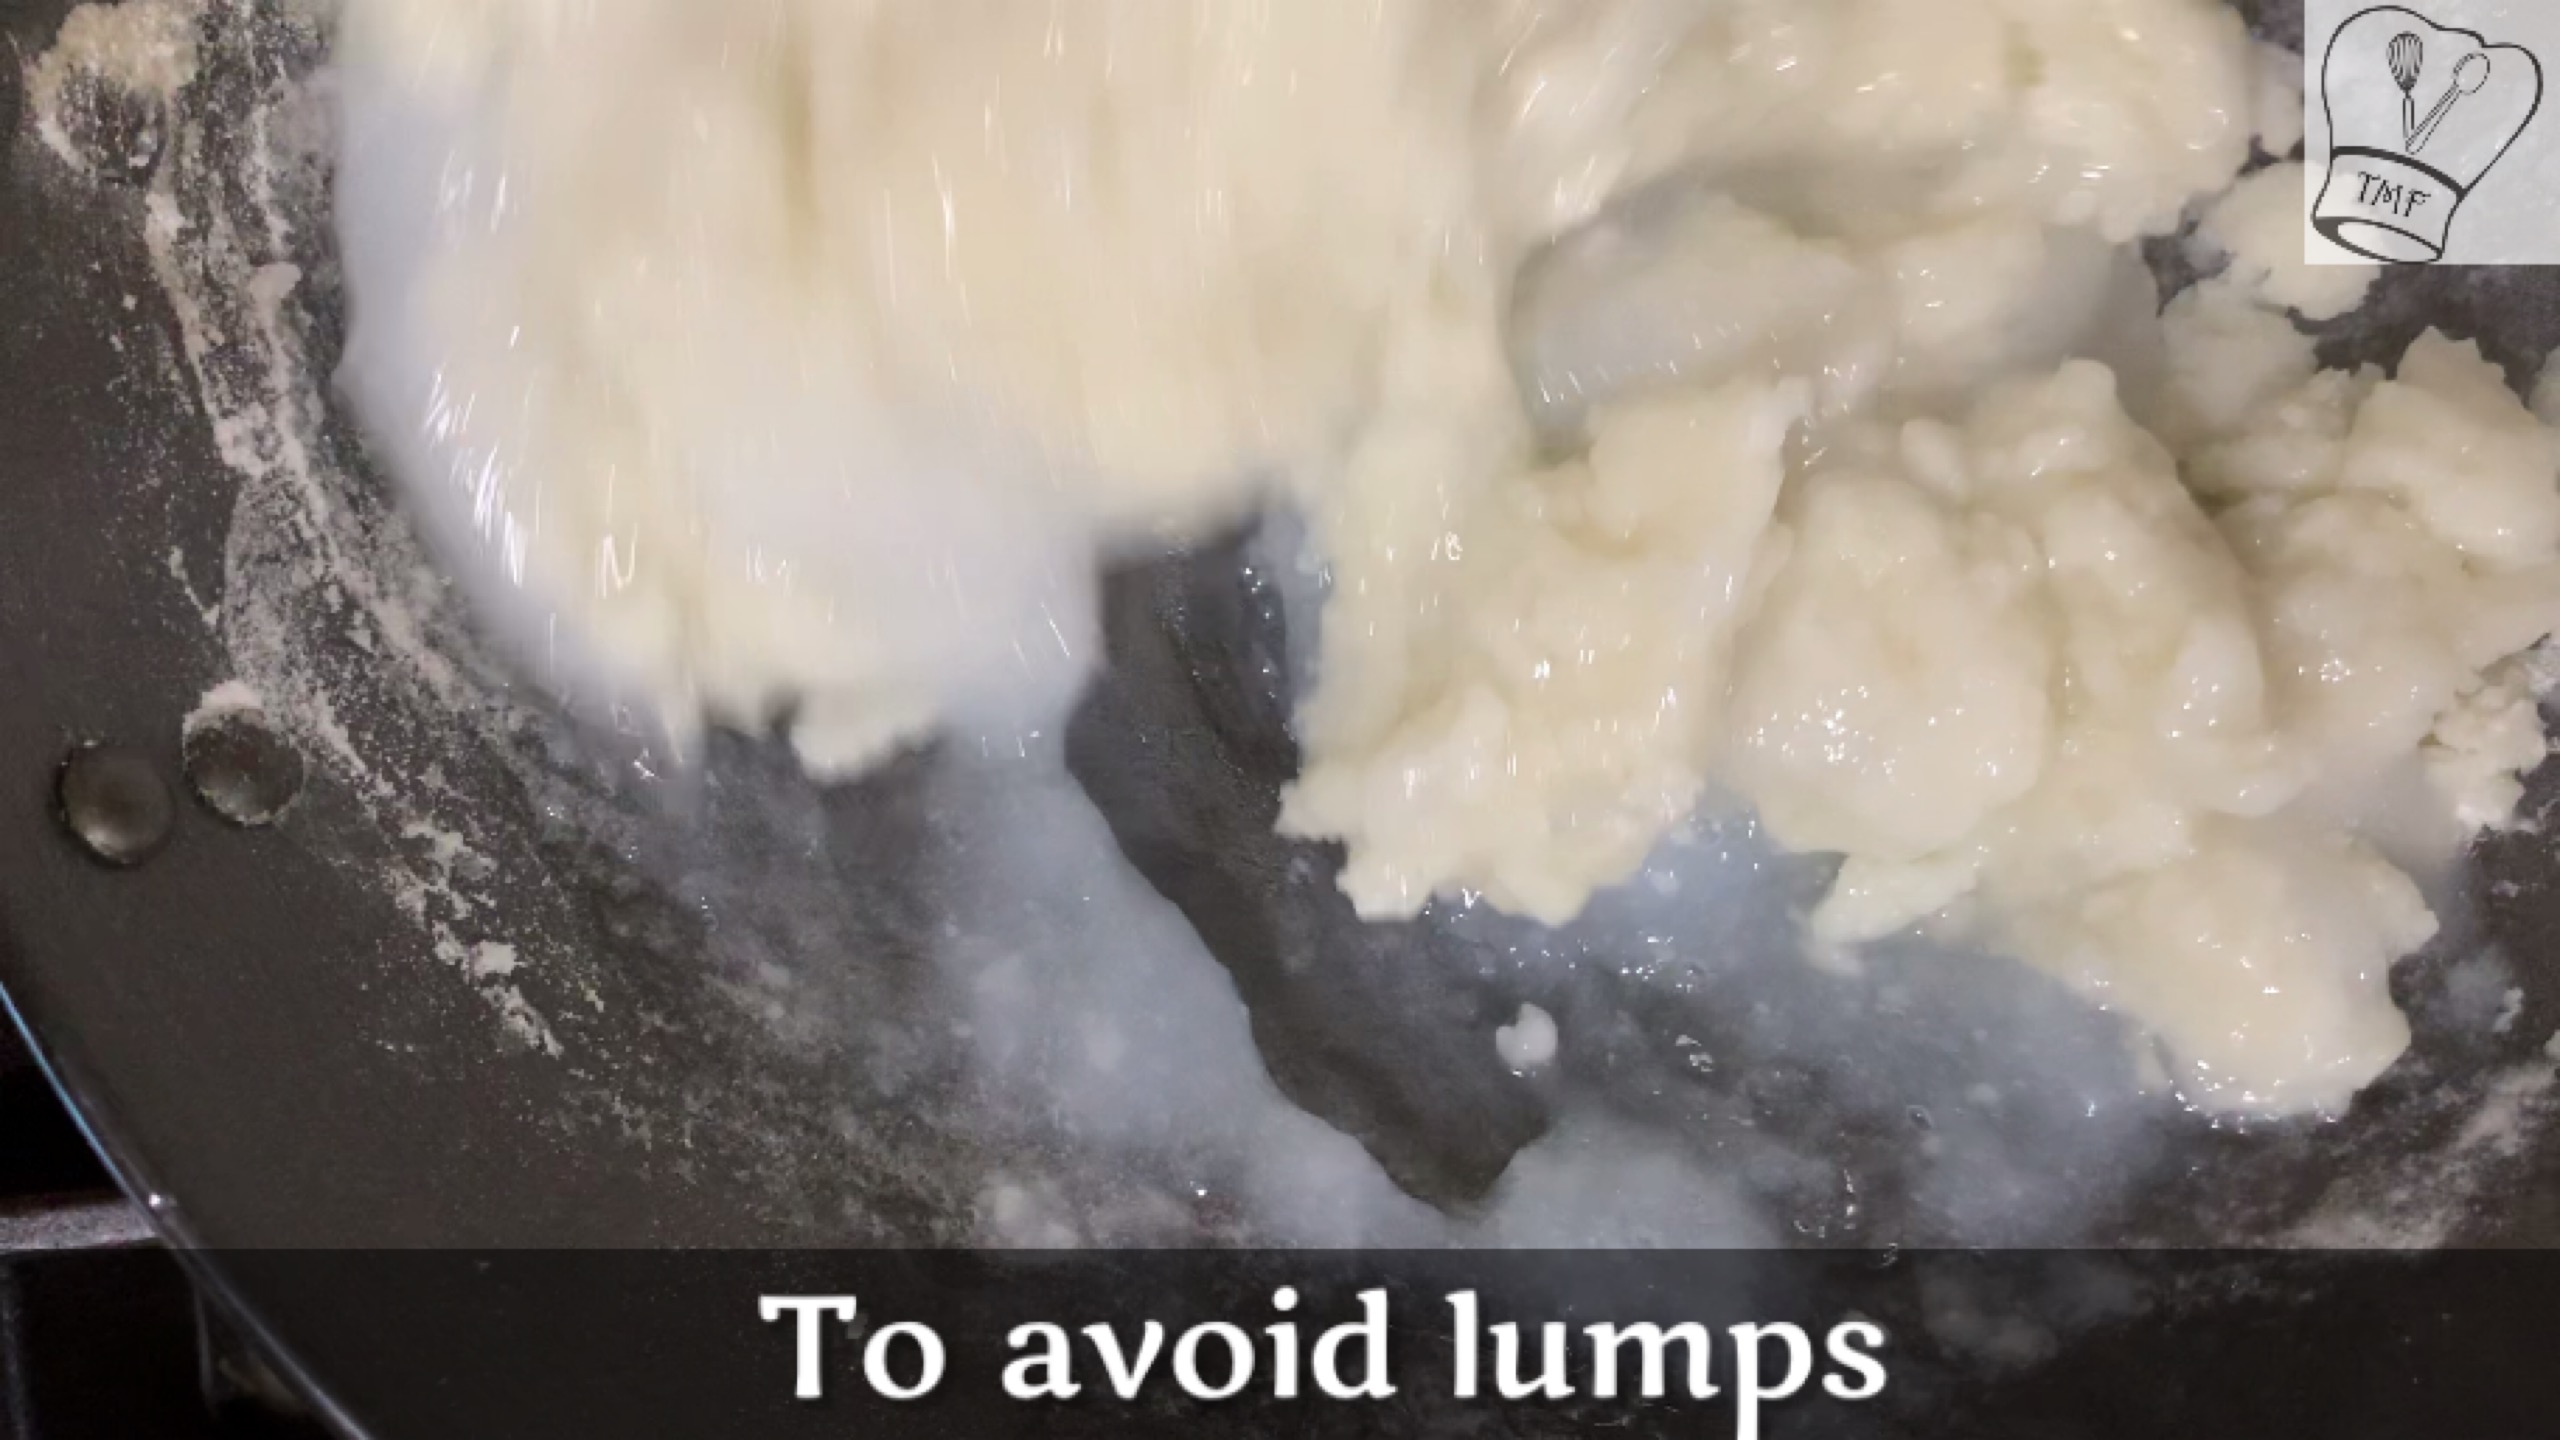
- Add rice flour little by little and mix well to avoid lumps
- Dough comes together as a mass. If required sprinkle some water
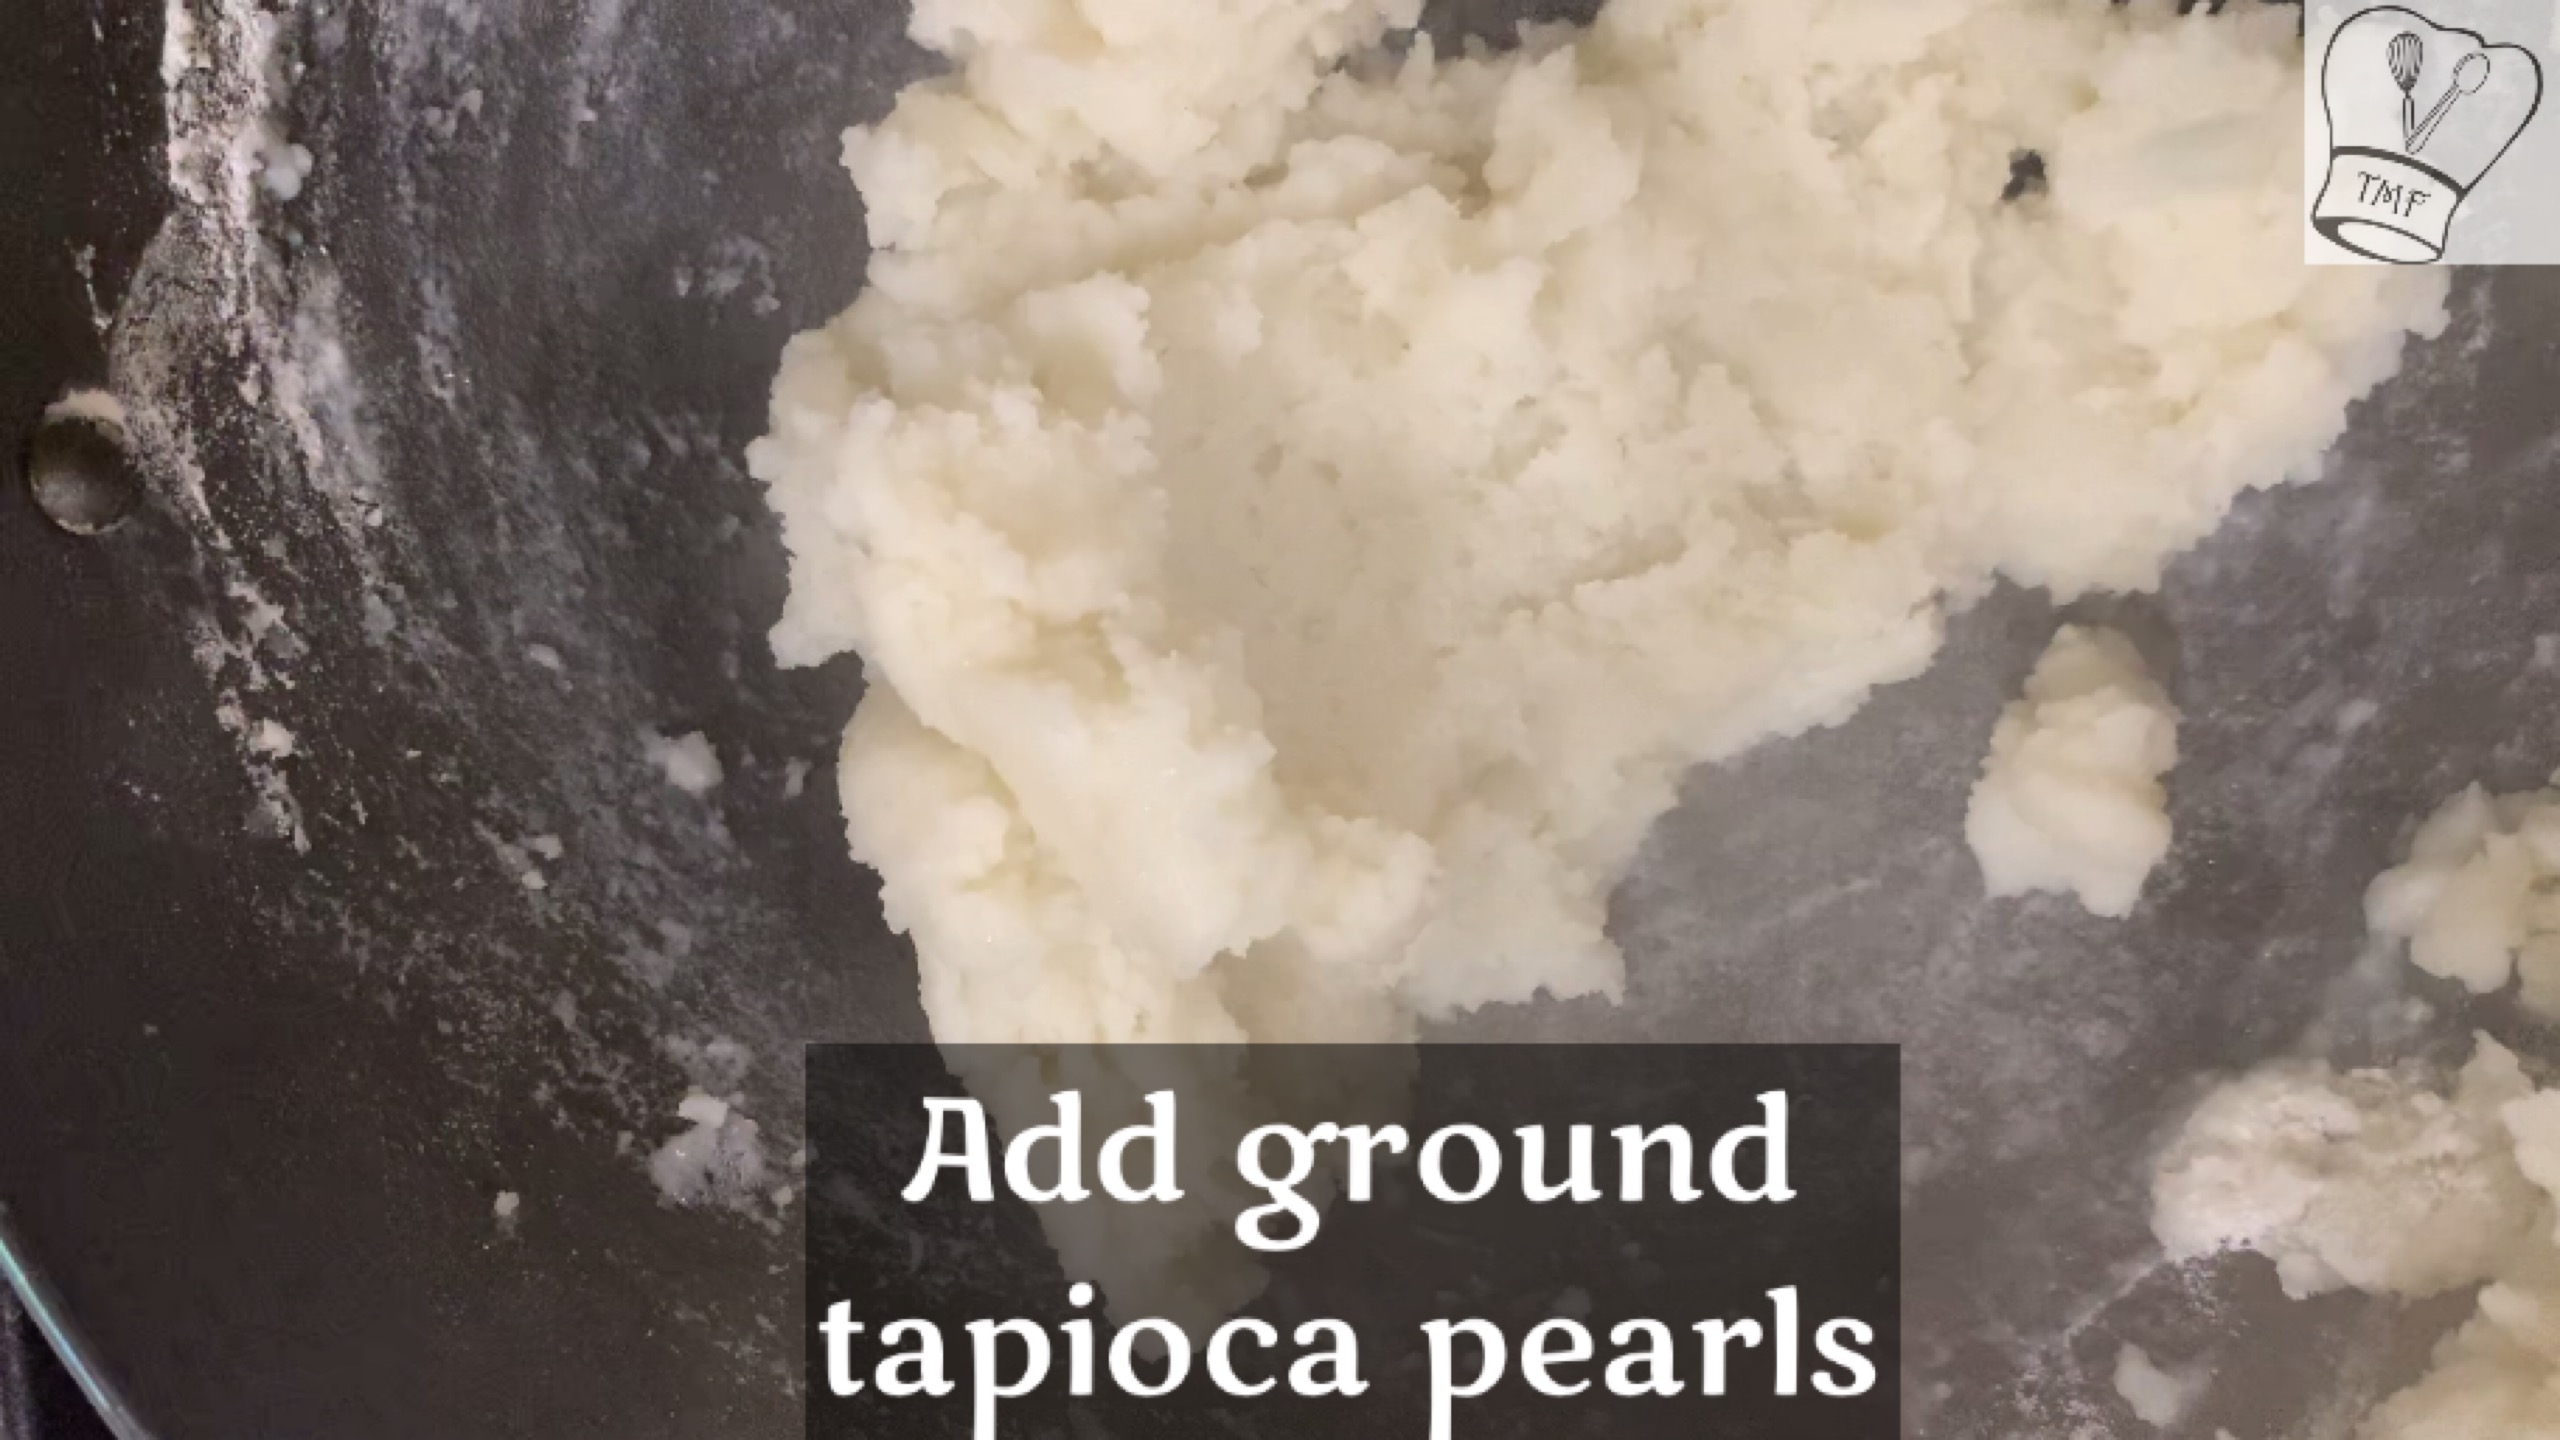
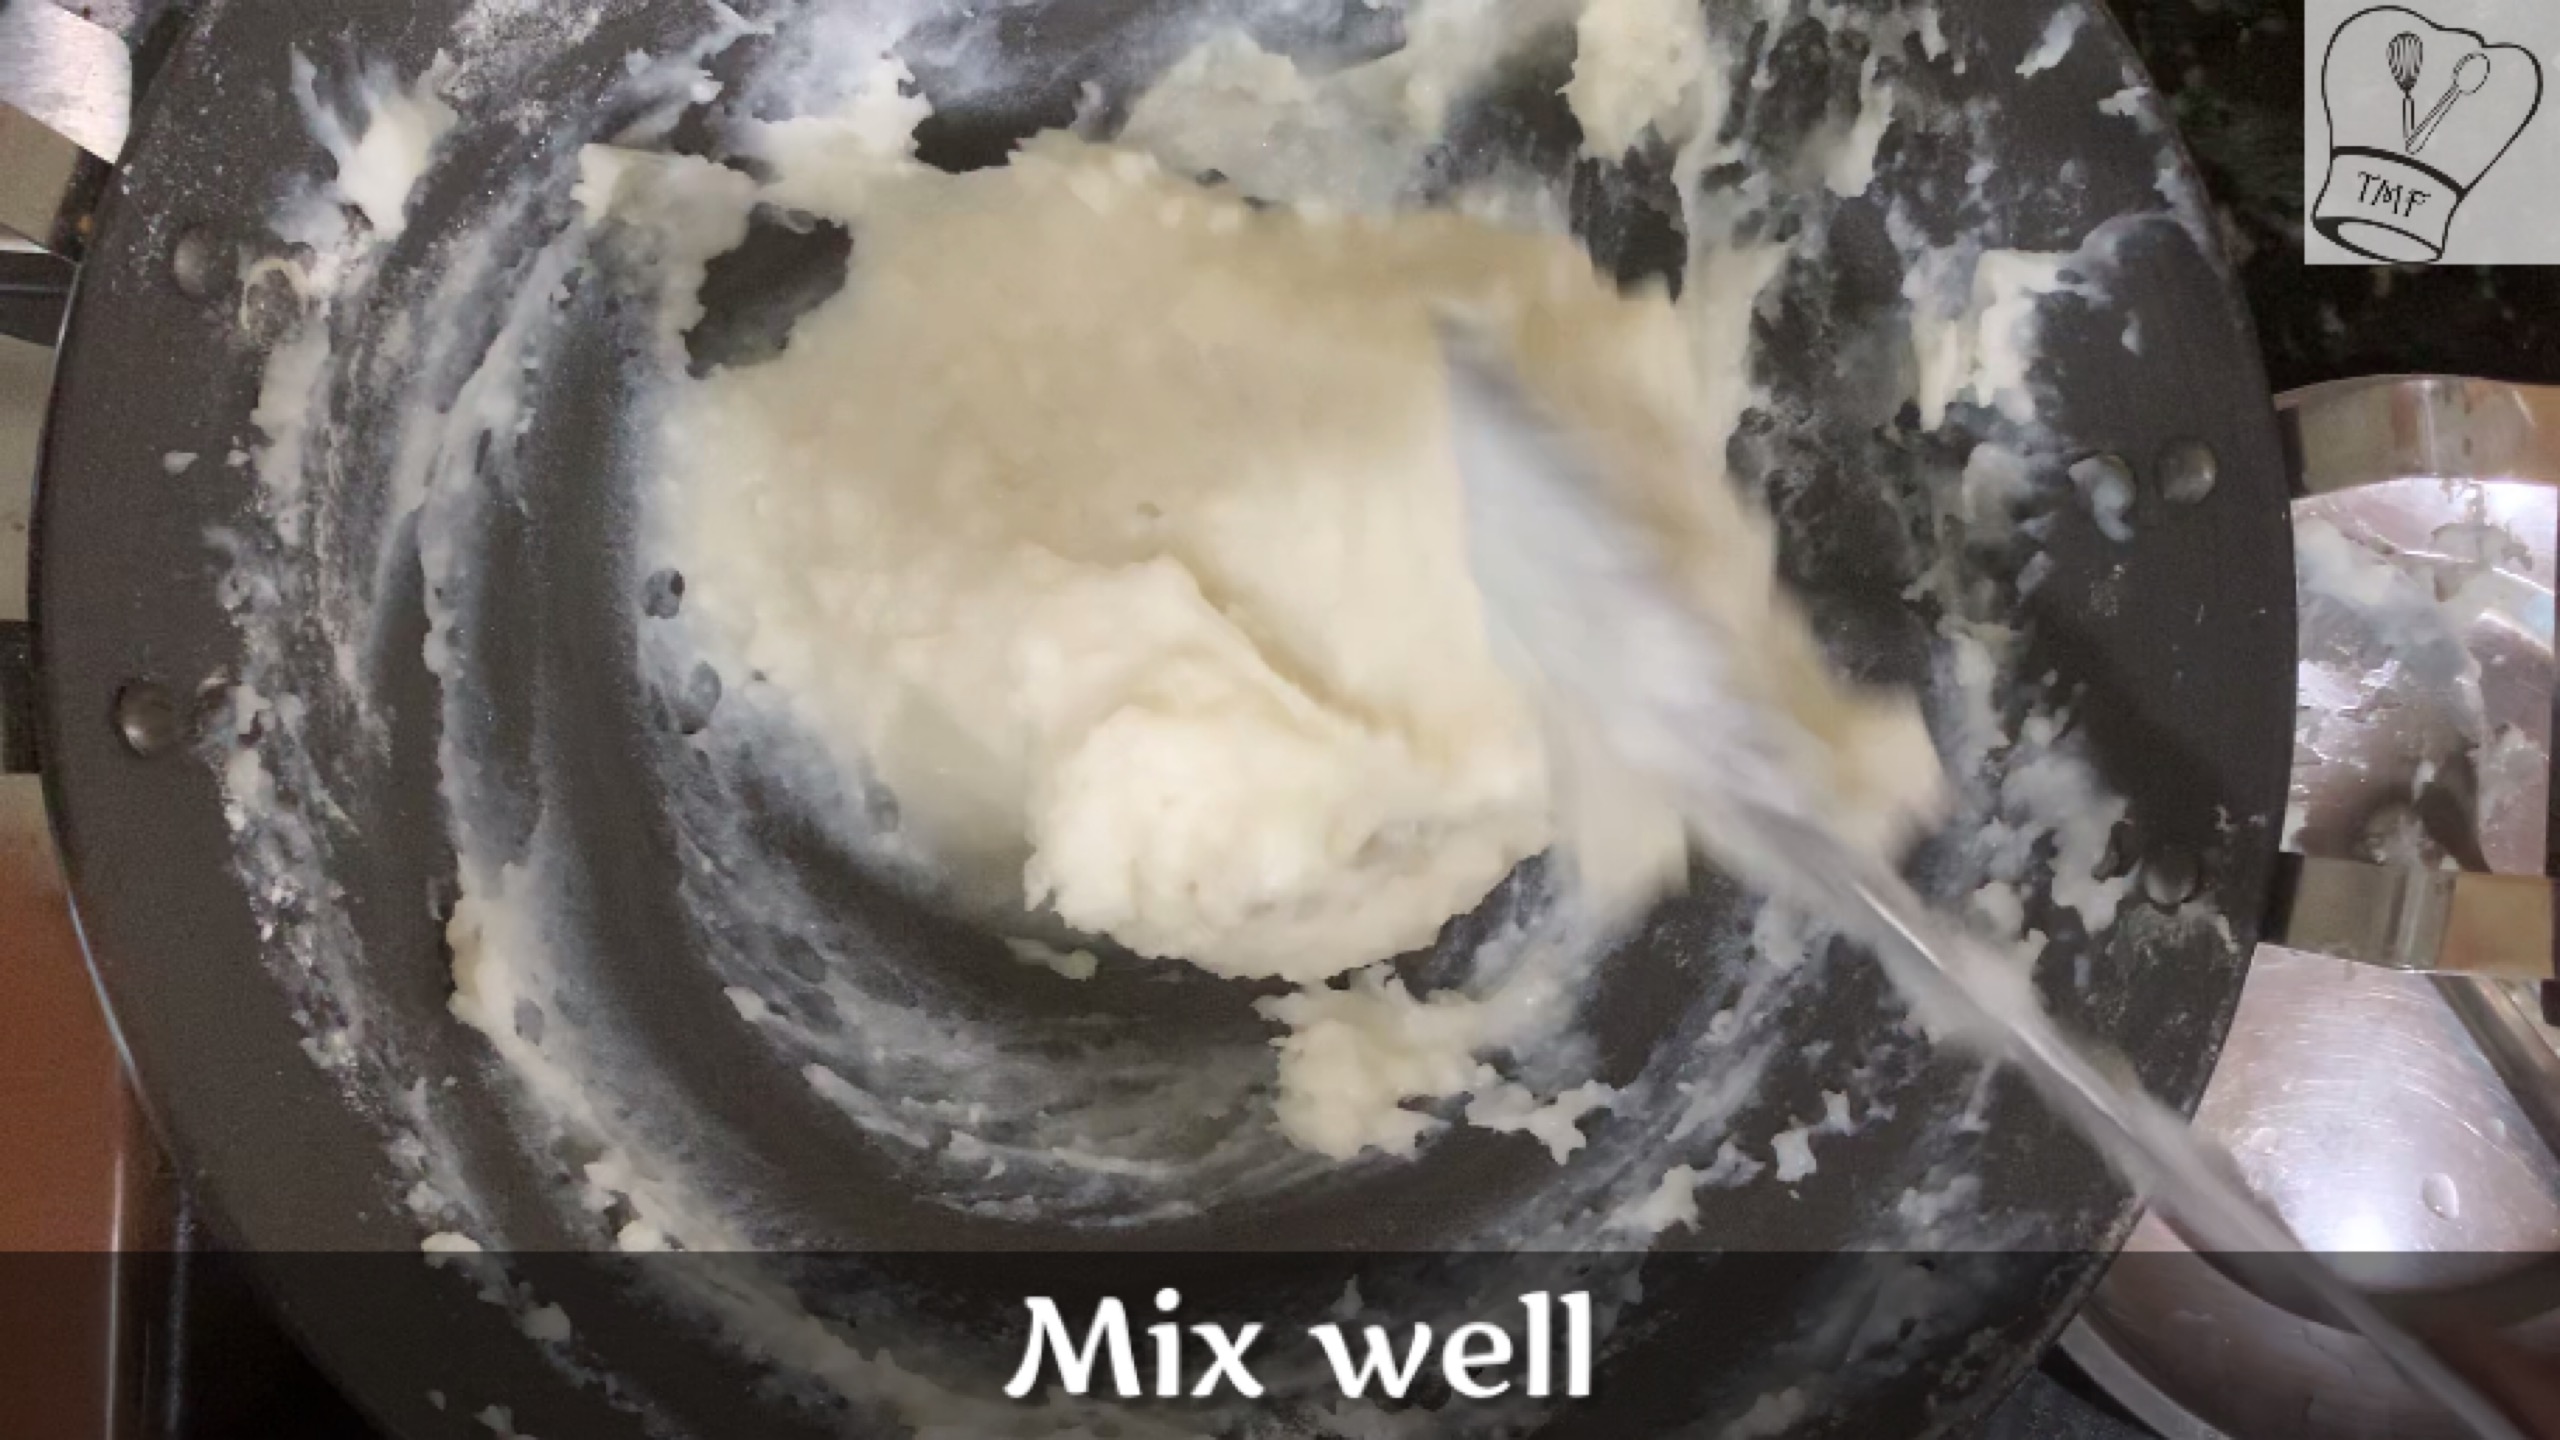
- Add the ground javvarisi and cook; stir well to avoid lumps
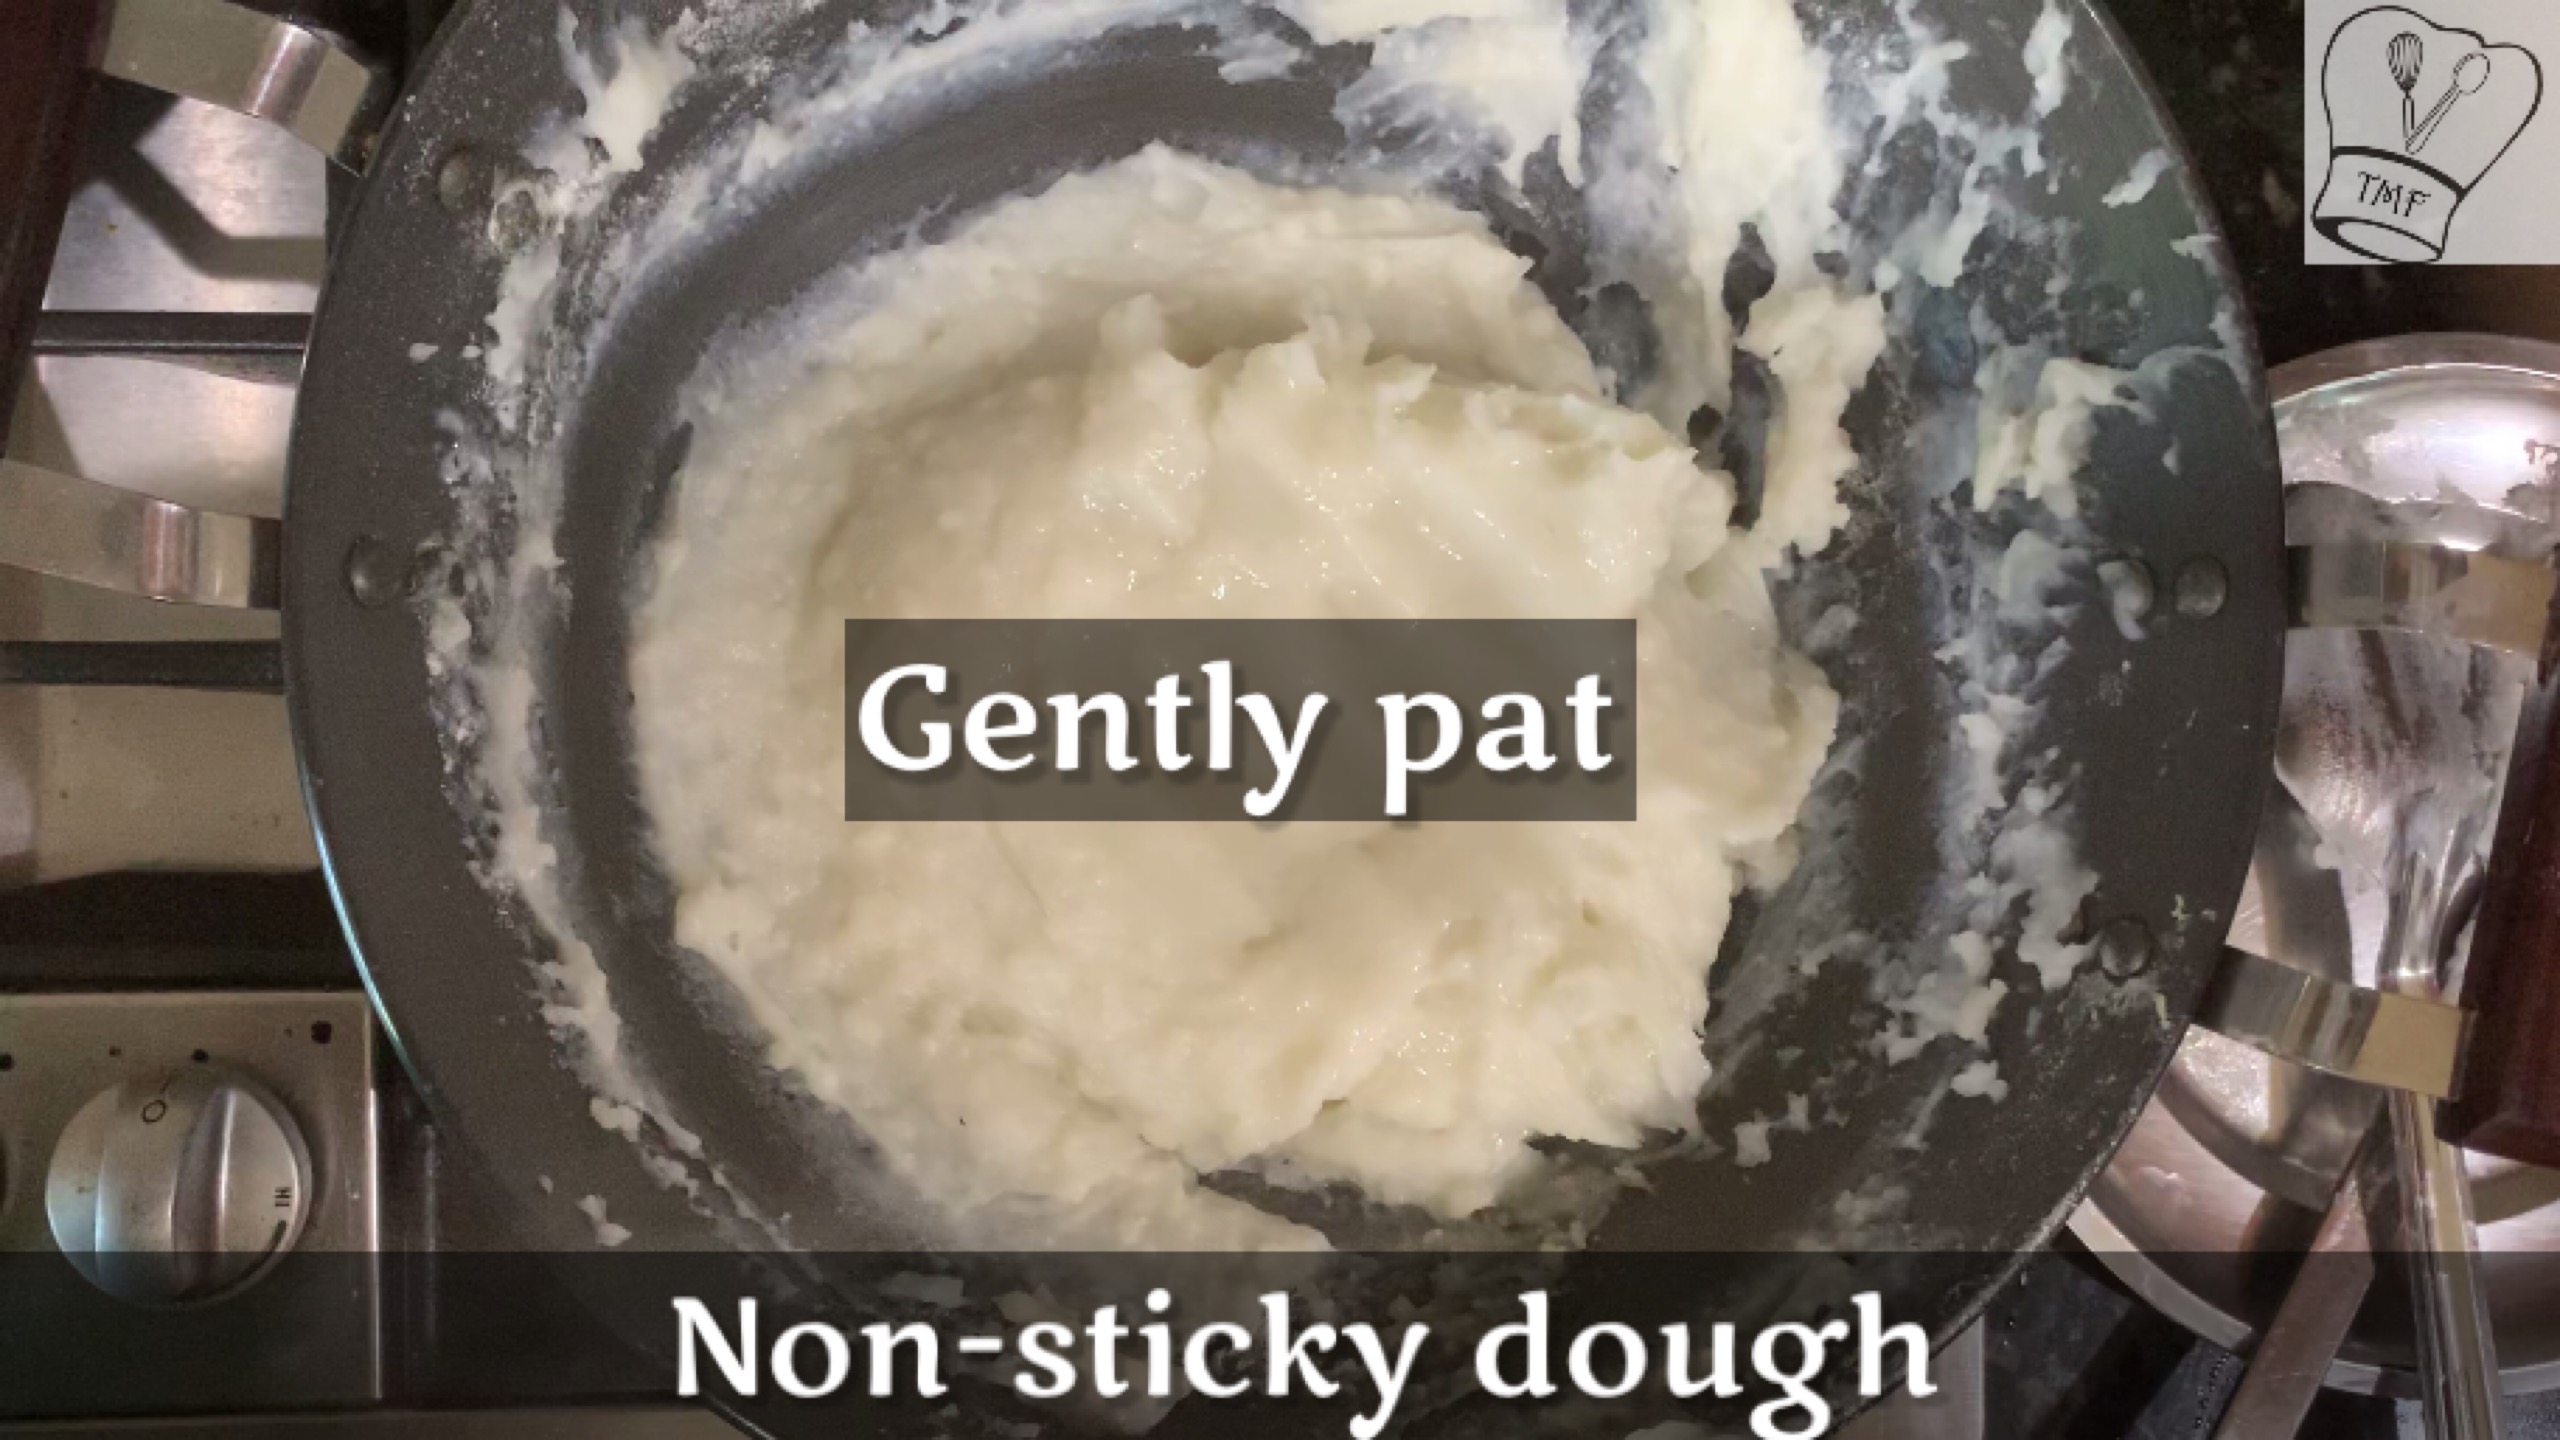
- Mix well cook till the dough becomes non sticky
- After the dough is cooked cover for 5 mins and keep the flame in lowest setting
- Switch off and let it cool down a bit
- Add lemon juice and mix well
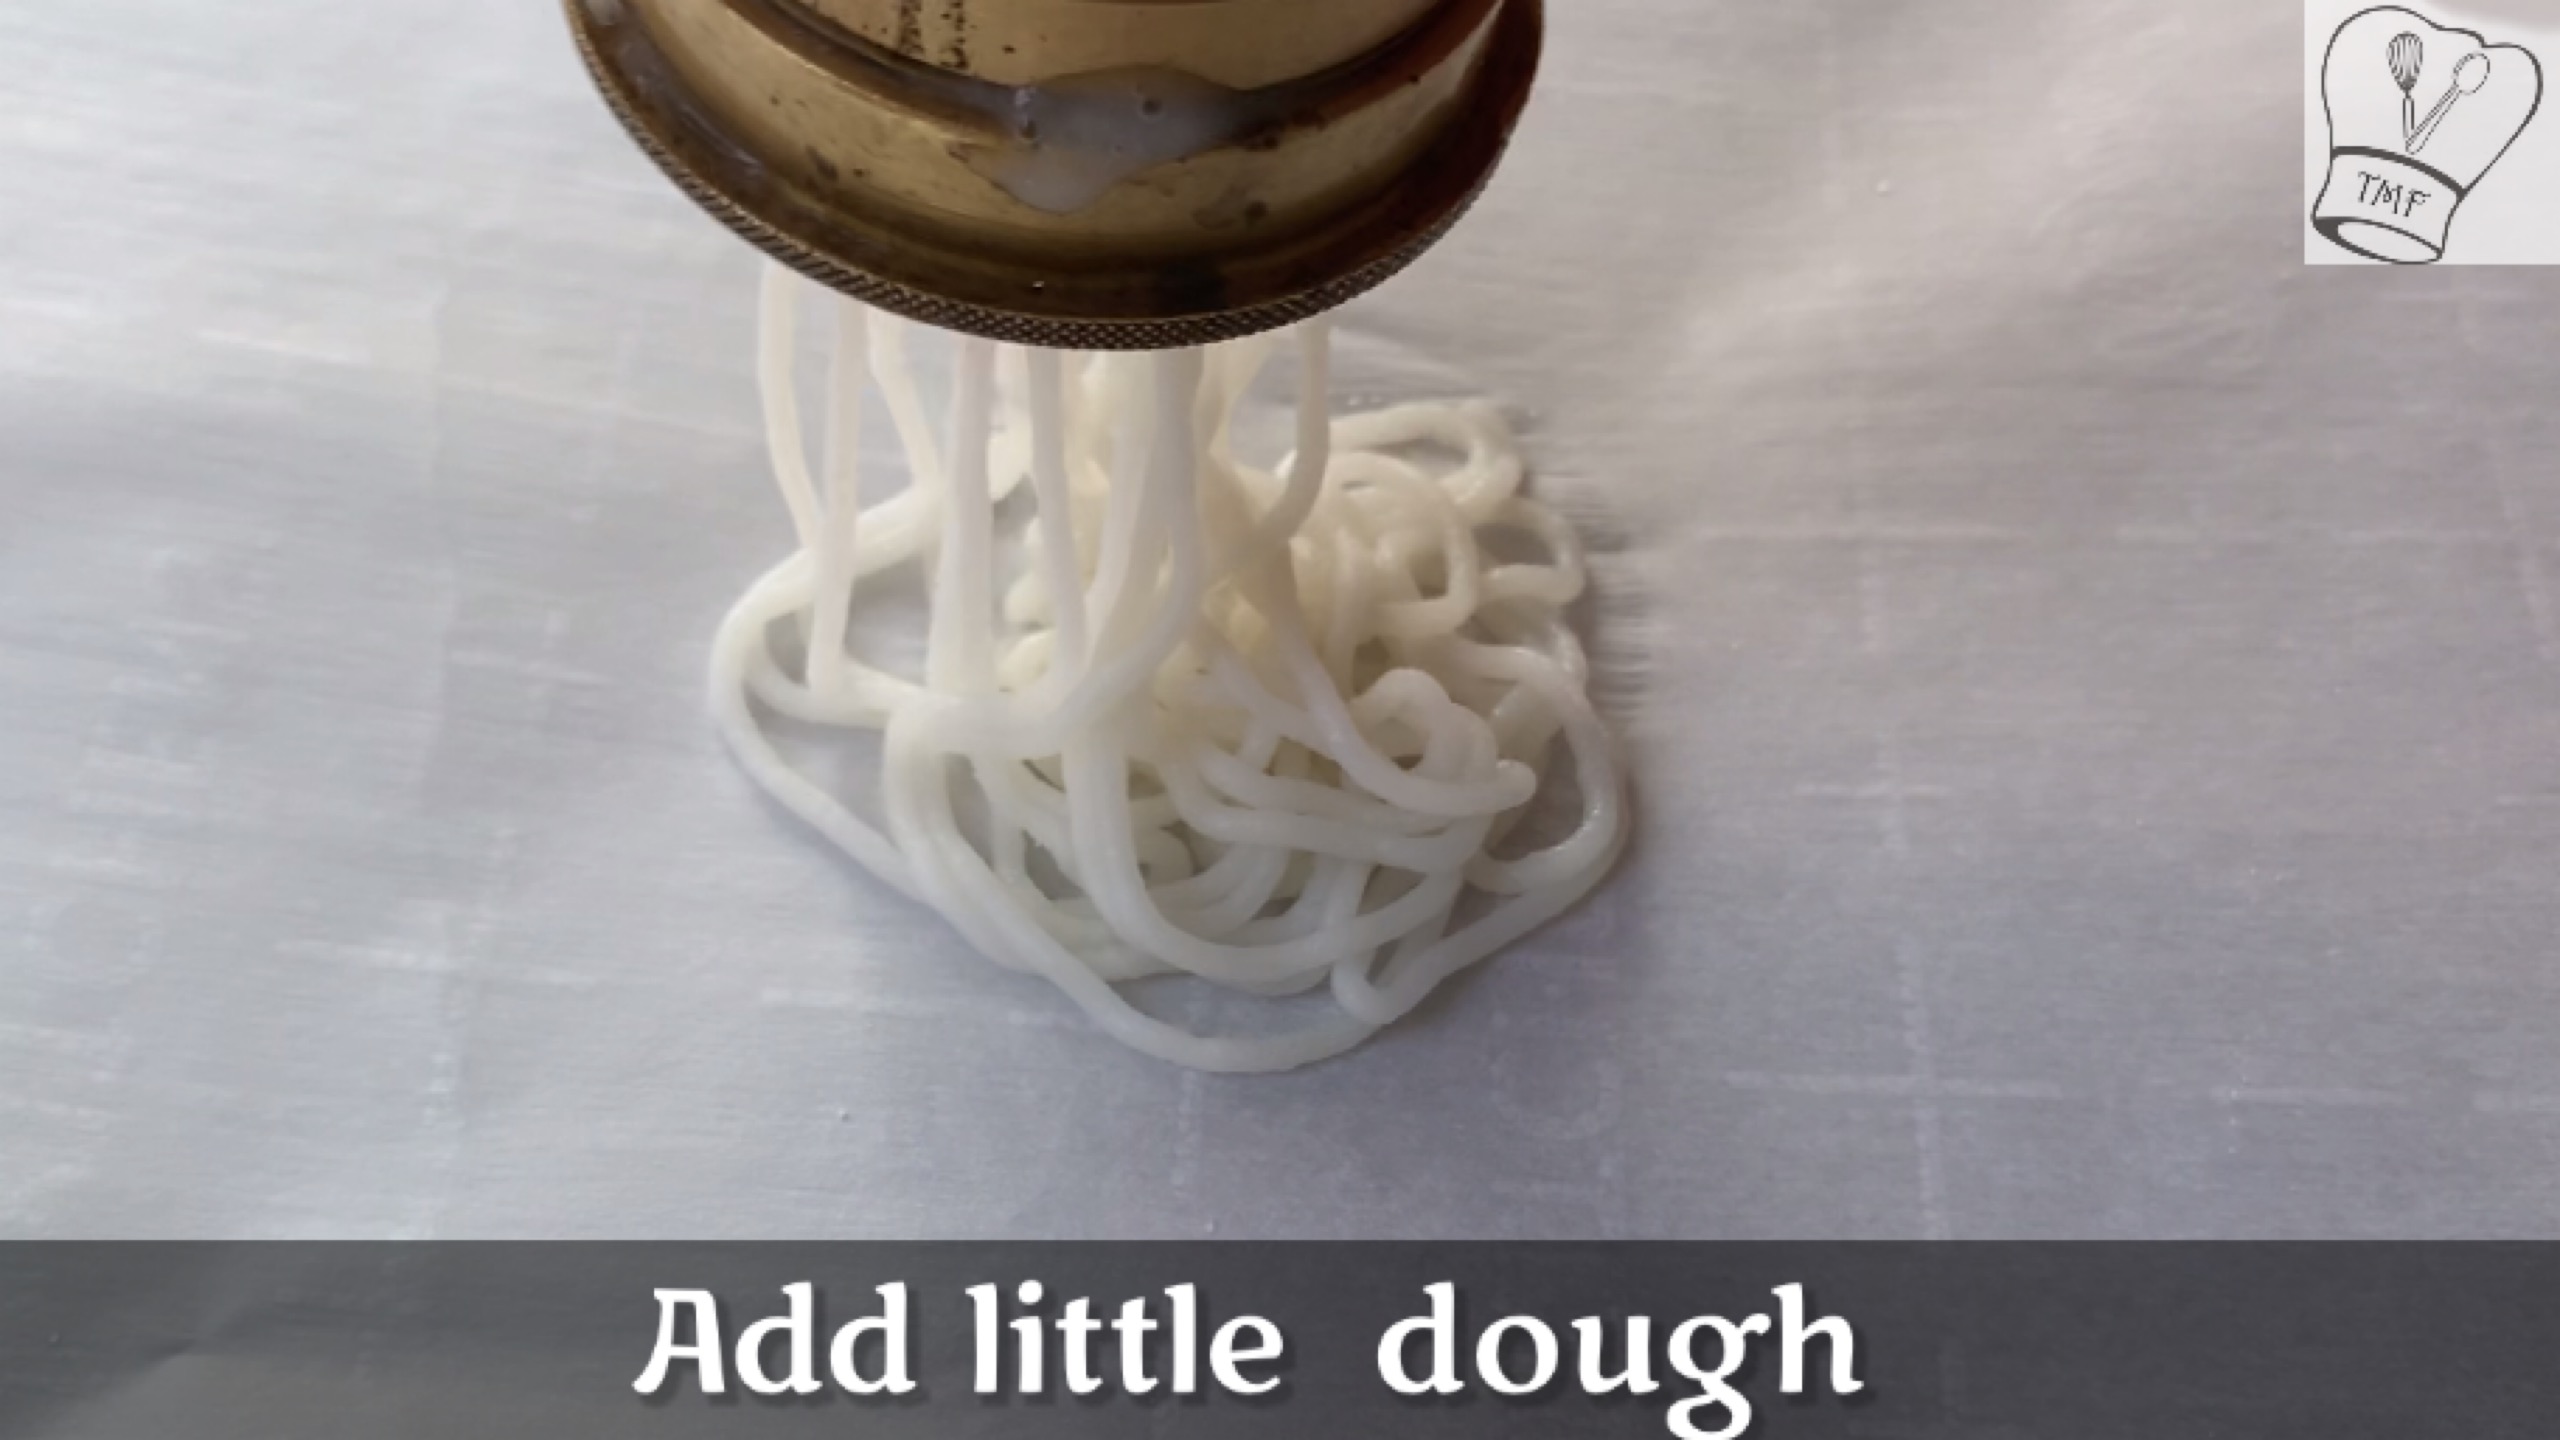
- Take a murukku achu and put your desired shape and keep it ready
- Grease it with little oil and add dough
- Press it and leave some distance in between
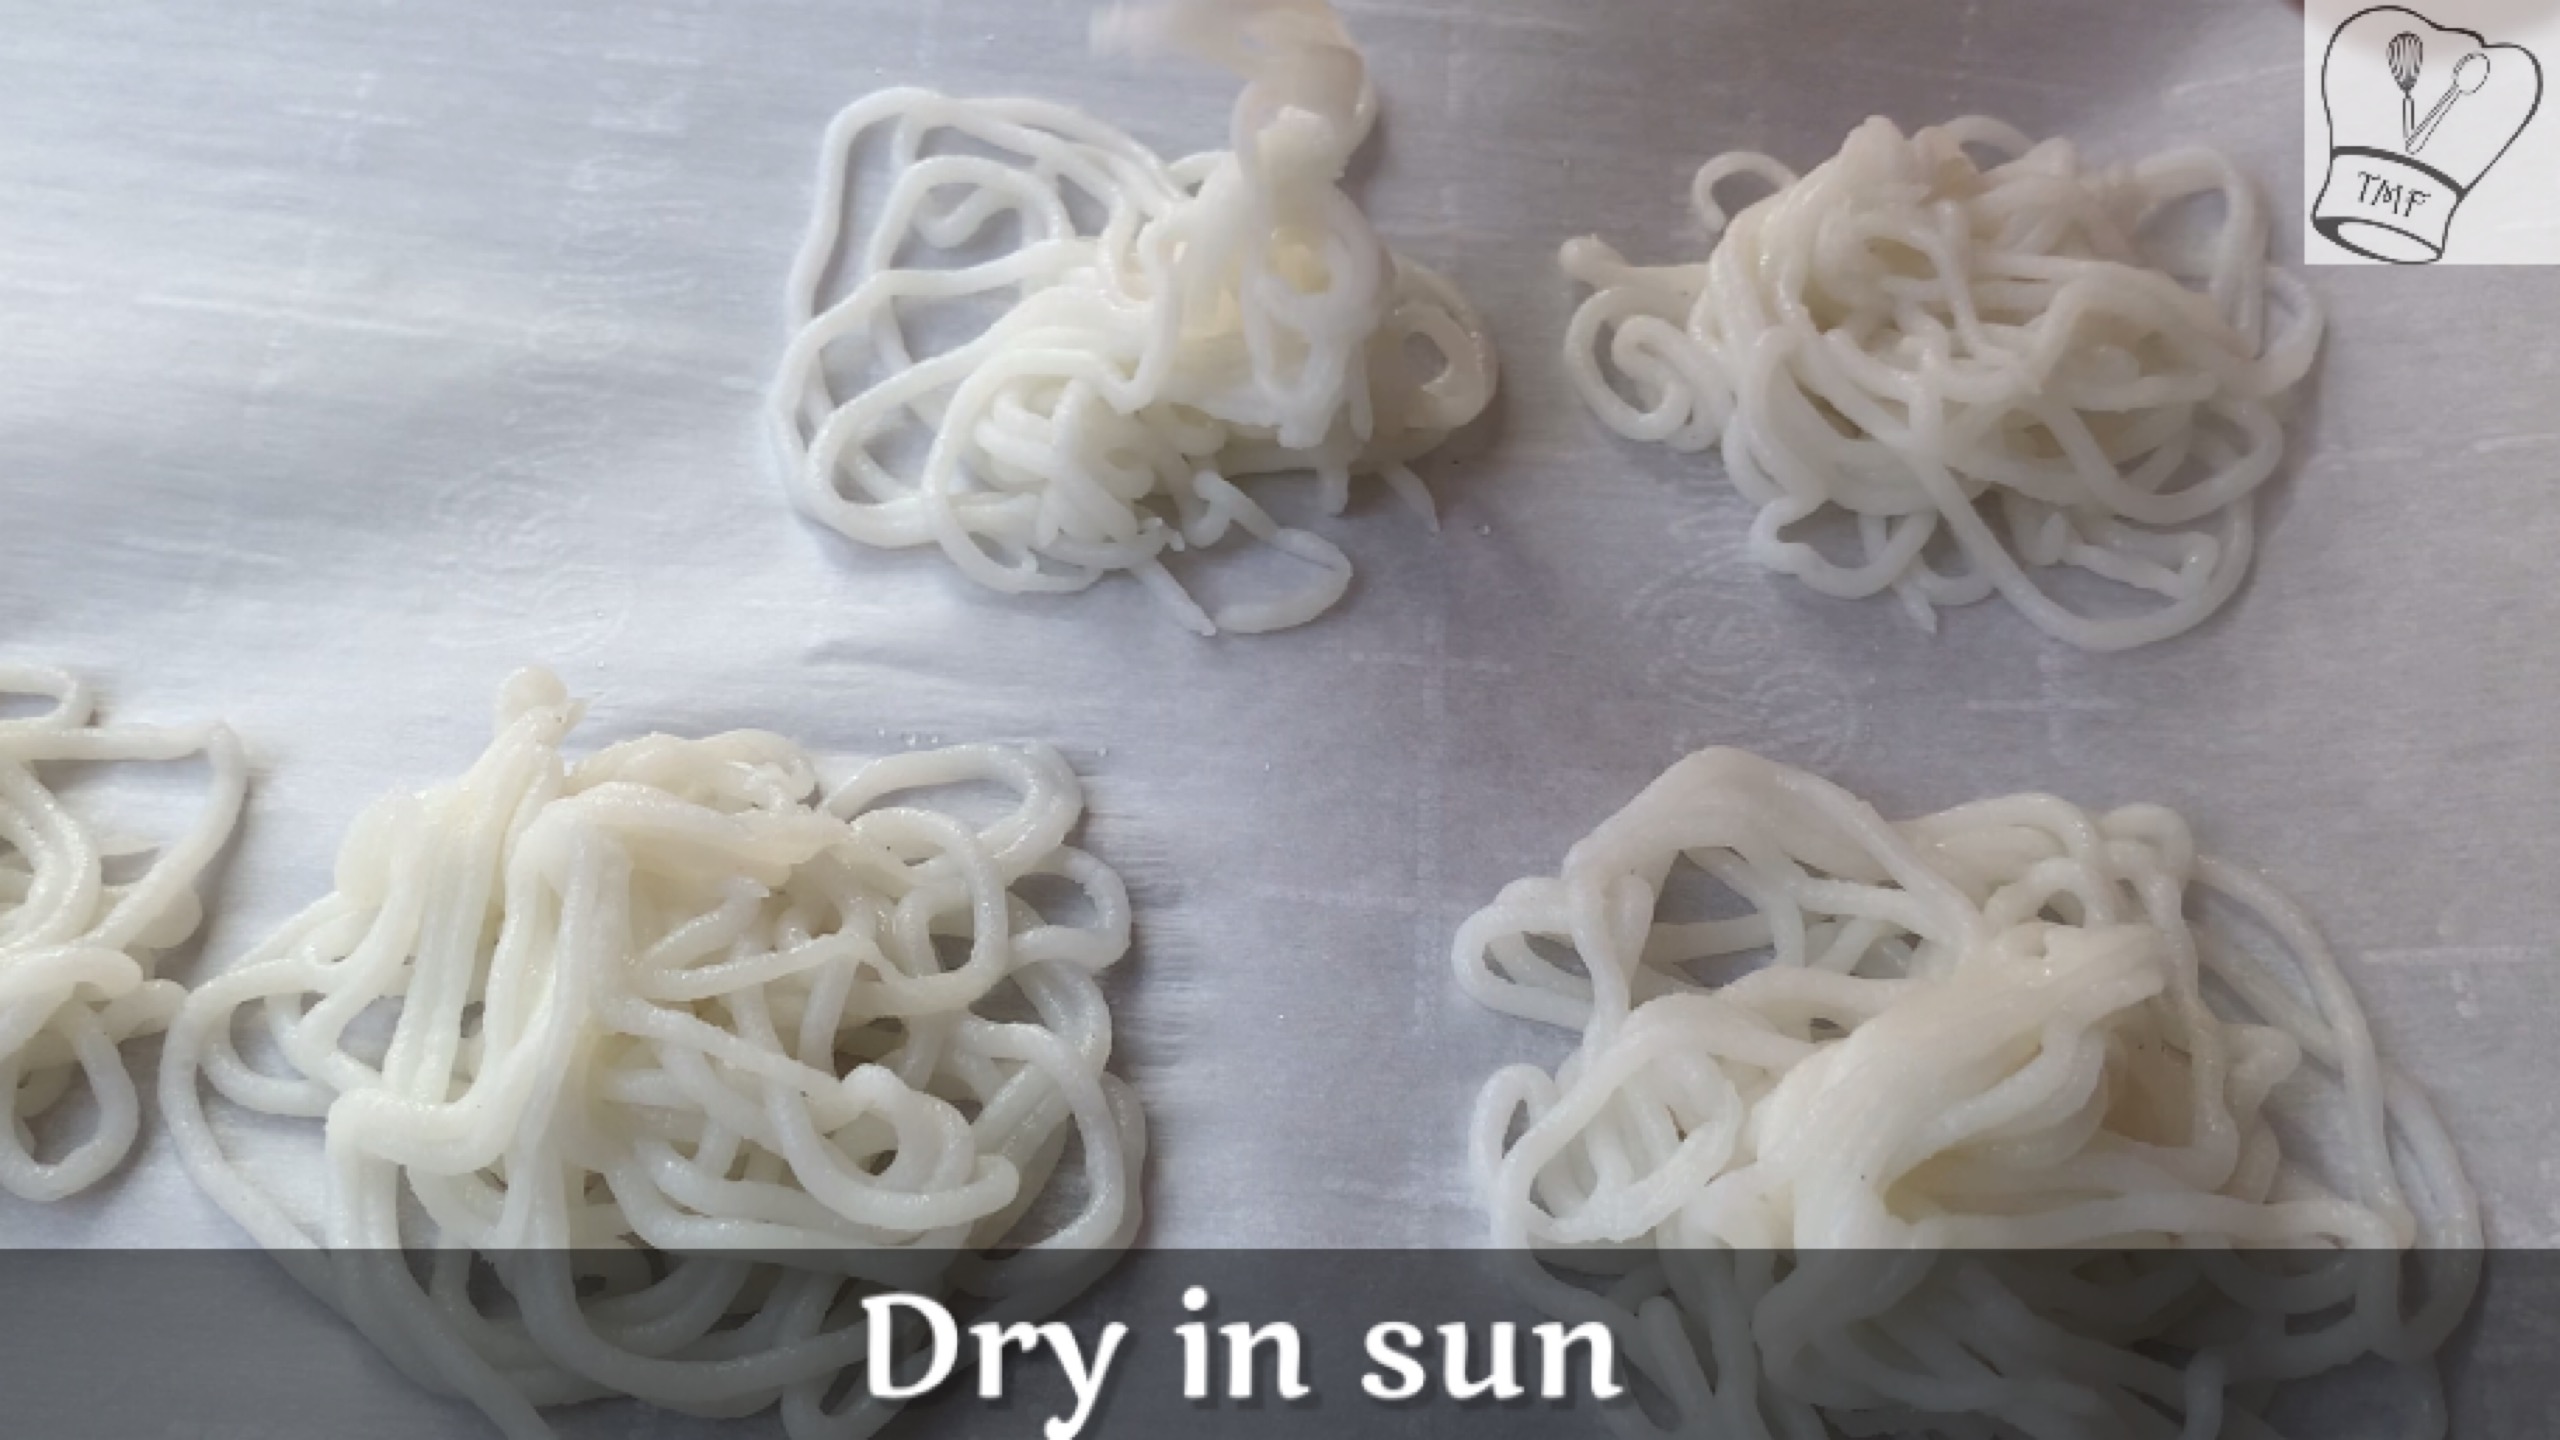
- Finish the entire batch and let it get dry in hot sun
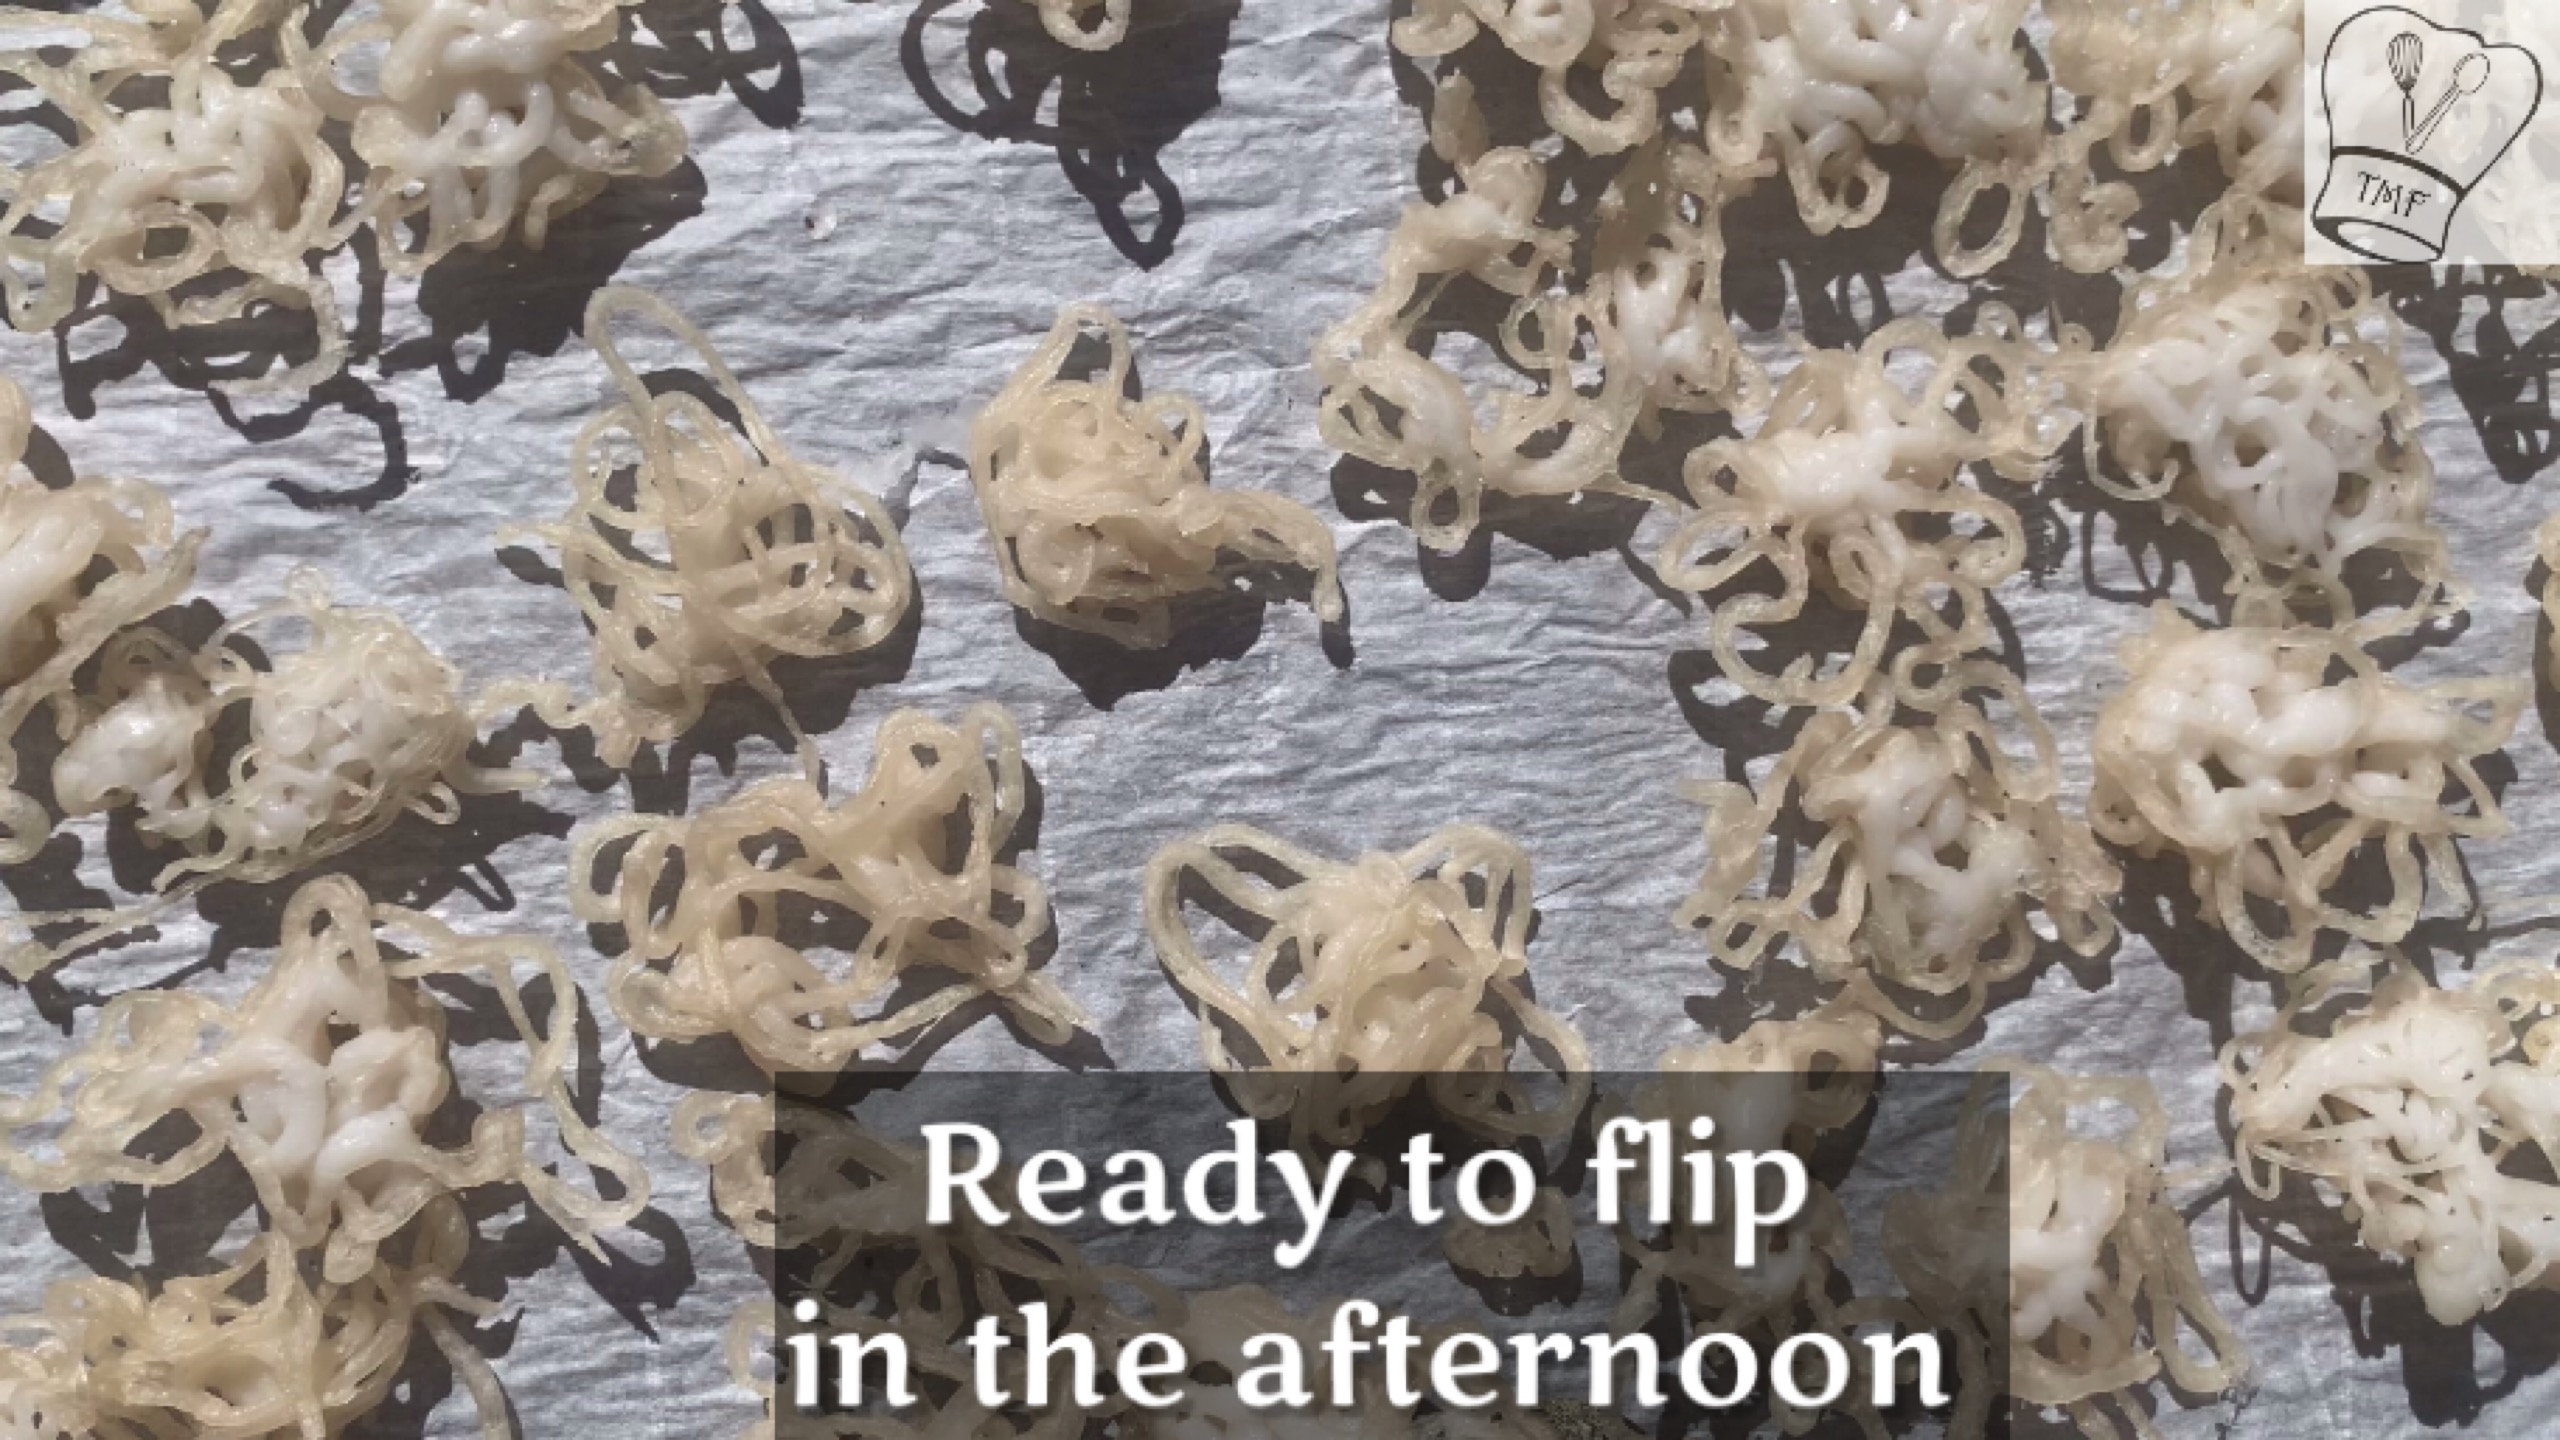
- It is extremely sunny day after few hours (3 or 4 hours) you could easily flip the vadam
- Flip gently if it is coming easily do it for the entire batch but if it is difficult to flip wait for the Vadam to dry further
- Let the Vadam be in sun till the sun set. Keep the Vadam inside during the night
- Next day again dry the Vadam and flip around the noon for even drying
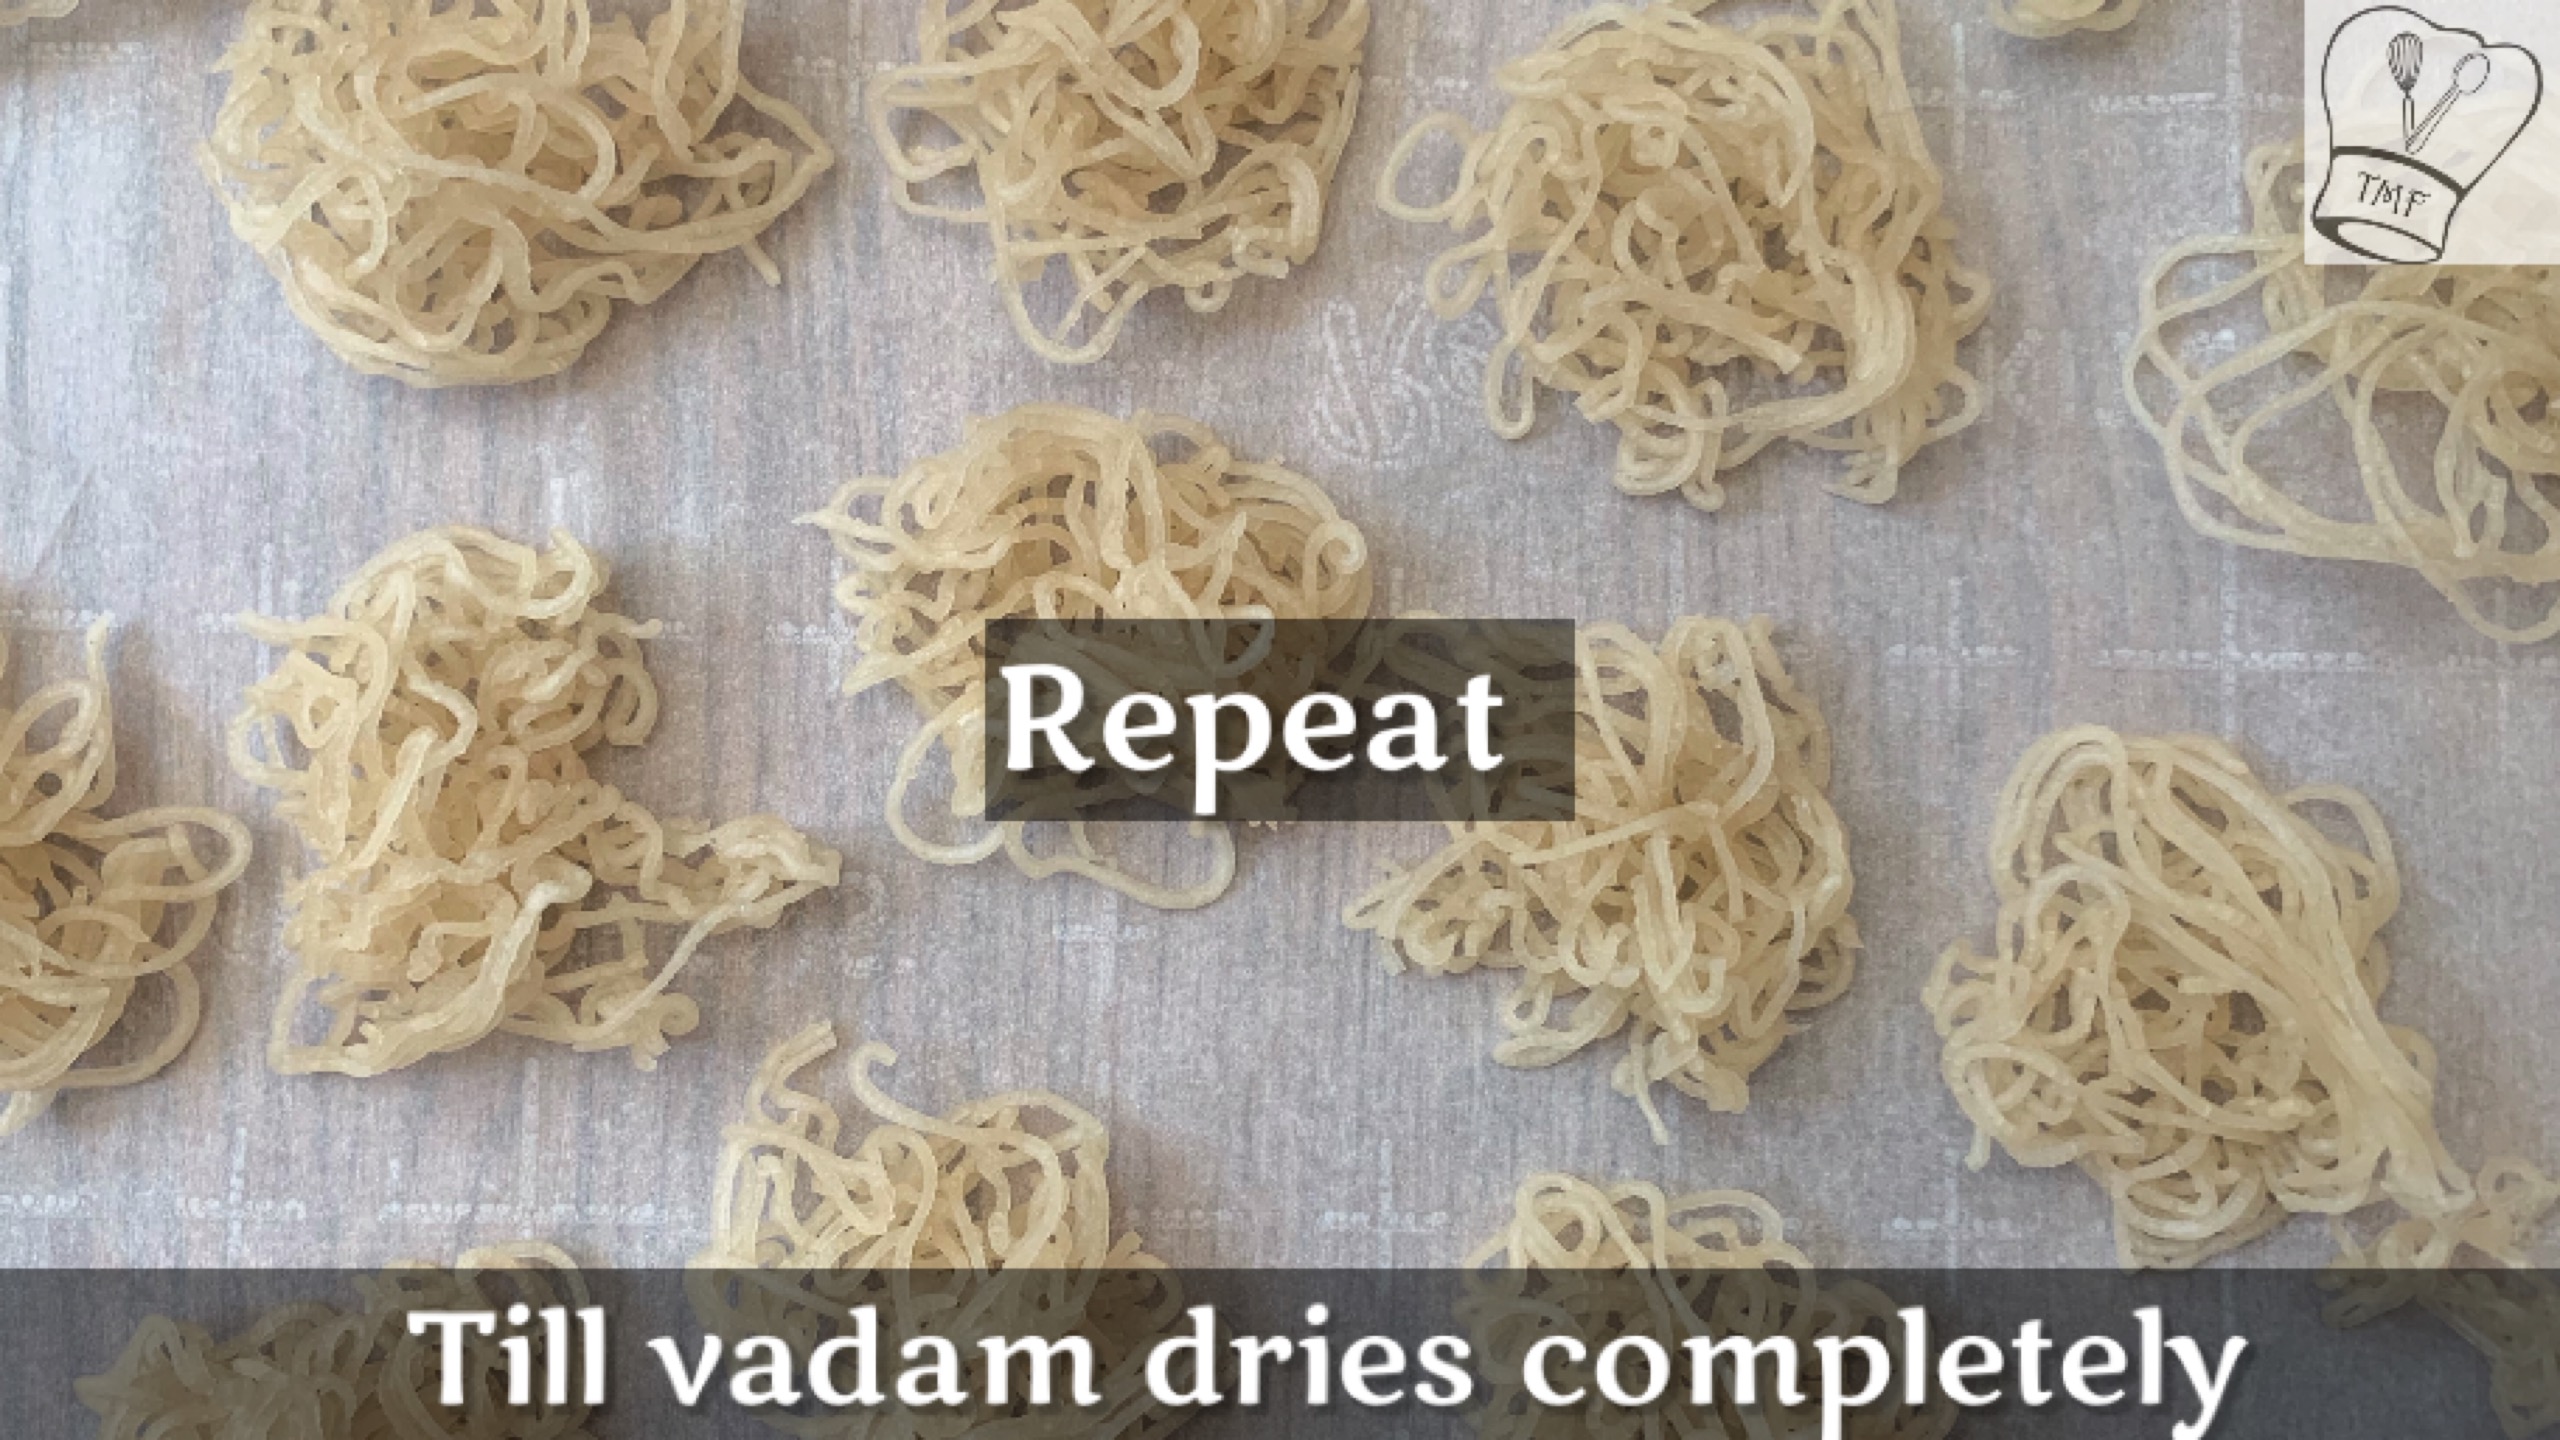
- Repeat this process till the Vadam is completely dry
- Depending on the weather it takes 3 or 4 days for the Vadam to dry
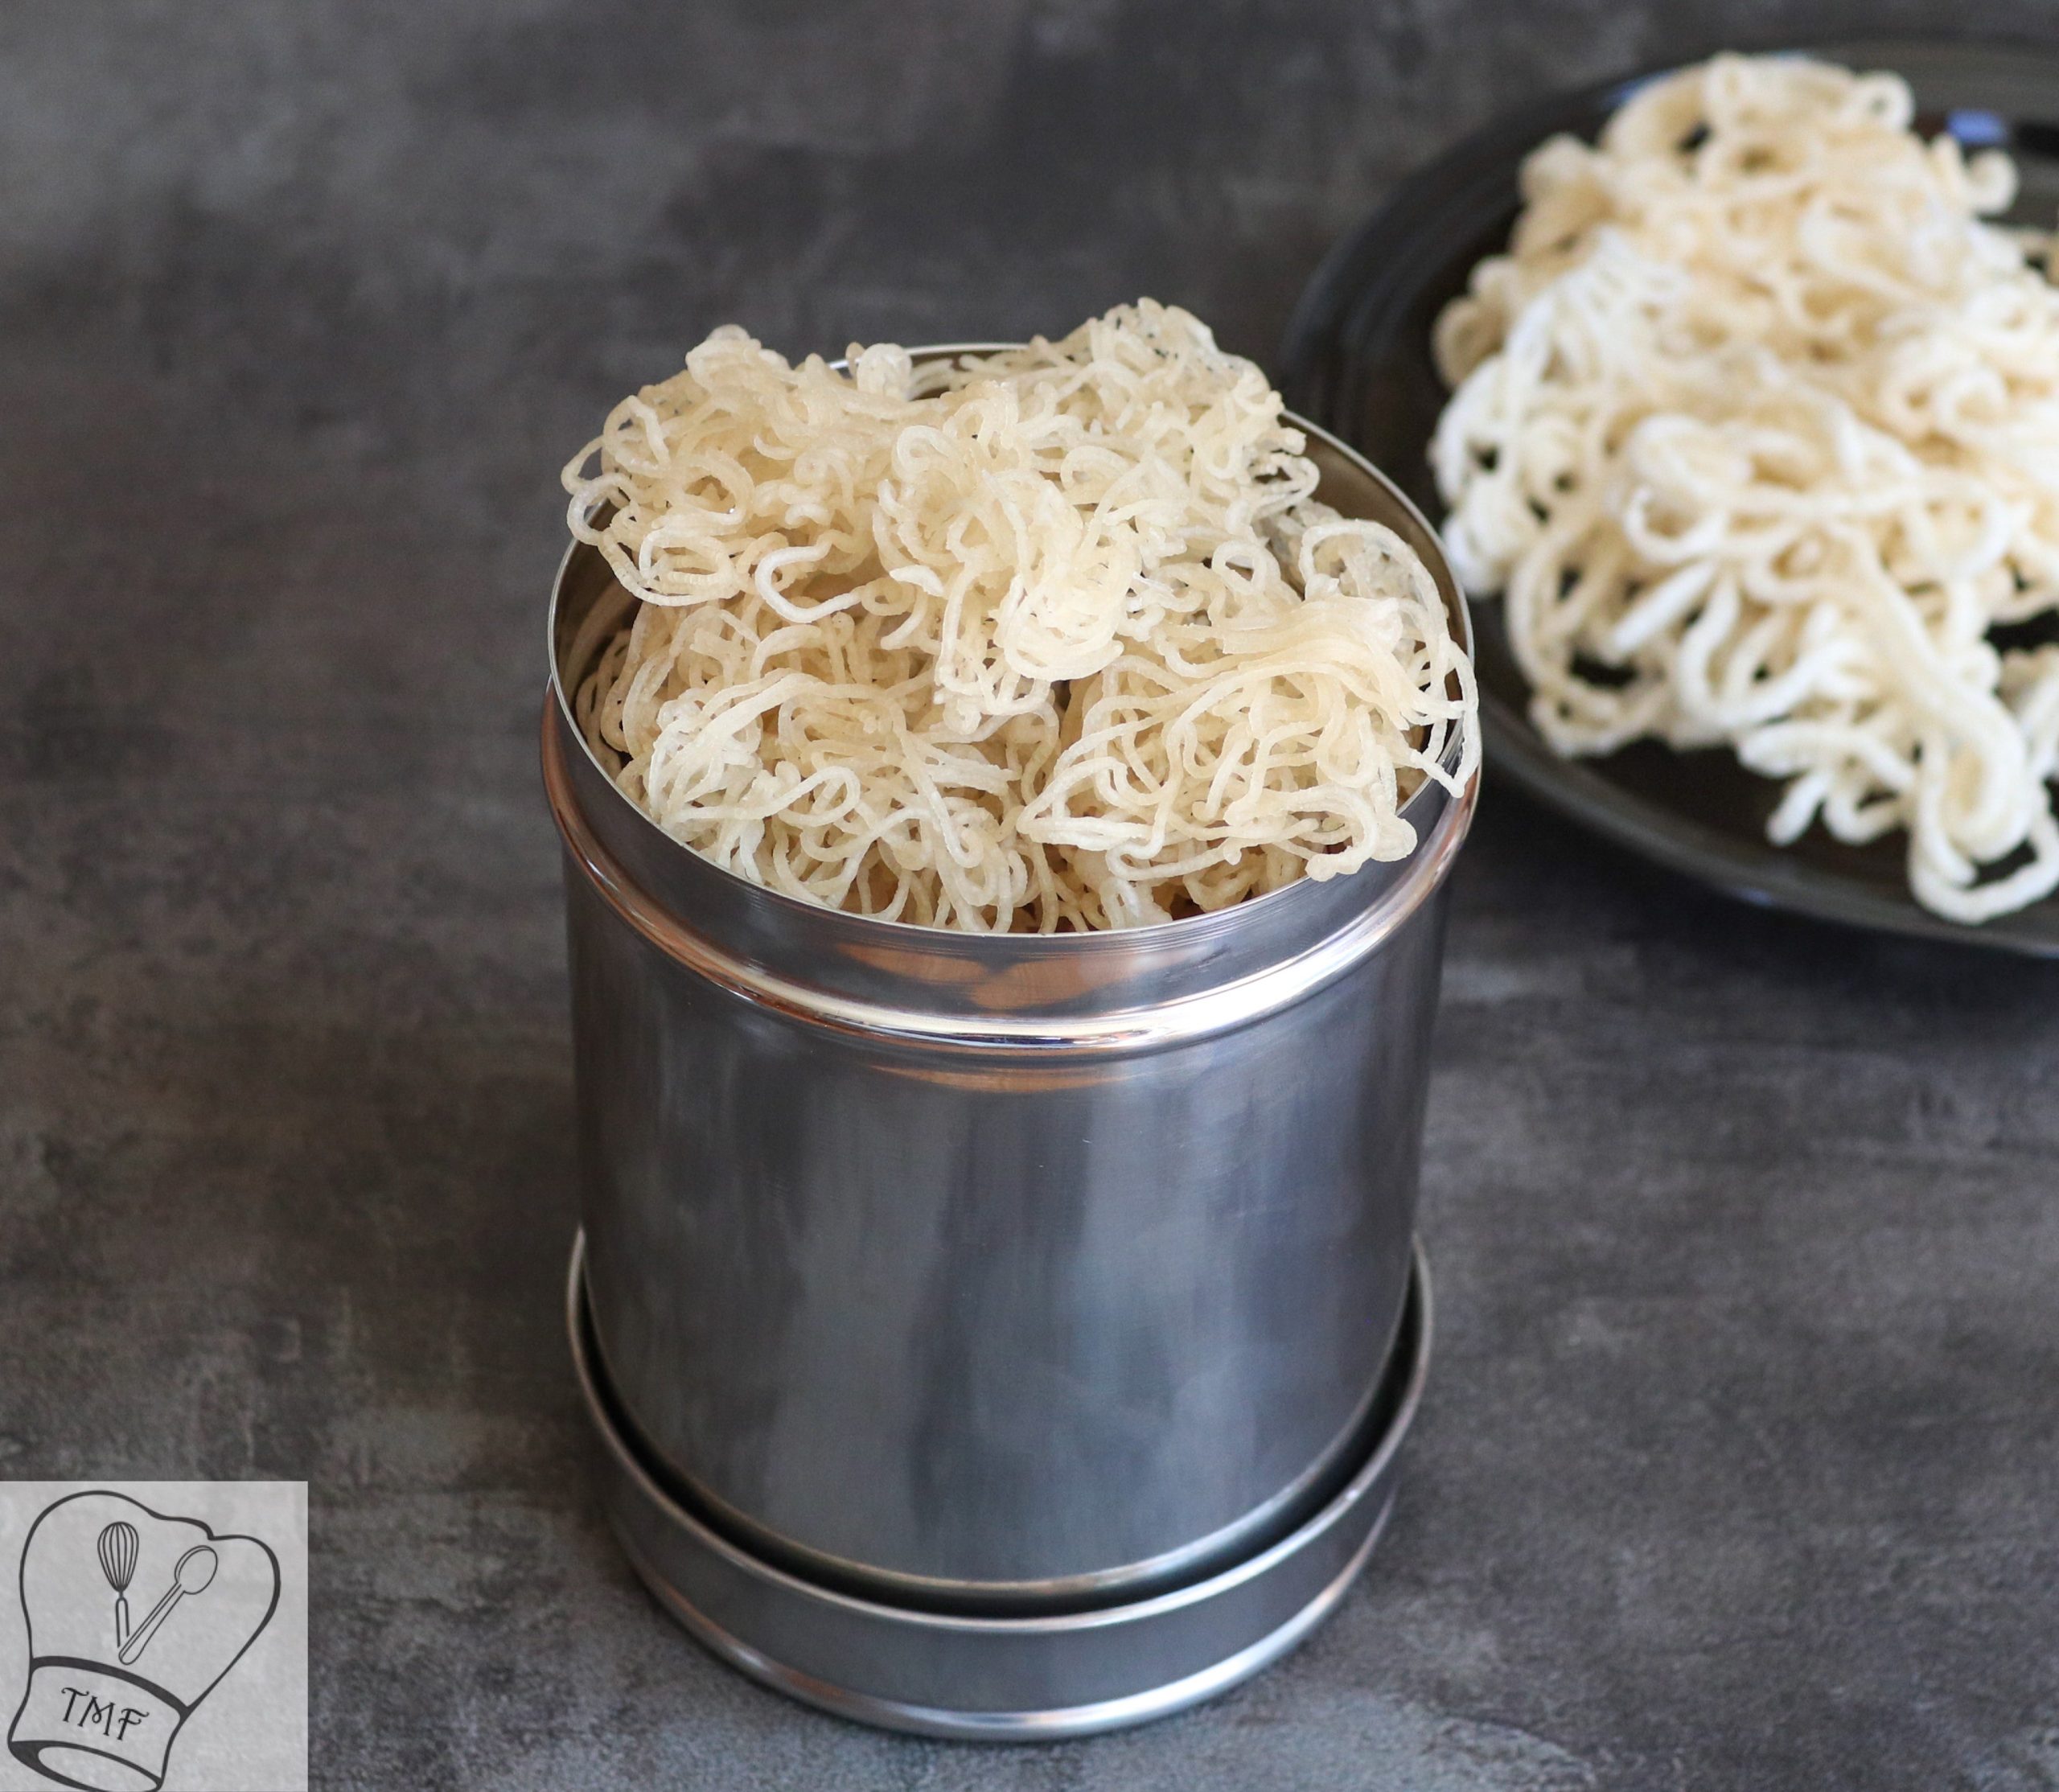
- After the Vadam is completely dry store in a airtight container
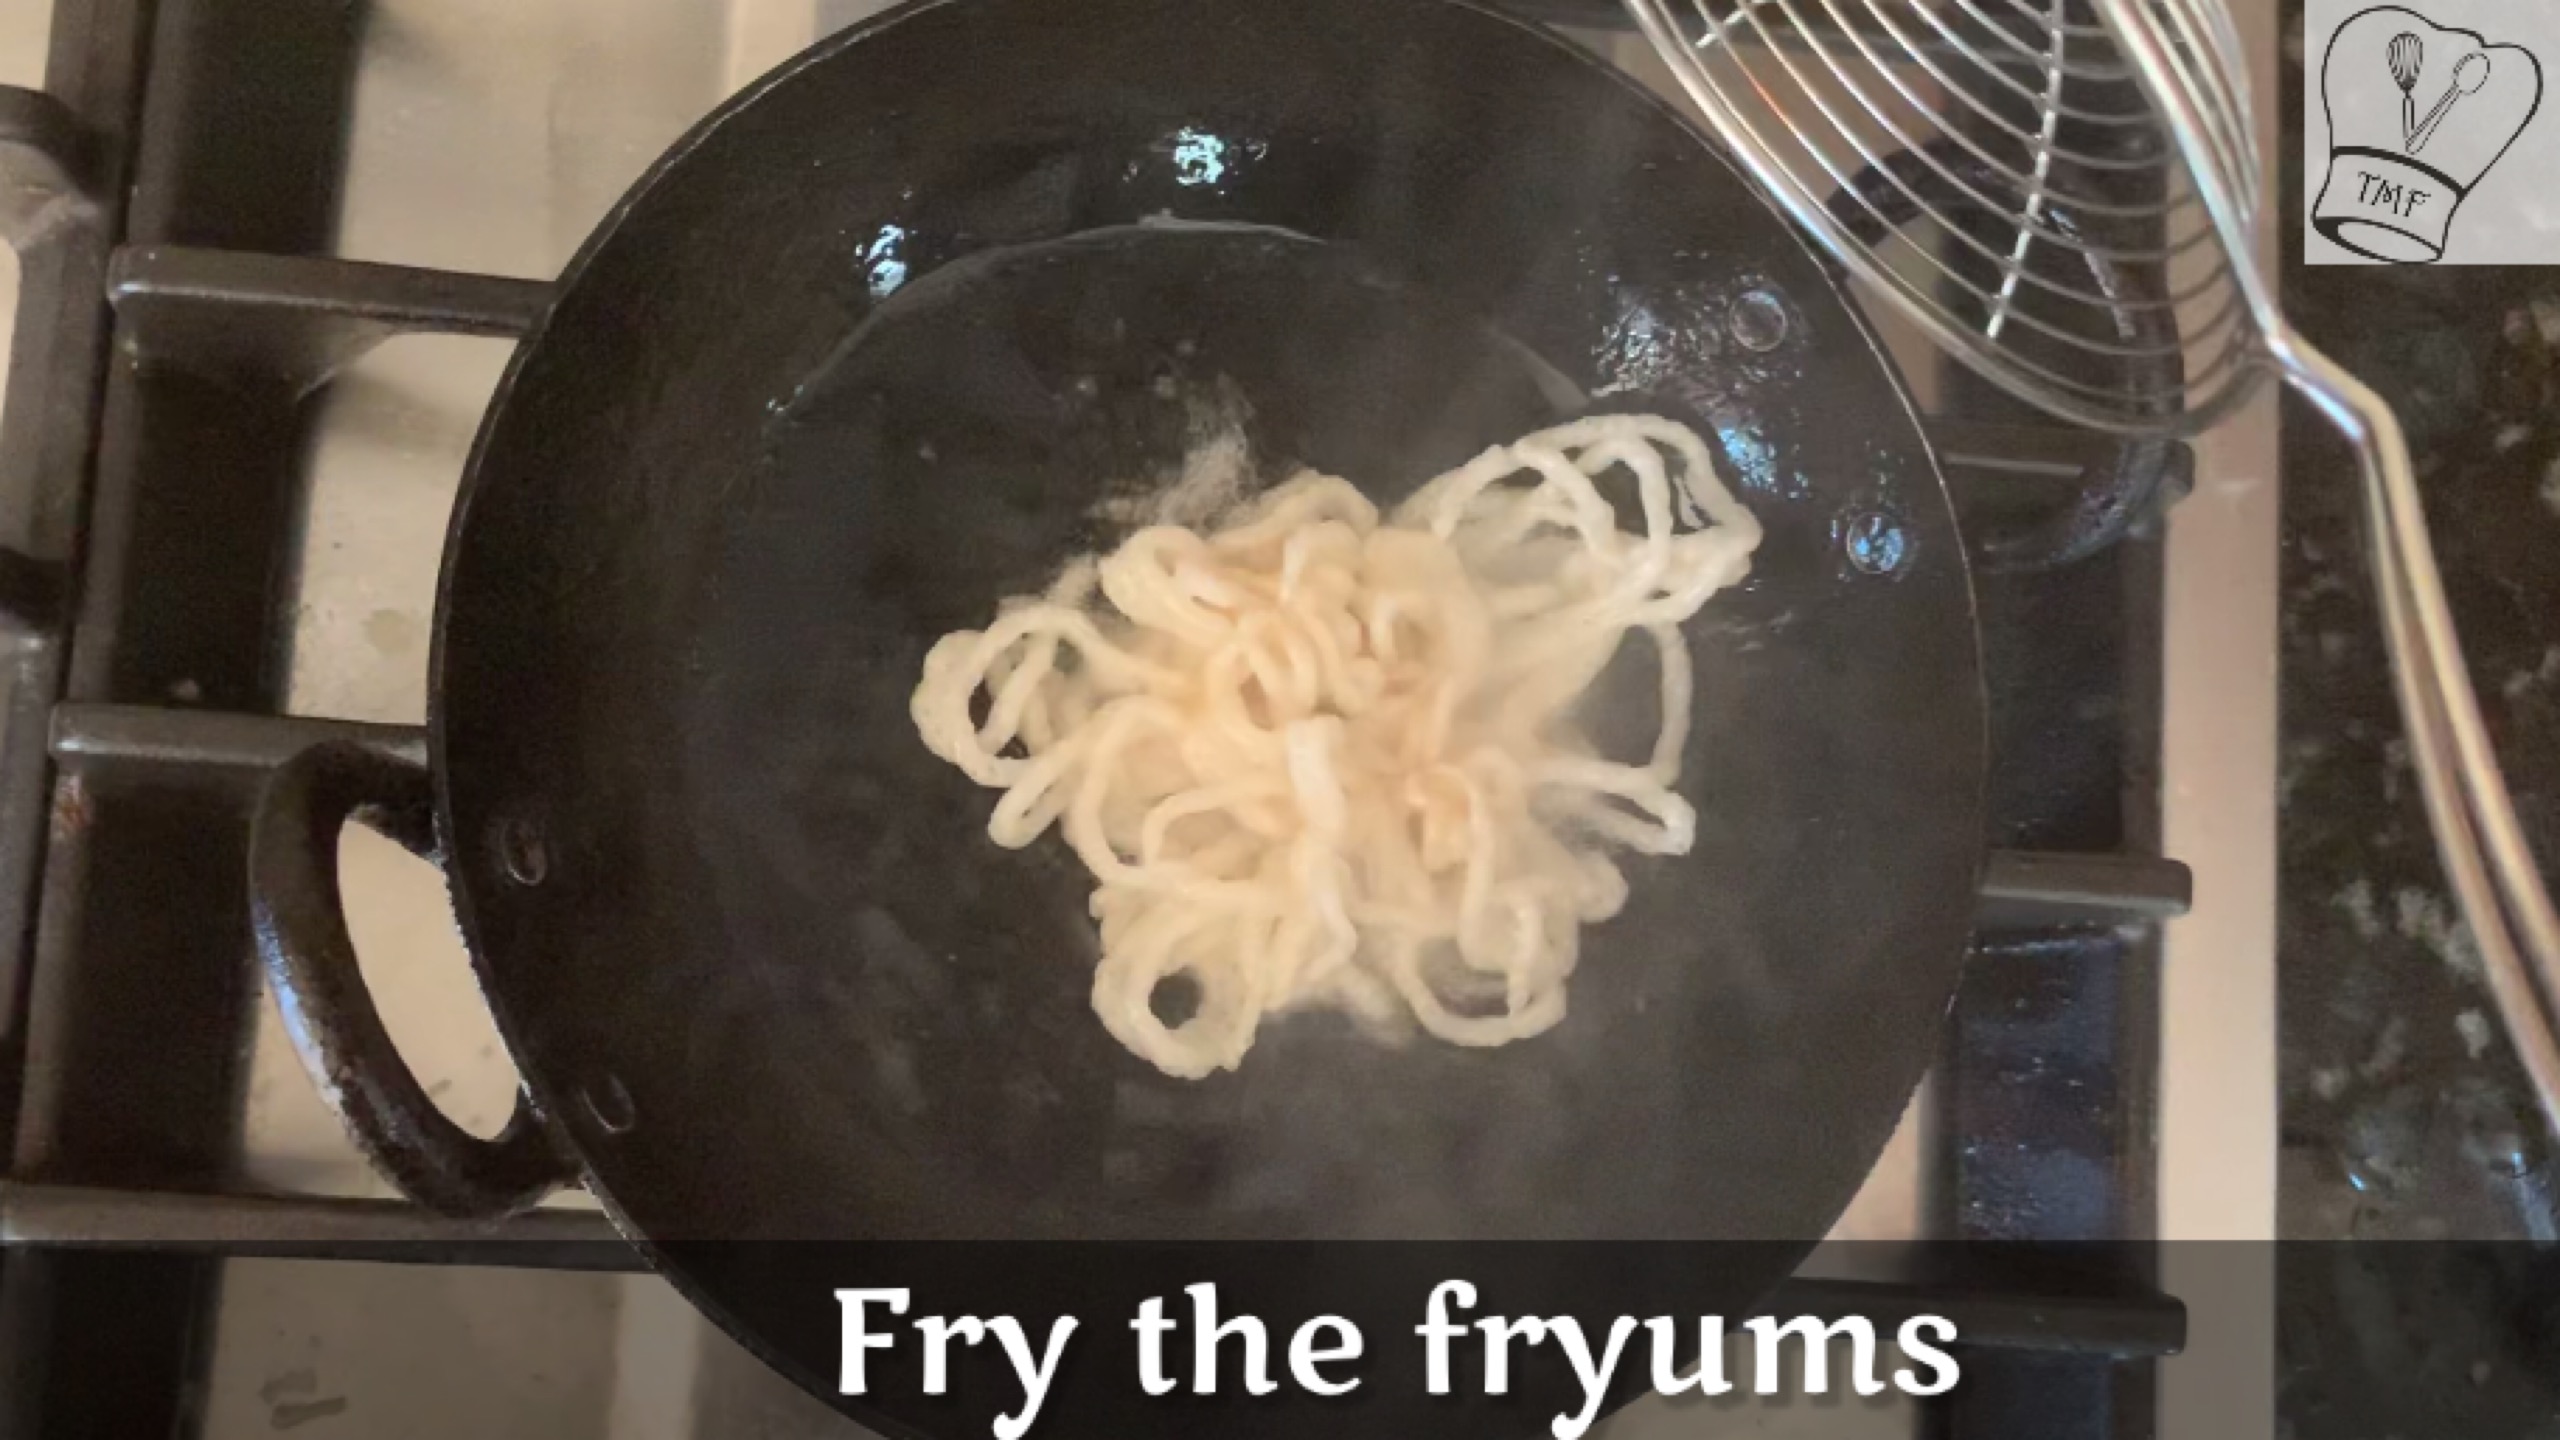
- Fry the Vadam in hot oil and flip for even cooking
- Alternatively microwave with little brushed oil
Video
Notes
- Keep a stone or some form object around the edges to prevent the Vadam paper from moving around
- In India people keep black umbrella to protect Vadam from crow
- Vadam dough looks less salty but
- Vadam gets the salt as it dries so avoid adding excess salt
- Filtering green Chilli water is optional . To make it kids friendly we generally does it in our home
- The amount of water may vary slightly depending on the rice flour. Always keep hot water handy just in case
- Avoid covering the Vadam with paper/cloth while drying
- Make sure the rice flour is mixed well without any lumps
- Dough with lumps won’t come out easily in the idiyappam press
- Never leave the Vadam overnight as the moisture will make the Vadam soggy
- Always dry hands while flipping the Vadam
- If the dough is dry sprinkle little hot water
- For perfect vadam dough should be non sticky if touched
- Vadam tastes best if it is well sun dried
- While cooking vadam in hot oil if you see popping it means it is not dried properly
- Always fry the Vadam in hot oil
- If the dough has excess water add little rice flour and cook
- If for some reasons the dough turns so lumpy and difficult to press grind the dough. Use a spoon and make koozh vadam
Ingredients:
Rice flour - 1 cup
Tapioca pearls / Javvarisi /sago /sabudana - 1/4 cup
Salt - as needed
Green Chilli - according to your taste
Hing - generous pinch
Lemon juice - 2 teaspoon (adjust according to your taste)
How to make Arisi vadam with step by step pictures:
- Rinse the sago twice just to remove the impurities not more as we need to retain the starch
- Soak the sago with 1 cup of water
- Leave it overnight or for at least 3 hours
- furthermore add 1/4 cup water and cook it in a separator for 2-3 whistles; let the pressure subsided naturally
- In a small mixie jar add green Chilli, hing, salt and little water and grind
- Strain the green Chilli water and keep aside
- Let the cooked javvarisi cool completely. Grind it into a fine mixture
- Keep parchment paper/ cabinet liner or plastic sheet ready
- In a wide heavy bottomed pan add 2 cups of water and let it boil
- Once it starts boiling add green Chilli water and let it boil
- After the water boils well simmer the flame
- Add rice flour little by little and keep stirring to avoid lumps
- Dough comes together as a mass. If required sprinkle some hot water
- Add the ground javvarisi and cook; stir well to avoid lumps
- Mix well cook till the dough becomes non sticky. Moisture your hand and gently pat, to check if the dough is non sticky
- Keep the flame in lowest setting
- Cover and cook for 5 mins
- Mix well and switch off and let it cool down a bit
- Add lemon juice and mix well
- Take a murukku achu and put your desired shape and keep it ready
- Grease it with little oil and add dough
- Press it and leave some distance in between
- Finish the entire batch and let it get dry in hot sun
- It is extremely sunny day after few hours (3 or 4 hours) you could easily flip the vadam
- Flip gently if it is coming easily do it for the entire batch but if it is difficult to flip wait for the Vadam to dry further
- Let the Vadam be in sun till the sun set. Keep the Vadam inside during the night
- Next day again dry the Vadam and flip around the noon for even drying
- Repeat this process till the Vadam is completely dry
- Depending on the weather it takes 3 or 4 days for the Vadam to dry
- After the Vadam is completely dry store in a airtight container
- Fry the Vadam in hot oil and flip for even cooking
- Alternatively microwave for a min with little brushed oil



Comments
No Comments