
Baked Masala Vadai | Baked Paruppu Vadai
BakedMasala vadai recipe | Baked Chana Baked dal vadai | Baked masal vada | Baked paruppu vadai |Baked dal vadai | Baked Parippu vadai | south Indian vada recipe | tea time snacks | crispy masal vada recipe | tea Kadai style | Aama vadai | Tamil Nadu style paruppu vadai | lentil fritters | masala paruppu vadai onion | crispy paruppu vadai | spicy lentil fritters with step by step pictures and video recipe. Check out the Masala vadai video recipe. If you like the video pls SUBSCRIBE to my channel.
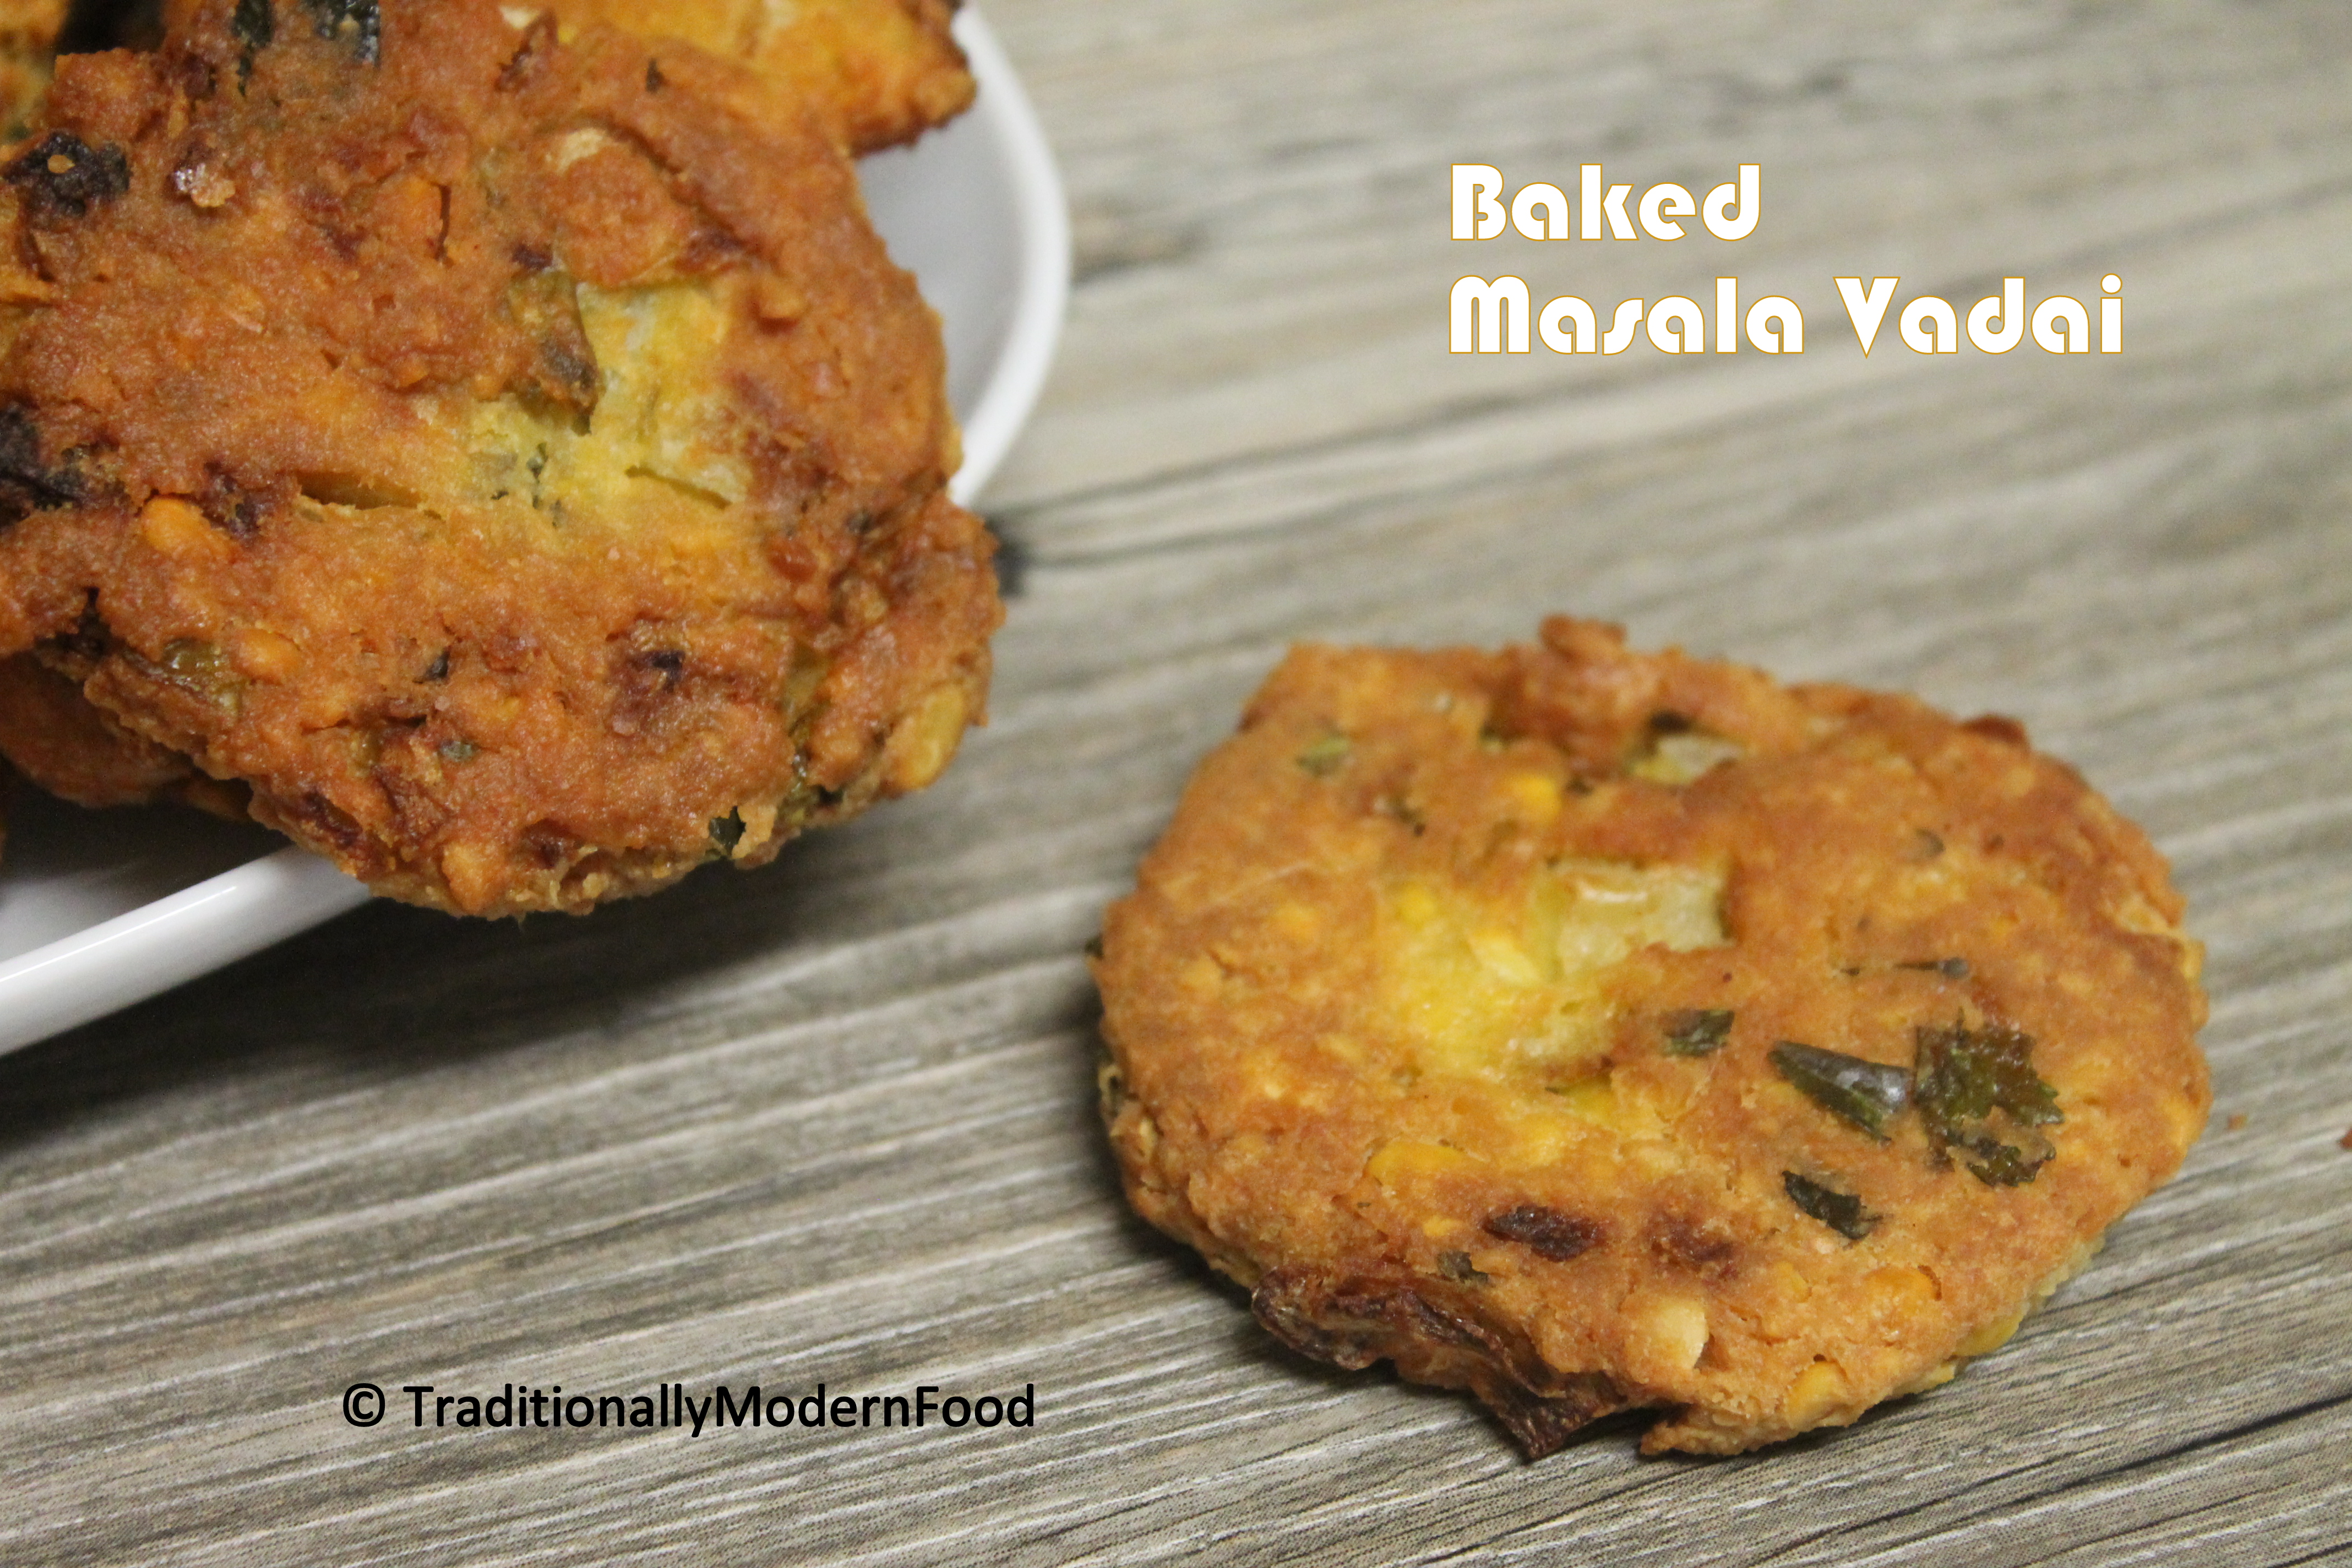
Baked masala vadai | Baked Paruppu vadai is a crispy guilt-free Indian snack. Masala vadai is a tasty snack for a rainy day. Baked masala vadai is a great after-school snack for kids.
When it comes to Vadai, Masala vadai is my all-time favorite. Usually, I deep fry them in oil, but my baking addiction these days told me to try a baked version. These days it’s snowing here and on one such day, I was craving for Masala Vadai.
Soaked the dal and ground. Decided to try baked masala vadai but was a little worried about the texture, so instead of making the full batch took half of the batter and started baking it. Preheated the oven and took the baking tray and I realized I was out of parchment paper.
https://www.youtube.com/playlist?list=PL3zYDDQHDMSvHIbByqaaQGxUPu8JNXI6v
I thought is this sign telling me not to bake, but I greased the tray with extra oil (compare to my usual quantity) and baked masala vadai. Oh man, I didn’t believe the taste. My husband didn’t believe that it’s baked, but after seeing the second batch from the oven he accepted:-)
It’s snowing today as well and my mind has started thinking about snacks. I am sure I will end up cooking some snacks today but for time being this crispy baked Masala Vadai is for my lovely readers.
Off late I have been using my oven so frequently. Trying my favorite Indian snacks with a healthy baked version.


Other vadai recipes in TMF
Kids after school snacks
CHANA DAL RECIPES
masala vadai

Ingredients
- To grind:
- 1 cup Chana Dal | kadalai paruppu
- 1 tbsp Rice flour
- 1 tsp Fennel Seeds | Sombu
- 2 Red Chillies
- 4 pods Garlic peeled
- Ginger Small piece
- Baking soda - a pinch
- Sugar - a pinch
- Salt - as needed
- To mix:
- 1/2 cup Onion finely chopped
- Few Curry leaves
- 1 Green chilli deseeded
- to bake:
- Oil - to grease
Instructions
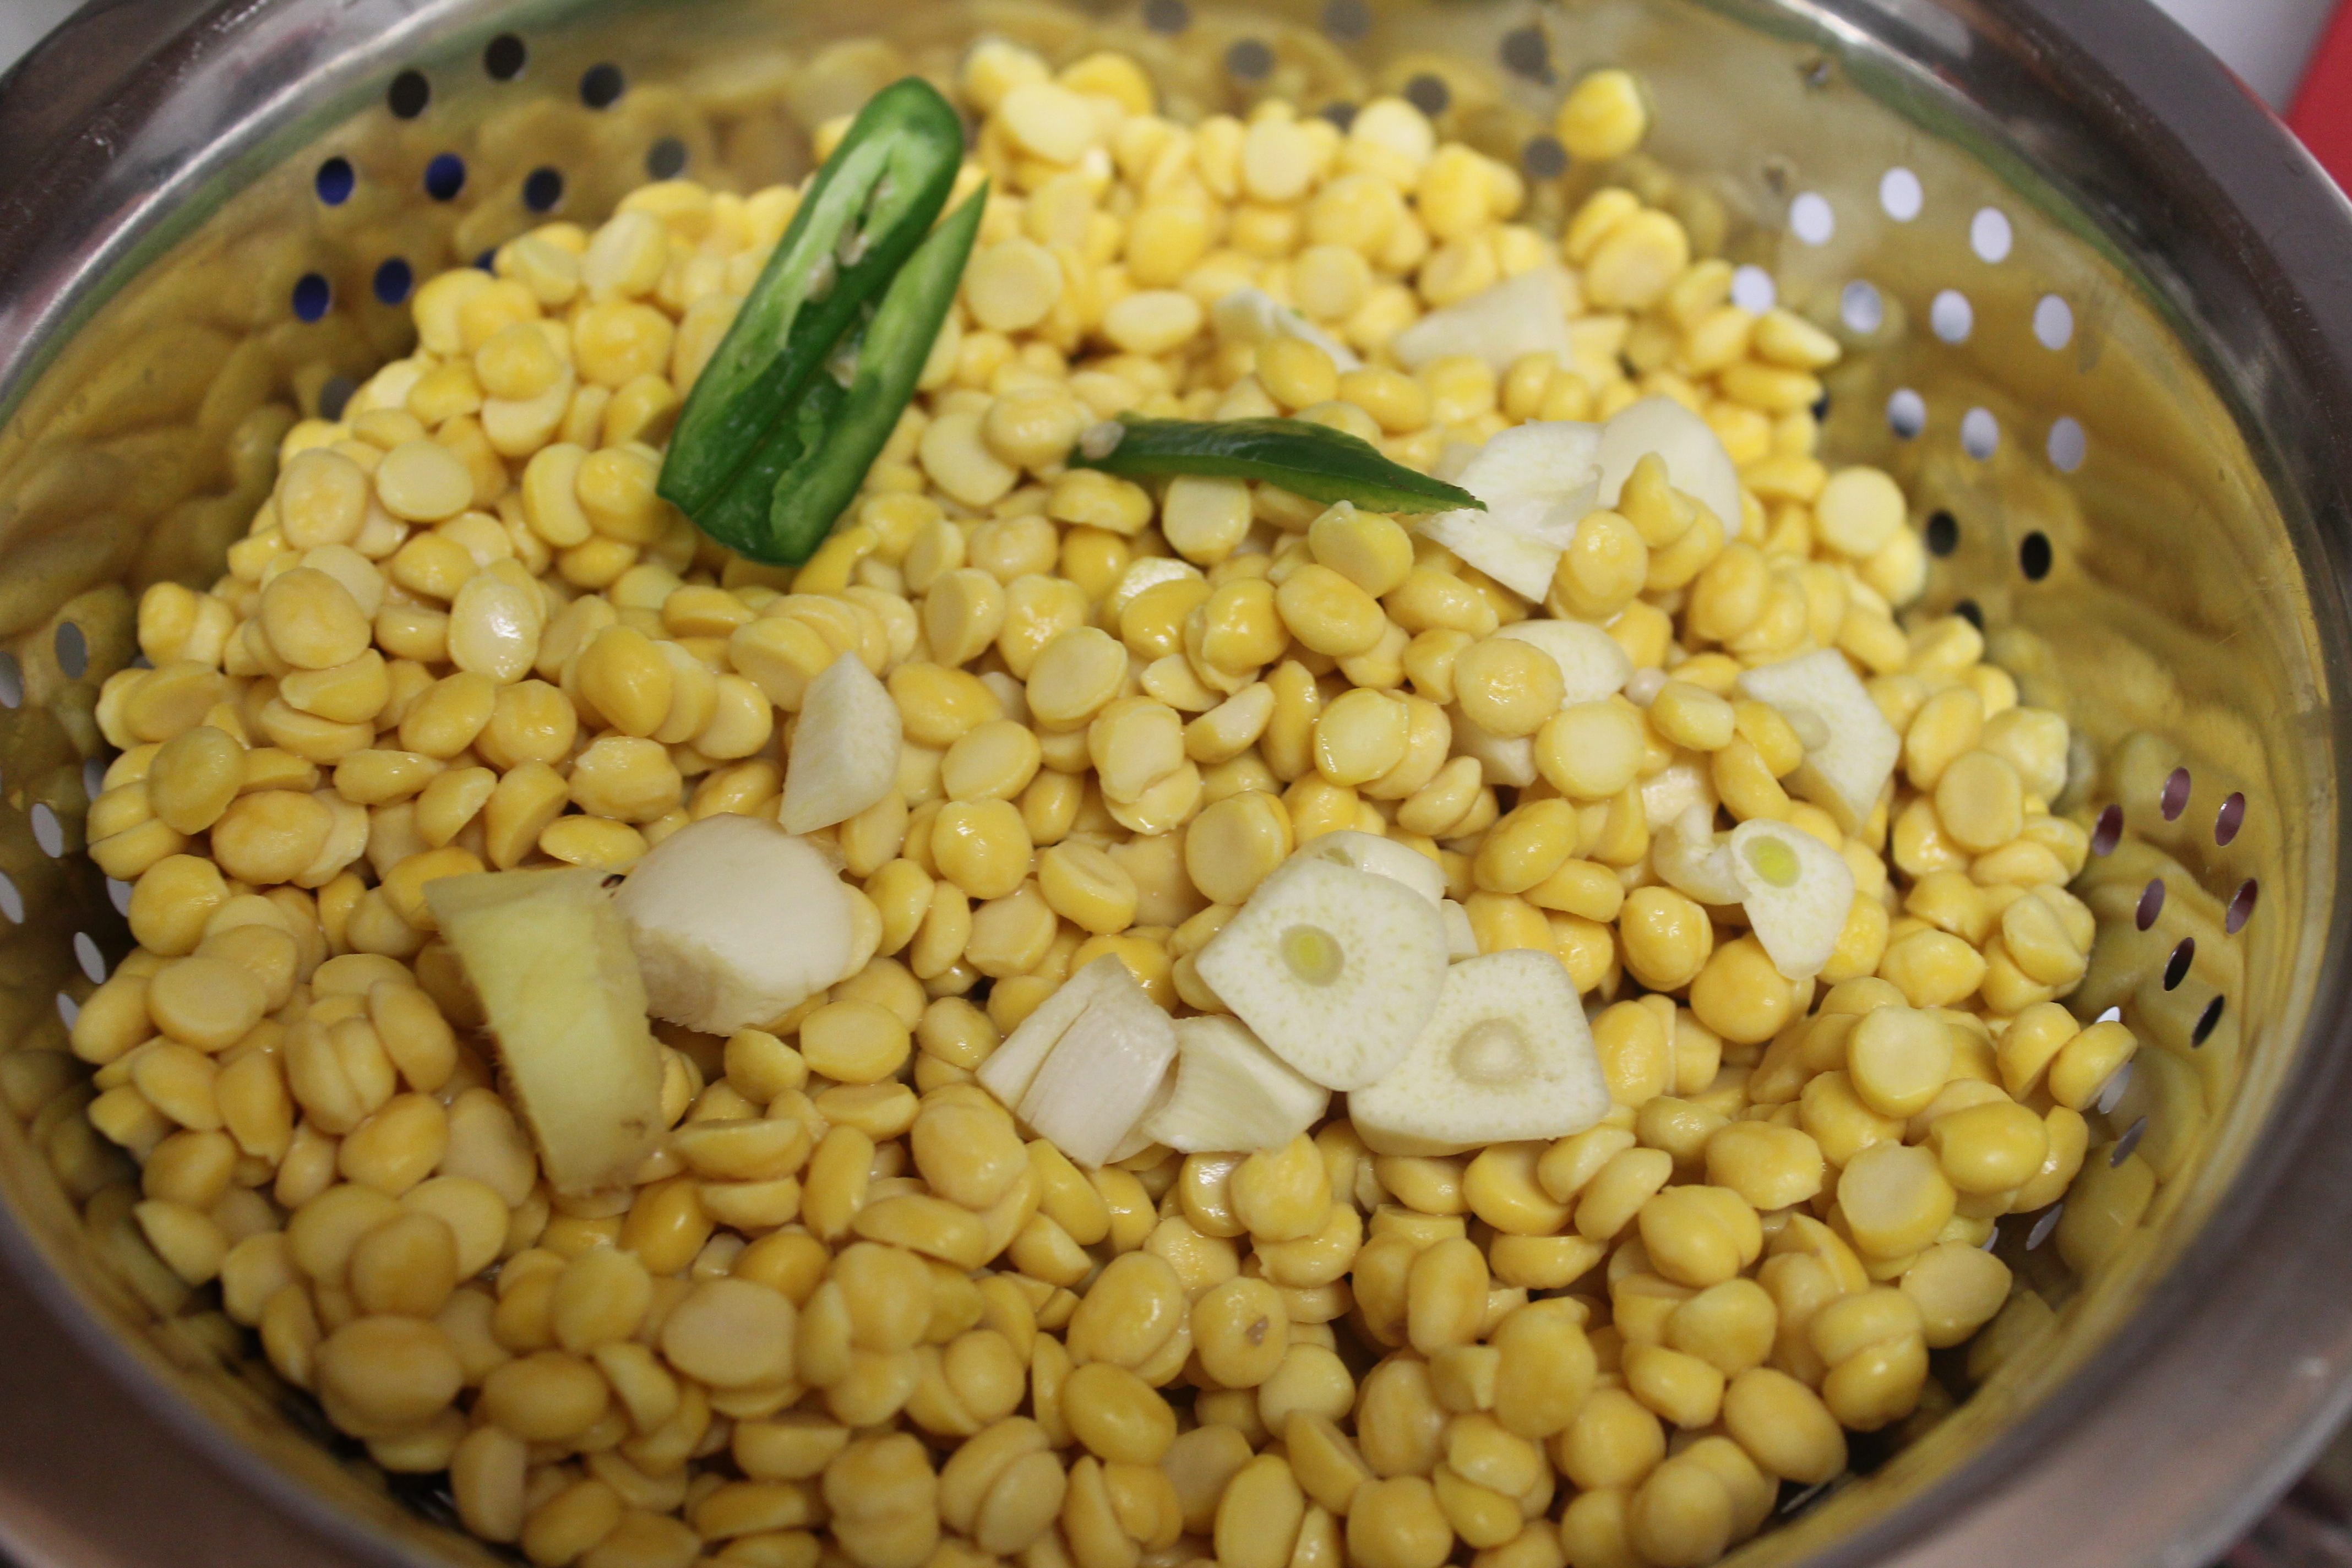
- Wash and soak channa dal for 2 to 3 hrs. Drain the water completely and keep aside. Grind together with other ingredients listed under "To grind" with 1 - 2 tsp of water into a coarse mixture (less water helps in crispy vadai texture. Avoid using too much water)
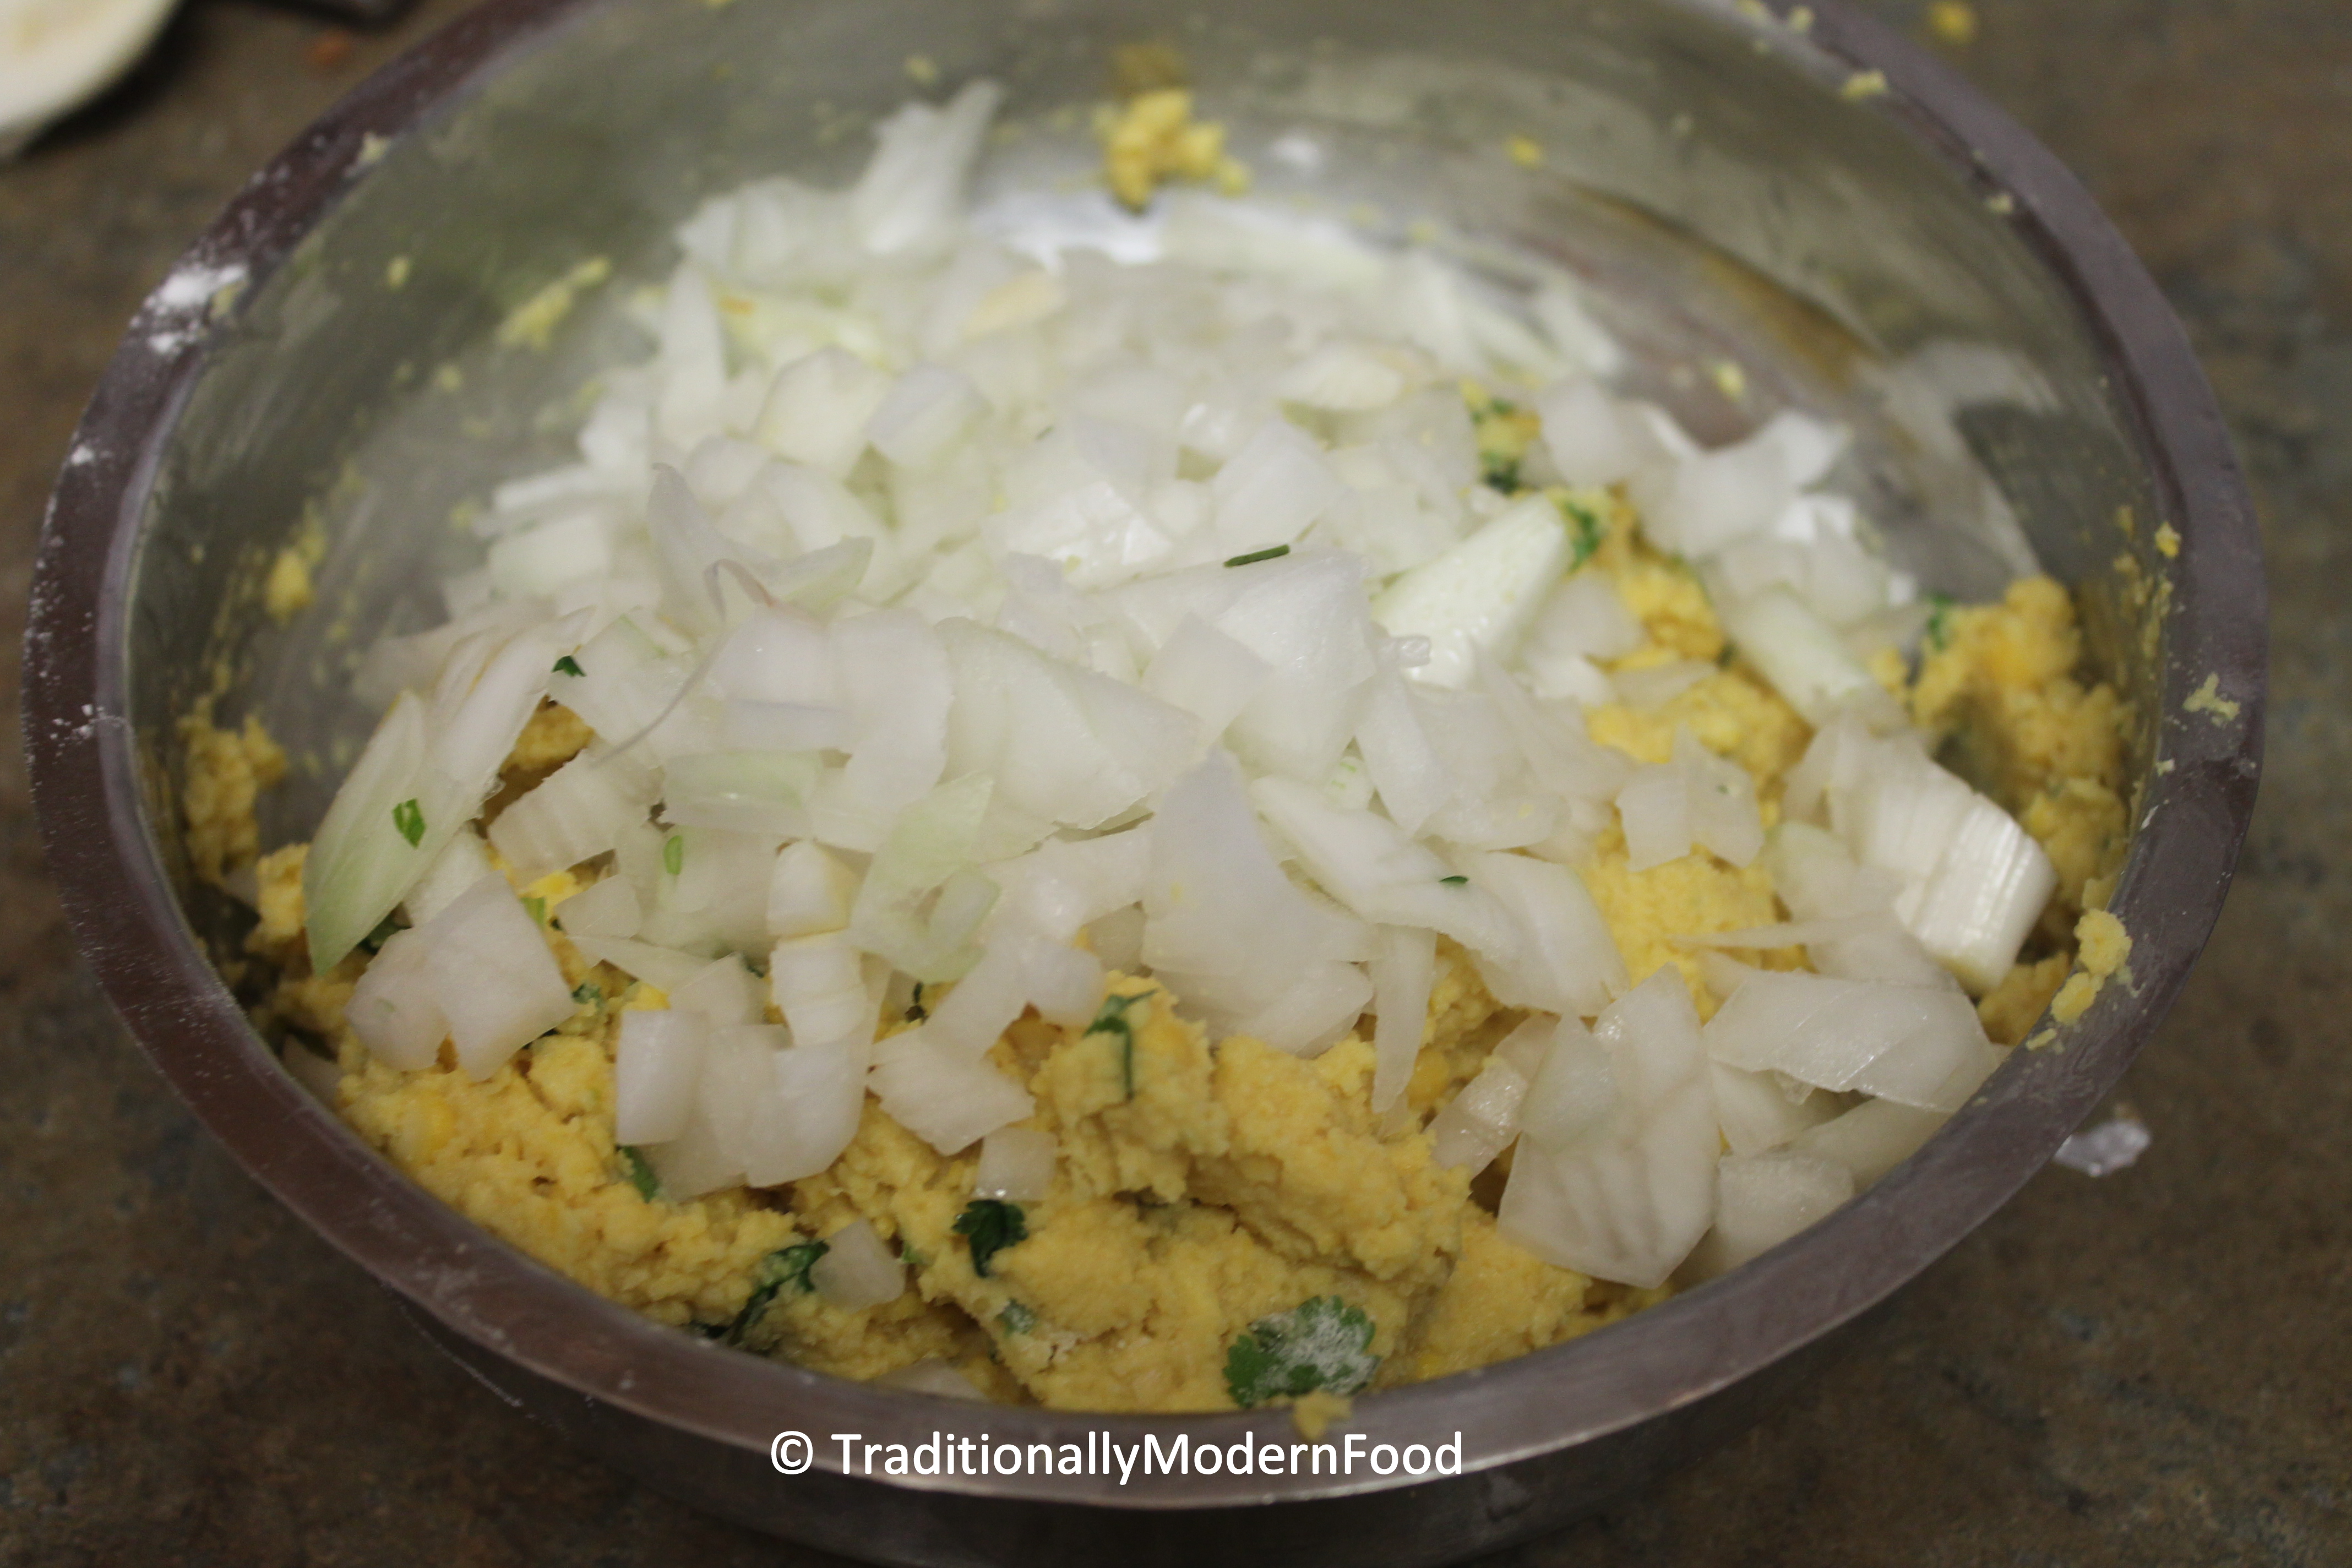
- Transfer the mixture to the mixing bowl and add onions, curry leaves, coriander leaves and mix well
- Preheat the oven to 400 degree Fahrenhait. Take the baking tray and brush the oil
- Take small portions of the mixture, and flatten them using your palm (thinner vadai yields crispy vadai)
- Place them in the greased tray and brush the top portion of each vadai with little oil to avoid drying out and of course for the crispy finish
- Bake the vadai for 11 - 15 min, till they have browned the underside (adjust time according to your oven) . Carefully flip them and bake again for another 11 - 15 minutes. Remove and serve immediately. Serve with chutney/ ketchup. I generally love to finish them without any sides
Subscribe to my YouTube channelCheck out Traditionally Modern Food!
Notes
- The key for the perfect baked vadai is batter with less moisture (water) and greasing generously with oil/ spray
- If the vadai is thick outer portion will cook fast and inner will remain uncooked, and baking for more time may lead to to rubbery vadai
- Just like the fried ones - these are best served the minute they are made. If can't eat the vadai immediately, switch off the oven and keep the vadai tray back in the over till you eat. Make sure you keep the vadai back in oven after 10 minutes as the oven will still be hot
- Though the crispness won't retain for hours together but for 30 - 45 minutes it works perfect. After that I haven't tried
- Instead of rice flour rava can also be used
- paruppu vadai can also be prepared in Paniyaram pan instead of baking
Tried this recipe?Mention @traditionallymodernfood or tag #traditionallymodernfood!
Ingredients:
To grind:
1 cup Chana Dal | kadalai paruppu
1 tbsp Rice flour
1 tsp Fennel Seeds | Sombu
2 Red Chillies 4 pods Garlic, peeled Ginger Small piece Baking soda – a pinchSugar – a pinchSalt – as needed


To mix:
1/2 cup Onion finely choppedFew Curry leaves 1 Green chilli, deseededto bake:
Oil – to grease
how to make baked masala vadai with step by step pictures:
- Wash and soak channa dal for 2 to 3 hrs. Drain the water completely and keep it aside. Grind together with other ingredients listed under “To grind” avoid water. If require sprinkle very little water (less water helps in crispy vadai texture. Avoid using too much water)
- Transfer the mixture to the mixing bowl and add onions, curry leaves, green chilli, and mix well
- Preheat the oven to 400 degrees Fahrenheit. Take the baking tray and brush with oil generously
- Take small portions of the mixture, and flatten them using your palm (thin vadai batter yields crispy vadai)
- Place them in the greased tray and brush the top portion of each vadai with little oil to avoid drying out and of course for the crispy finish

- Bake the vadai for 11 – 15 min, till they have browned the underside (adjust time according to your oven). Carefully flip them and bake again for another 11 – 15 minutes. Remove and serve immediately. Serve with chutney/ ketchup. I generally love to finish baked masala vadai without any sides

Nice baked version is really good… I do vadais only on festival days should try over the weekend.. Never added garlic in vadais. Interesting.
For ulunshu vadai I won’t add garlic but masala vadai Ku garlic gives nice flavor and channa dal nalla digestion Ku it helps ma.thanks dear
Was about to post my version of vada today but changed my mind and posted sweet – so still in draft…. love your version- looks yummm V…
Eagerly waiting for your version C:-)
Lovely! Like you bake everything now-a-days, I make everything in a paniyaram pan. 🙂
Oh yes Aruna, Paniyaram pan is such a treasure for healthy cooking
Love it Vidya
Thanku Sonal:-)
Many have asked me for baked version Vidya, but I didn’t get a chance to try it… Wow it looks amazing… I should try it soon!!! Does it need to be snowy to have these wonderful vada 😀
Thanks Malar:-) that’s cool.. Ya totally agree vada doesn’t need SPL occasion
Awesome, Vidya!
Thanku Apsara:-)
They look really tasty, Vidya 🙂
Thanku Linda:-)
Oh what a lovely idea to bake the vadai. Must try it out its too tempting 🙂
Thanku Dilip:-)
Hi, it looks yum. Can I bake varai in otg the same way. If yes please tell me the temperature and timings. Tia
They seesm to be so tasty….mhhhhhh!!! Wonderful
Thanks dear:-)
I love the deep fired pakodas/vadas but avoid deep fried food. Going to try this soon 🙂
Sure:-) thanku
Good try 🙂
wow.. its a super cool idea Vidhu 🙂 u r doing a great as suits for ur website name.. keep going (y)
Thanks a lot Ranju:-) grt to hear such motivation from friends
Fantastic! Think i am going to try them today… Going to snow here too 🙂
Omg.. Vadai in a baked version!! U must be a fitness freak!! Great idea 🙂
No dear, just a small try.. Luckily it worked.. Thanks ma:-)
Oh wow this looks so delicious. What a perfect snack! I love that you baked it and that it still turned out great. 🙂 So much healthier than frying!
Nice to see them baked for a change 🙂
Thanku Elaine:-)
Wow, Vidya! You have put most of the traditional frying dishes into the oven! Thank you for providing this guilt free version!
Thanku Sridevi, great to hear such pleasing words from you:-)
I usually deep fry.But seems baking is better as it is healthy too.Looks delicious.
First time here and you have a nice blog.
Pleasure to have you here.. Thanku:-)hoping to your page now
The baked version doesn’t look a tad bit different than the fried one Vidya. My aunt who is originally from Chennai makes this and sends to all of us along with green chutney.
thanku SKD:-) yes green chutney is great combo for vadai
OMG, this is genius. I am going to try this on my Egyptian falafels 🙂
Thanku Charu:-) i love falafels do try it
Vidhya, this recipe is really good! I should start making these healthy vadas!
Thanks Mullai:-)
Looks wonderful! I had my first taste of vada many years ago in Chennai and I was hooked. It reminded me of the falafel I’m so used to. These baked vada look just as good as fried…they’re on my list to try!
yes vadai is indian falafel:-) thanku
Baked version sounds interesting.. it is healthy too.. Must give a try sometime.
Thanku Sona:-)
I’m just ready with my version to post….But I liked yours too:)..May be I will wait for sometime as I already posted a few baked ones recently:)…Yours look very delicious and nice clicks:)
That’s cool,thanku Padma:-)
I love masala vadai, especially with some masala chai or Bru coffee. Yours looks tasty 🙂
Thanku Vasun:-) oh ya such a great combo
Baked version looks so crisp and healthy dear. Loved it and beautiful clicks
Thanku Kushi:-)
yummy healthy vadai
Thanku Vani:-)
Hi , Really nice recipe but you didn’t mention the oven temp. Can you please tell the oven temp?
Thanku Sana:-) oven temp is 400 degree F.. I have mentioned the temperature in 3 rd step:-) do try.. It’s healthy and crispy
Healthy vadas. Love it
Nice idea! love it!