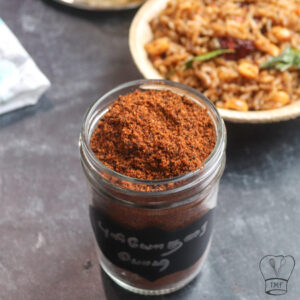
Puliyodharai premix, Puliyodarai powder, Puliyodarai podi, pulihora, Tamarind rice powder, Homemade Instant Puliyodharai Powder, Instant Puliyodharai Mix recipe ,How to make Instant Pulisadam using Instant Puliyodharai Powder recipe with step-by-step pictures and video recipe. Check out the Puliyodarai premix video recipe and If you like the video pls SUBSCRIBE to my channel Check out other podi varieties' video
Why instant puliyodharai powder
Many times for weekday work/ school lunch we need some quick lunch options. if you make and keep tamarind rice powder, you can prepare a variety rice in less than 5 minutes. Premix powder stays good for months at room temperature.
MTR style puliyogare mix
In addition to the ingredients we use for Tamil Nadu-style pulikaichal, Karnataka-style puliyogare mix powder has additional unique ingredients. I love MTR puliyogare powder so I prepared podi similar to that.
THAW COCONUT THEN USE
You can use fresh or dry coconut. If you are using frozen coconut, thaw at room temperature then use. avoid adding the frozen coconut directly
TIPS TO ROAST RED CHILLI
I would recommend roasting the red chilli along with other ingredients. Always roast the whole red chilli. if you remove the chilli cap, seeds might turn bitter while roasting. remove the cap just before grinding.
Tamarind - tips to note
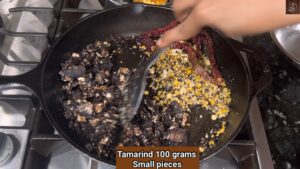
always deseed and remove the fiber. Make sure the tamarind pieces are in smaller sizes. A big piece won't cook through.
Any other interesting recipes with pulihora powder?
Podi comes in handy for many recipes. you can make Puli Aval, Puli Upma, puli sevai, puli quinoa, etc.
SHELF LIFE OF puliyodarai podi
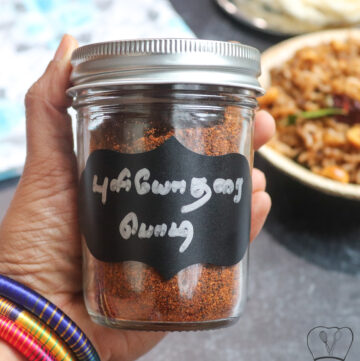
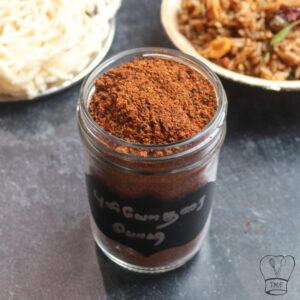
Cool the podi completely then store it in an airtight container. You can store the premix at room temperature or in the fridge. Podi stays good for months. Roast the coconut golden brown for longer shelf life. Always use a dry and clean spoon for longer shelf life
WILL THE PODI TASTES SPICY?
I used Karnataka red chilli. it gives perfect spice and color to the Karnataka-style puliyogare powder. Adjust the red chillies according to your spice. My version of puliyotharai podi is not spicy. It is a kids-friendly spice.
PULSE THE PODI
I would recommend pulsing the podi a few times for the perfect grainy texture. Mix well after each pulse. after the podi turns to a coarse texture grind it to your desired texture.
pickle recipe collections
pulikaichal
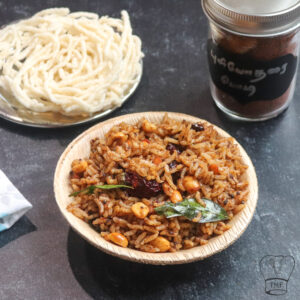
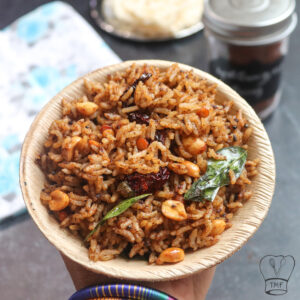
Instant puli sadam
puli aval
PODI RECIPE COLLECTION
Ready to eat Puliyodharai podi
Ingredients
1 tablespoon urad dal
2 tablespoon chana dal
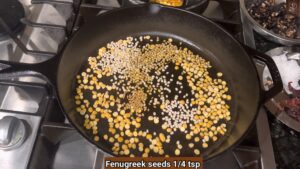
1/4 teaspoon fenugreek seeds
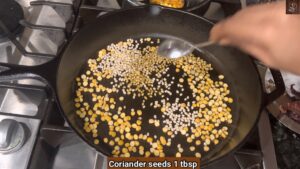
coriander seeds 1 tbsp
pinch of turmeric powder
1 teaspoon pepper
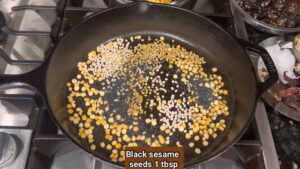
black sesame seeds 1 tbsp
1 teaspoon cumin seeds
coconut 1 tbsp
100 grams tamarind
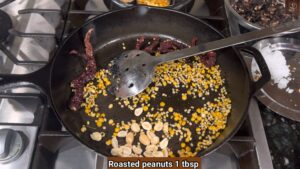
1 tablespoon roasted peanuts
1/2 tablespoon required salt
1 teaspoon asafoetida
jaggery 1 tsp
how to make puliyogare premix powder with step-by-step pictures
- Turn on a wide heavy bottomed pan on low heat
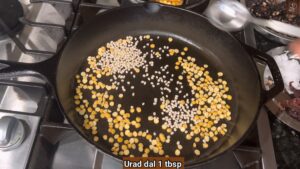
- When pan turns hot add urad dal, chan dal, coriander seeds, black sesame seeds, fenugreek seeds, red chilli; mix well and roast for 1 minute
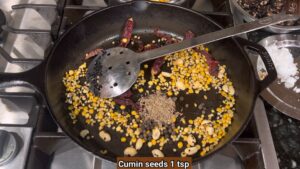
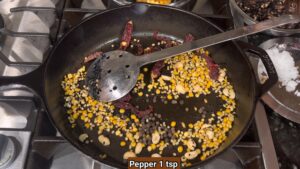
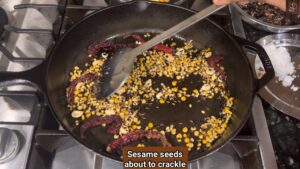
- Furthermore add peanuts, pepper, and cumin seeds; mix well and roast till sesame seeds start to crackle
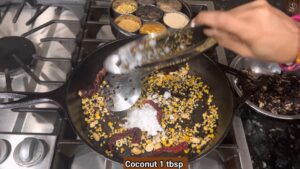
- Add coconut; mix well and cook till dal starts to change color
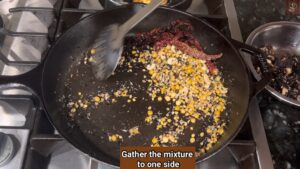
- Gather the dal mixture on one side
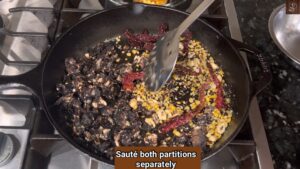
- Add tamarind and saute both partitions separately
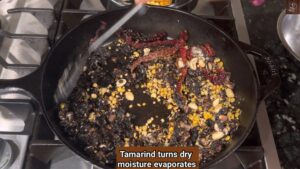
- Roast till tamarind turns dry and moisture evaporates. Also, dal turns golden brown
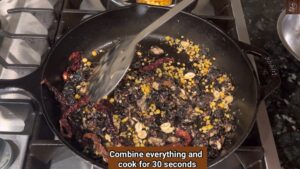
- Combine everything and roast for 30 seconds
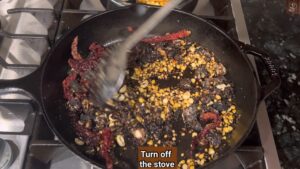
- Turn off the stove
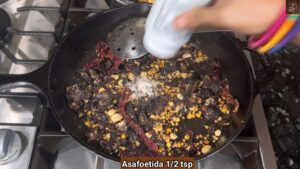
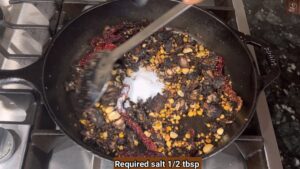
- Furthermore, add asafoetida, salt, and a pinch of turmeric powder
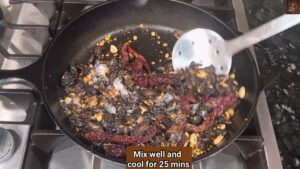
- Mix well and cool for at least 25 minutes
- Transfer to a mixie jar
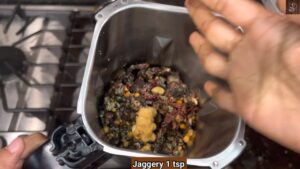
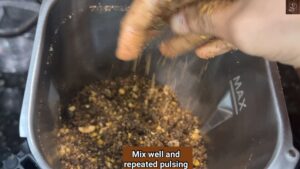
- Furthermore, add jaggery and pulse. Mix well then repeat pulsing till it turns into a coarse mixture
- Finally, grind till you get to your desired texture
- Transfer to a wide plate and cool completely
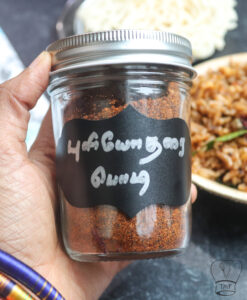
- Store in an airtight container
Ingredients
- 1 tablespoon urad dal
- 2 tablespoon chana dal
- 1/4 teaspoon fenugreek seeds
- 1 tablespoon coriander seeds
- pinch of turmeric powder
- 1 teaspoon pepper
- 1 tablespoon black sesame seeds
- 1 teaspoon cumin seeds
- 1 tablespoon coconut
- 100 grams tamarind
- 1 tablespoon roasted peanuts
- 1/2 tablespoon required salt
- 1 teaspoon asafoetida
- 1 teaspoon jaggery
Instructions
- Turn on a wide heavy bottomed pan on low heat
- When pan turns hot add urad dal, chan dal, coriander seeds, black sesame seeds, fenugreek seeds, red chilli; mix well and roast for 1 minute
- Furthermore add peanuts, pepper, and cumin seeds; mix well and roast till sesame seeds start to crackle
- Add coconut; mix well and cook till dal starts to change color
- Gather the dal mixture on one side
- Add tamarind and saute both partitions separately
- Roast till tamarind turns dry and moisture evaporates. Also, dal turns golden brown
- Combine everything and roast for 30 seconds
- Turn off the stove
- Furthermore, add asafoetida, salt, and a pinch of turmeric powder
- Mix well and cool for at least 25 minutes
- Transfer to a mixie jar
- Furthermore, add jaggery and pulse. Mix well then repeat pulsing till it turns into a coarse mixture
- Finally, grind till you get to your desired texture
- Transfer to a wide plate and cool completely
- Store in an airtight container
Video
Notes
- You can use fresh or dry coconut. If you are using frozen coconut, thaw at room temperature then use. avoid adding the frozen coconut directly
- I would recommend roasting the red chilli along with other ingredients. Always roast the whole red chilli. if you remove the chilli cap, seeds might turn bitter while roasting. remove the cap just before grinding
- Instead of roasting all the ingredients in one pan, you can roast tamarind separately
- Karnataka chilli gives MTR flavor and color. If you are using other variety chilli adjust accordingly
Tamarind - tips to note
- always deseed and remove the fiber
- Make sure the tamarind pieces are in smaller sizes. A big piece won't cook through
- Tamarind takes a longer time to cool so grind the podi atleast after 25 minutes
SHELF LIFE OF puliyodarai podi
- While grinding the podi mix well in between
- Cool the podi completely then store it in an airtight container
- You can store the premix at room temperature or in the fridge. Podi stays good for 1 month
- Roast the coconut golden brown for longer shelf life
- Always use a dry and clean spoon for longer shelf life
Instant Tamarind rice
Ingredients
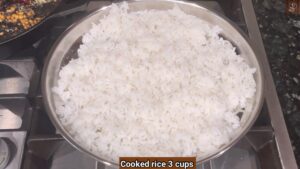
3 cups Cooked rice
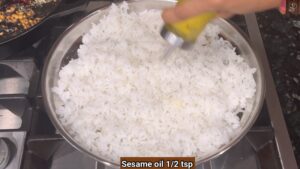
1/2 teaspoon sesame oil
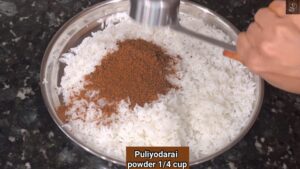
1/4 cup puliyogare powder
1 tablespoon + 1 teaspoon sesame oil
1/4 teaspoon mustard seeds
1 tablespoon chana dal
curry leaves few
3 tablespoon roasted peanuts
1/2 teaspoon asafoetida
required salt
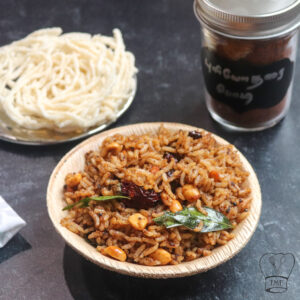
How to make MTR puliyogare with step-by-step pictures
- Spread cooked rice on a wide plate
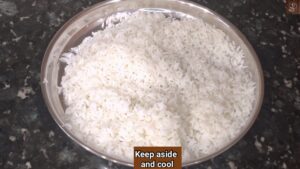
- Add sesame rice and cool the rice
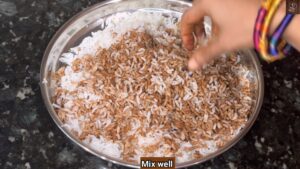
- After the rice is completely cool, add premix powder; mix well
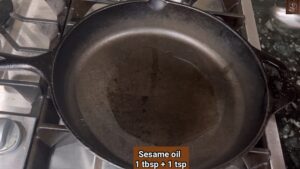
- Add oil to a wide heavy bottomed pan and heat
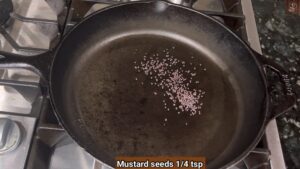
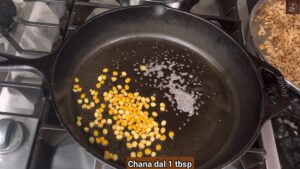
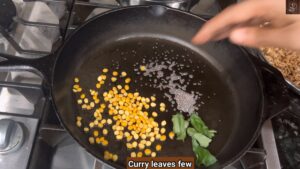
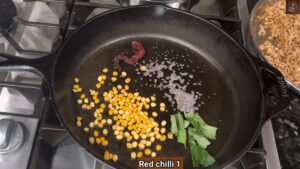
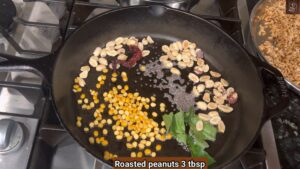
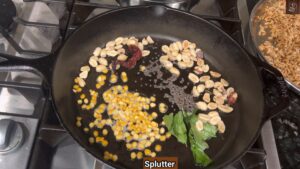
- When the oil turns hot, add mustard seeds, chana dal, curry leaves, red chilli, and roasted peanuts; let them splutter
- Turn down to low flame
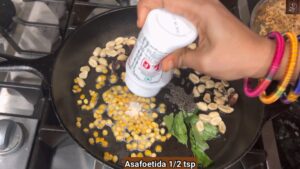
- Add asafoetida and mix well
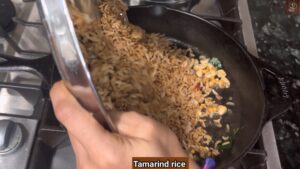
- Furthermore, add rice; give a quick mix
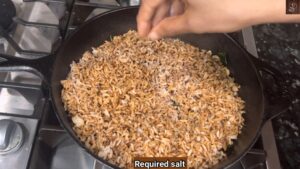
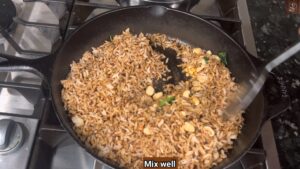
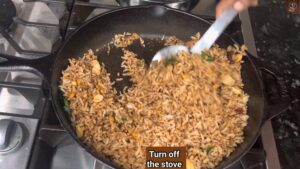
- finally, add the required salt; mix well and turn off the stove
Ingredients
- 3 cups Cooked rice
- 1/2 teaspoon sesame oil
- 1/4 cup puliyogare powder
- 1 tablespoon + 1 teaspoon sesame oil
- 1/4 teaspoon mustard seeds
- 1 tablespoon chana dal
- curry leaves few
- 3 tablespoon roasted peanuts
- 1/2 teaspoon asafoetida
- required salt
Instructions
- Spread cooked rice on a wide plate
- Add sesame rice and cool the rice
- After the rice is completely cool, add premix powder; mix well
- Add oil to a wide heavy bottomed pan and heat
- When the oil turns hot, add mustard seeds, chana dal, curry leaves, red chilli, and roasted peanuts; let them splutter
- Turn down to low flame
- Add asafoetida and mix well
- Furthermore, add rice; give a quick mix
- finally add required salt ; mix well and turn off the stove
Video
Notes
- Adjust the puliyogare powder according to your taste
- Always cool the rice then mix the podi
- Cooking the podi rice on low flame for a few seconds gives the perfect texture and taste so don't skip it
- Rice tastes better if you consume after few hours










Comments
No Comments