
Baked Vella Seedai | Baked Sweet Seedai
Baked Vellam seedai | Vella seedai with detailed step-by-step pictures and video recipe. Check out the Baked vella seedai and if you like the video pls SUBSCRIBE to my channel

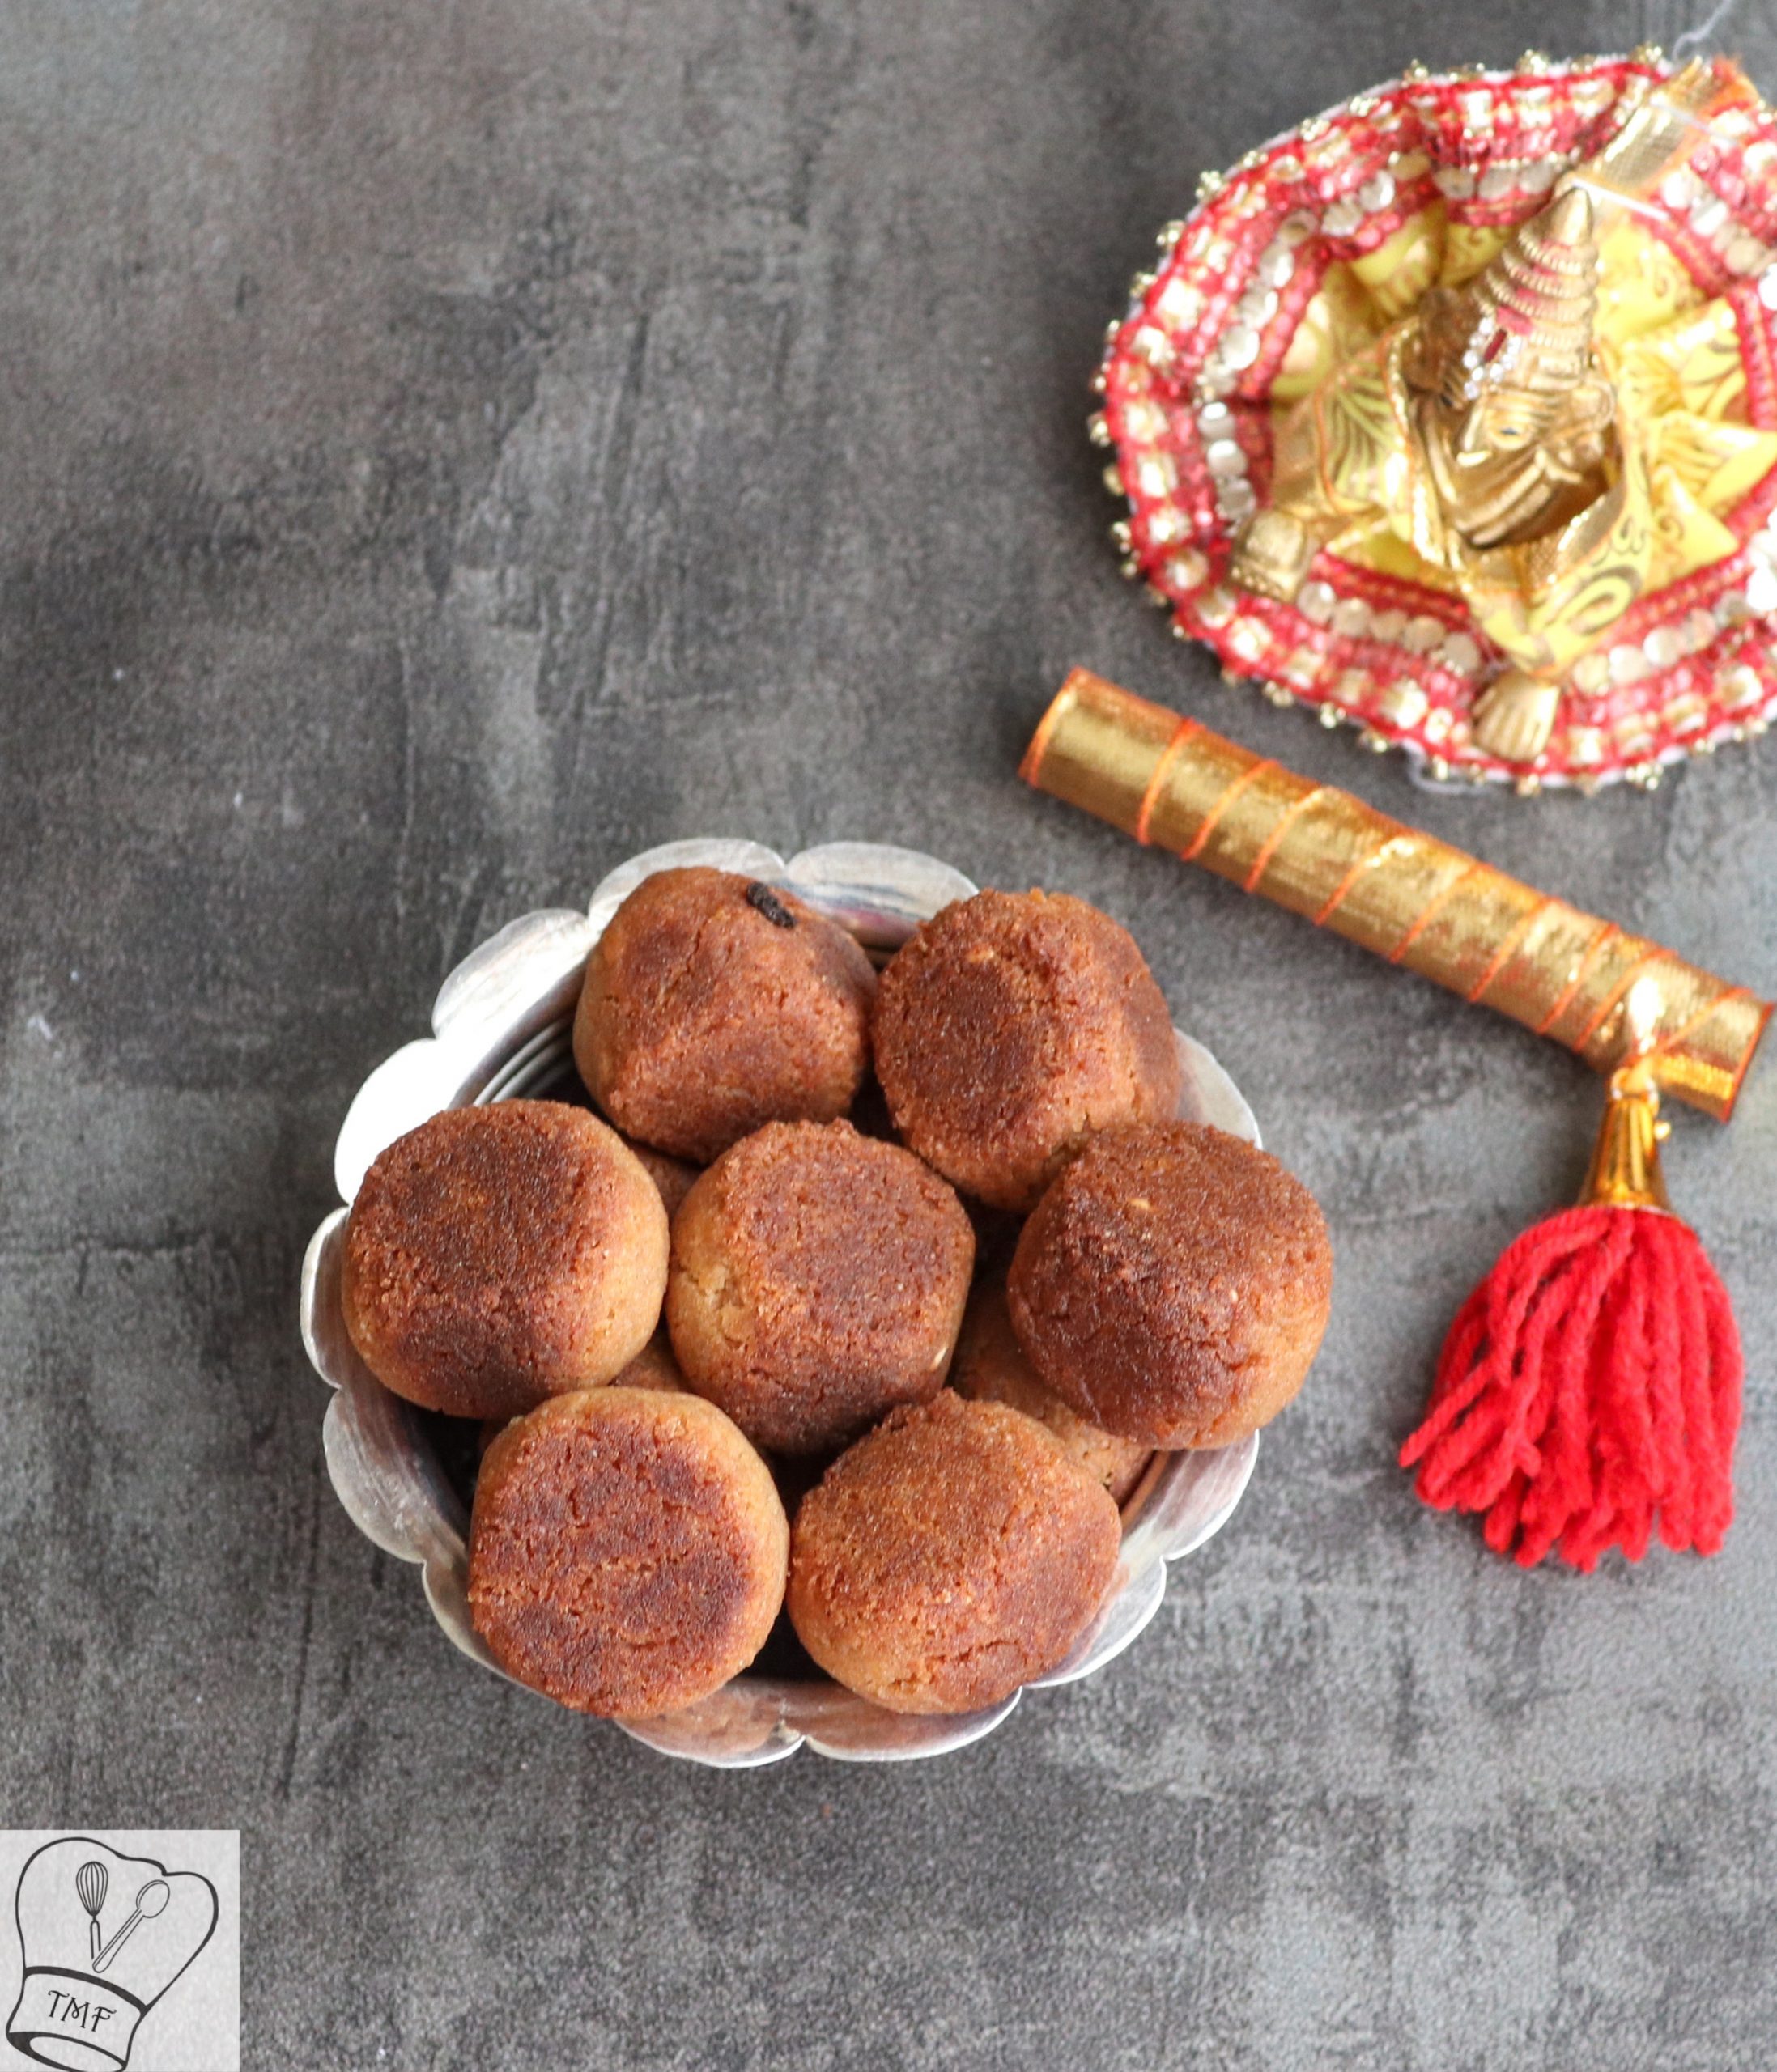
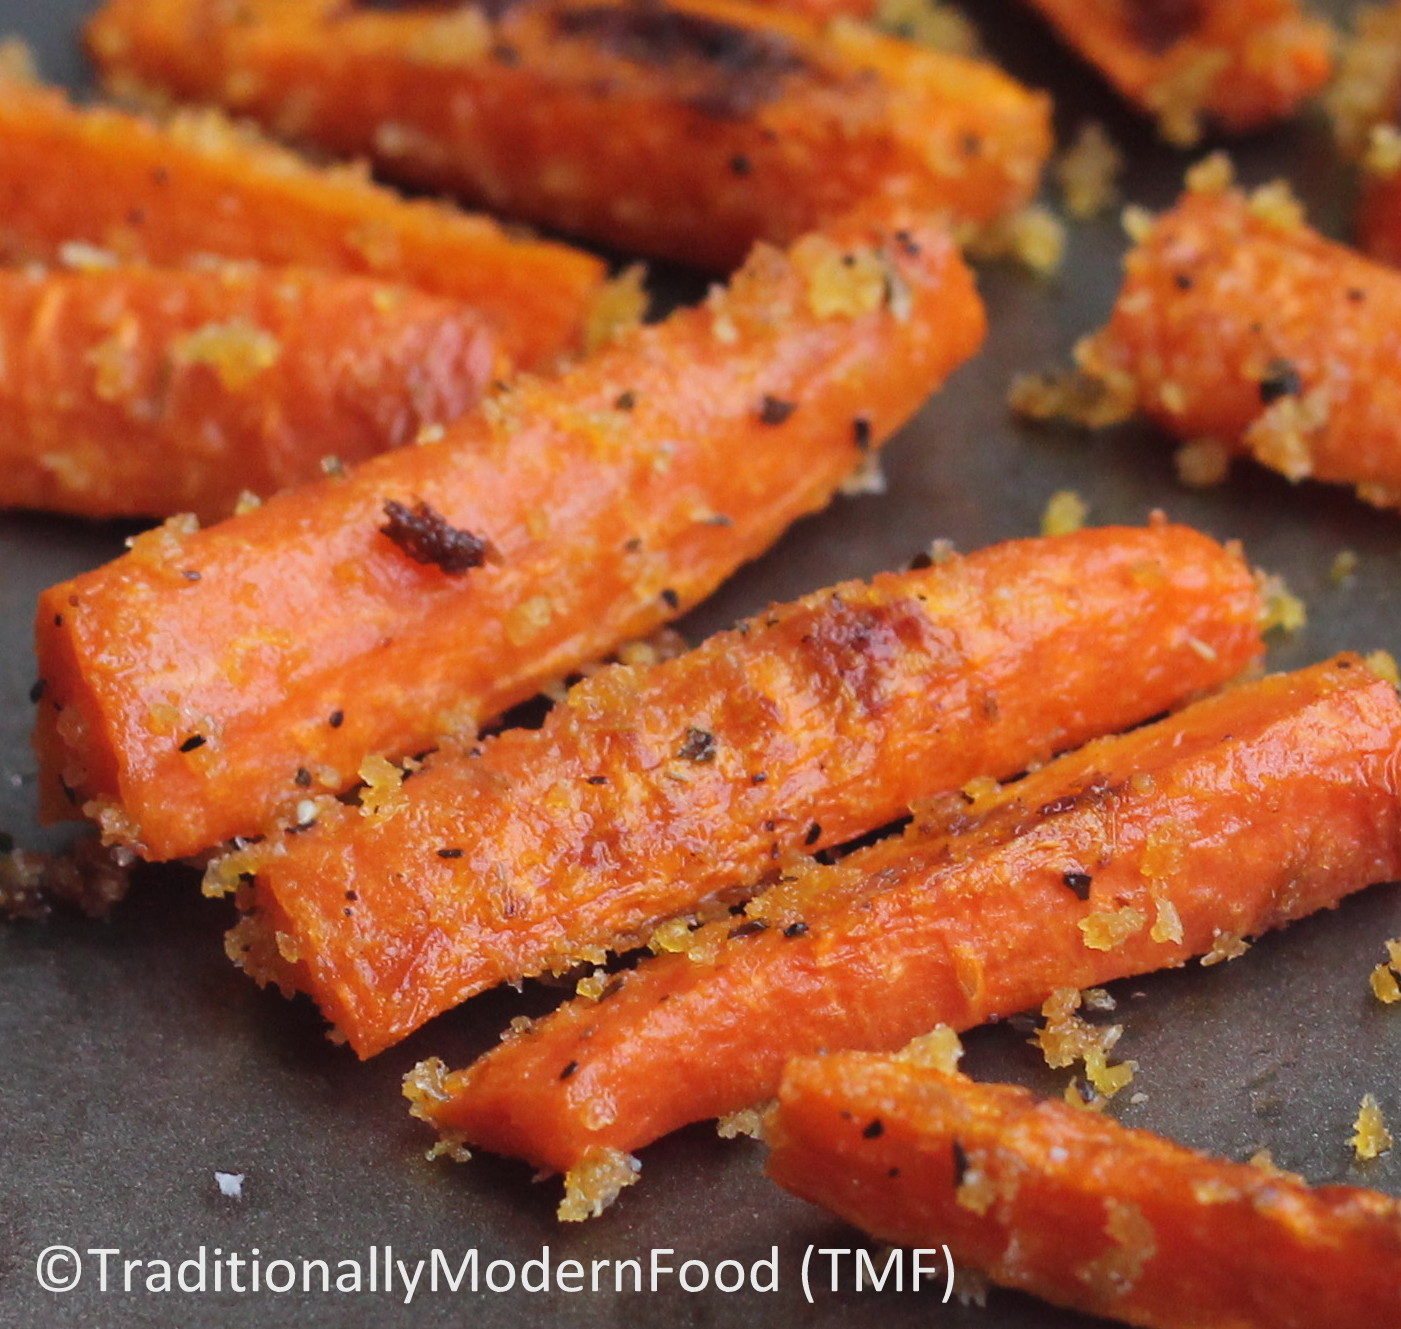
Baked Vella Seedai is a delicious, healthier twist on the traditional Krishna Jayanthi sweet made with rice flour, urad dal flour, and jaggery. This baked version delivers the same nostalgic flavor of classic Vellam Seedai while using far less oil, making it a great option for festive cooking without deep‑frying. If you’ve struggled with seedai turning too hard, too pale, or breaking apart, this detailed step‑by‑step recipe—with tips, troubleshooting notes, and baking temperature guidance—will help you get perfectly crisp, golden, and flavorful seedai every time. Whether you’re preparing prasadam for Gokulashtami or simply craving a traditional South Indian sweet, this baked seedai is a must‑try
What is Vella Seedai? Vella Seedai is a traditional South Indian sweet made during Krishna Jayanthi. It is prepared using rice flour, urad dal flour, jaggery, coconut, and cardamom.
Can Vella Seedai be baked instead of deep‑fried? Yes, this recipe shows how to bake Vella Seedai with excellent results. Baking reduces oil usage while still giving a crisp exterior and soft, crumbly inside.
Why does seedai crack or burst? Cracks usually happen when the dough is too dry or unevenly rolled. Greasing hands well and ensuring no dry spots on the seedai helps prevent this.
Why did my baked seedai turn hard? Over‑baking or baking at too high a temperature can make seedai hard. Follow the temperature adjustments and flip/grease steps carefully.
Can I use store‑bought rice flour and urad dal flour? Yes, both can be used. Lightly roasting store‑bought flour improves flavor and texture.
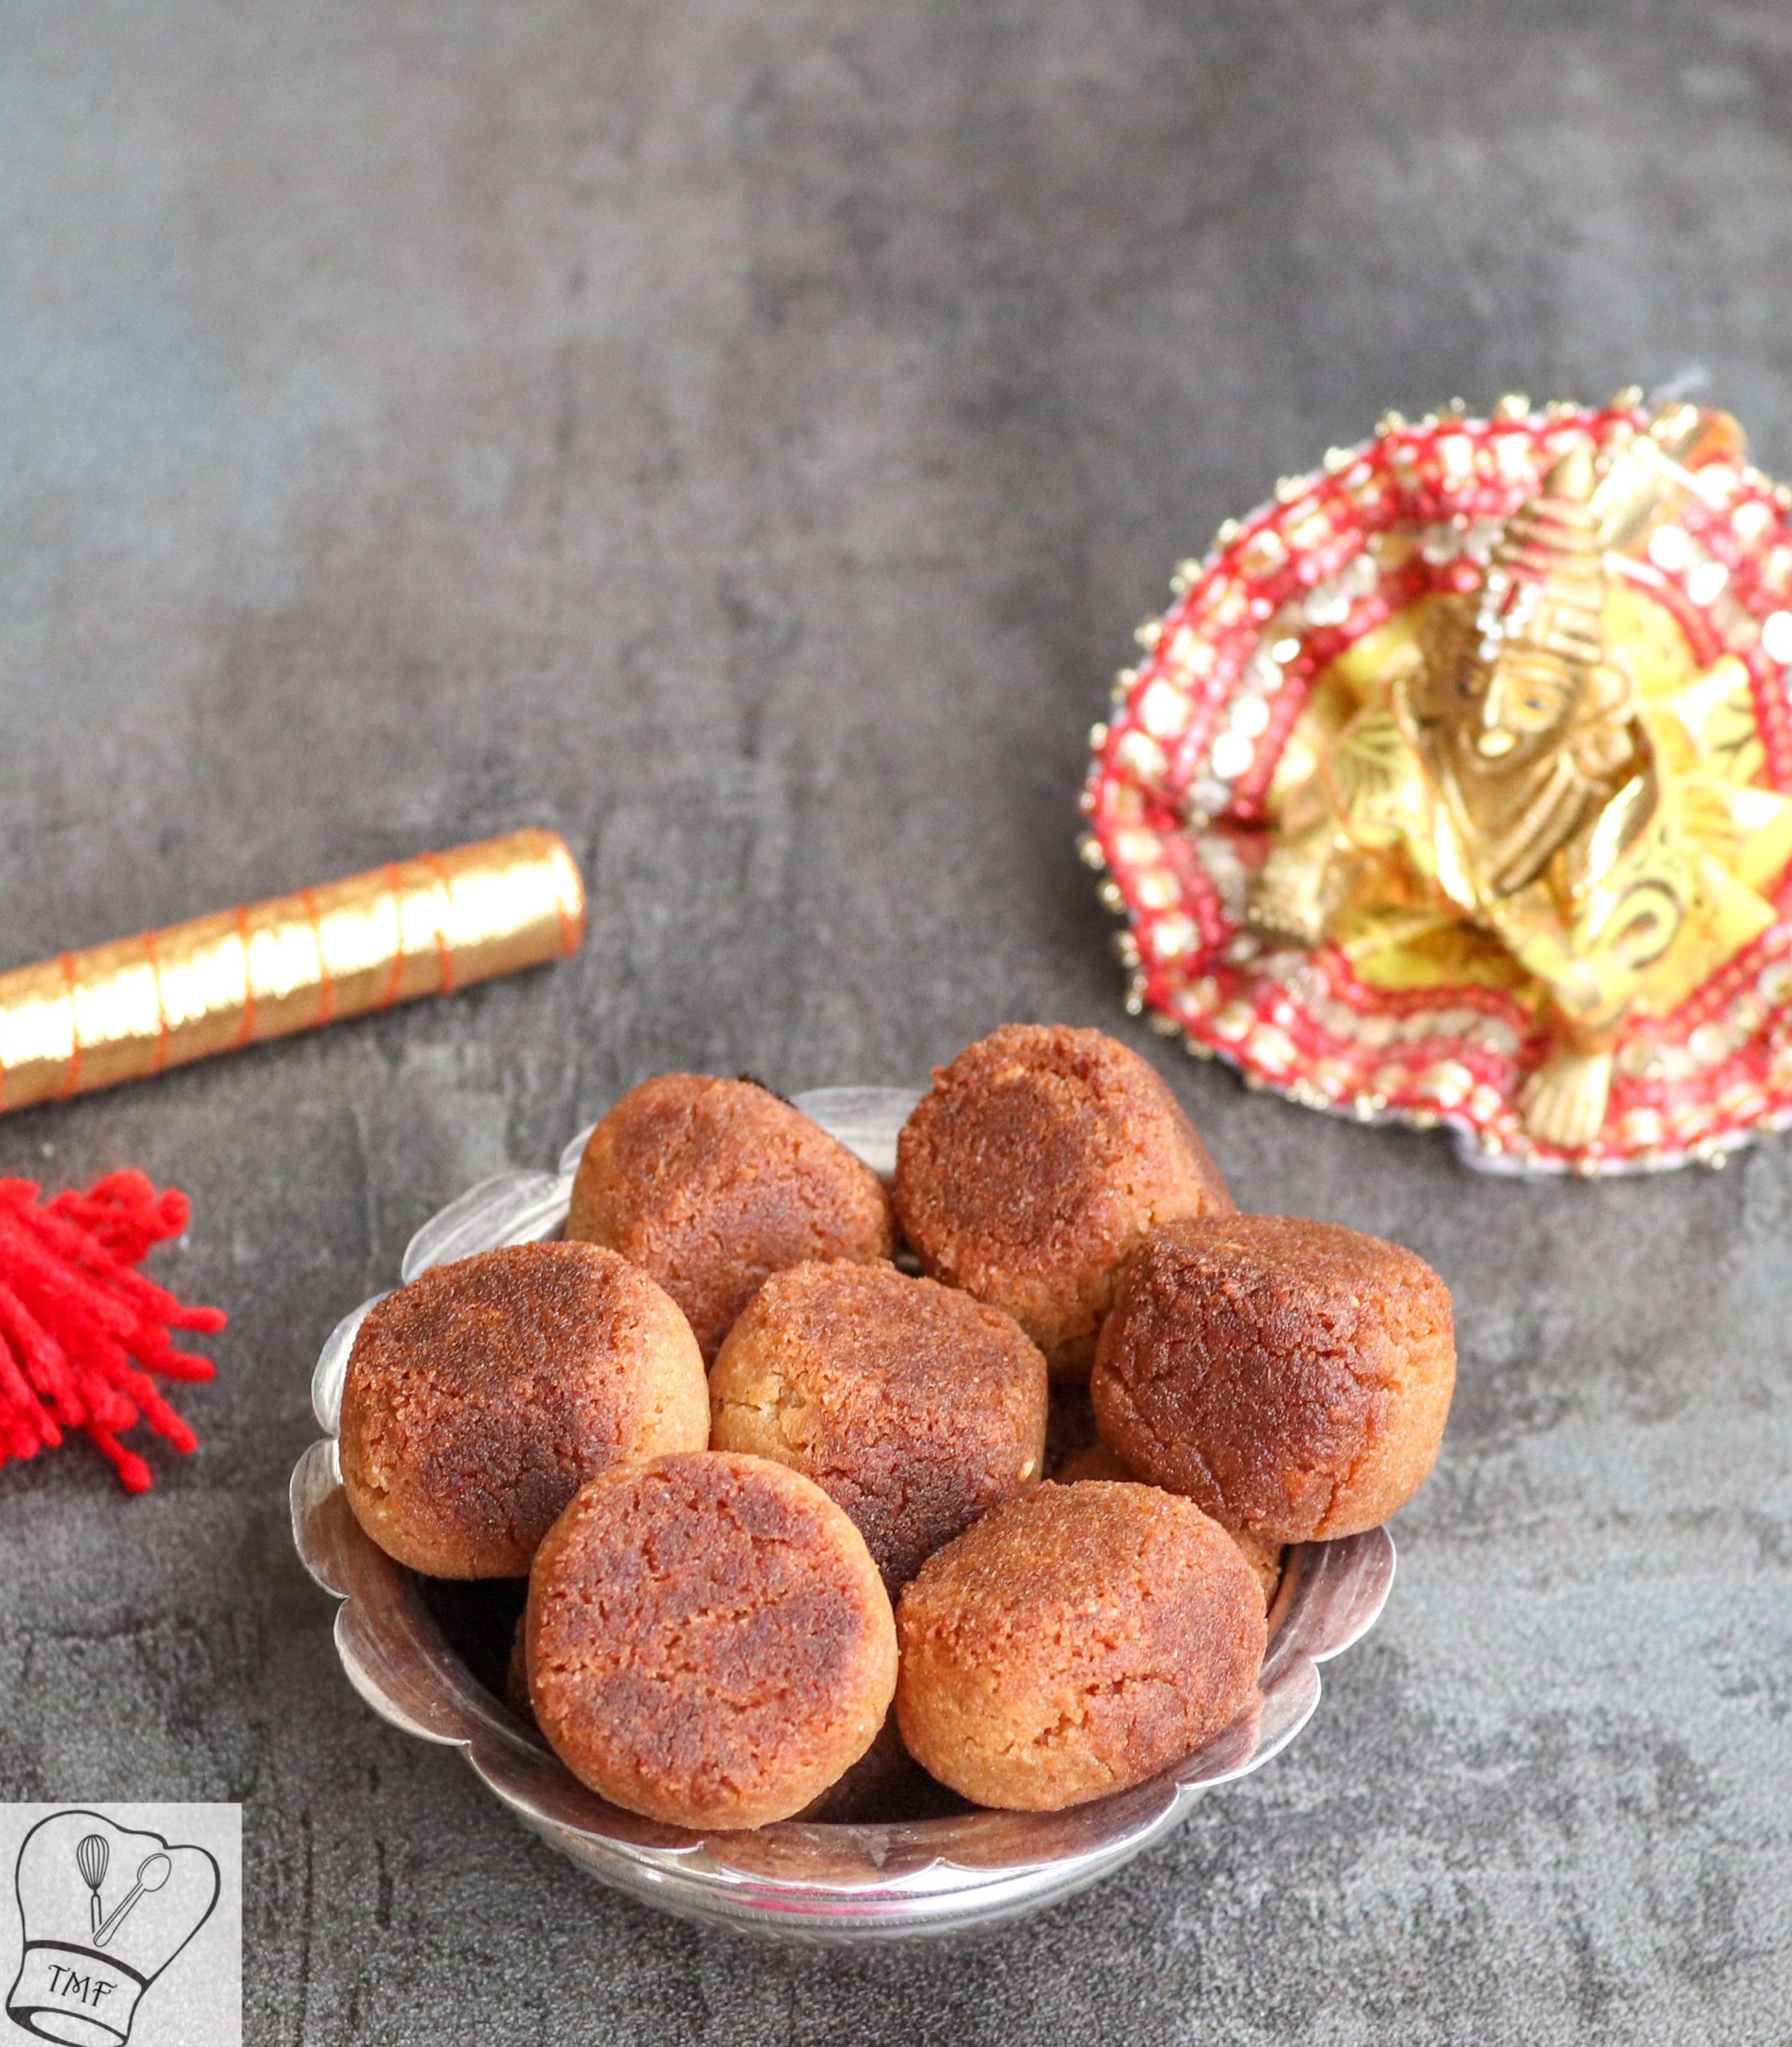
How do I know when baked seedai is done? Seedai may look soft when hot, but once cooled, it firms up like a cookie. A golden‑brown exterior and crumb‑like interior indicate it’s done.
Can I skip filtering the jaggery syrup? If your jaggery is clean and free of impurities, filtering is optional.
Disclaimers: Traditional Deep-fried Vella Seedai is still my favorite. This baked Vella seedai version is an attempt to save time and reduce oil. It is just my personal preference.
Check out my other Krishna Jayanthi Special Recipes,

Ingredients
- Rice Flour - 1/2 cup
- Urad Dal - 2 tbsp
- Powdered Jaggery - 1/2 cup
- Coconut - 2 tbsp
- Cardamom powder - 1/4 tsp
- Sesame seed - 1/4 tsp
- Hot Water - 1/4 cup
- Oil - to grease
Instructions
- Dry roast the whole urad dal for 2 minutes or so till the color slightly changes; cool it and grind it into a fine Powder. Alternatively, the store brought urad dal can be used. Just sure it for few seconds after rice flour changes color and switch off
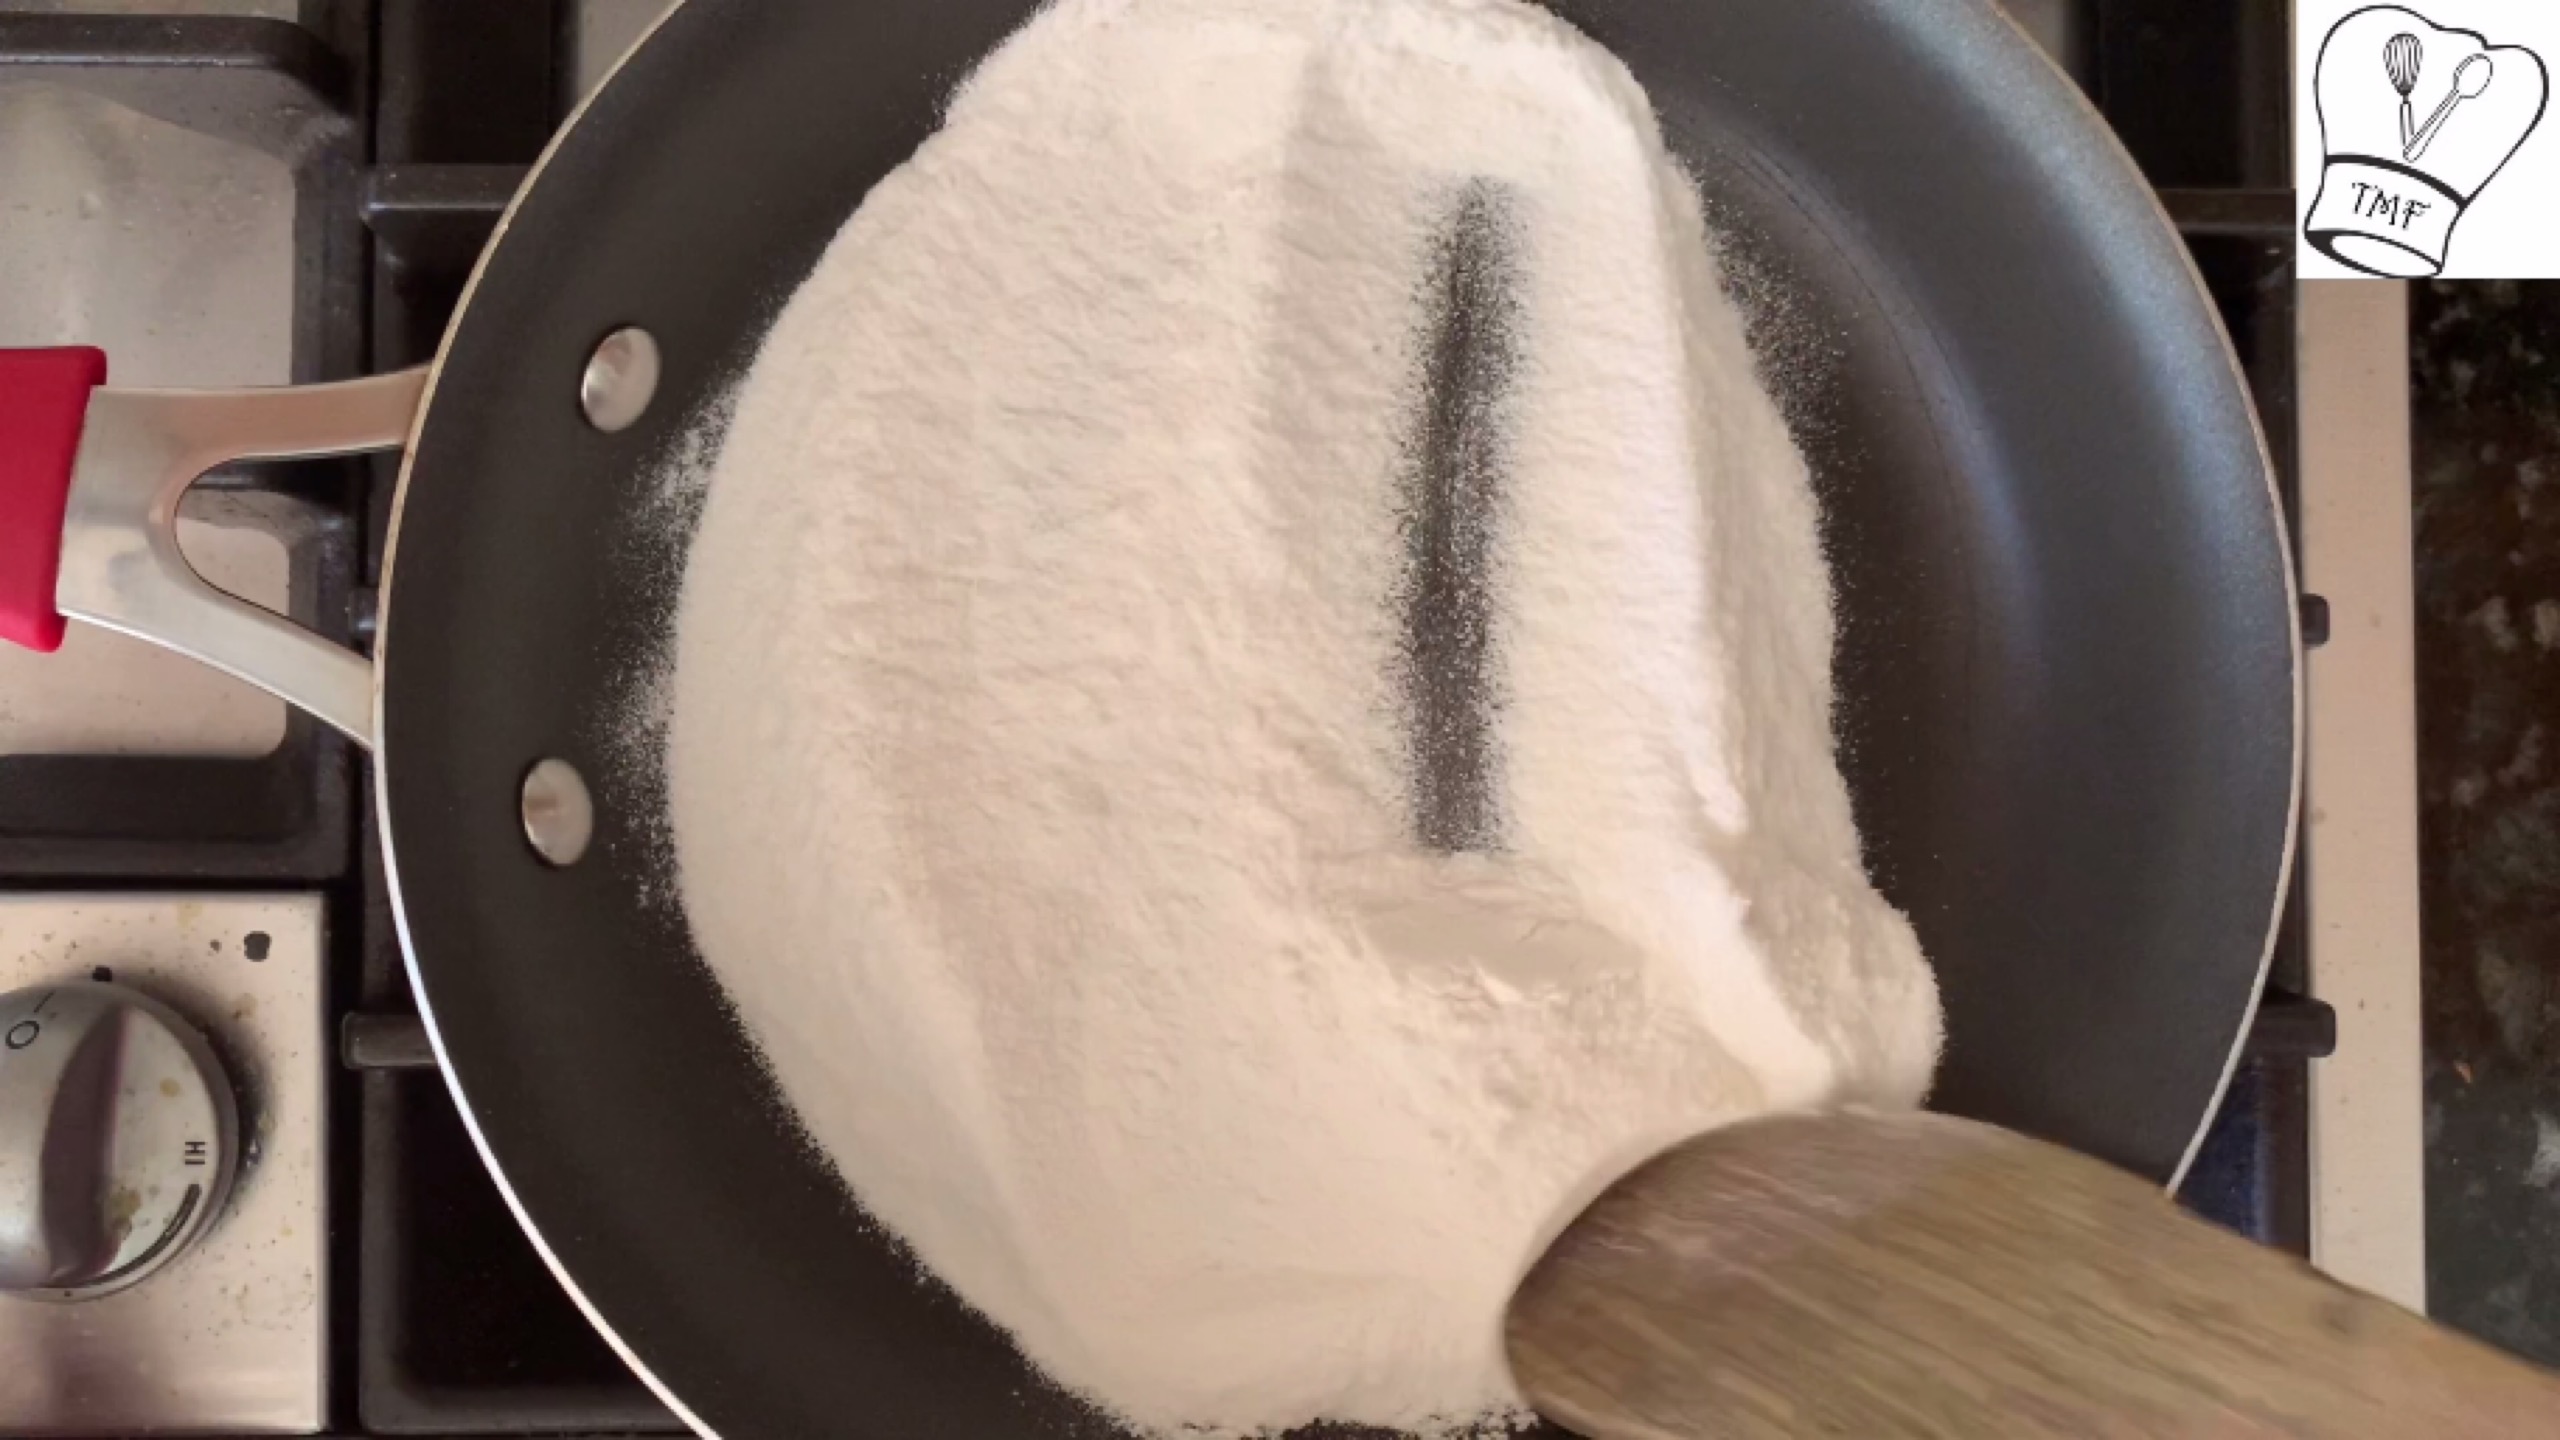
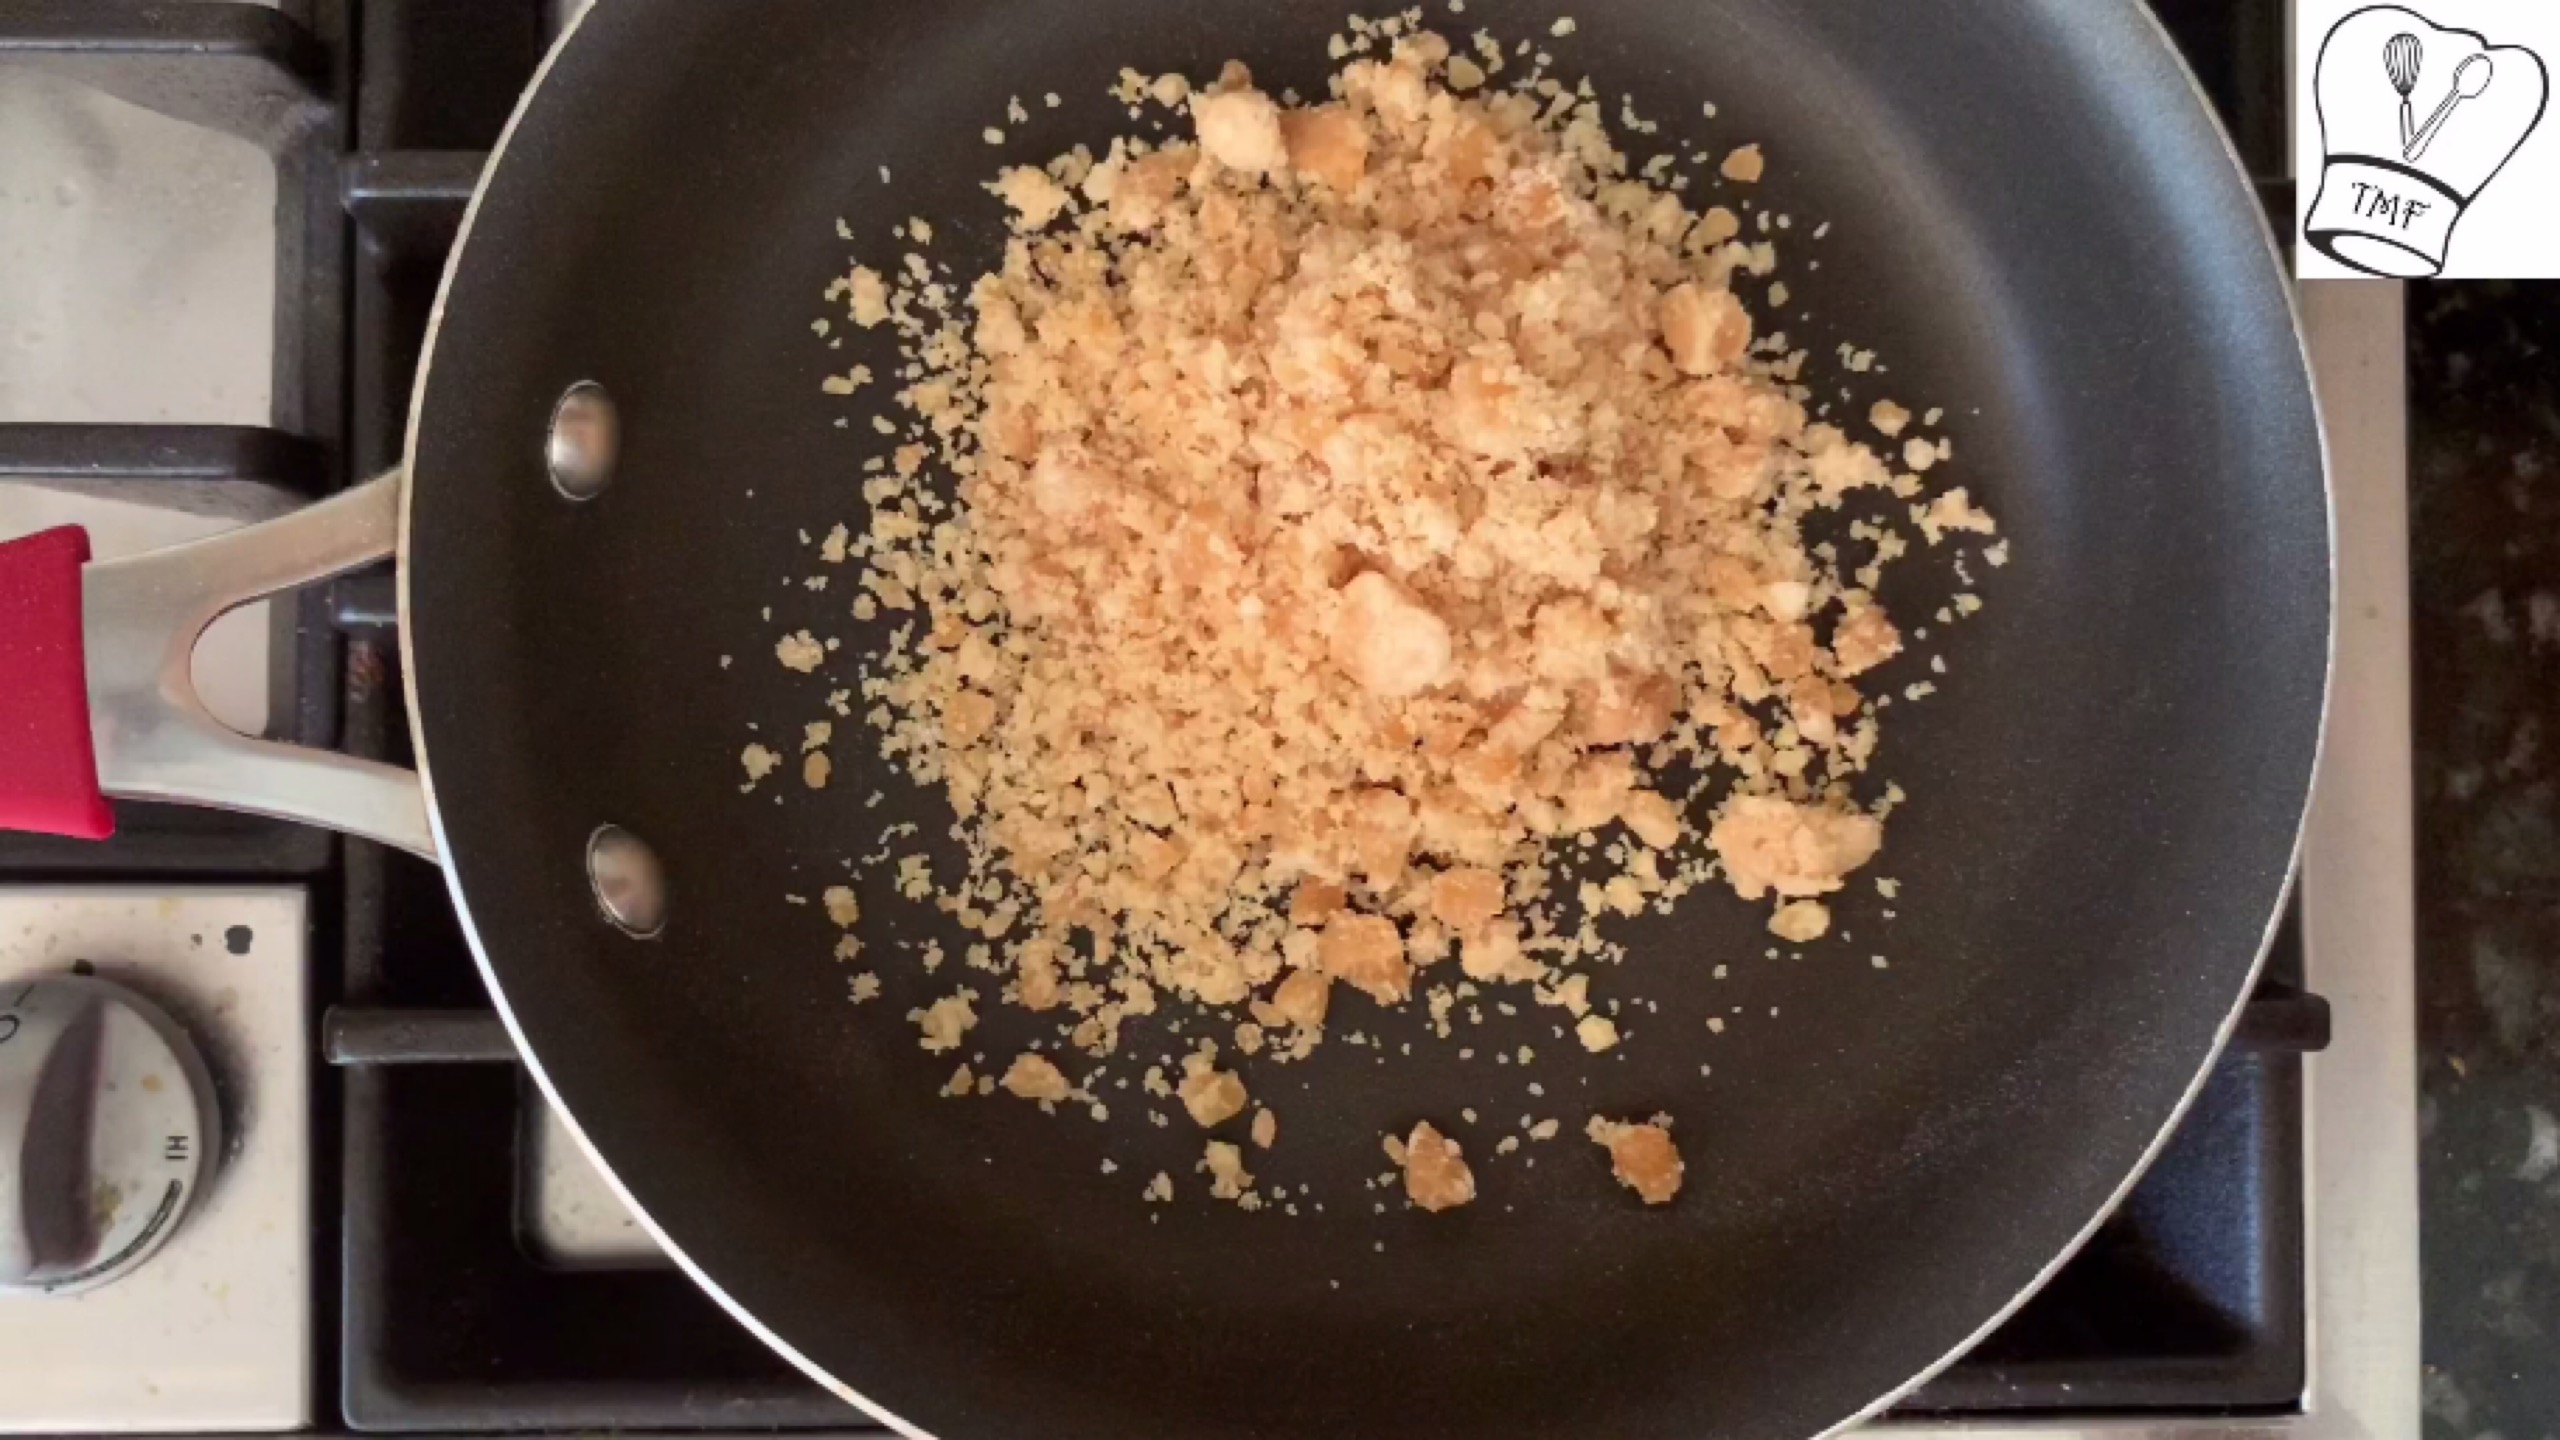
- In the same pan, on low flame, dry roast the rice flour; till the colour slightly changes and aroma of rice flour nicely spreads in the kitchen
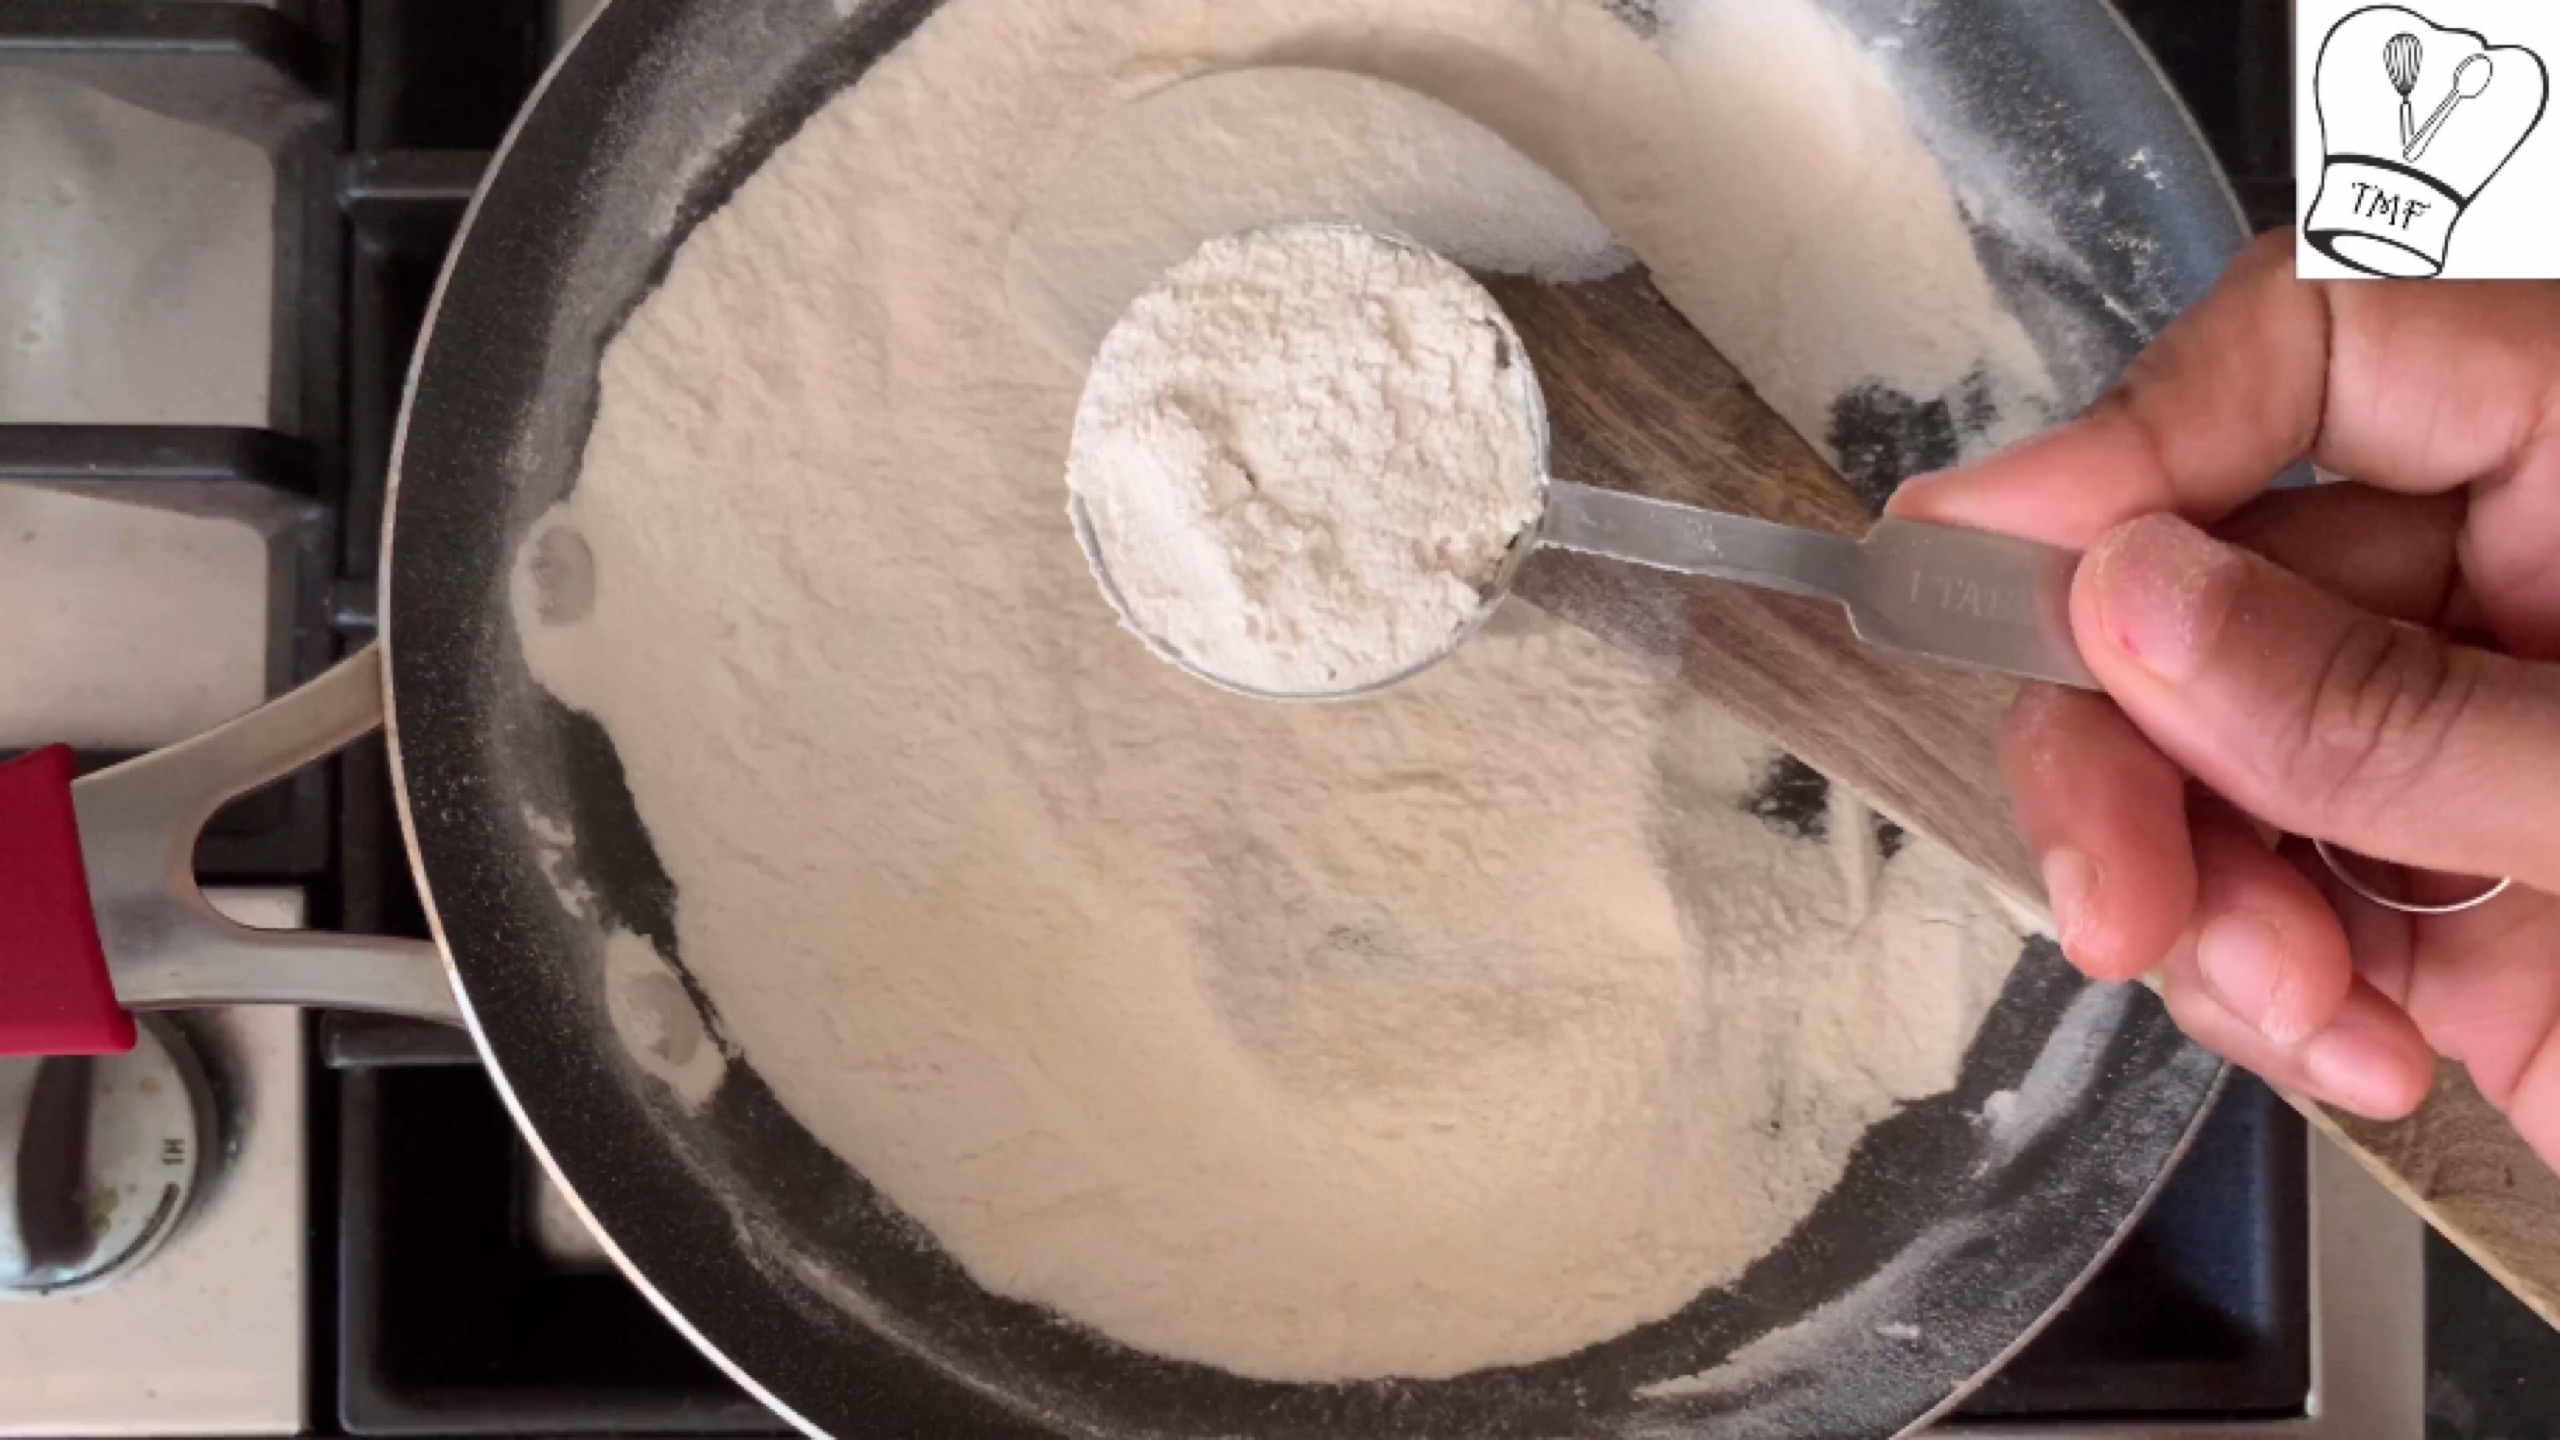
- Add store brought urad dal flour and give a quick saute. Switch off. Skip this step for homemade urad dal flour
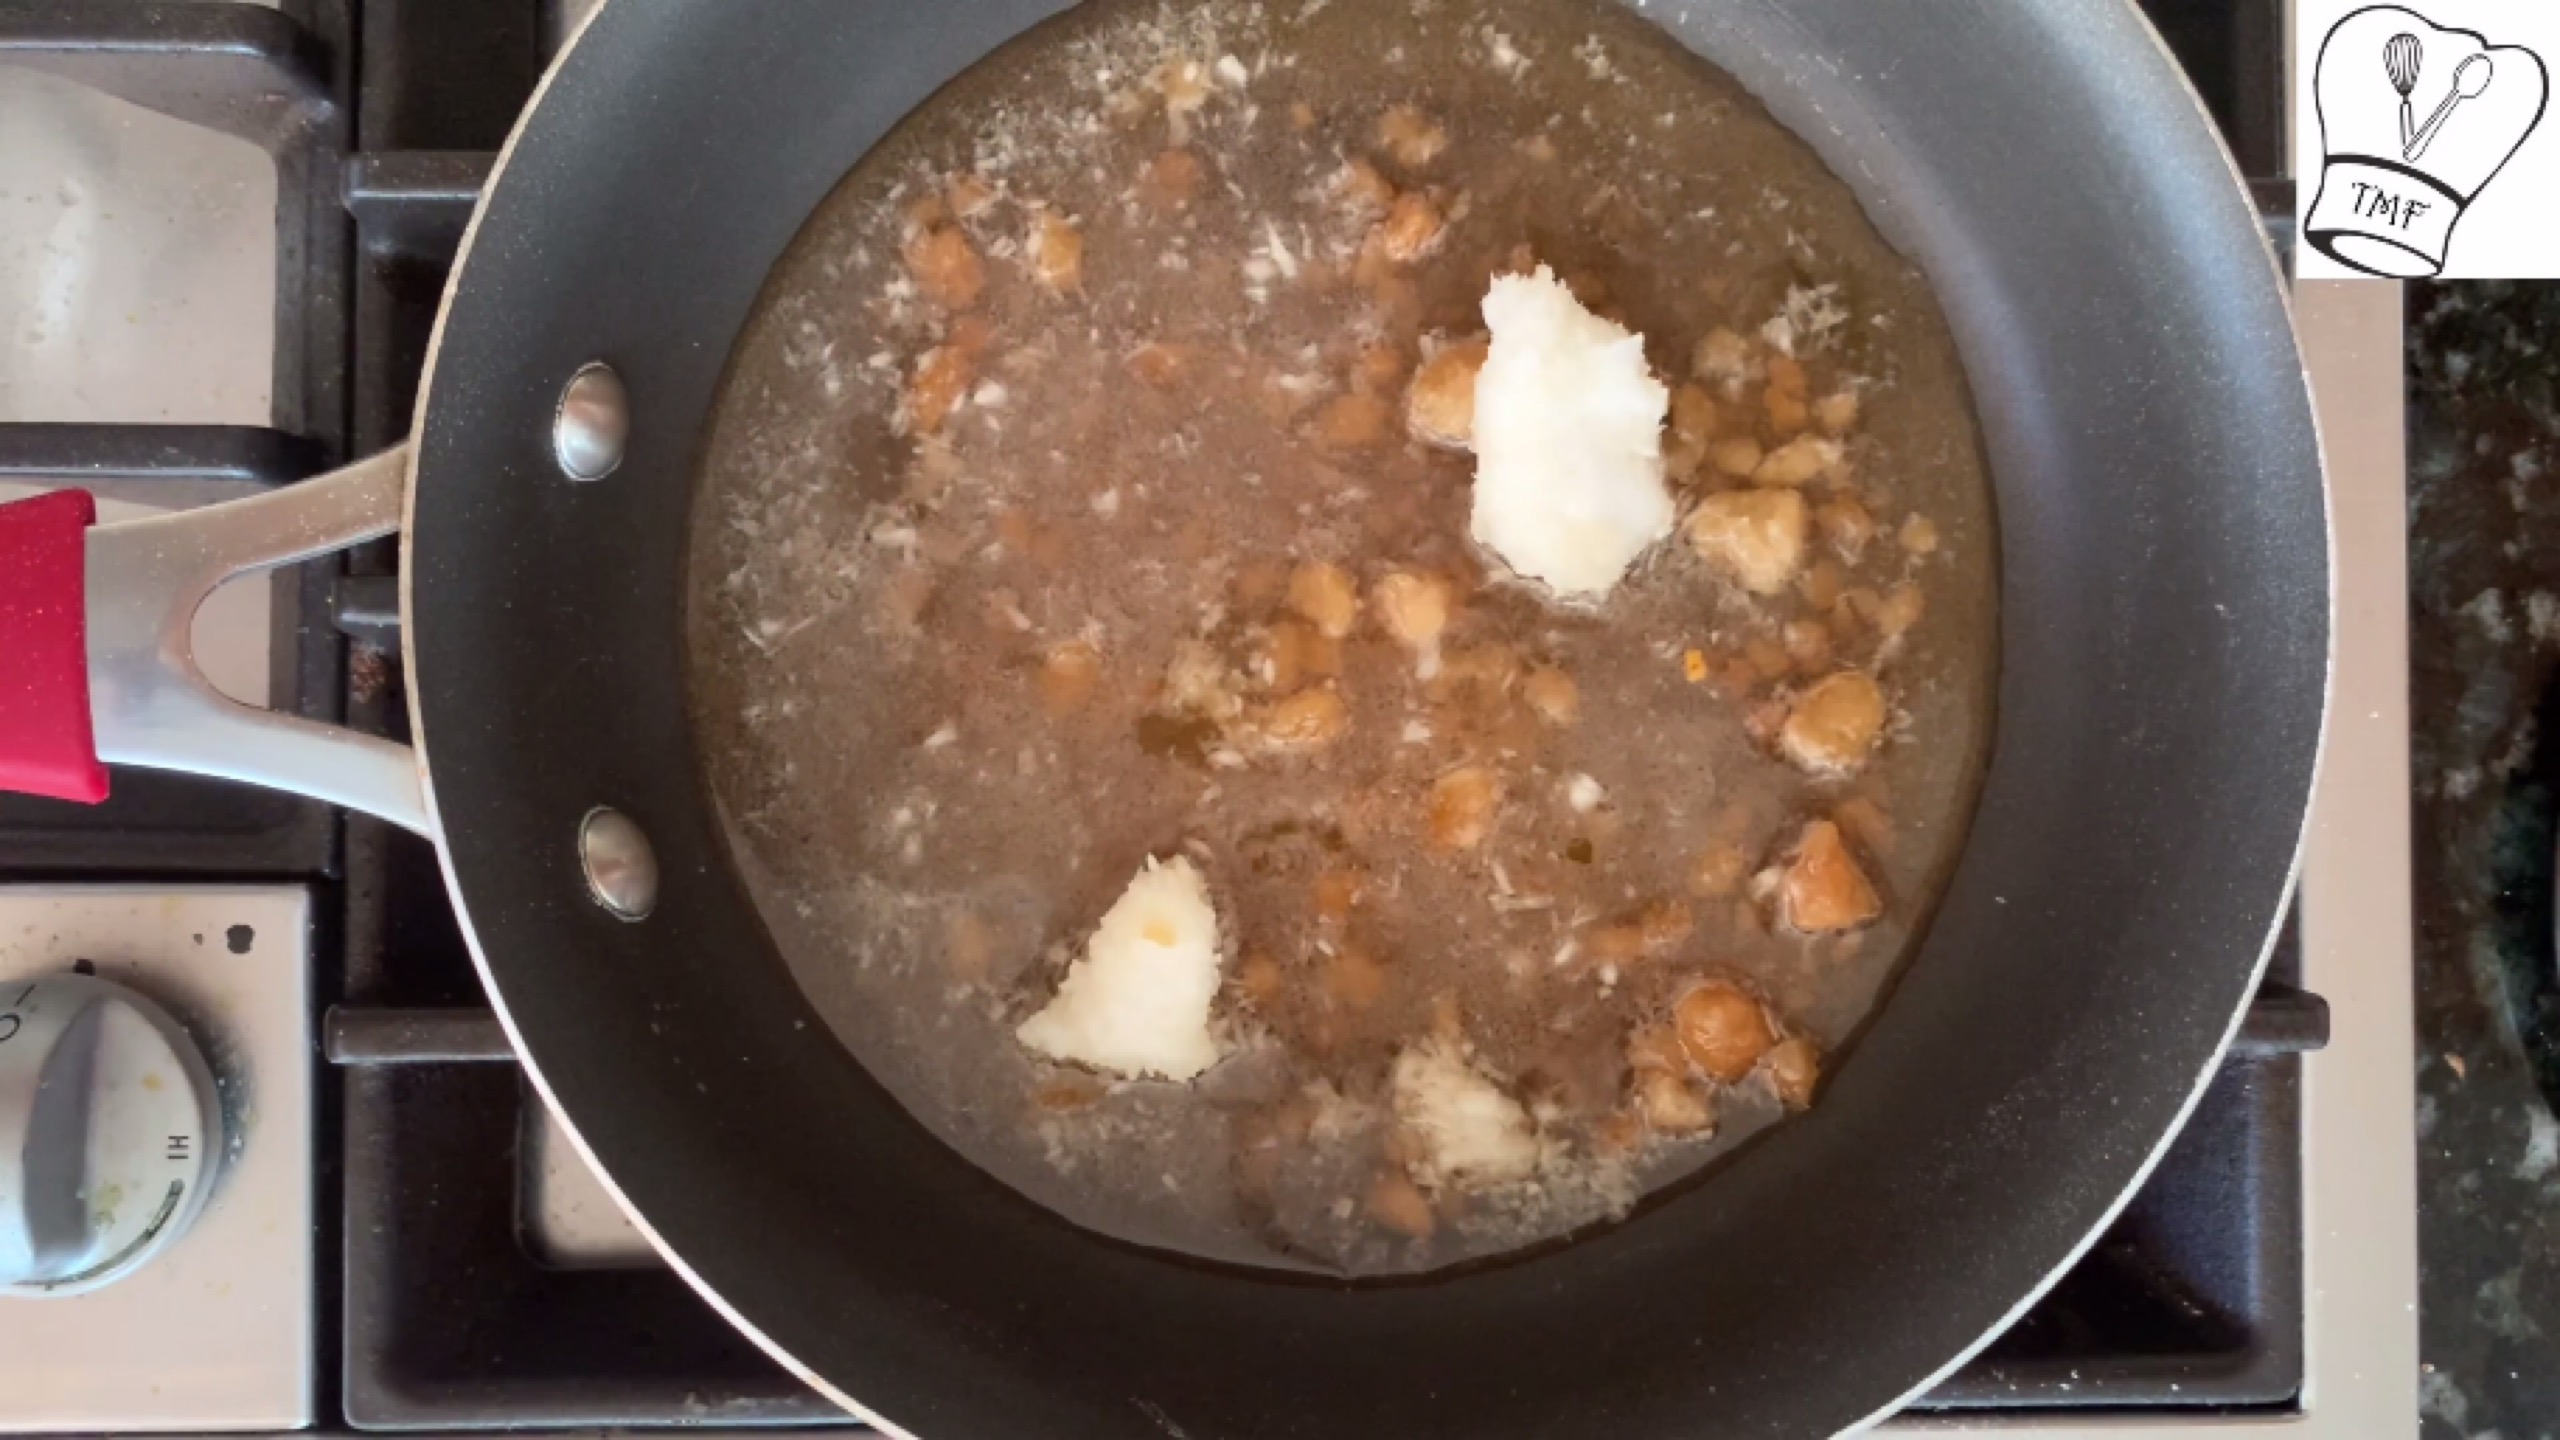
- In a separate bowl combine jaggery and hot water. Let it sit for 5 minutes or till it melt ( Powdered jaggery melts quickly). My jaggery pieces was little big so after 3 minutes I broke the pieces and Microwaved for 1 minutes
- Strain the syrup into a non stick / heavy bottomed pan. Add coconut and In medium heat cook the jaggery syrup till it boils
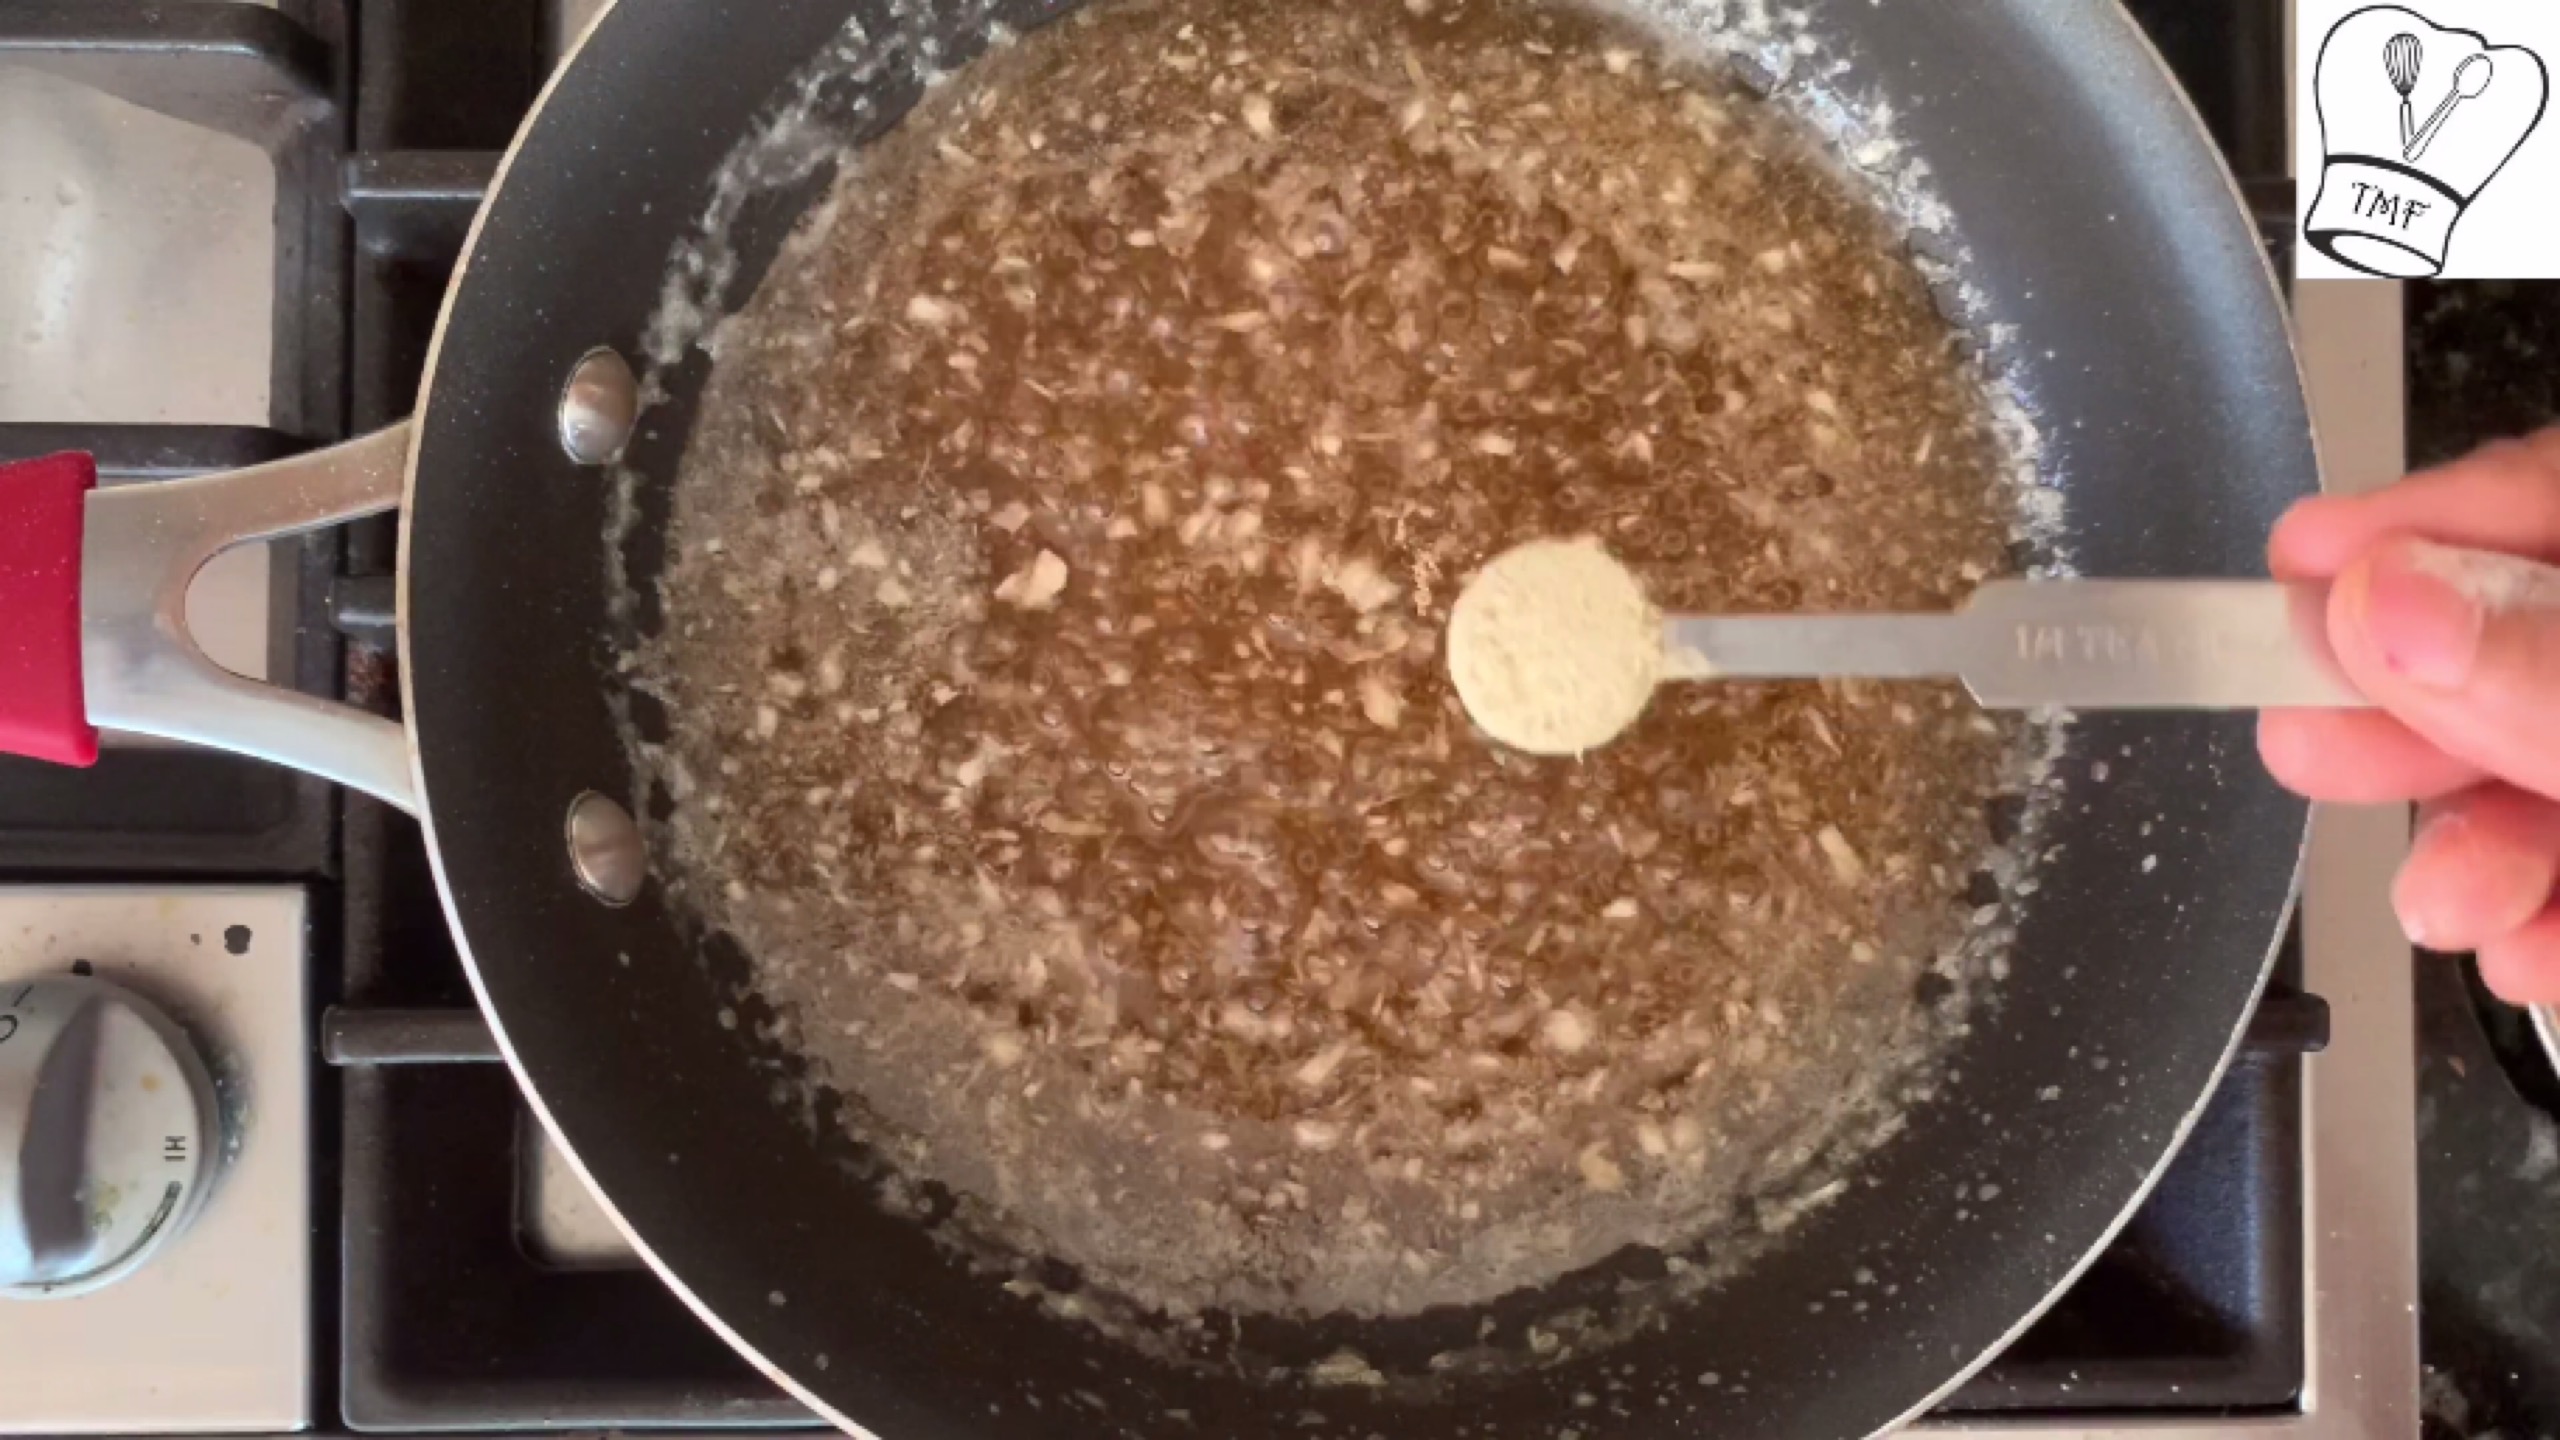
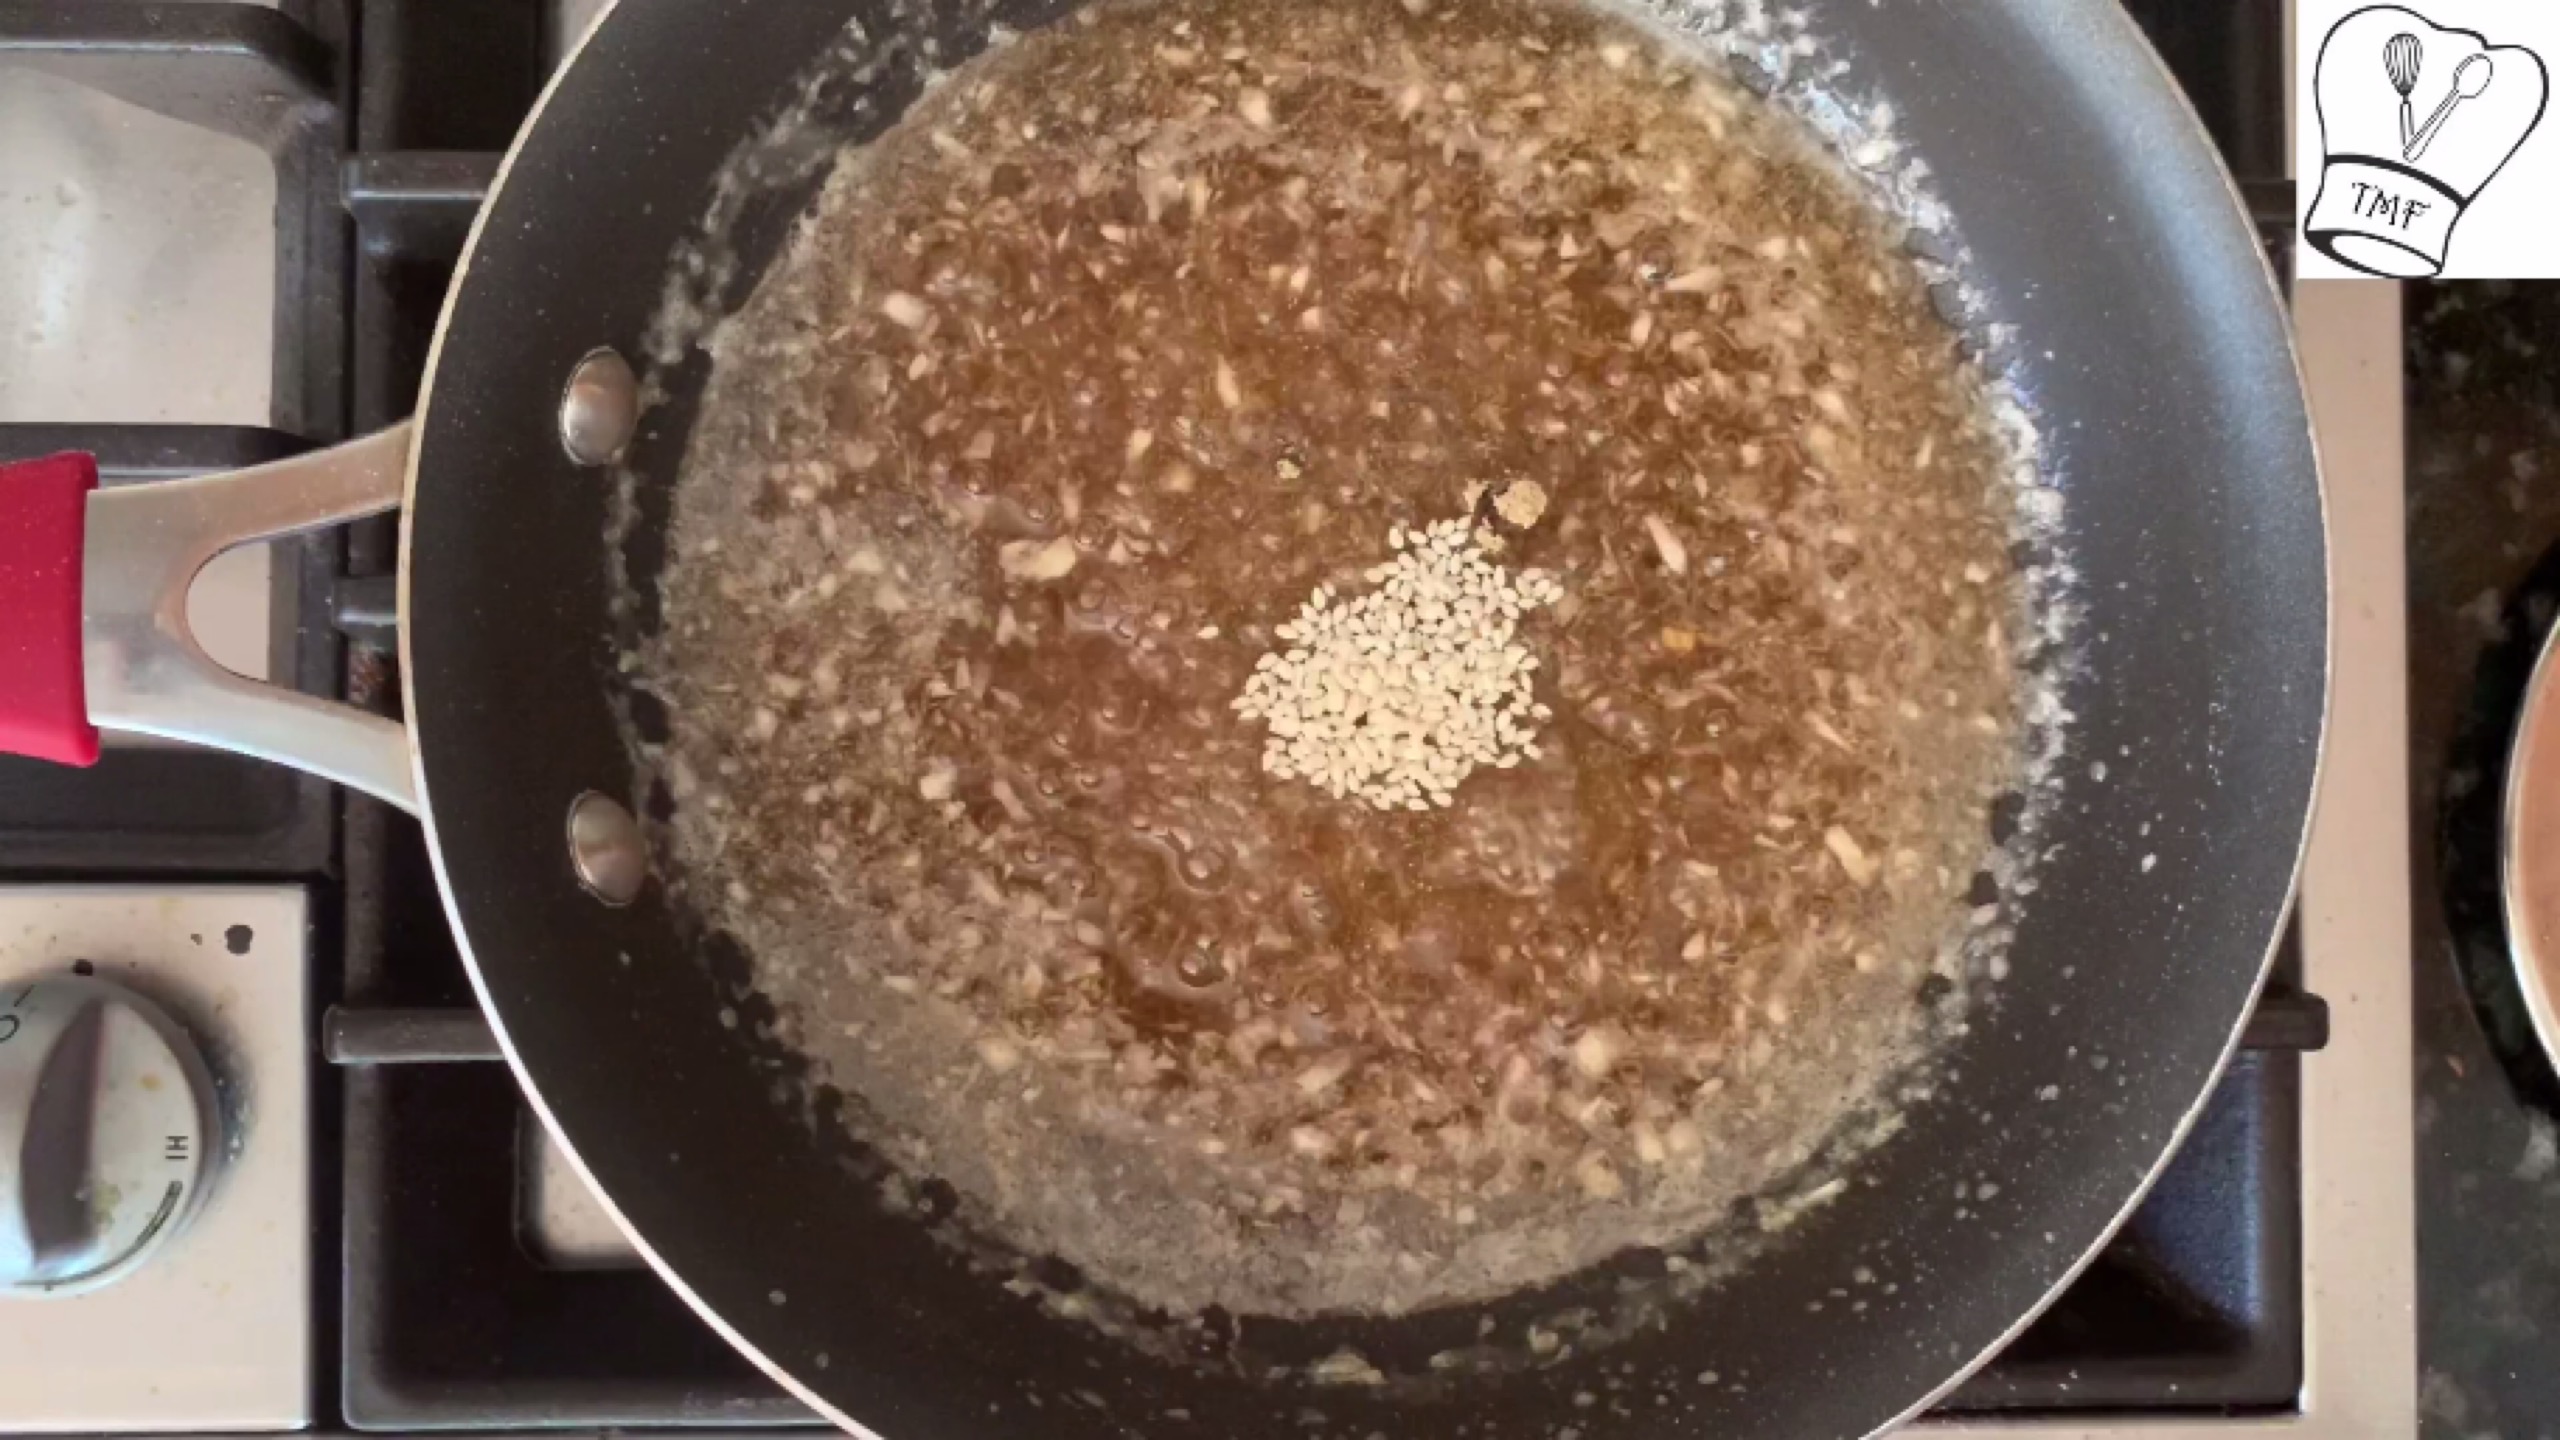
- Add sesame seed and cardamom powder let the jaggery syrup boils well
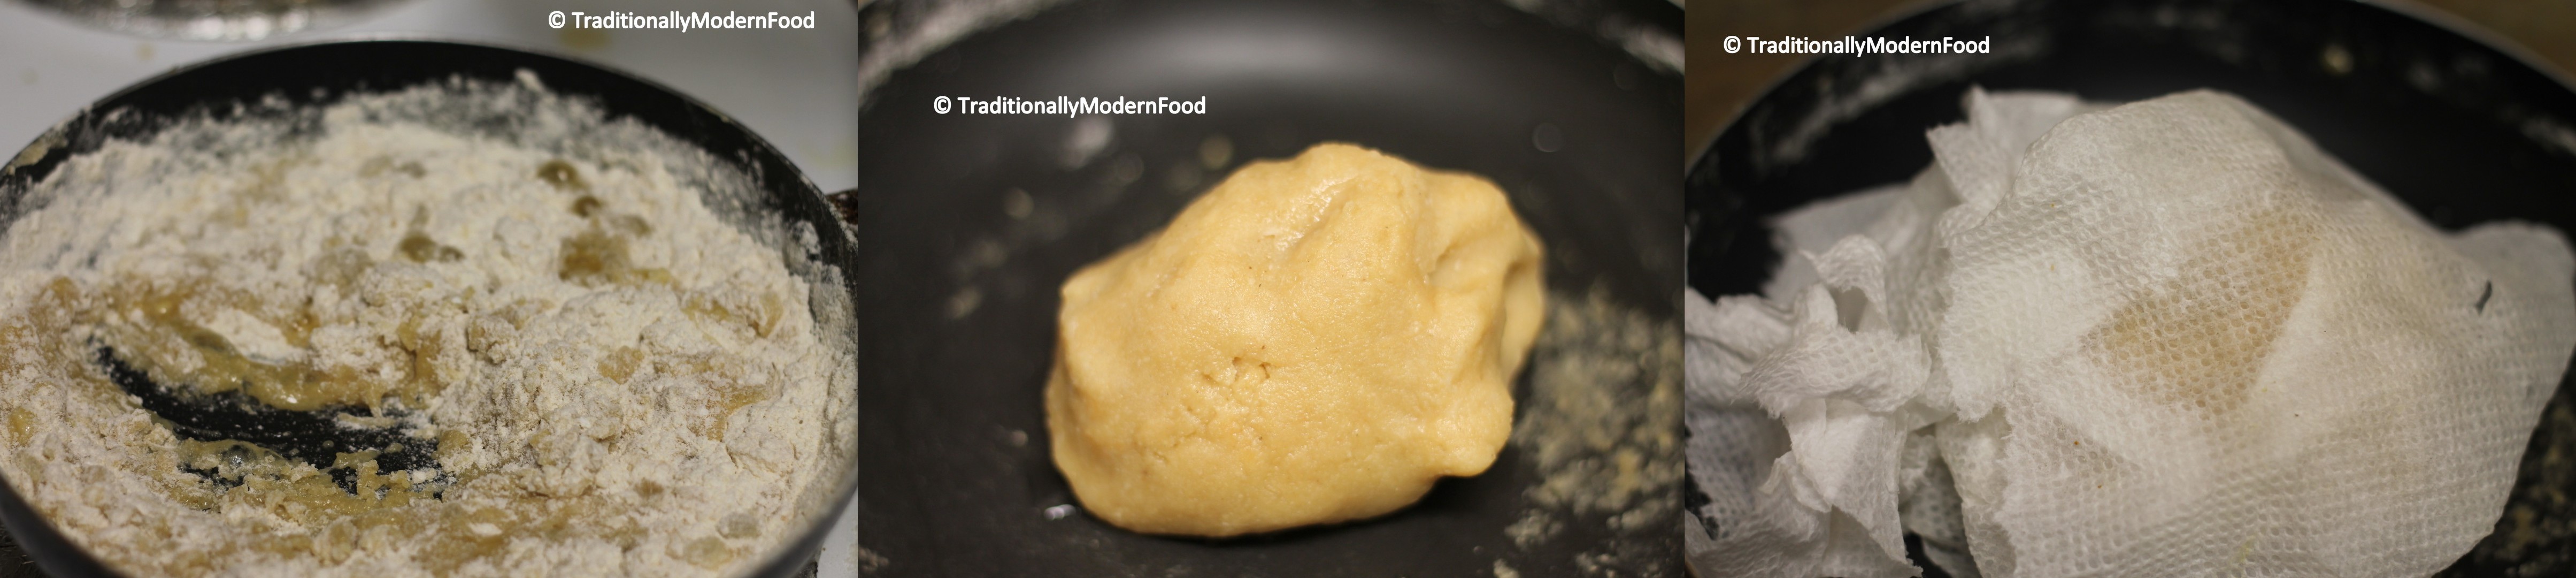
- Once the jaggery boils well add flour mix to the jaggery syrup and stir continuously to avoid lumps. Cook till you get a non sticky dough. Cover and rest the dough with a damp cloth
- Preheat the oven to 400 F
- I have placed parchment paper on baking tray and grease it with oil
- Grease both hands with enough oil and take small portion of dough (make sure remaining dough is covered with damp cloth to prevent the dough from getting dry) press it with right hand and roll the dough gently into small balls. Does mine looks like a perfect seedai? well after baking it turned into a shape somewhere between semi - circle and circle. It's baked and of course homemade so ok if its not so perfect, right?:-)
- Make seedai and spread on baking tray. Since we prepared the seedai with greased hand the seedai won't be dry, if you feel it's a bit dry, drizzle some oil. The key is not to have any dry side in any seedai
- Before keeping the seedai Turn down the oven temperature to 375 degree F
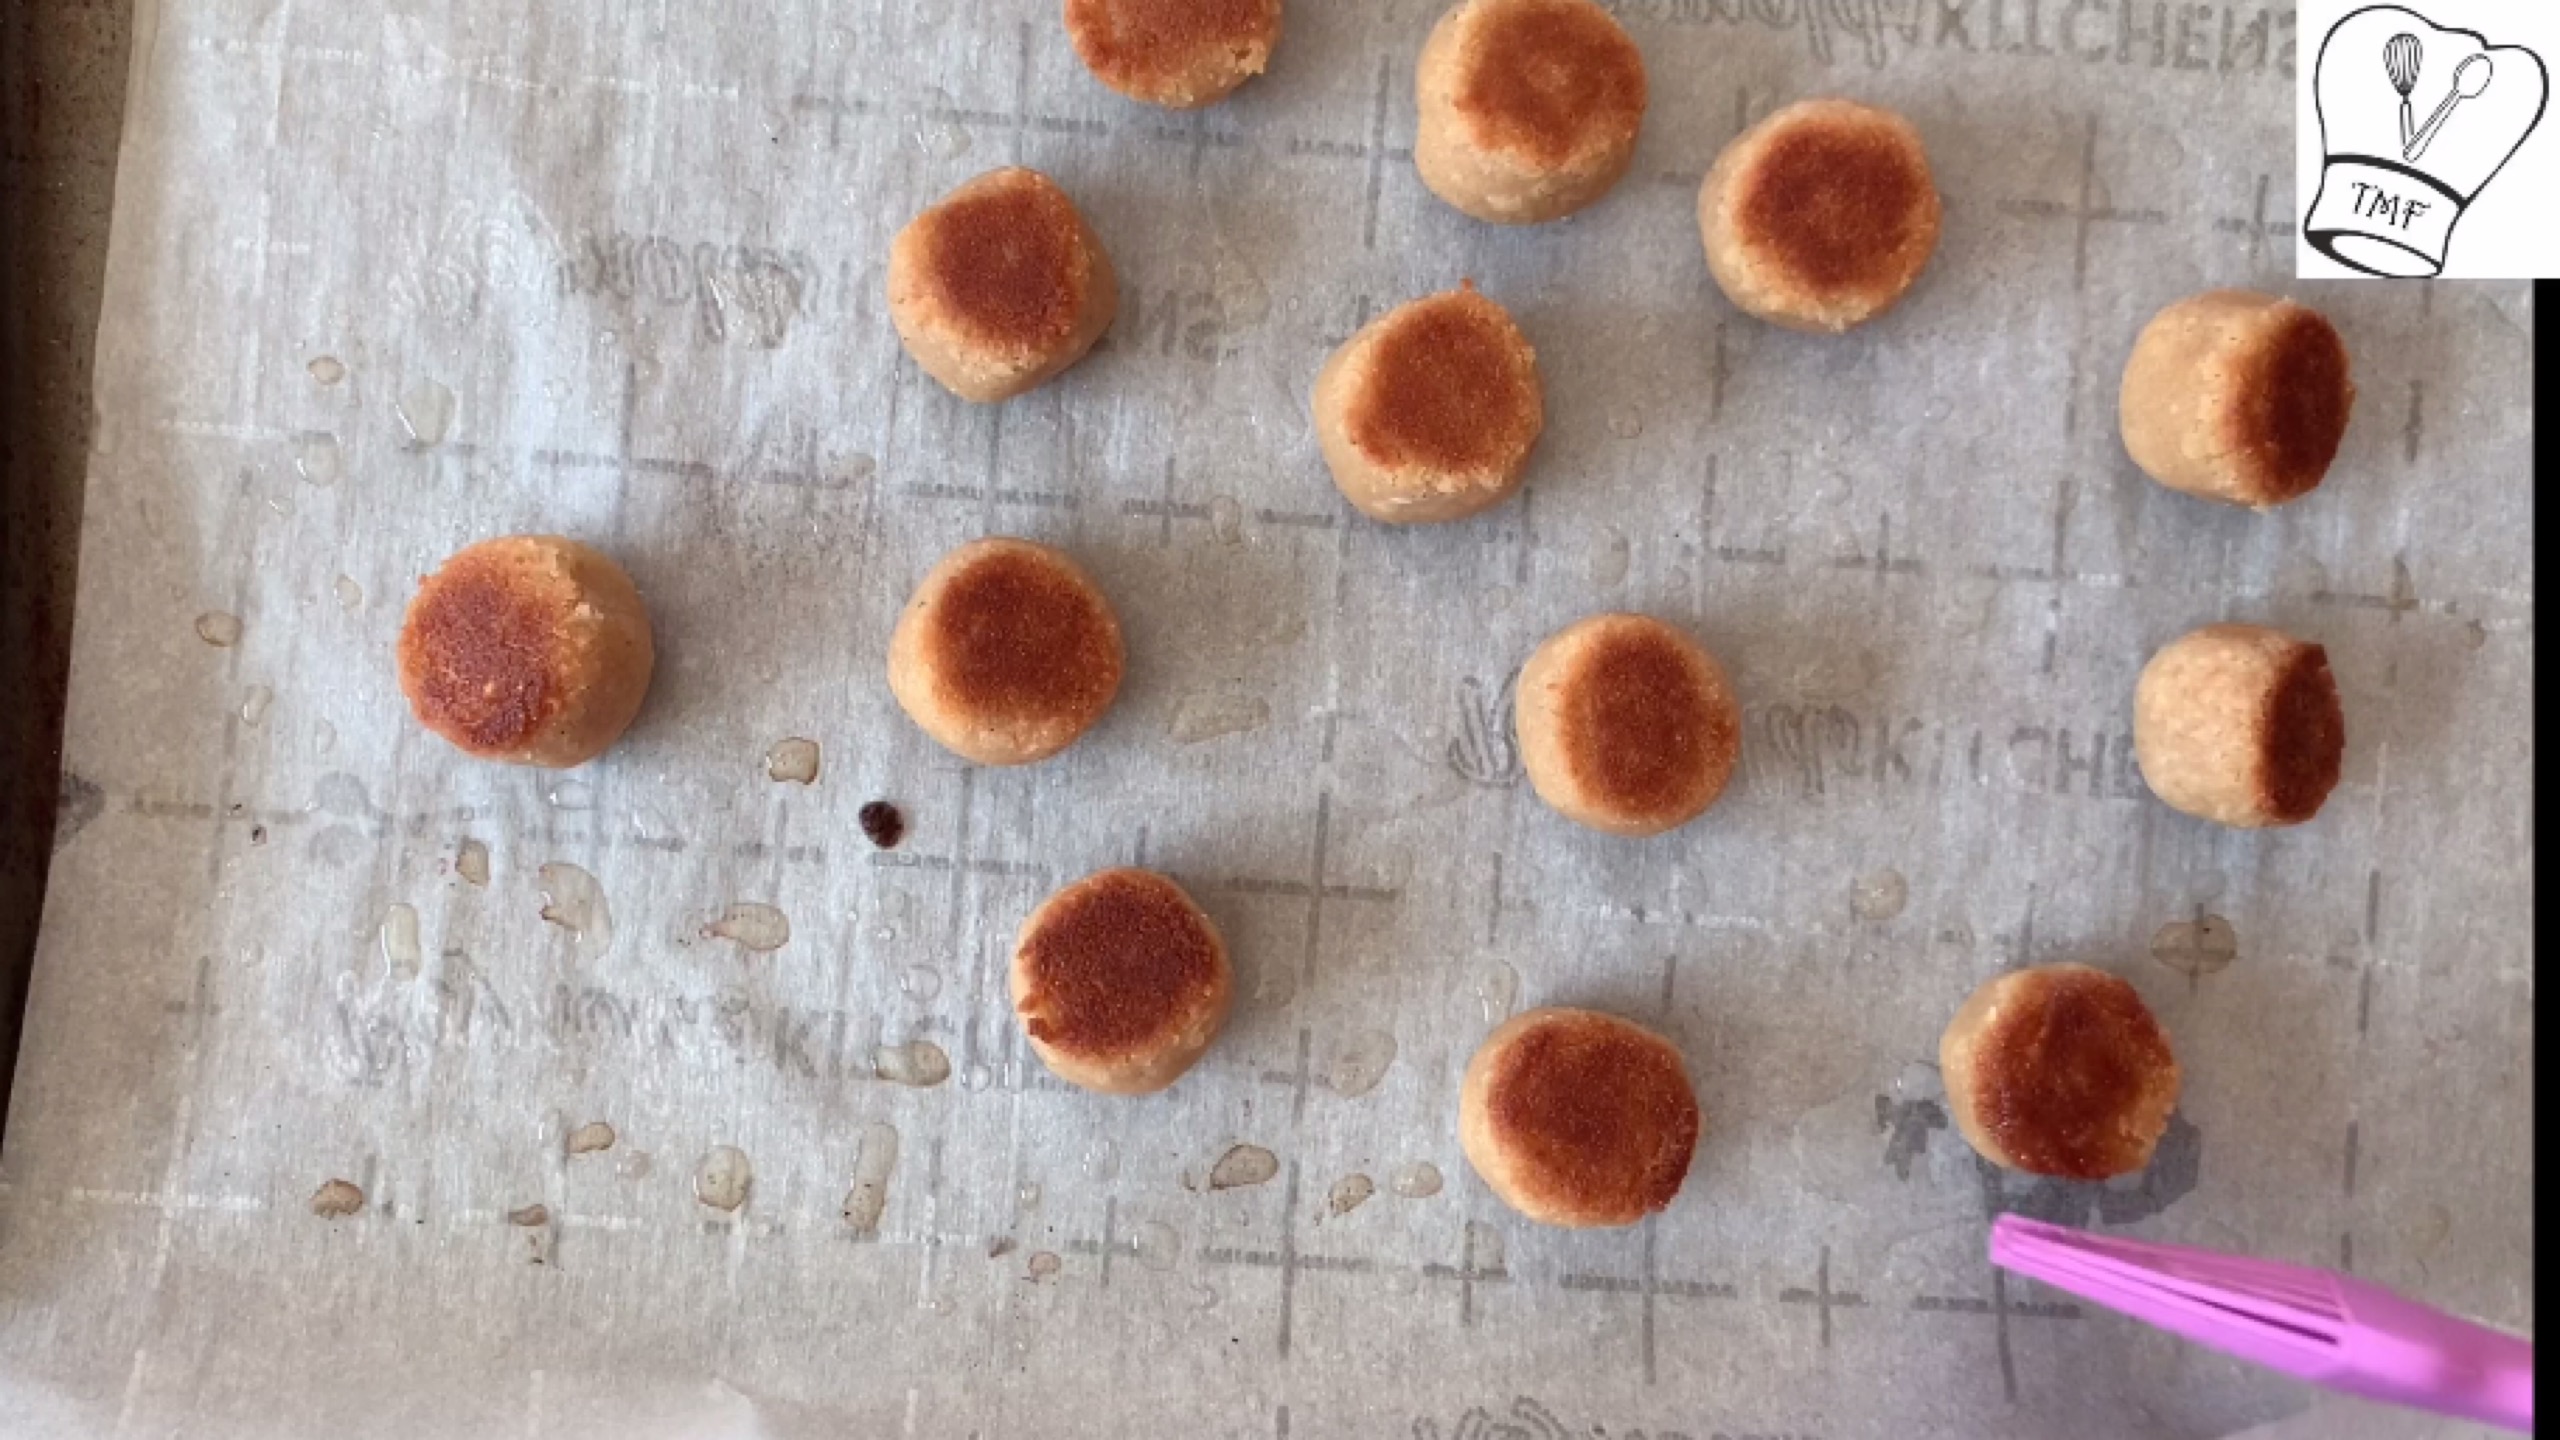
- Bake on the preheated oven (375) for 6 minutes. Gently turn the side and grease the dry portion with little oil (Pls be careful while turning sides, its going to be piping hot. I used a spoon to turn)
- Continue baking in 375 F for another 6 minutes
- Flip and grease the seedai
- Turn down the temperature to 350 F and bake for 3 minutes
- Grease again and flip
- Bake for 3 minutes or until all sides are brown
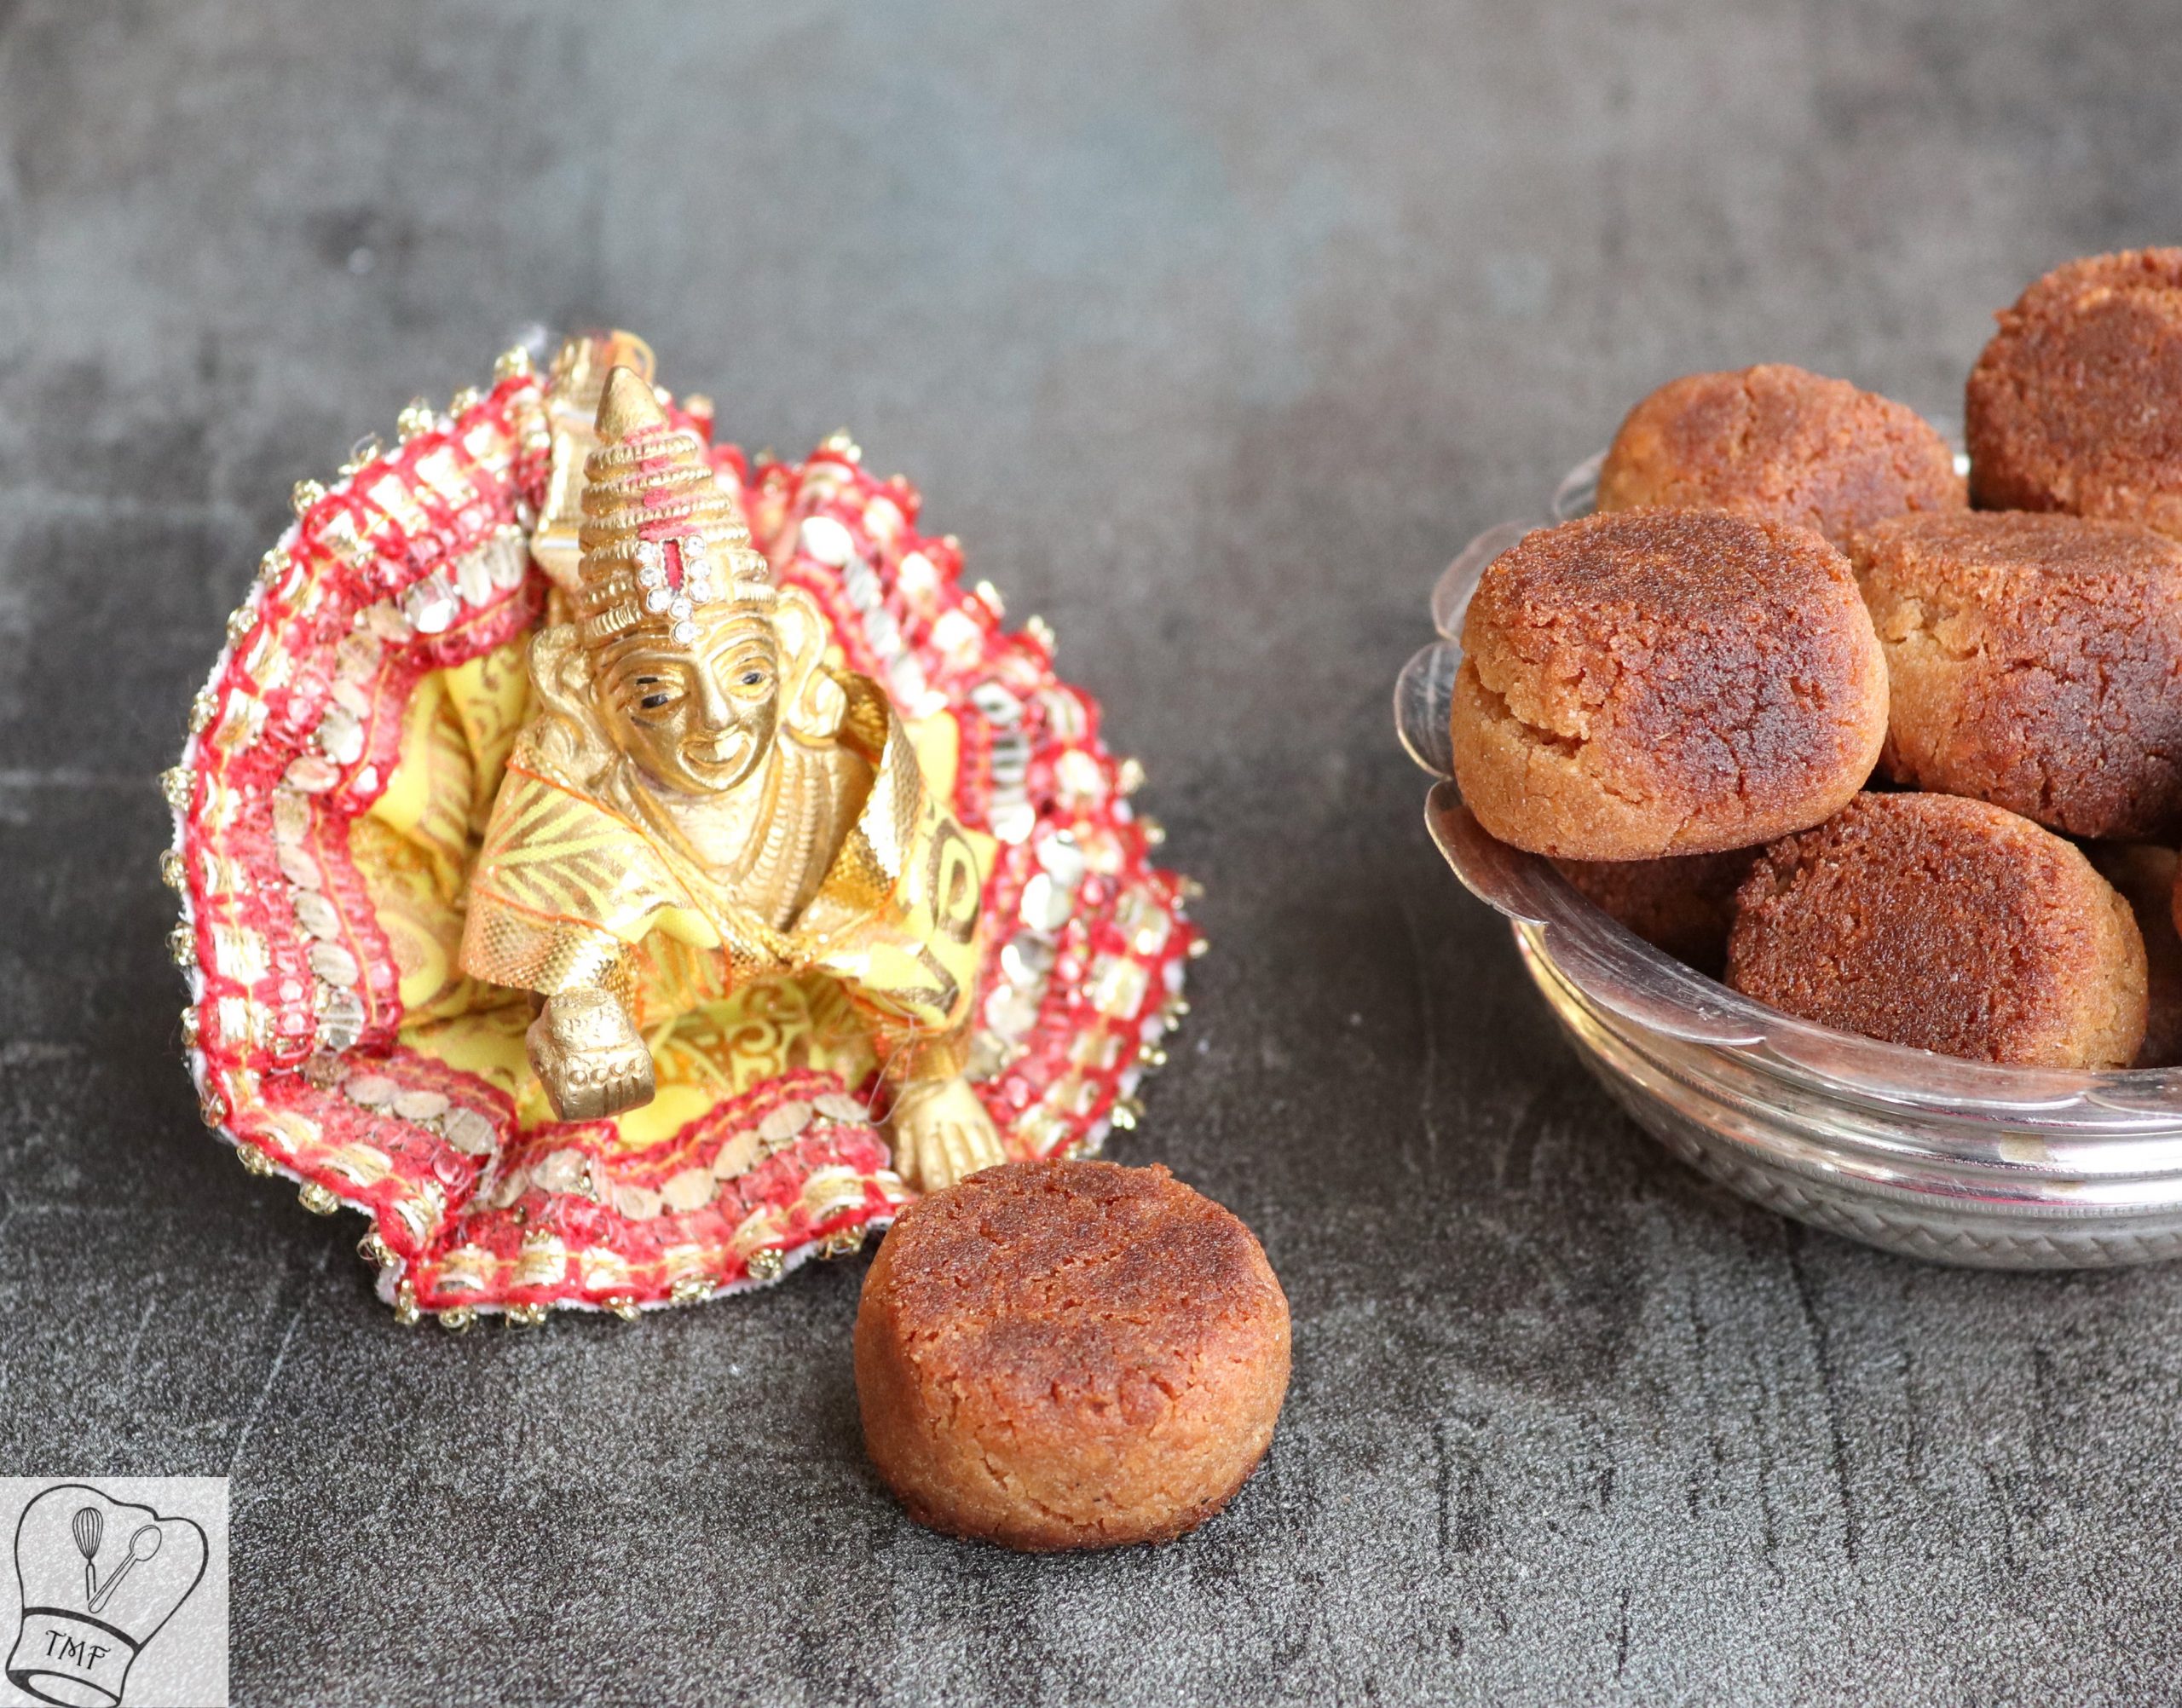
- By this time Seedai may cheat you as if its not done, don't believe it. If you see crumb like inner texture and golden brown outer layer, its done.. Cool it and after 20 minutes It turns into perfect Seedai. Transfer into a airtight container after the Seedai are properly cooled
- Pls. Follow TMF social media for recipes updates,
- Facebook | Instagram | Pinterest | Twitter | Youtube
Video
Notes
- Oven temperature may vary slightly
- Don't forget to flip every time and grease before baking
- Store brought urad dal flour can be used instead of homemade flour. It need not be sauteed for a long time like homemade flour
- Filtering jaggery water is optional if the jaggery you use are without impurities skip that step
- If you are frying, the seedai proportion varies - Use 1 cup rice flour and 1 tbsp urad dal flour. It has to be fried in a medium-low flame, as it will help for even cooking. Heat oil in a pan, When the oil becomes hot gently put the seedai balls to the oil. Cook till the oil sound subsides
- Jaggery I used was not paggu vellam eo I used equal amount. If you are using paggu vellam use 1/2 or 3/4 of the quanity
- I used store-bought rice flour. Alternatively, you can wash and soak the raw rice for 1-2 hours and dry them in cloth till moisture completely dries, and grind them into a fine powder
- If the dough is too soft add little rice flour while cooking
- While making ball if dough becomes dry knead it once with oil. Still, if you feel the dough is dry to make balls drizzle few tsp of hot water and knead
- Instead of using hot water for jaggery syrup you can boil water and jaggery; switch off after the jaggery completely melts and filter
- Overdoing the Seedai may result in hard seedai. Seedai is like cookies they get firm up after taking out from the oven, an important note to be kept in mind
- Greasing less oil will result in pale brown vellam Seedai but make sure the Seedai is not dry; that will affect the Seedai texture
- Cover with damp cloth avoid to the dough from becoming dry
- As seedai cooks, it's going to expand and change its shape
- Baked Seedai turns slightly big after baking. Adjust the size accordingly
Ingredients:
Rice Flour – 1/2 cup
Urad Dal – 2 tbsp
Powdered Jaggery – 1/2 cup
Coconut – 2 tbsp
Cardamom powder – 1/4 tsp
Sesame seed – 1/4 tsp
Hot Water – 1/4 cup
Oil – to grease
how to make baked vella seedai with step by step pictures
- Dry roast the whole urad dal for 2 minutes or so till the color slightly changes; cool it and grind it into a fine Powder. Alternatively, the store brought urad dal can be used. Just sure it for few seconds after rice flour changes color and switch off
- In the same pan, on low flame, dry roast the rice flour; till the color slightly changes and aroma of rice flour nicely spreads in the kitchen
- Add store brought urad dal flour and give a quick saute. Switch off. Skip this step for homemade urad dal flour

- In a separate bowl combine jaggery and hot water. Let it sit for 5 minutes or till it melts ( Powdered jaggery melts quickly). My jaggery pieces was a little big so after 3 minutes I broke the pieces and Microwaved for 1 minute
- Strain the syrup into a nonstick / heavy-bottomed pan. Add coconut and In medium heat cook the jaggery syrup till it boils
- Add sesame seed and cardamom powder let the jaggery syrup boils well
- Once the jaggery boils well add flour mix to the jaggery syrup and stir continuously to avoid lumps. Cook till you get a nonsticky dough. Cover and rest the dough with a damp cloth
- Preheat the oven to 400 F
- I have placed parchment paper on a baking tray and grease it with oil
- Grease both hands with enough oil and take a small portion of dough (make sure remaining dough is covered with a damp cloth to prevent the dough from getting dry) press it with the right hand and roll the dough gently into small balls. Does mine look like a perfect seedai? well after baking, it turned into a shape somewhere between semi-circle and circle. It’s baked and of course homemade so ok if it is not so perfect, right?:-)

- Make seedai and spread on baking tray. Since we prepared the seedai with greased hand the seedai won’t be dry, if you feel it’s a bit dry, drizzle some oil. The key is not to have any dry side in any seedai
- Before keeping the seedai Turn down the oven temperature to 375 degrees F
- Bake on the preheated oven (375) for 6 minutes. Gently turn the side and grease the dry portion with little oil (Pls be careful while turning sides, it is going to be piping hot. I used a spoon to turn)
- Continue baking in 375 F for another 6 minutes
- Flip and grease the seedai
- Turn down the temperature to 350 F and bake for 3 minutes
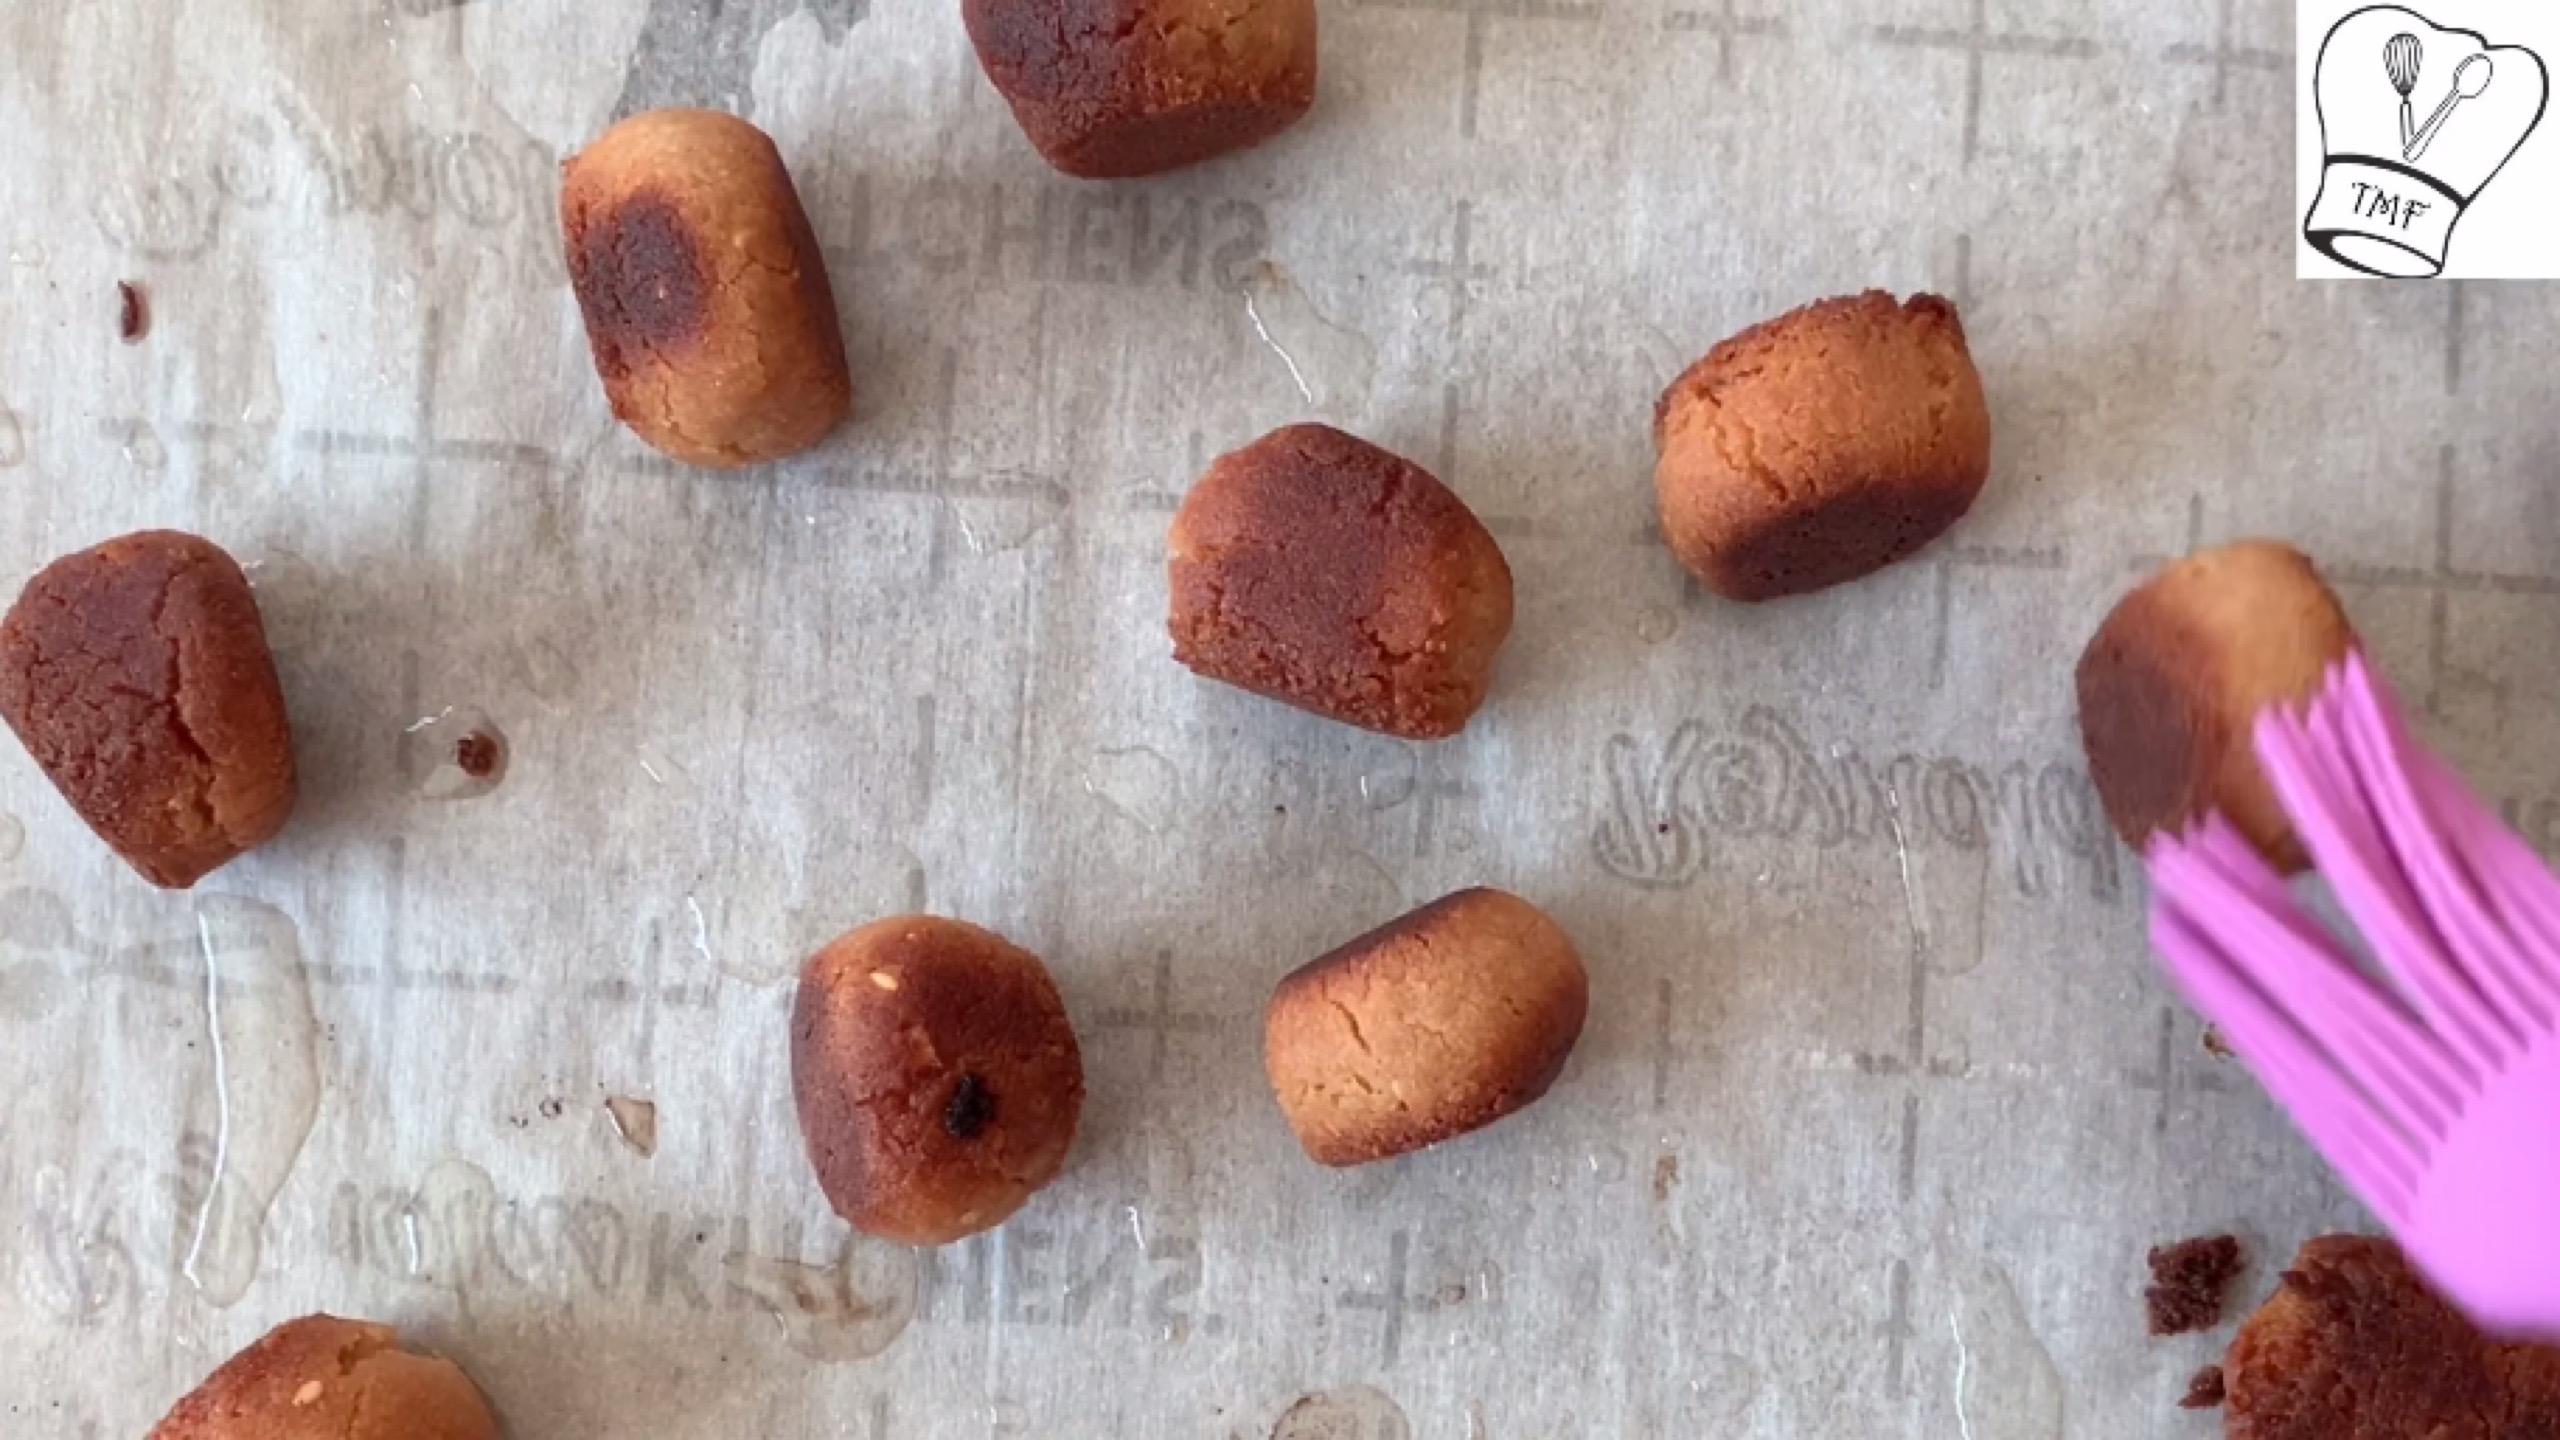
- Grease again and flip
- Bake for 3 minutes or until all sides are brown
- By this time Seedai may cheat you as if it not done, don’t believe it. If you see the crumb-like inner texture and golden brown outer layer, it’s done.. Cool it and after 20 minutes It turns into perfect Seedai. Transfer into an airtight container after the Seedai are properly cooled
Pls. Follow TMF social media for recipes updates,
I can’t even tell it is baked. I bet it’s delicious 🙂
Thanku Antonio:-)
This is new to me dear. This baked version sounds healthy and yummy 🙂
Thanku Kushi:-)
hey chance ella.. super Vids…. Have a great time and enjoy your long weekend. All packeda?
Thanks da:-) Yes Sri, packing over.. All set:-)
Vidya,
I was laughing reading your post, as in my home too, if thebaked /non fried food passes the taste test with my husband, I know people will like it.
It is so good to have that honest opinion!
Vella Seedai is a new recipe for me! very interesting!
Thanku Sandhya:-) oh ya they are best taste maker. Anything approved from them can’t go wrong
I haven’t made anything like this before. But the combination of flavors sounds interesting so I will give this recipe a try. Thanks for sharing.
Thanku Mark:-)
Yuumy… 🙂 and healthy too since its baked.
Thanku Bharani:-)
looks very crispy too.. Yum!
Thanku Veena:-)
What an ingenious way to prepare a baked seedai ,Loved it so so much.
Thanku Madhavi:-)
I haven’t had this dish anytime… It really looks tasty to me… so the traditional version of this is deep fried one?? I would love to try ☺ both versions
Yes Bilna, traditionally seddai s deep fried in oil..thanku:-)
Yummy yet healthy Vella seedai
Thanku Vani:-)
Your baked Vella seedai has ushered in the Janmashtami festivities for me. Loved the write up. Your earnest efforts in baking the perfect seedai this time round shows in the beautiful captures. I personally would prefer the baked version too and why not when it looks so delicious. Enjoy your long weekend and Janmashtami celebrations.
Thanks Piyali:-) after few flop show it was good to taste a proper seedai
Too good Vidya! 🙂 My husband is the same too, he never lets me bake anything that has to be deep fried 🙂
Thanku Dear:-)
wow! I love the way you have baked all the traditional dishes and made it more healthy!
Thanku Priya:-)
This really looks delicious and is something new for me 🙂
Thanks for sharing!
Thanku Madiha:-)
These baked Vella Seedai looks delicious. A perfect festive treat! 🙂
Thanku Anu:-)
Wow!! This looks amazing!! How fun! …I love that these are baked 🙂 much better than fried! Great recipe!!
Thanku Cailee:-)
Fabulous recipe and baking definitely makes them super healthy!
Thanku Rose:-)
My husband is exactly the same whenever I bake anything that is traditionally deep-fried 😀 These seedai look beautiful Vidya! Hope you had a lovely Janmashtami celebration!
Thanku Naina:-)
This sweet version is new and honestly good to have the baked ones, though they are not all that tasty
Thanku Jayashree:-)
Looks crispy and evenly bakes, can’t tell the difference.. baked seedai is interesting Vidhya, i have to try!
Thanku Akka:-)
thats super duper healthy,….
Thanku Smitha:-)
This is a very interesting recipe! I would love to try it !
Thanku Lynn:-)
Love the effort you put into getting the perfect baked seedai….They look super delicious vidya!!
Thanku Padma:-)
yummy guilt free snack!!
Thanku Sundari:-)
Hey vidya, am here after such long..that’s a yummy dummy recipe…….. superb
Asmi
Thanku Asmitha:-)
baking the seedai is new one to me. came out perfect. healthy and delicious too.
Thanku Gayathri:-)
the baked cheedai look awesome, calling to be picked up and eaten. I understand the difficulties and hurdles one has to go through while preparing baked versions since I’ve had many trials and errors myself. Kudos to you for not having given up and prepared perfect ones 🙂 lovely Vidya.
thanku Anu:-)
I admire your perseverance in making these goodies! As I have said before, you’re a genius, Vidya. On a lighter note, is your “dishwasher” your husband? Mine helps with doing the dishes, and he really whines when I do some special cooking . 😉
Thanku Apsara:-) feeling grt to have friends like you who continuously encourage me.. Haha, oh ya my hubby also helps me with the dishes.
Usually if end result of baking something instead of deep frying is positive, he appreciates. if something doesn’t work after few attempts he tells me not to spoil the original taste:-)
Hi Vidya, I was so happy to visit your page. Vella seedai is my all time favourite. Wanted to know if u baked for 6 mins at 400 followed by 6 mins at 375? I am a little confused
Thanks for visiting my page. Sorry for the confusion. I will update the recipe.
I preheated the oven to 400 degree Fahrenheit but before baking turned it down to 375 degree and baked 6 minutes on each side
Thank u for this recipe Vidya. One doubt, when u say reduce temp to 375 and bake, should b wait till temp comes down to 375 or jst place it in oven while temp comes down? May i know how this works?
I tried the recipe and also the baked uppu seedai recipe… came out really well .. thank u for sharing this healthy option for making janmashtmi bakshanam 🙂 .. here on every janmashtmi i am going to make these only 🙂