Pulikaichal | Pulikaichal recipe | Pulihora | puliyodarai with step by step pictures.Check out the video and If you like the Pulikaichal video pls SUBSCRIBE to my channel
Pulikaichal is a classic traditional South Indian pickle recipe prepared with tamarind. When mixed with rice delicious Tamarind rice can be prepared in no time. Tamarind rice stays good at room temperature for 2 days. Perfect travel/road trip recipes. Pulikaichal stays good for months in the fridge.
Tangy variety of rice is great for the lunch box. Pulikaichal goes well with dosa/ Idli tiffin variety and acts as a yummy pickle to curd rice. During our childhood days whenever Amma travels Amma always prepares a batch of pulikaichal and tomato thokku along with podi varieties like Dhaniya podi, Karuveppilai podi, and Thengai Podi. All we have to do is keep rice and mix any one of these with rice.
Even when traveling for a day trip or two-day trips pulikaichal mixed with rice and Idli with Idli milagai podi are default options as it won’t get spoiled.
With a little one in-home, I always have pulikaichal handy in the fridge. Some days when I can’t prepare anything puliyodarai comes so handy.
Puli sadam is prepared for many festivals. I prepare it for Some festivals like kannum pongal, Aadiperukku, Navarathri, etc.
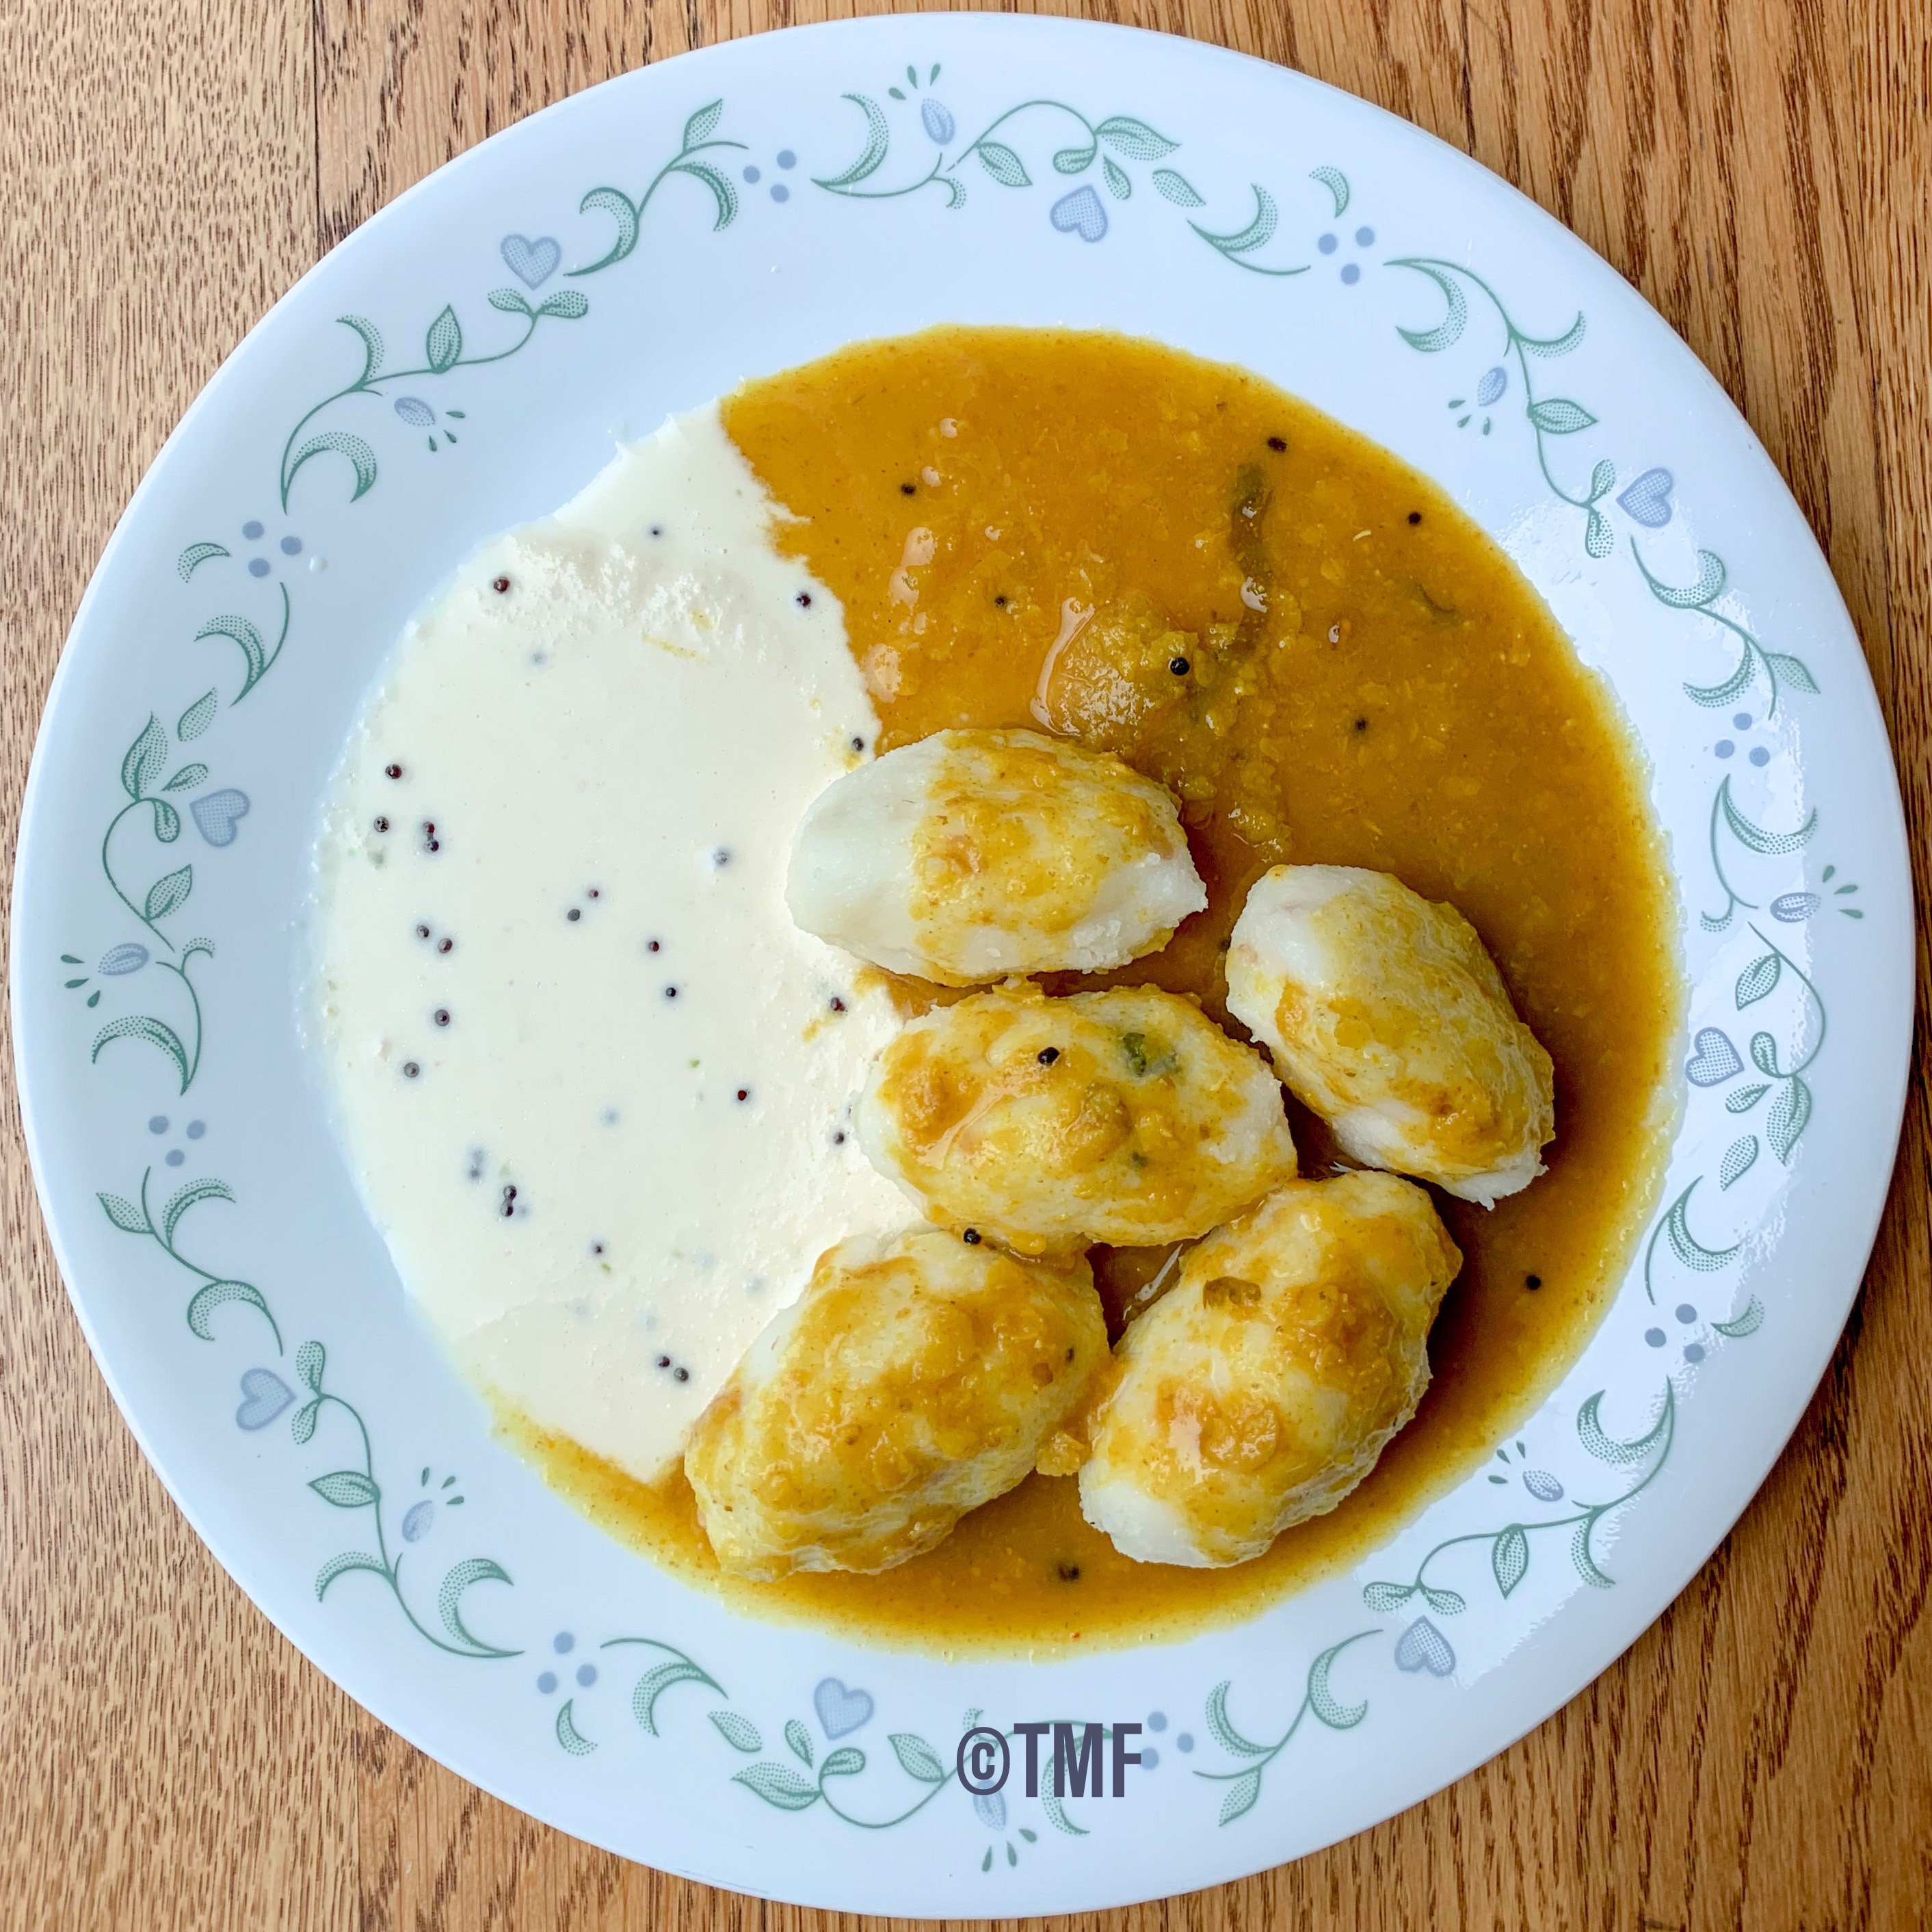
Pulikaichal stays good even for 2 months(when refrigerated) or up to a week (outside), if stored in an airtight container and accessed with a clean dry spoon. Puliyodarai is one of the most favorite prasadam in temples. Also in our Tamil Brahmin tradition pulisadam is given as a part of kattu sadha kudai tradition.
Ingredients
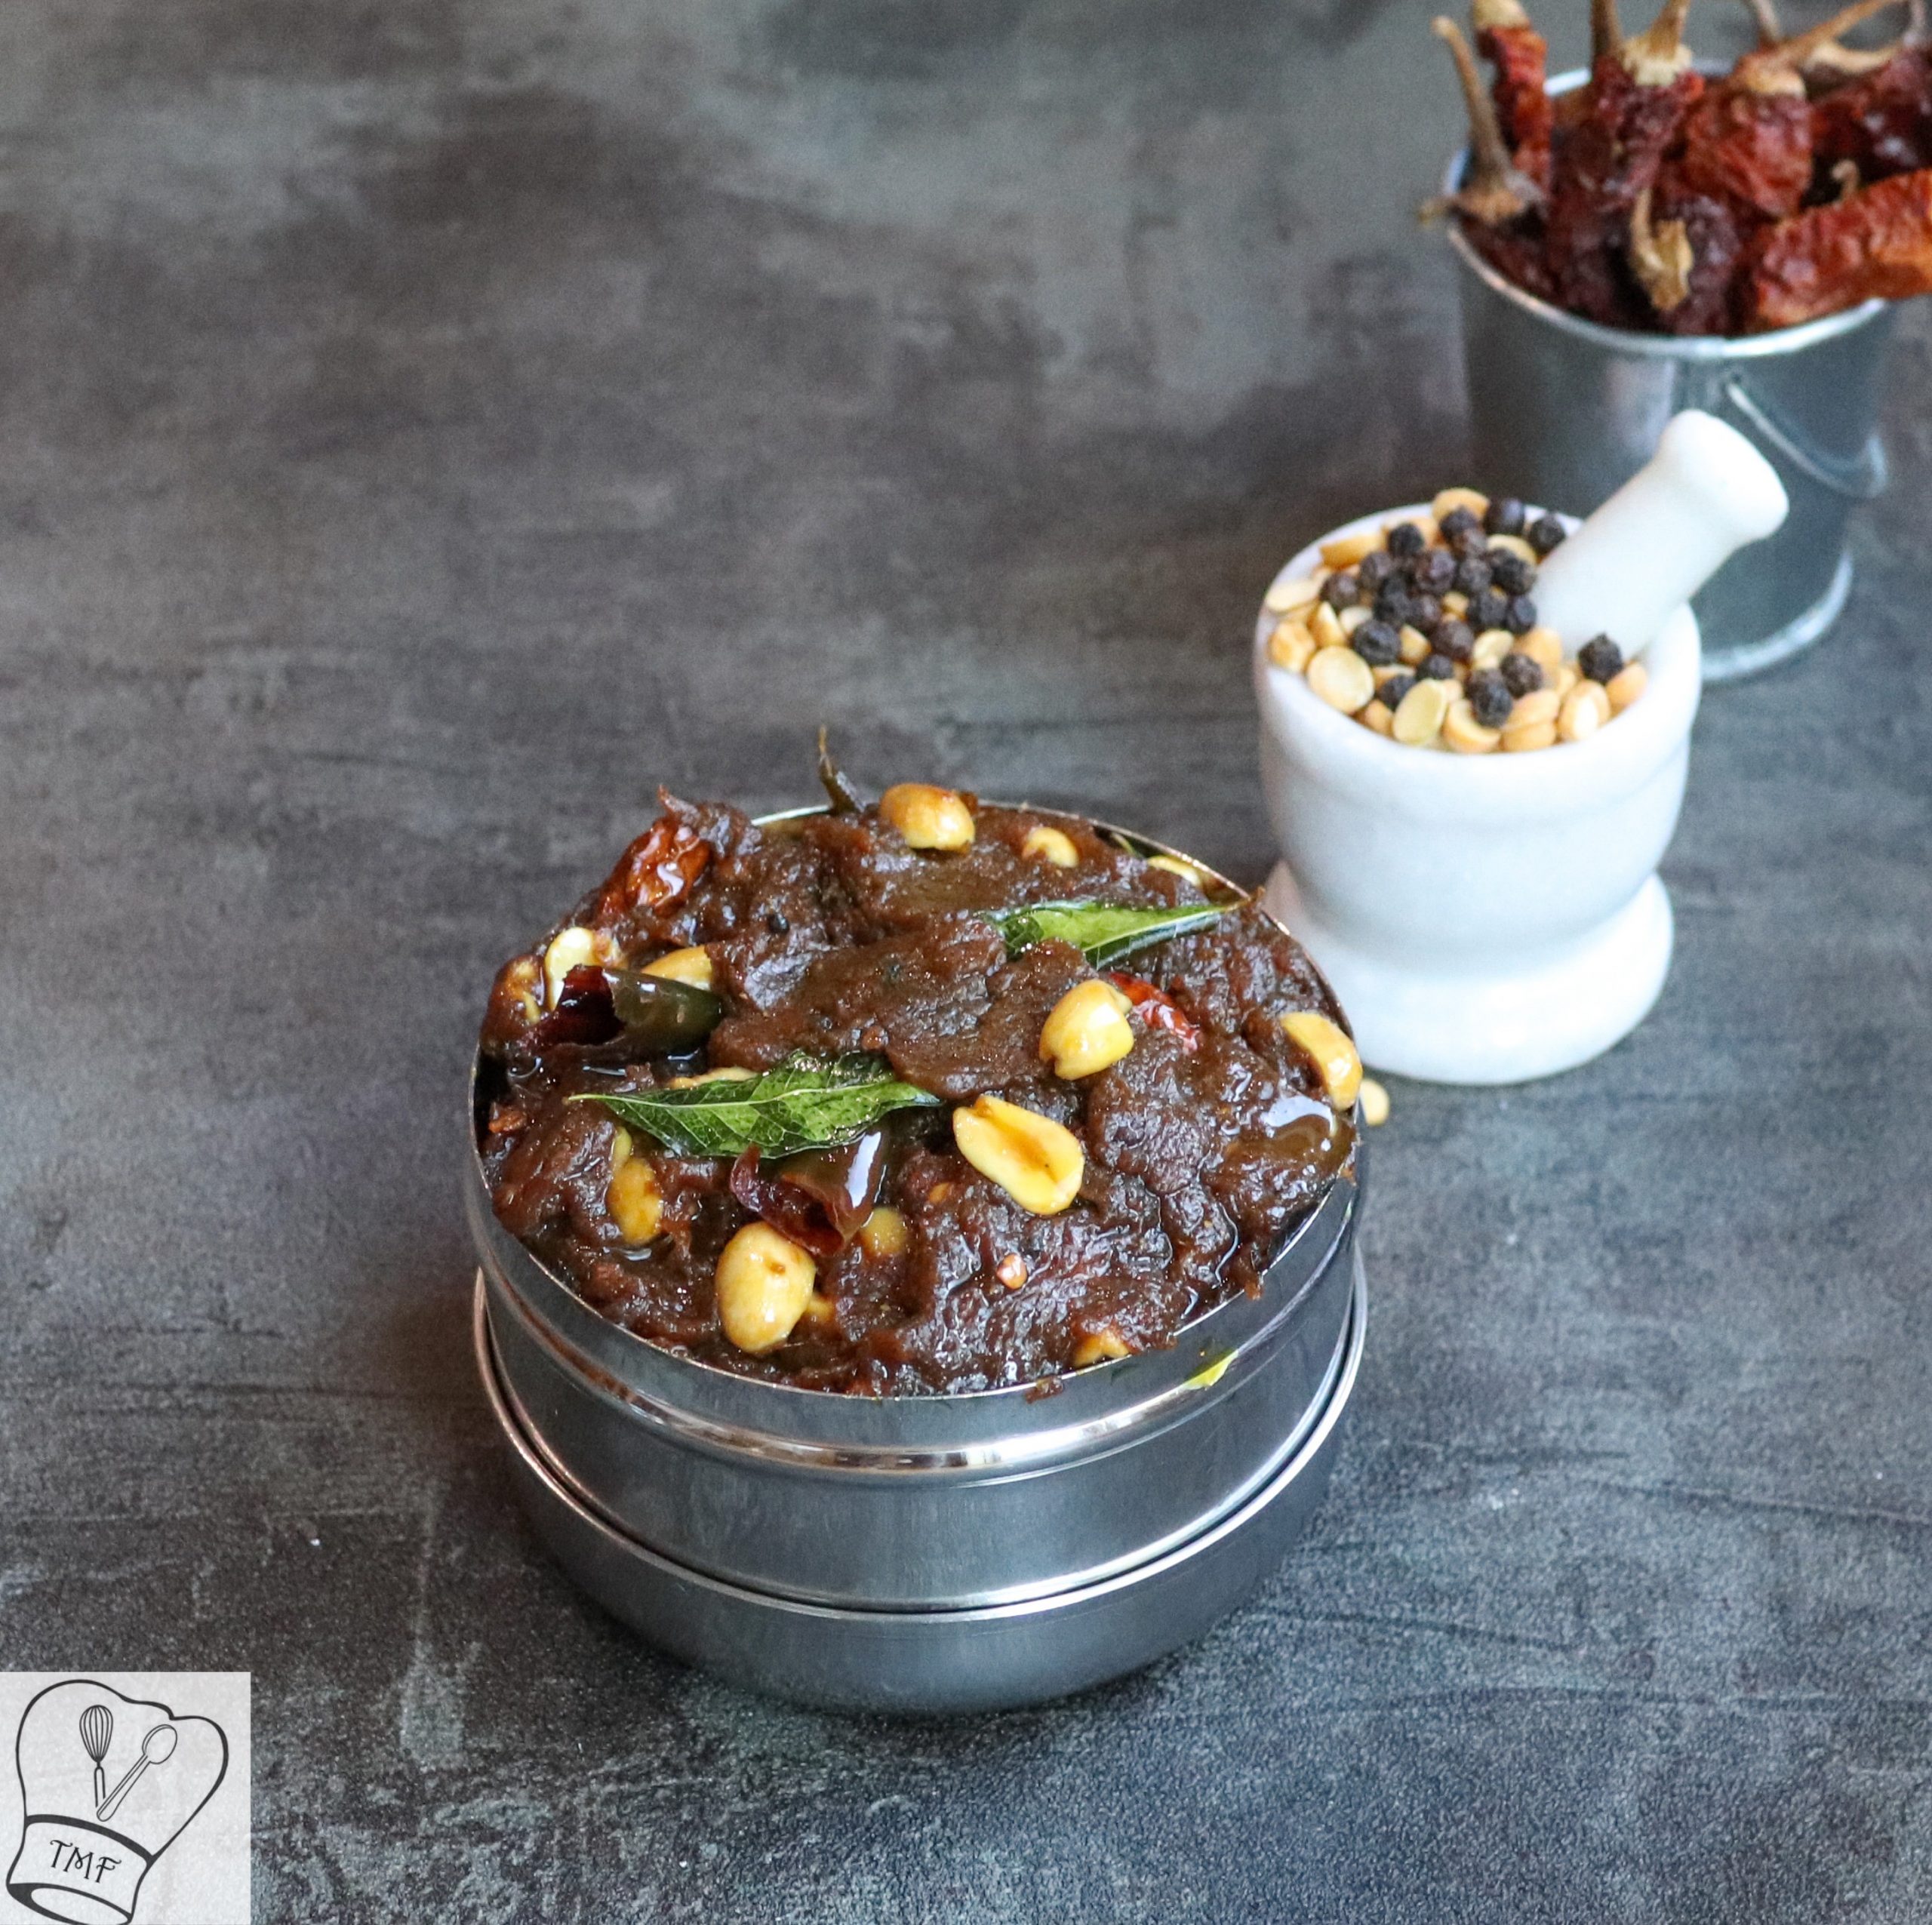
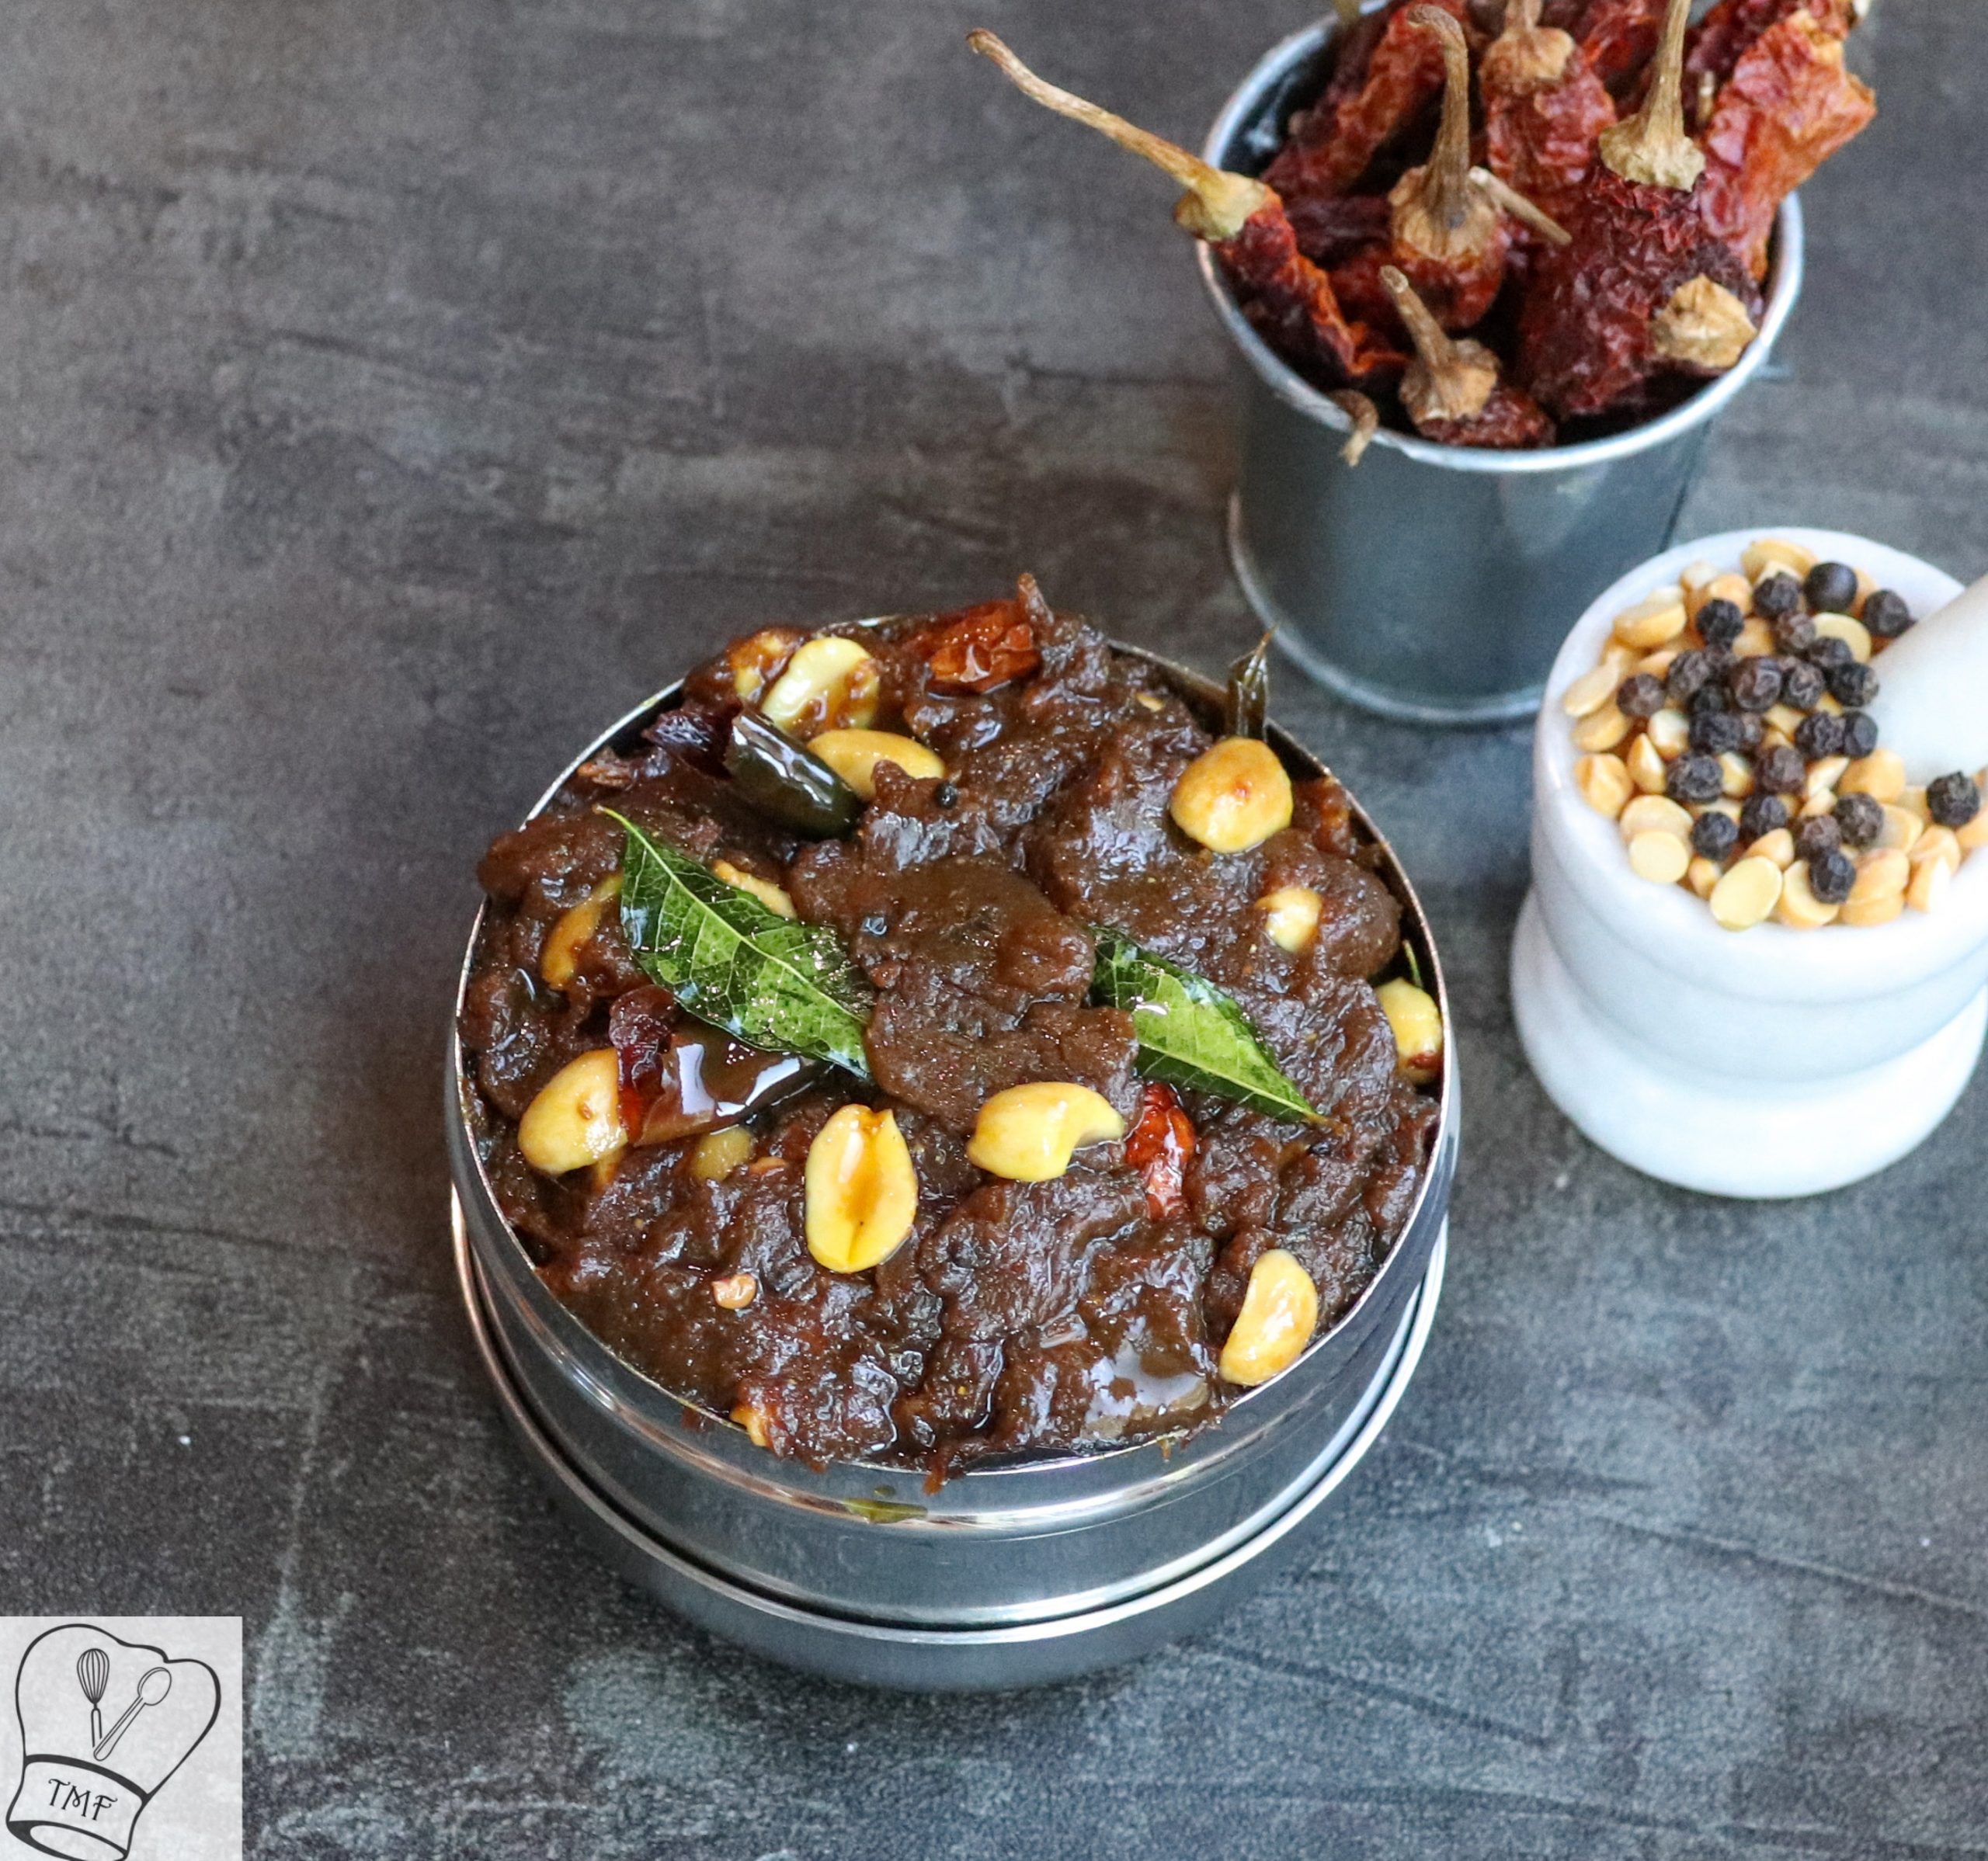
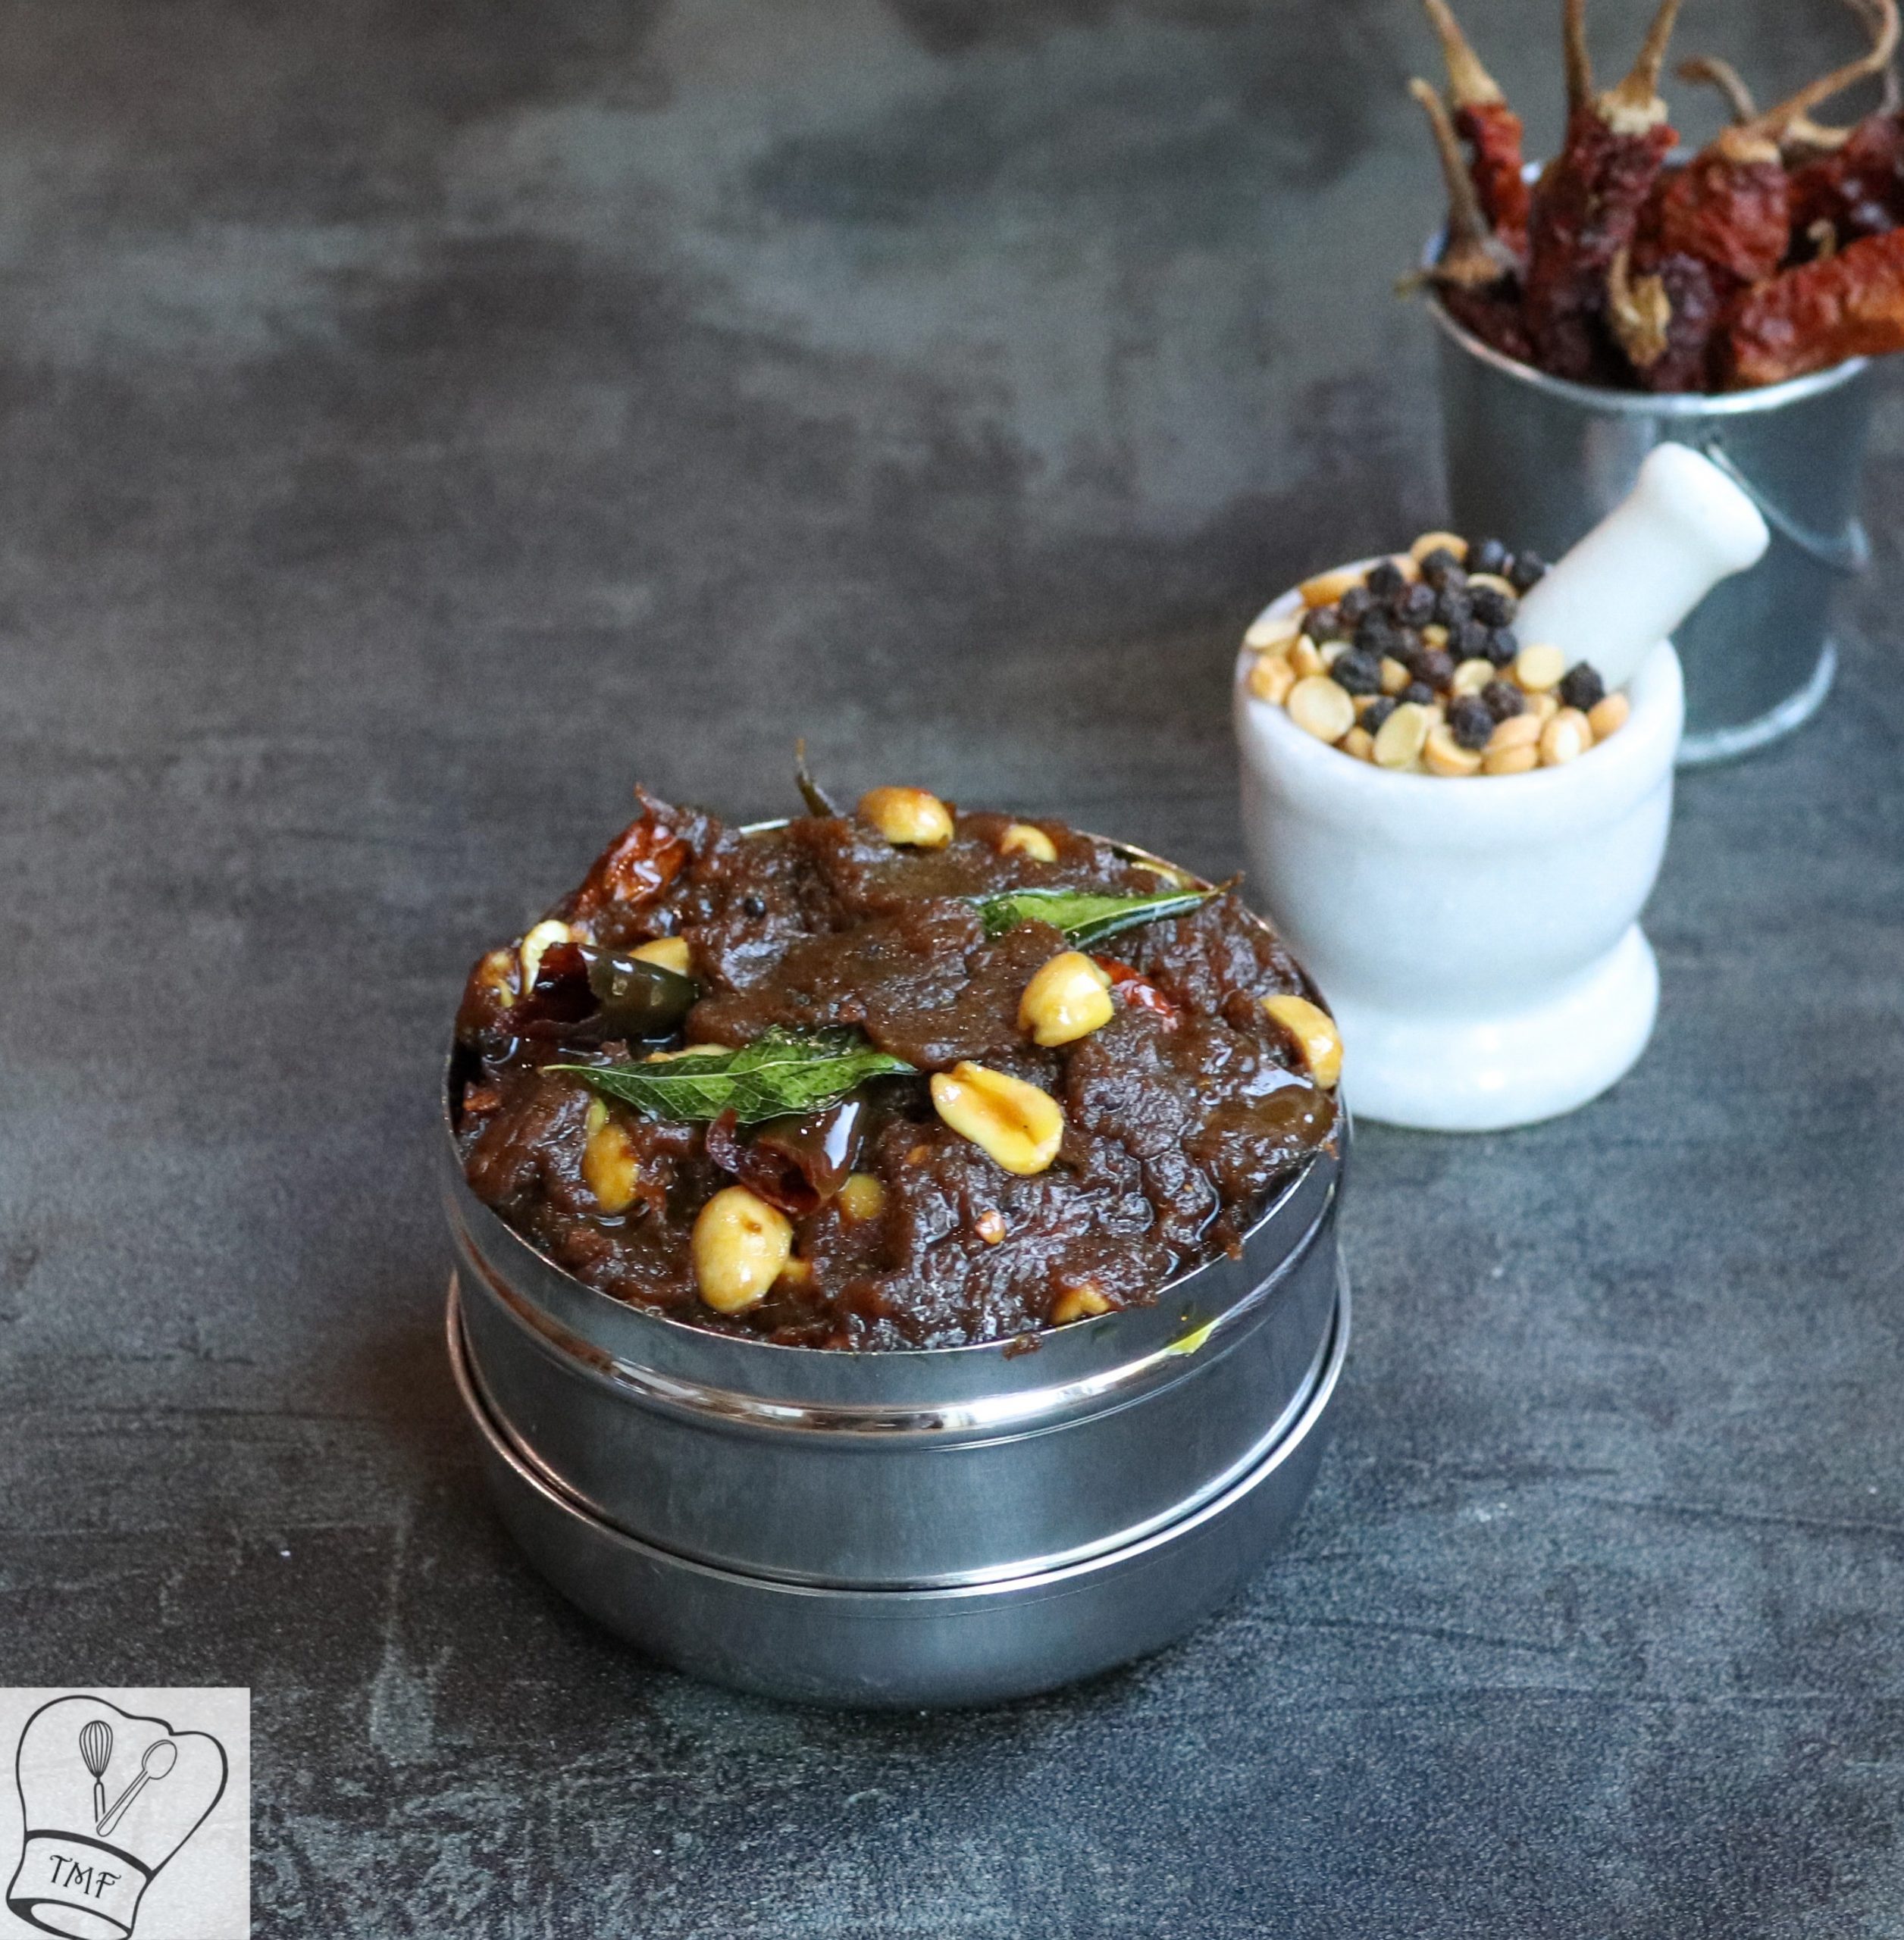
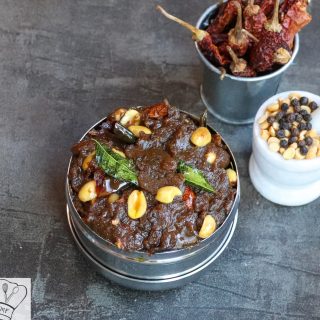
- Tamarind - big lemon size 100 grams
- Powdered Jaggery - 1 tbsp
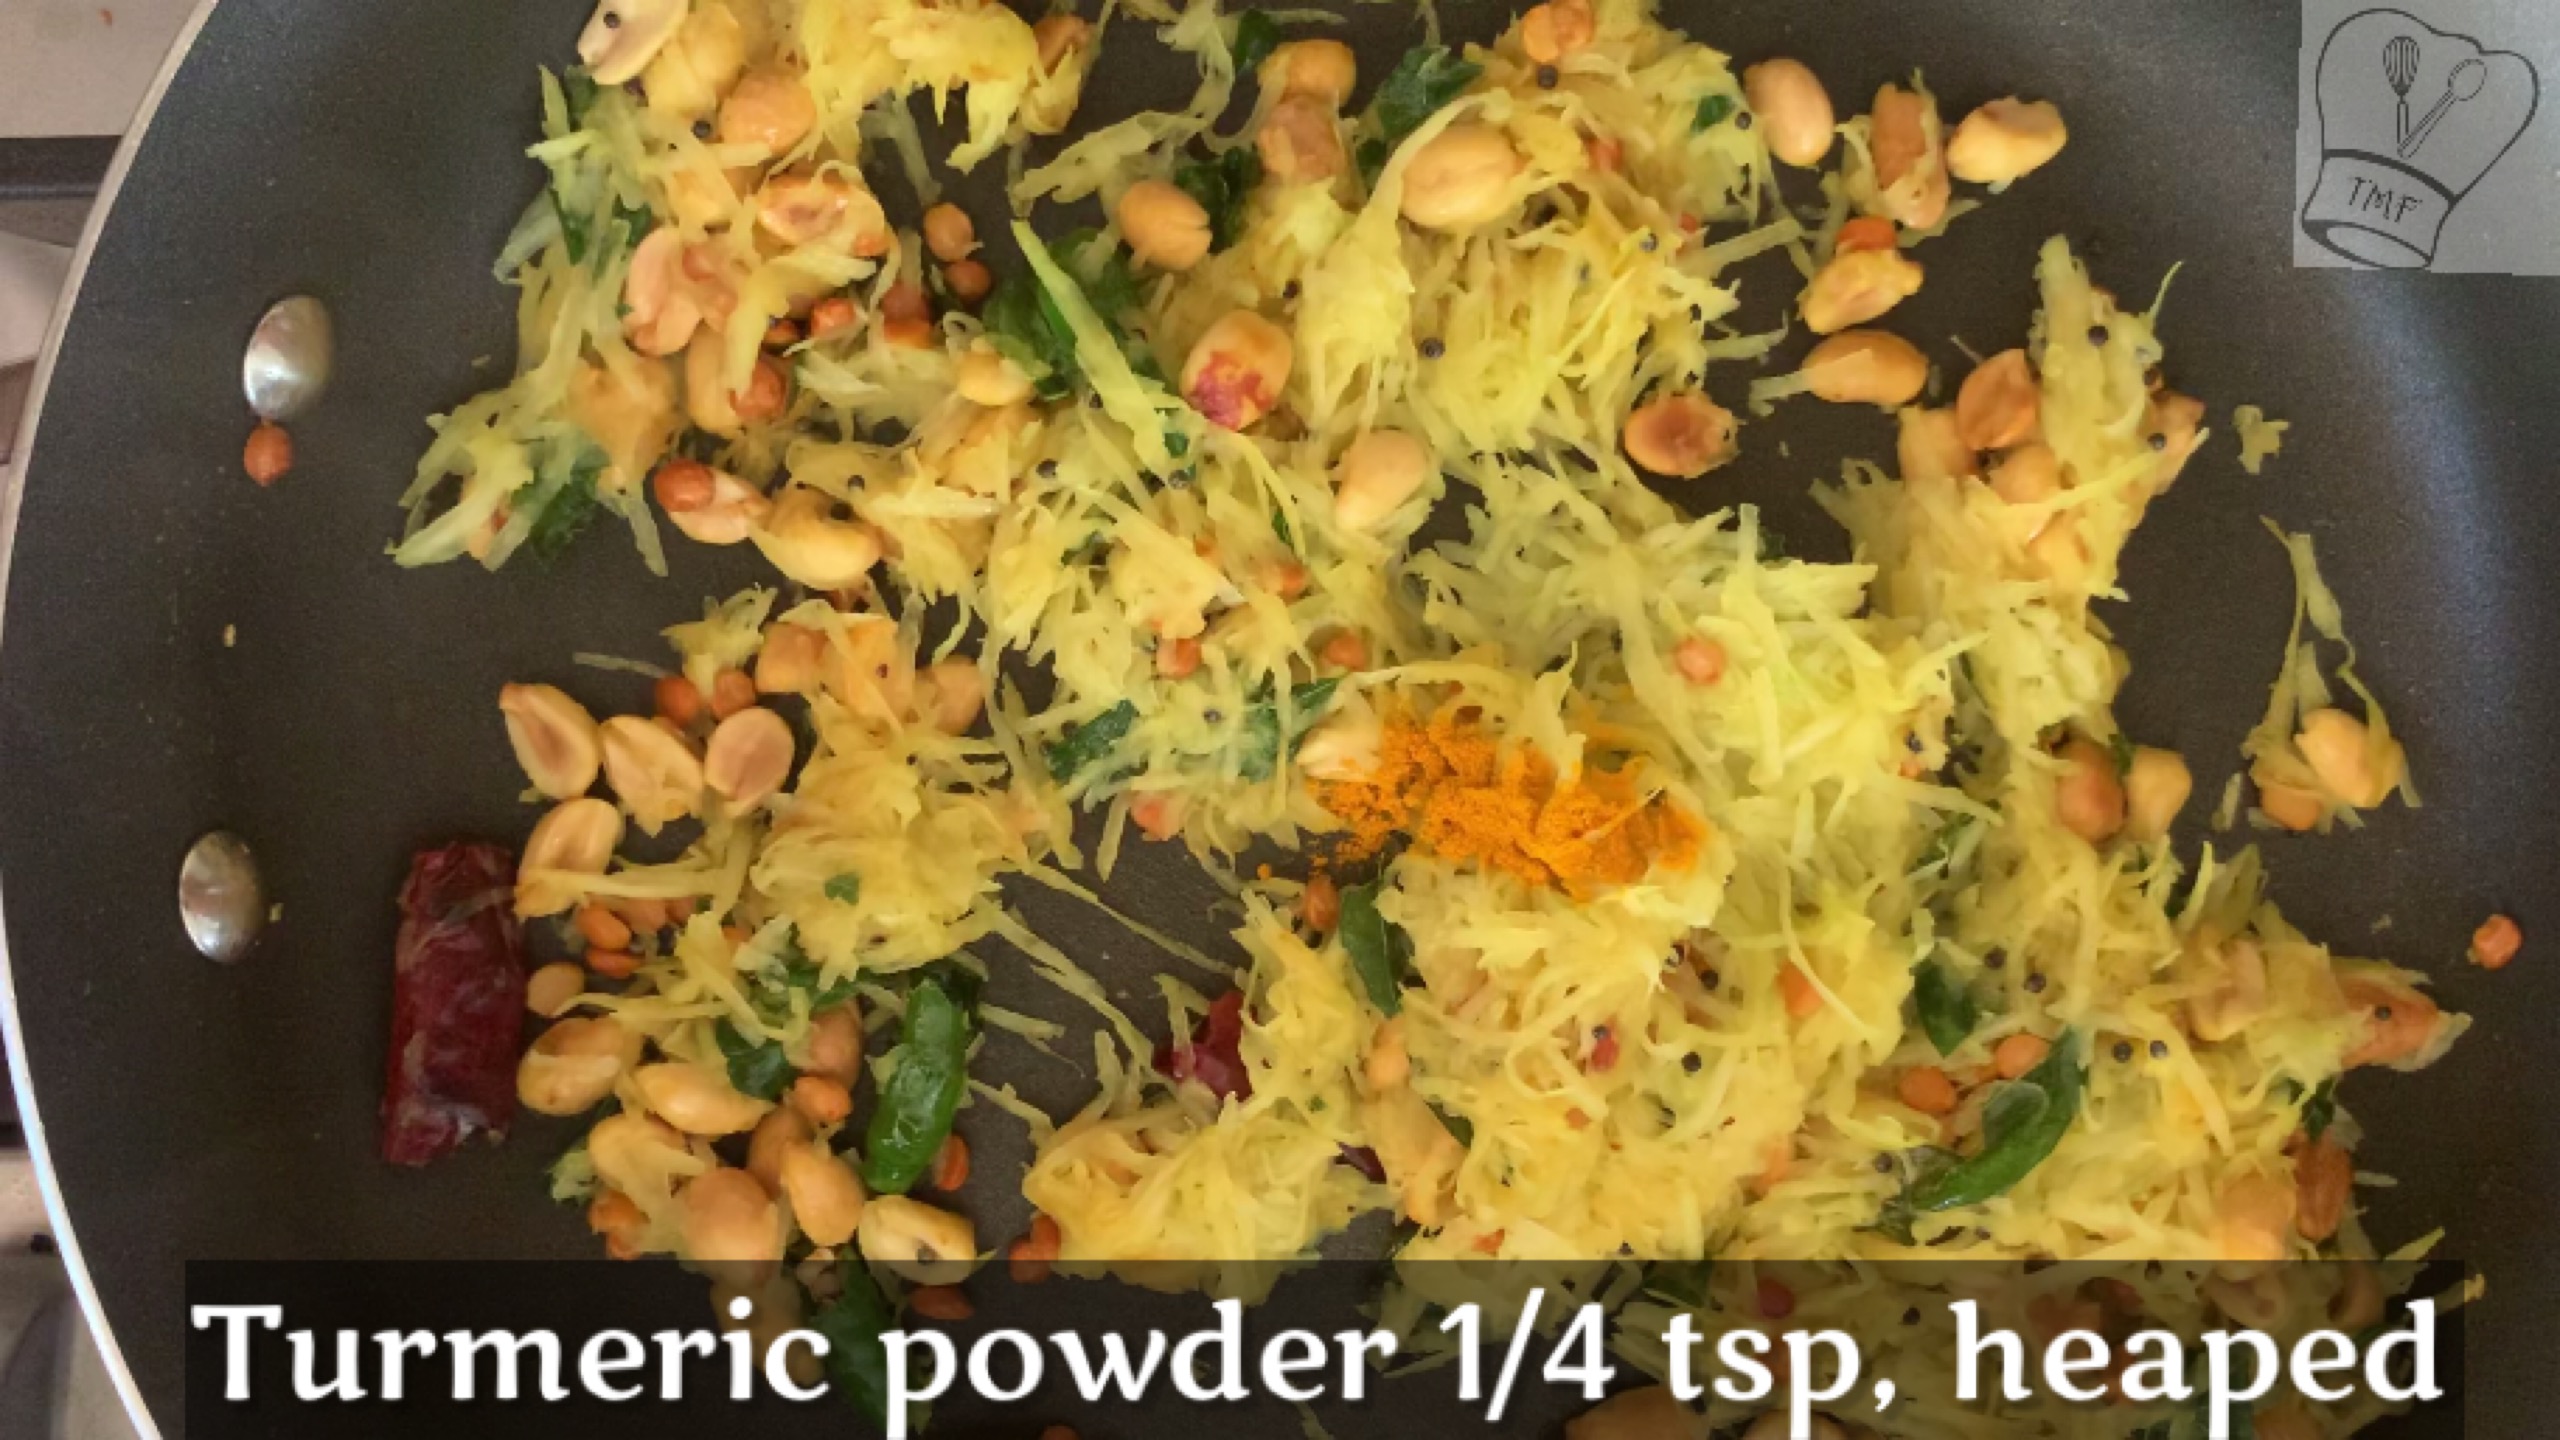
- Turmeric Powder - 1/2 tsp
- Asafoetida - a generous pinch
- Salt - as needed
- Sesame oil - 1/4 cup + 2 tbsp
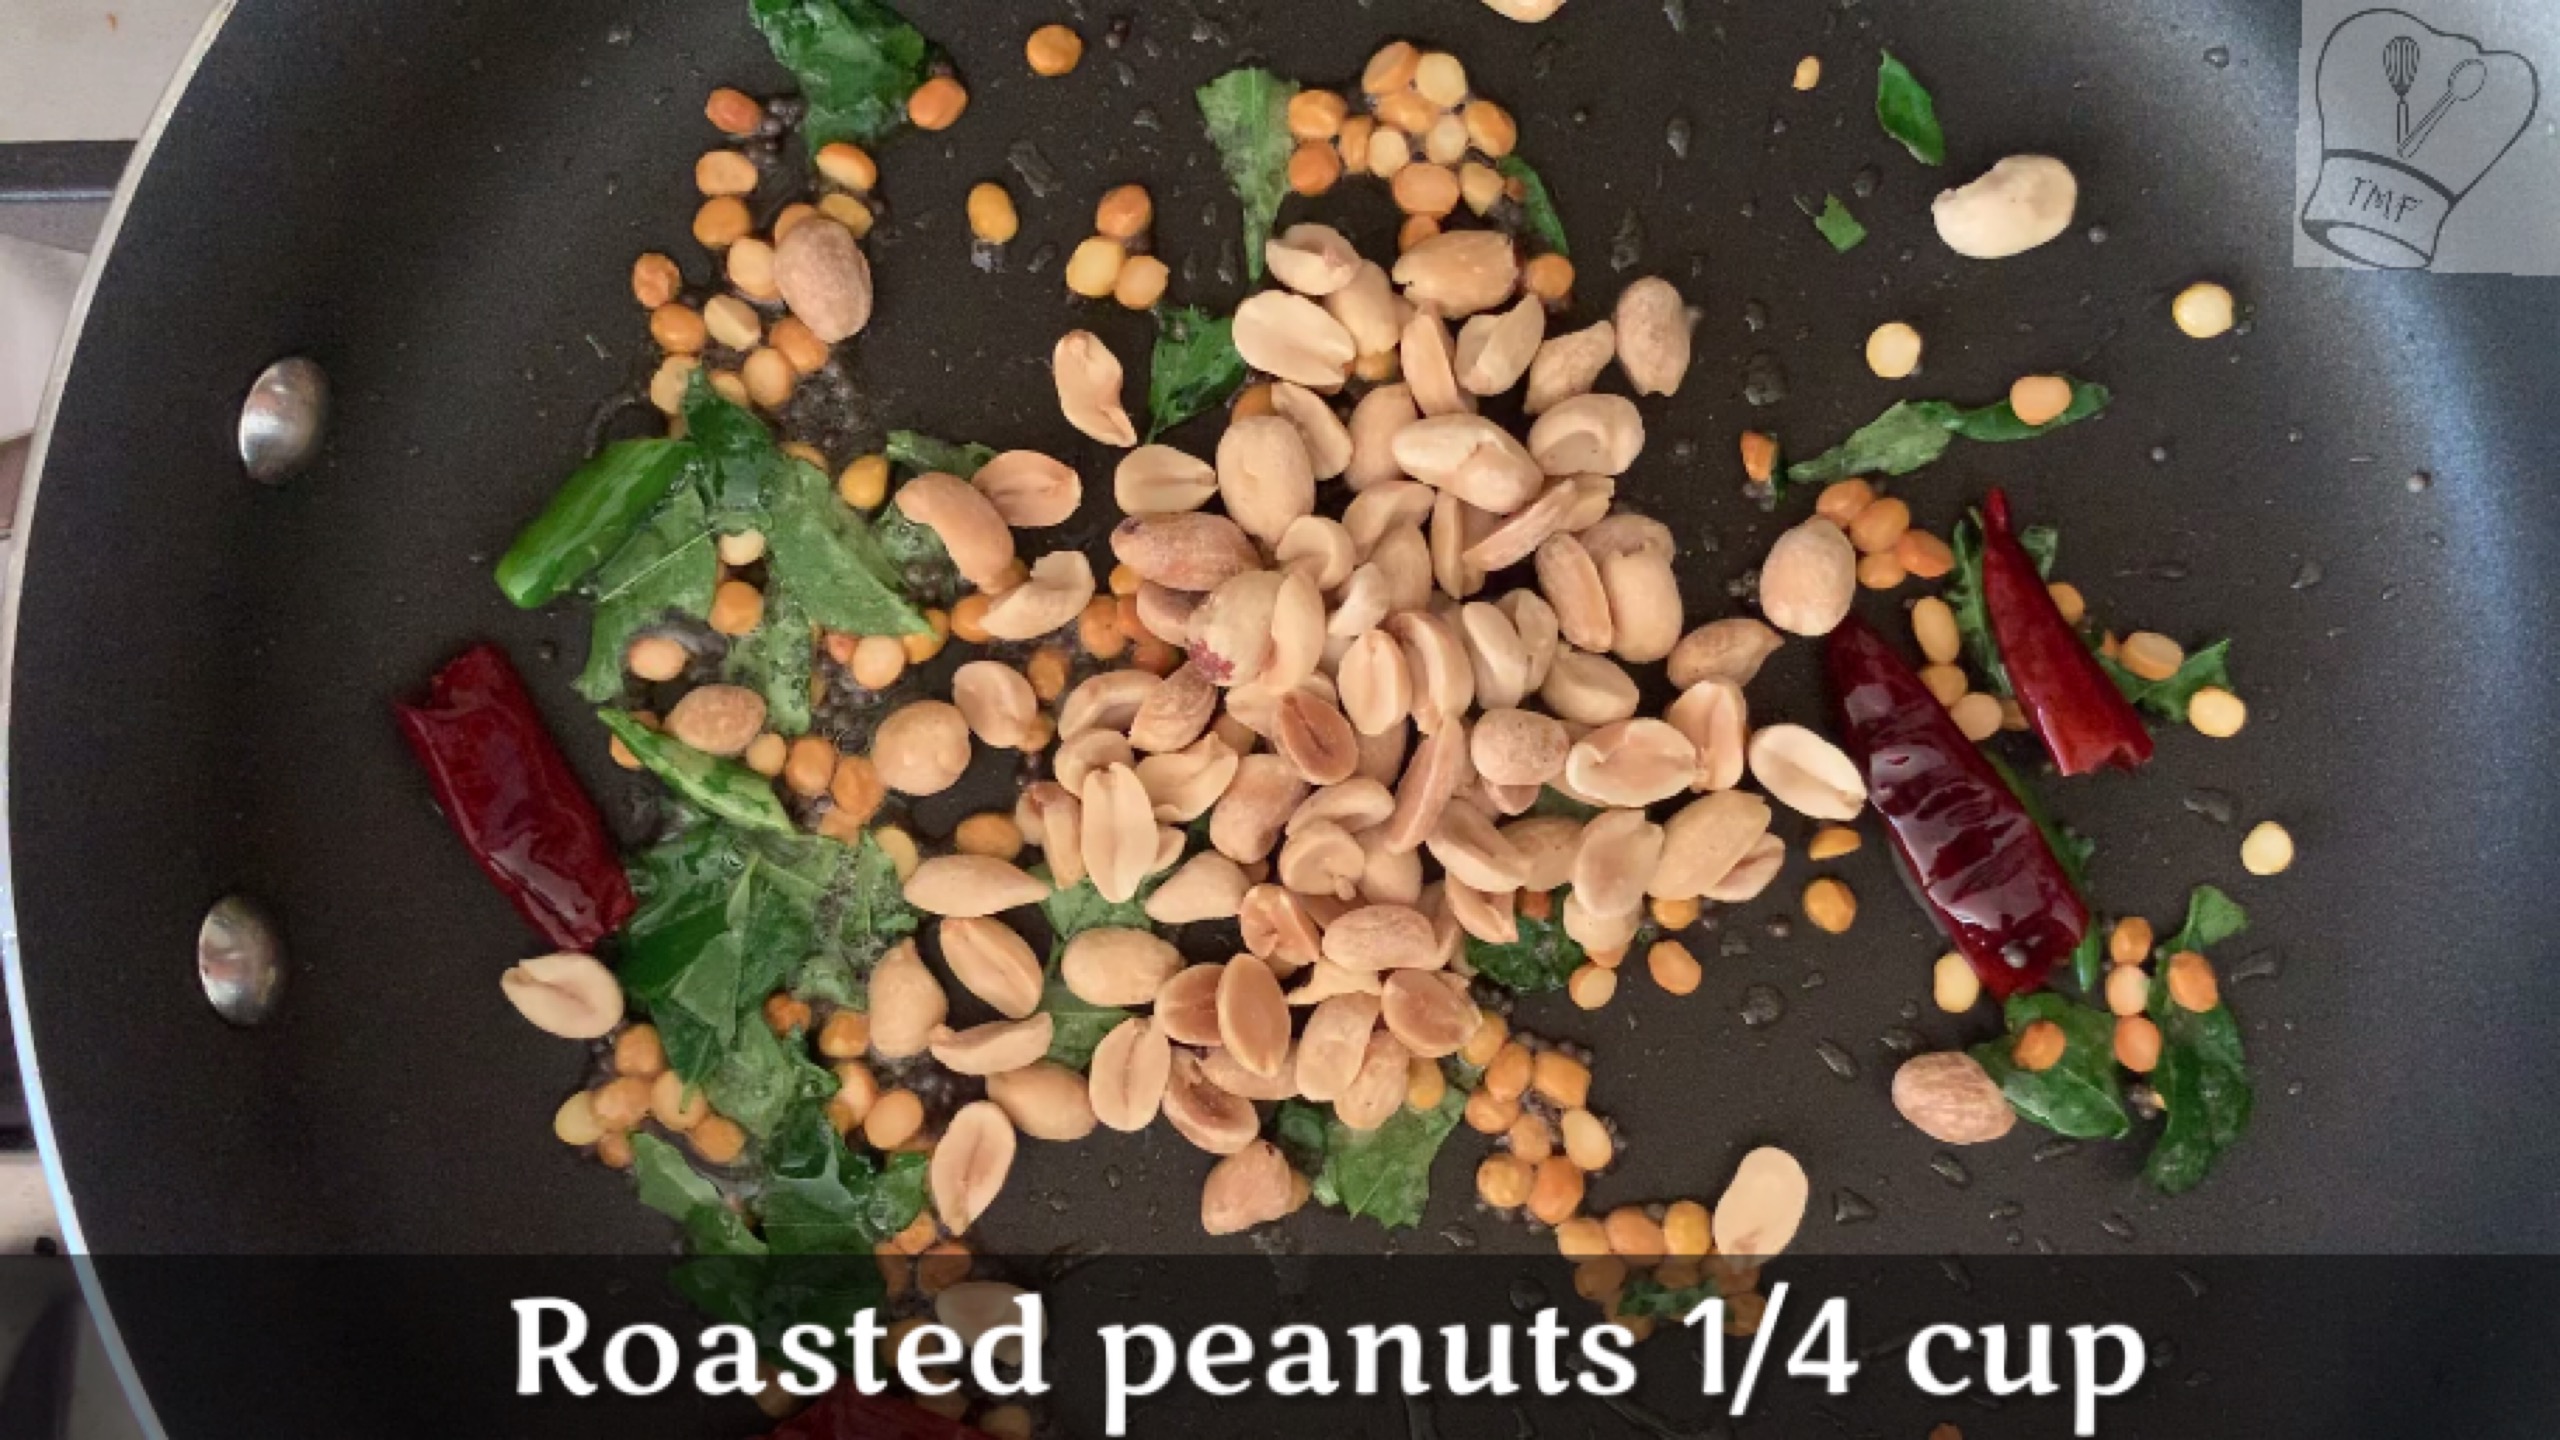
- Roasted Peanuts - 1/4 cup approximately I generally add a handful
- Channa Dal - 1 tbsp
To temper:
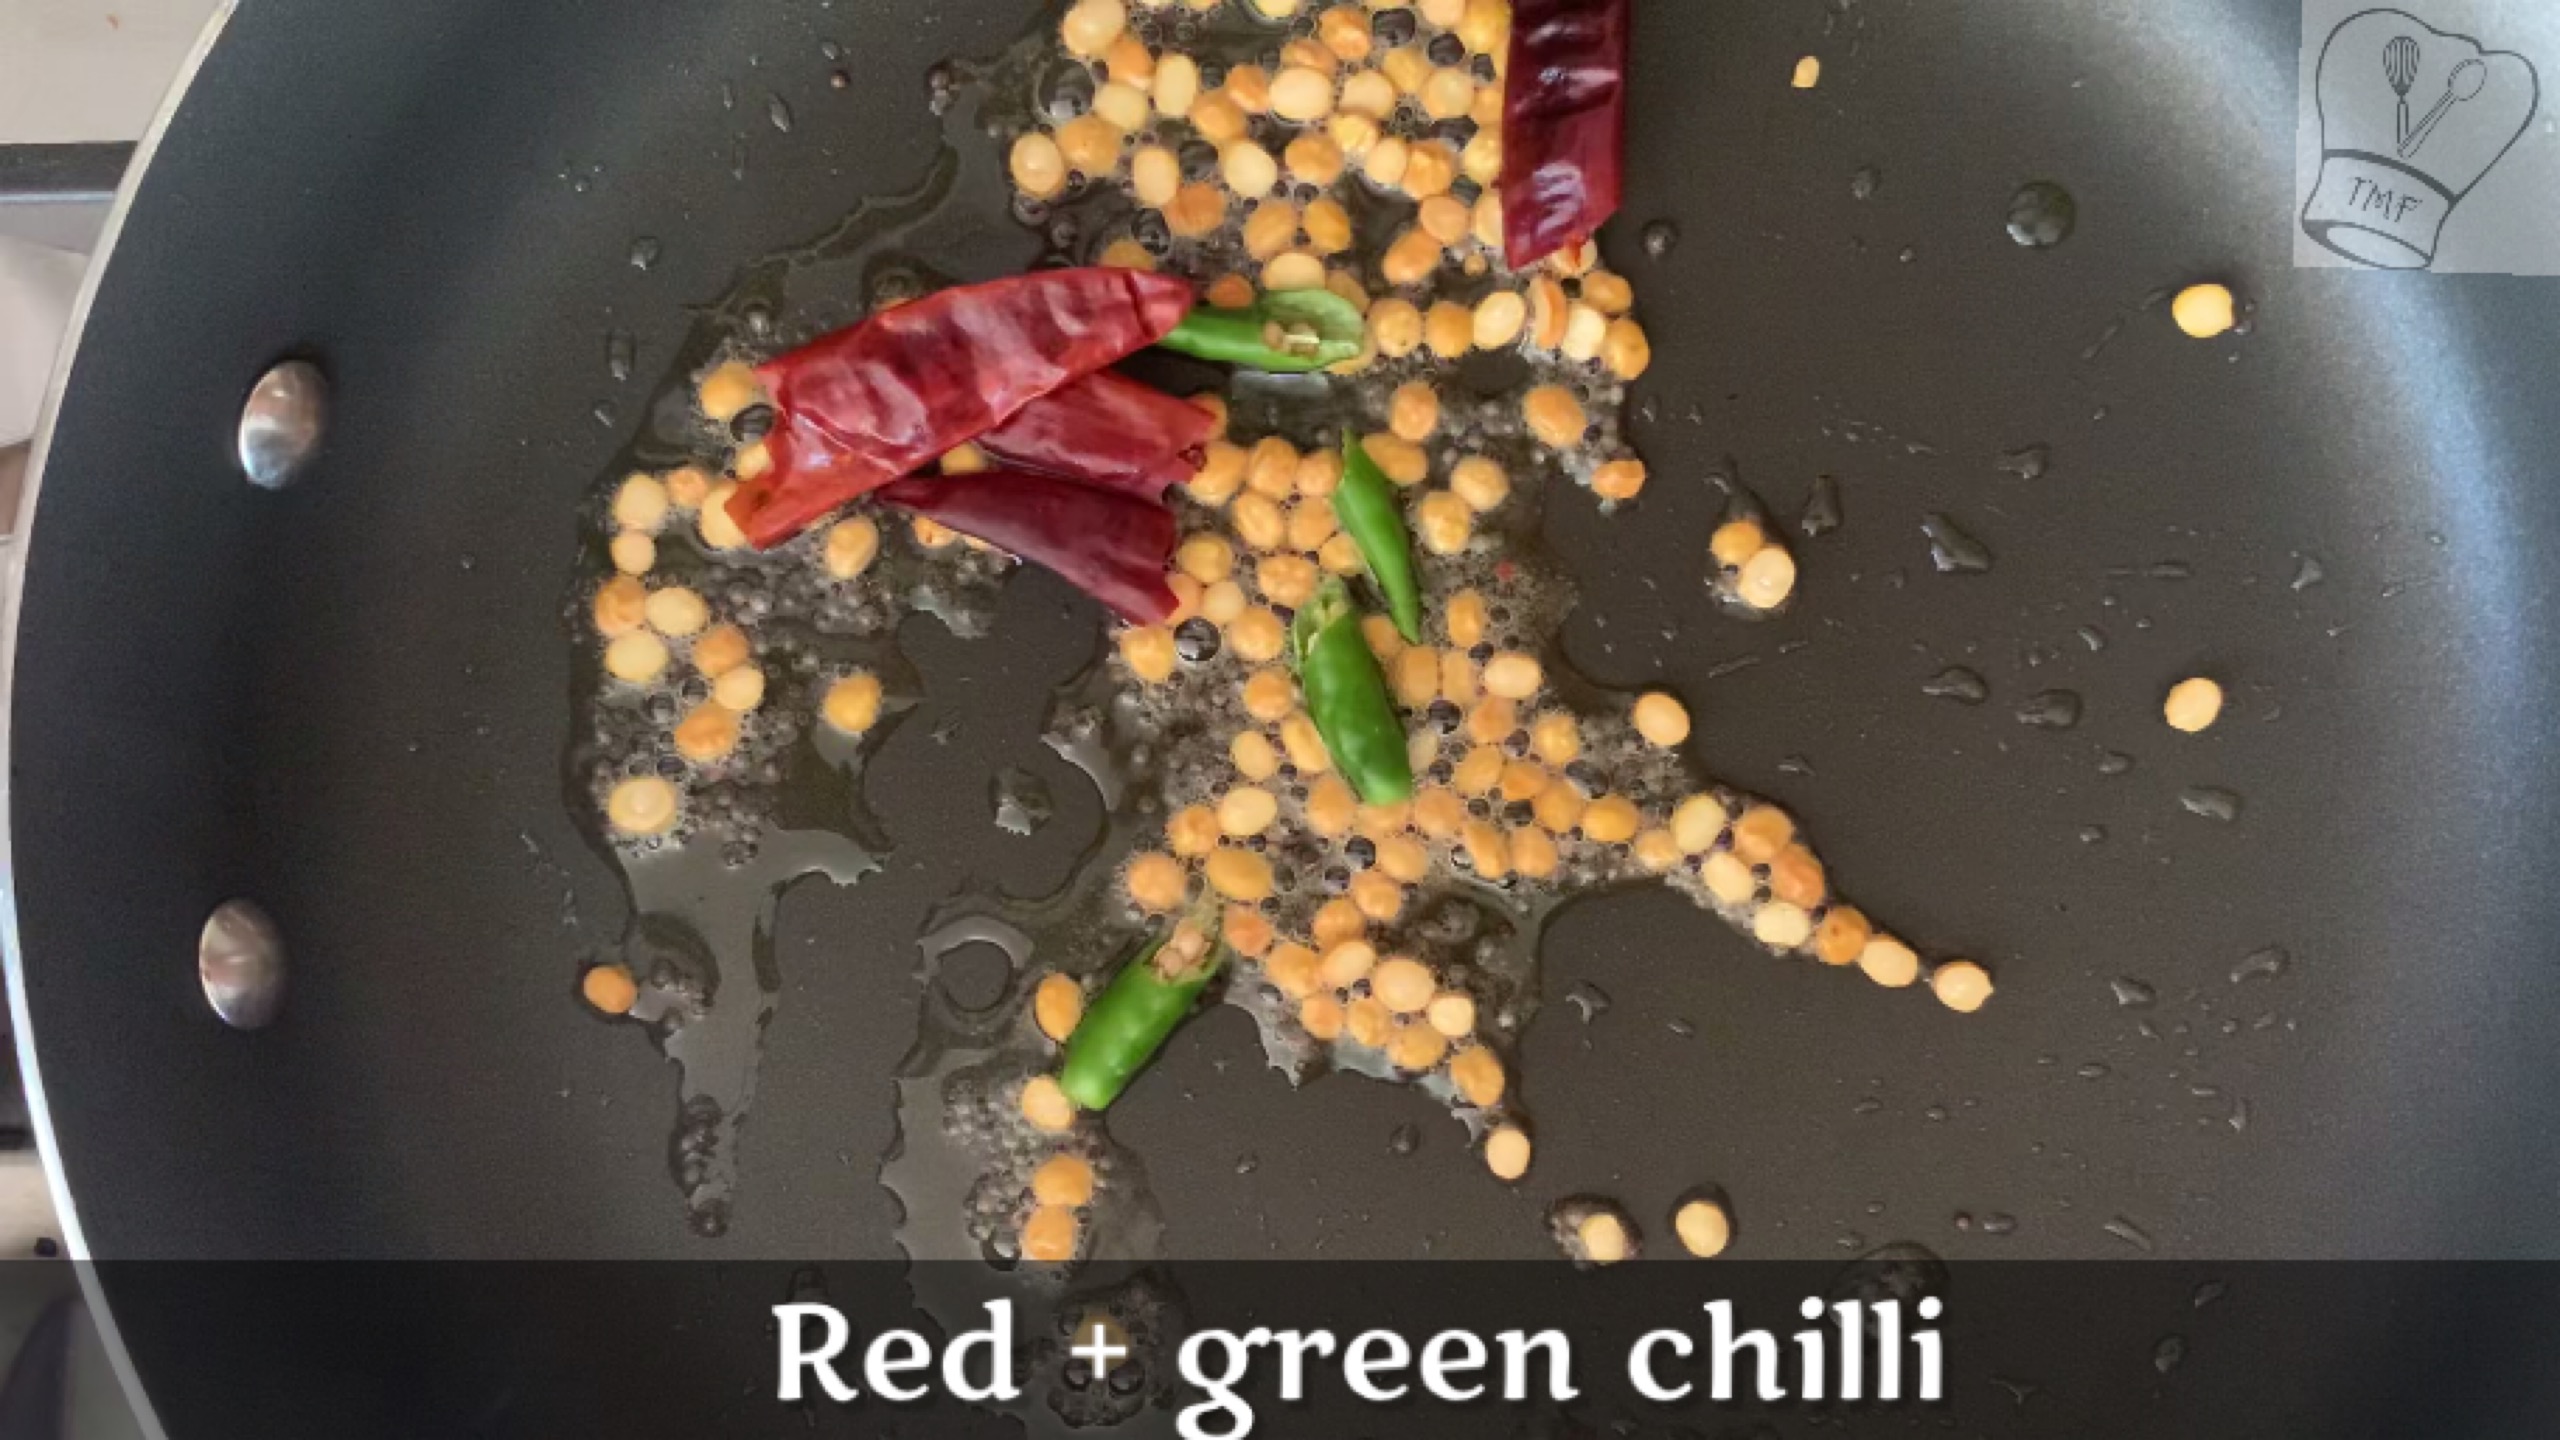
- Mustard Seeds - 1 tsp
- Dried Red chillies - 2
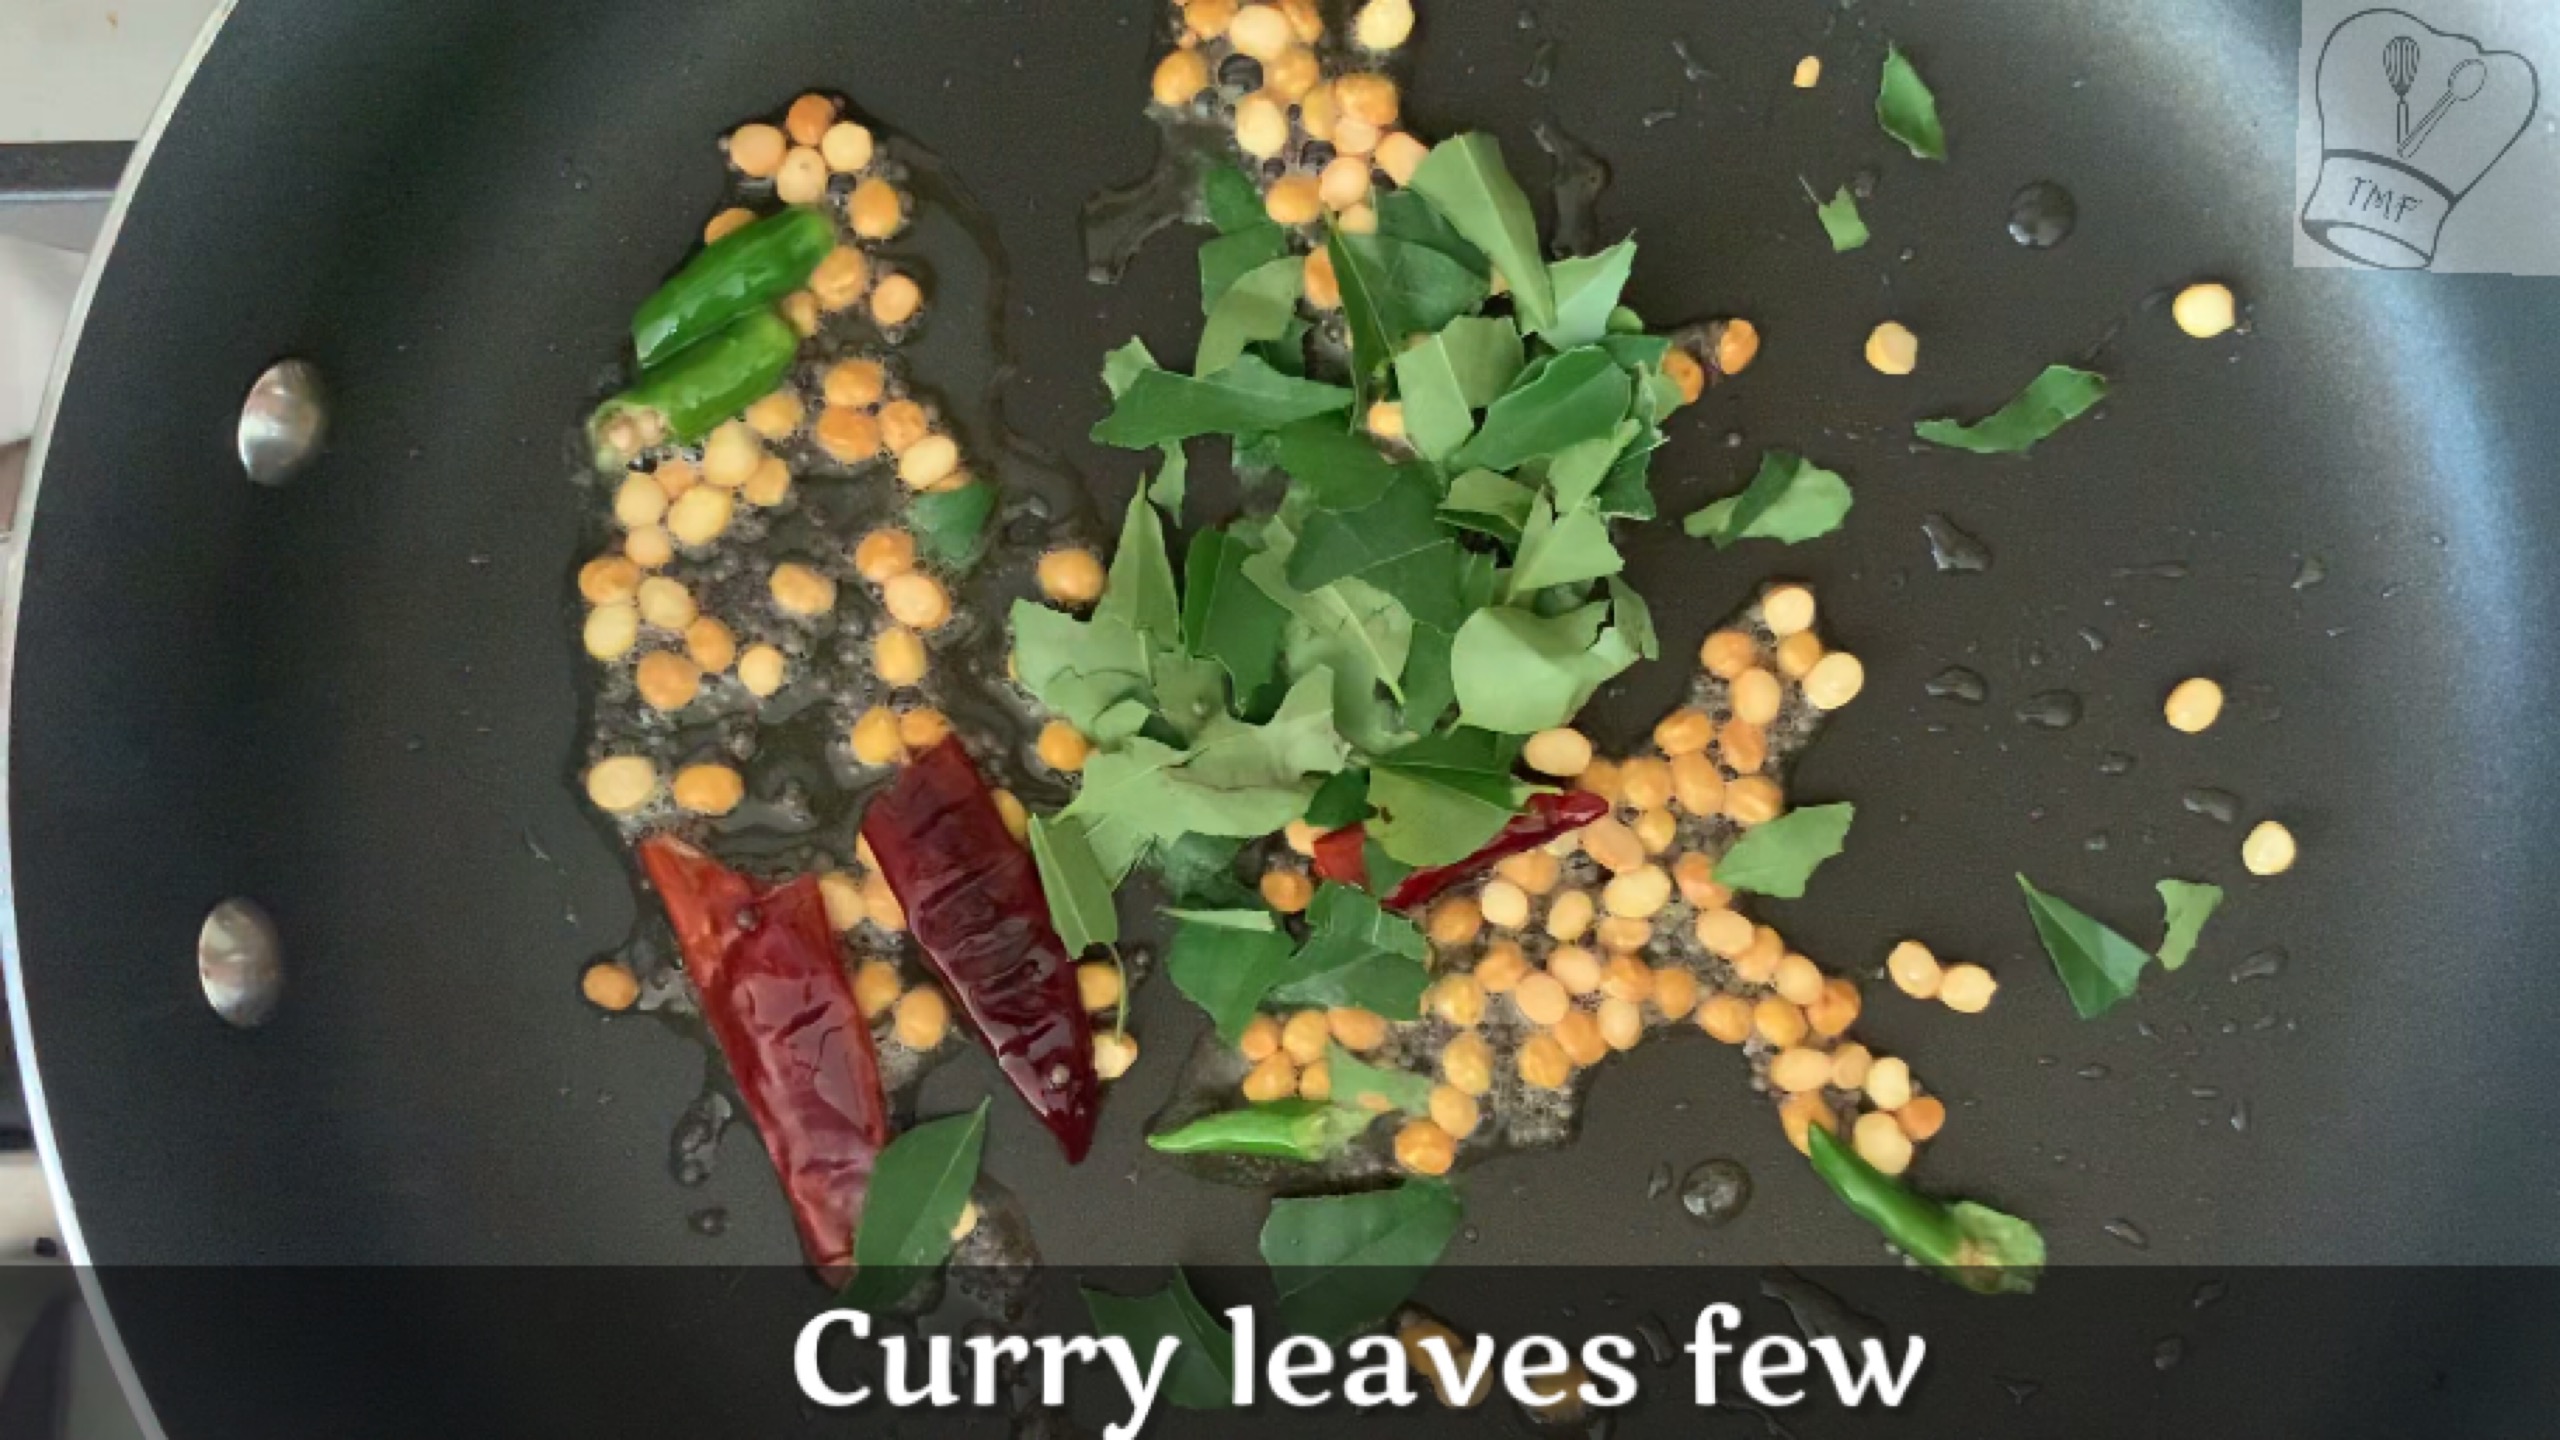
- Curry Leaves - few
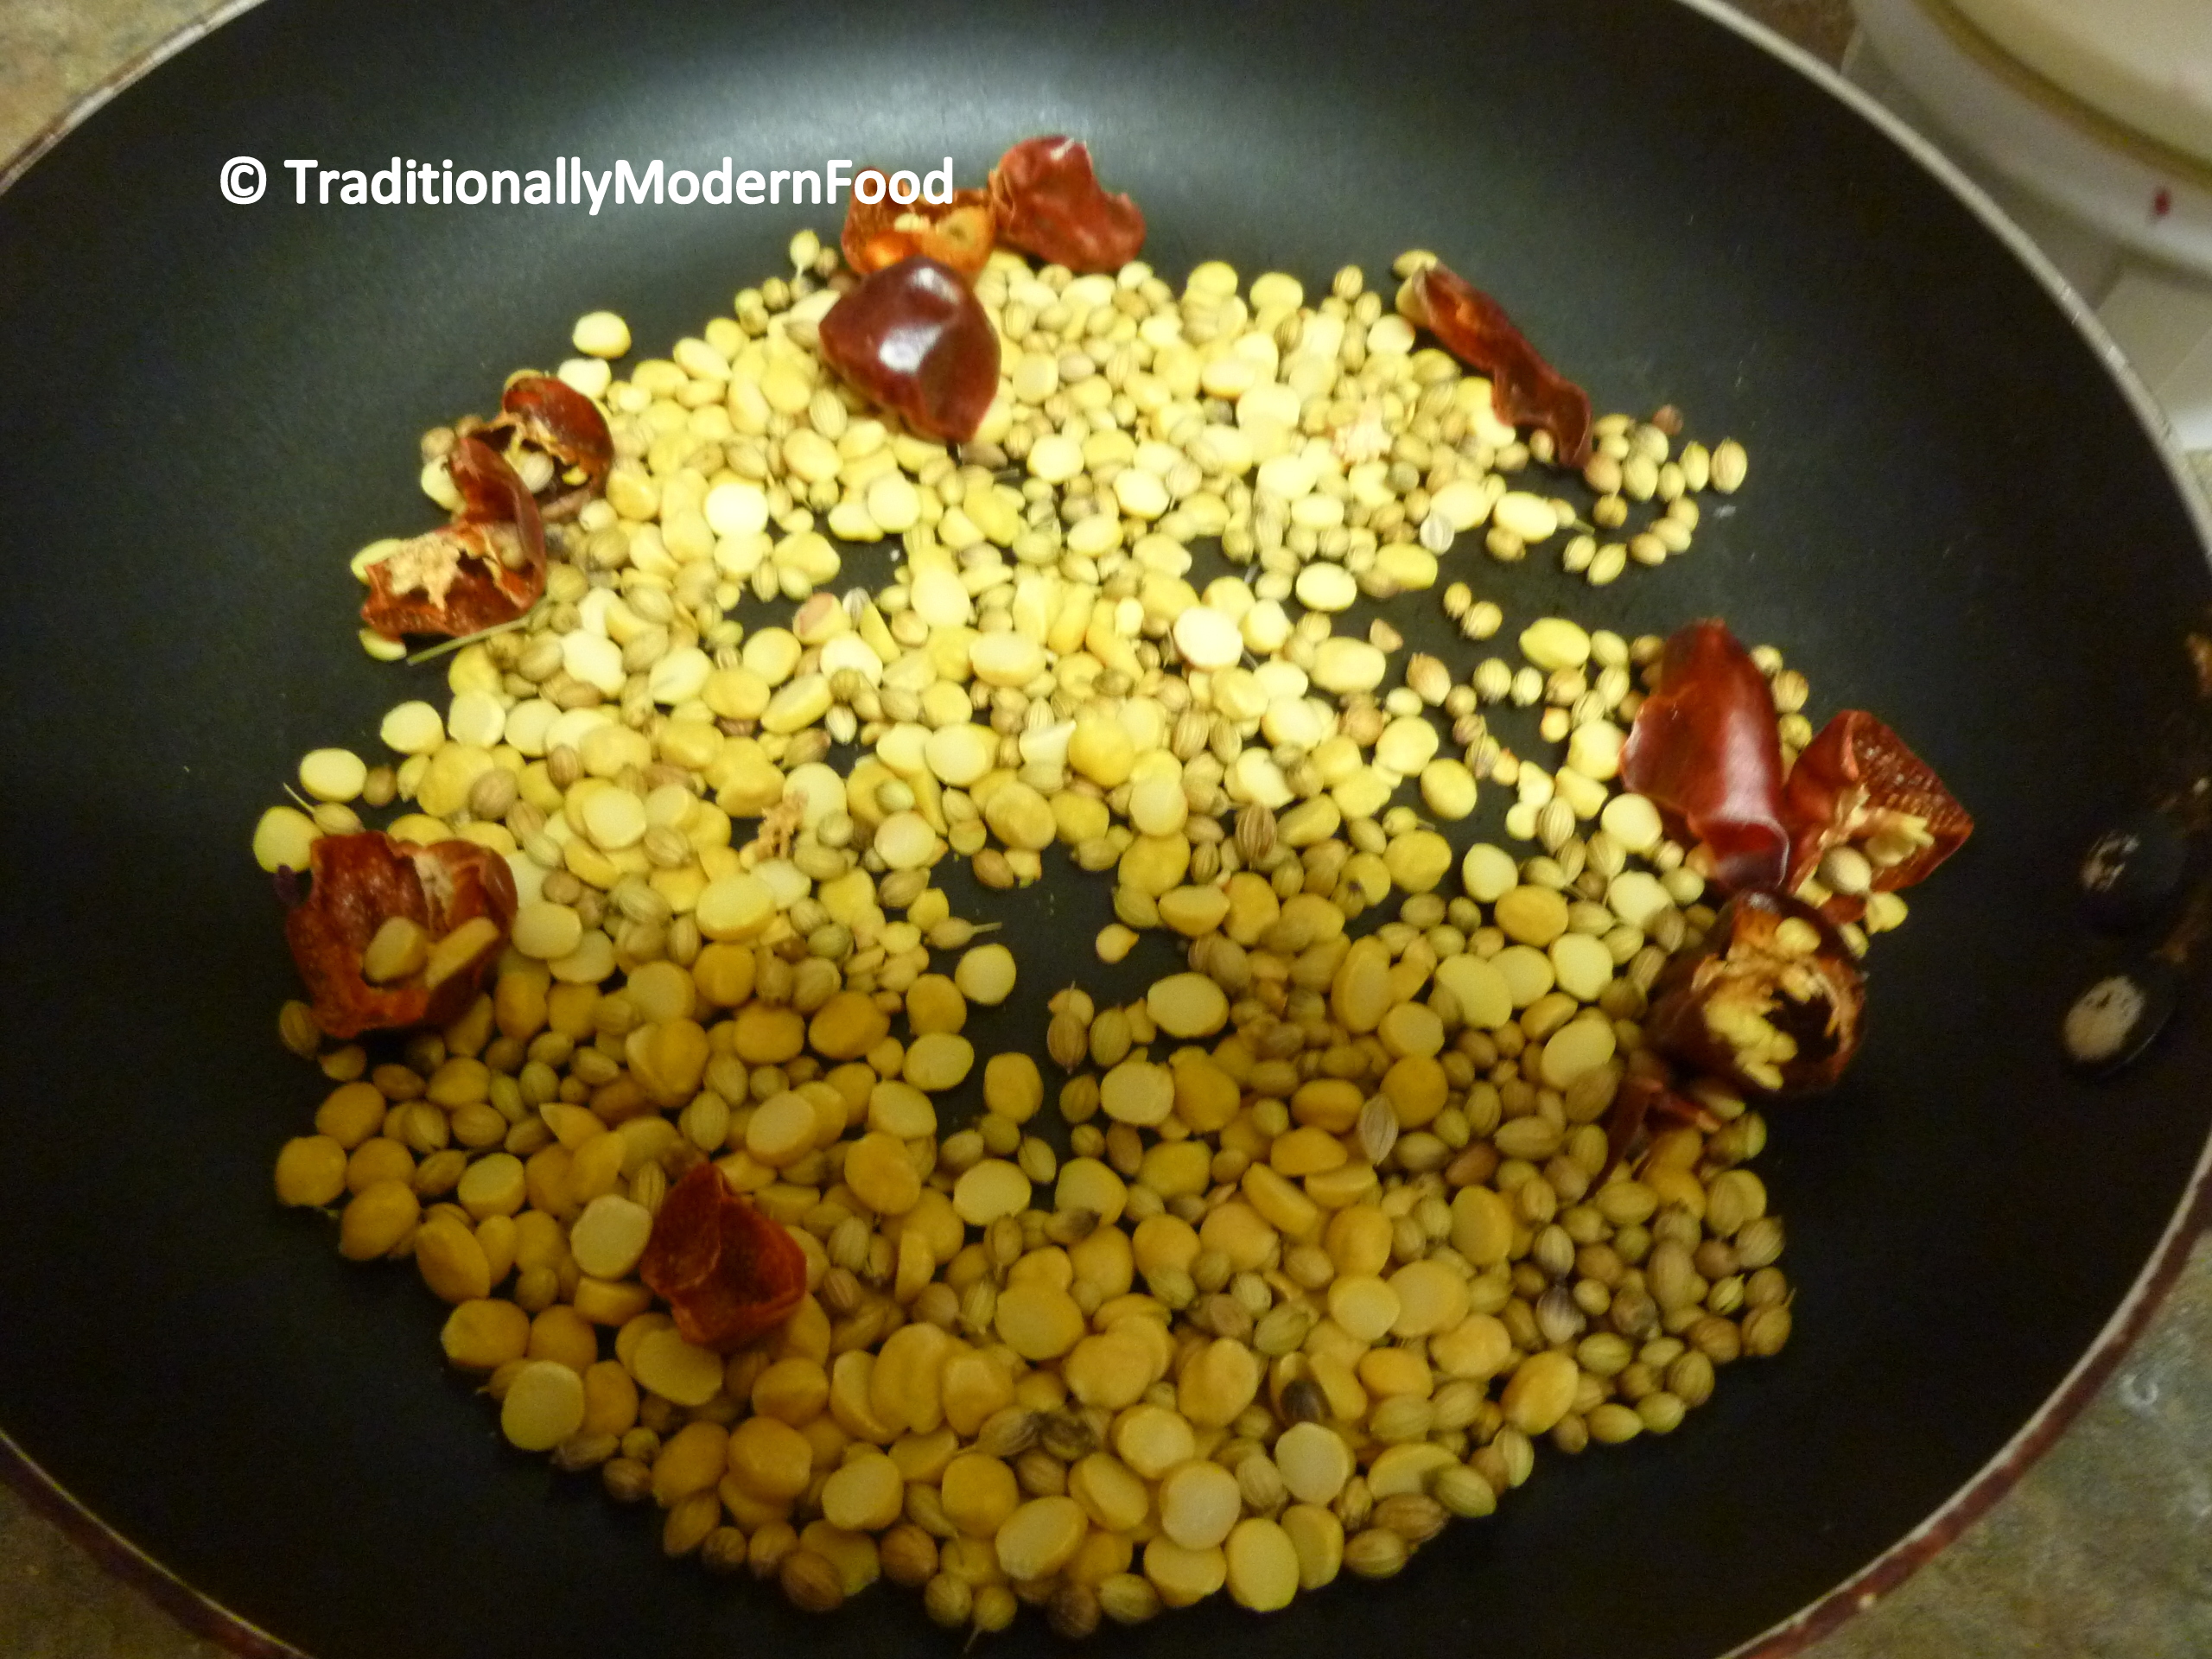
Spice Powder:
- Channa Dal - 2 tbsp
- Coriander Seeds - 1 tablespoon + 1/2 tbsp
- Dried Red Chillies - 5 Adjust according to your spice
- Fenugreek Seeds Venthyam - 1/4 tsp
- Pepper - 1/4 tsp
- Sesame seed - 1/4 tsp
Instructions
- Dry roast the ingredients under 'Spice powder'. Allow them to cool and grind it to a fine powder without adding water, and keep aside
- Soak tamarind in lukewarm water for 10 - 15 min
- Discard the seeds and hard part
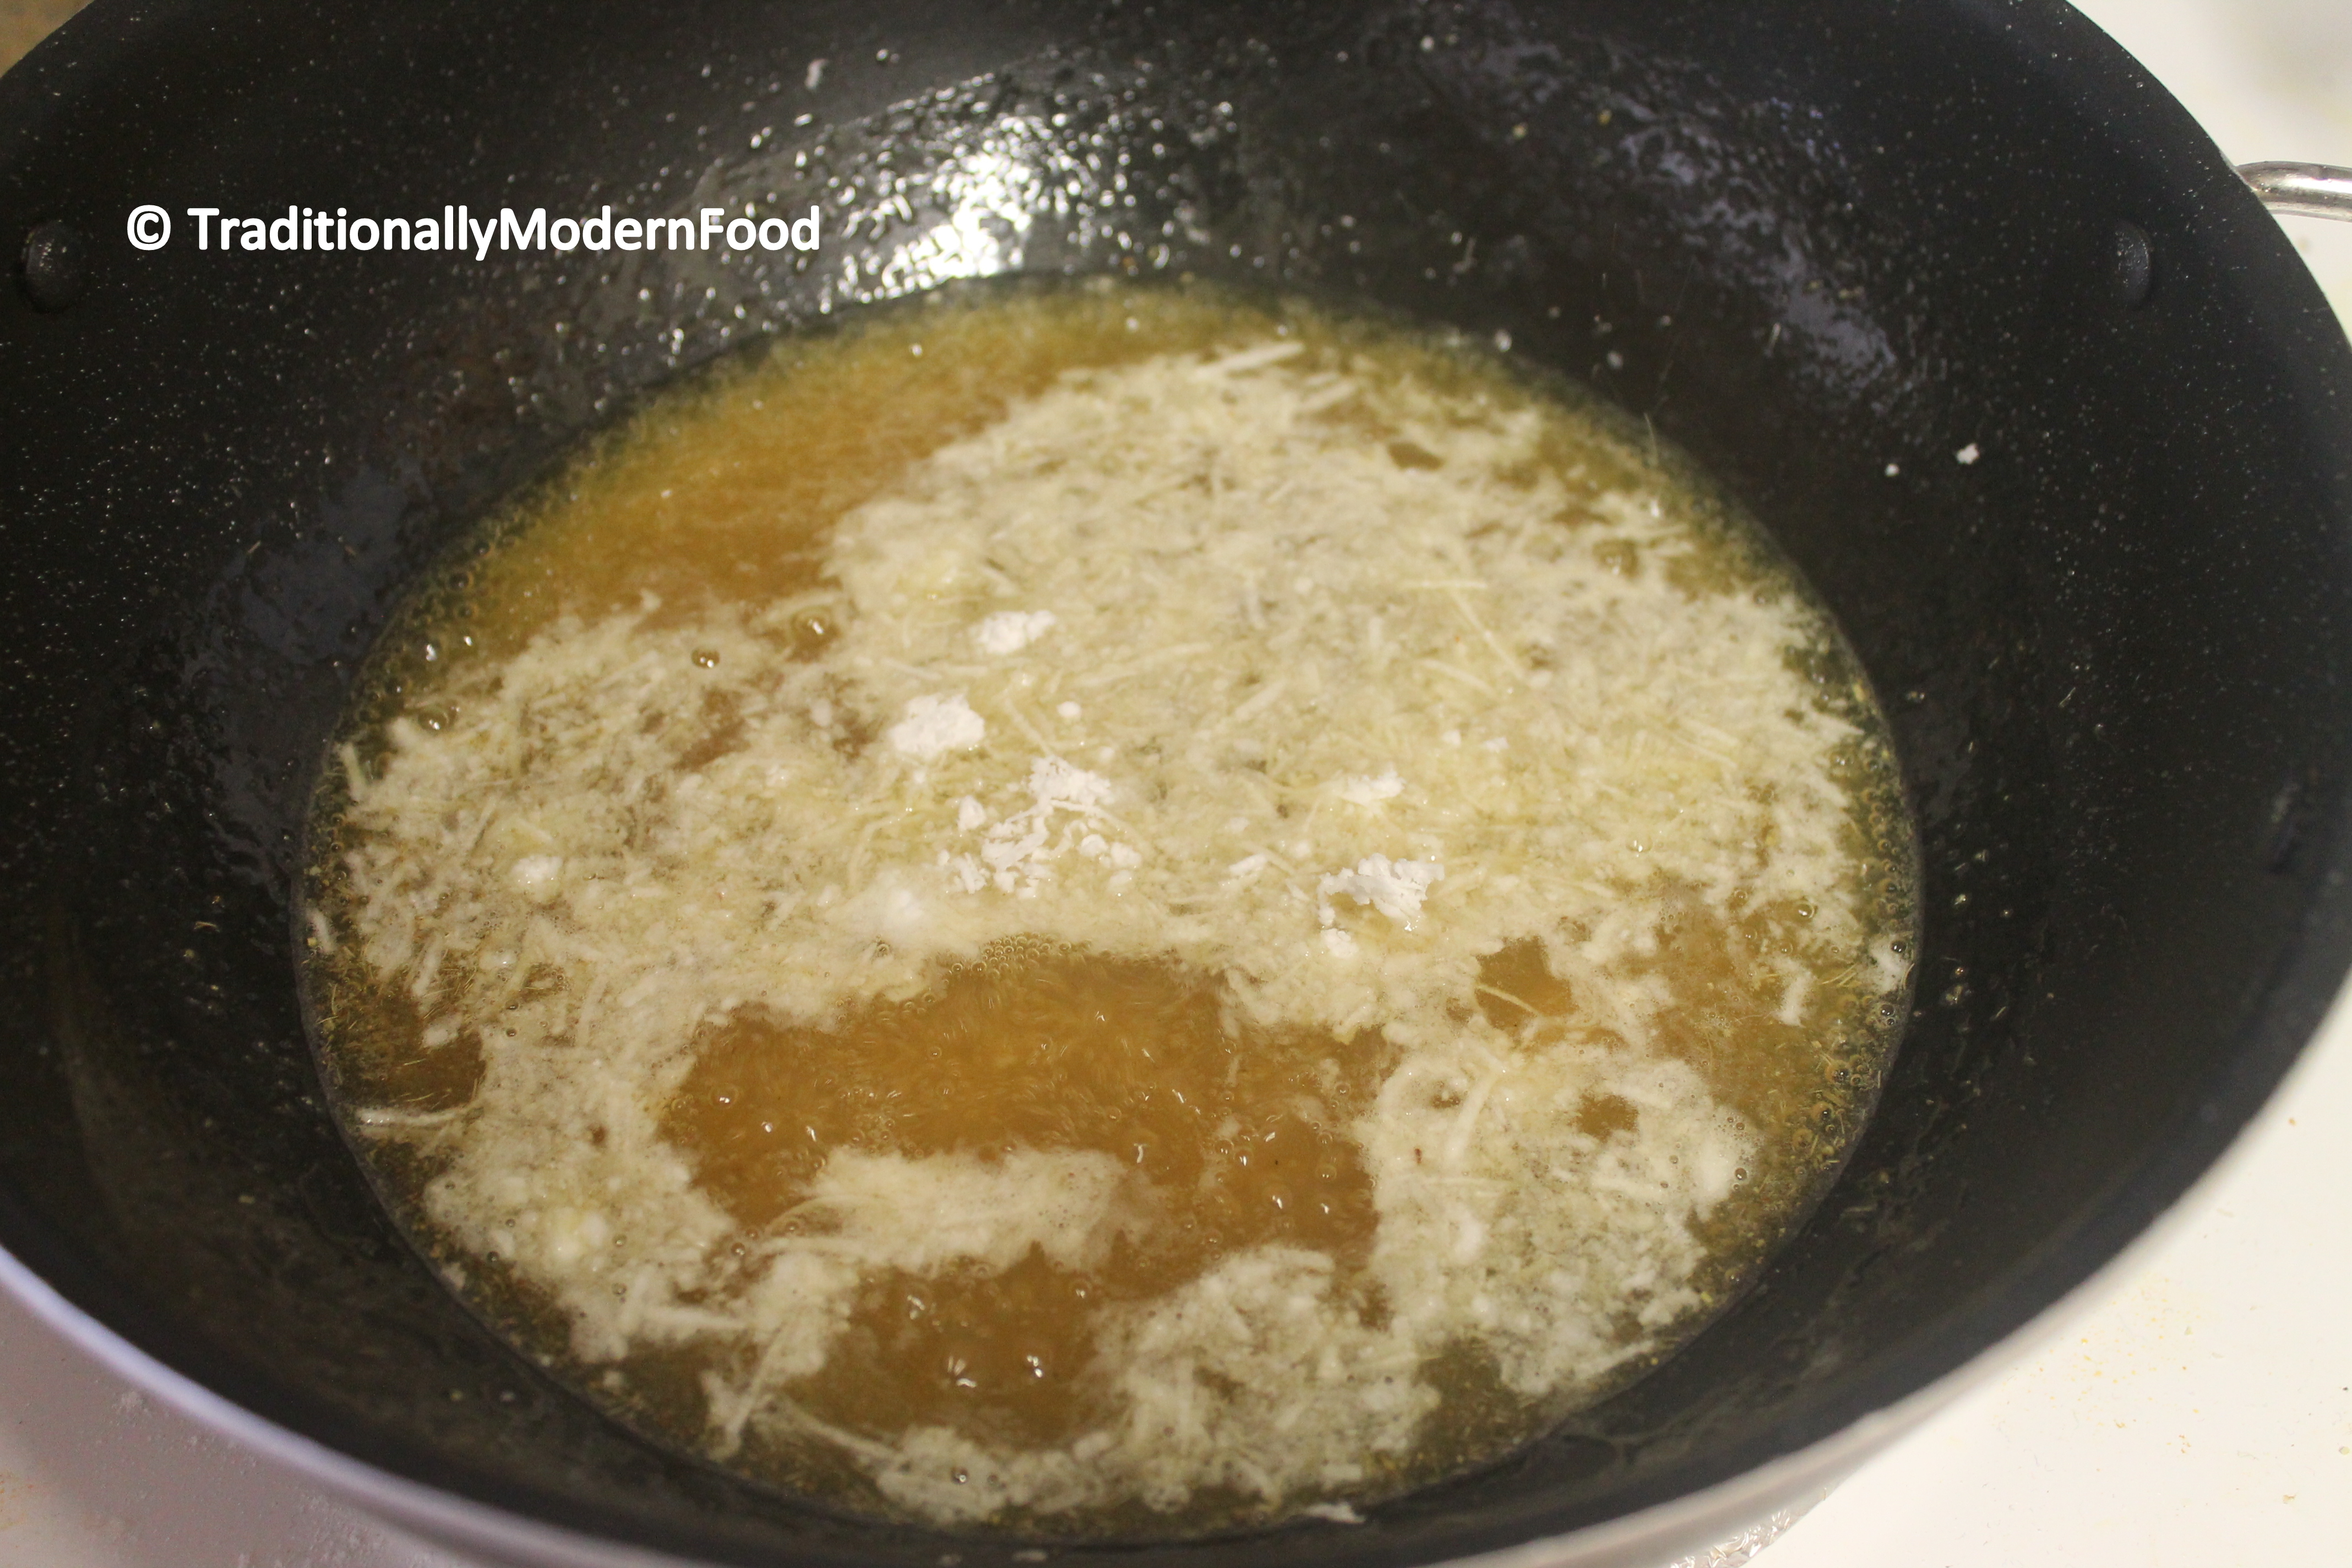
- Grind the tamarind with little water and strain it
- Add little more water and grind. In this way, less tamarind pulp will be wasted
- I added around 3 cups of water
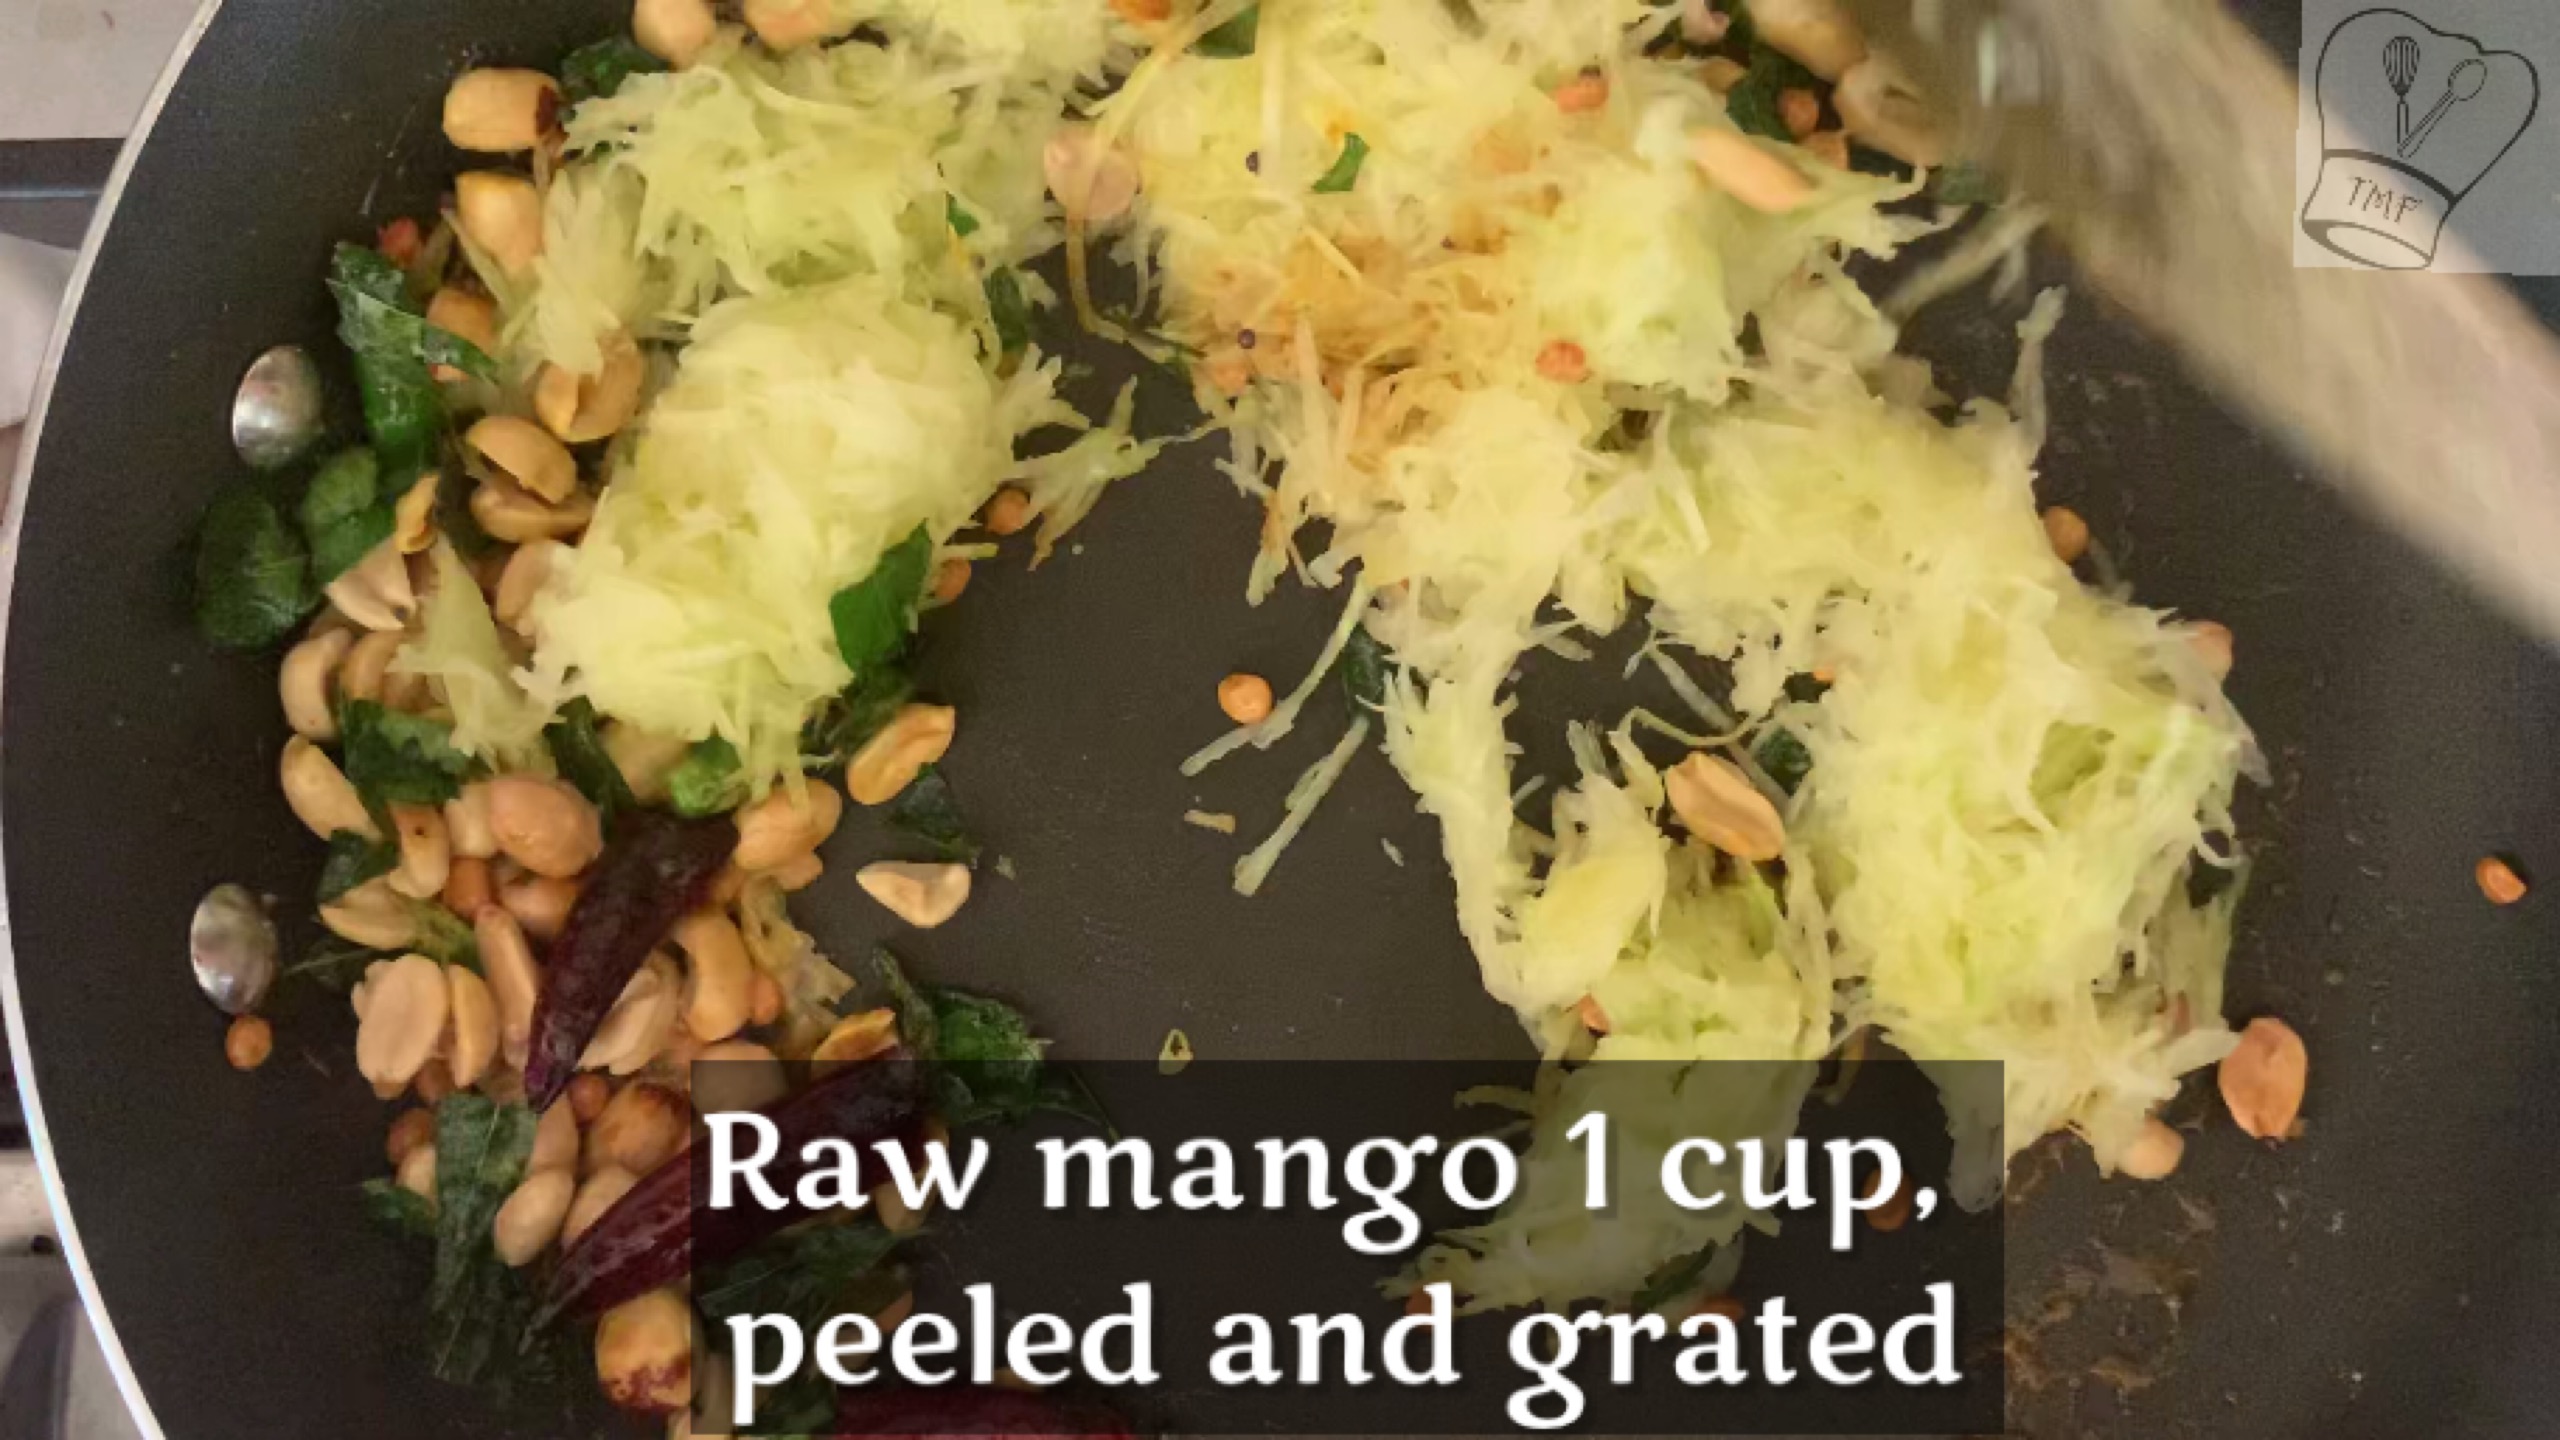
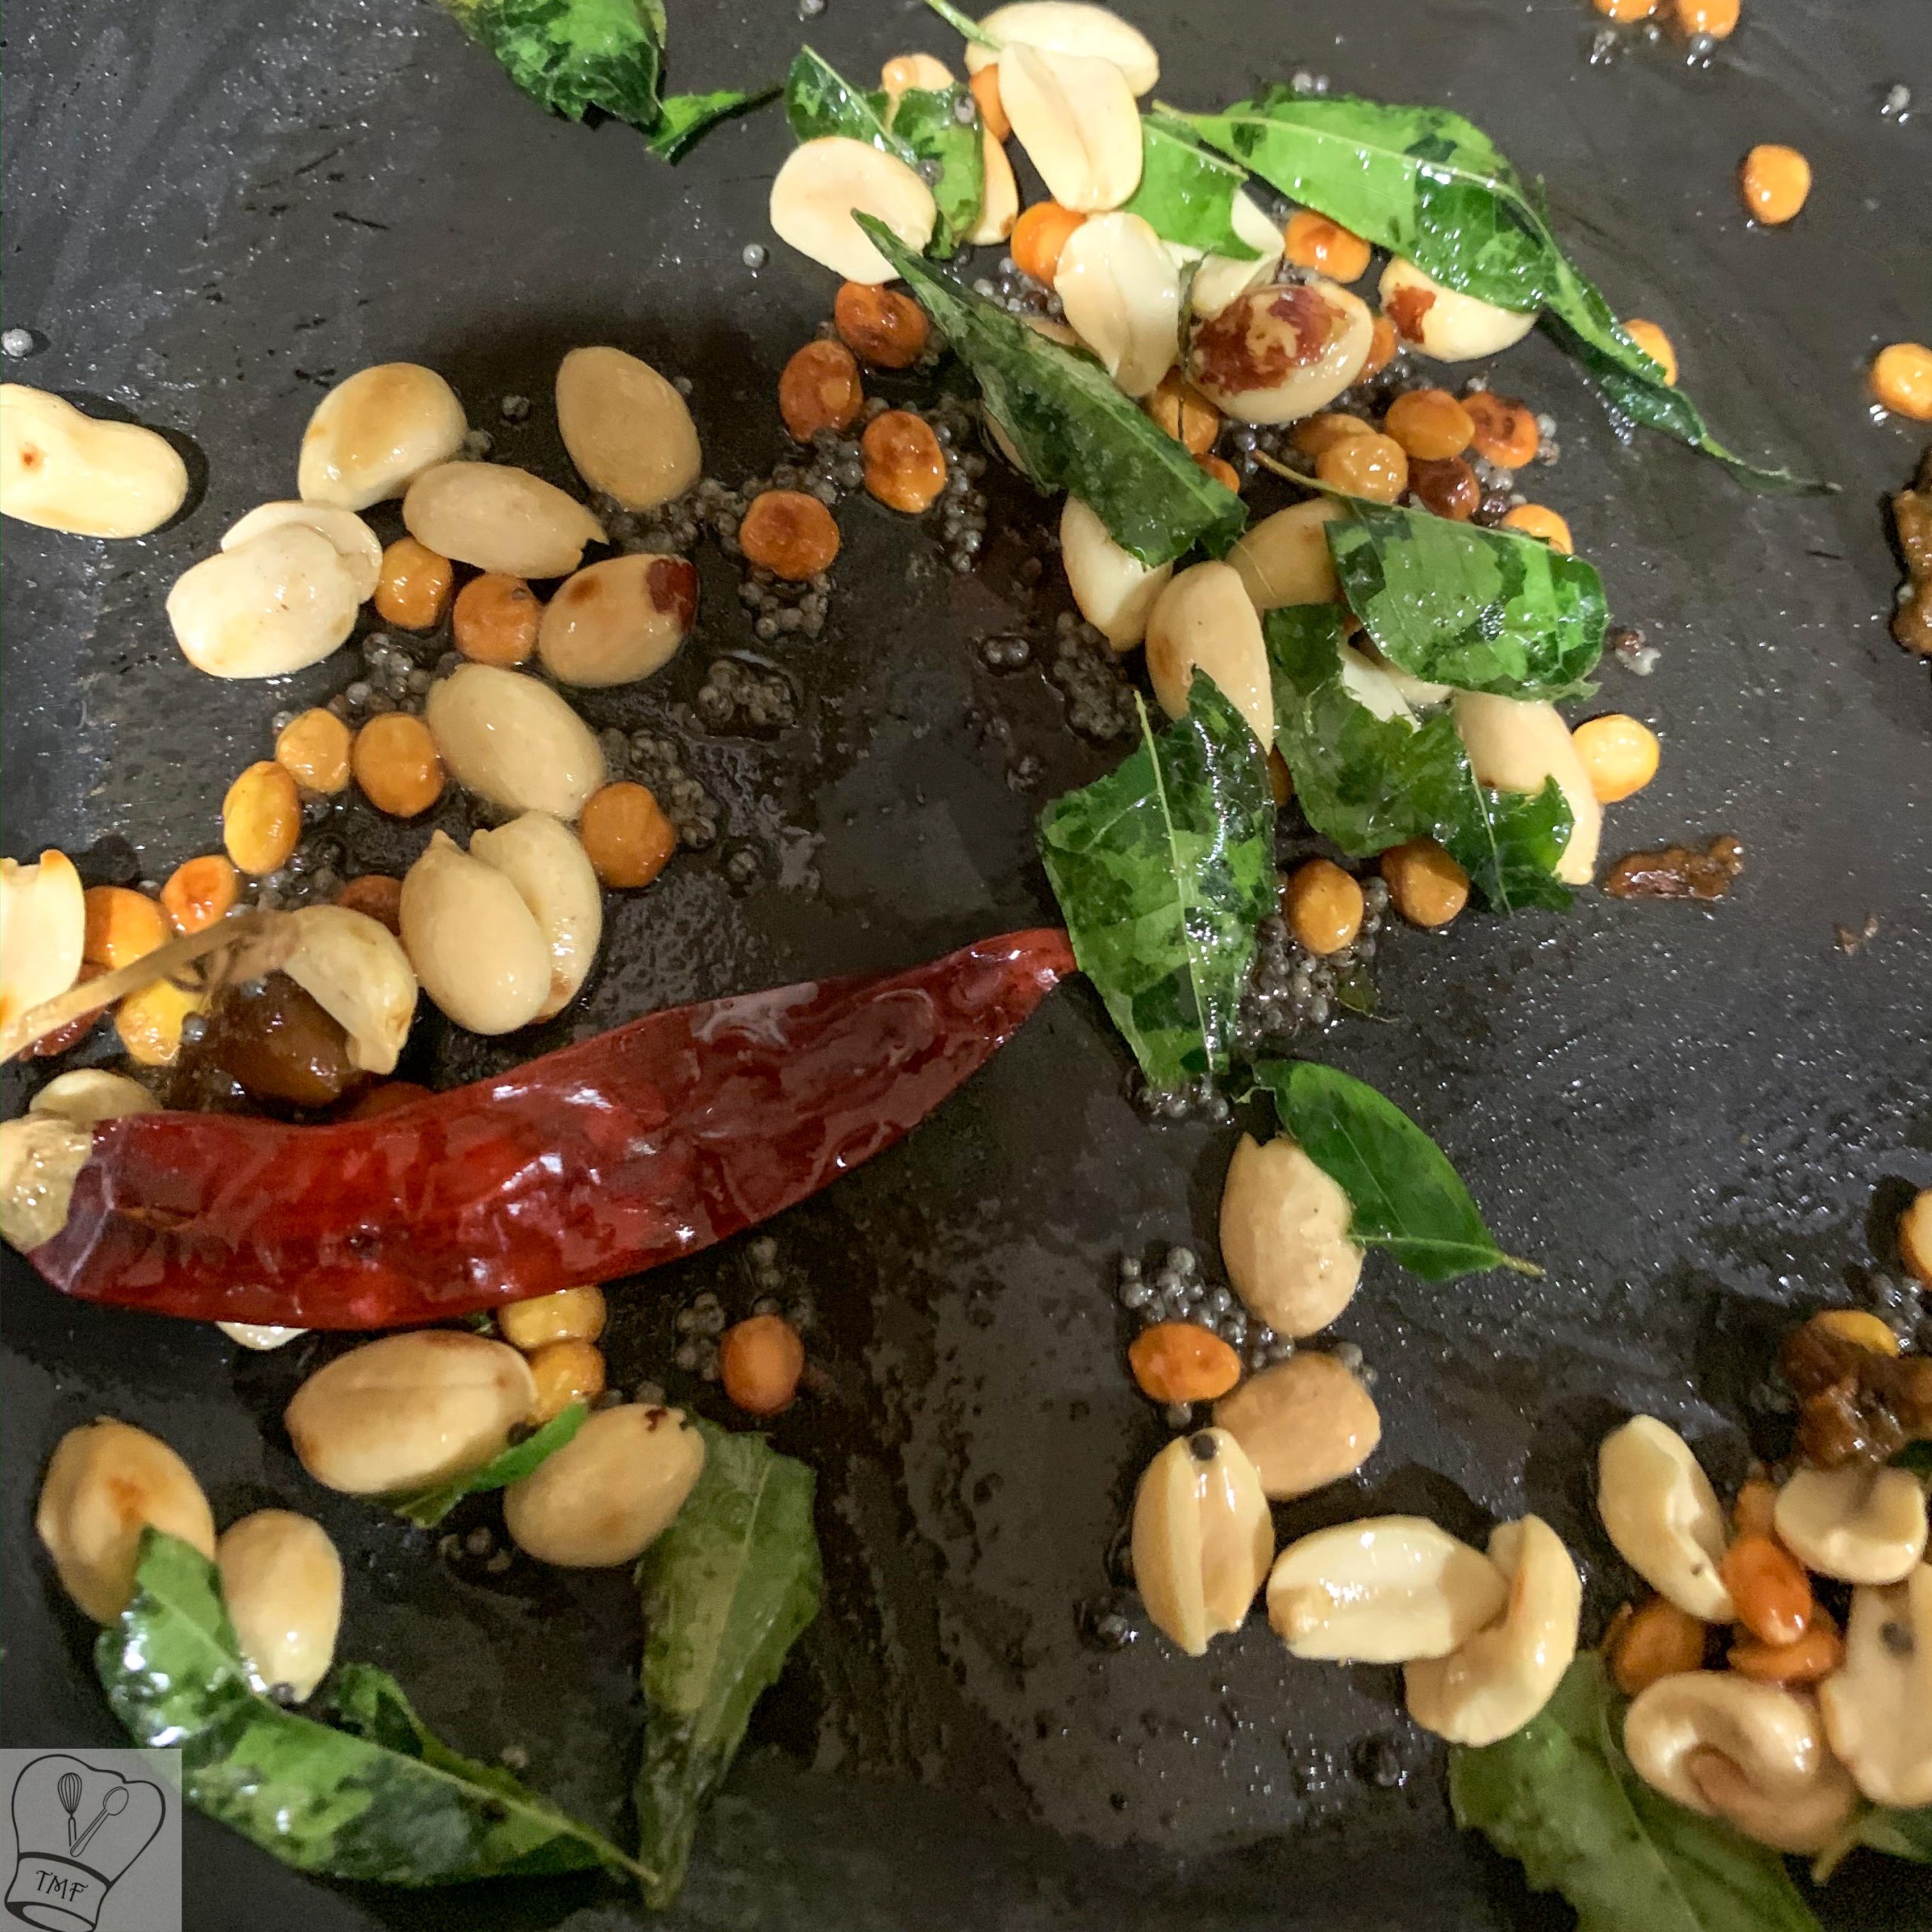
- Add 2 tablespoon of sesame oil in a pan, and when the oil is hot add the ingredients under 'to temper' and let them splutter. Add the tamarind extract and allow it to boil
- When the raw smell starts to go away, add salt
- Keep adding oil in regular interval
- Let it boil till the raw smell goes off completely
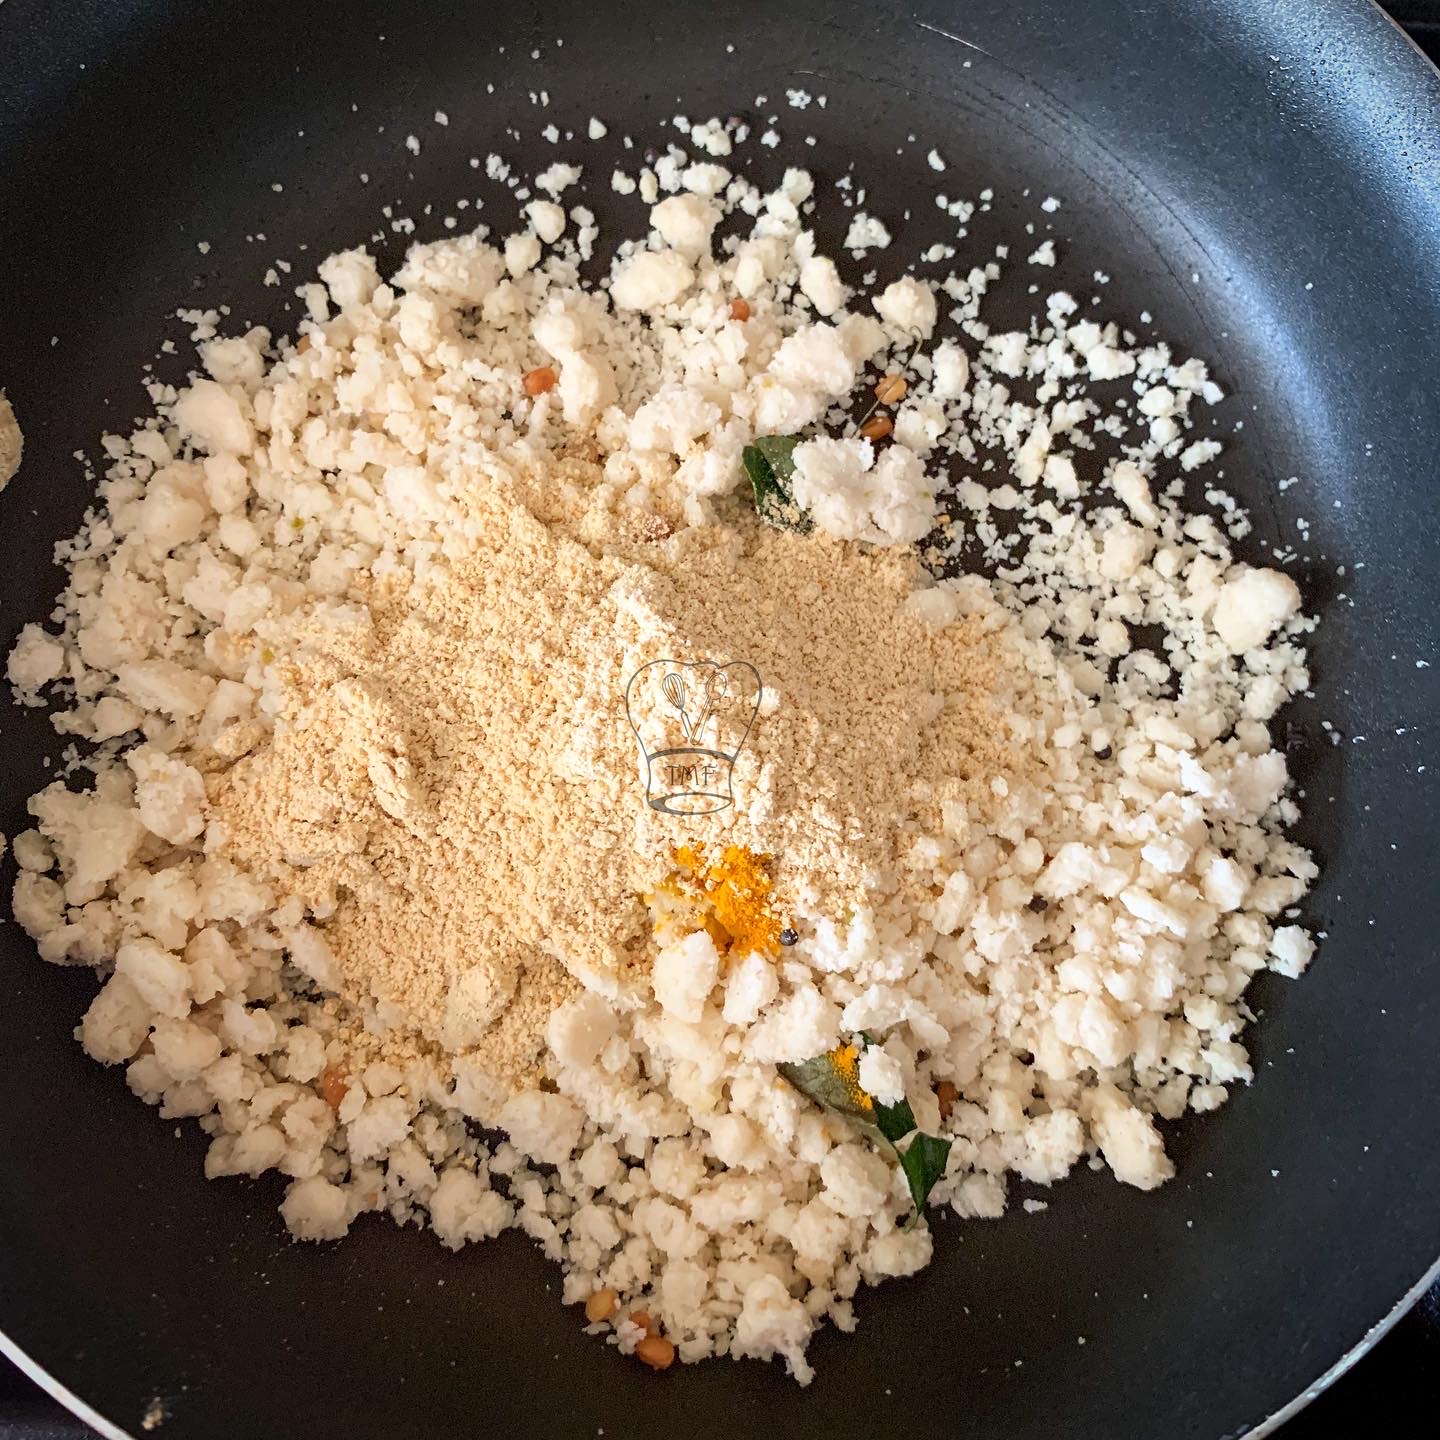
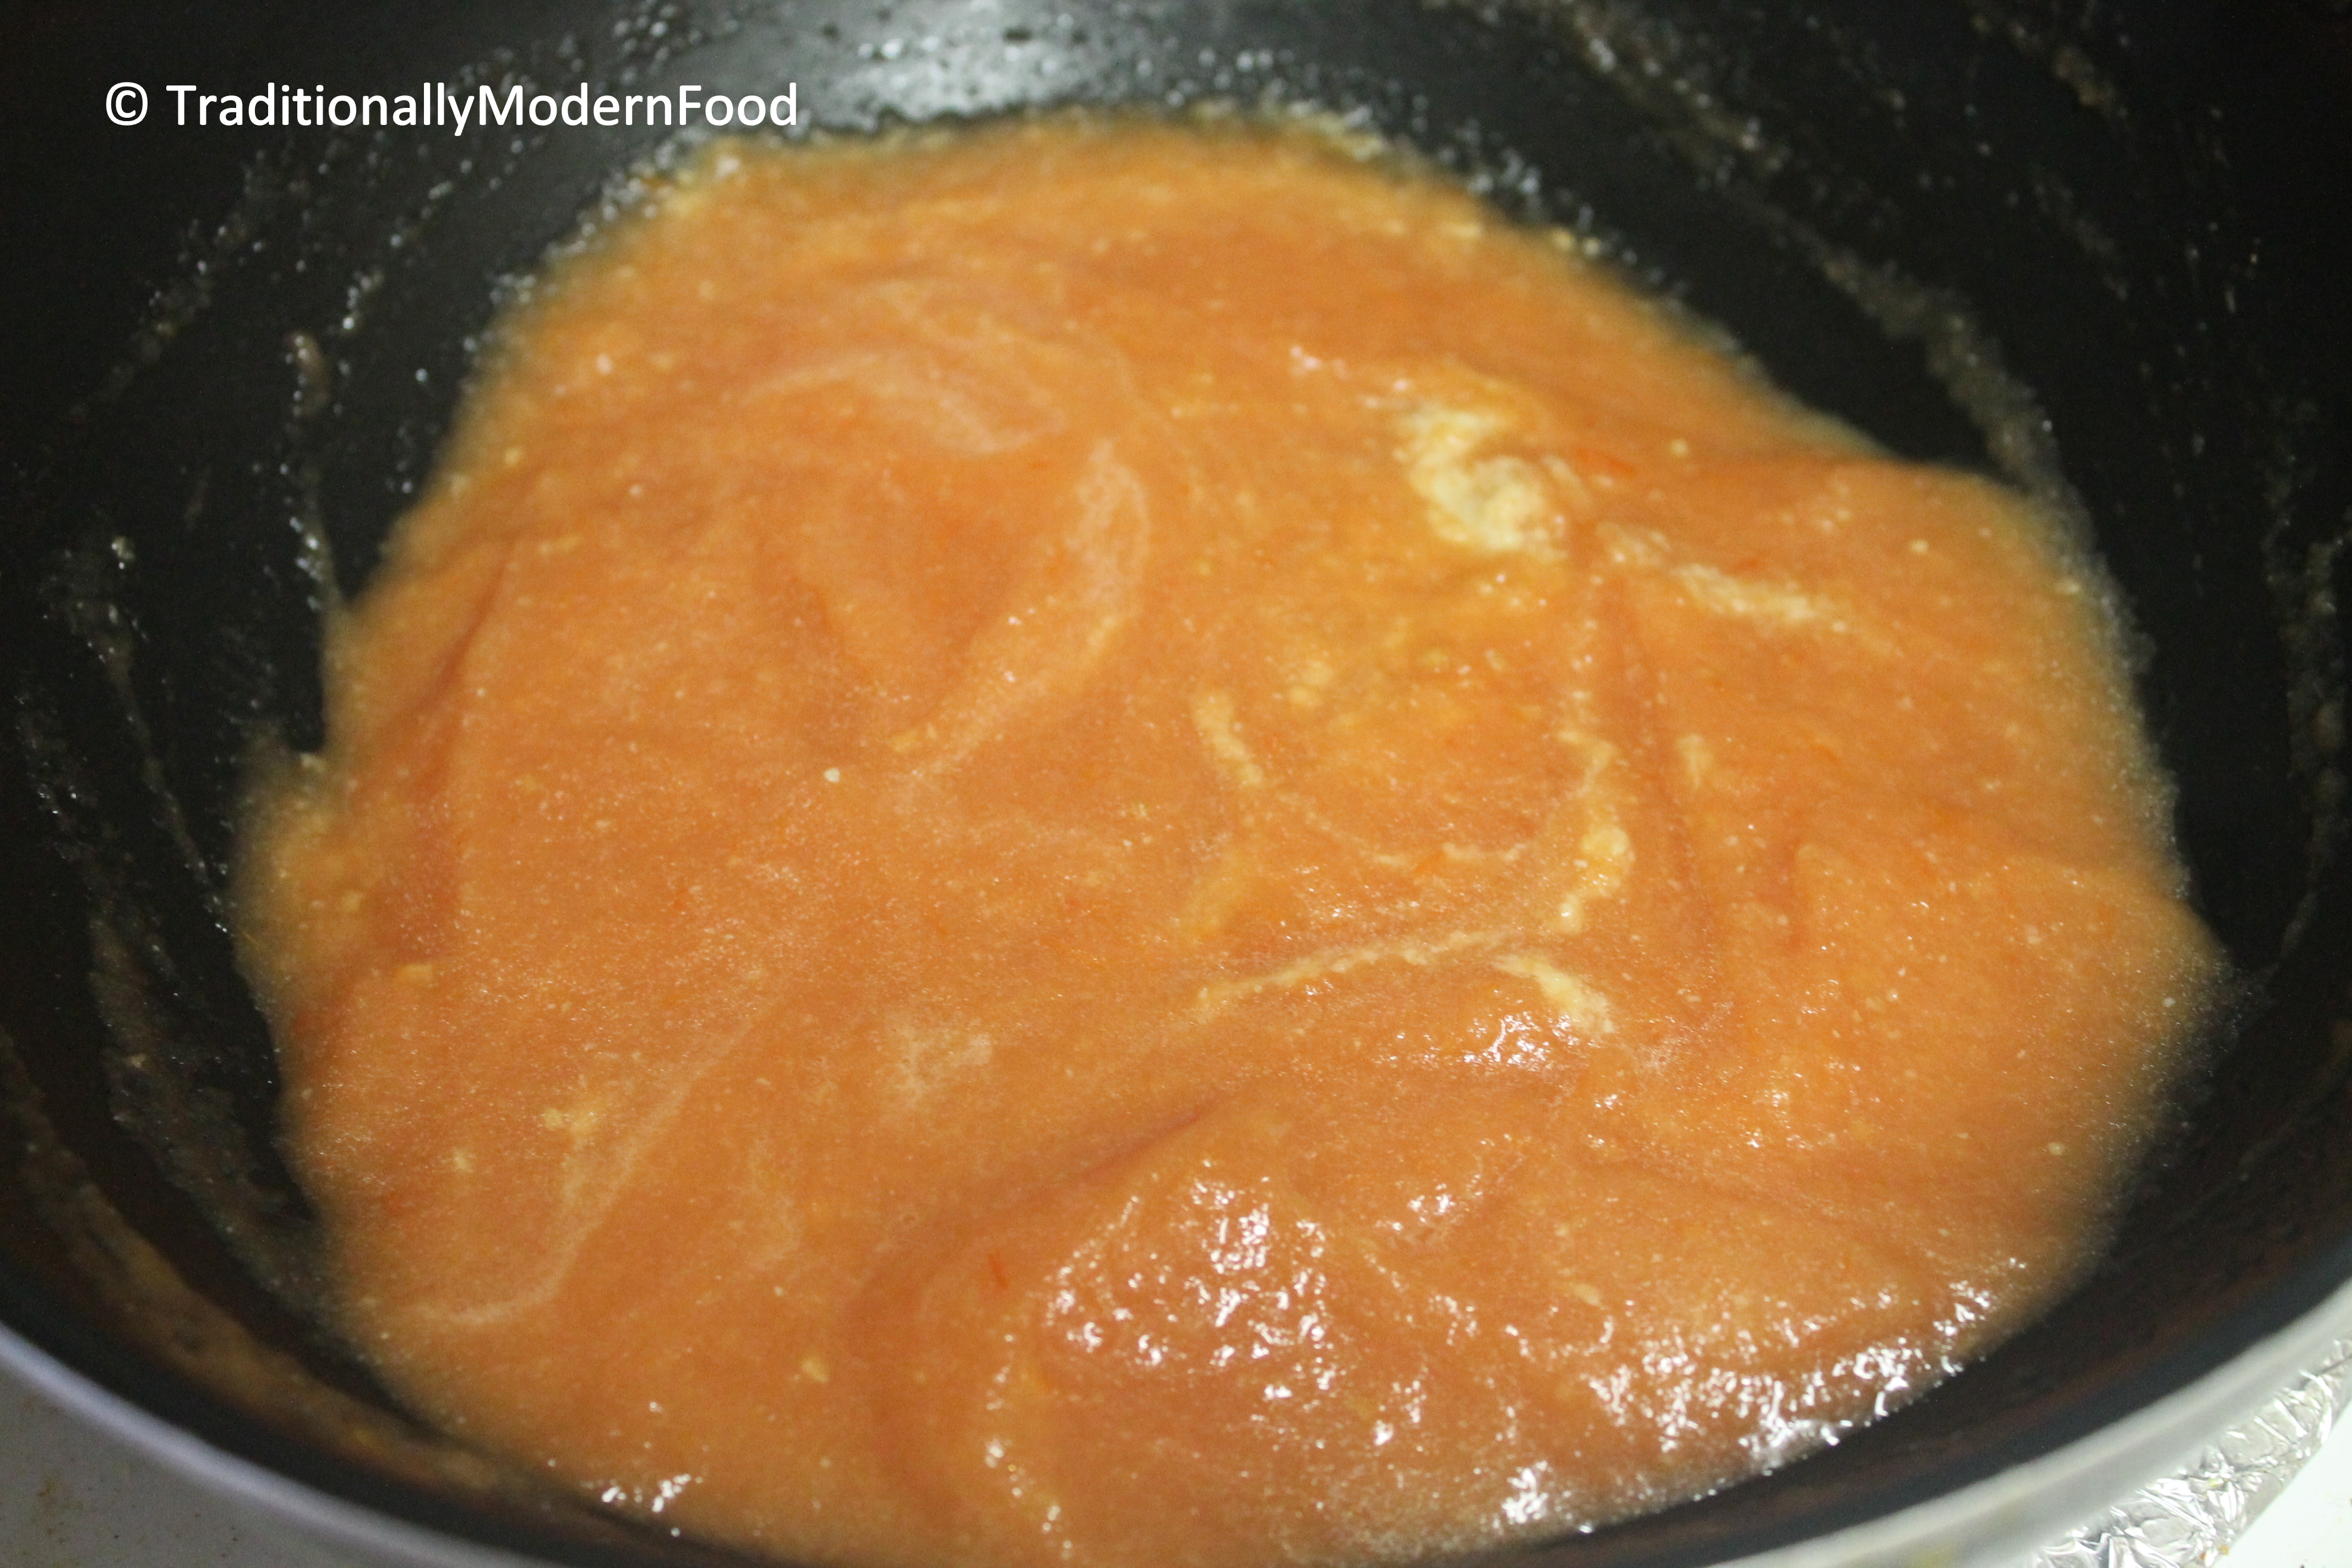
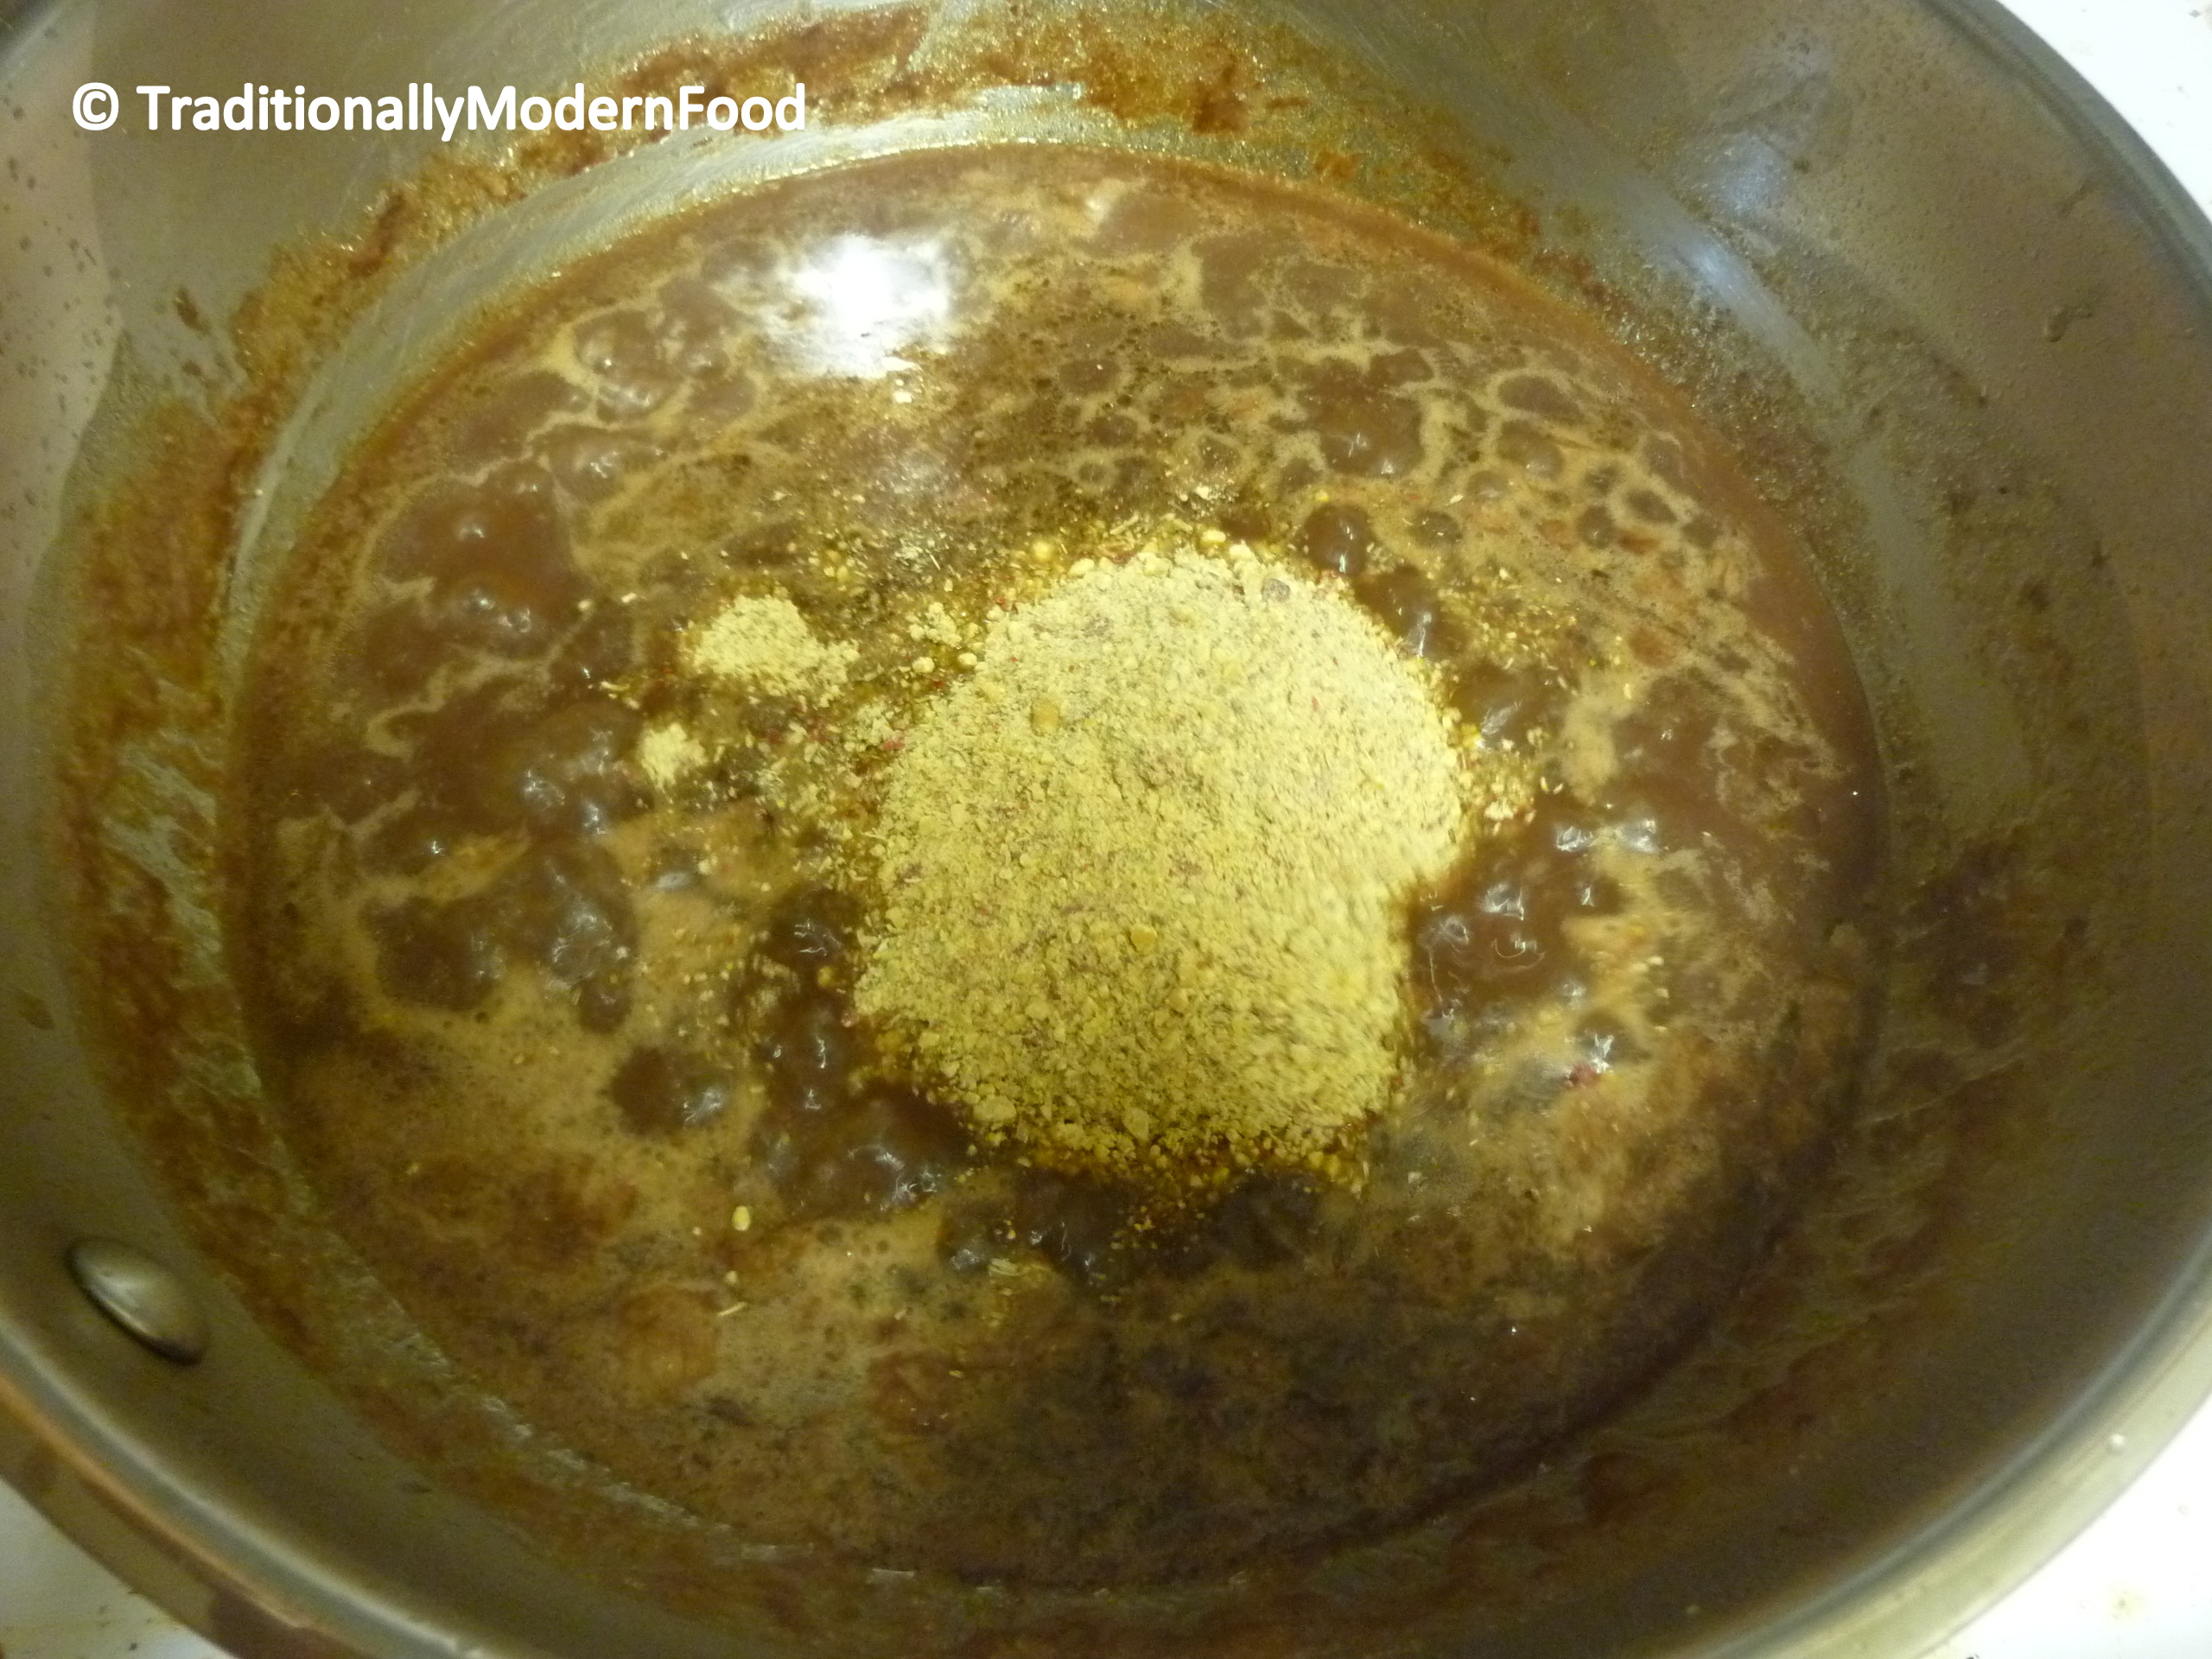
- Add the spice powder and mix well
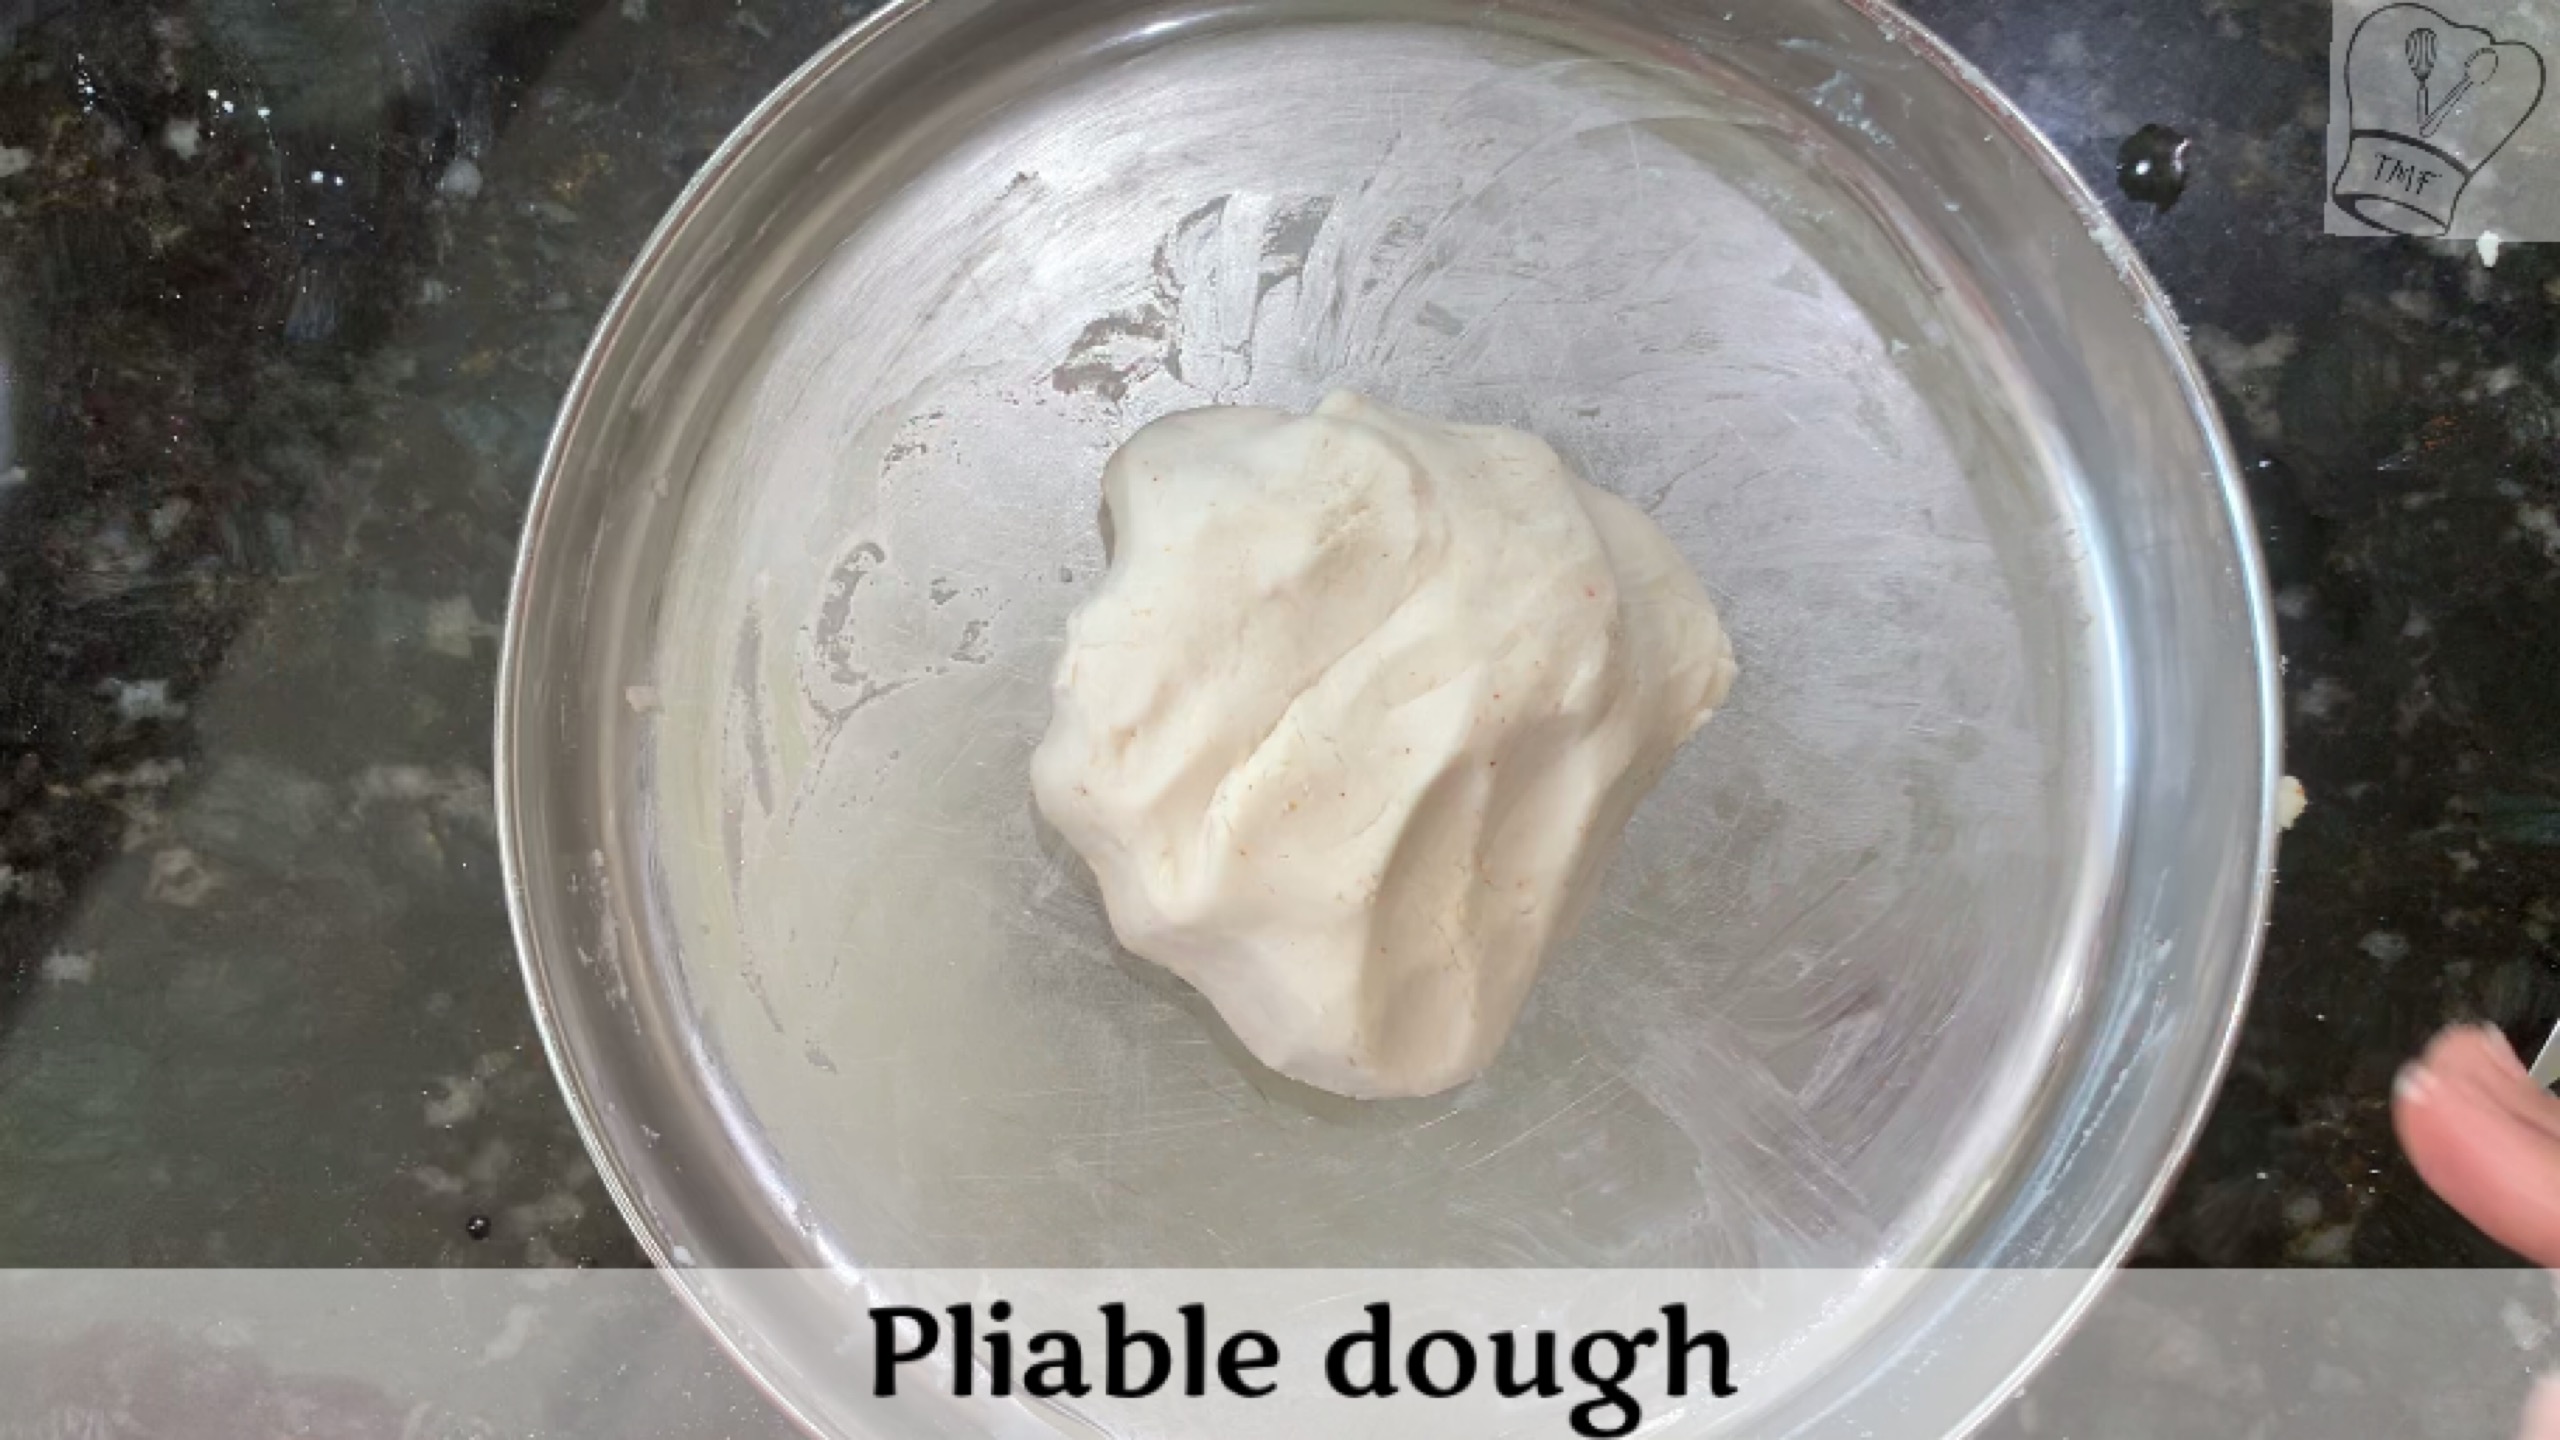
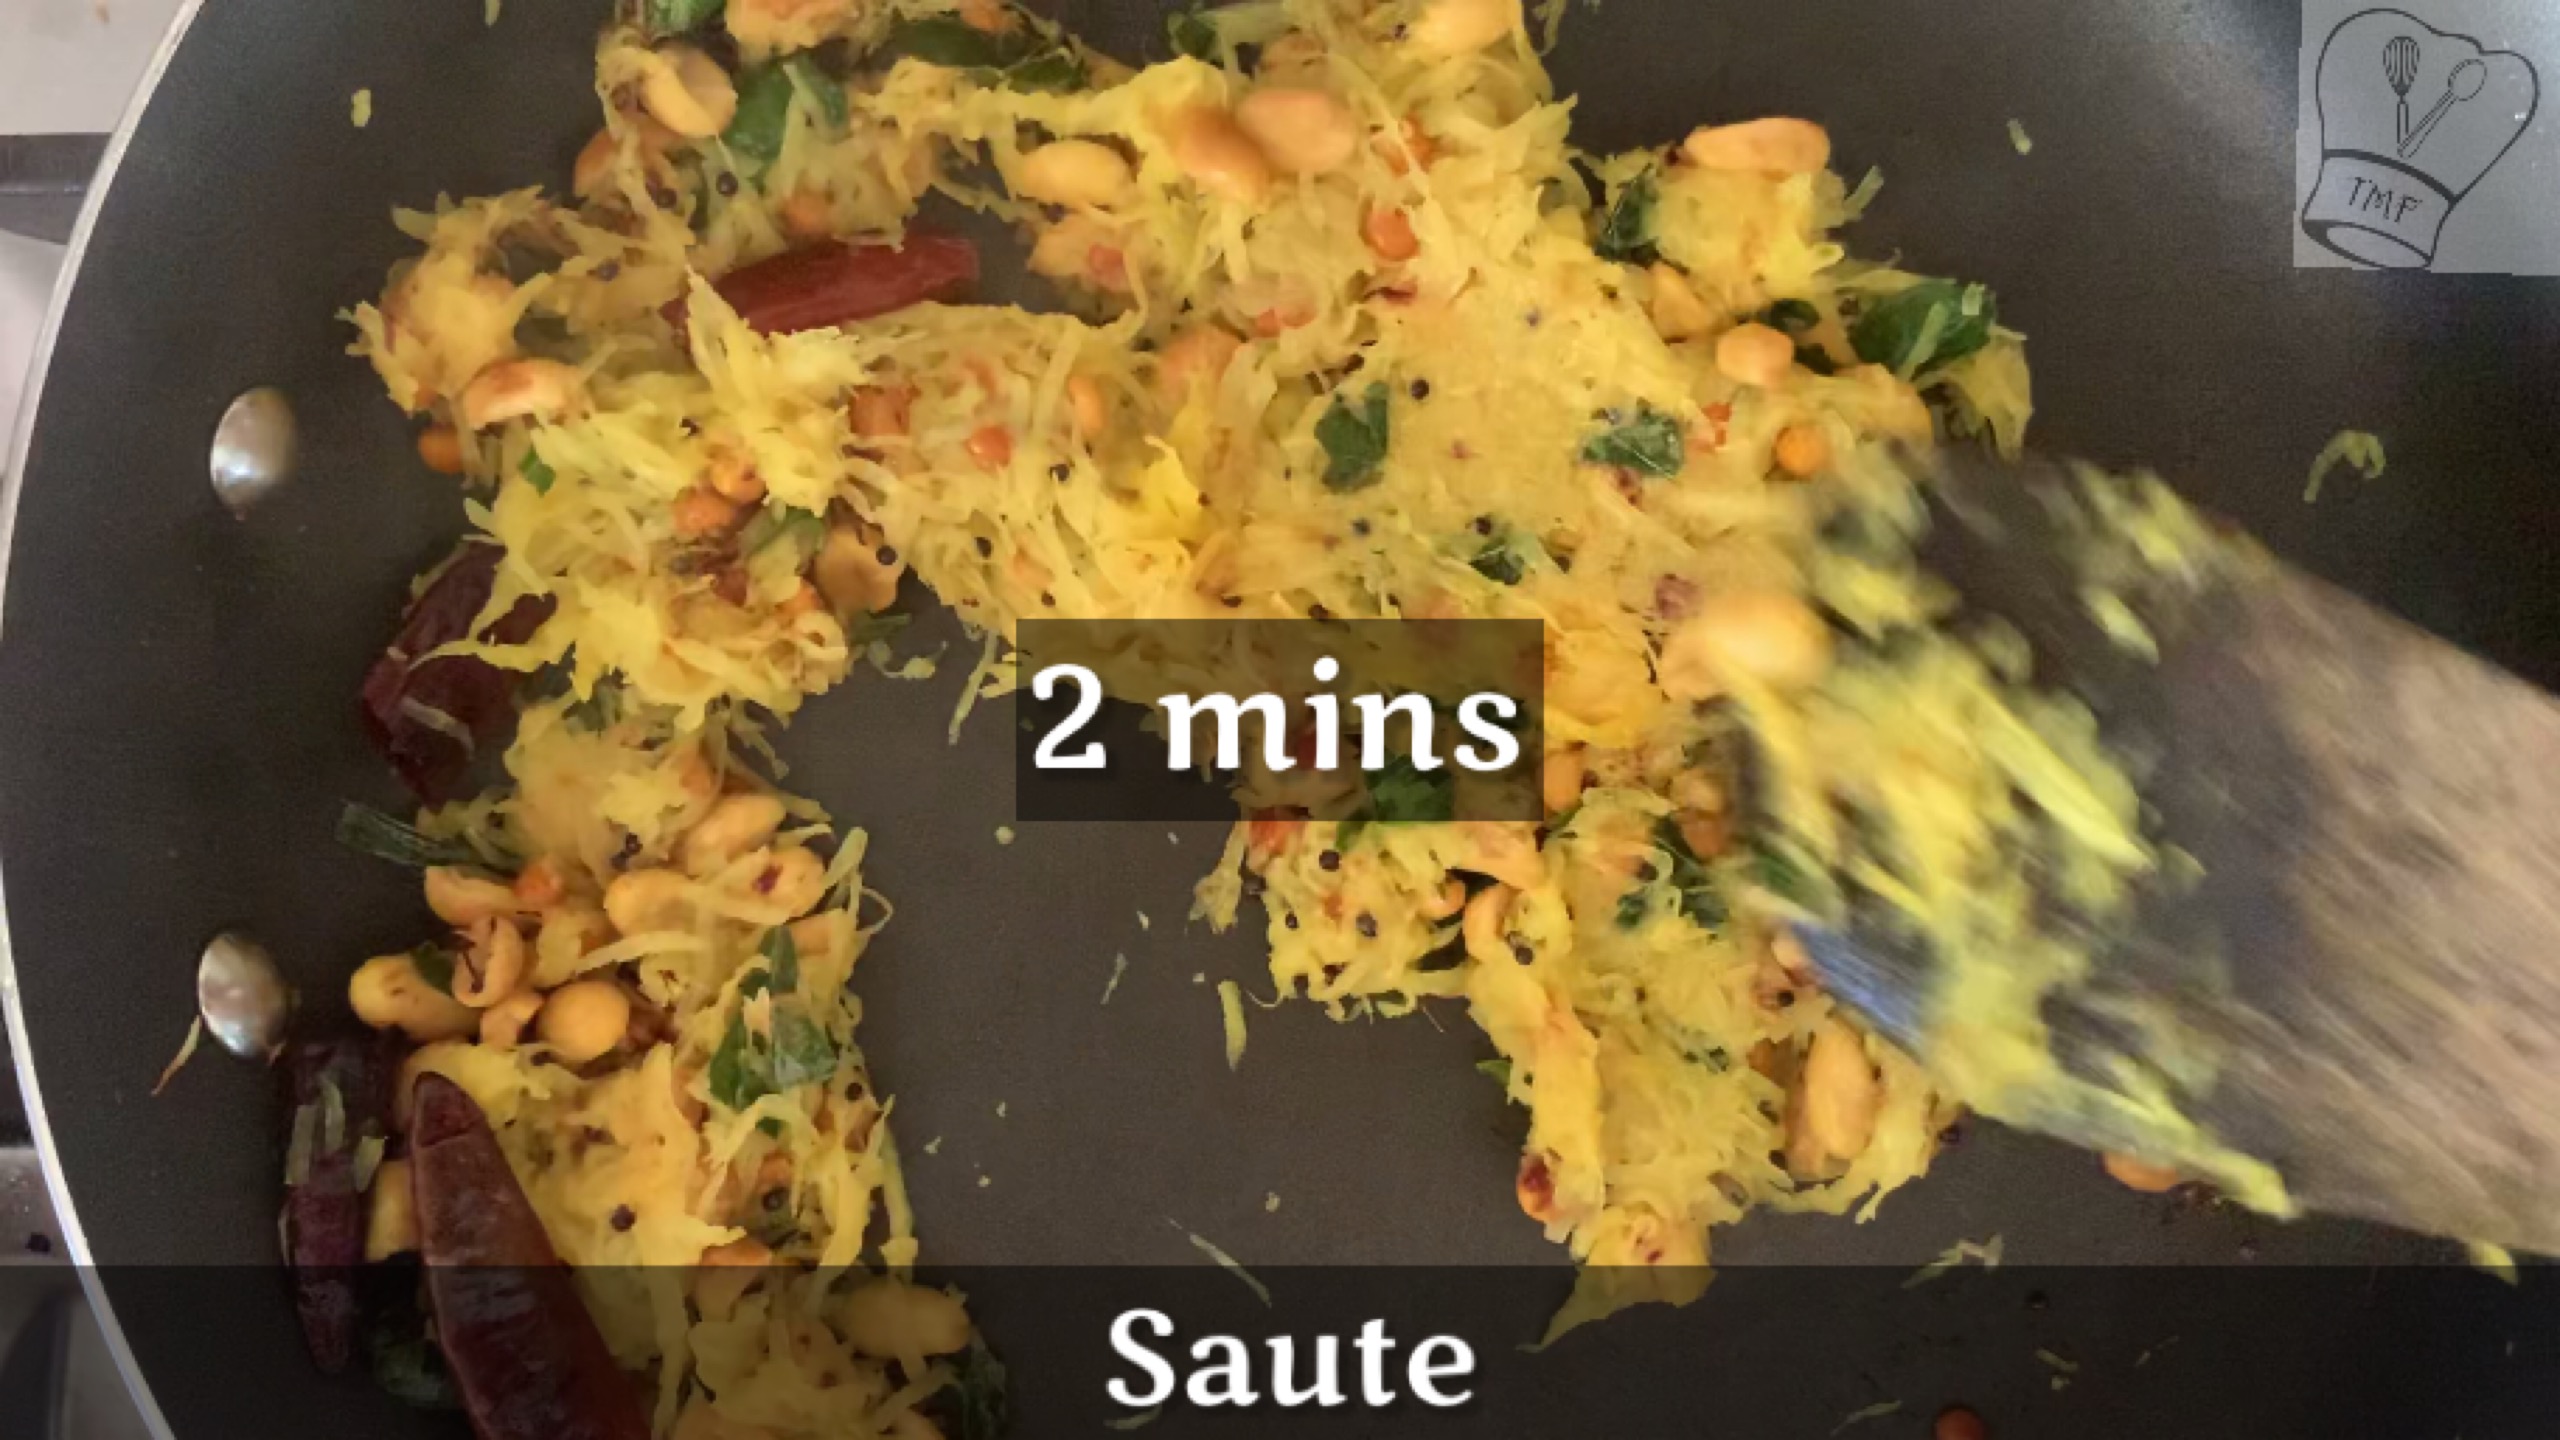
- Cook in low flame
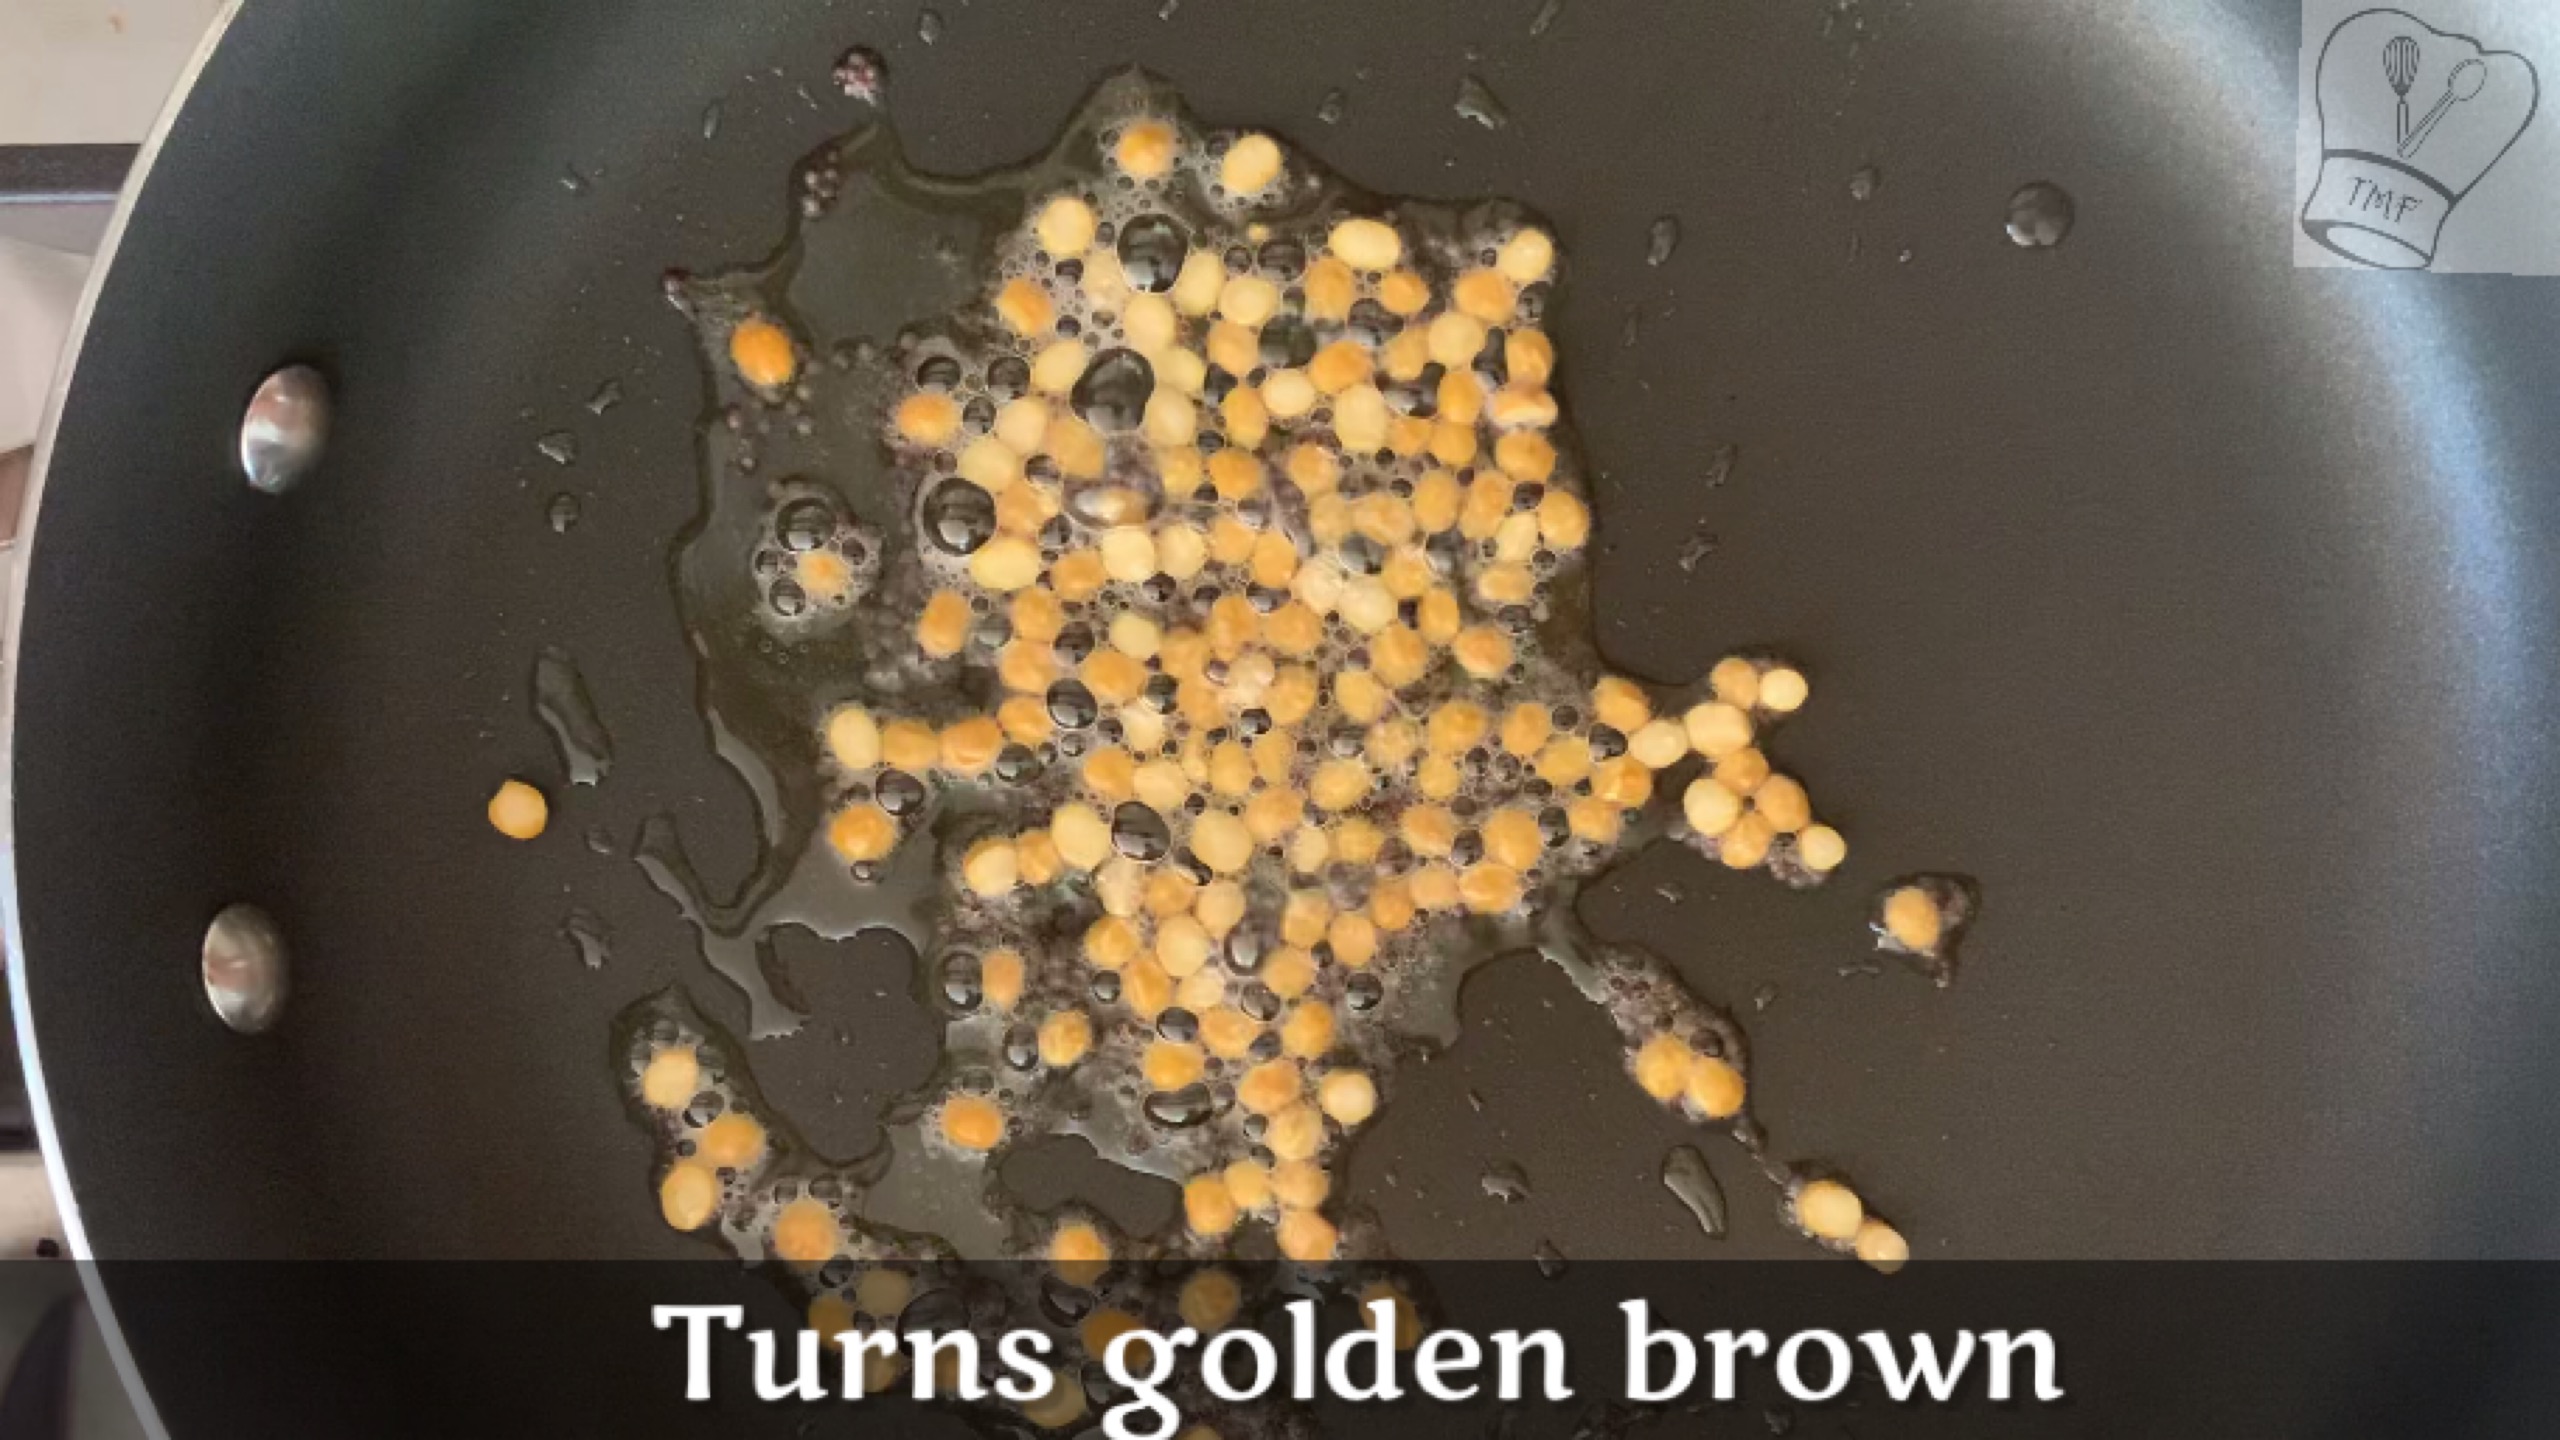
- In a separate pan add oil and when oil is hot add channa dal and roasted peanuts
- Cook till the dal is golden brown and keep aside
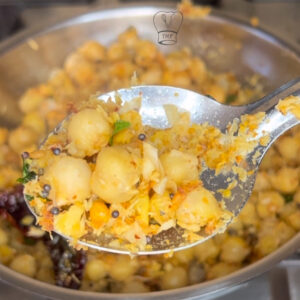
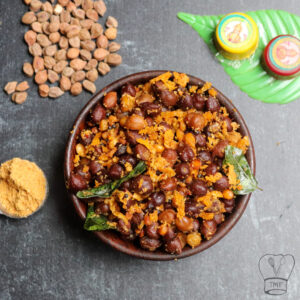
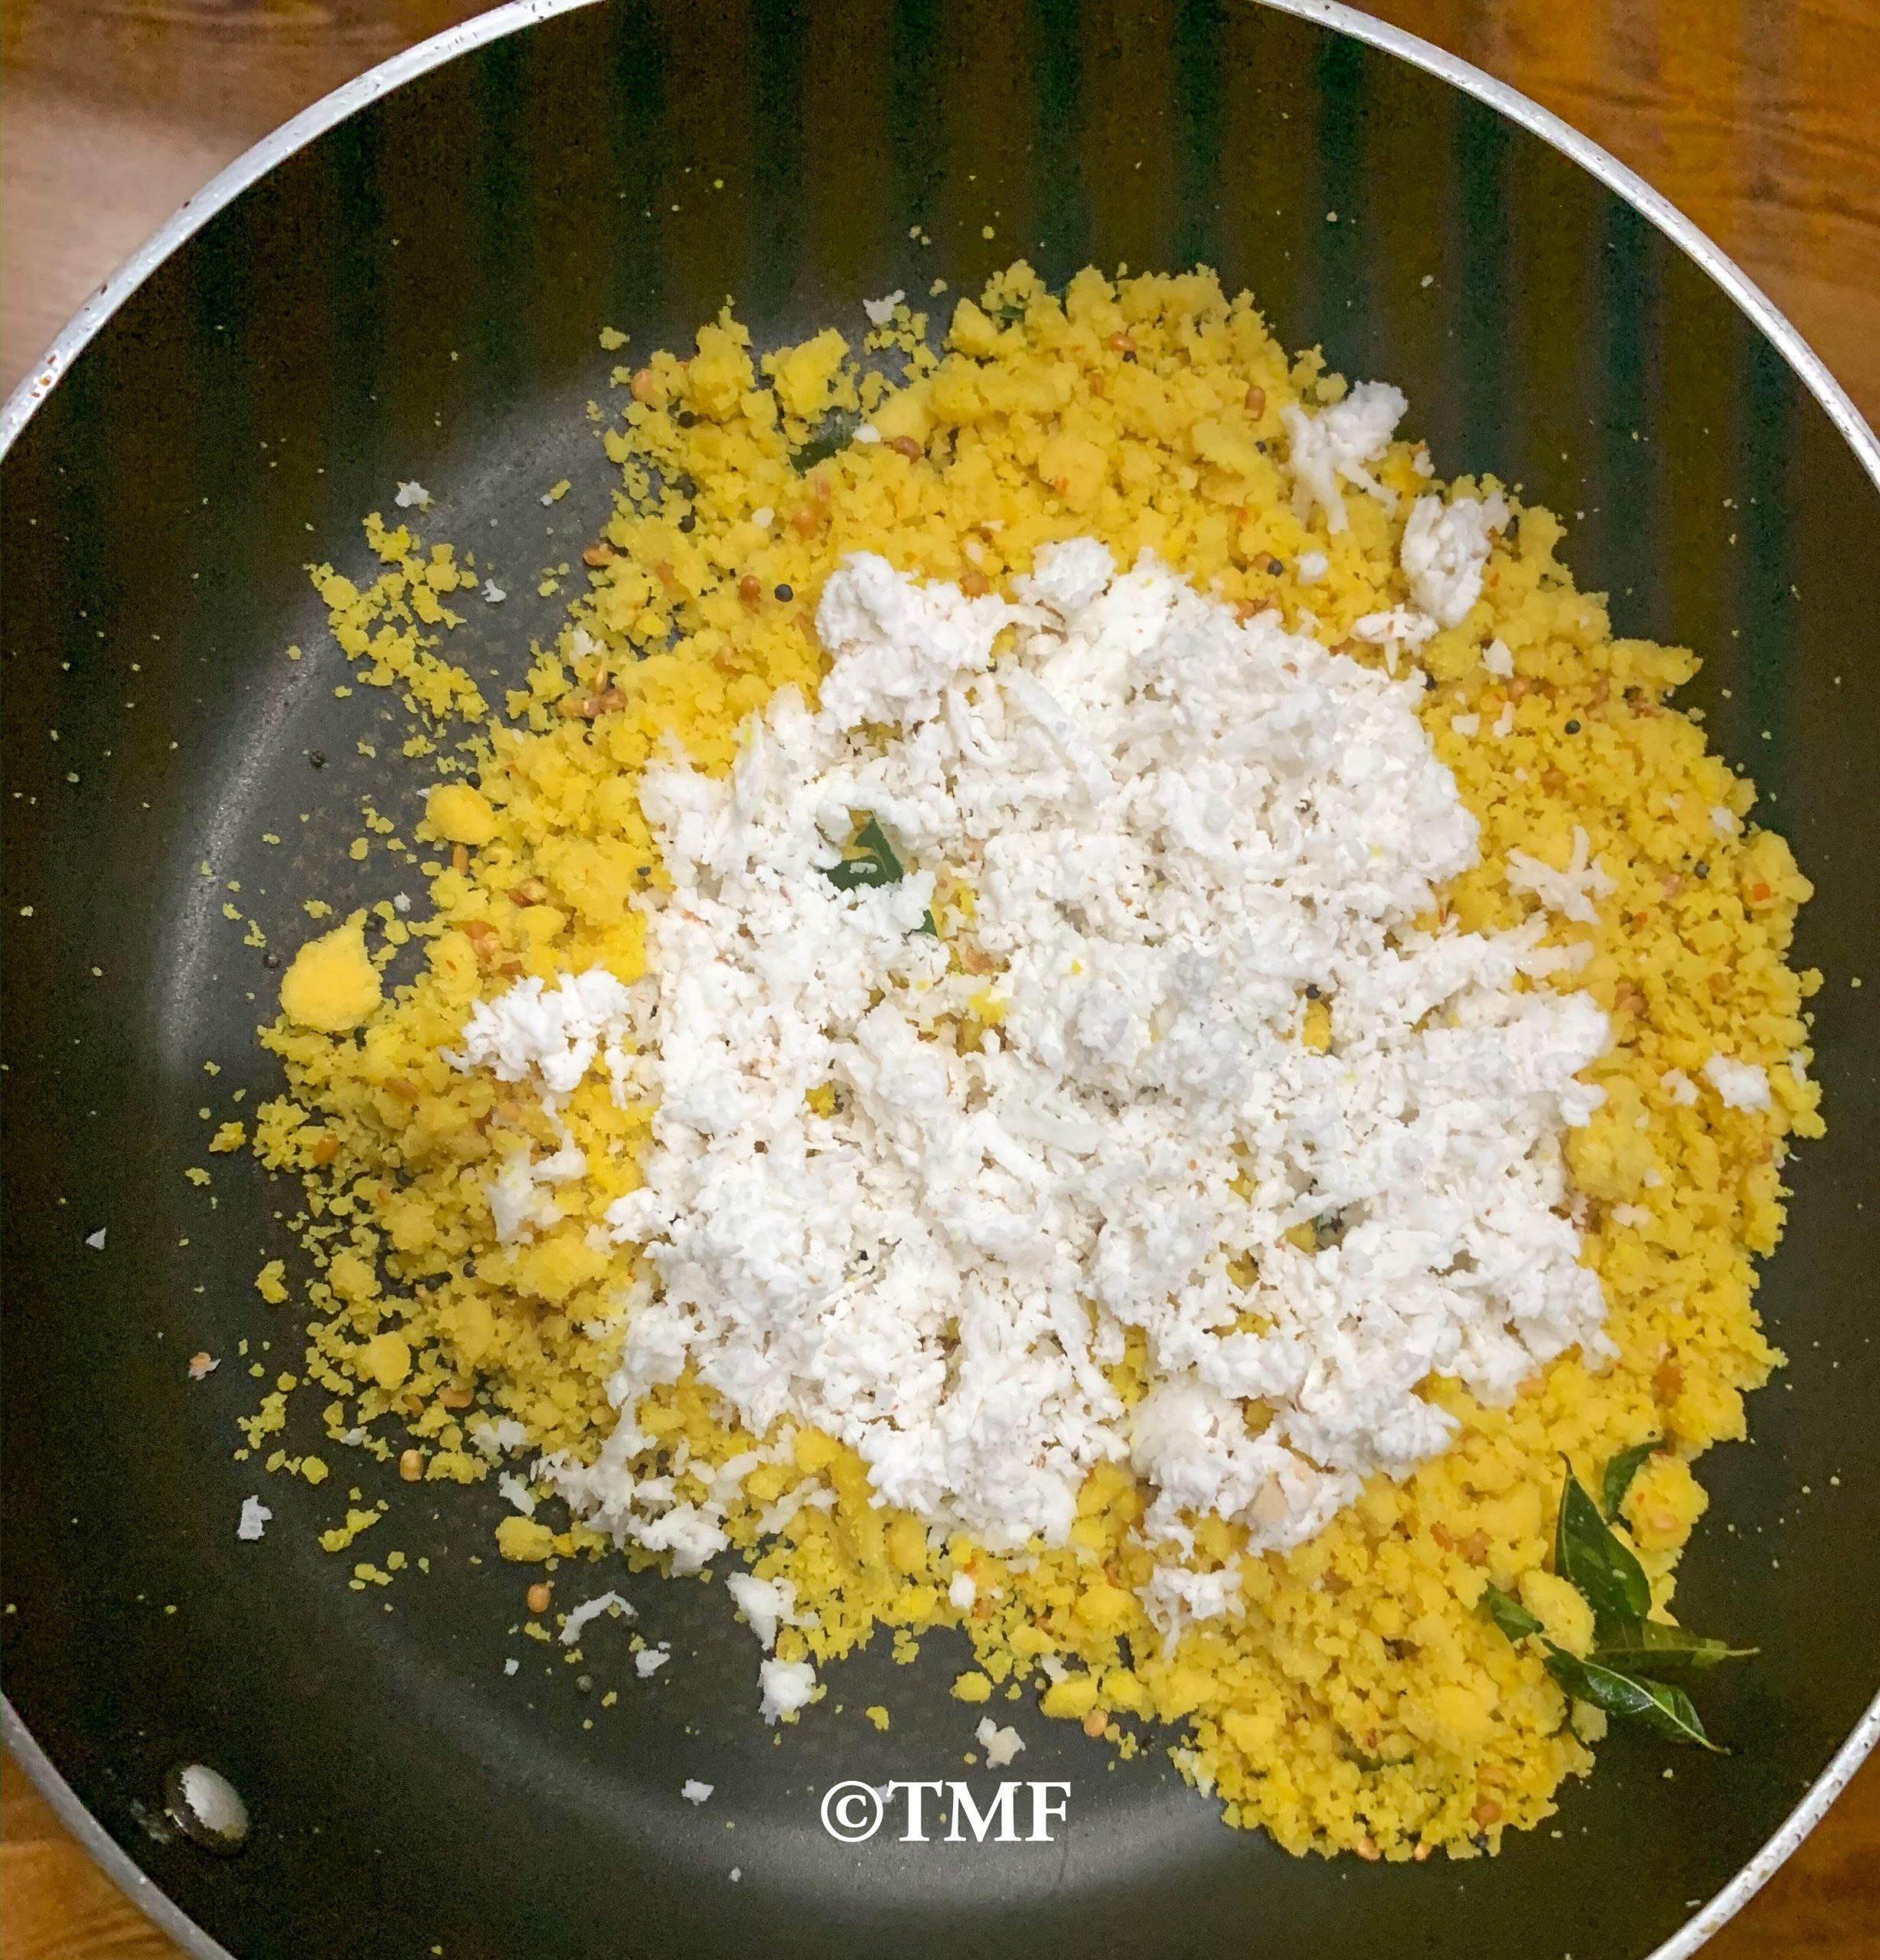
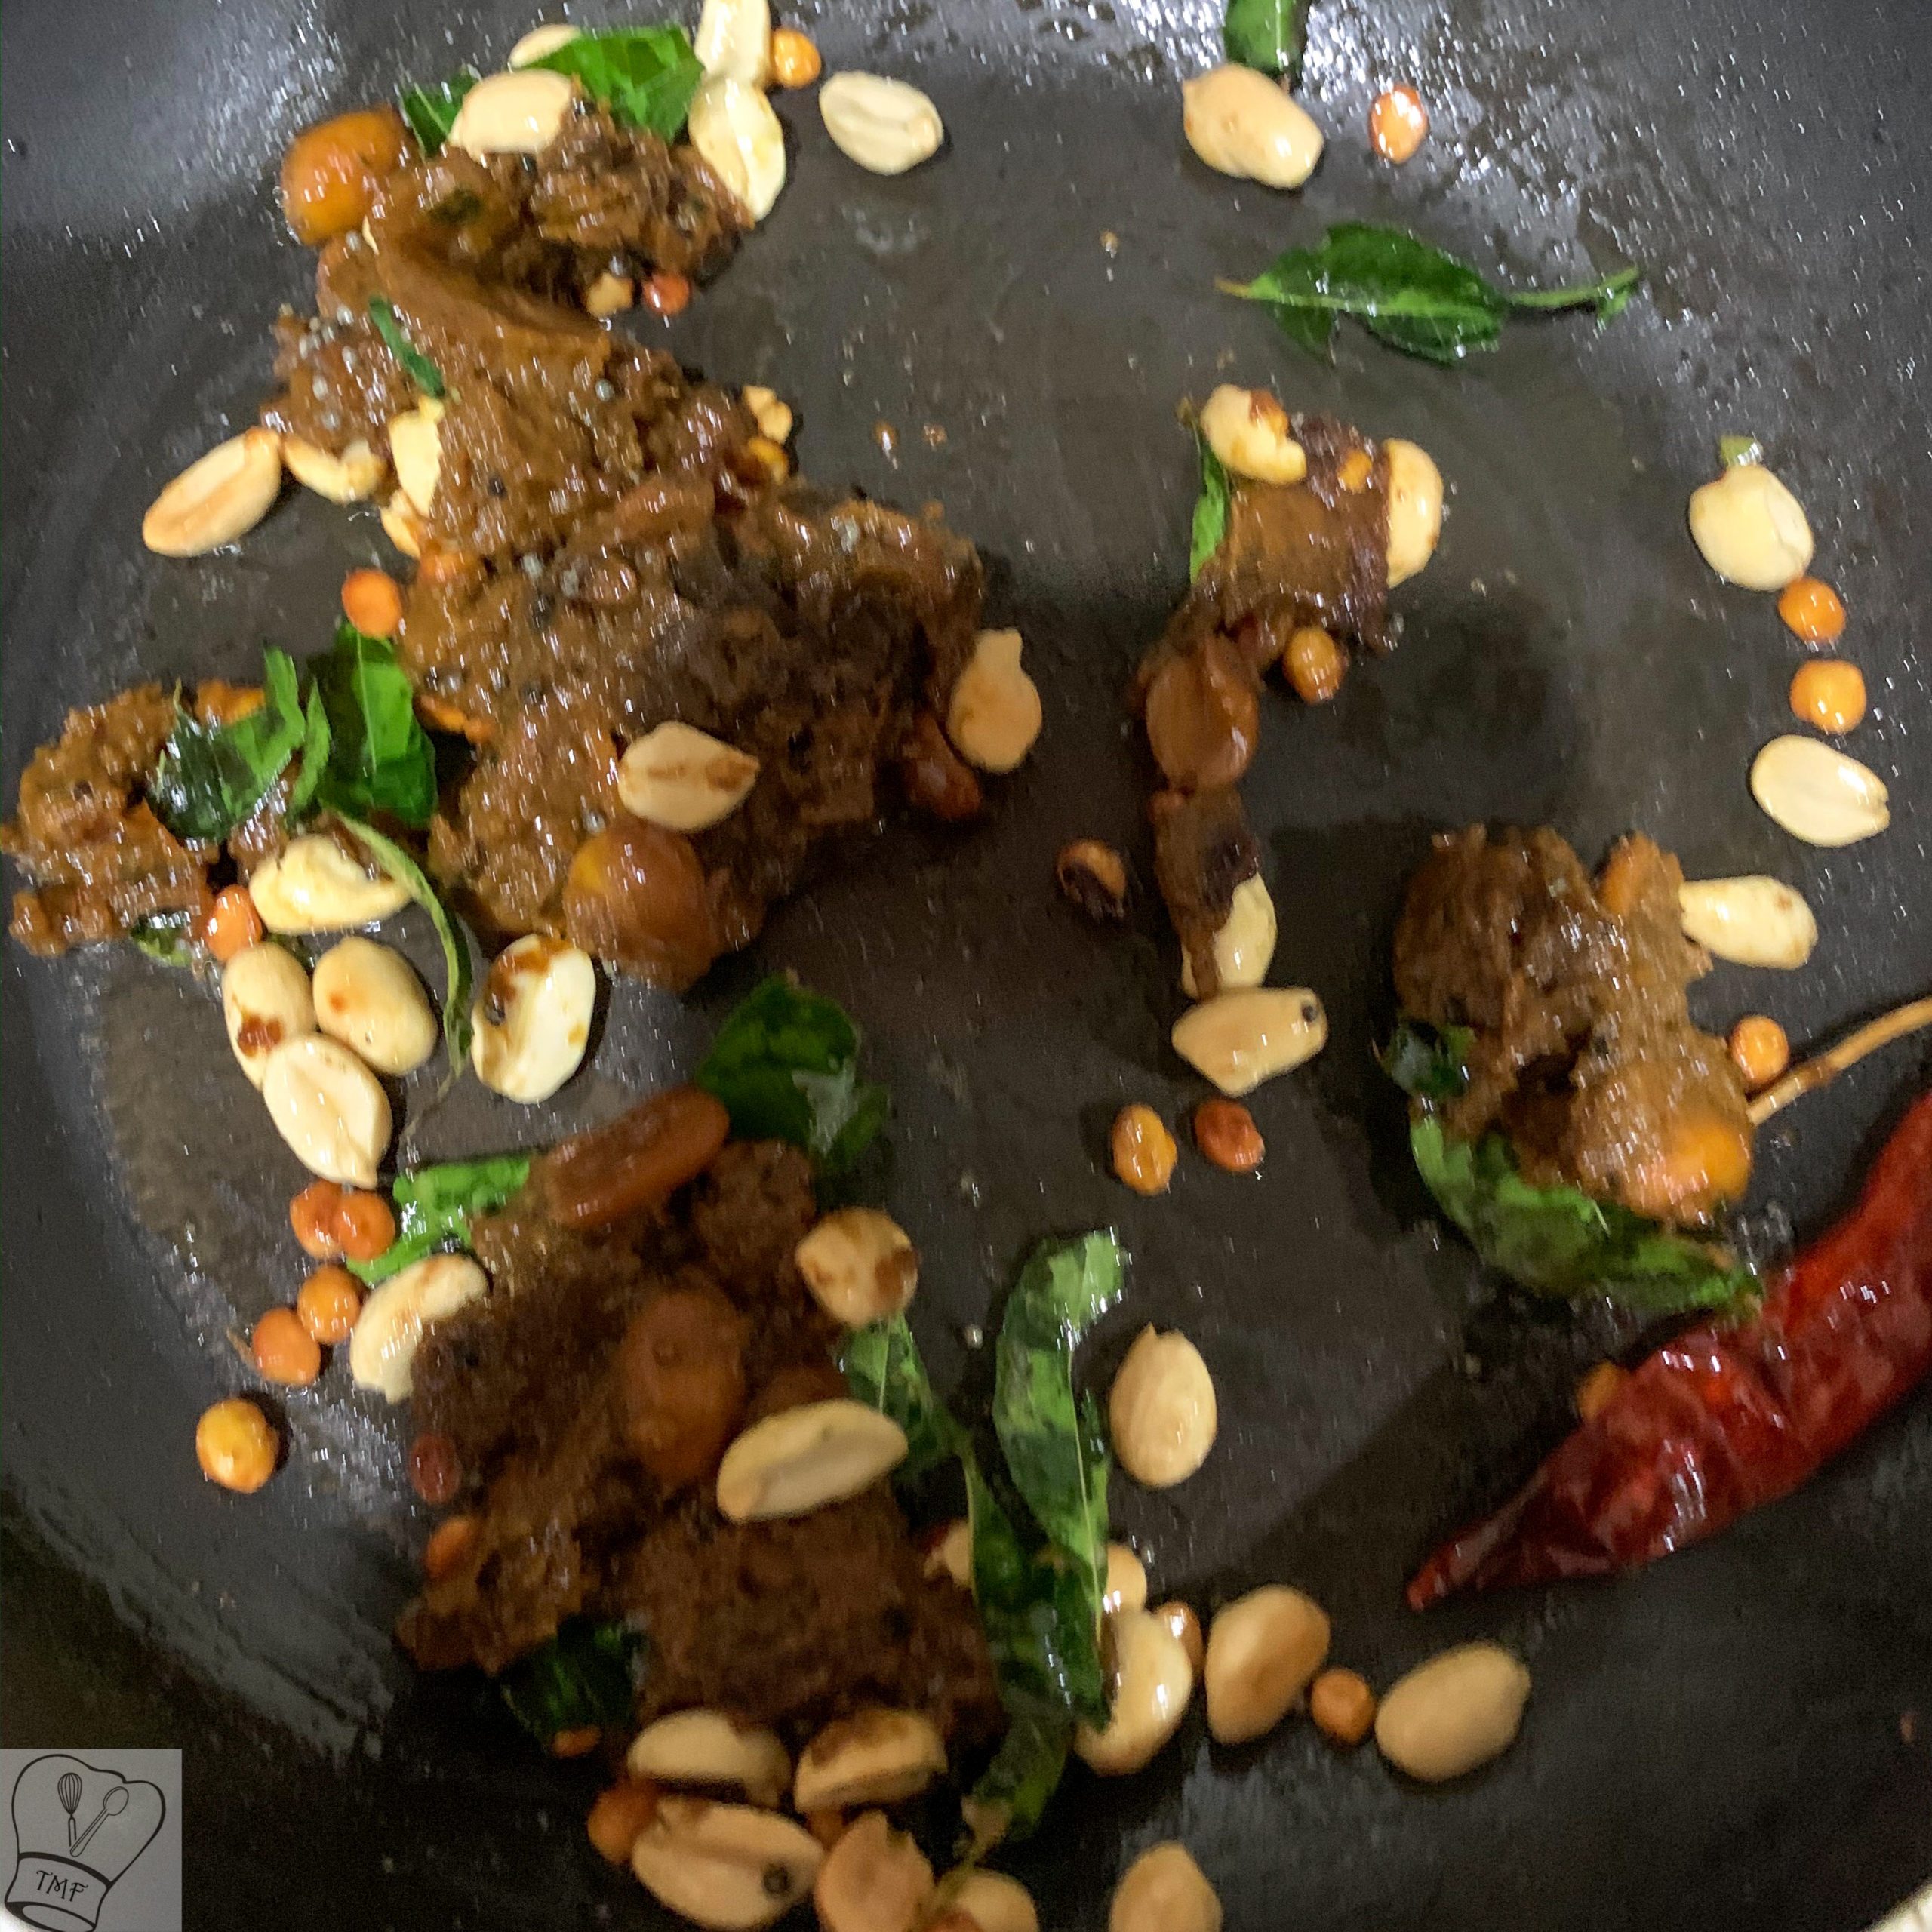
- meanwhile Add jaggery and cook till oil starts oozing out and the pulikaichal becomes thick switch off
- Add the channa dal and peanuts to the pulikaichal and mix well
- Keep stirring occasionally. When oil begins to separate and the mixture becomes a thick paste (and raw smell goes off completely), switch off
Video
Notes
- Always use a wide pan while cooking pulikaichal as it tends to spit spills outside
Sesame oil make it stay good for longer days - Adding jaggery is optional but it gives a sweet tangy taste which we like
- I have used roasted peanuts so I added them at the end. If you are using unroasted add it after tempering
- Can add 1/2 teaspoon of a sesame seed, 1 tablespoon of urad dal and 1/2 teaspoon of pepper while Preparing spice powder
- First-day pulikaichal tastes spicy but over a period of time it tastes less spicy
Ingredients:
Tamarind - big lemon size, 100 grams
Powdered Jaggery - 1 tbsp
Turmeric Powder - 1/2 tsp
Asafoetida - a generous pinch
Salt - as needed
Sesame oil - 1/4 cup + 2 tbsp
Roasted Peanuts - 1/4 cup (approximately) I generally add a handful
Channa Dal - 1 tbsp
To temper:
Mustard Seeds - 1 tsp
Dried Red chillies - 2
Curry Leaves - few
Spice Powder:
Channa Dal - 2 tbsp
Coriander Seeds - 1 tablespoon + 1/2 tbsp
Dried Red Chillies - 5 (Adjust according to your spice)
Fenugreek Seeds(Venthyam) - 1/4 tsp
Pepper - 1/4 tsp
Sesame seed - 1/4 tsp
Method:
- Dry roast the ingredients under 'Spice powder'. Allow them to cool and grind it to a fine powder without adding water, and keep aside
- Soak tamarind in lukewarm water for 10 - 15 min
- Discard the seeds and hard part
- Grind the tamarind with little water and strain it
- Add little more water and grind. In this way, less tamarind pulp will be wasted
- I added around 3 cups of water
- Add 2 tablespoon of sesame oil in a pan, and when the oil is hot add the ingredients under 'to temper' and let them splutter. Add the tamarind extract and allow it to boil

- When the raw smell starts to go away, add salt
- Keep adding oil in regular interval
- Let it boil till the raw smell goes off completely
- Add the spice powder and mix well
- Cook in low flame
- In a separate pan add oil and when oil is hot add channa dal and roasted peanuts
- Cook till the dal is golden brown and keep aside
- meanwhile Add jaggery and cook till oil starts oozing out and the pulikaichal becomes thick switch off
- Add the channa dal and peanuts to the pulikaichal and mix well

- Keep stirring occasionally. When oil begins to separate and the mixture becomes a thick paste (and raw smell goes off completely), switch off


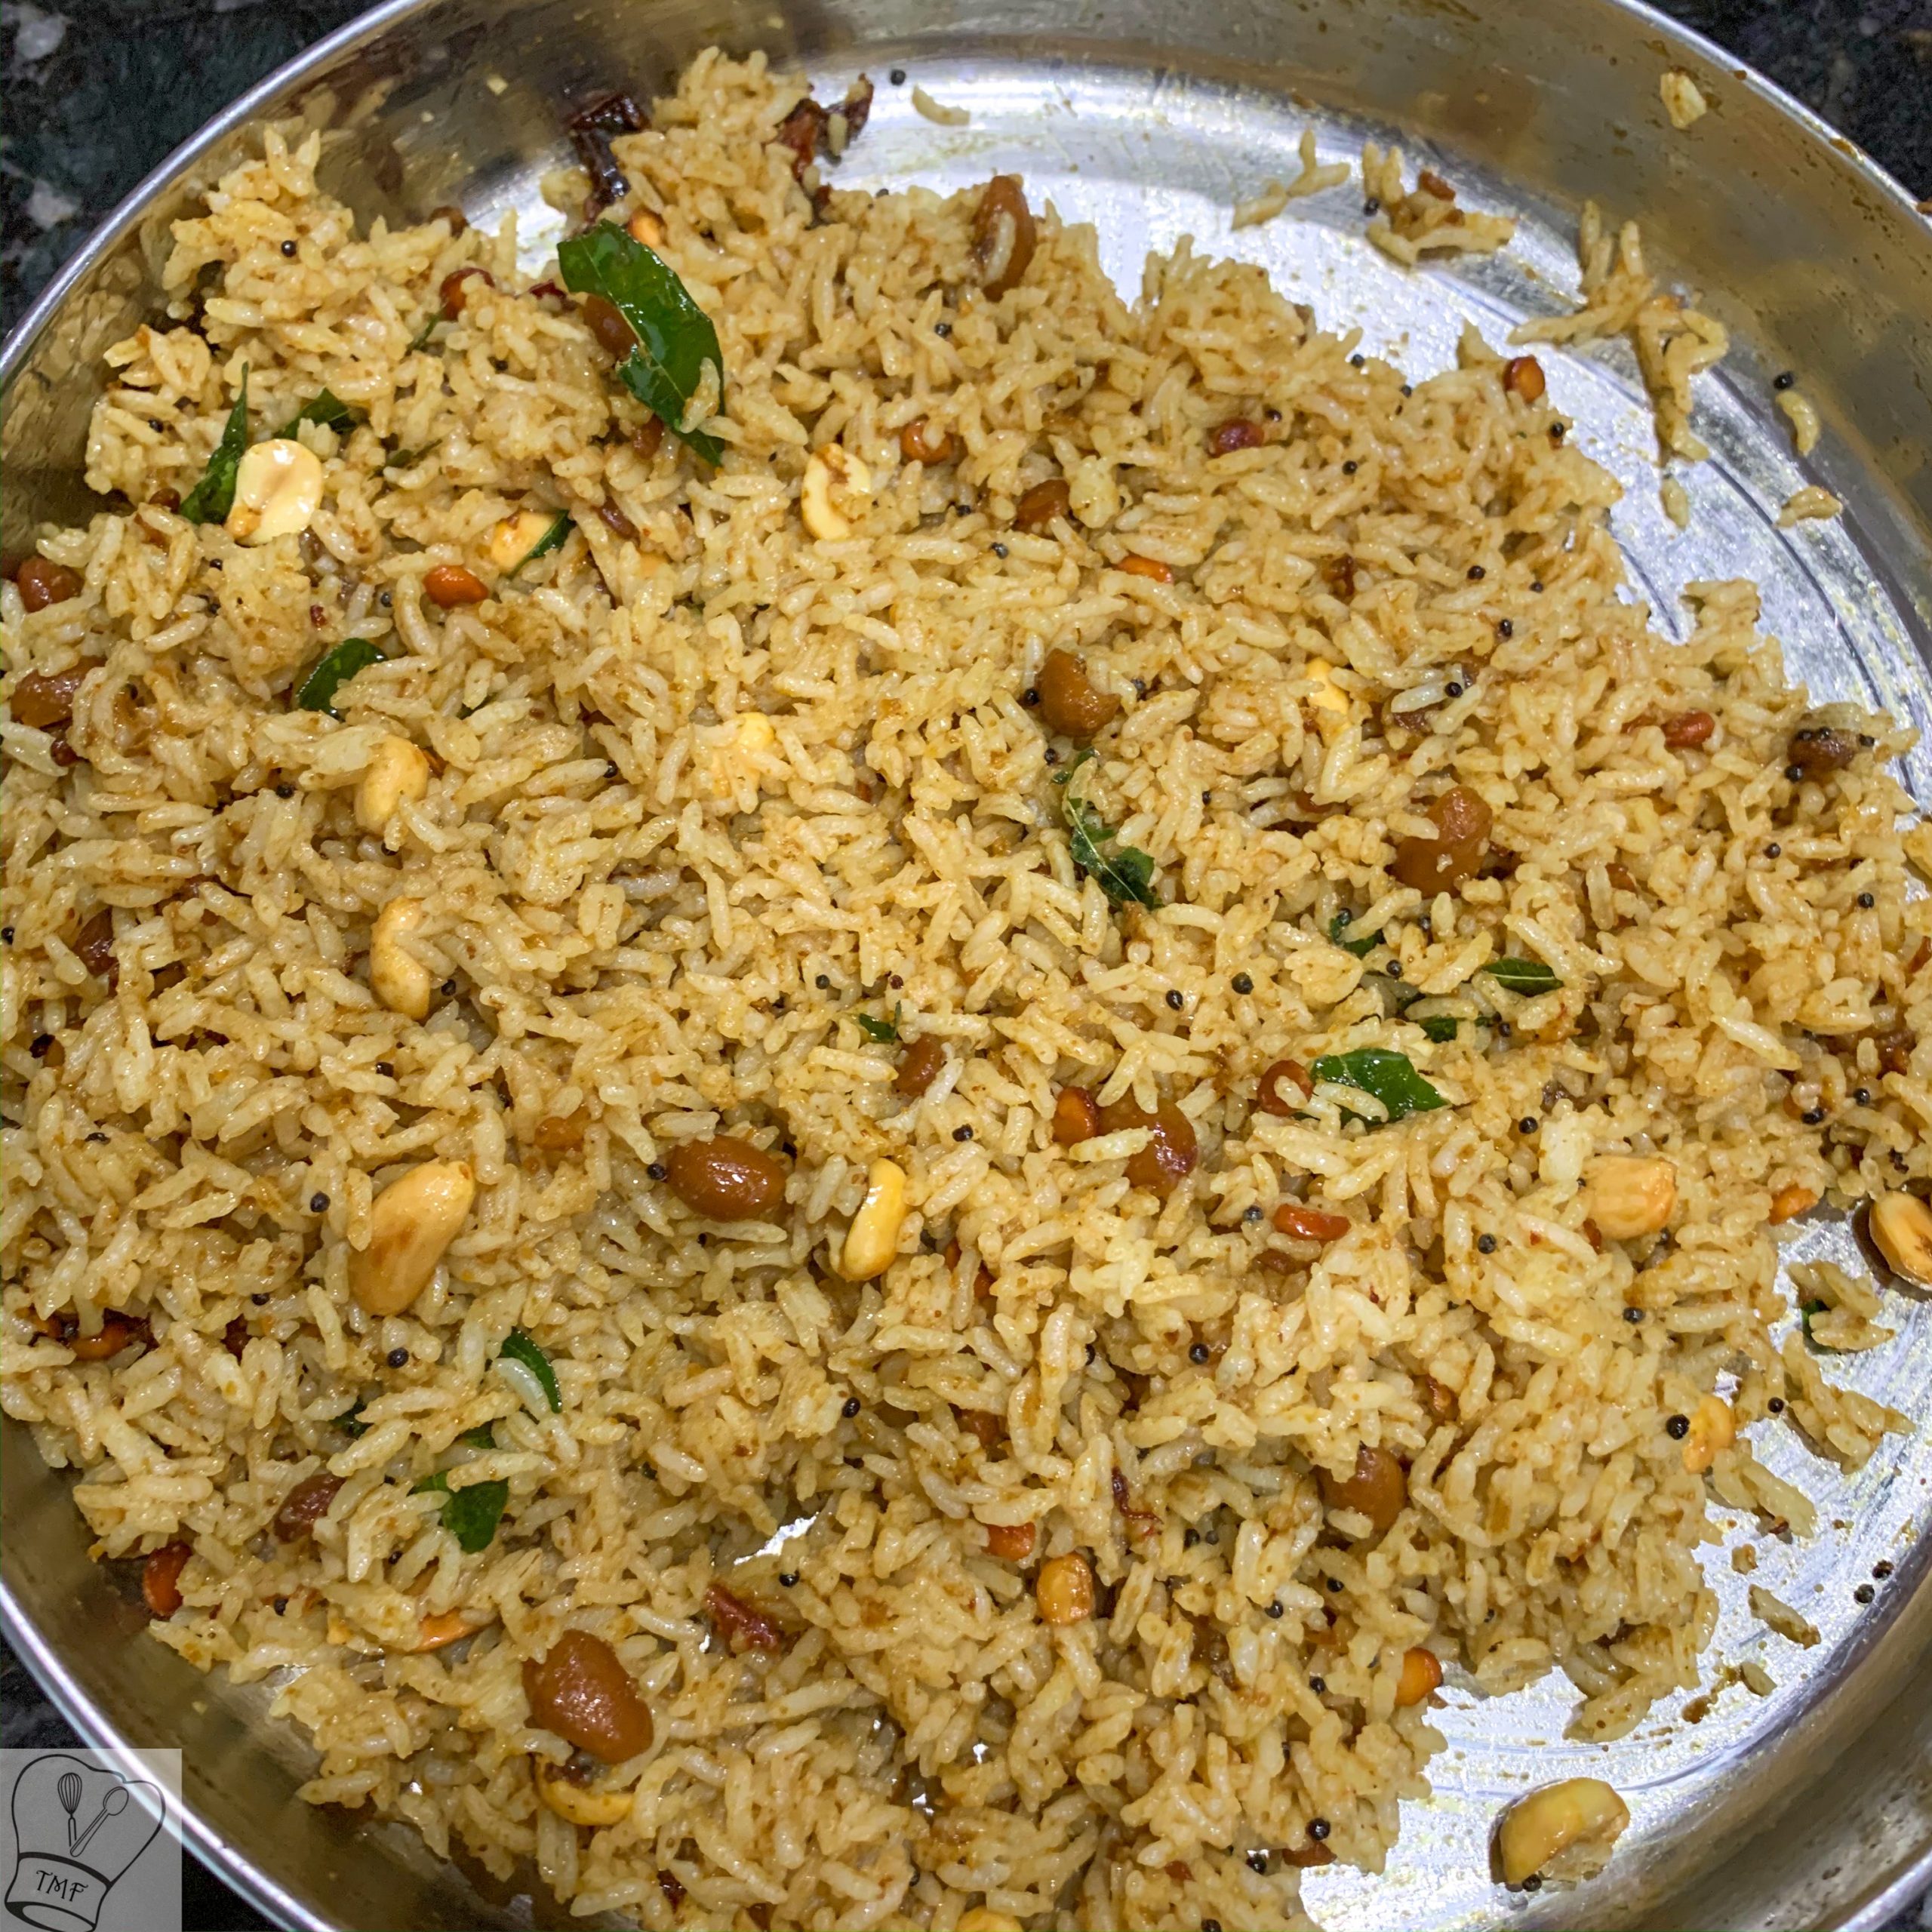
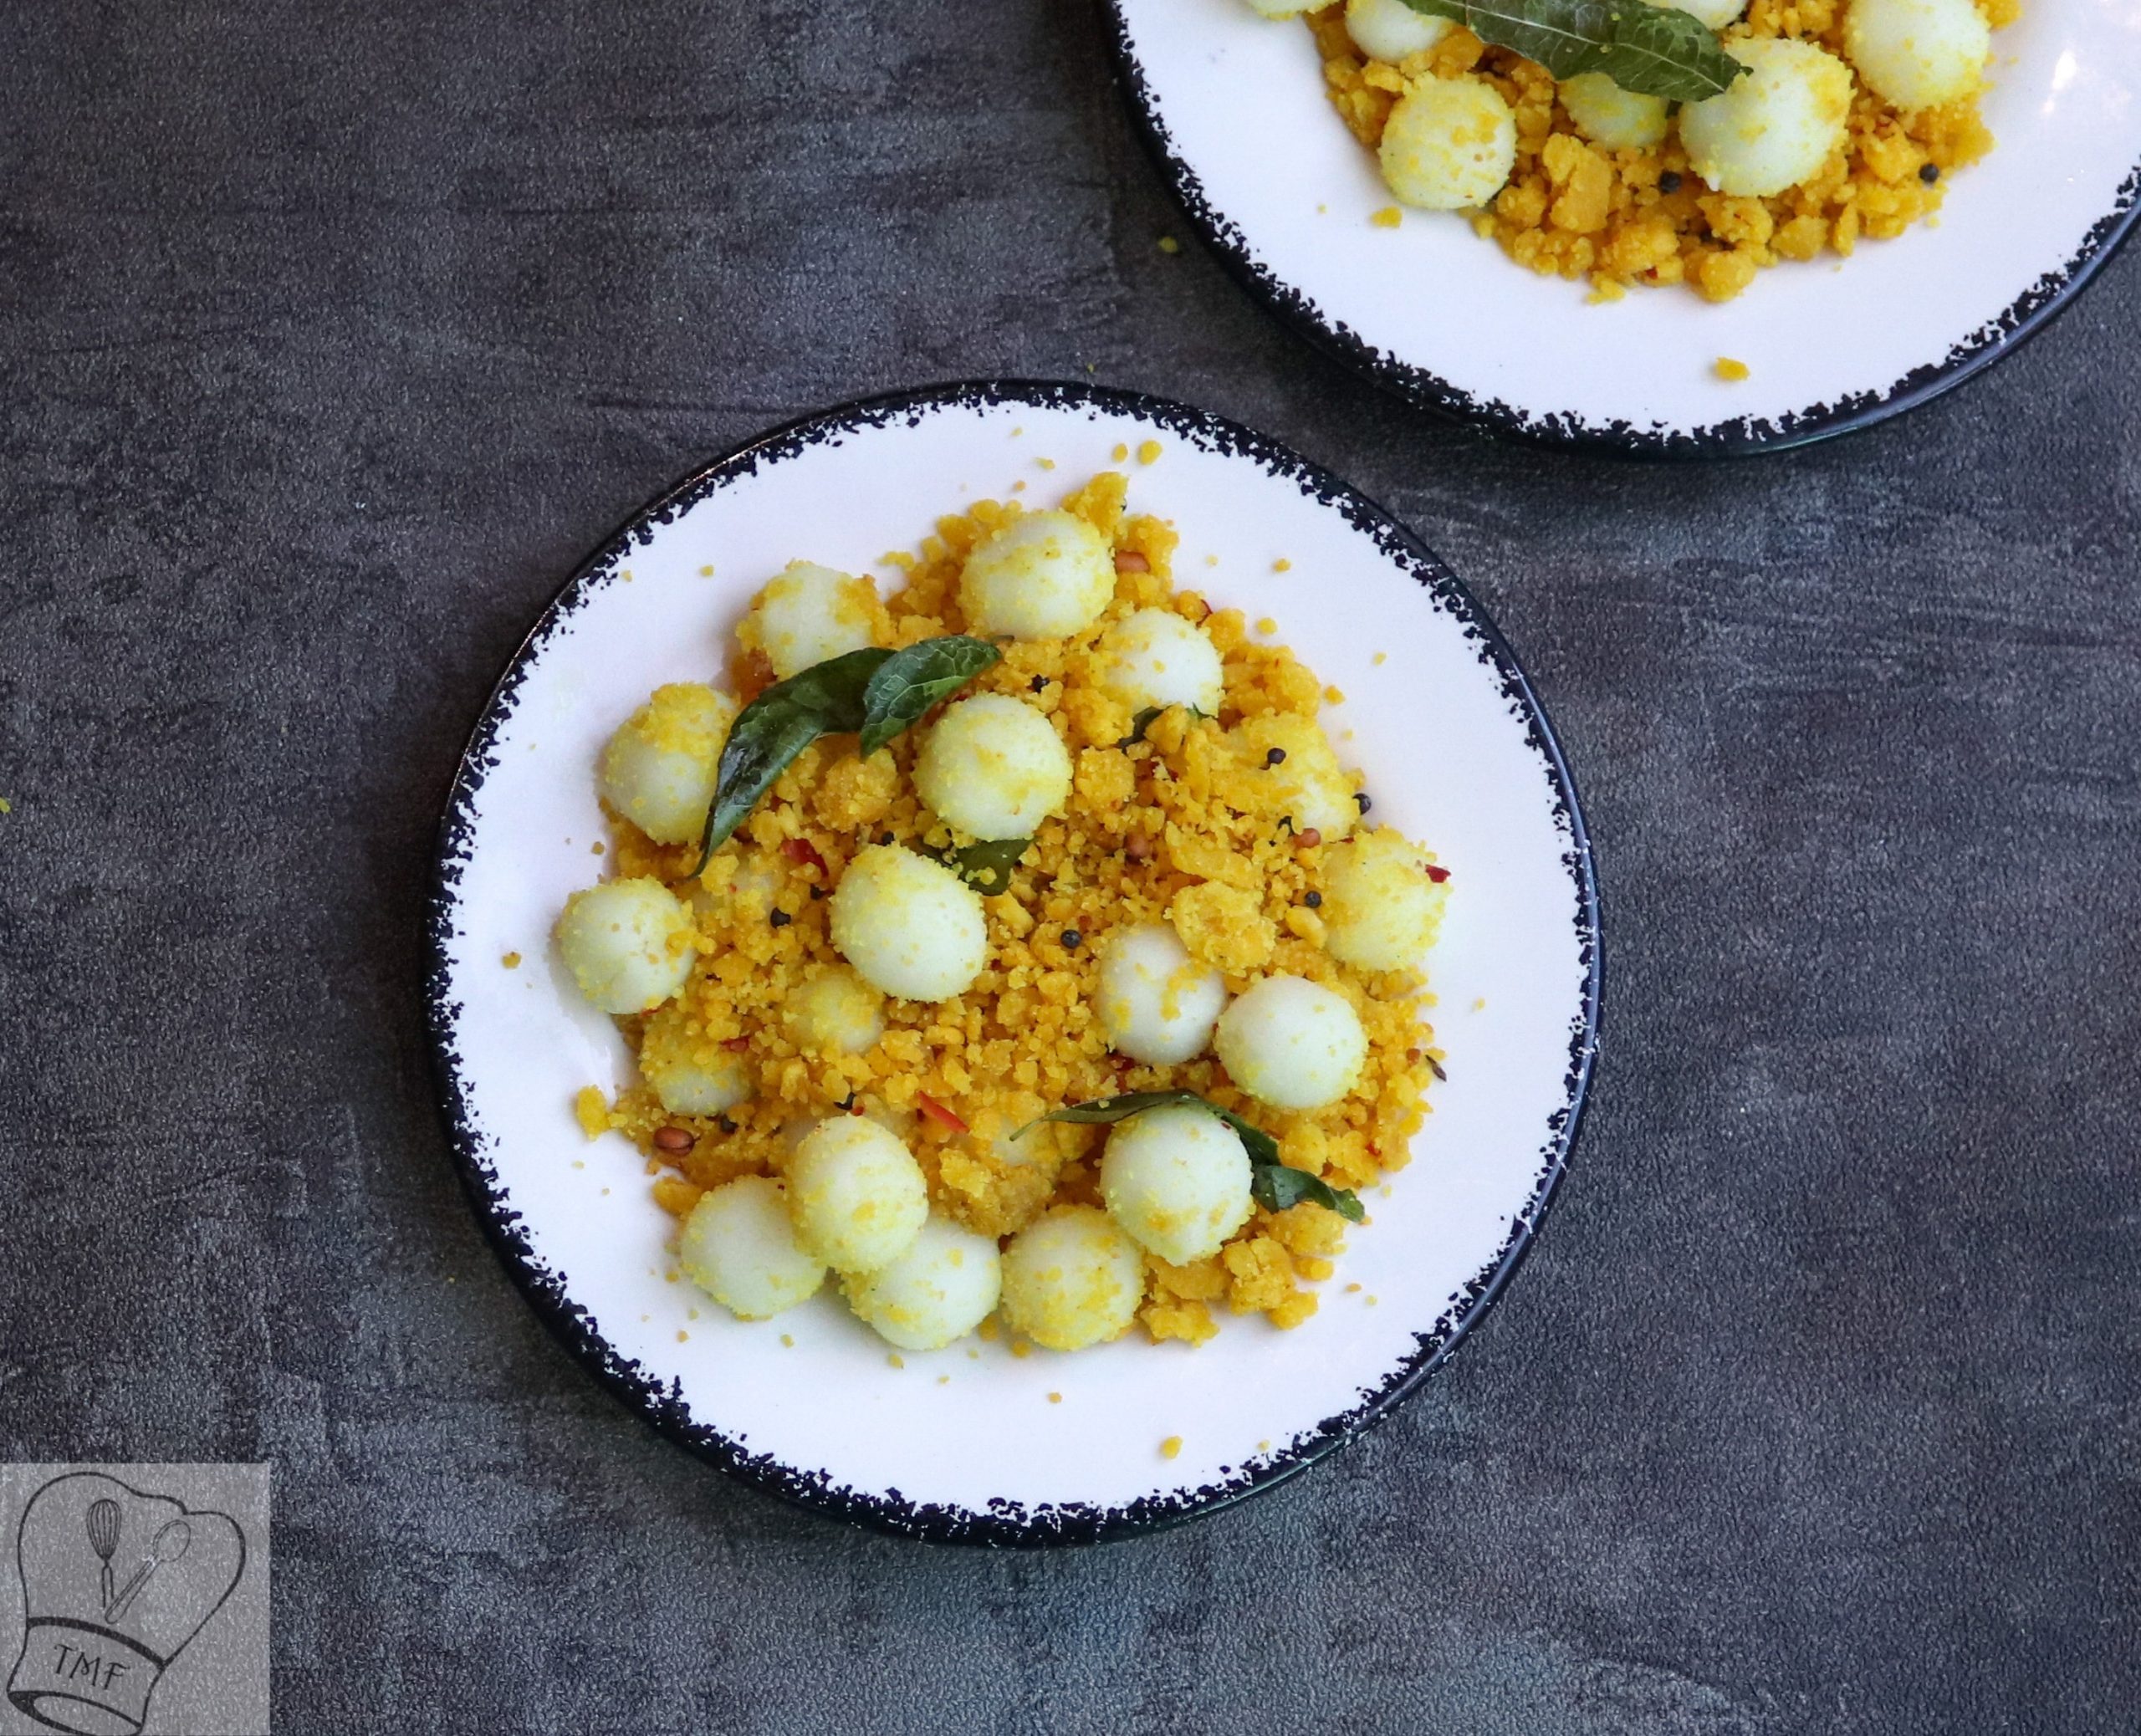
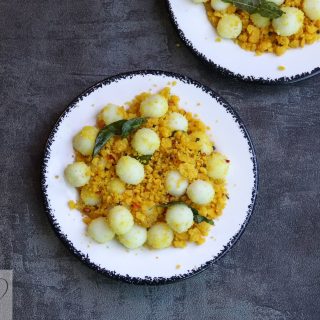
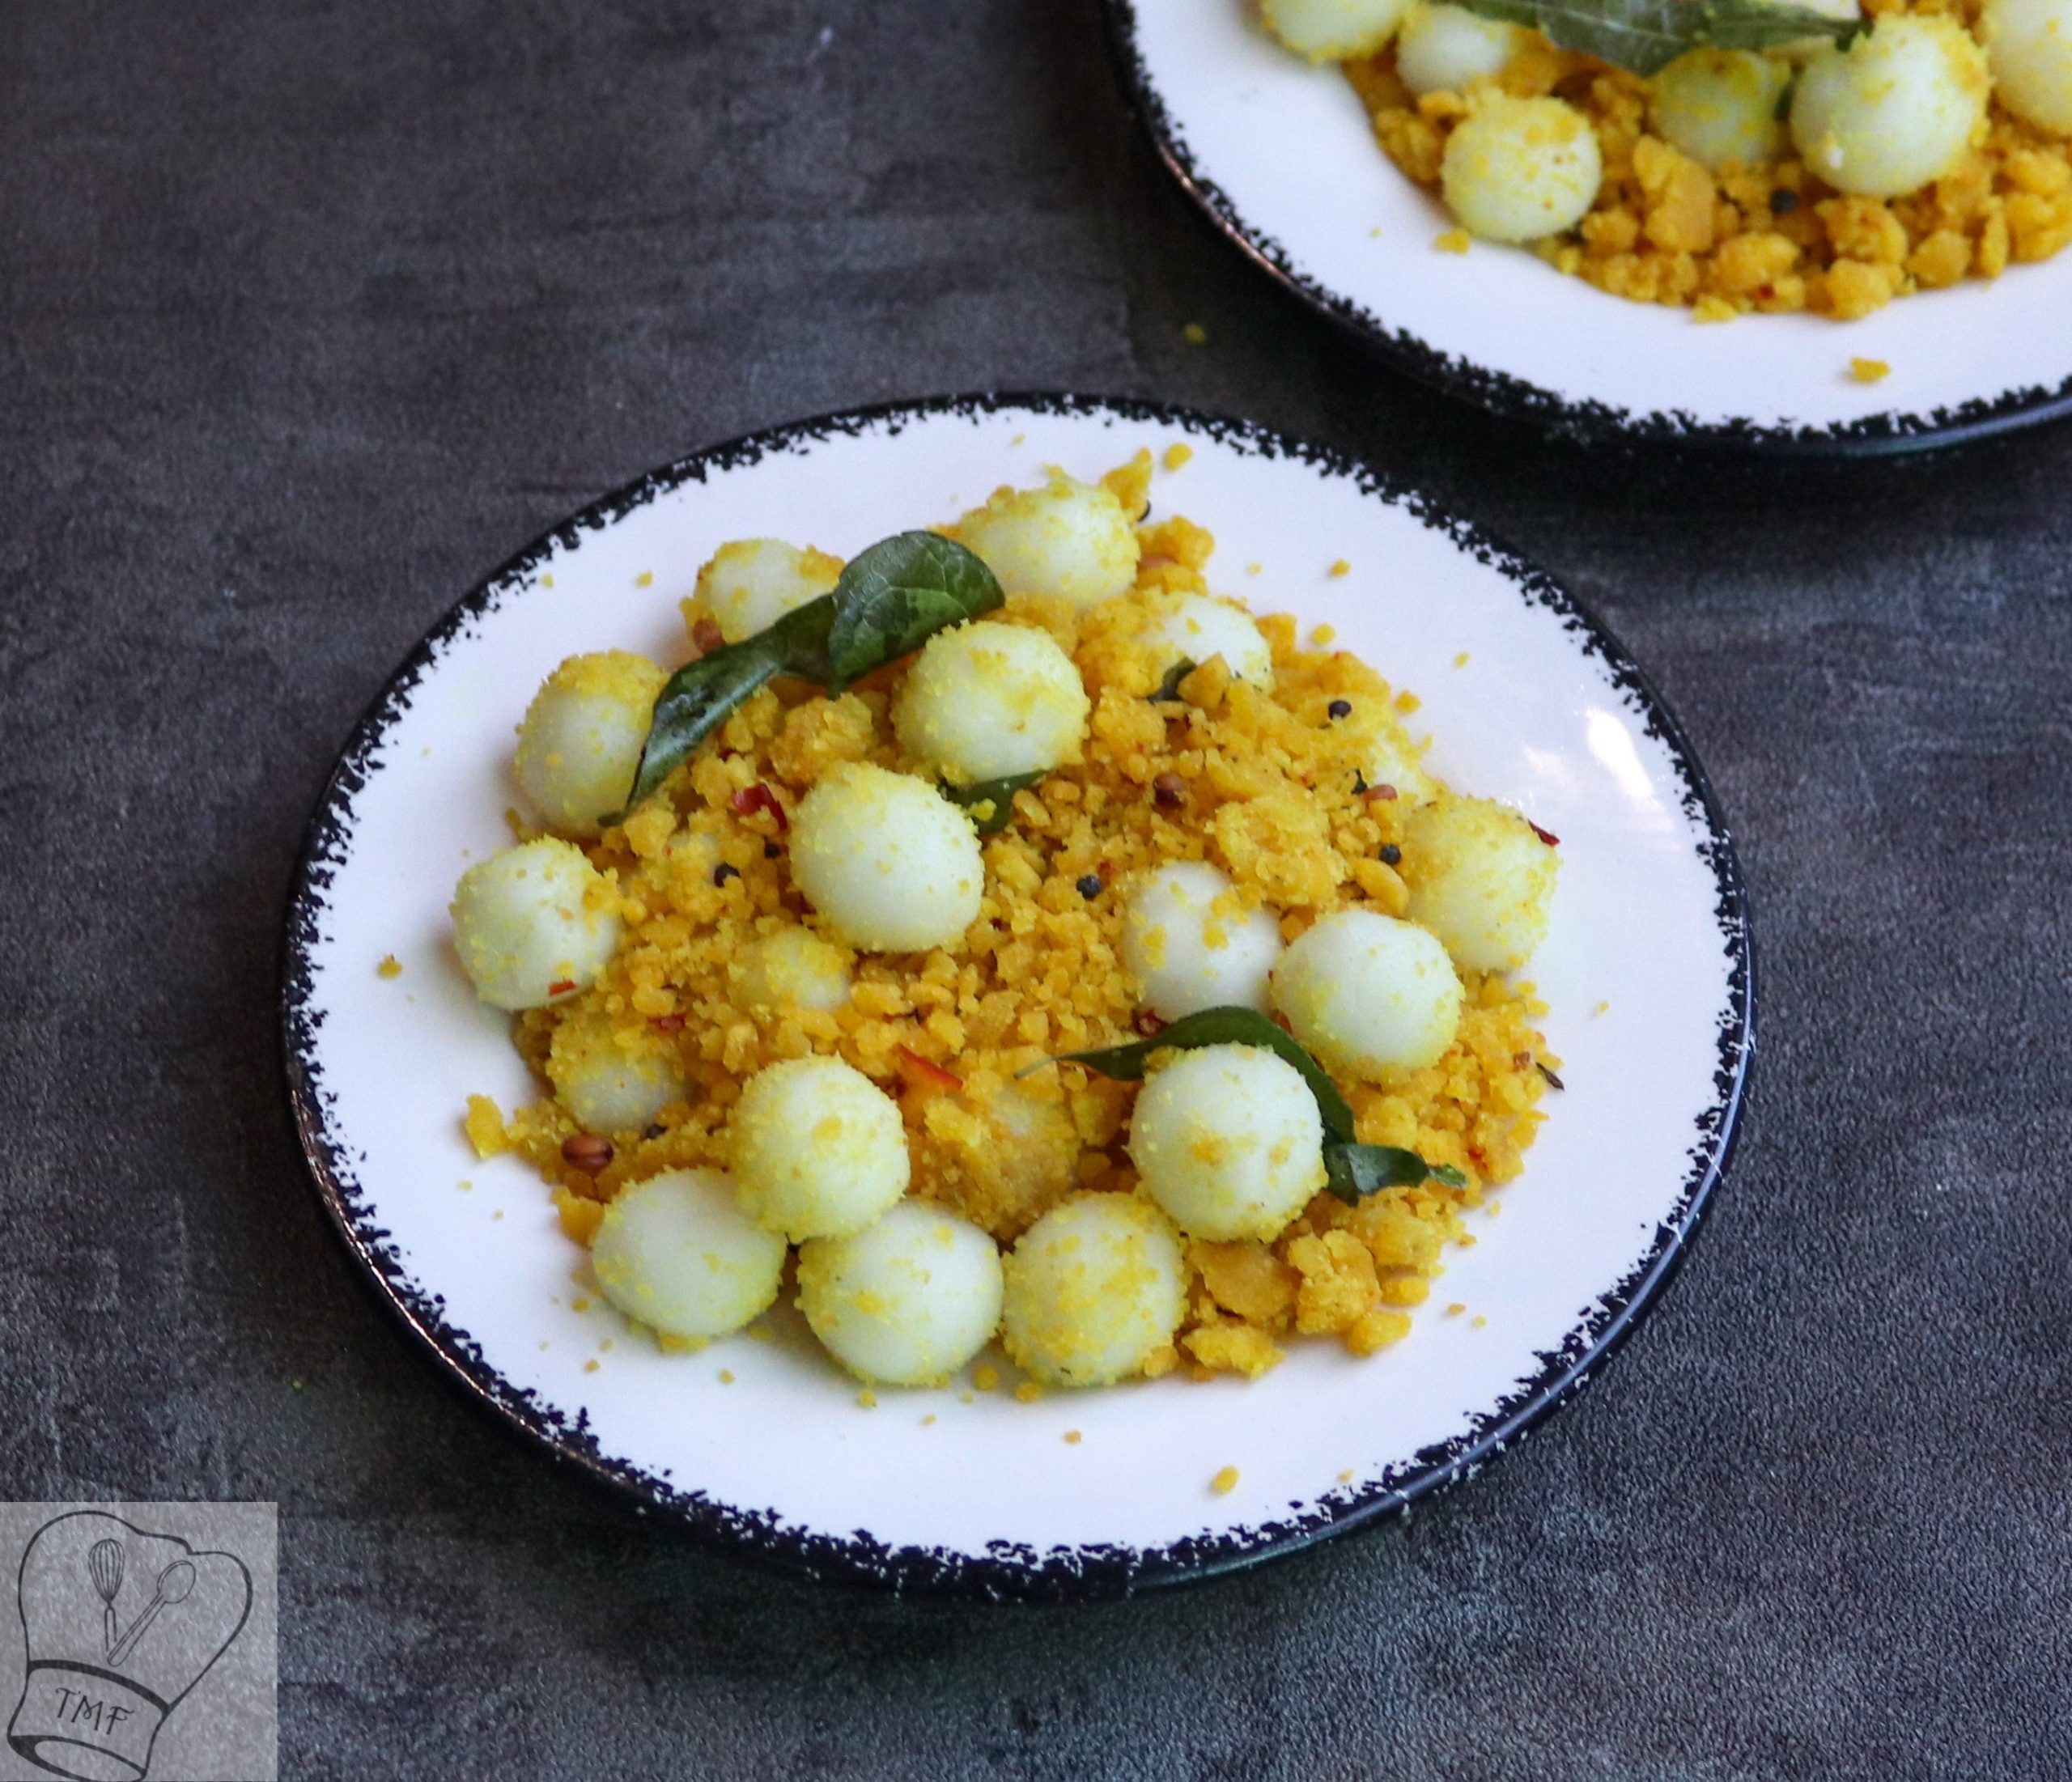
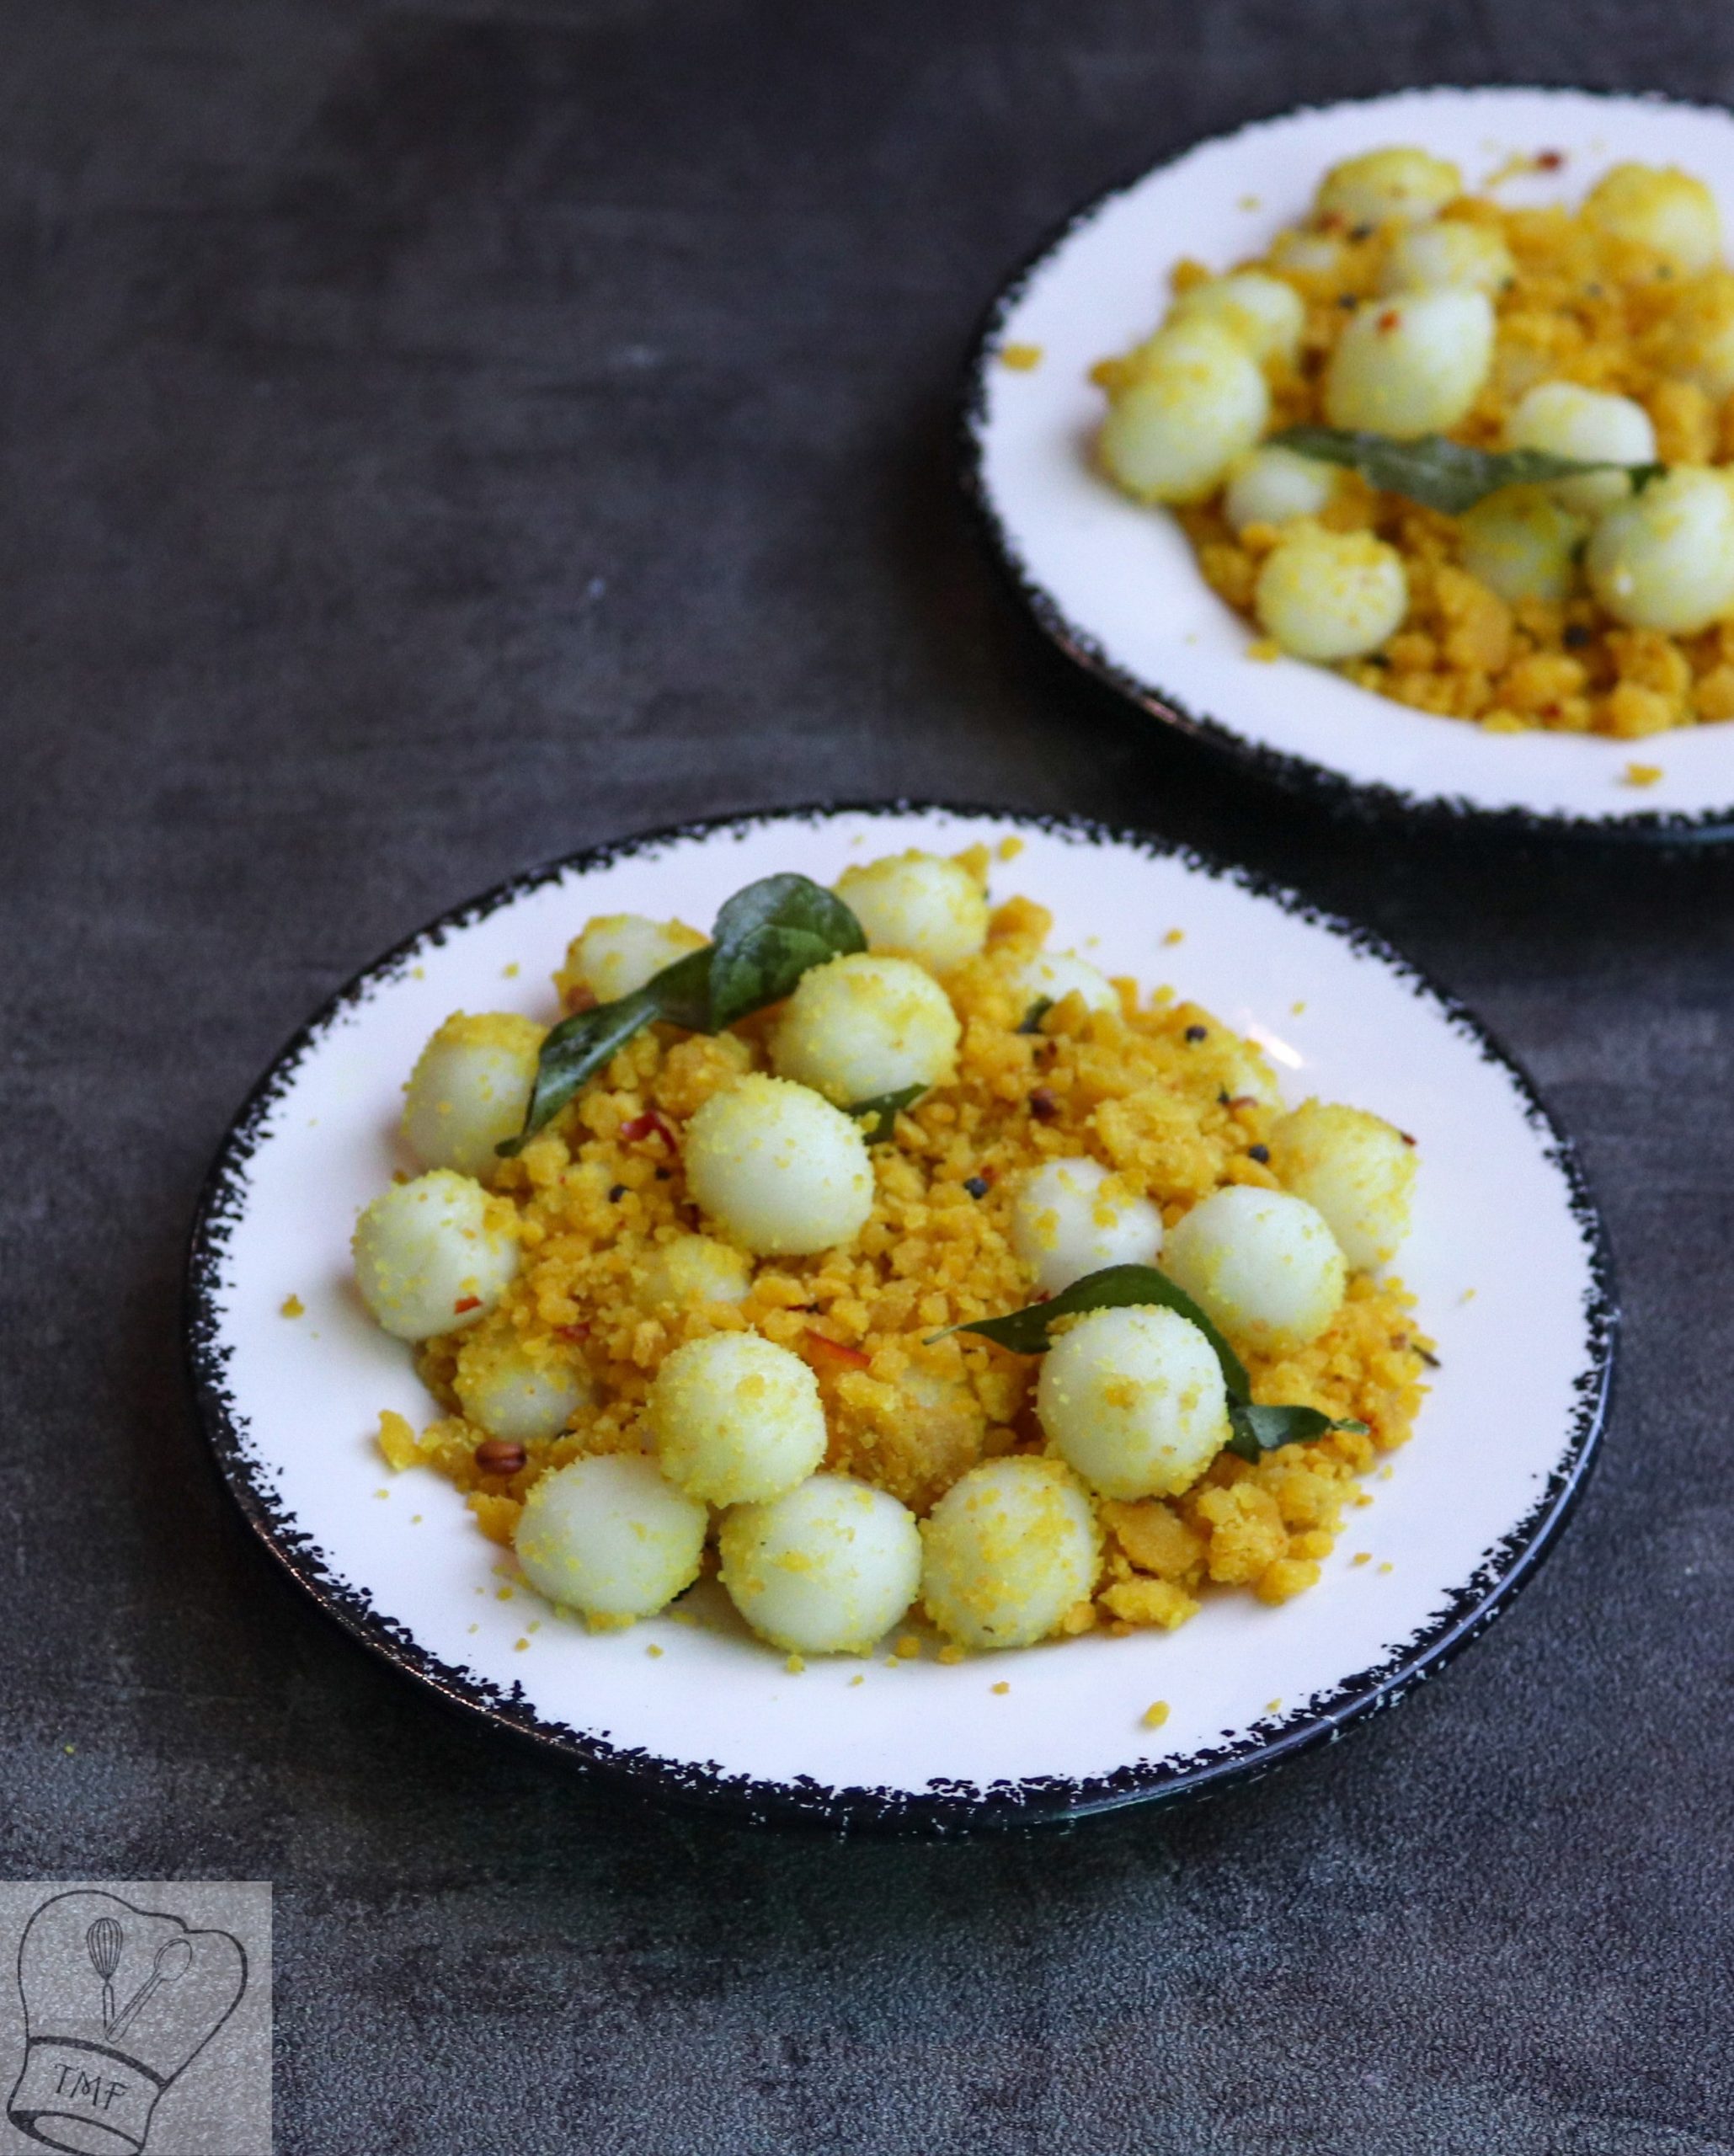
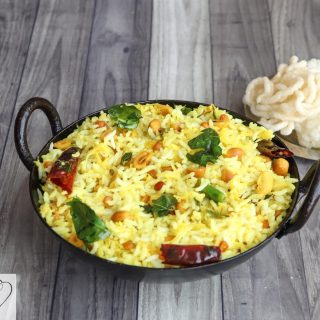
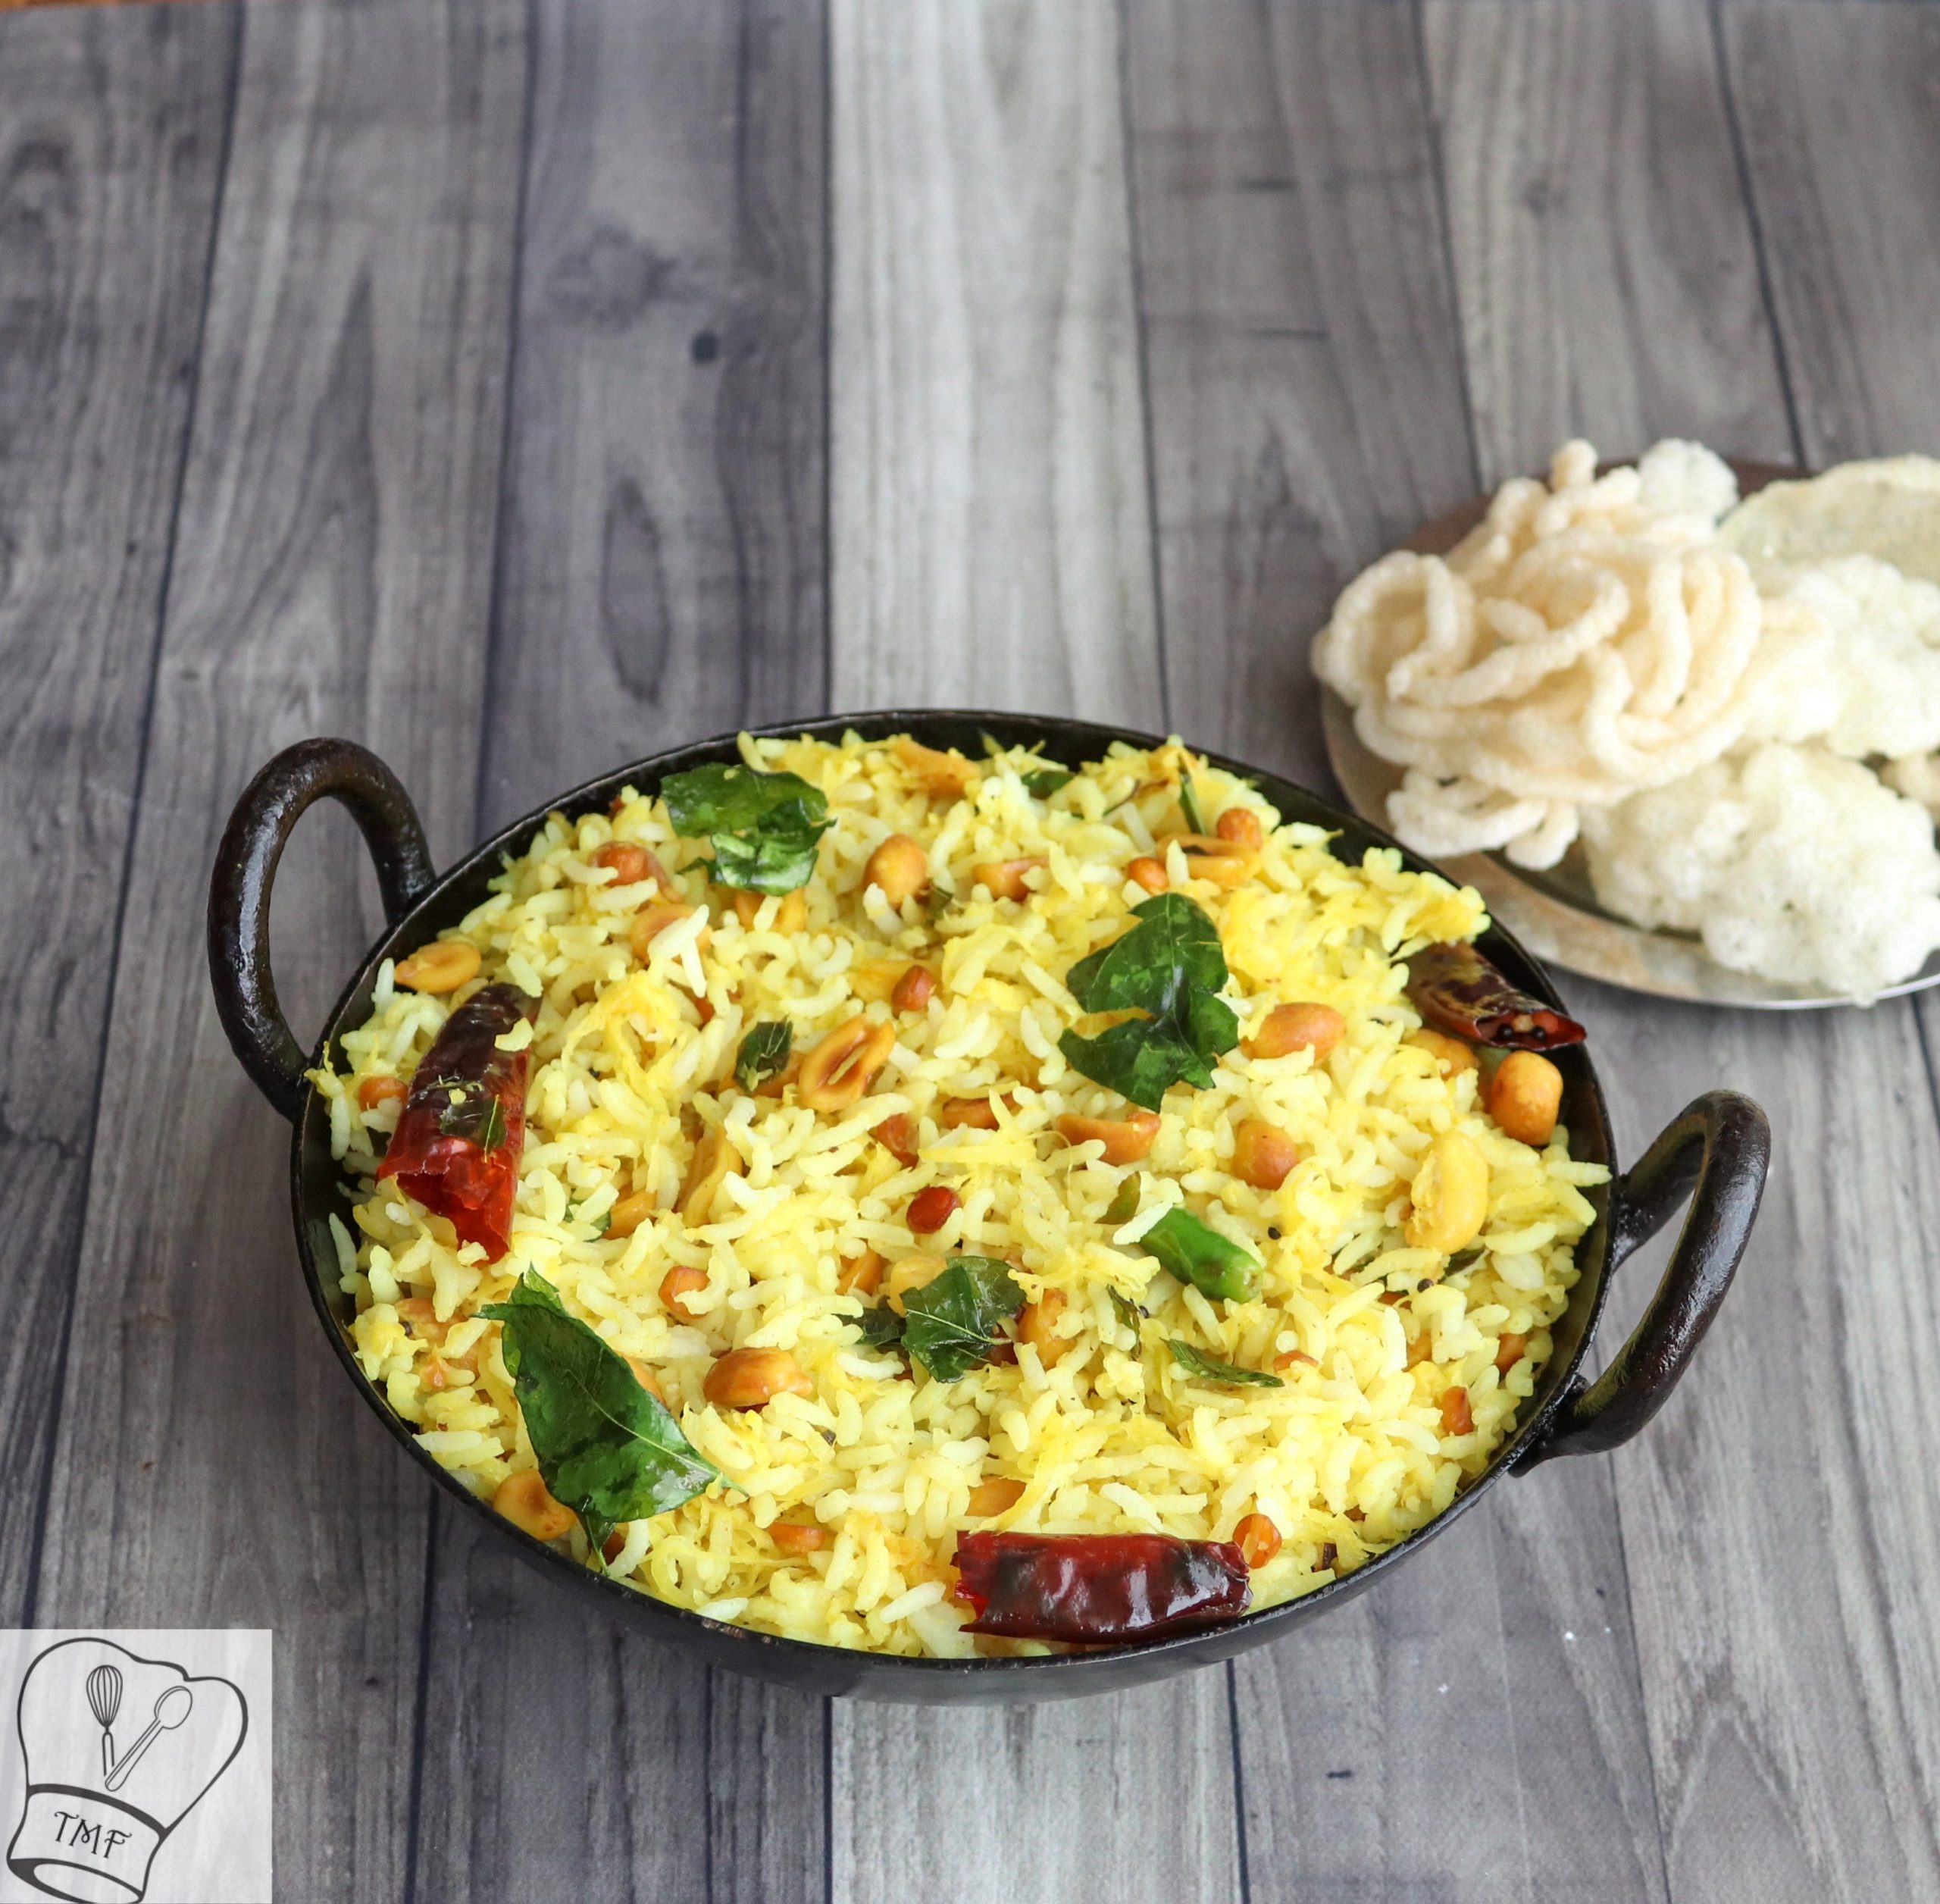
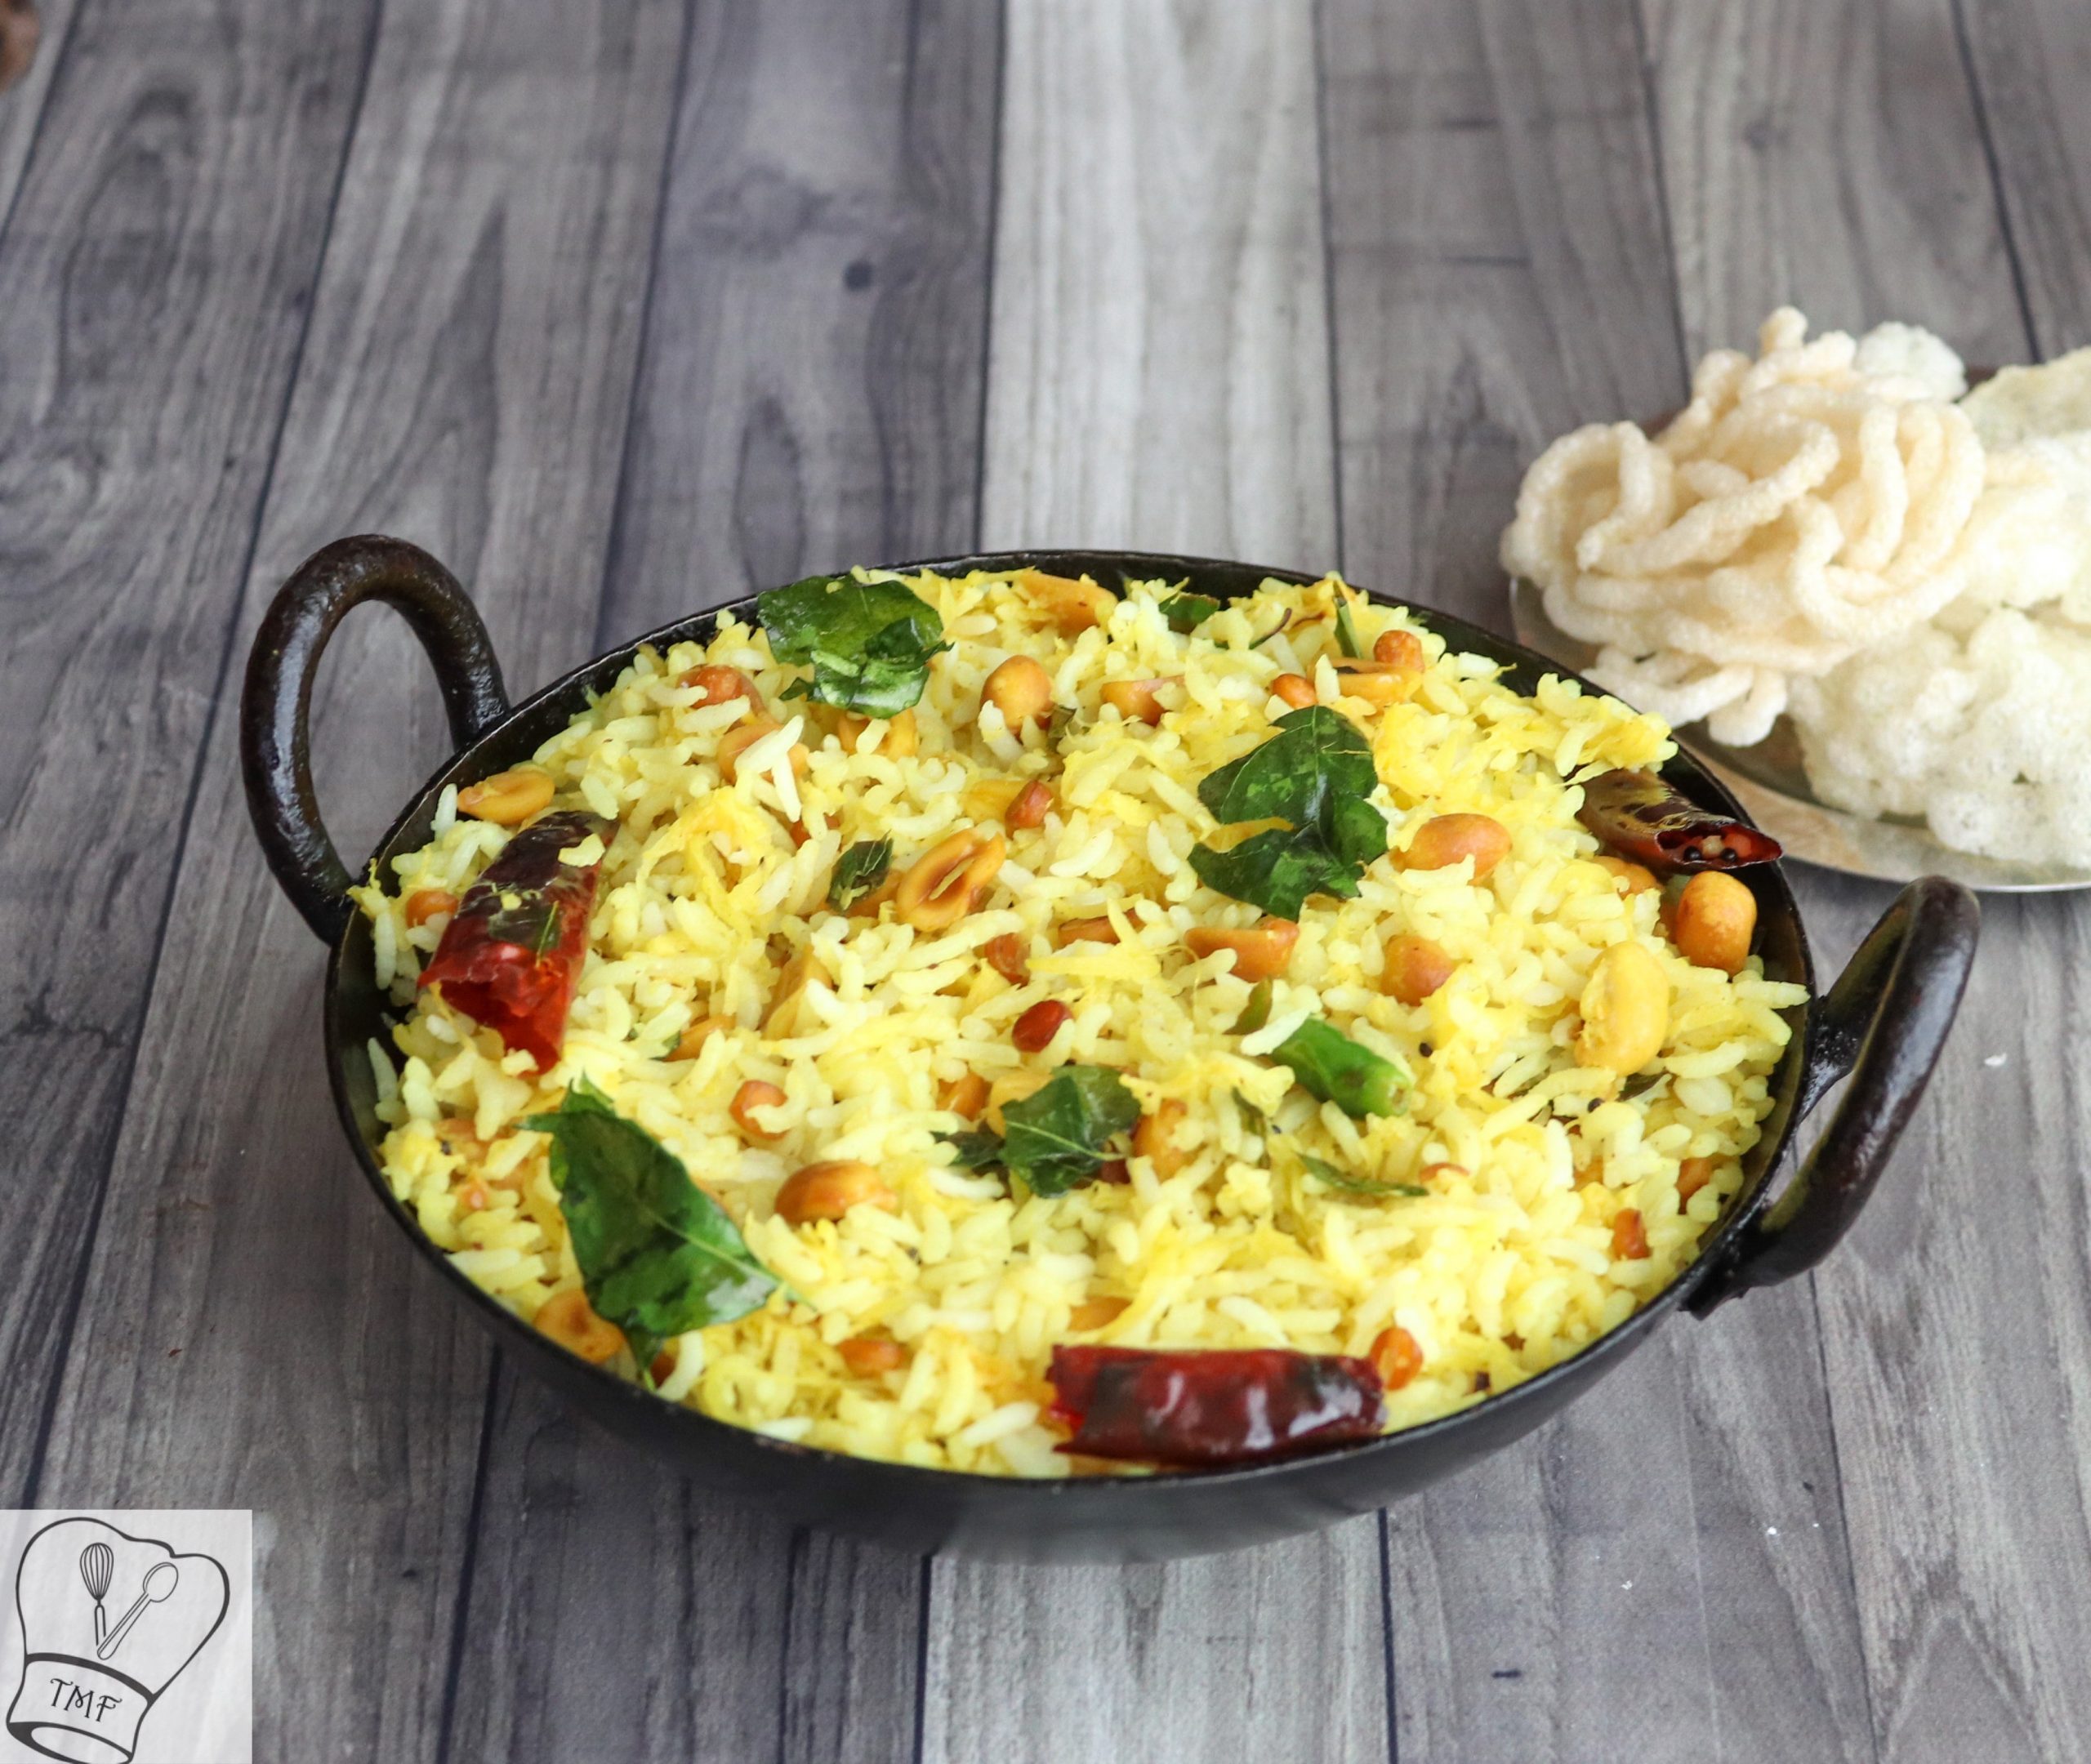
Puliyodarai | Tamarind rice | Pulihora | Pulisadam
Ingredients
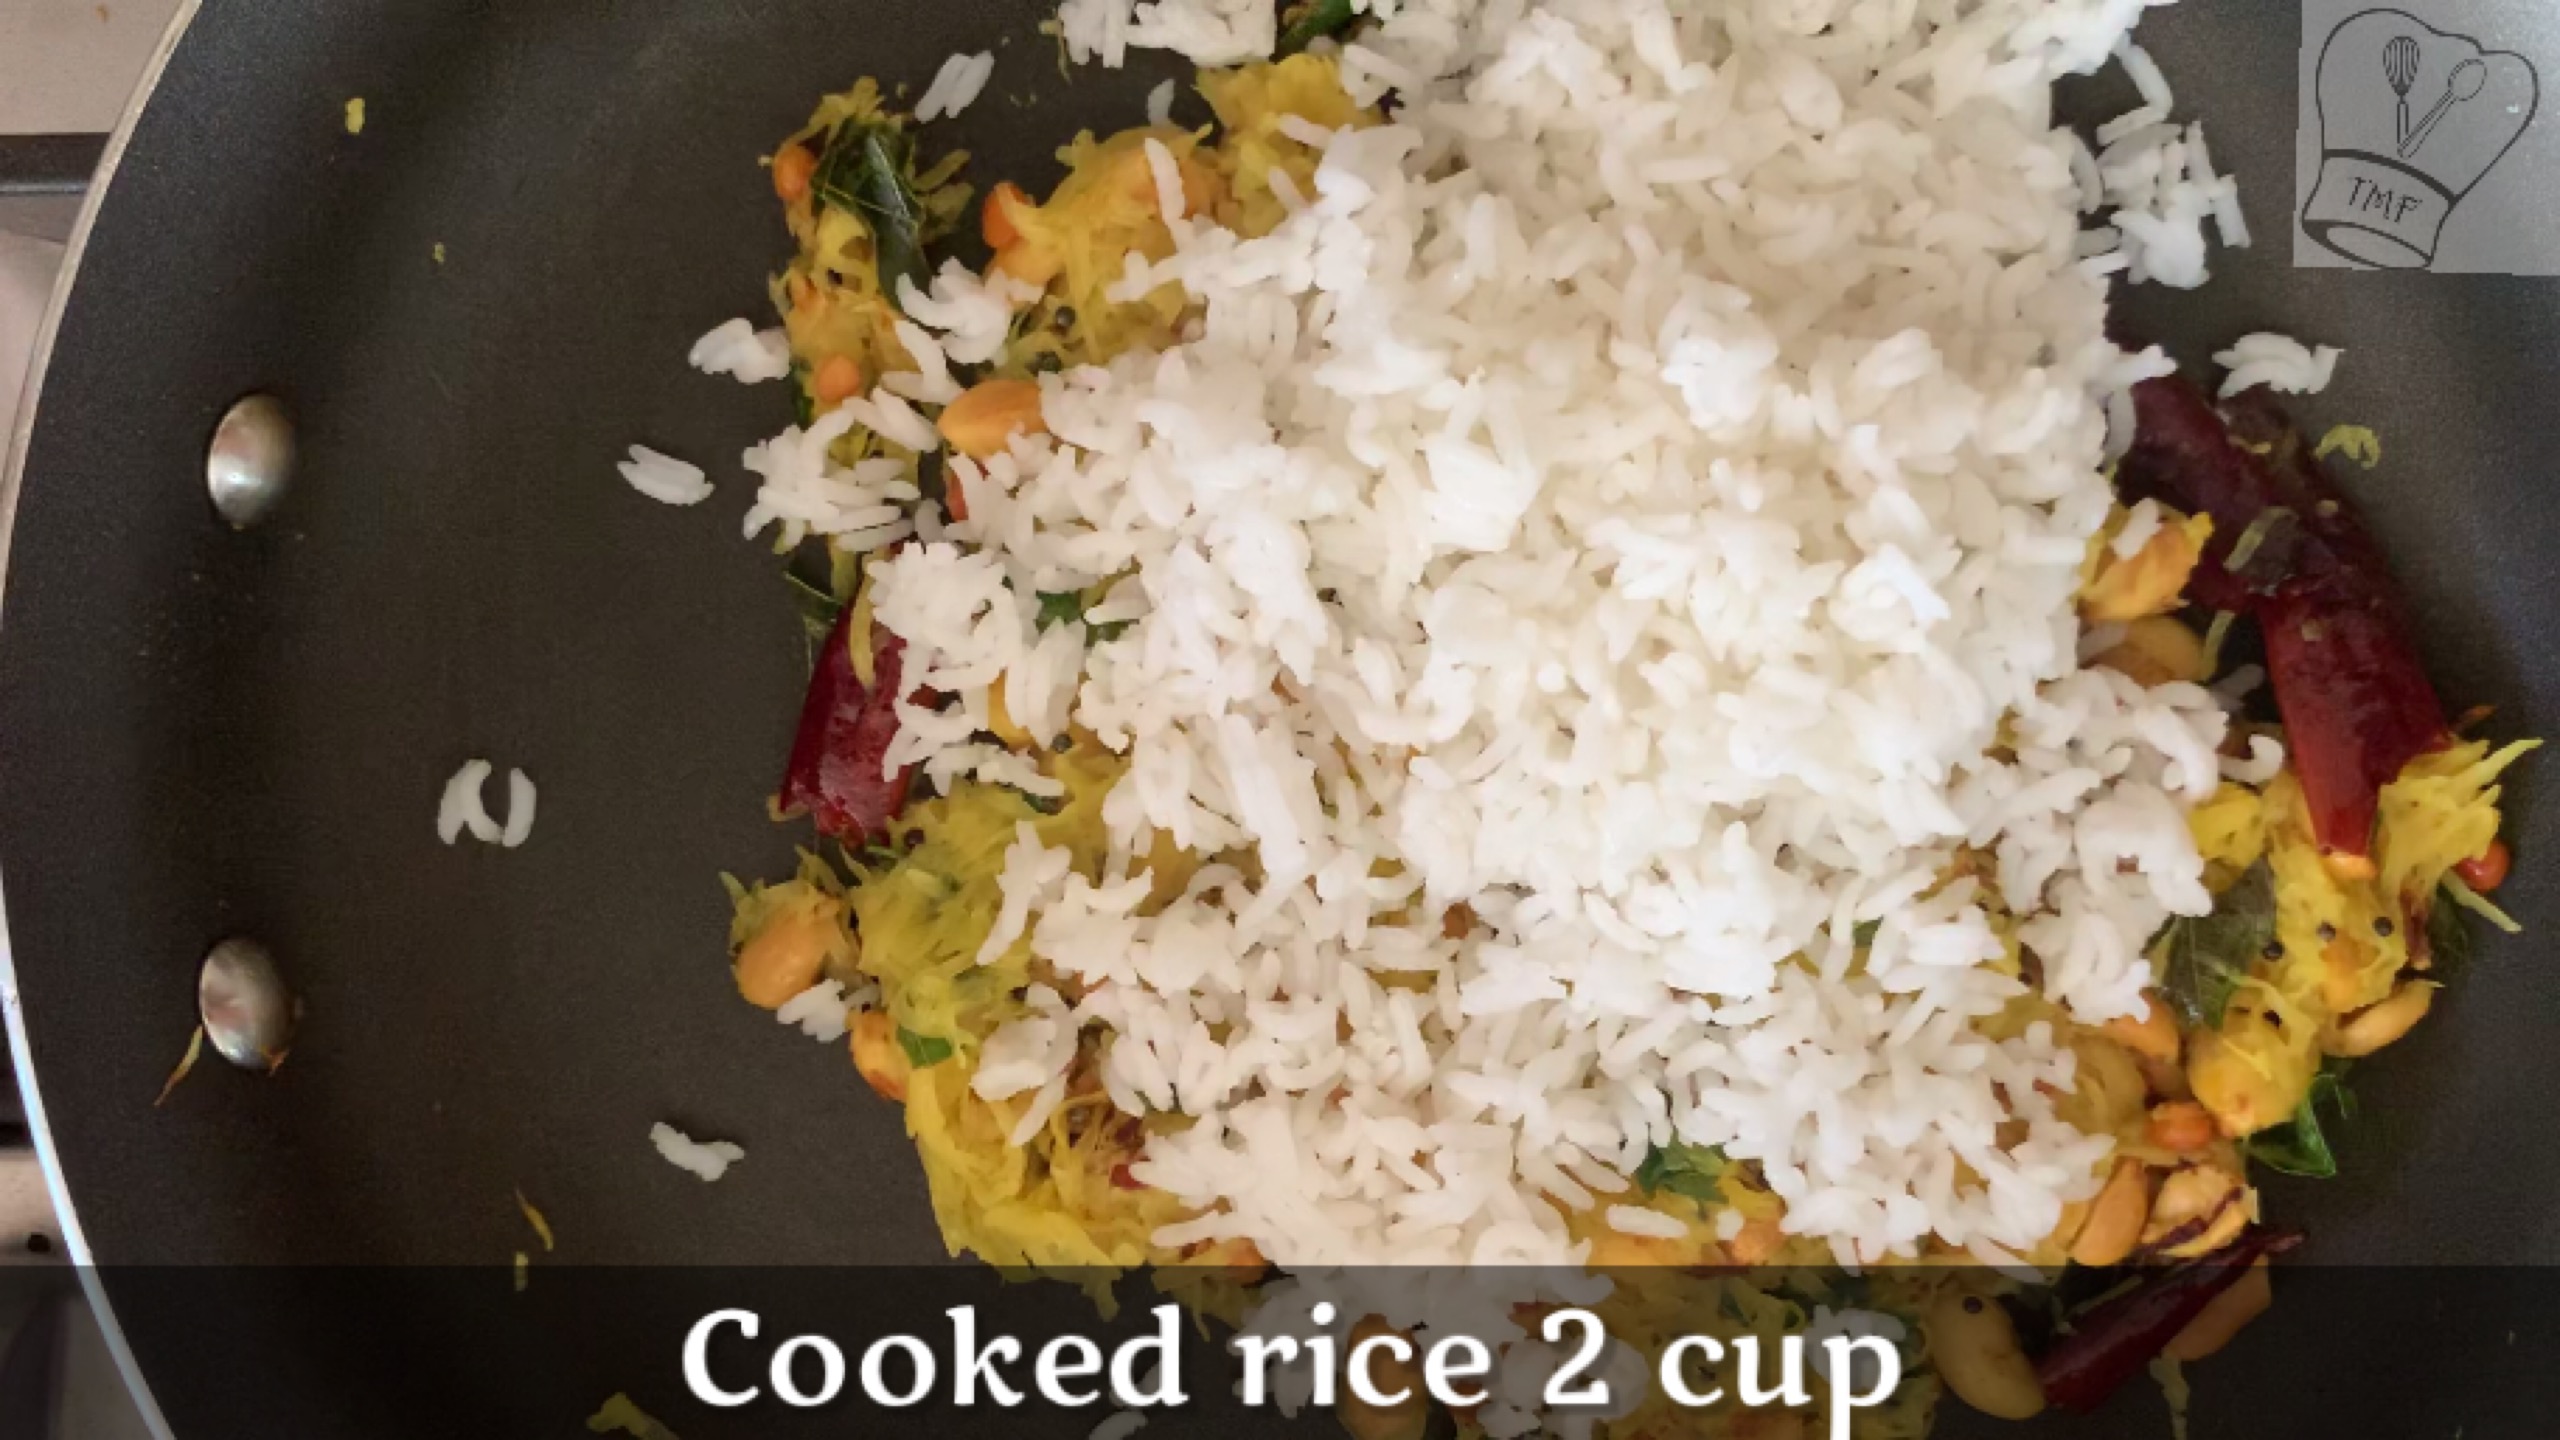
- Cooked rice - 2 cup + 1/4 cup
- pulikaichal - 3 tbsp
- oil - 1/4 tsp
- To temper:
- Mustard seeds - 1/4 tsp
- Channa Dal - 1/2 tsp
- Curry leaves - few
- Hing - generous pinch
- Peanuts - 1 tablespoon approx
- Red Chilli - 1
- Sesame oil - 1/2 tbsp
Instructions
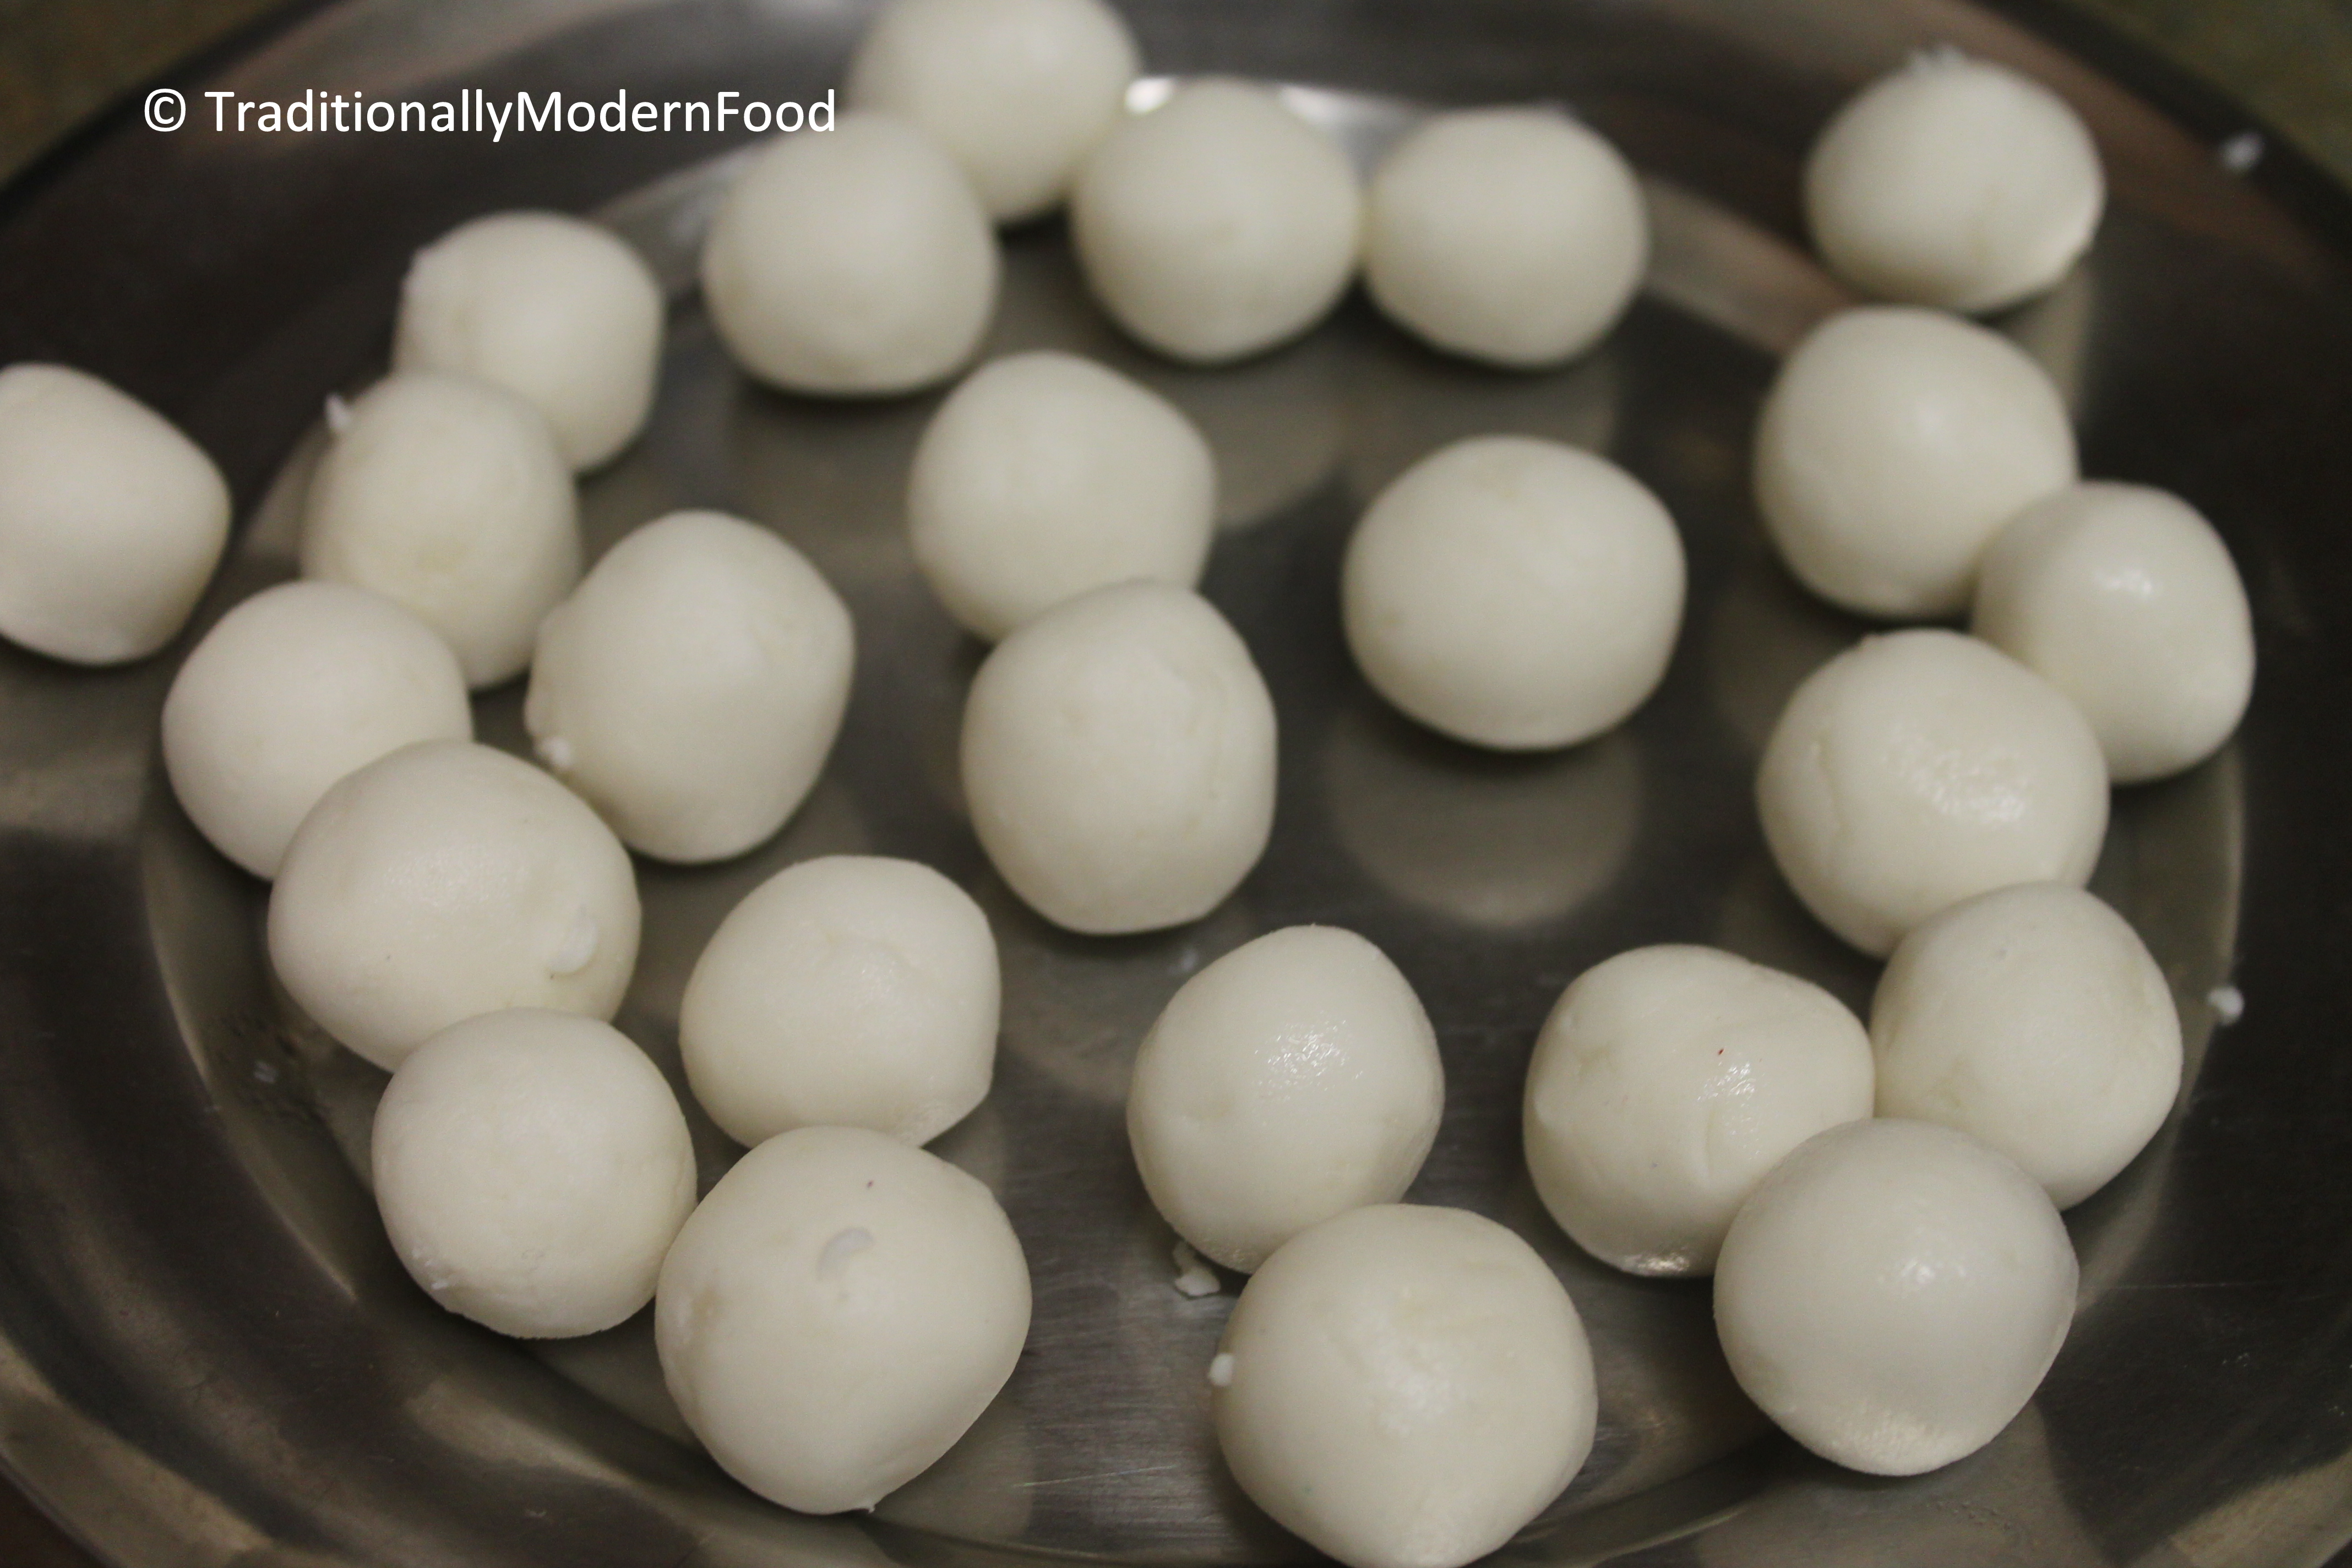
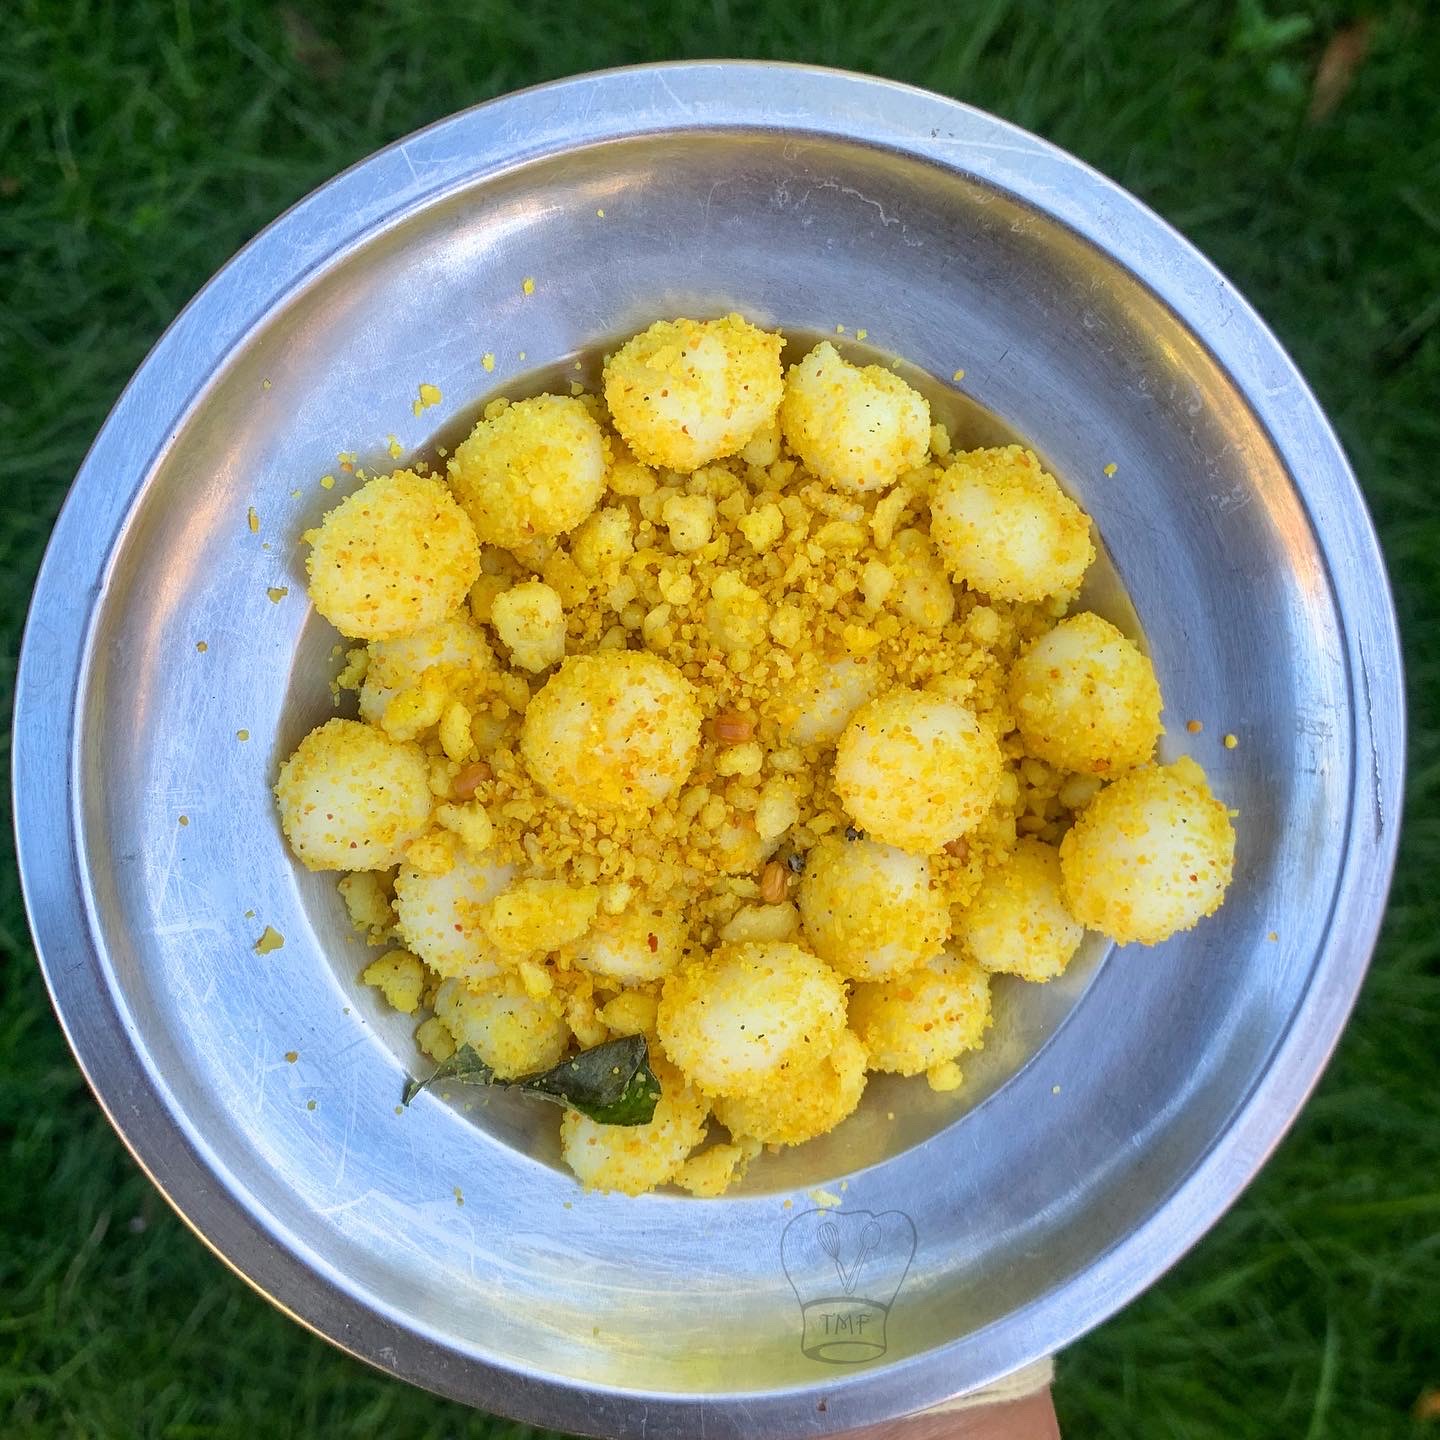
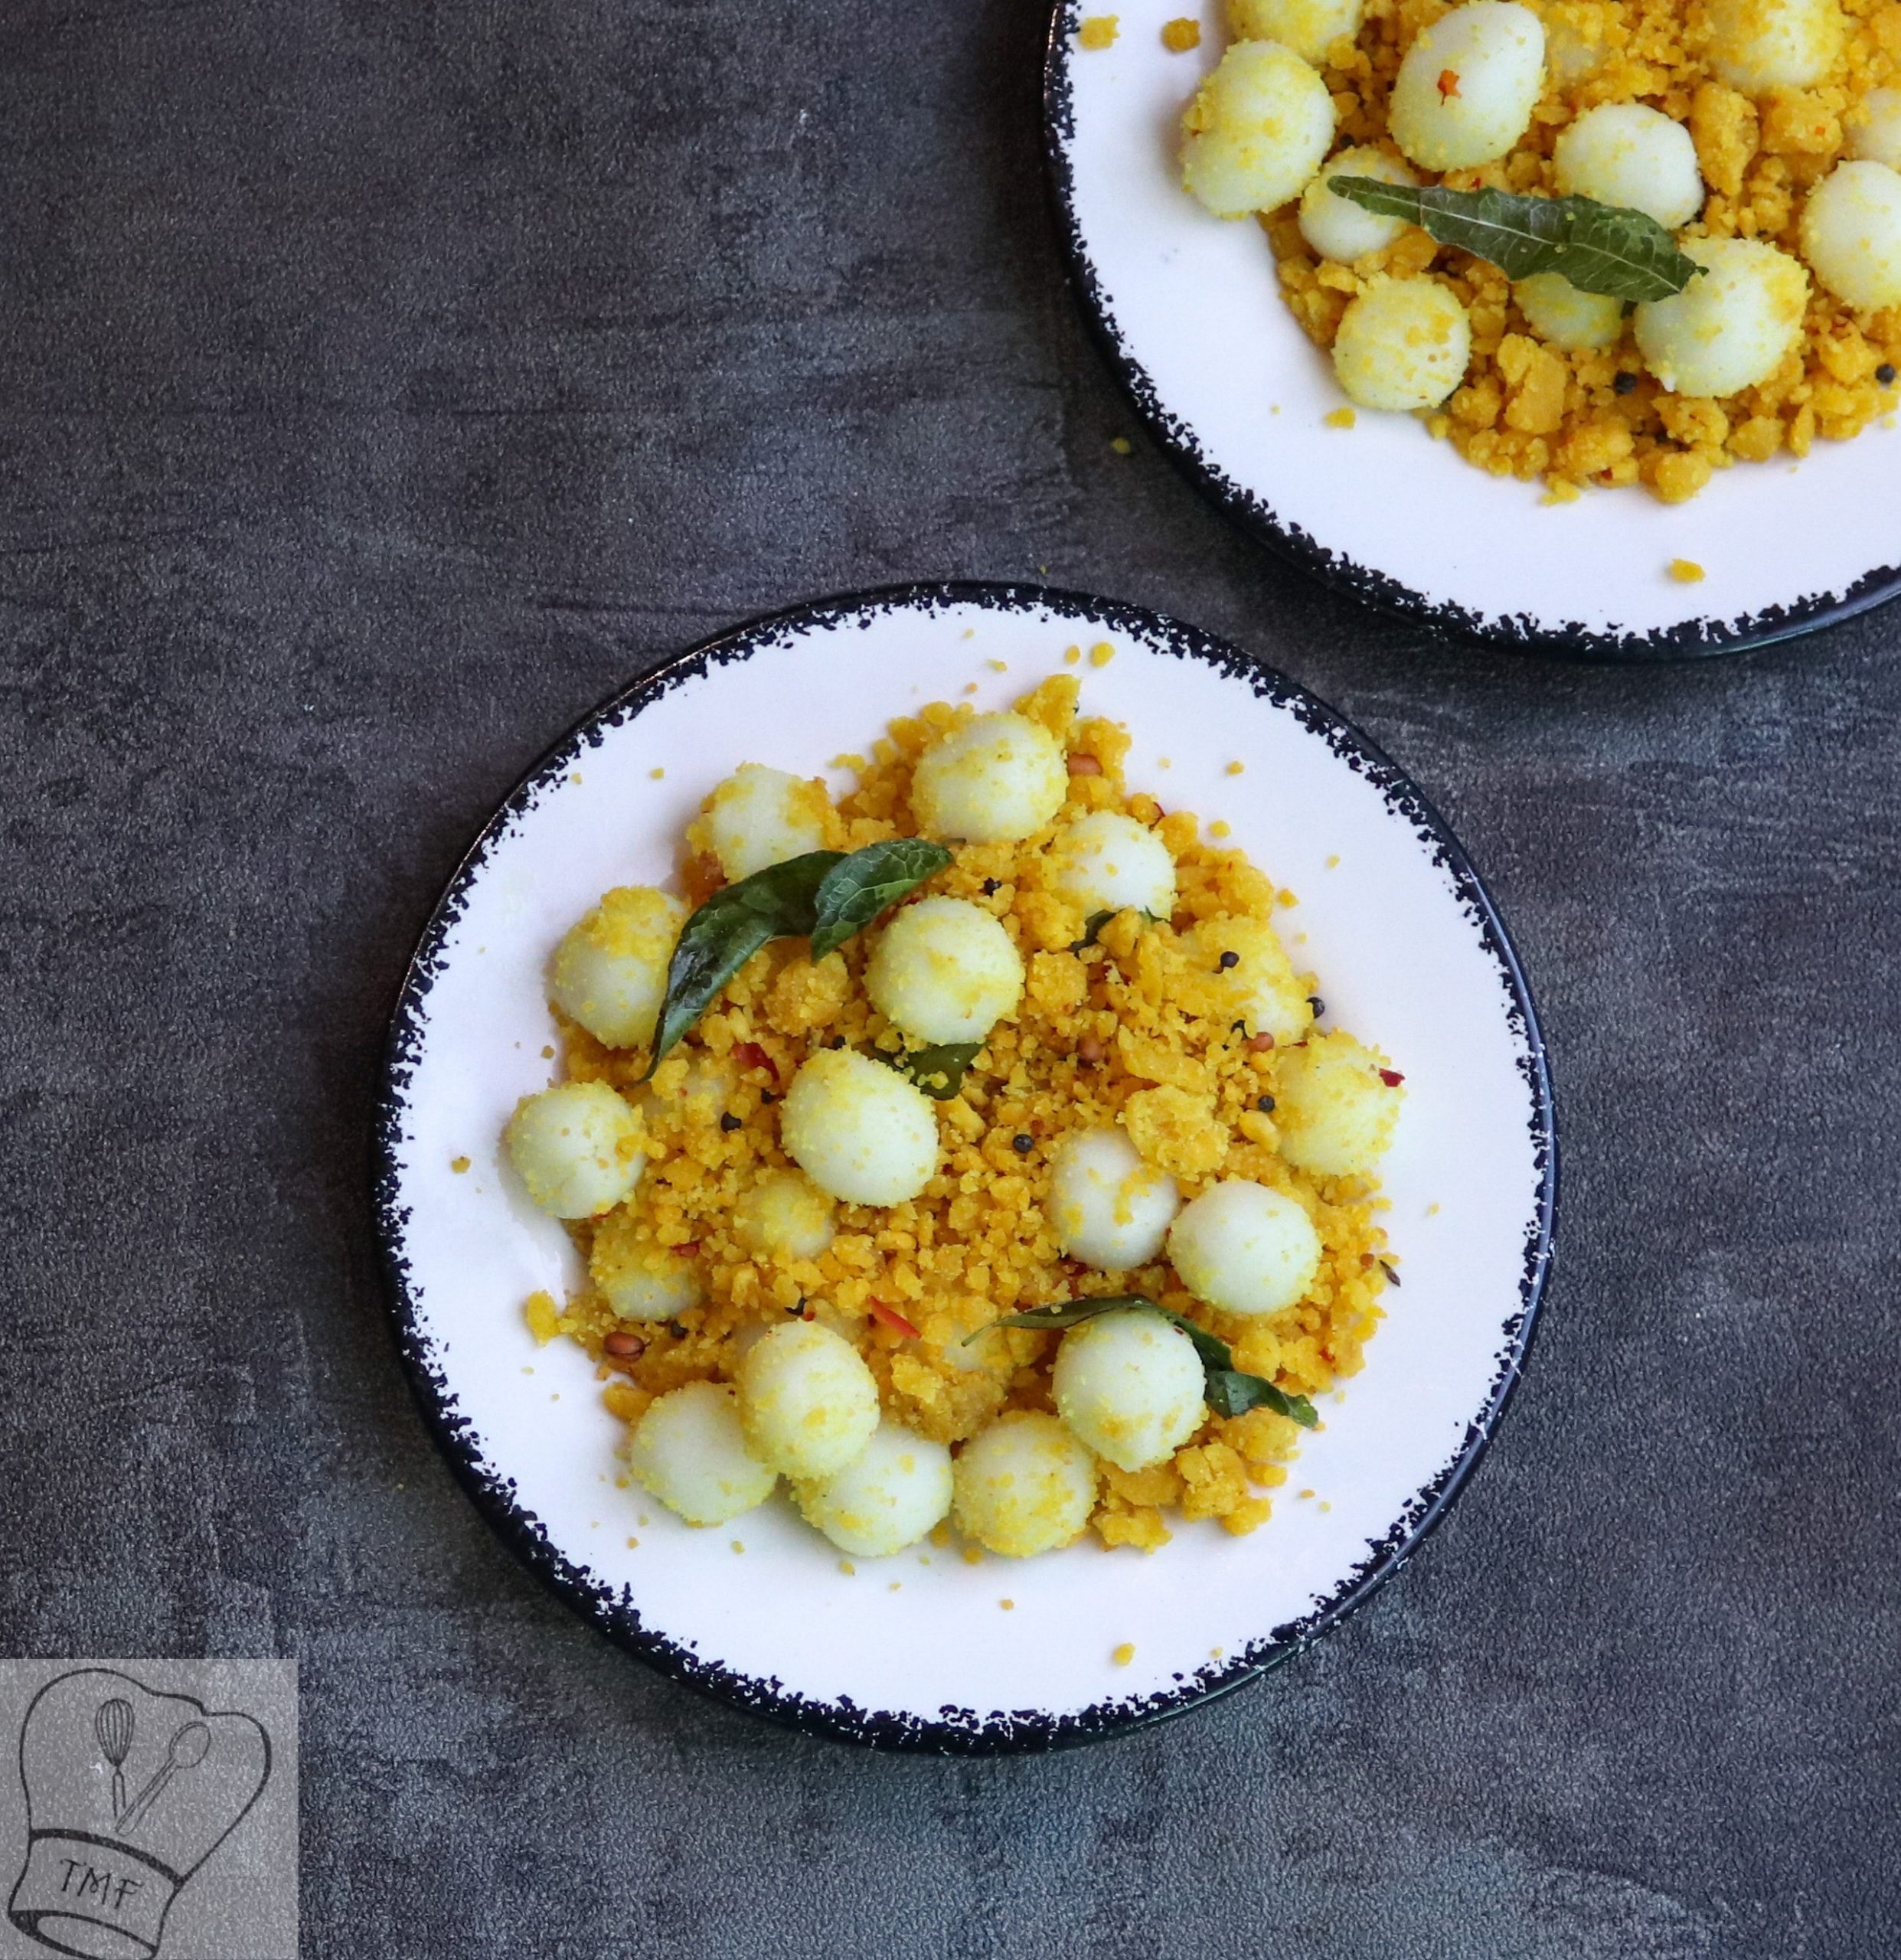
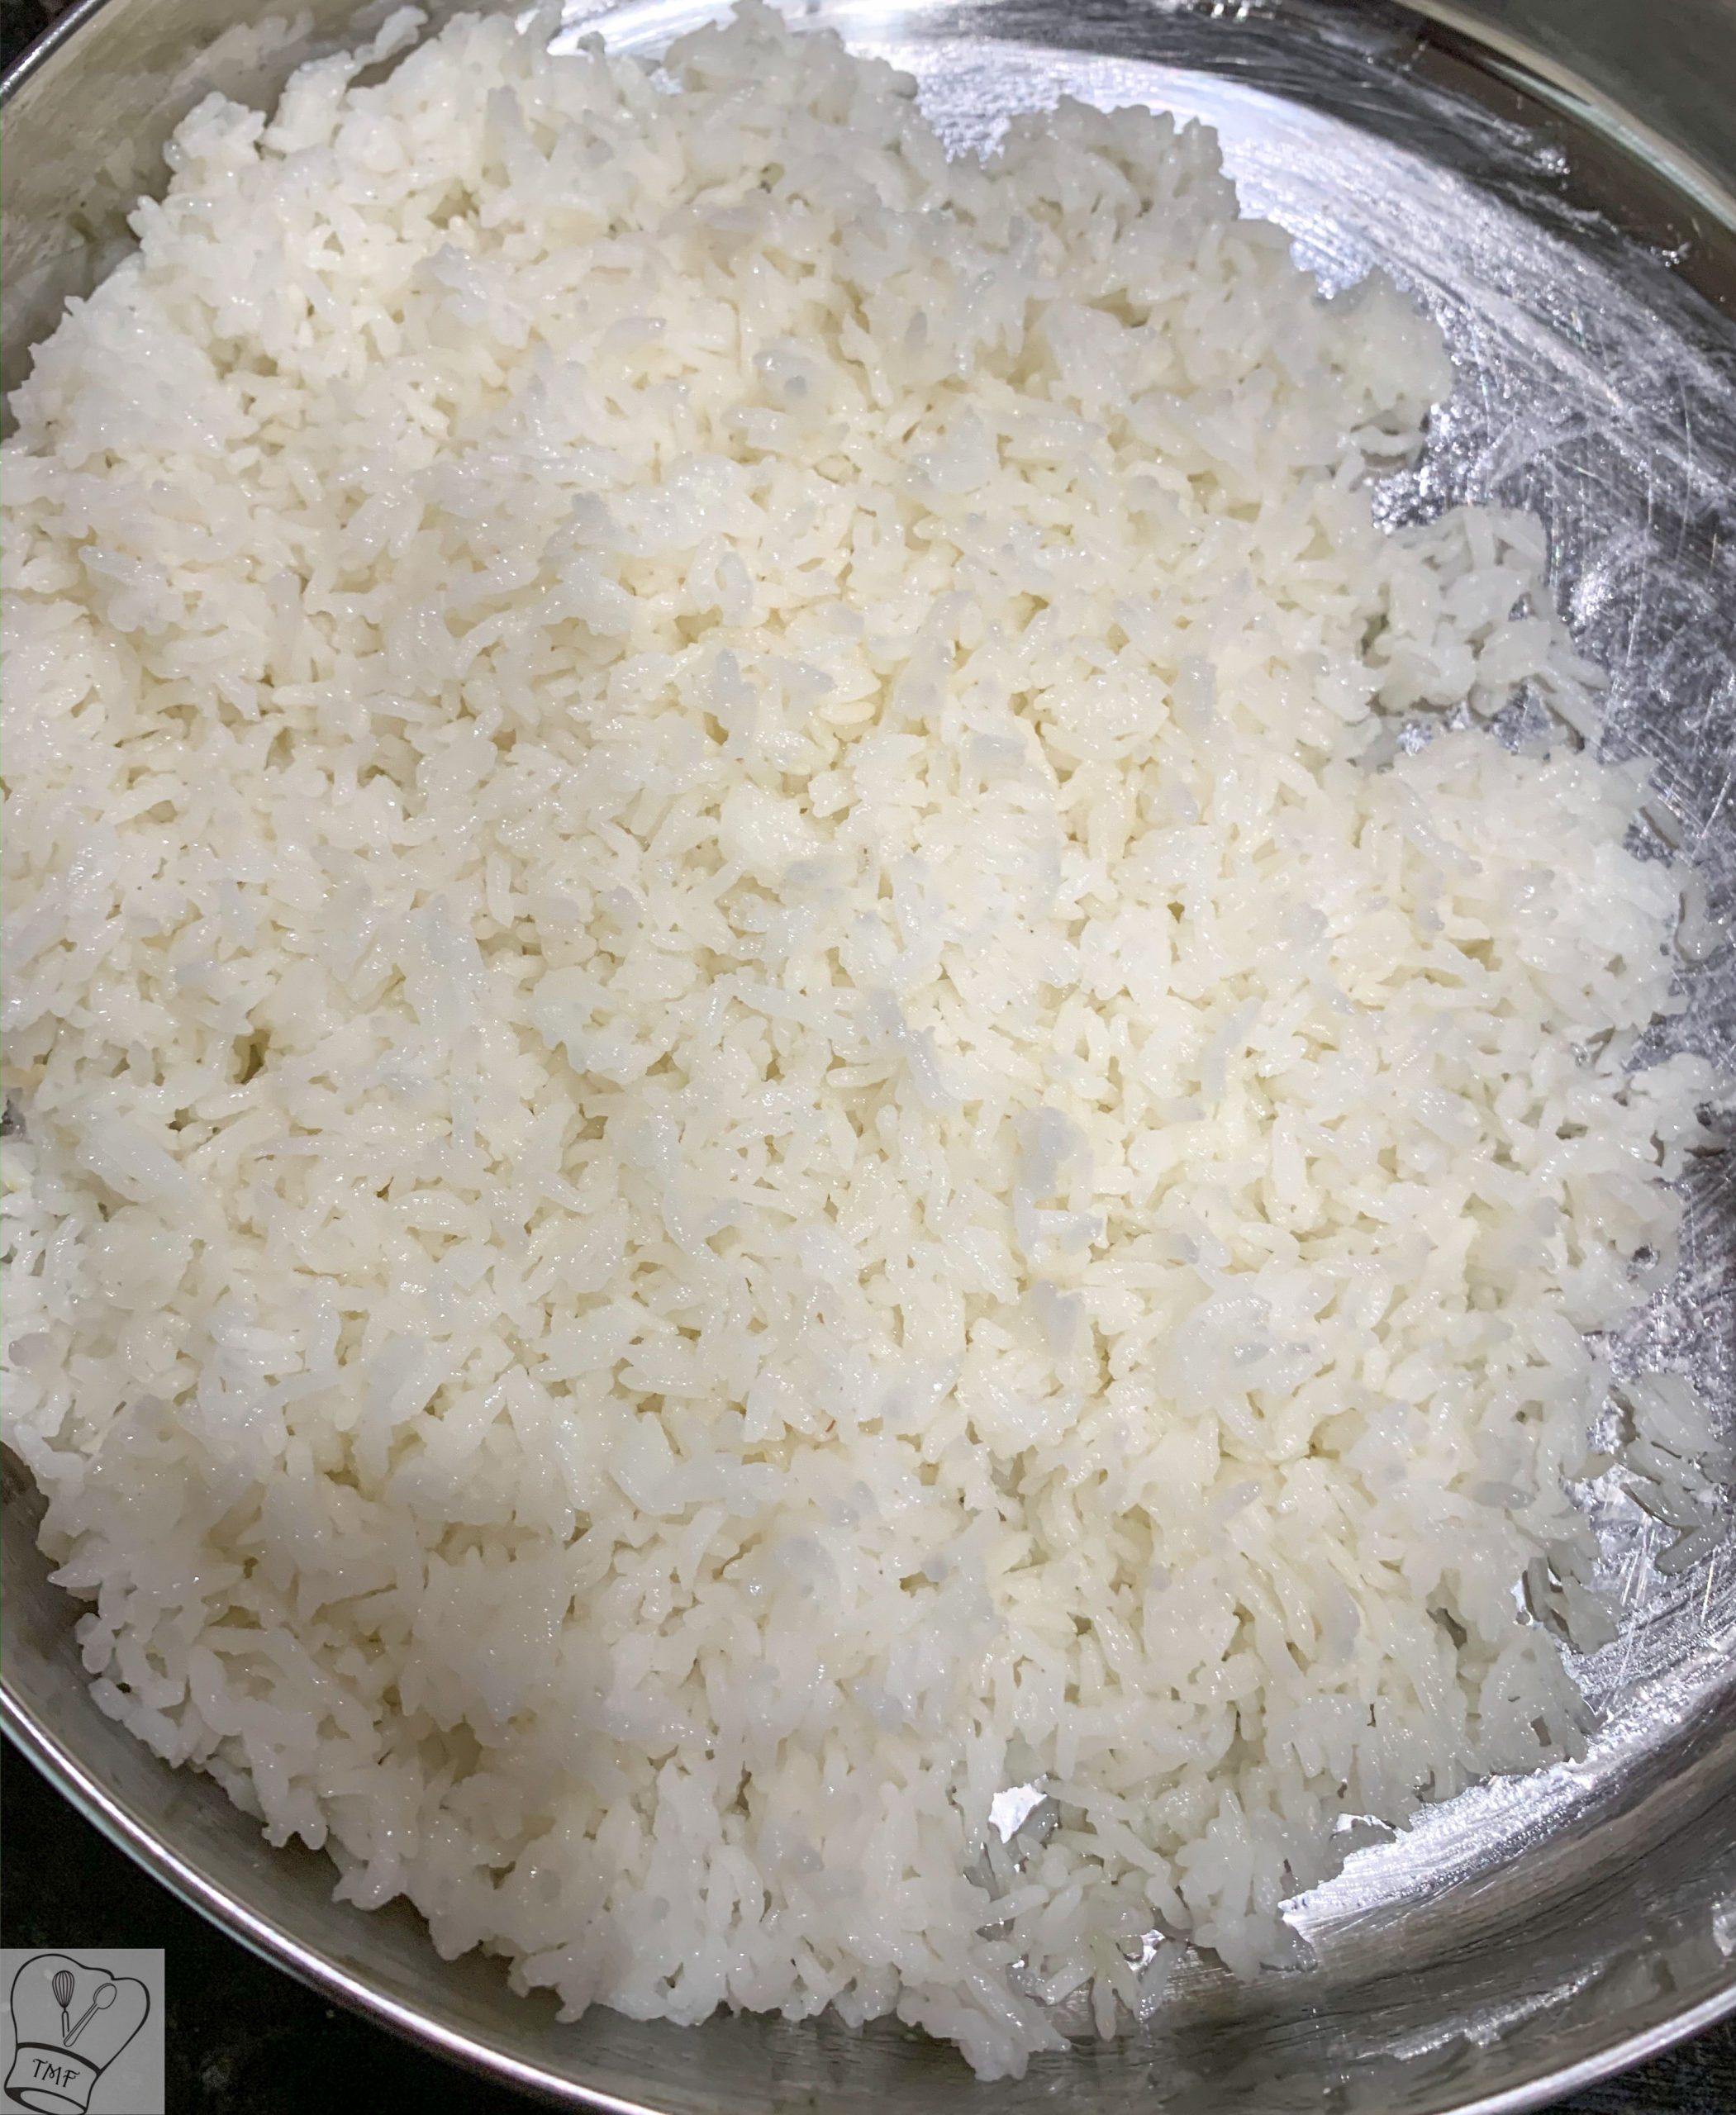
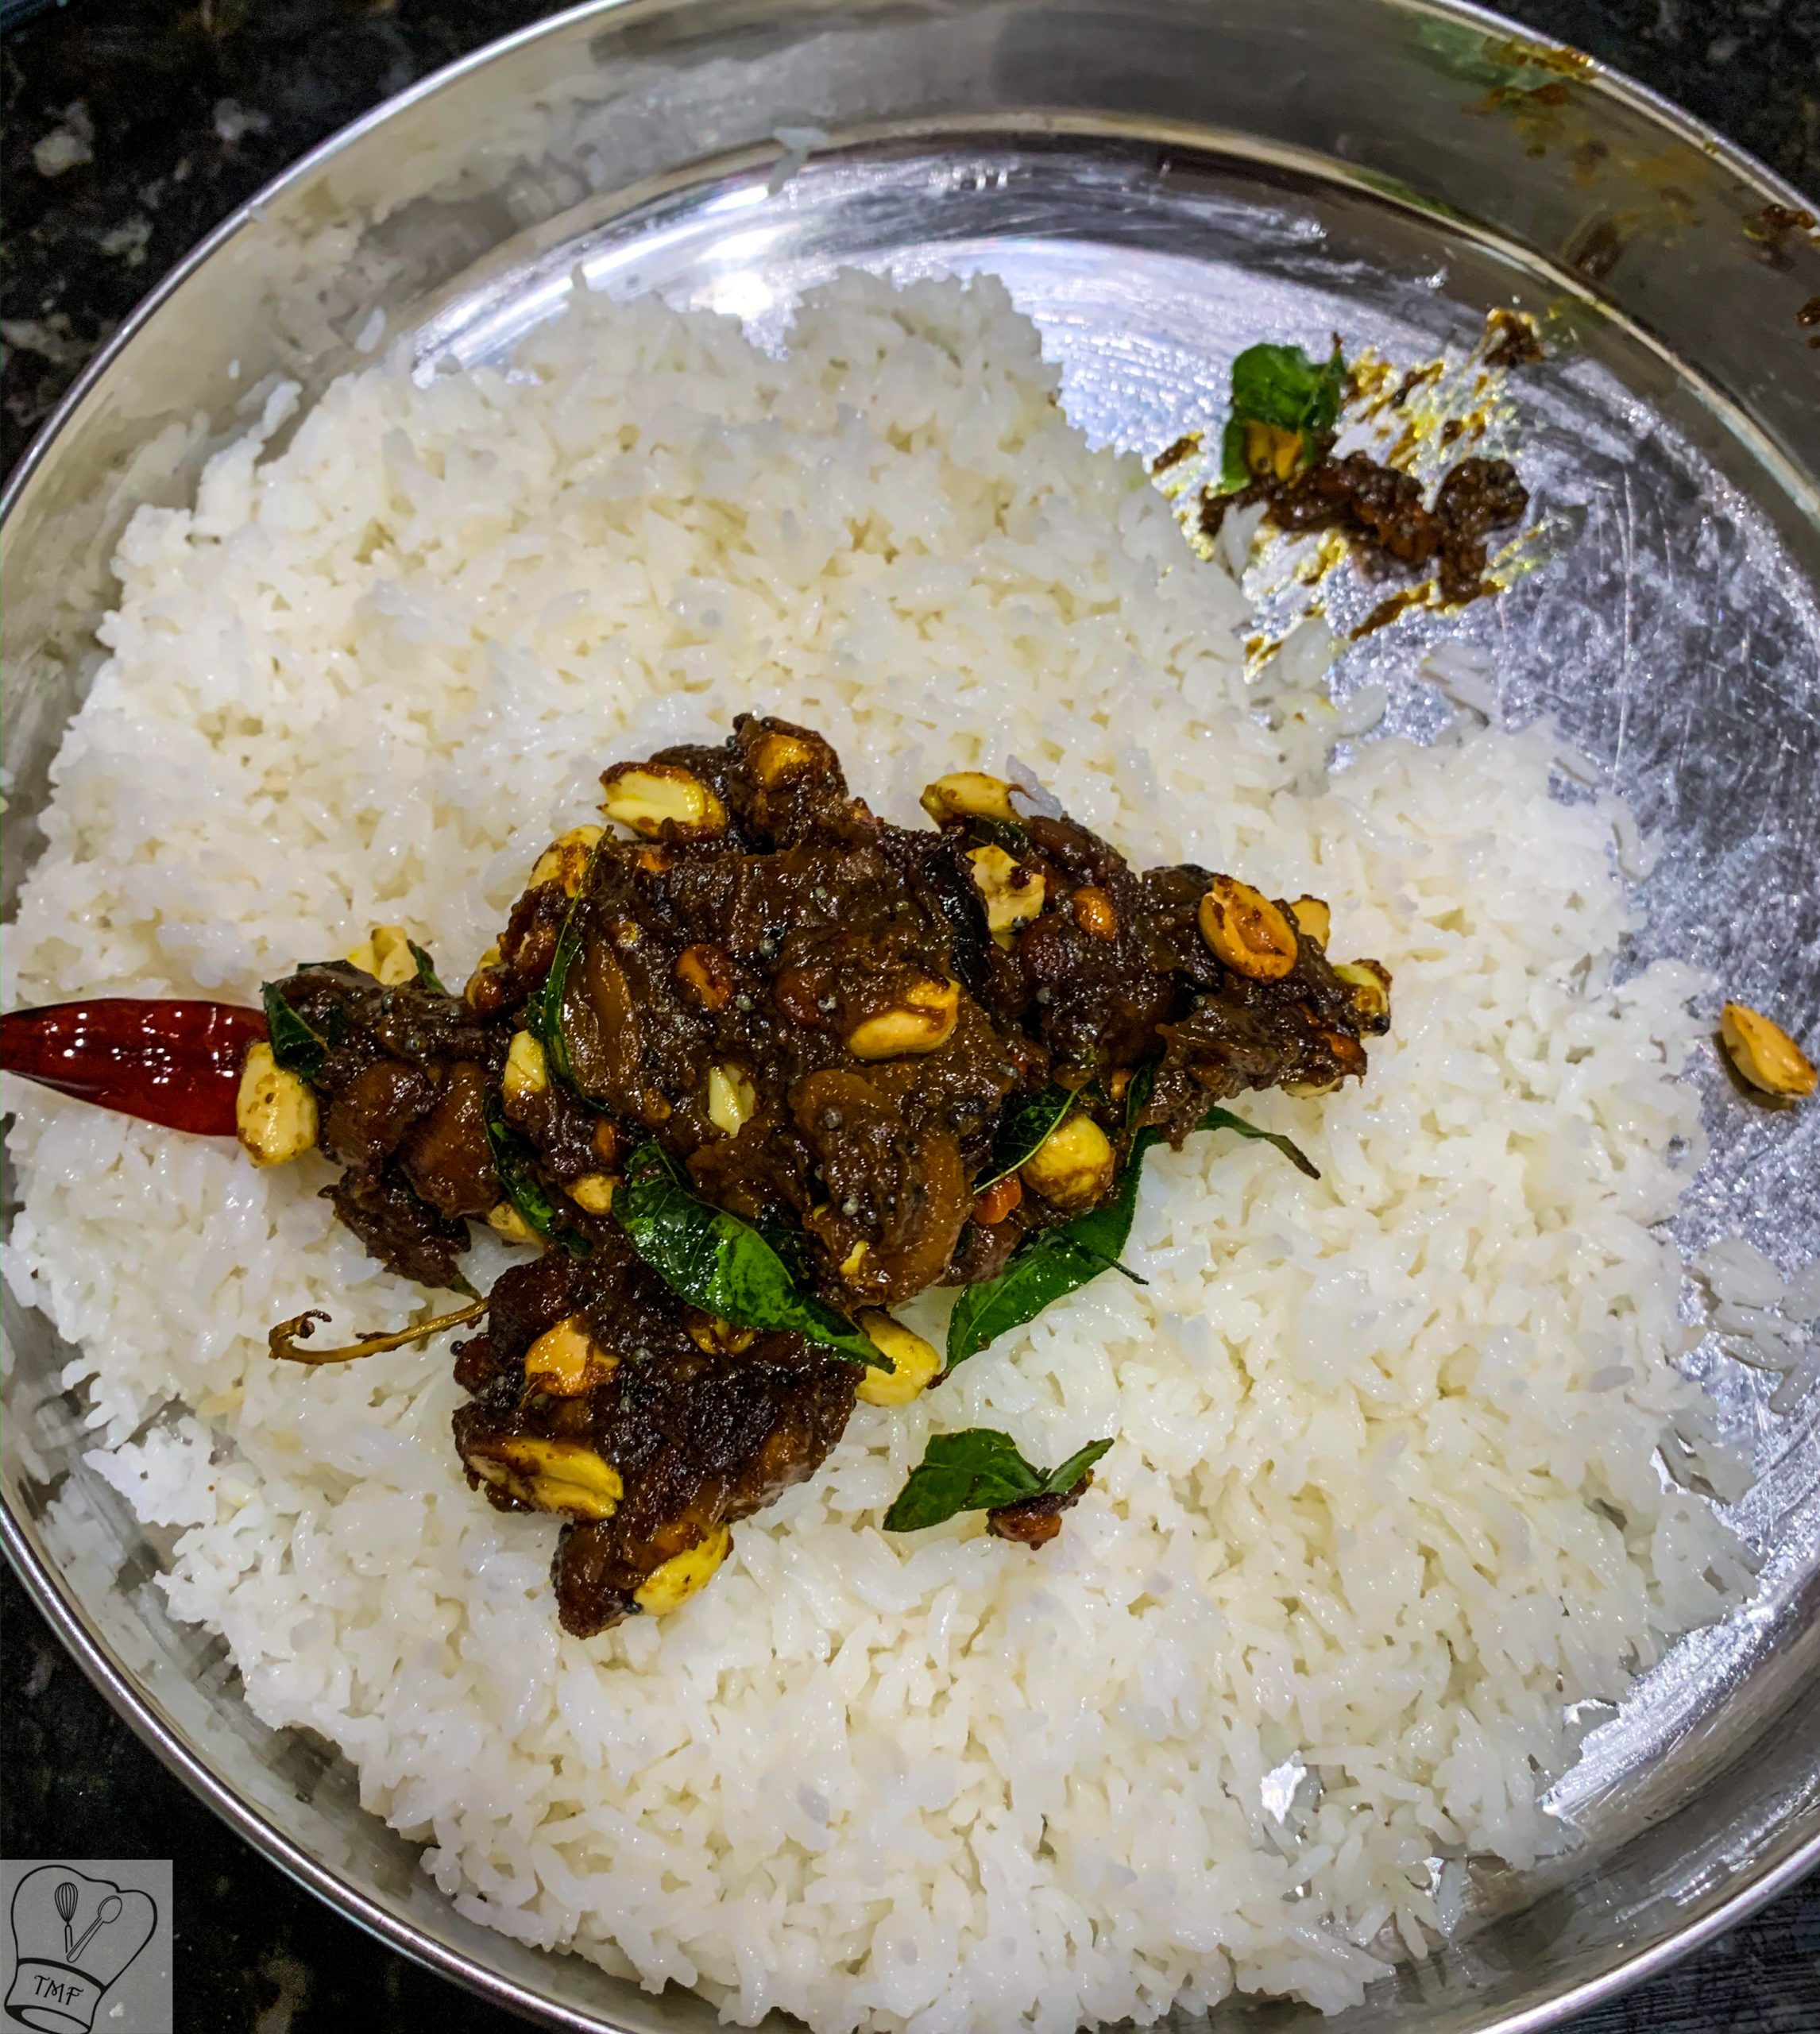
- Take the cooked rice and spread it in a wide plate. Drizzle 1/4 teaspoon of sesame oil and mix well
- Add oil to the pan and when oil is hot add all the ingredients given under “to temper” and let it crackle
- Add the puliyodarai paste and cook for 30 secs
- Add it to the rice and mix well. Add some rice tadka pan and mix well
- If required add salt
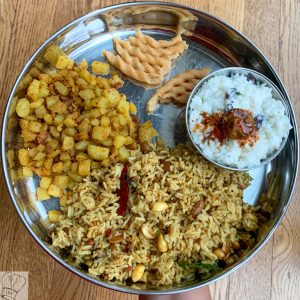
- Allow it to rest atleast for 1 hour before you serve. Serve with Aviyal/Potato Chips/Appalam/Fry
- Pulikaichal
Video
Notes
2. Pulikaichal can be directly mixed with rice and tempering can be skipped
3. Basmati rice can also be used for pulisadam instead of regular white rice
4. Mix puli sadam and consume after few hours for better taste
5. If you are cooking rice explicitly for puli sadam add few drops of sesame oil while keeping rice
Ingredients:
Cooked rice - 2 cup + 1/4 cup
pulikaichal - 3 tbsp
oil - 1/4 tsp
To temper:
Mustard seeds - 1/4 tsp
Channa Dal - 1/2 tsp
Curry leaves - few
Hing - generous pinch
Peanuts - 1 tablespoon approx
Red Chilli - 1
Sesame oil - 1/2 tbsp
Method:
- Take the cooked rice and spread it in a wide plate. Drizzle 1/4 teaspoon of sesame oil and mix well
- Add oil to the pan and when oil is hot add all the ingredients given under “to temper” and let it crackle
- Add the puliyodarai paste and cook for 30 secs
- Let the paste cool down for sometime and add it to the rice and mix well
- Add some rice to the tadka pan and mix well
Allow it to rest atleast for 1 hour before you serve. Serve with Aviyal/Potato Chips/Appalam/Fry