
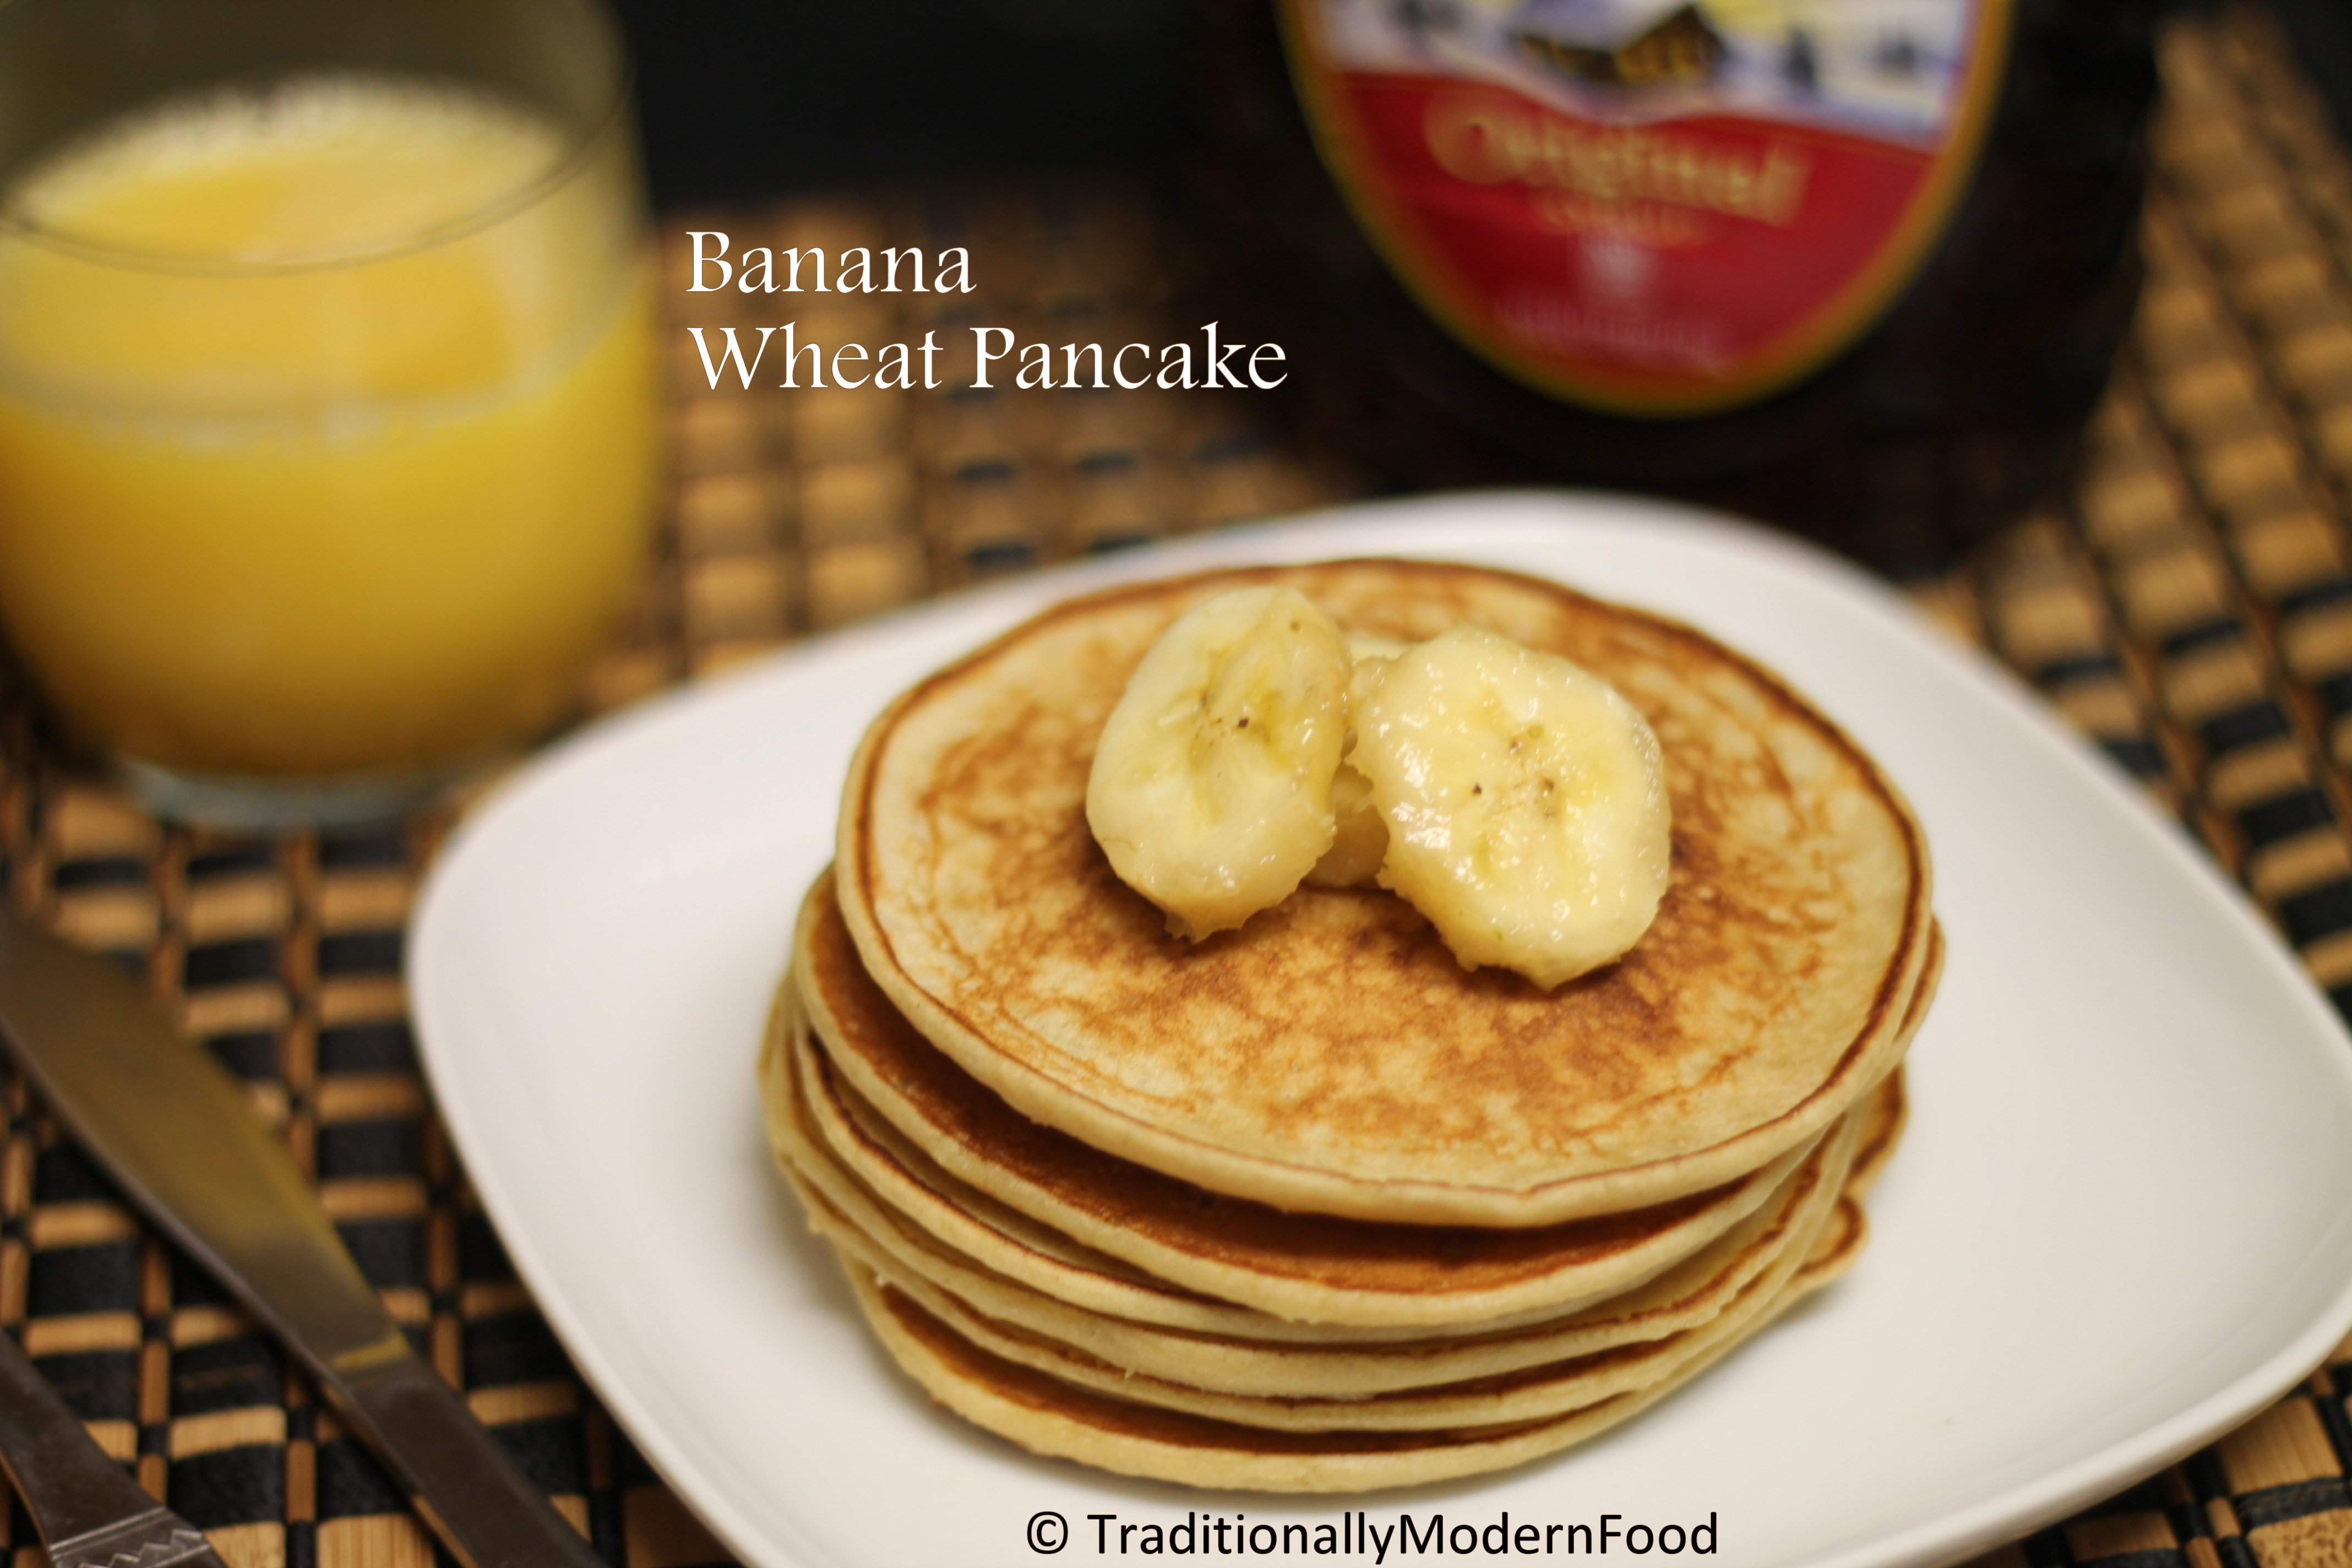
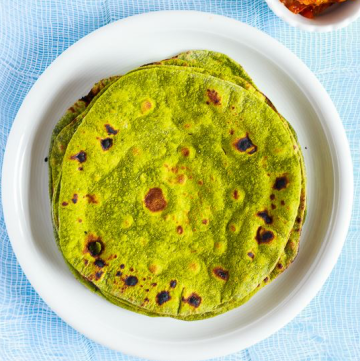
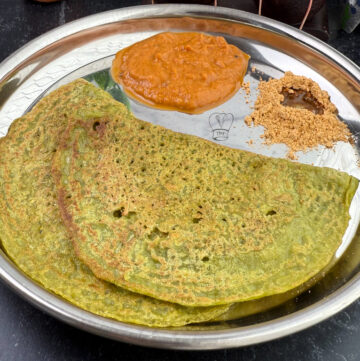
Banana pancake , whole wheat pancake , banana dosai, wheat dosai
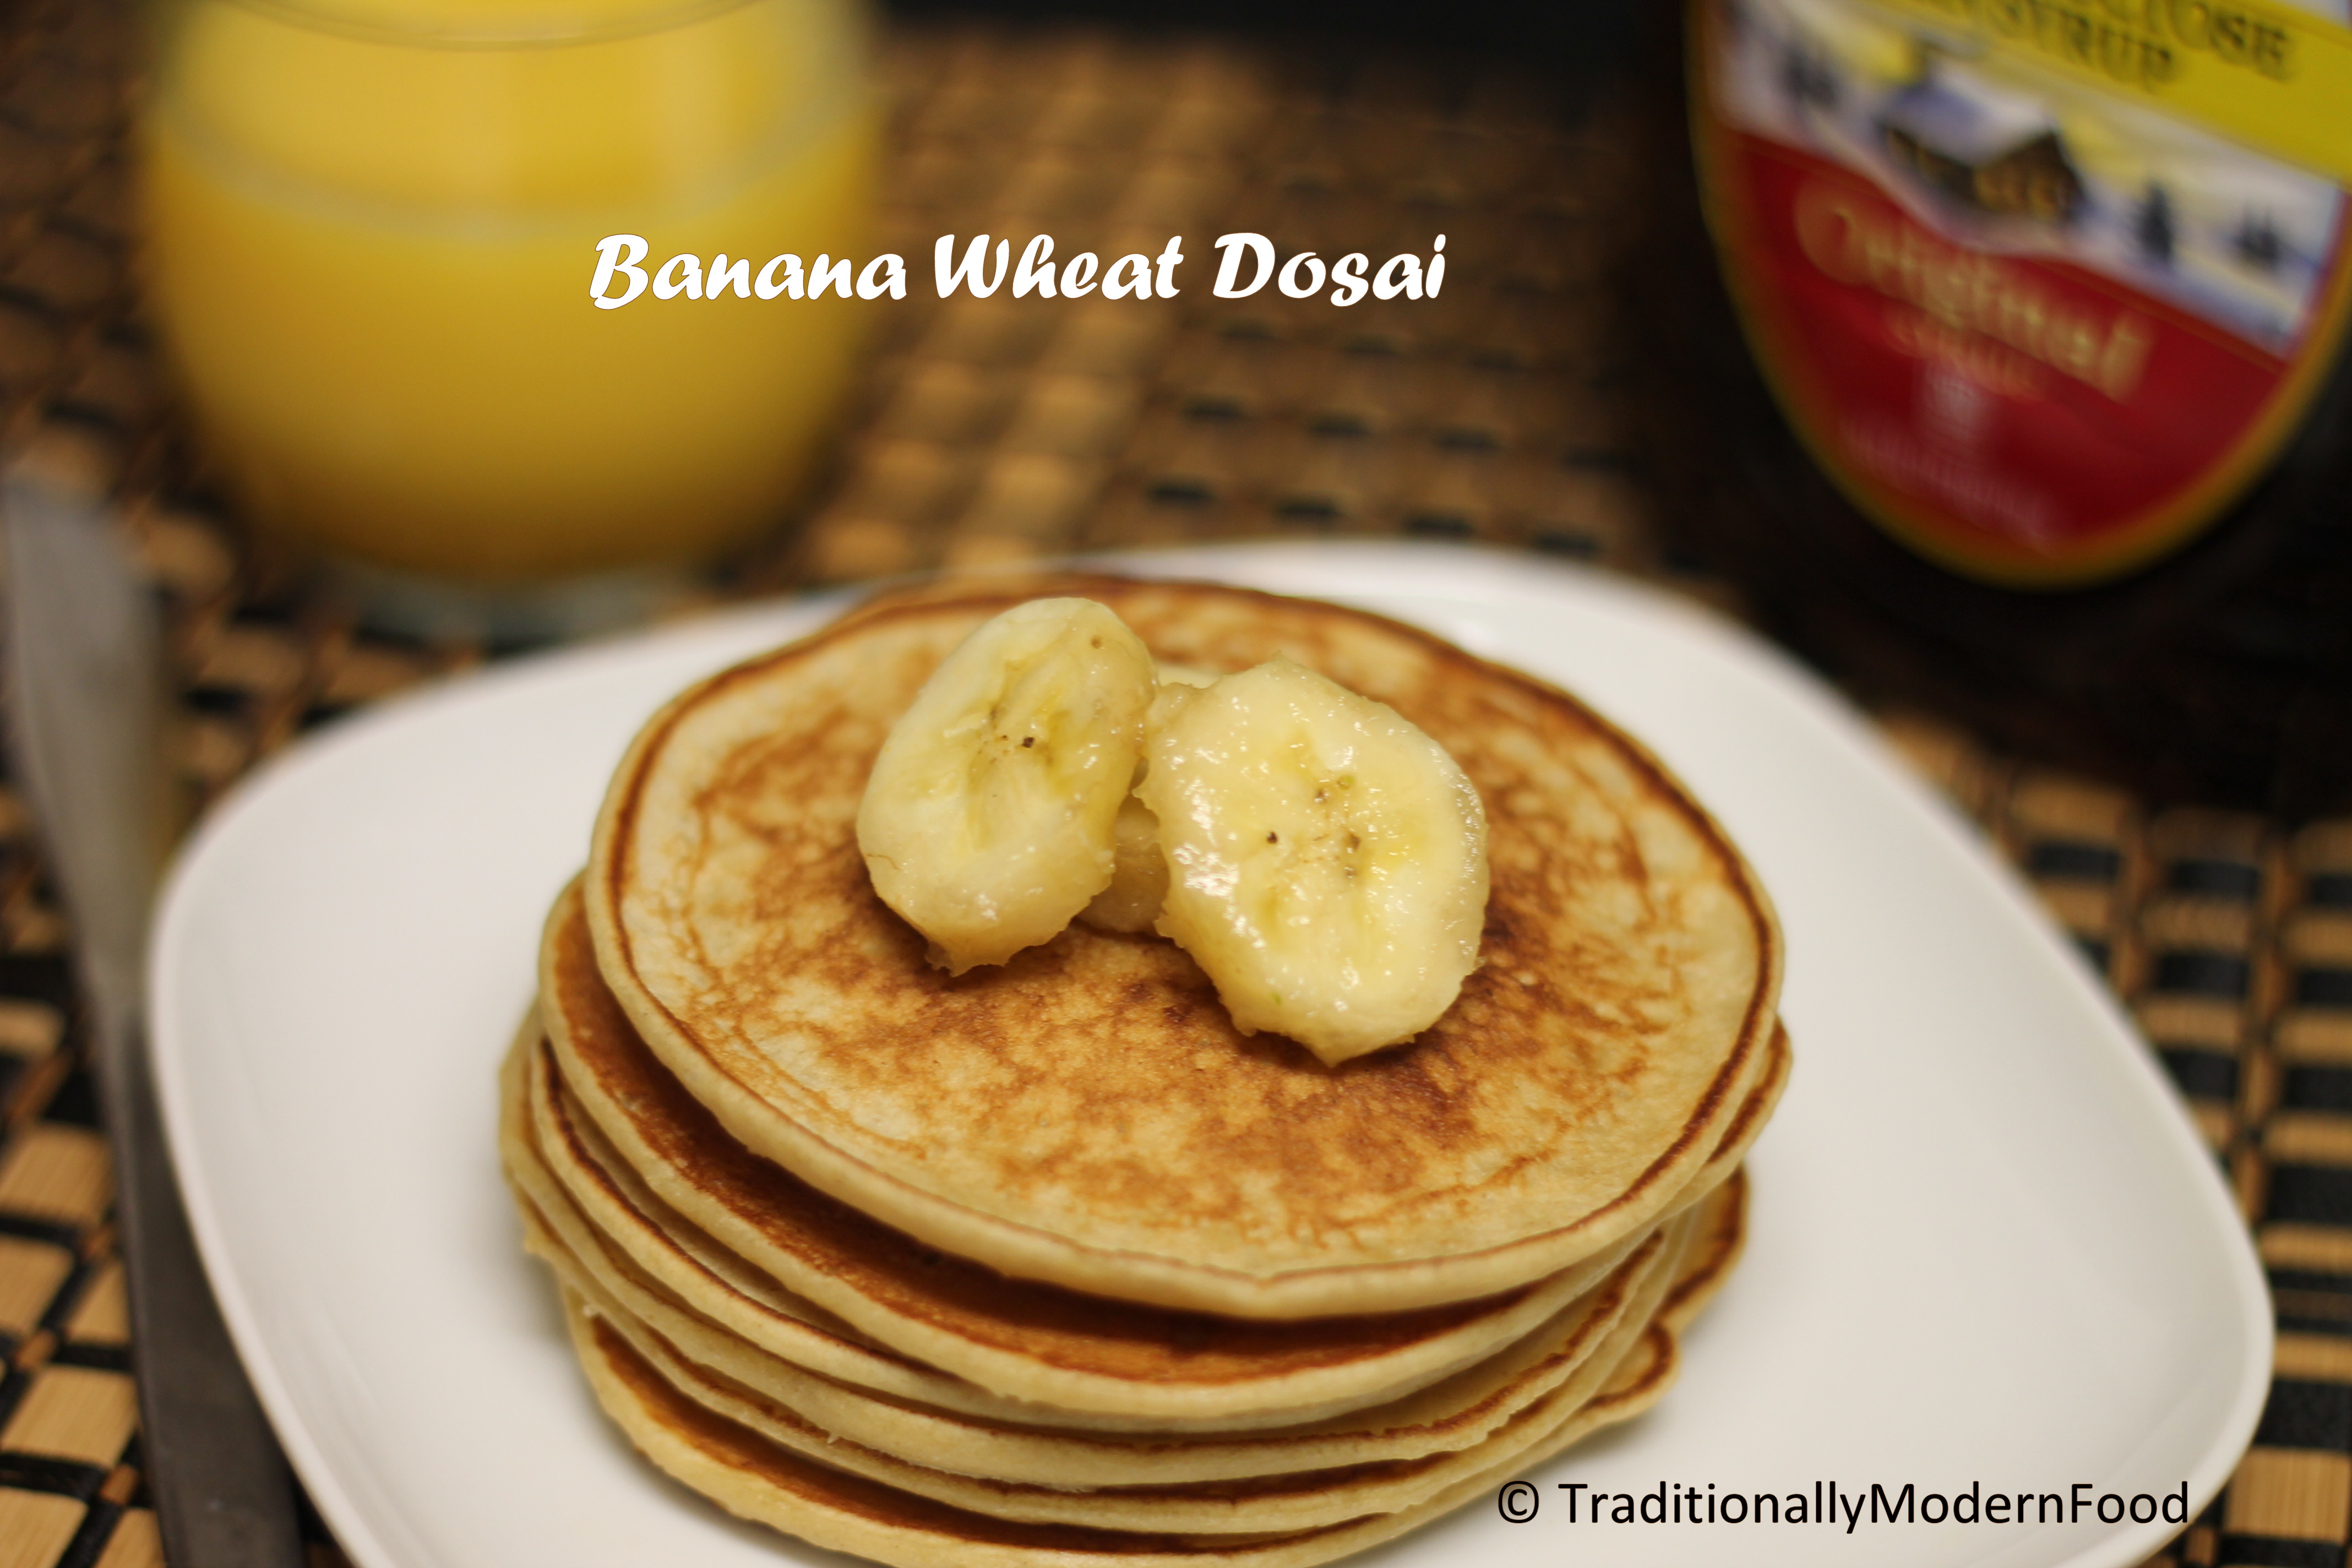
As I have mentioned in my earlier post, In recent times Pancakes has become one of the common breakfast. Though I generally prepare Whole Wheat Pancake for my son, in the mission of adding some fruits into his diet tried Pancakes with banana

Ingredients
Dry Ingredients
- Wheat Flour - 1 cup
- Cinnamon powder – 1/4 tsp
- Baking powder - 2 tsp
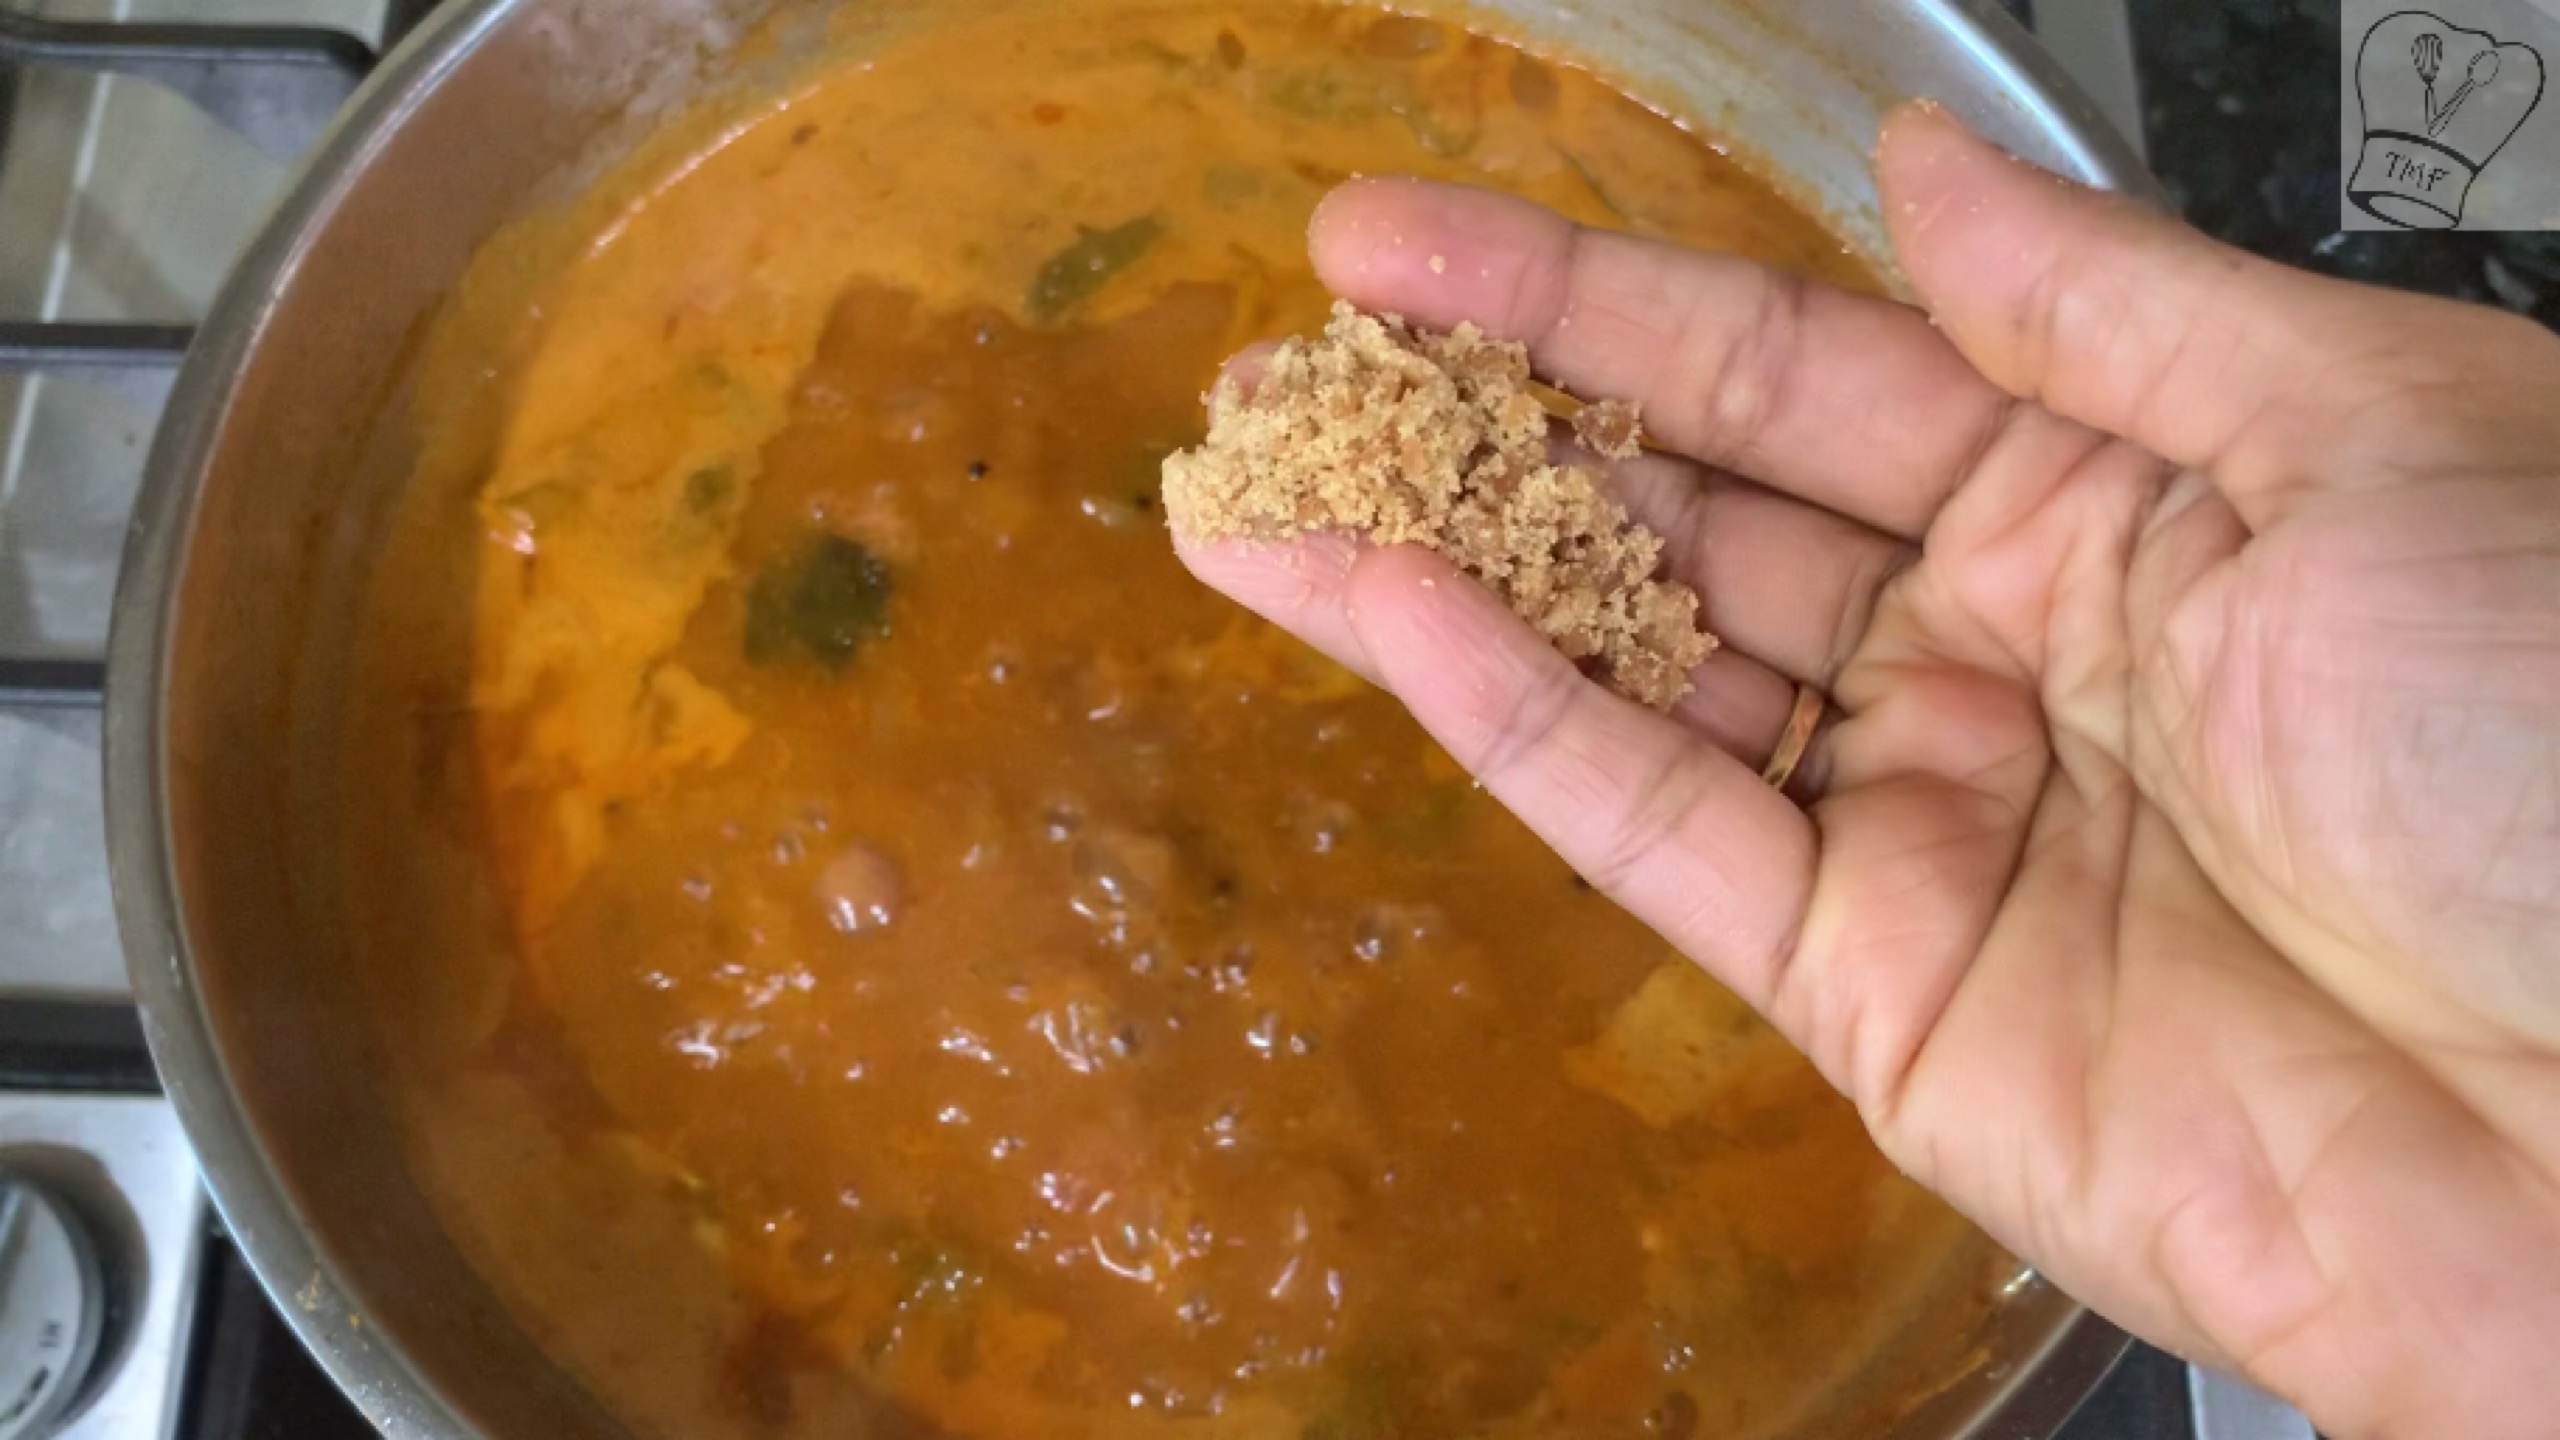
- Honey/White Sugar/Brown Sugar – 2 tbsp Adjust according to your taste, I used brown sugar
- Salt - 1/4 tsp
Wet Ingredients:
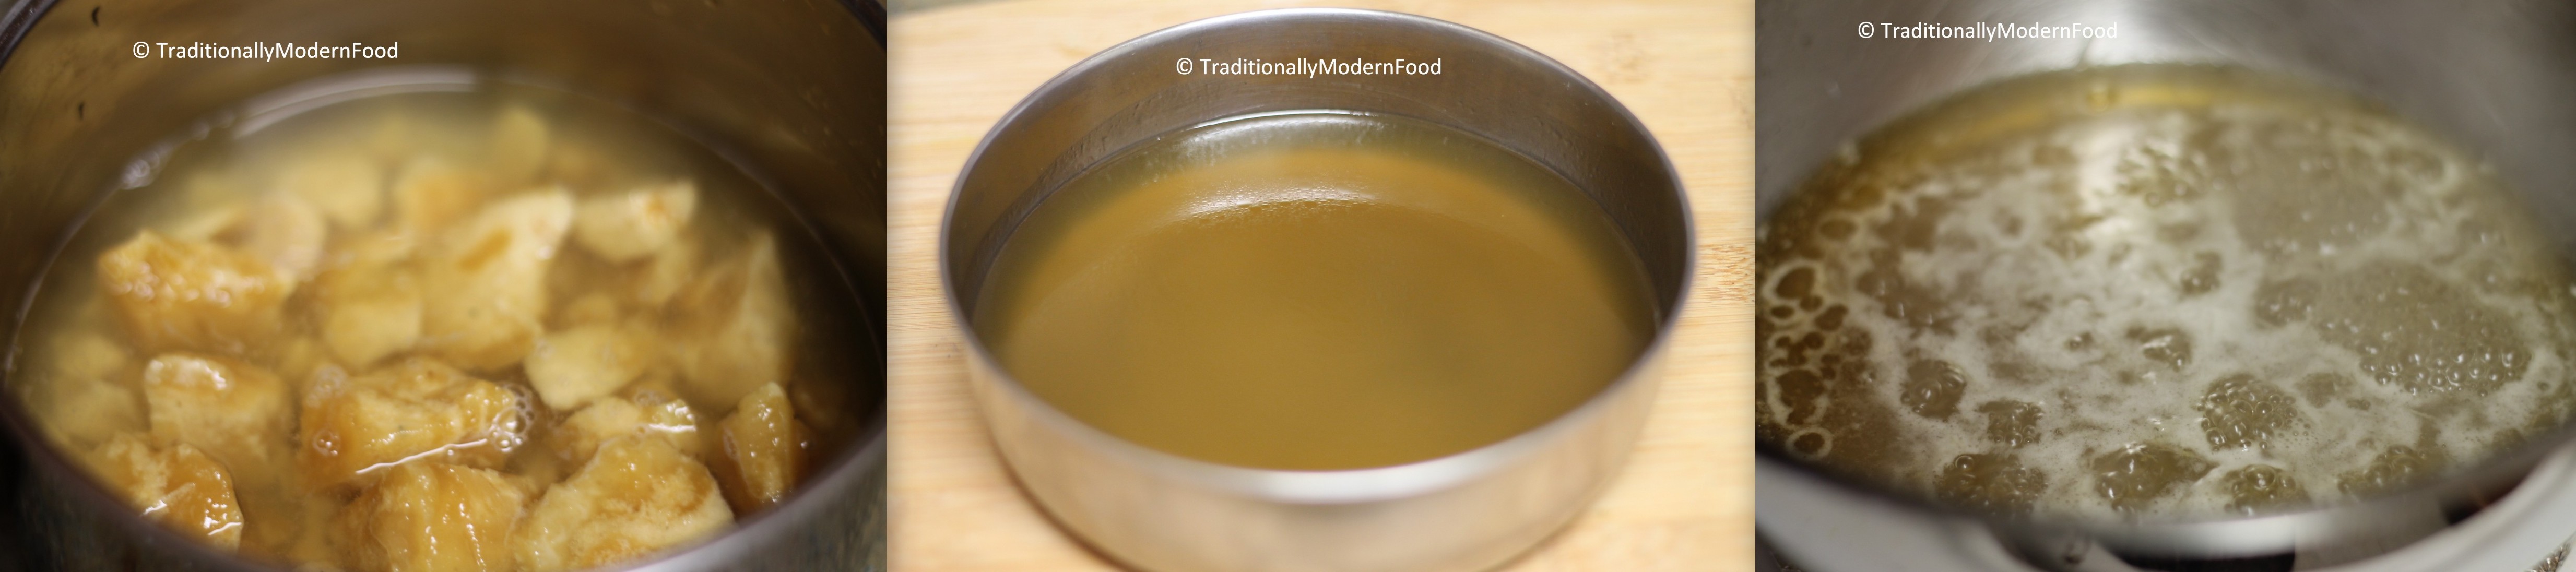
- Banana - 1 1/2 cup mashed
- Egg - 1
- Milk – 3/4 cup I used 2% milk
- Vinegar - 1 tsp
- Vanilla extract – 1/4 tsp
- Olive oil/butter – 1 tablespoon + 1 tsp for the batter
- Butter – 1 tbsp Unsalted, Melted at room temperature
Instructions
- In a bowl add all the dry Ingredients; mix well and Set aside
- In a separate bowl beat the eggs well; add milk banana puree, melted butter and vanilla extract; whisk well
- Add the dry ingredients to the wet ingredients and stir gently. Set batter aside for 10 minutes
- Heat an iron skillet or a non-stick pan on low to medium heat. Reduce heat to low and pour a ladle full of batter in the center of the pan. Do not spread the batter. Allow it to spread on its own. Add little butter around the edges. Cook the pancake on low medium heat for half a minute or until bubbles appear over the pancake
- When the pancake turns to a nice golden shade, flip it over and cook for half a minute and transfer to the serving plate
- Serve warm, topped with butter/honey/Maple Syrup/Powdered Sugar/Caramel syrup/butterscotch syrup/Fruit syrup
Subscribe to my YouTube channelCheck out Traditionally Modern Food!
Notes
- For eggless version add 2 bananas instead of one
- If you are resting the batter for a long time drizzle some tablespoon of milk to reach the desired consistency
- All purpose flour can be used instead of whole wheat
- Cardamom powder can be added for flavoring
- Yogurt/ curd can be replaced with milk + vinegar
Tried this recipe?Mention @traditionallymodernfood or tag #traditionallymodernfood!
Ingredients:
Dry Ingredients
- Wheat Flour - 1 cup
- Cinnamon powder – 1/4 tsp
- Baking powder - 2 tsp
- Honey/White Sugar/Brown Sugar – 2 tablespoon (Adjust according to your taste, I used brown sugar)
- Salt - 1/4 tsp
Wet Ingredients:
- Banana - 1 (1/2 cup mashed)
- Egg - 1
- Milk – 3/4 cup (I used 2% milk)
- Vinegar - 1 tsp
- Vanilla extract – 1/4 tsp
- Olive oil/butter – 1 tablespoon + 1 teaspoon (for the batter)
- Butter – 1 tablespoon (Unsalted, Melted at room temperature)
How to make Banana dosa with step by step pictures:
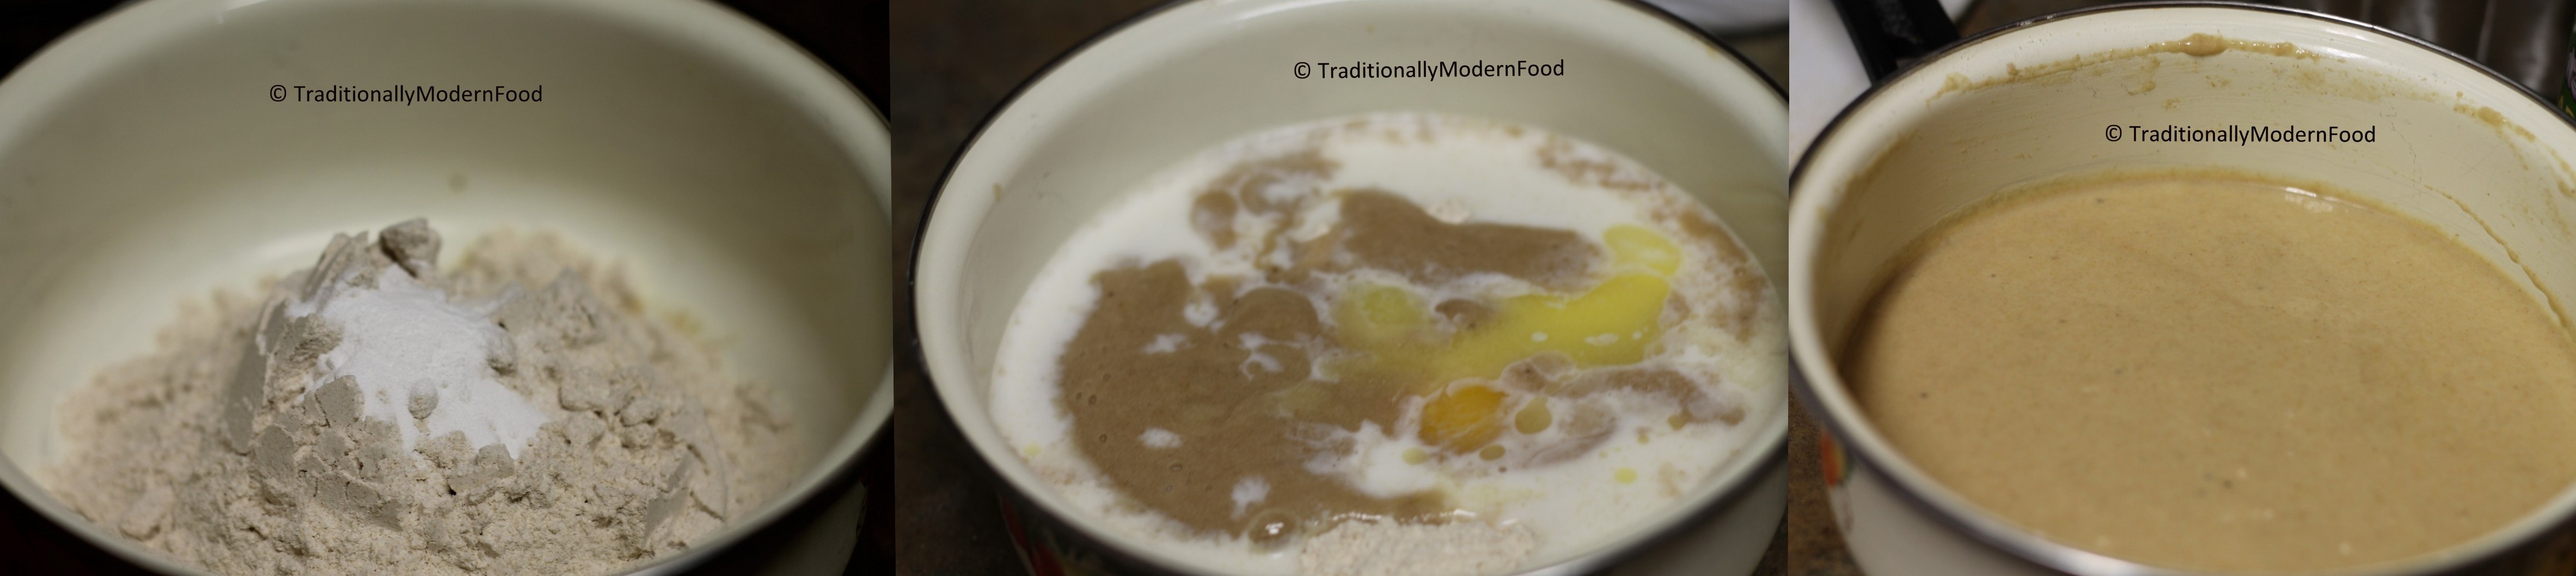
- In a bowl add all the dry Ingredients; mix well and Set aside
- In a separate bowl beat the eggs well; add milk banana puree, melted butter and vanilla extract; whisk well
- Add the dry ingredients to the wet ingredients and stir gently. Set batter aside for 10 minutes
- Heat an iron skillet or a non-stick pan on low to medium heat. Reduce heat to low and pour a ladle full of batter in the center of the pan. Do not spread the batter. Allow it to spread on its own. Add little butter around the edges. Cook the pancake on low medium heat for half a minute or until bubbles appear over the pancake
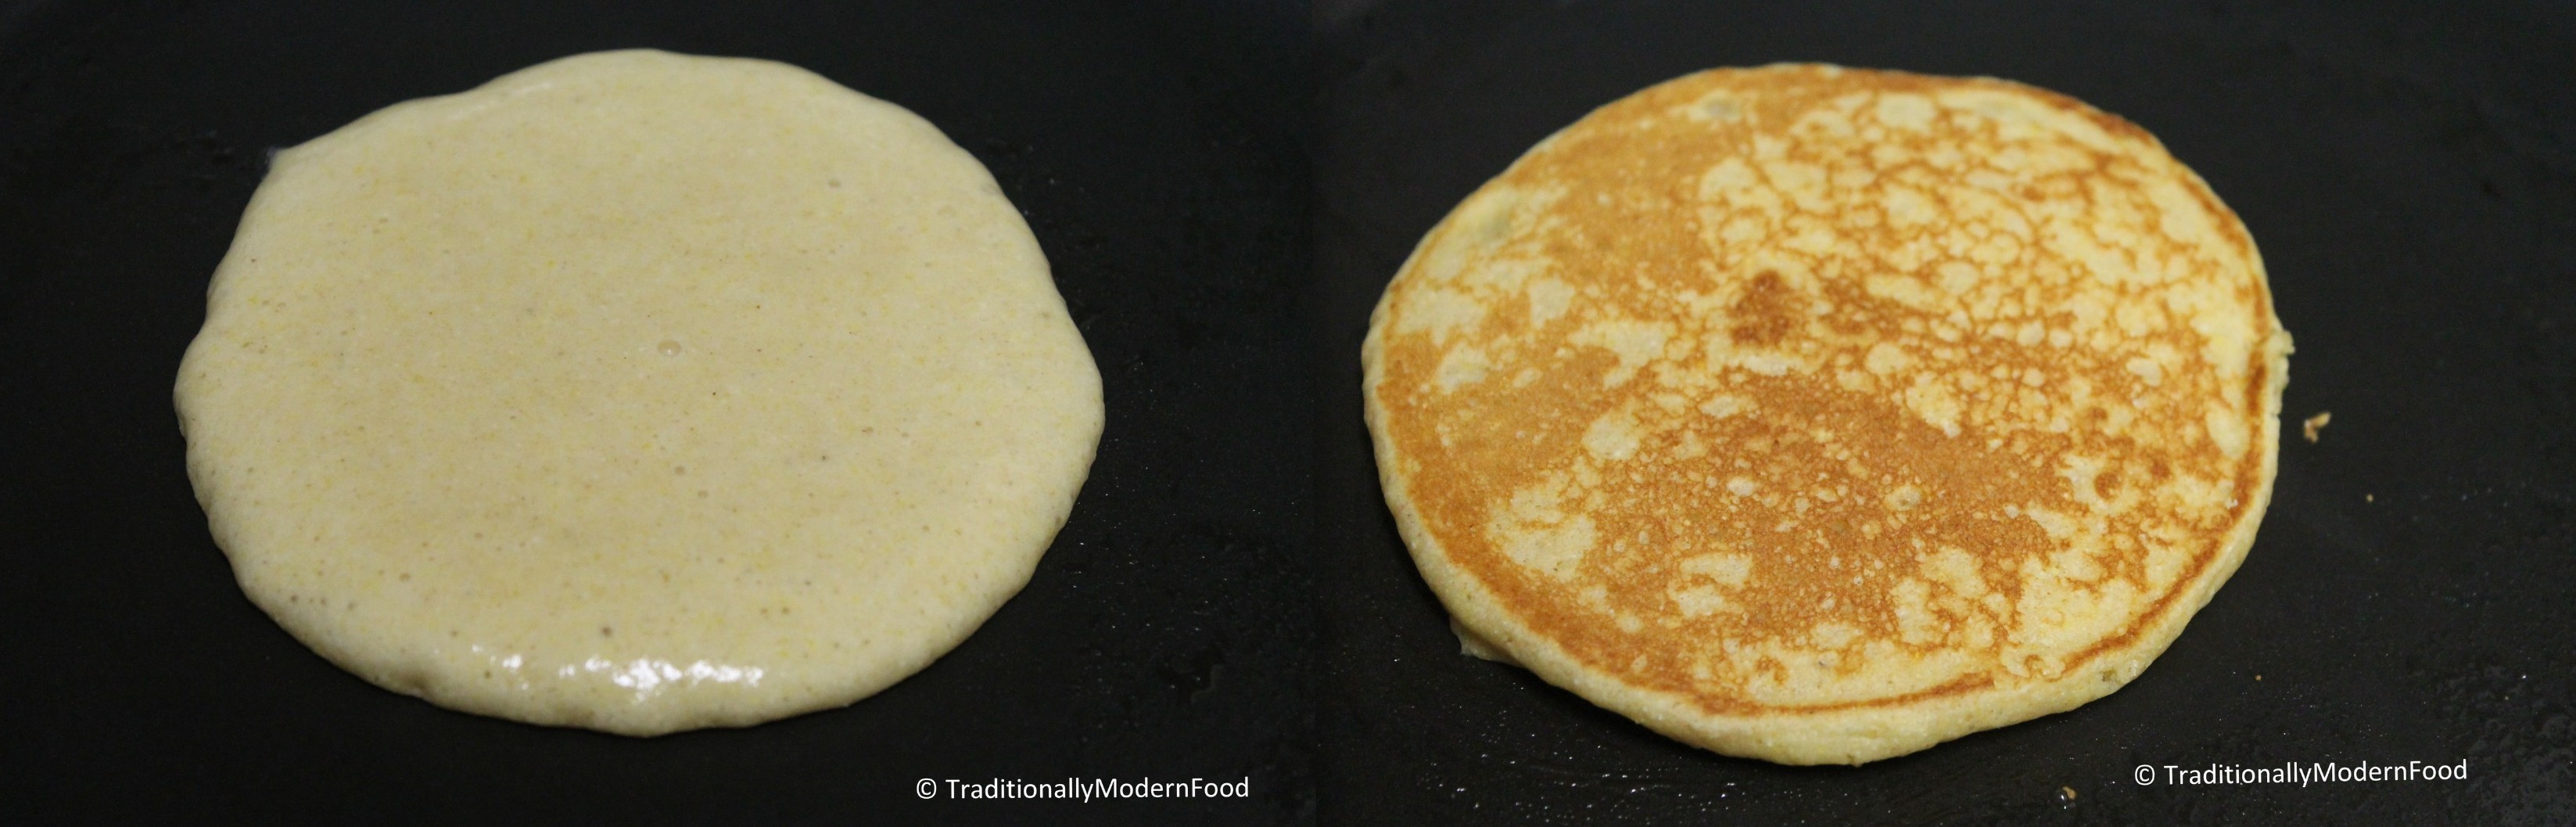
- When the pancake turns to a nice golden shade, flip it over and cook for half a minute and transfer to the serving plate
- Serve warm, topped with butter/honey/Maple Syrup/Powdered Sugar/Caramel syrup/butterscotch syrup/Fruit syrup
My Notes:
- For eggless version add 2 bananas instead of one
- If you are resting the batter for a long time drizzle some tablespoon of milk to reach the desired consistency
- All purpose flour can be used instead of whole wheat
- Cardamom powder can be added for flavoring
- Yogurt/ curd can be replaced with milk + vinegar

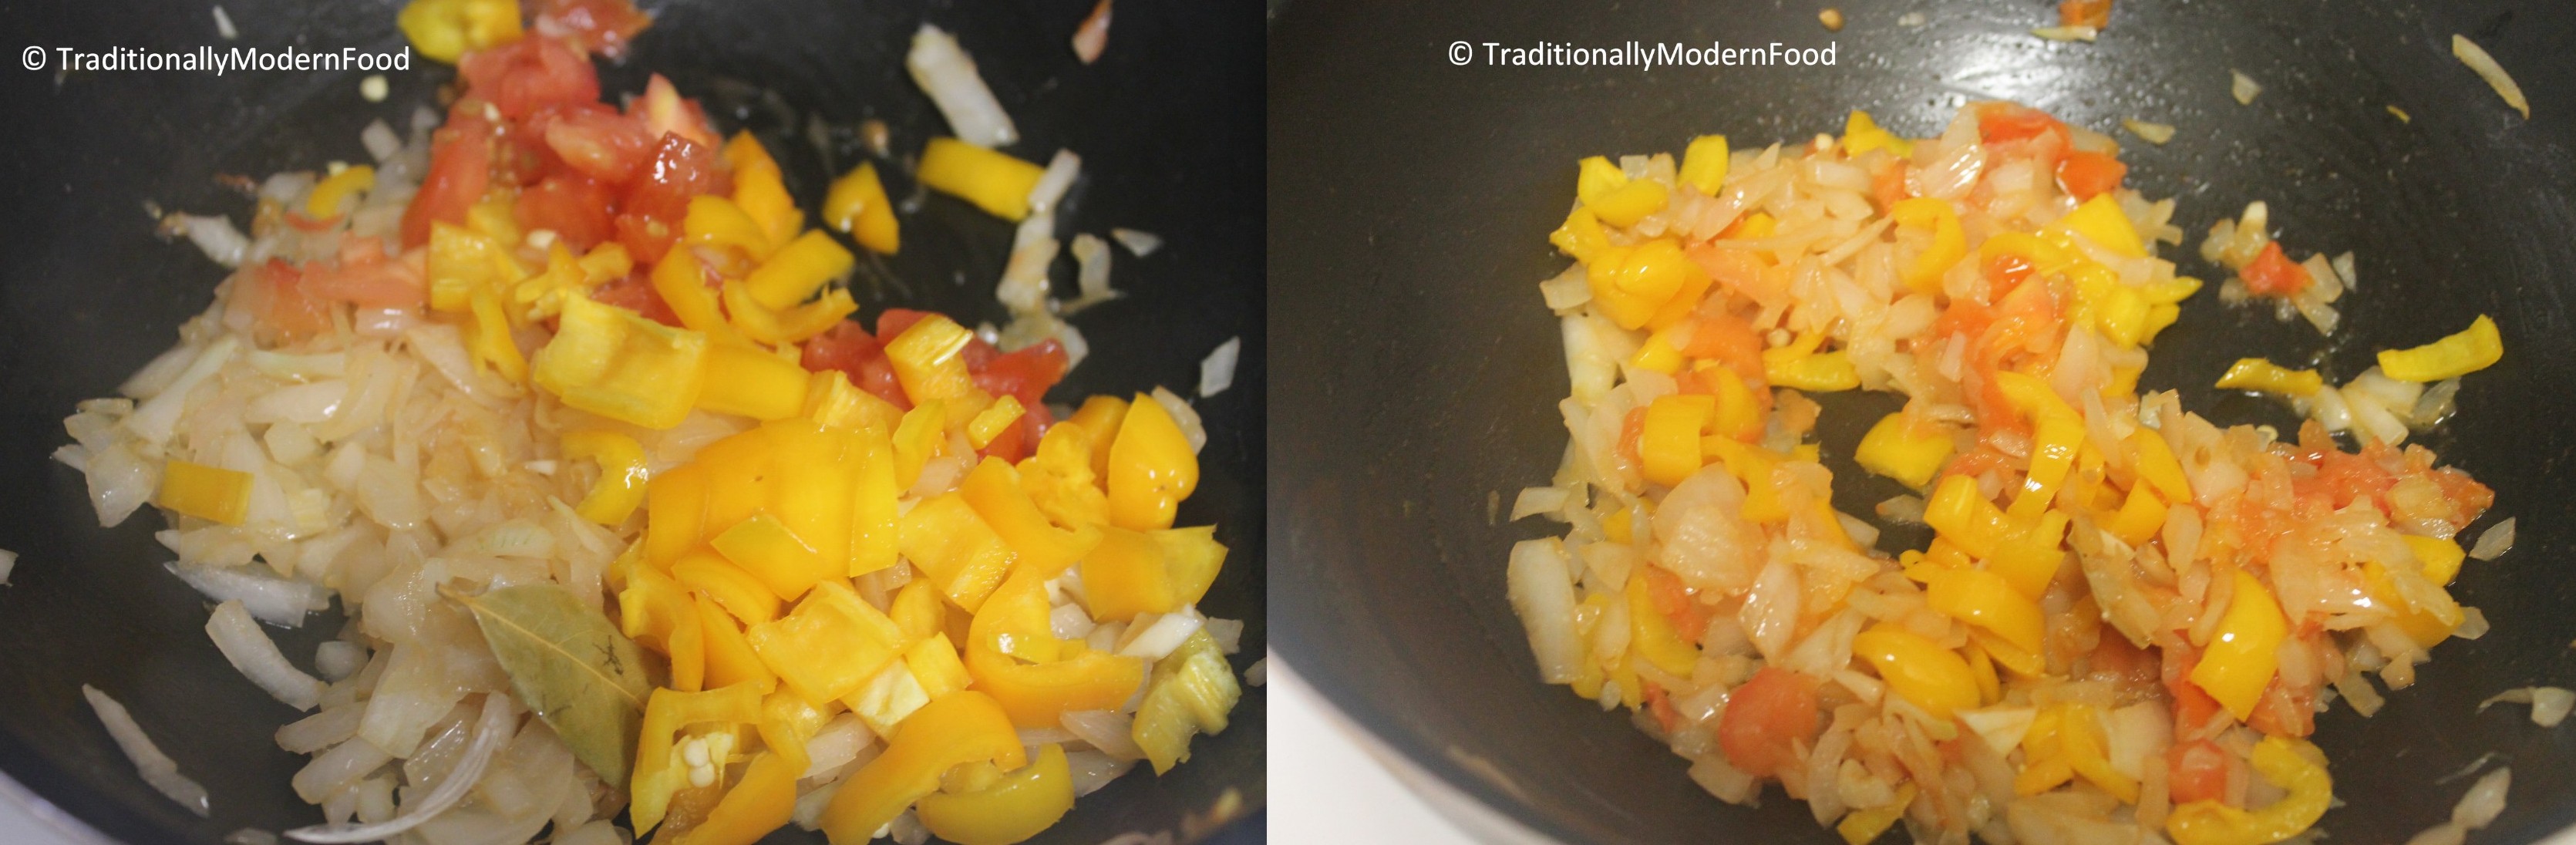
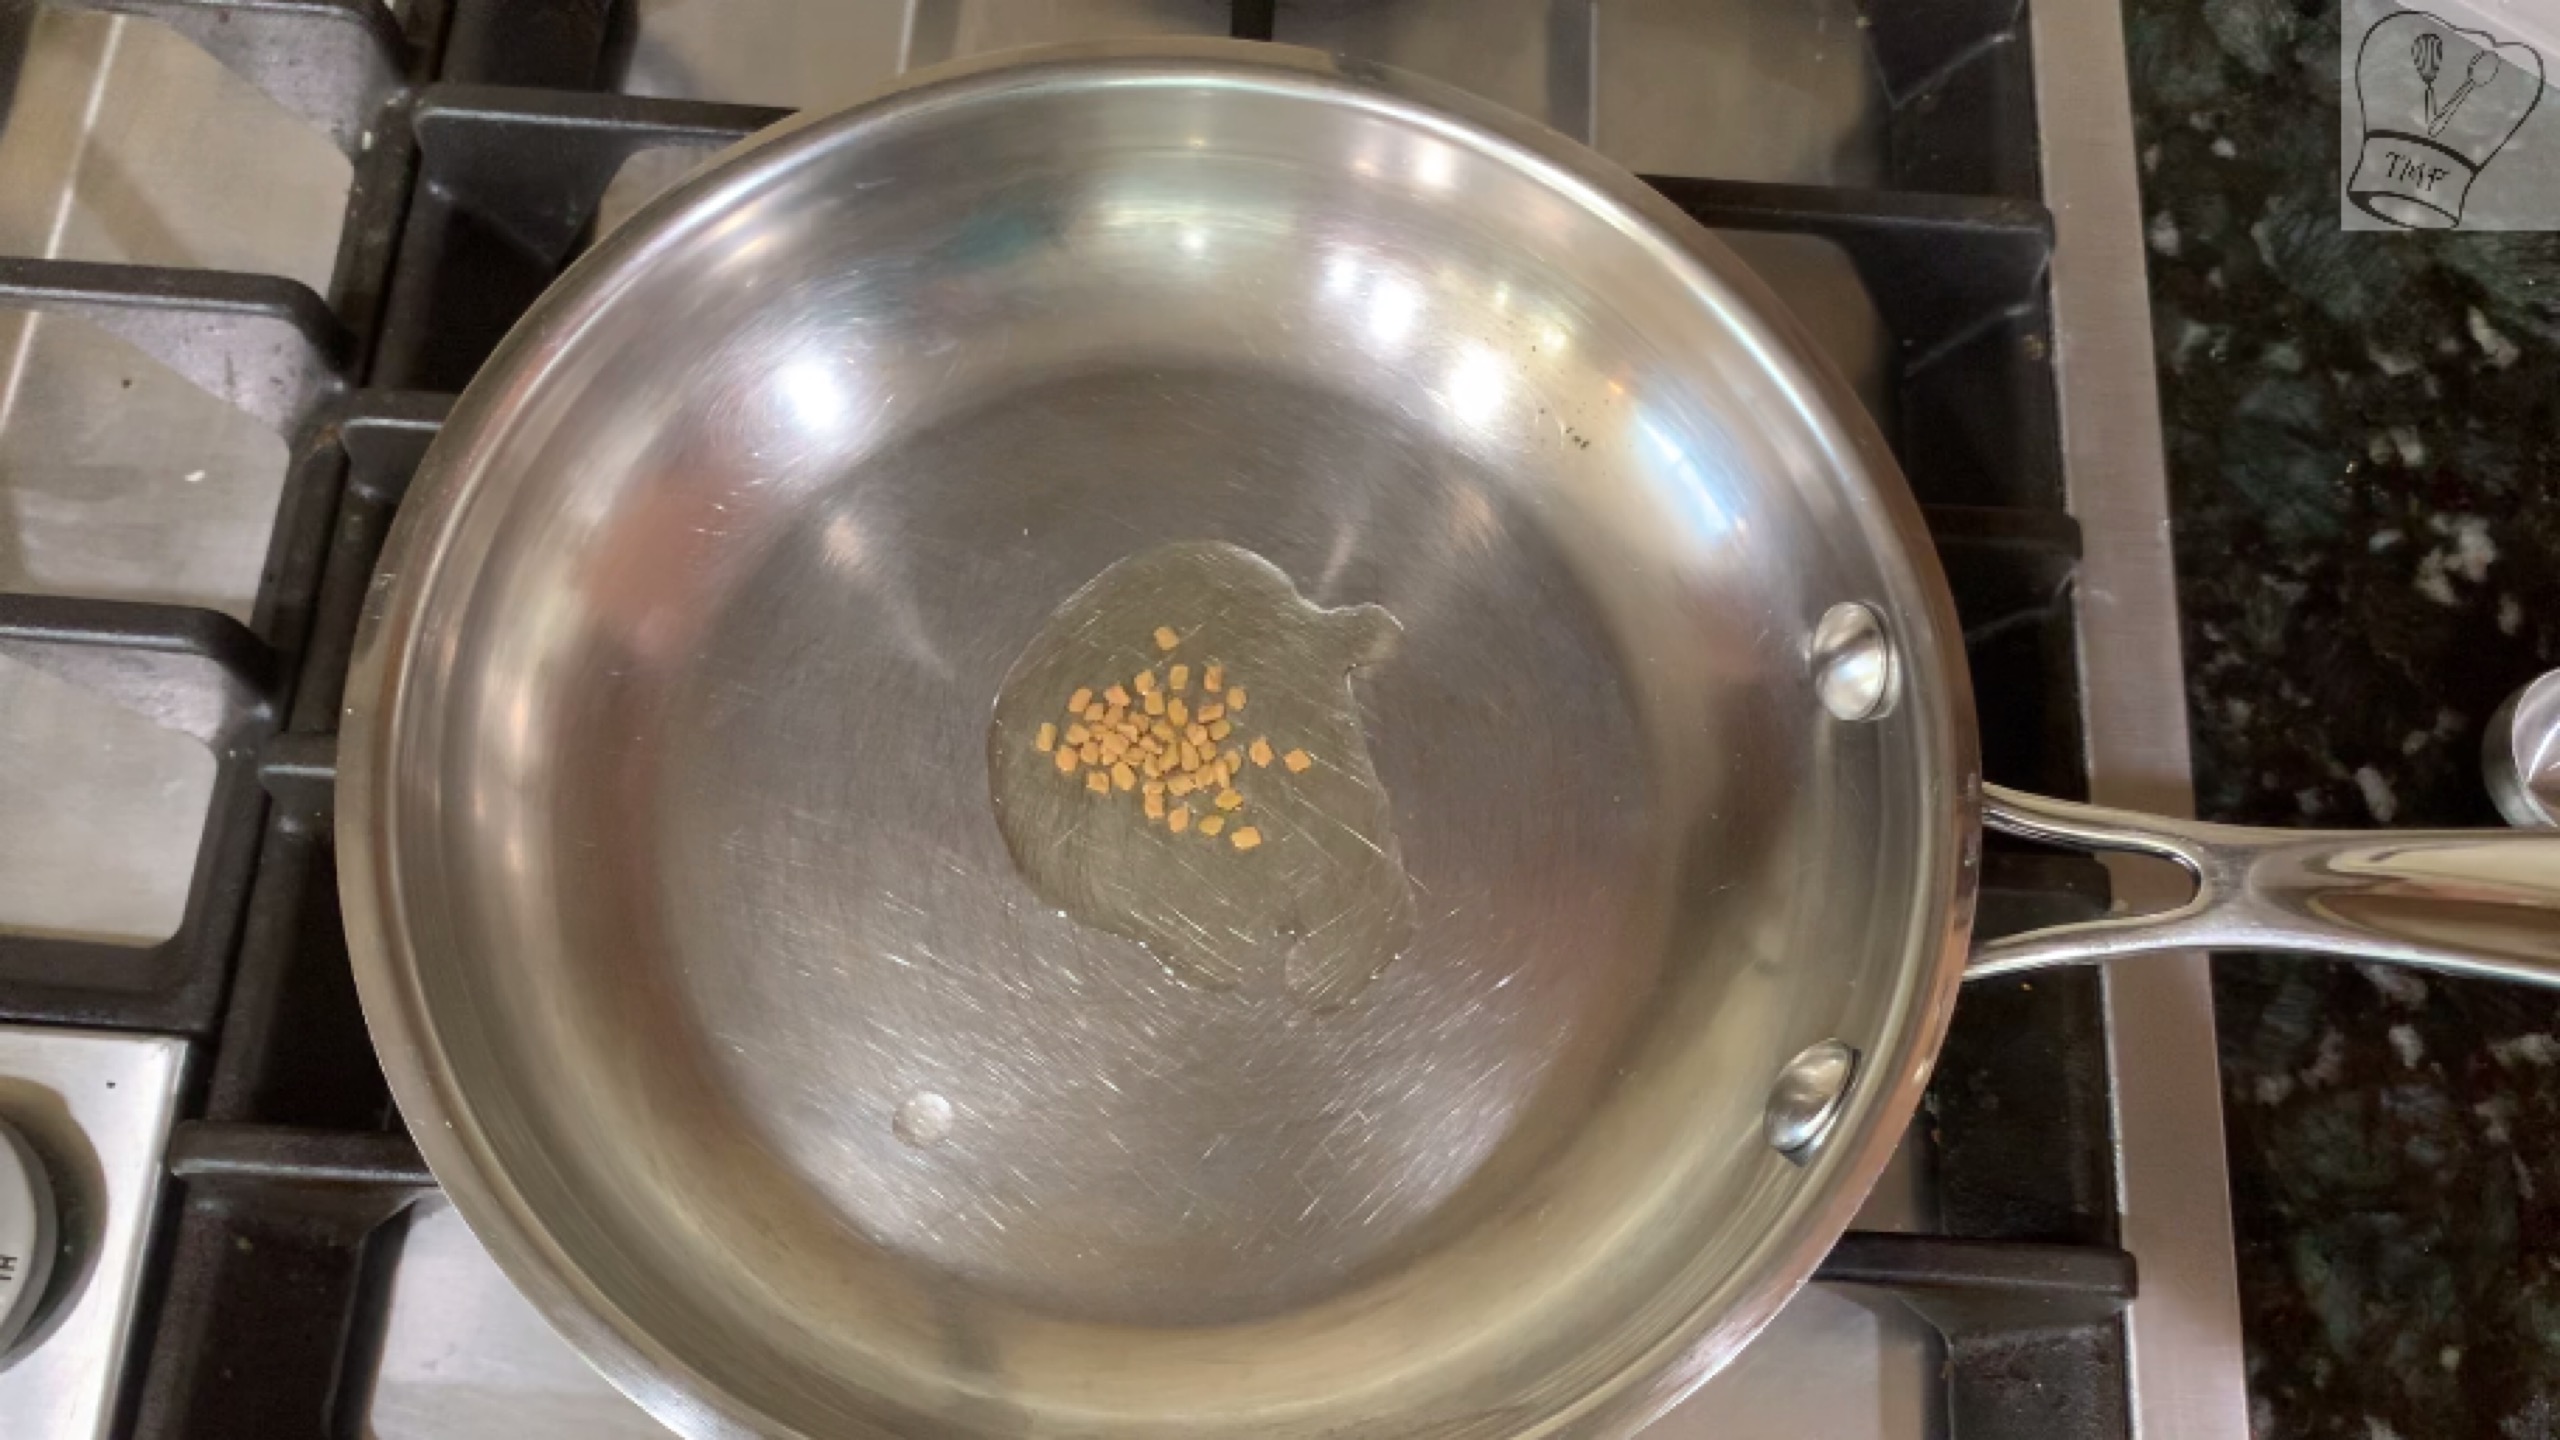
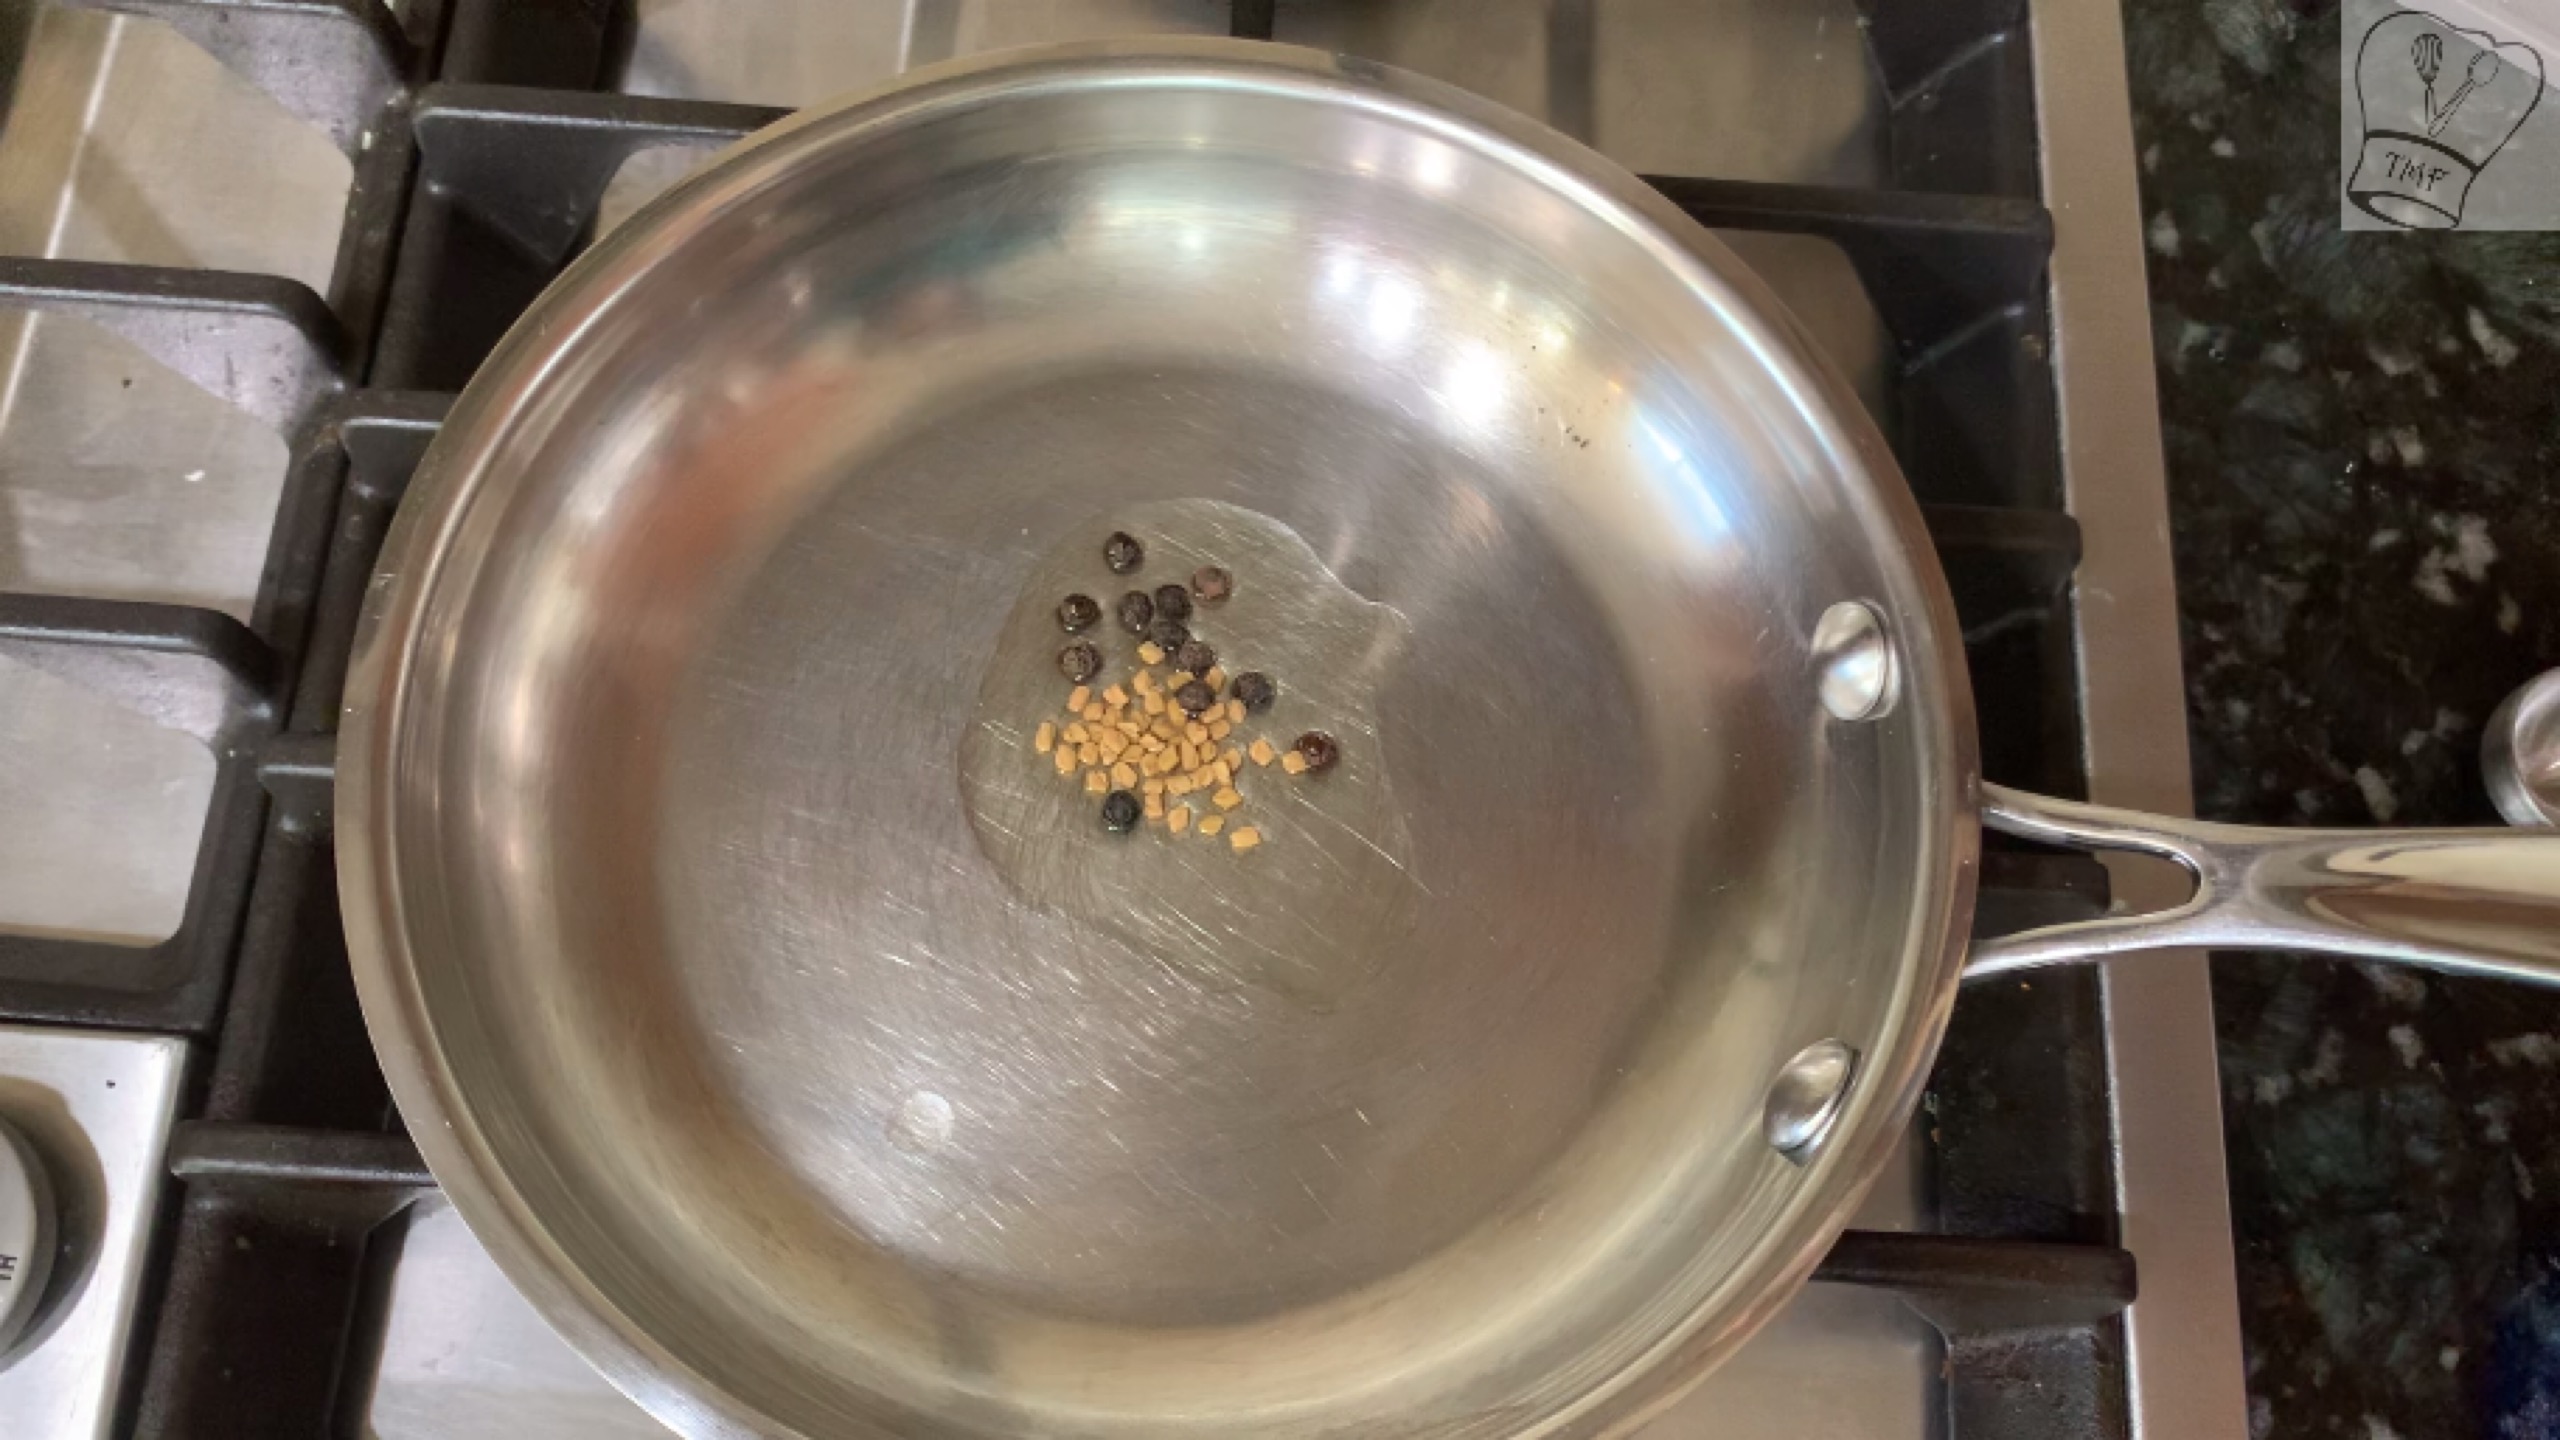
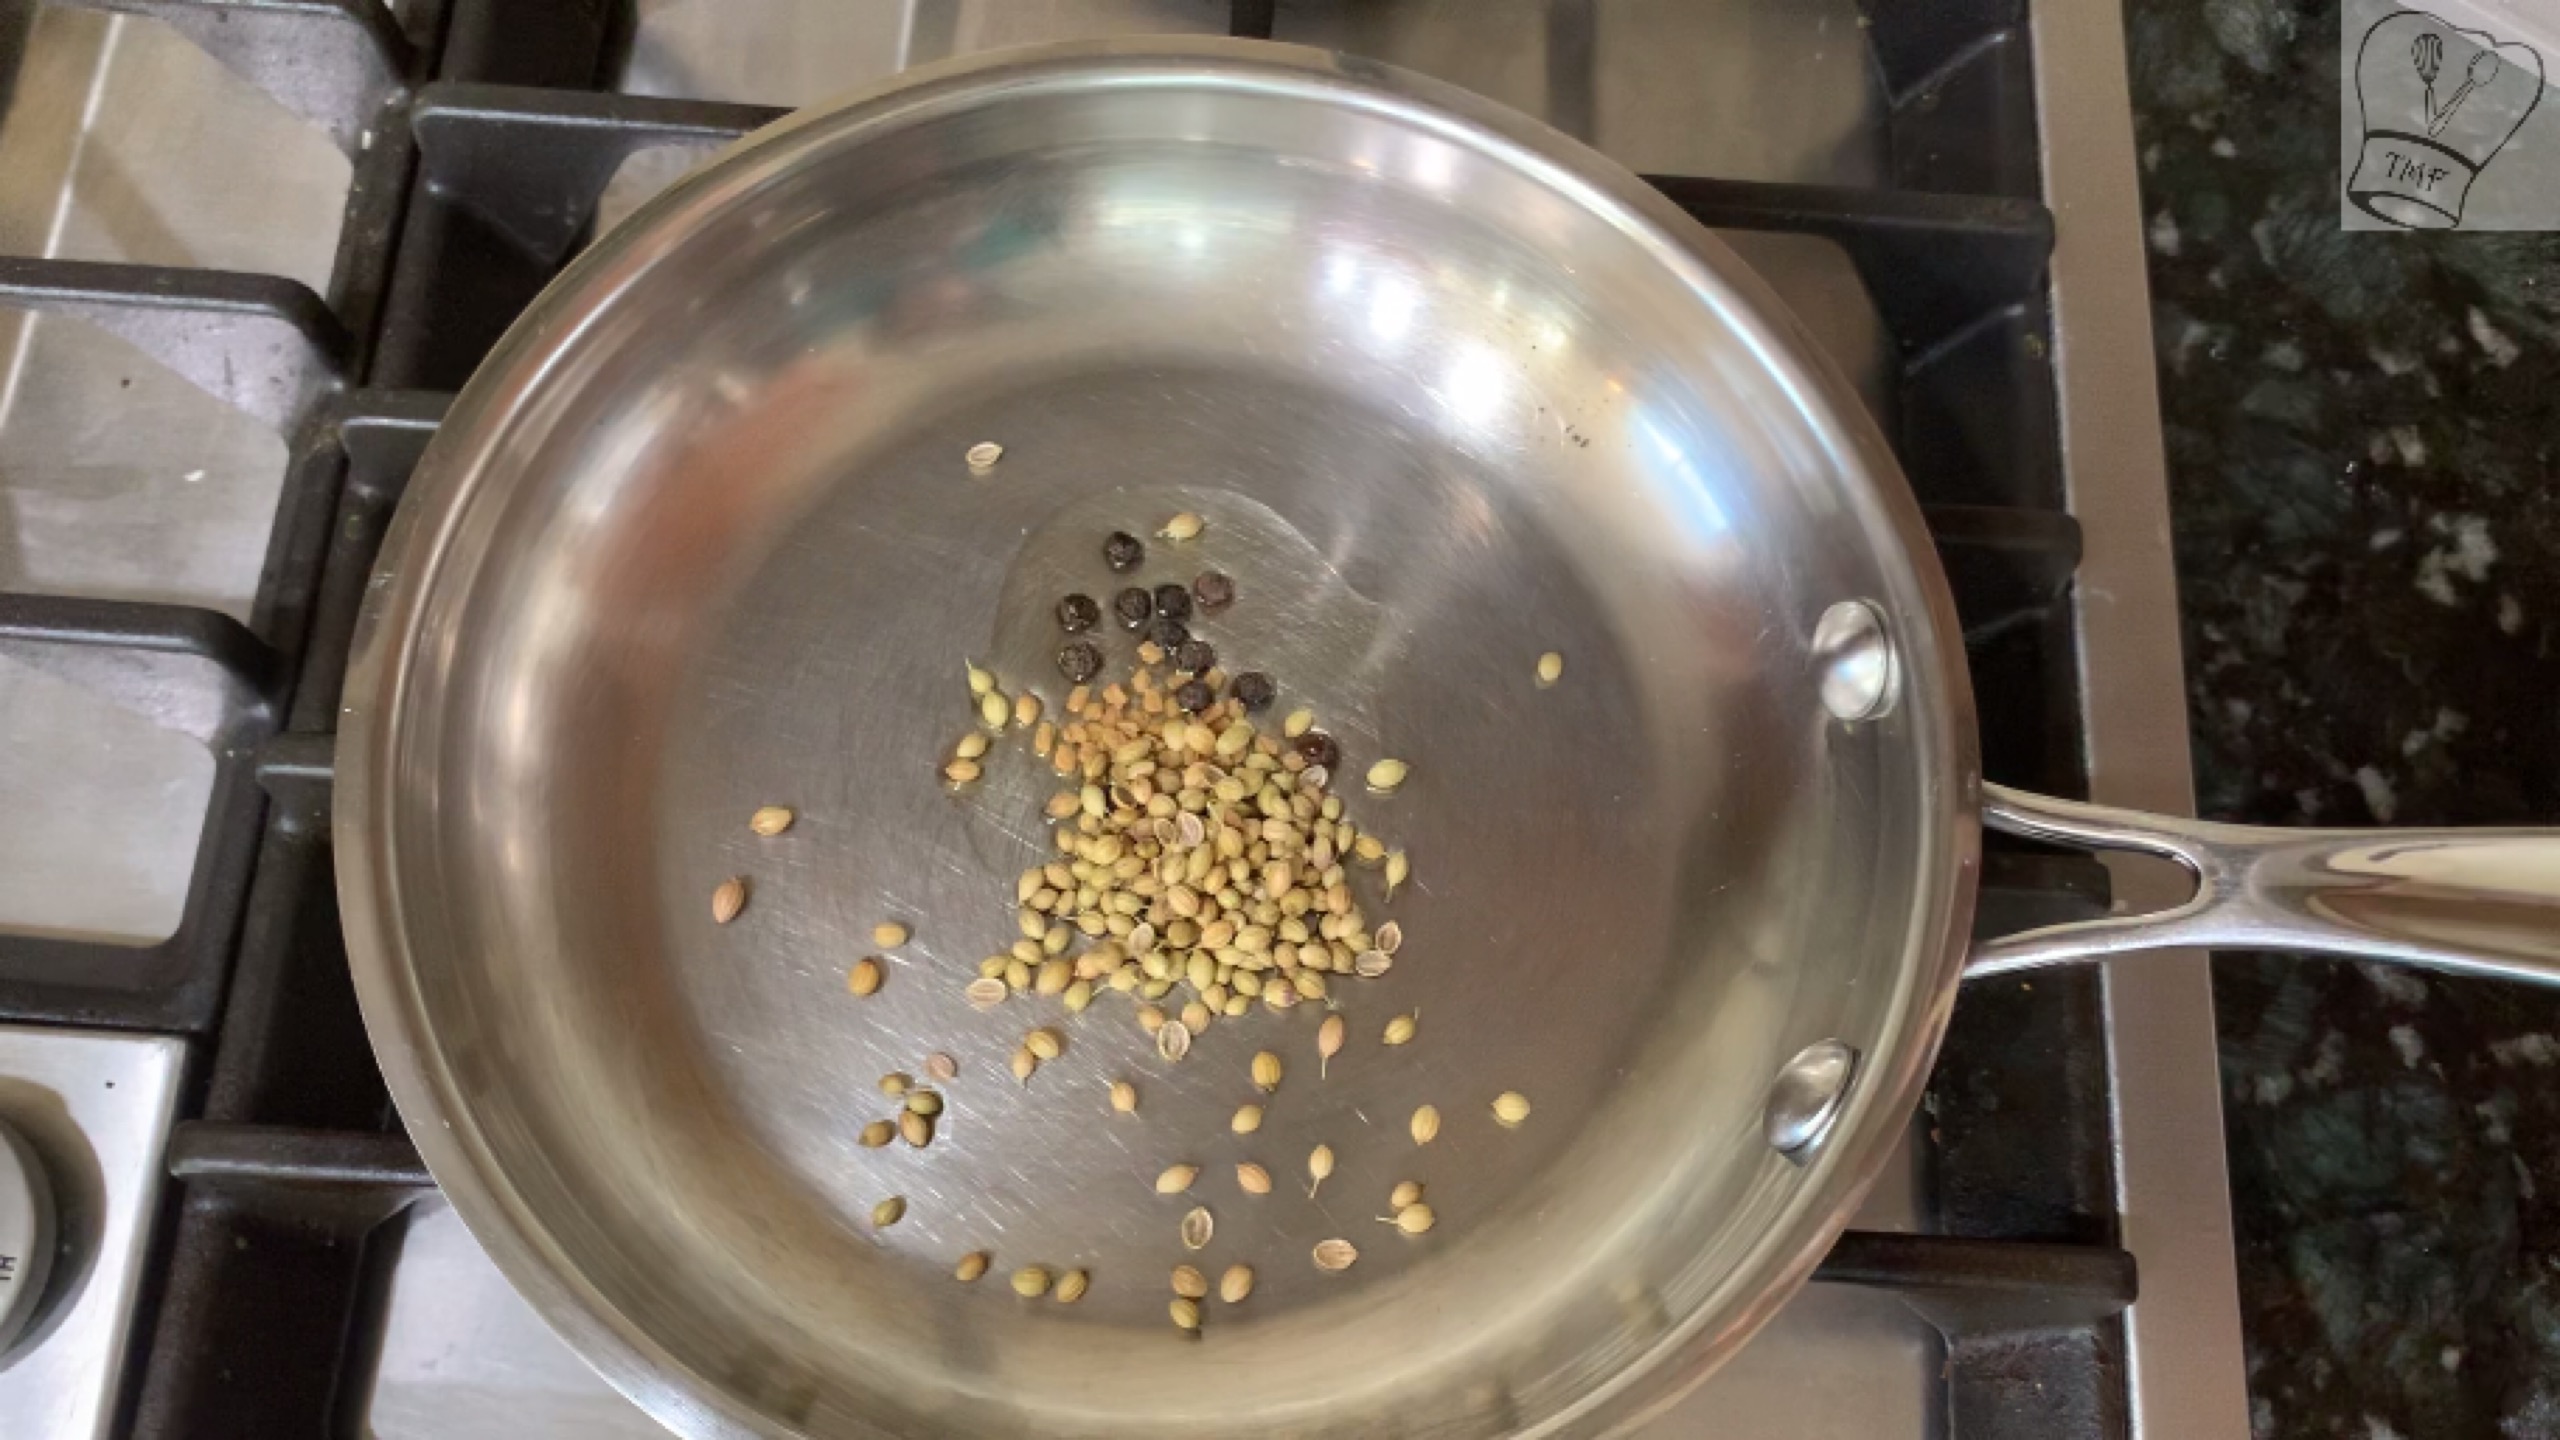
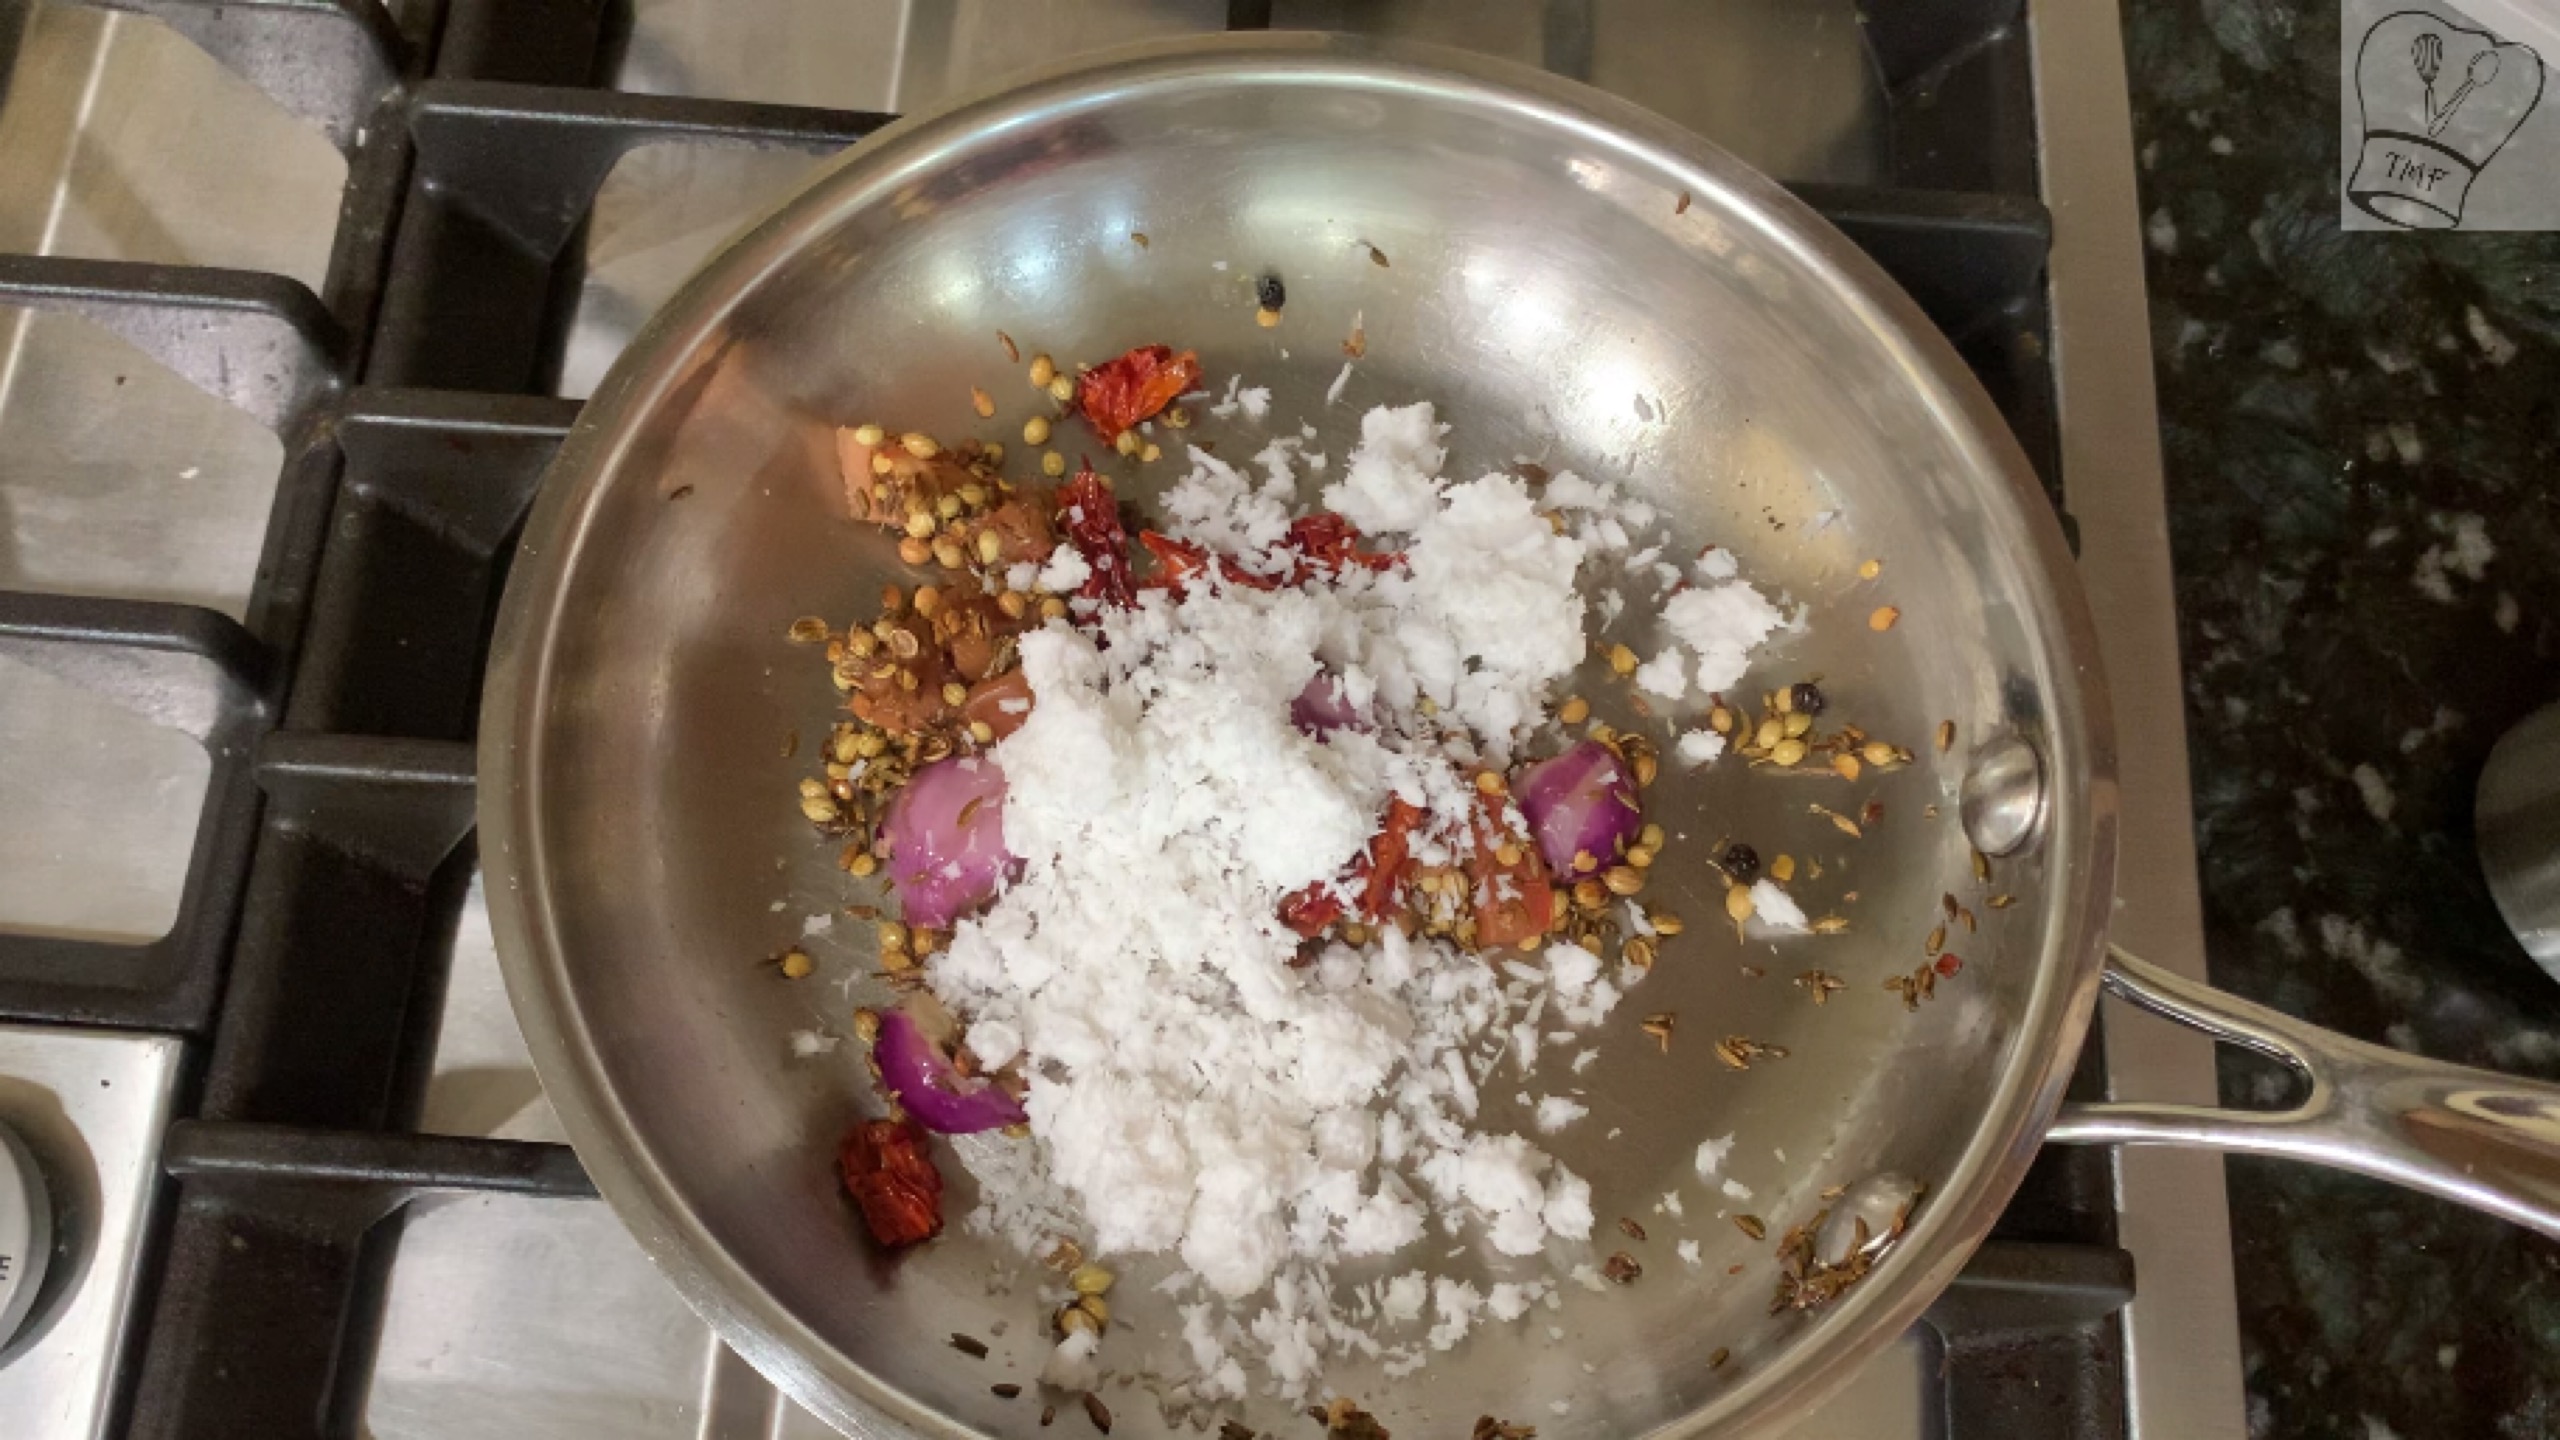
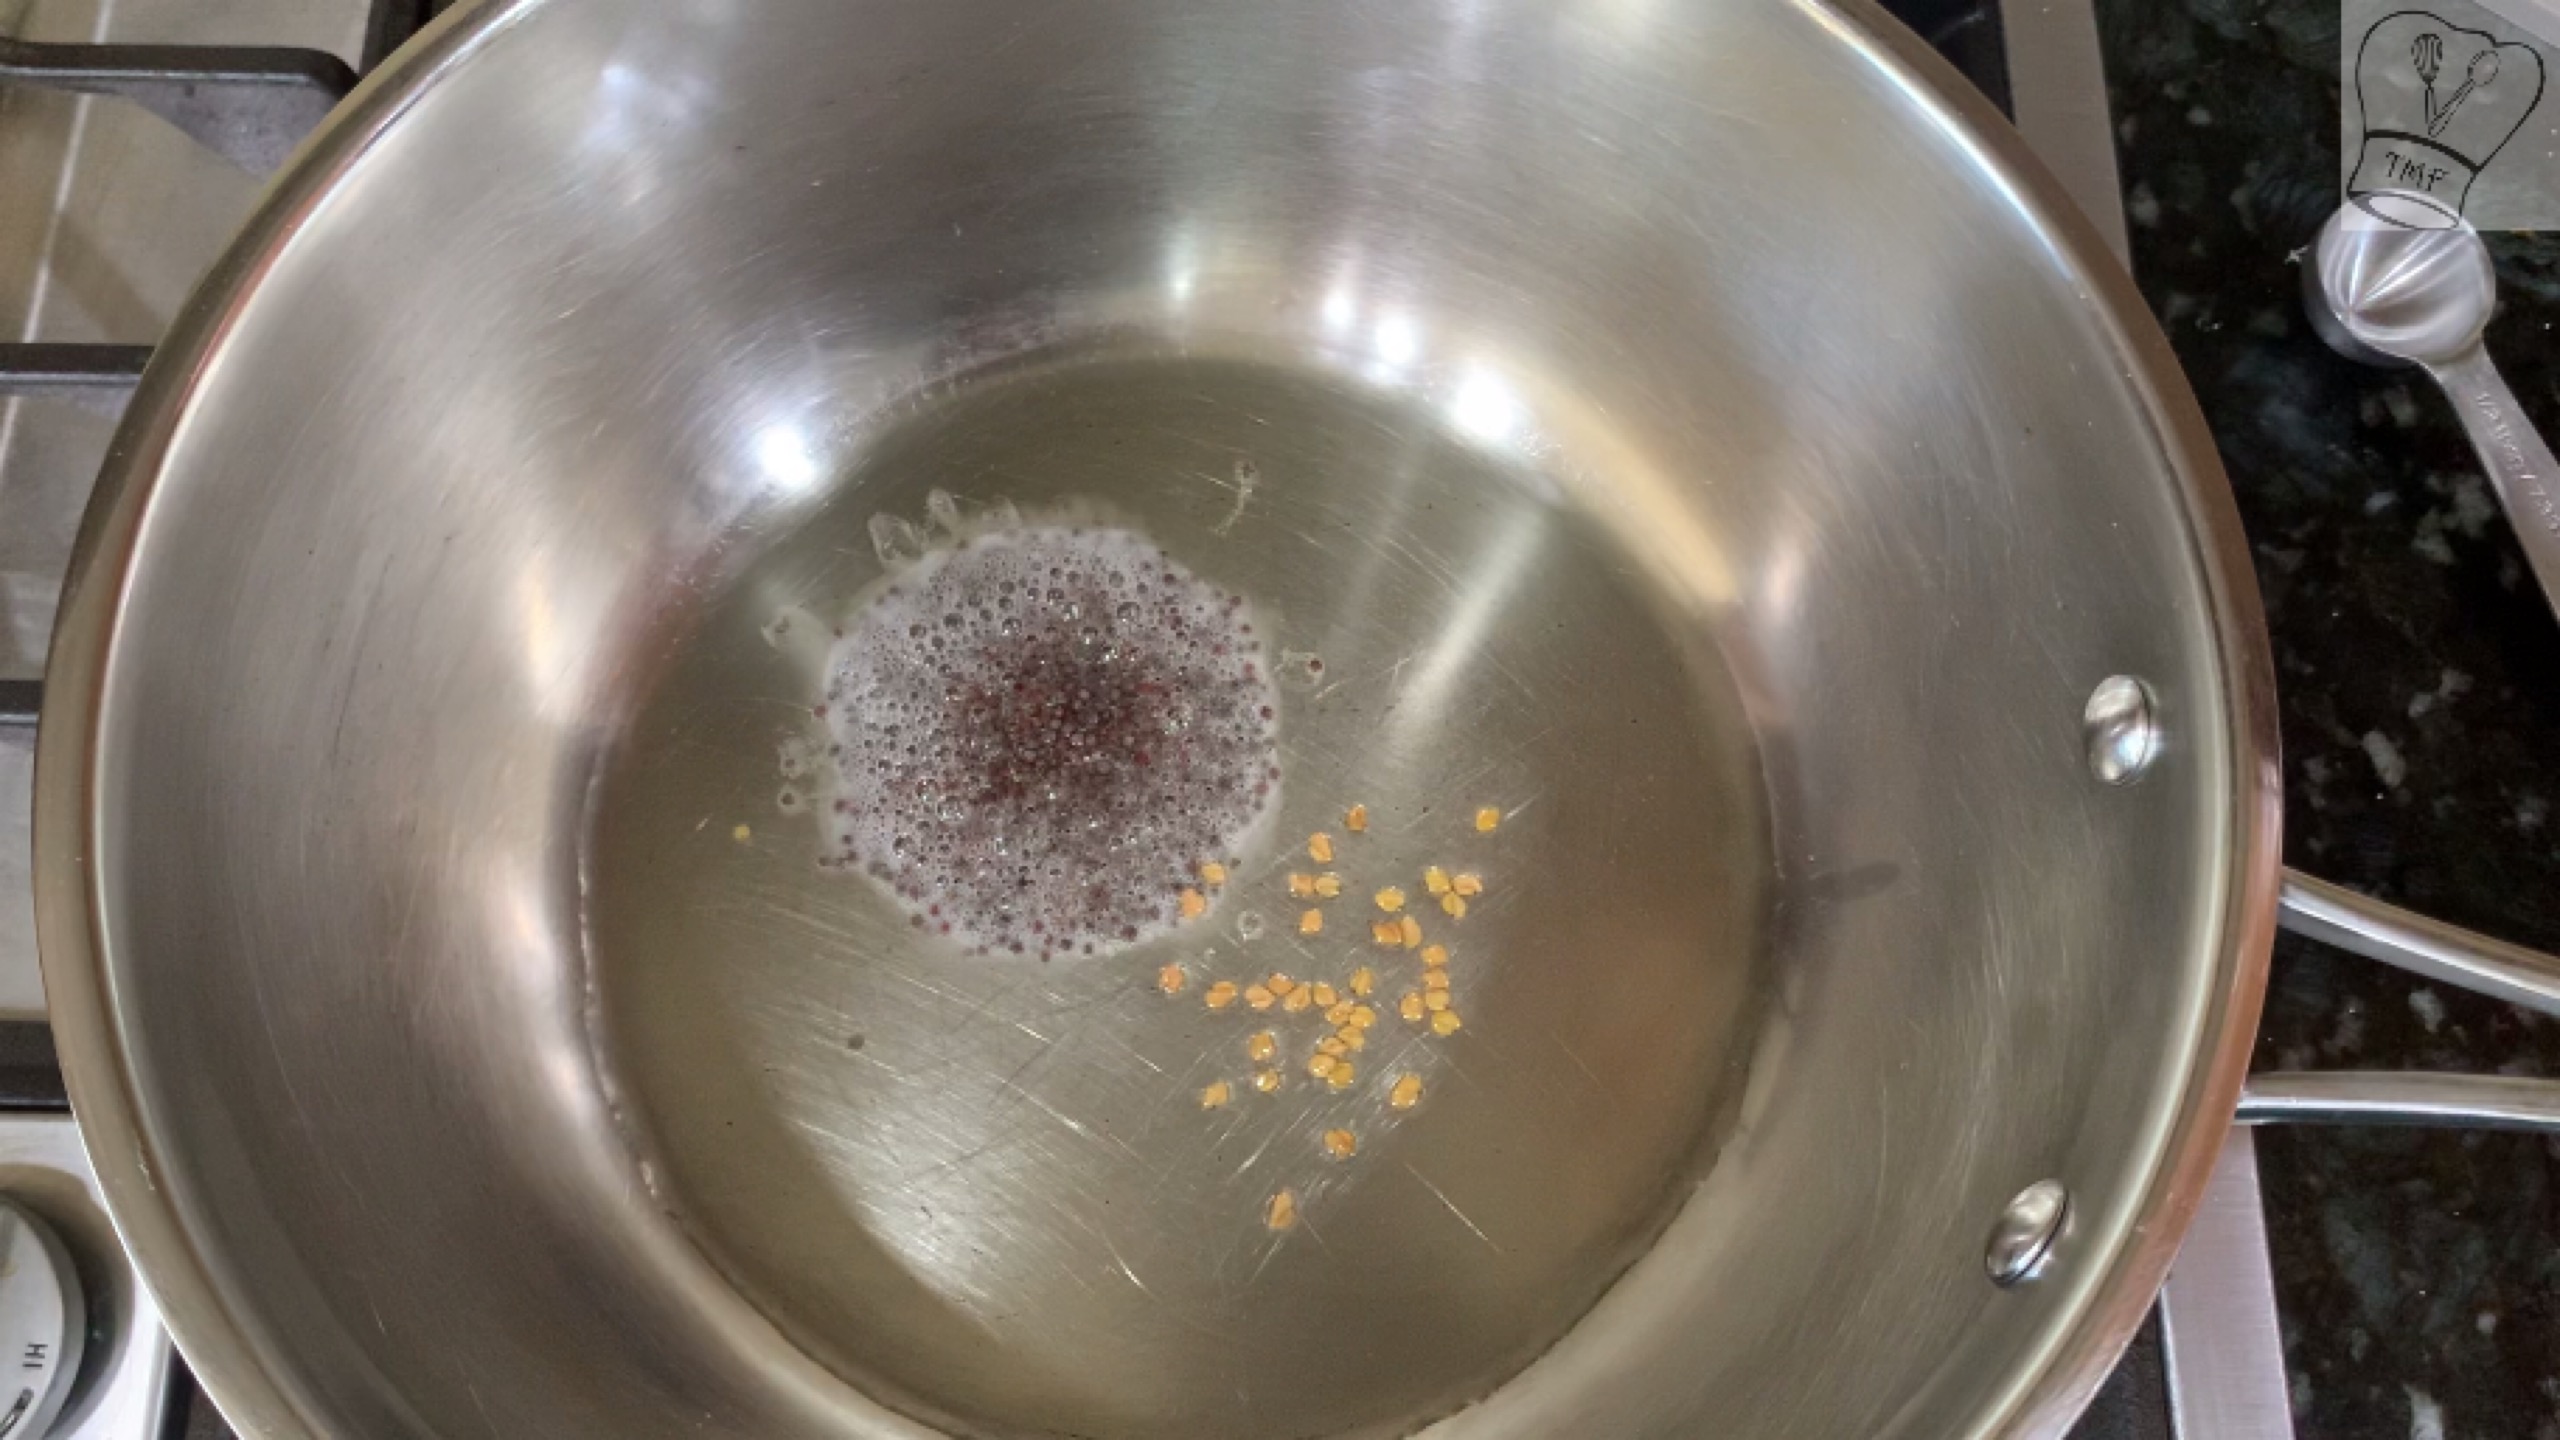
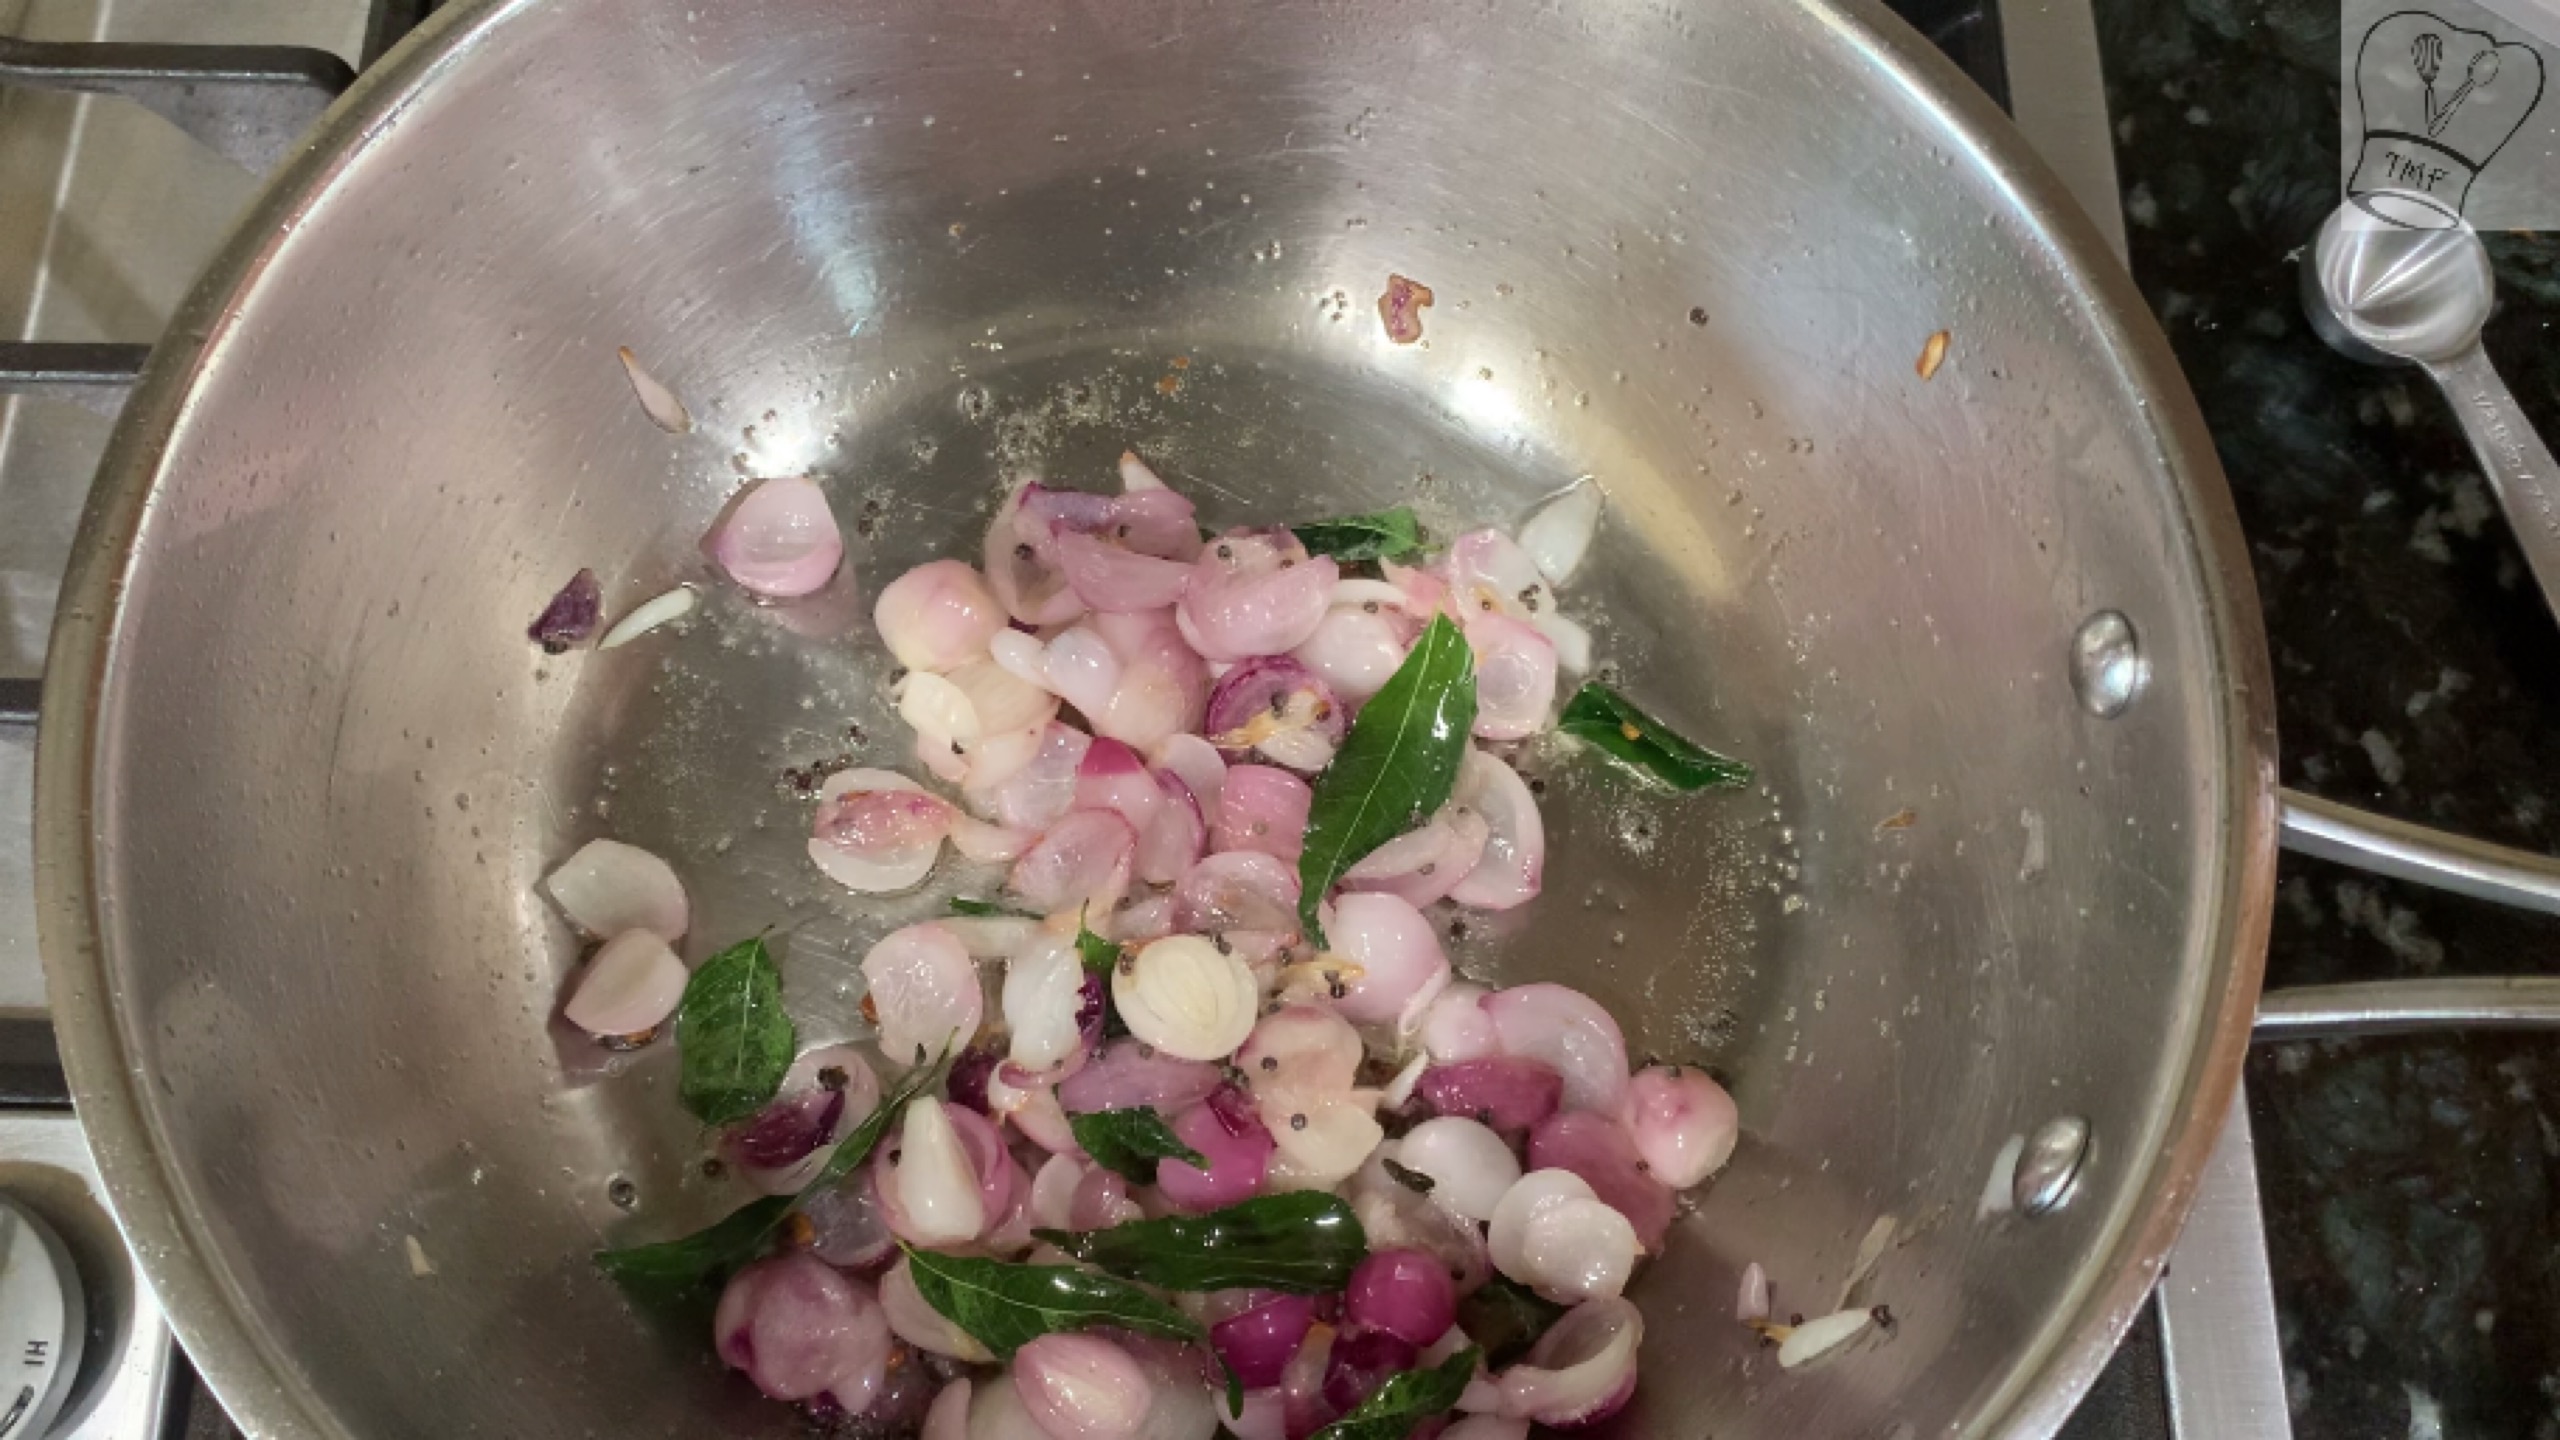
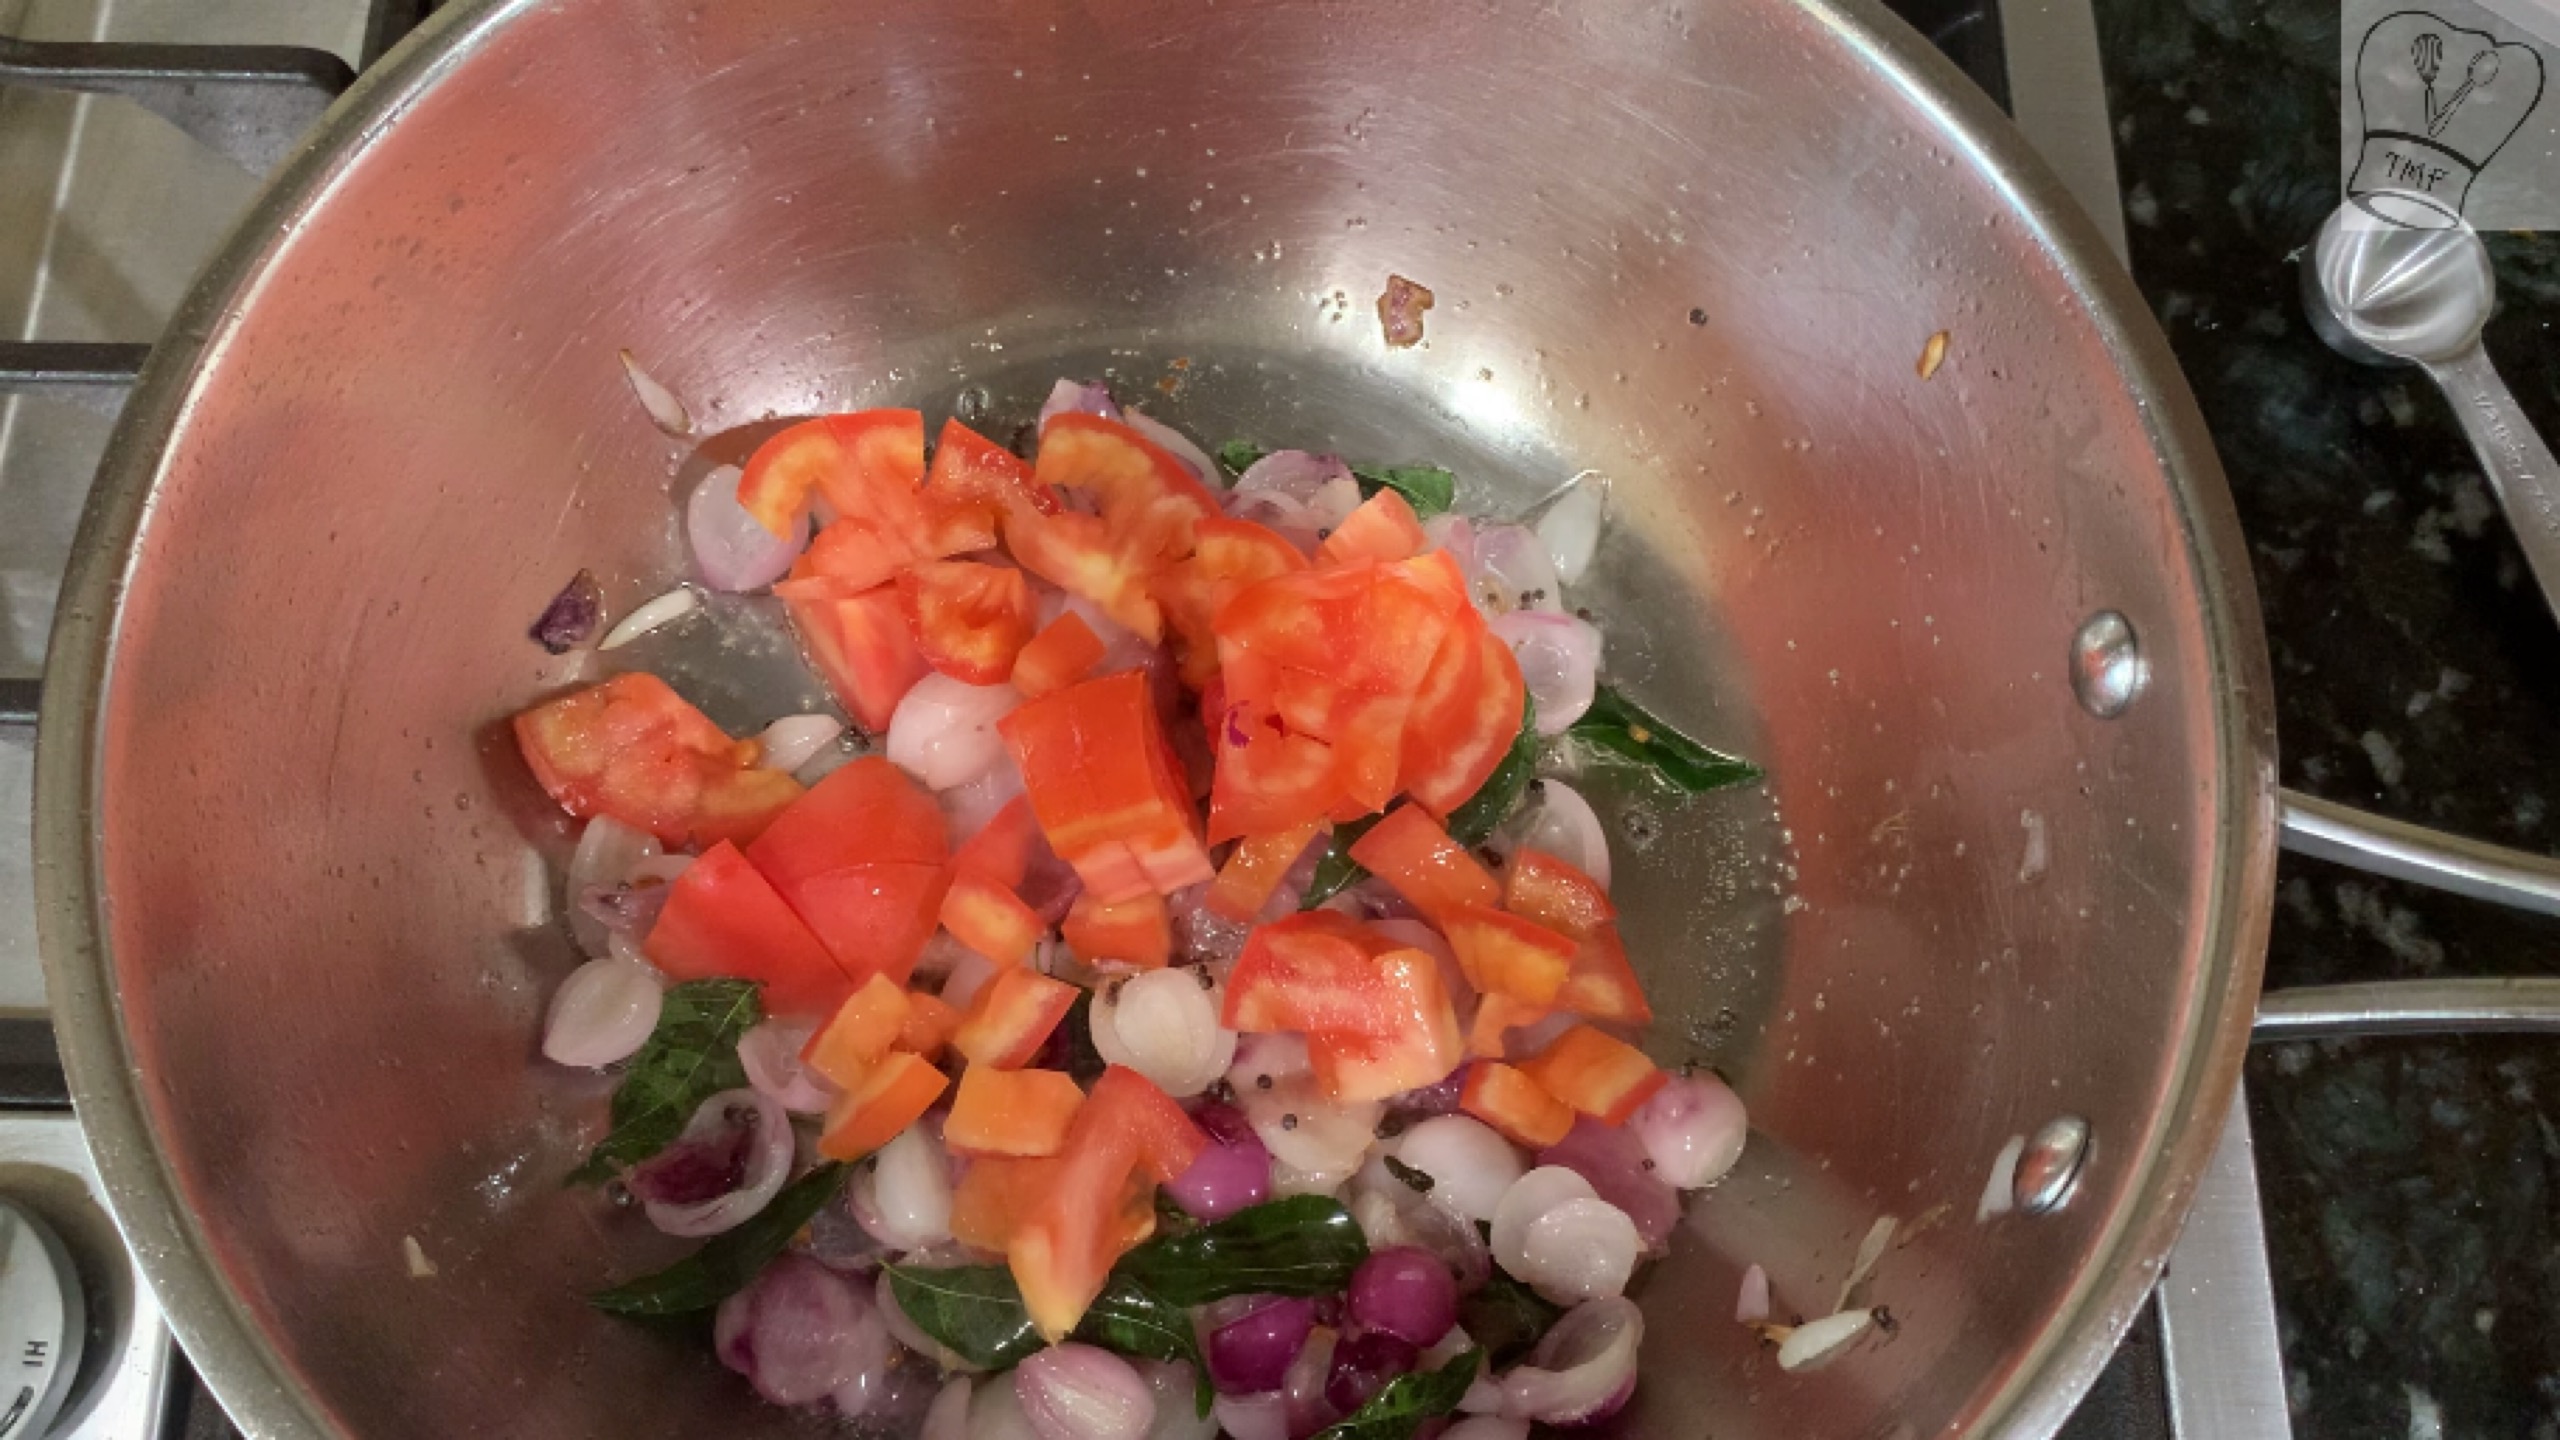
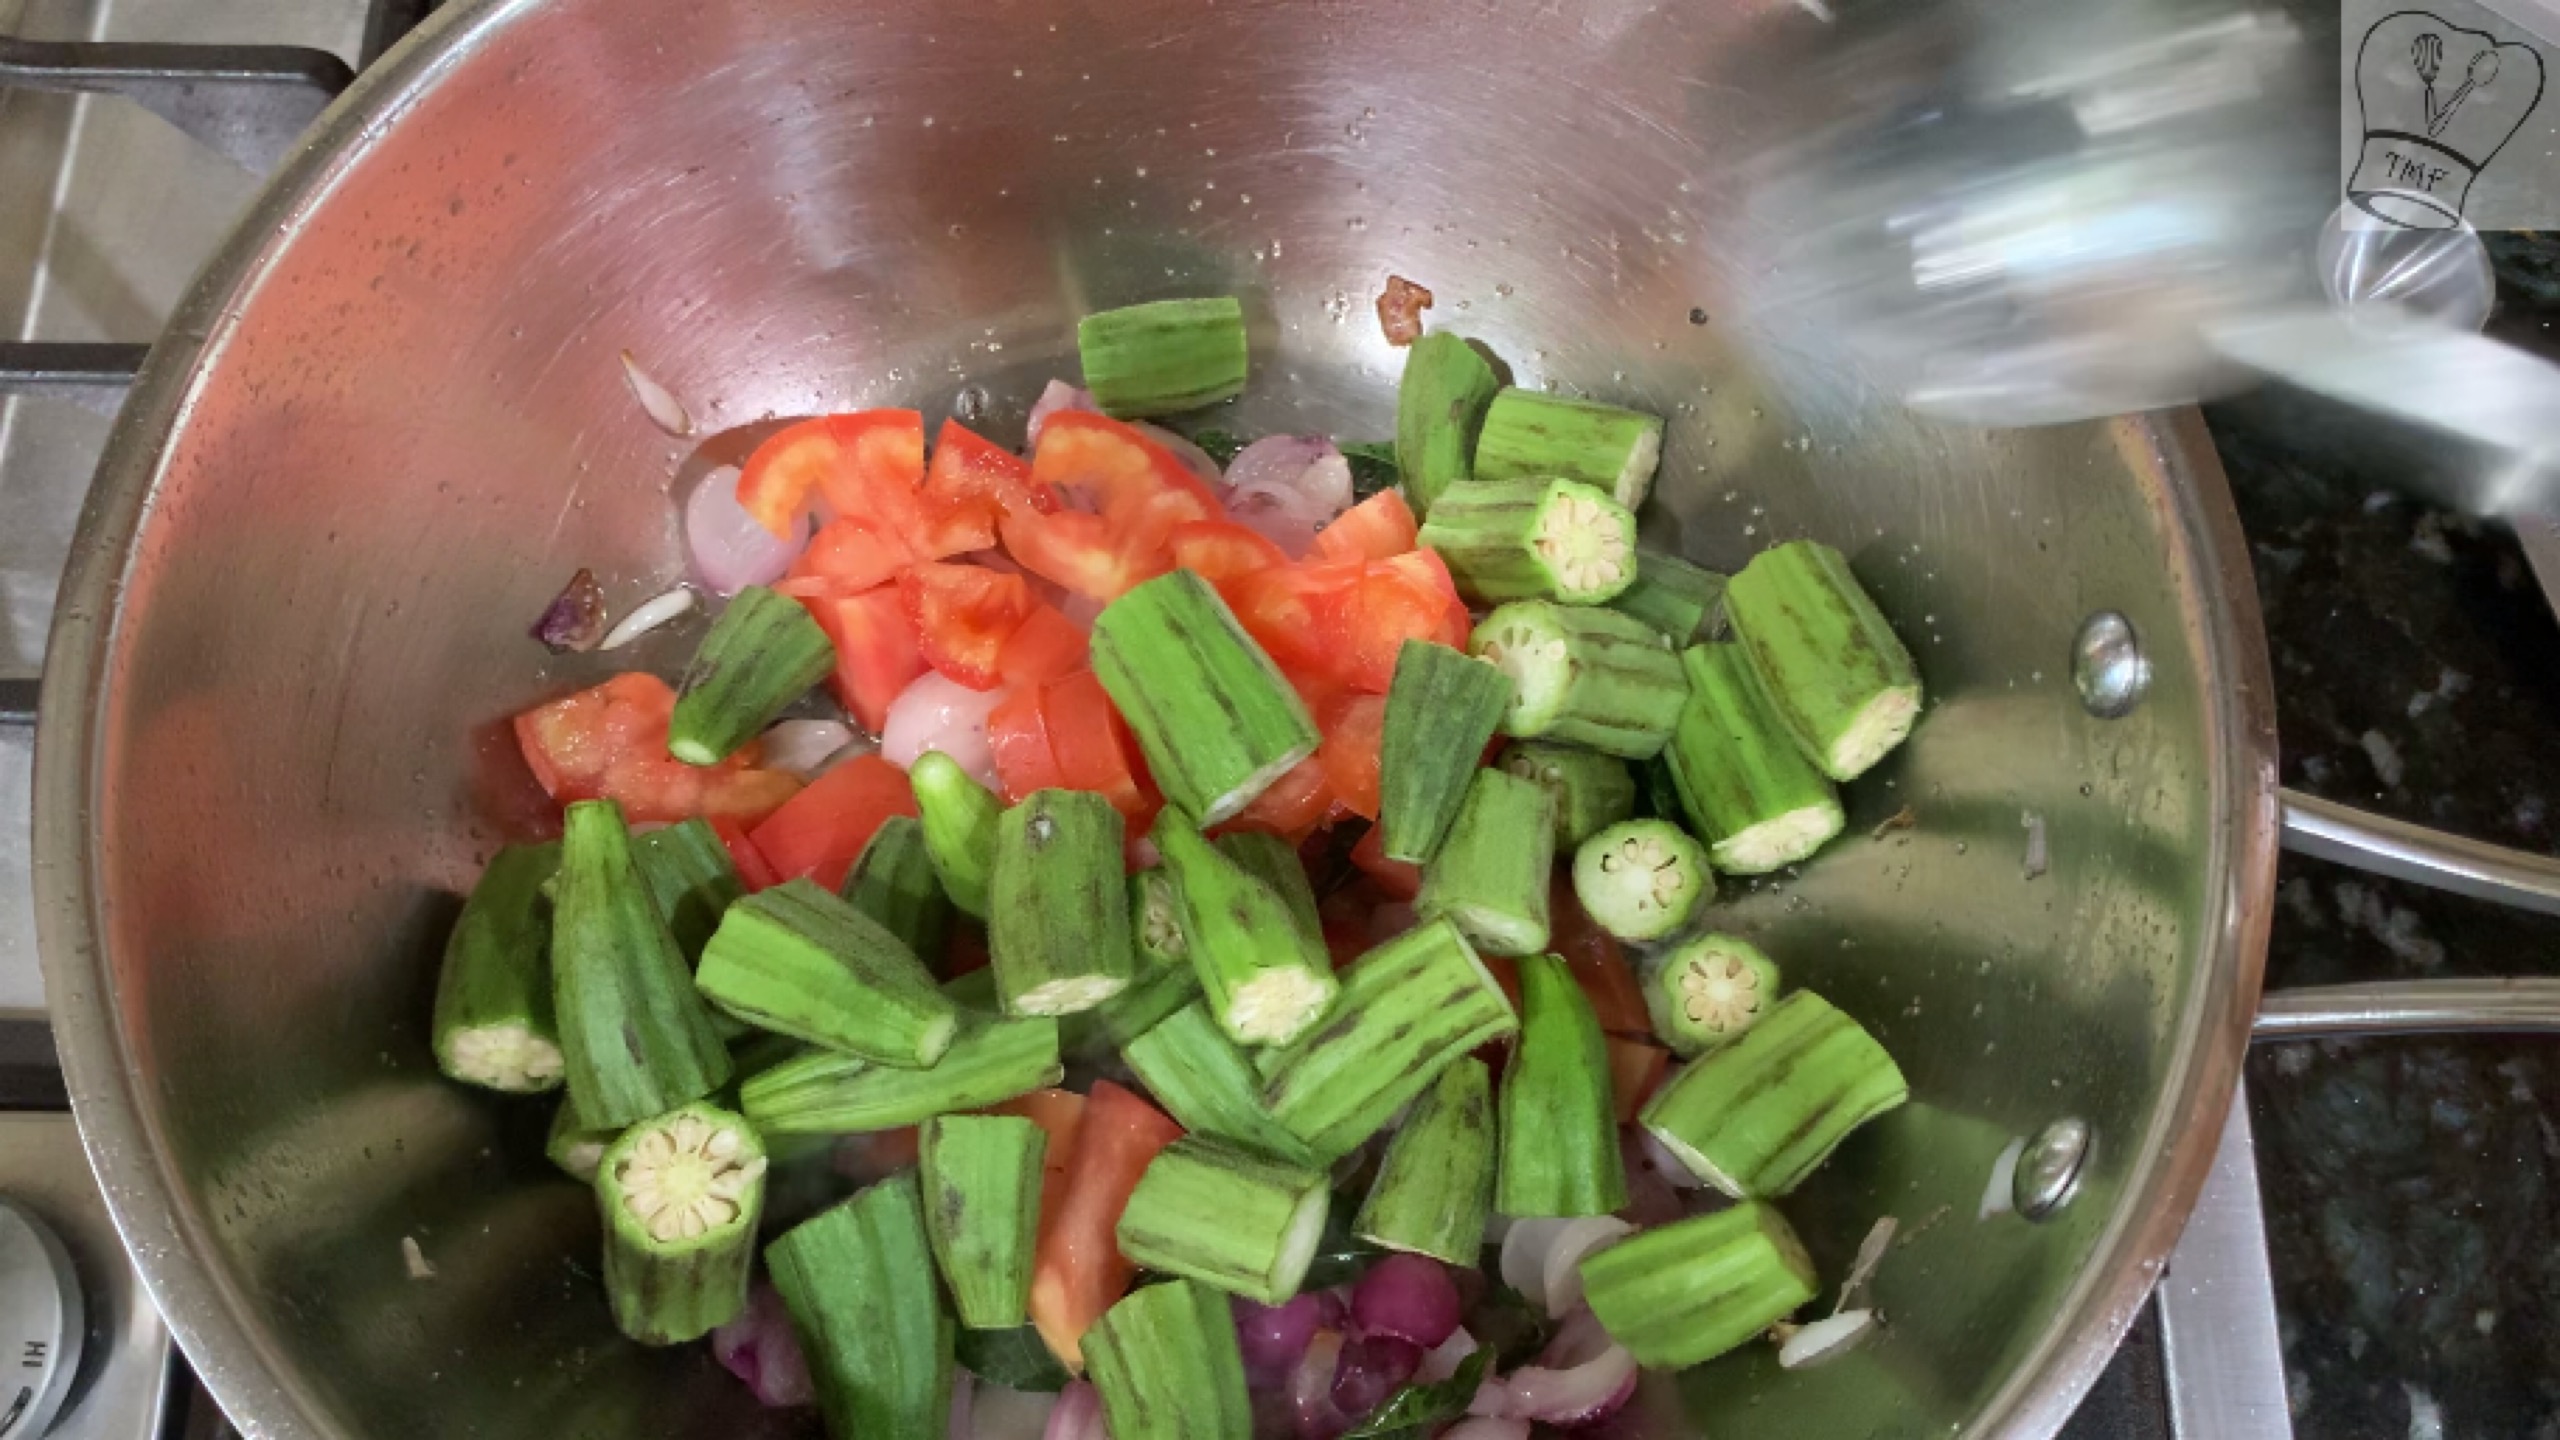
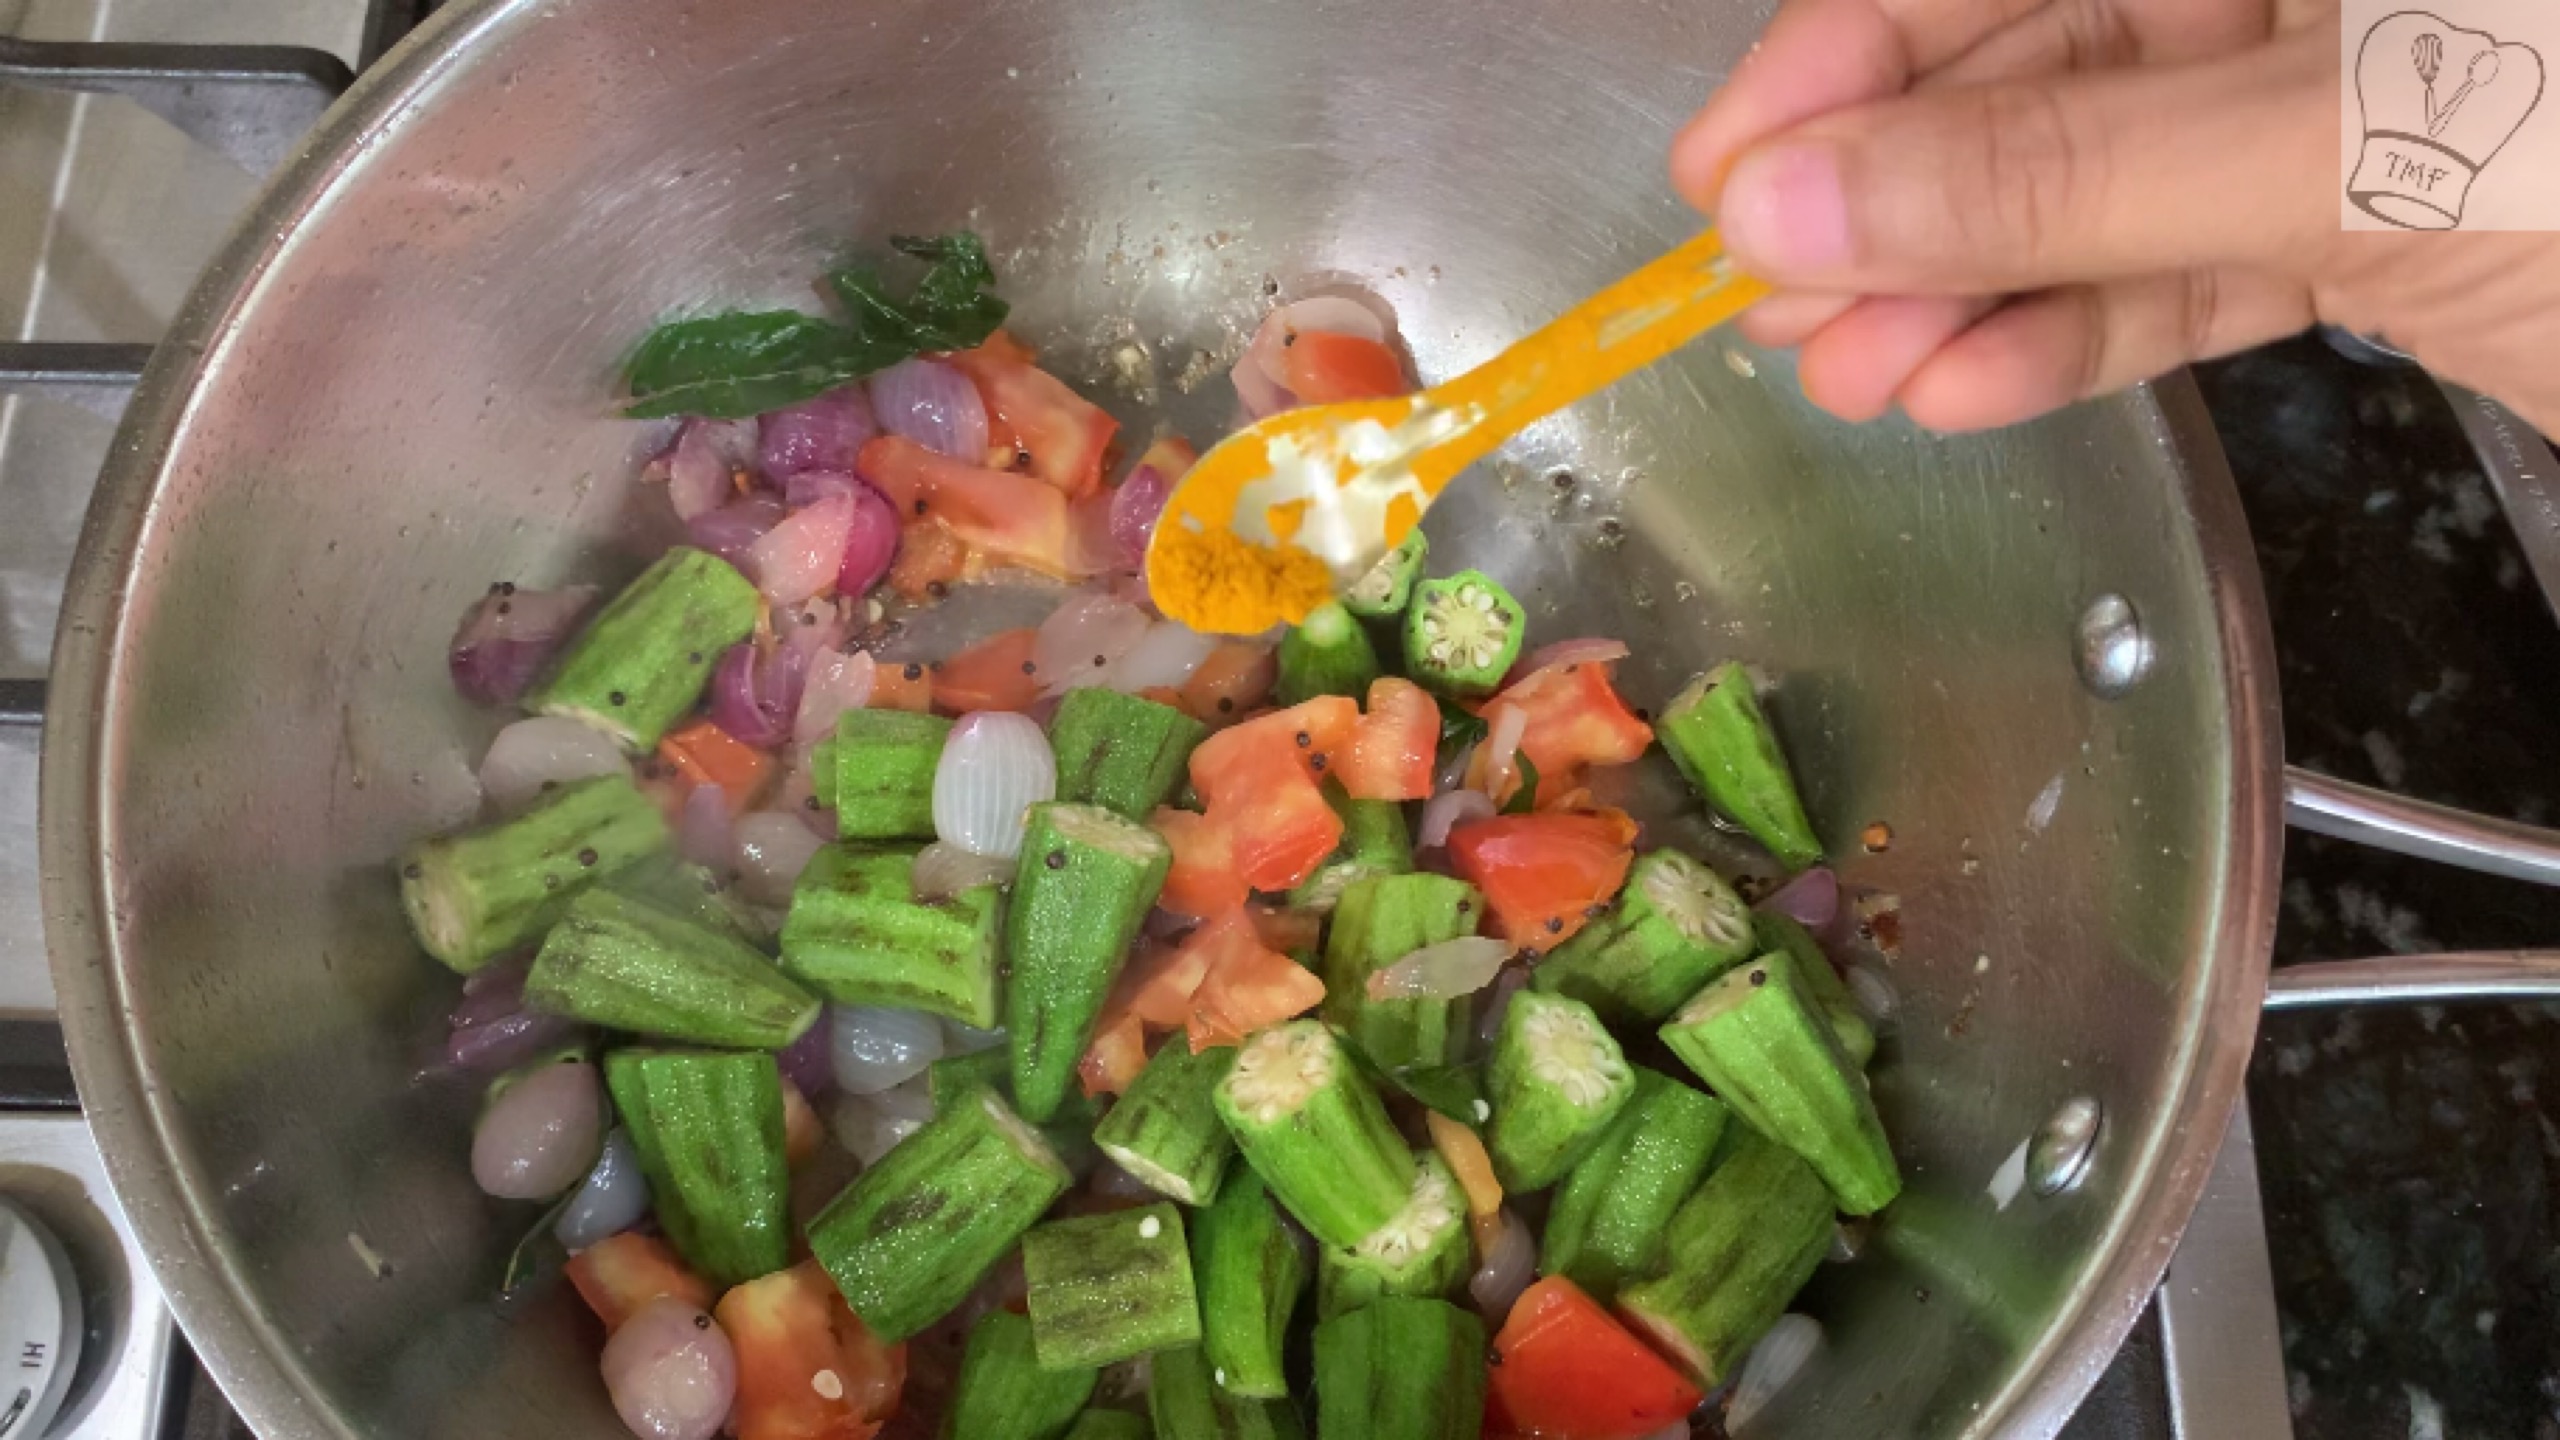
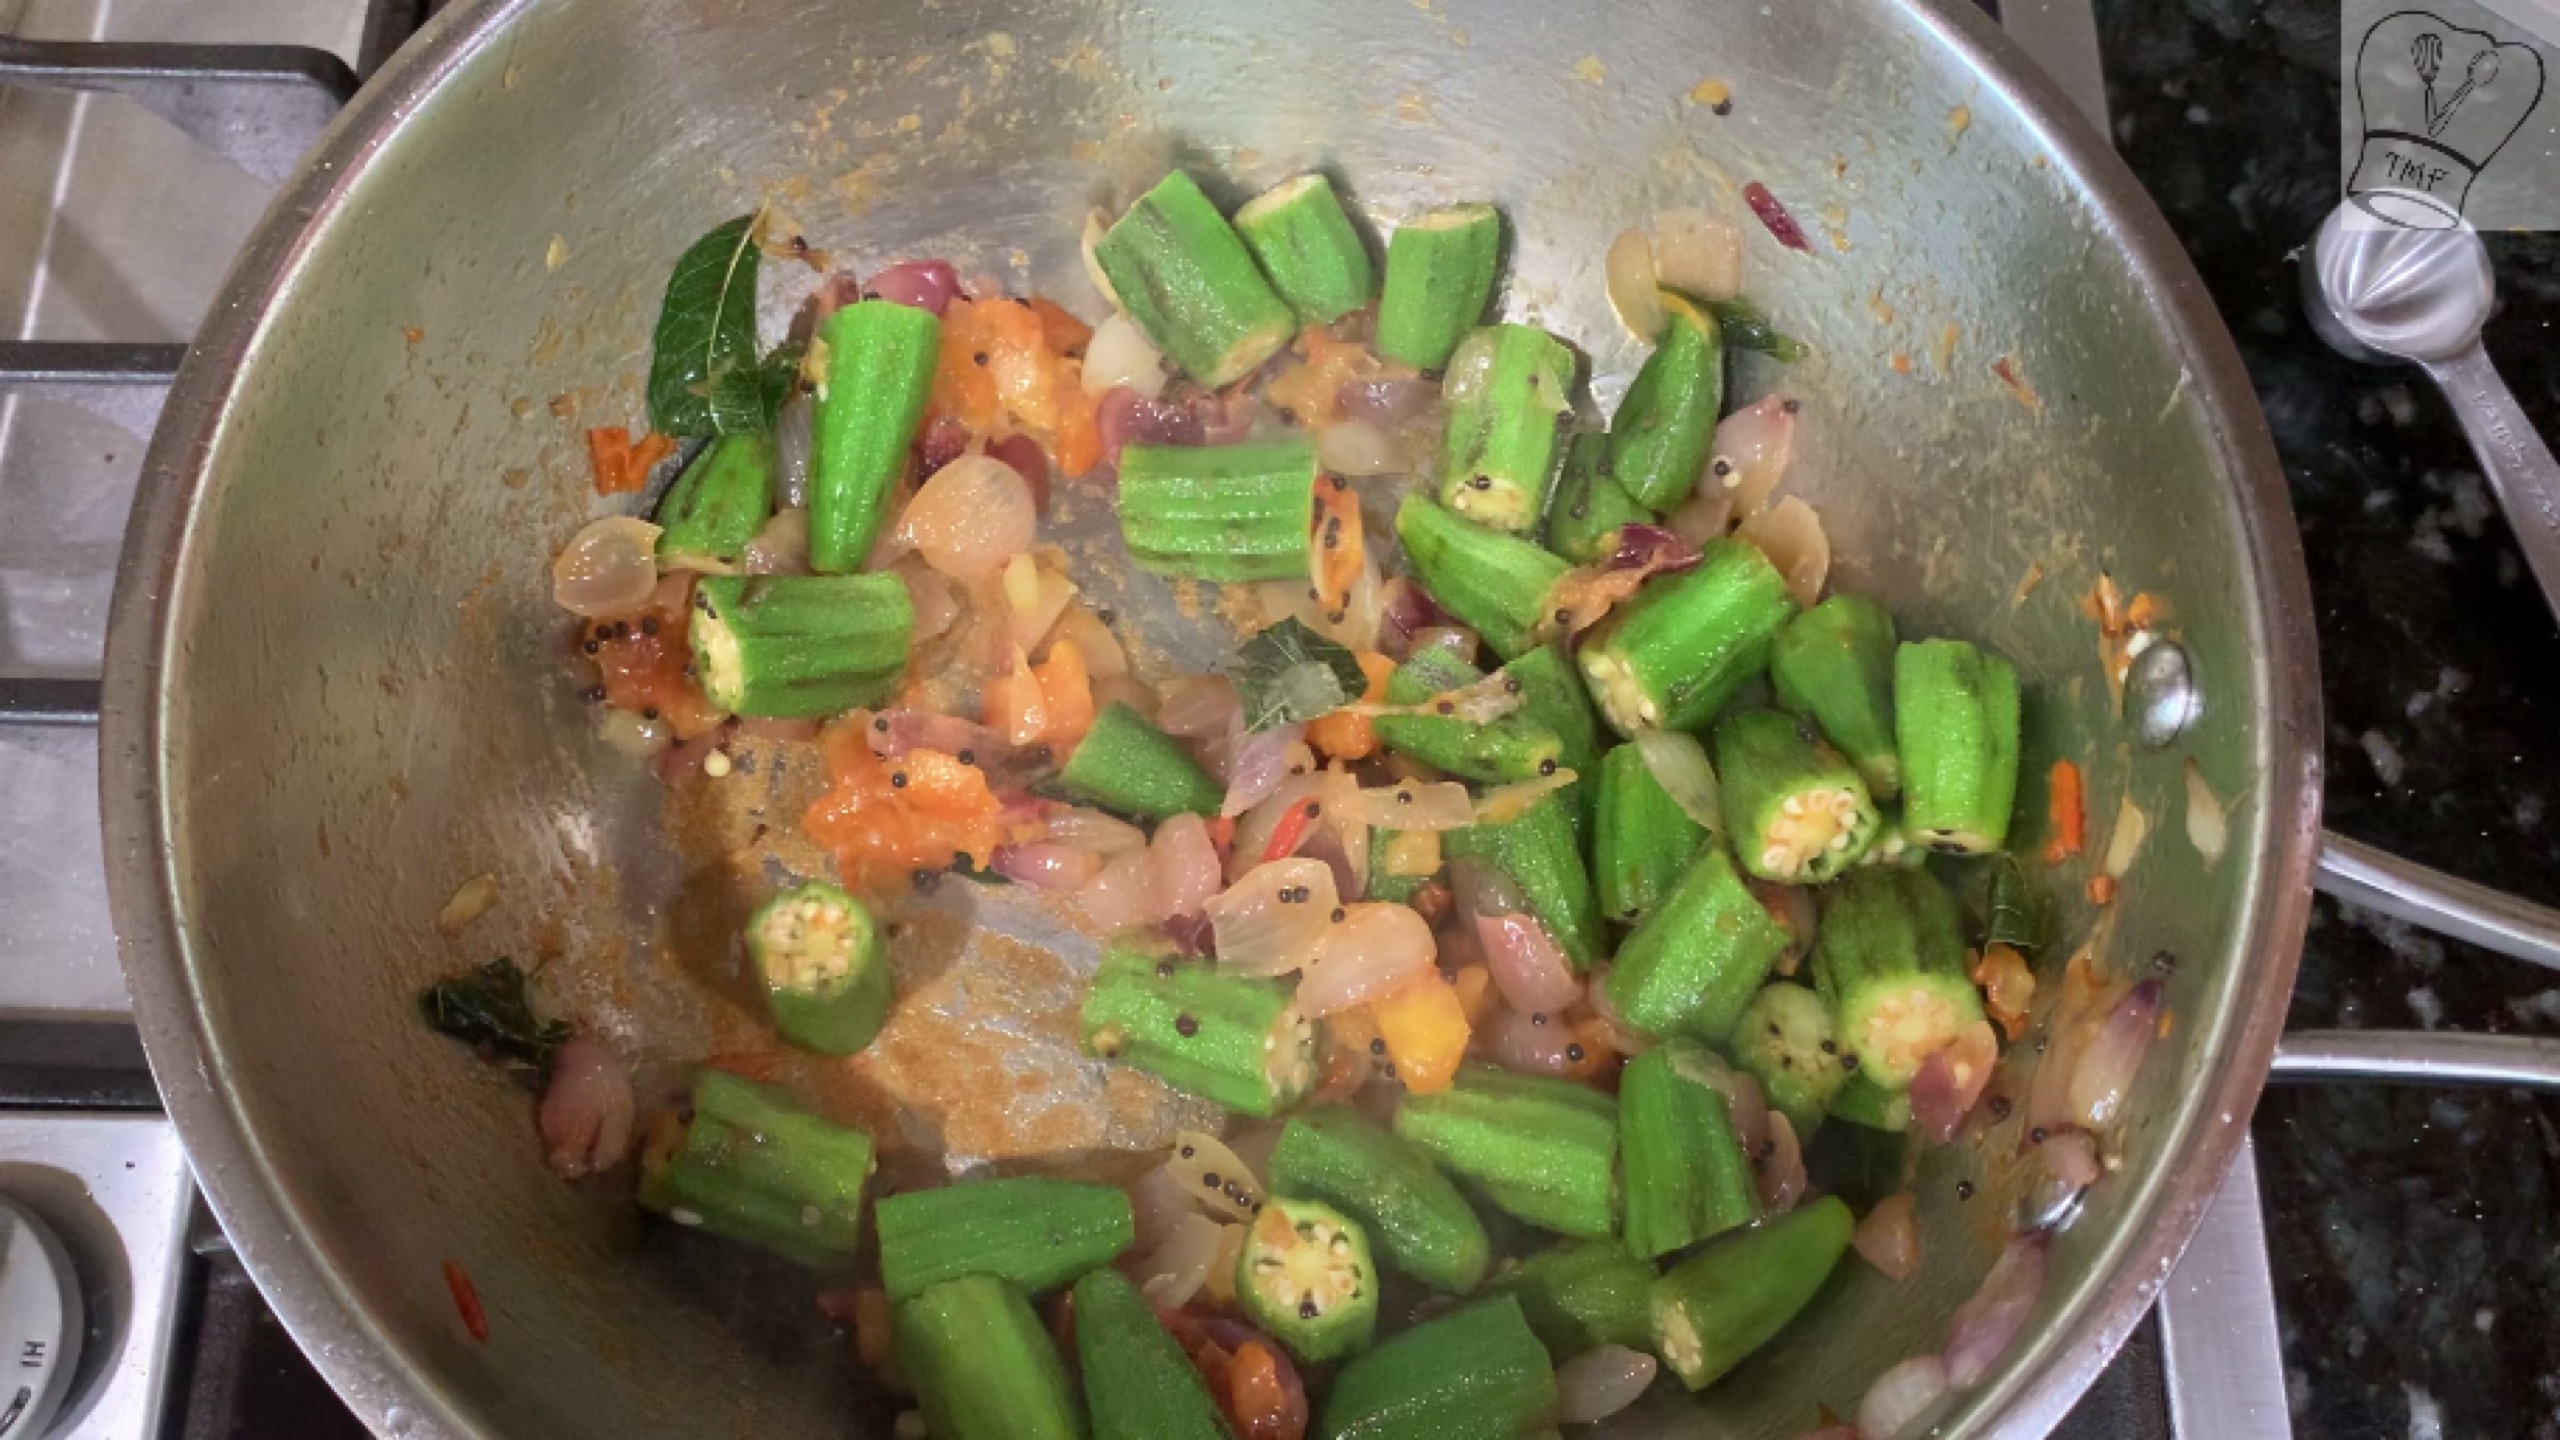
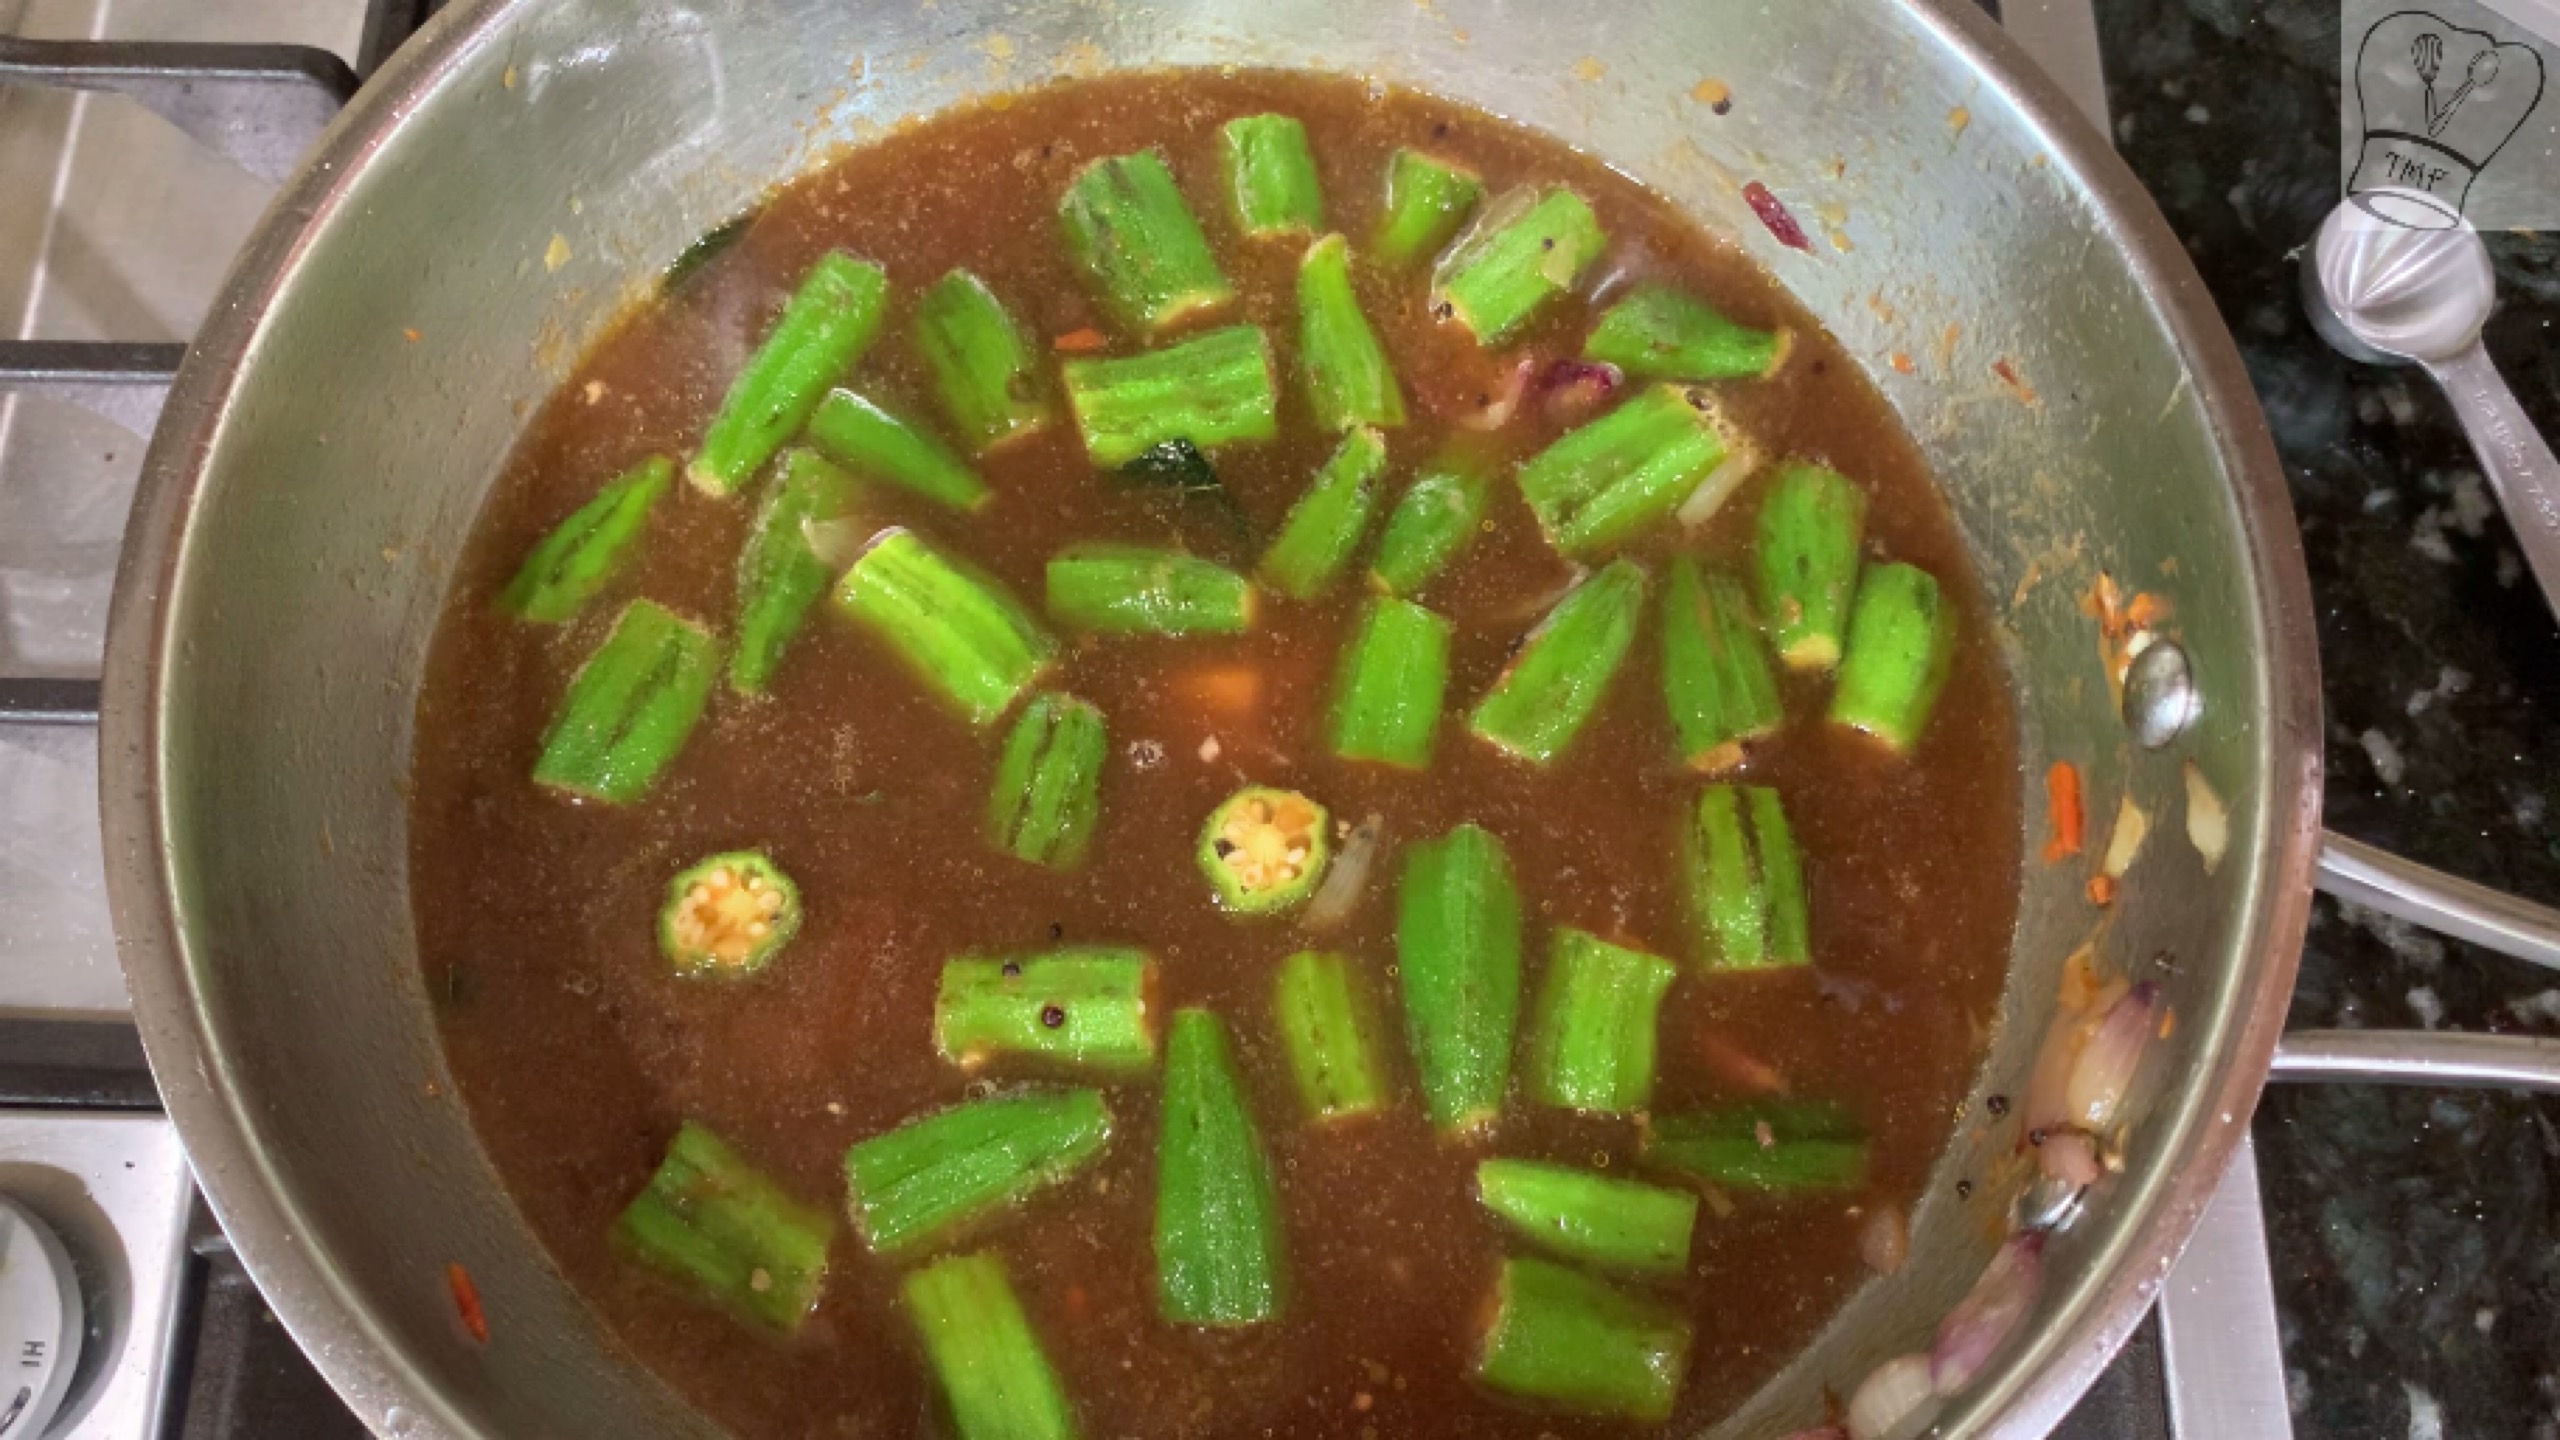
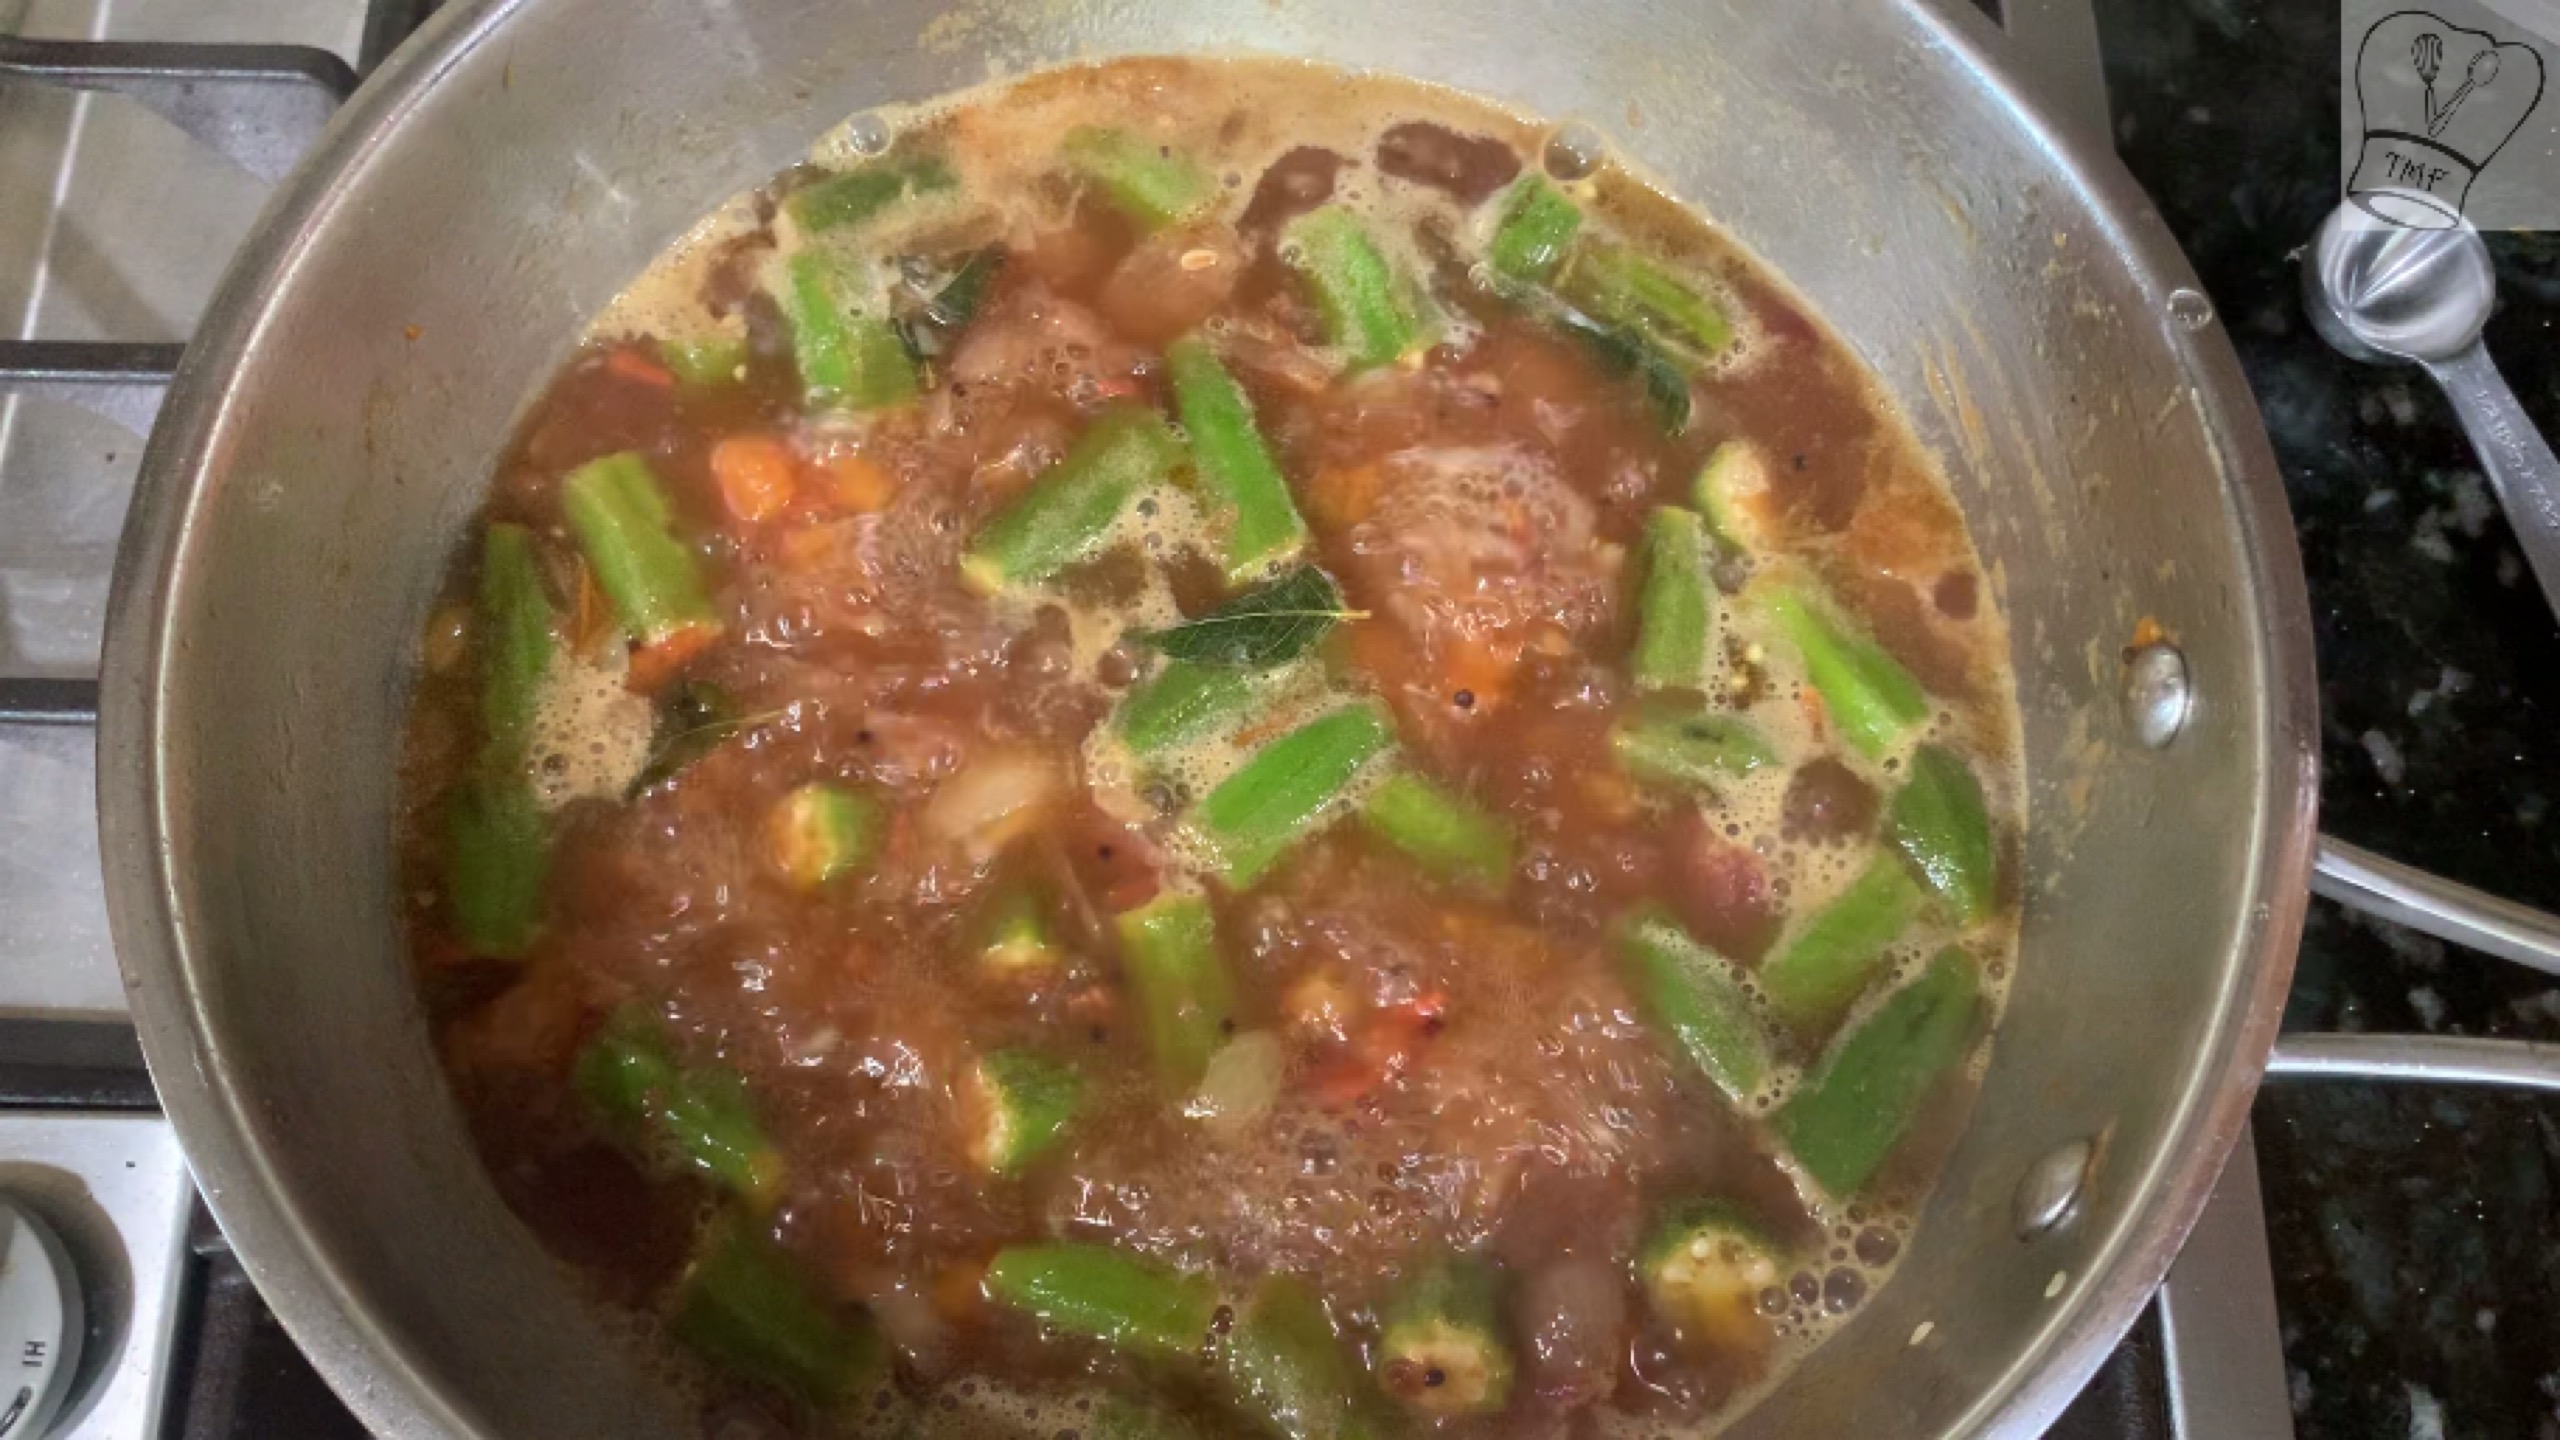
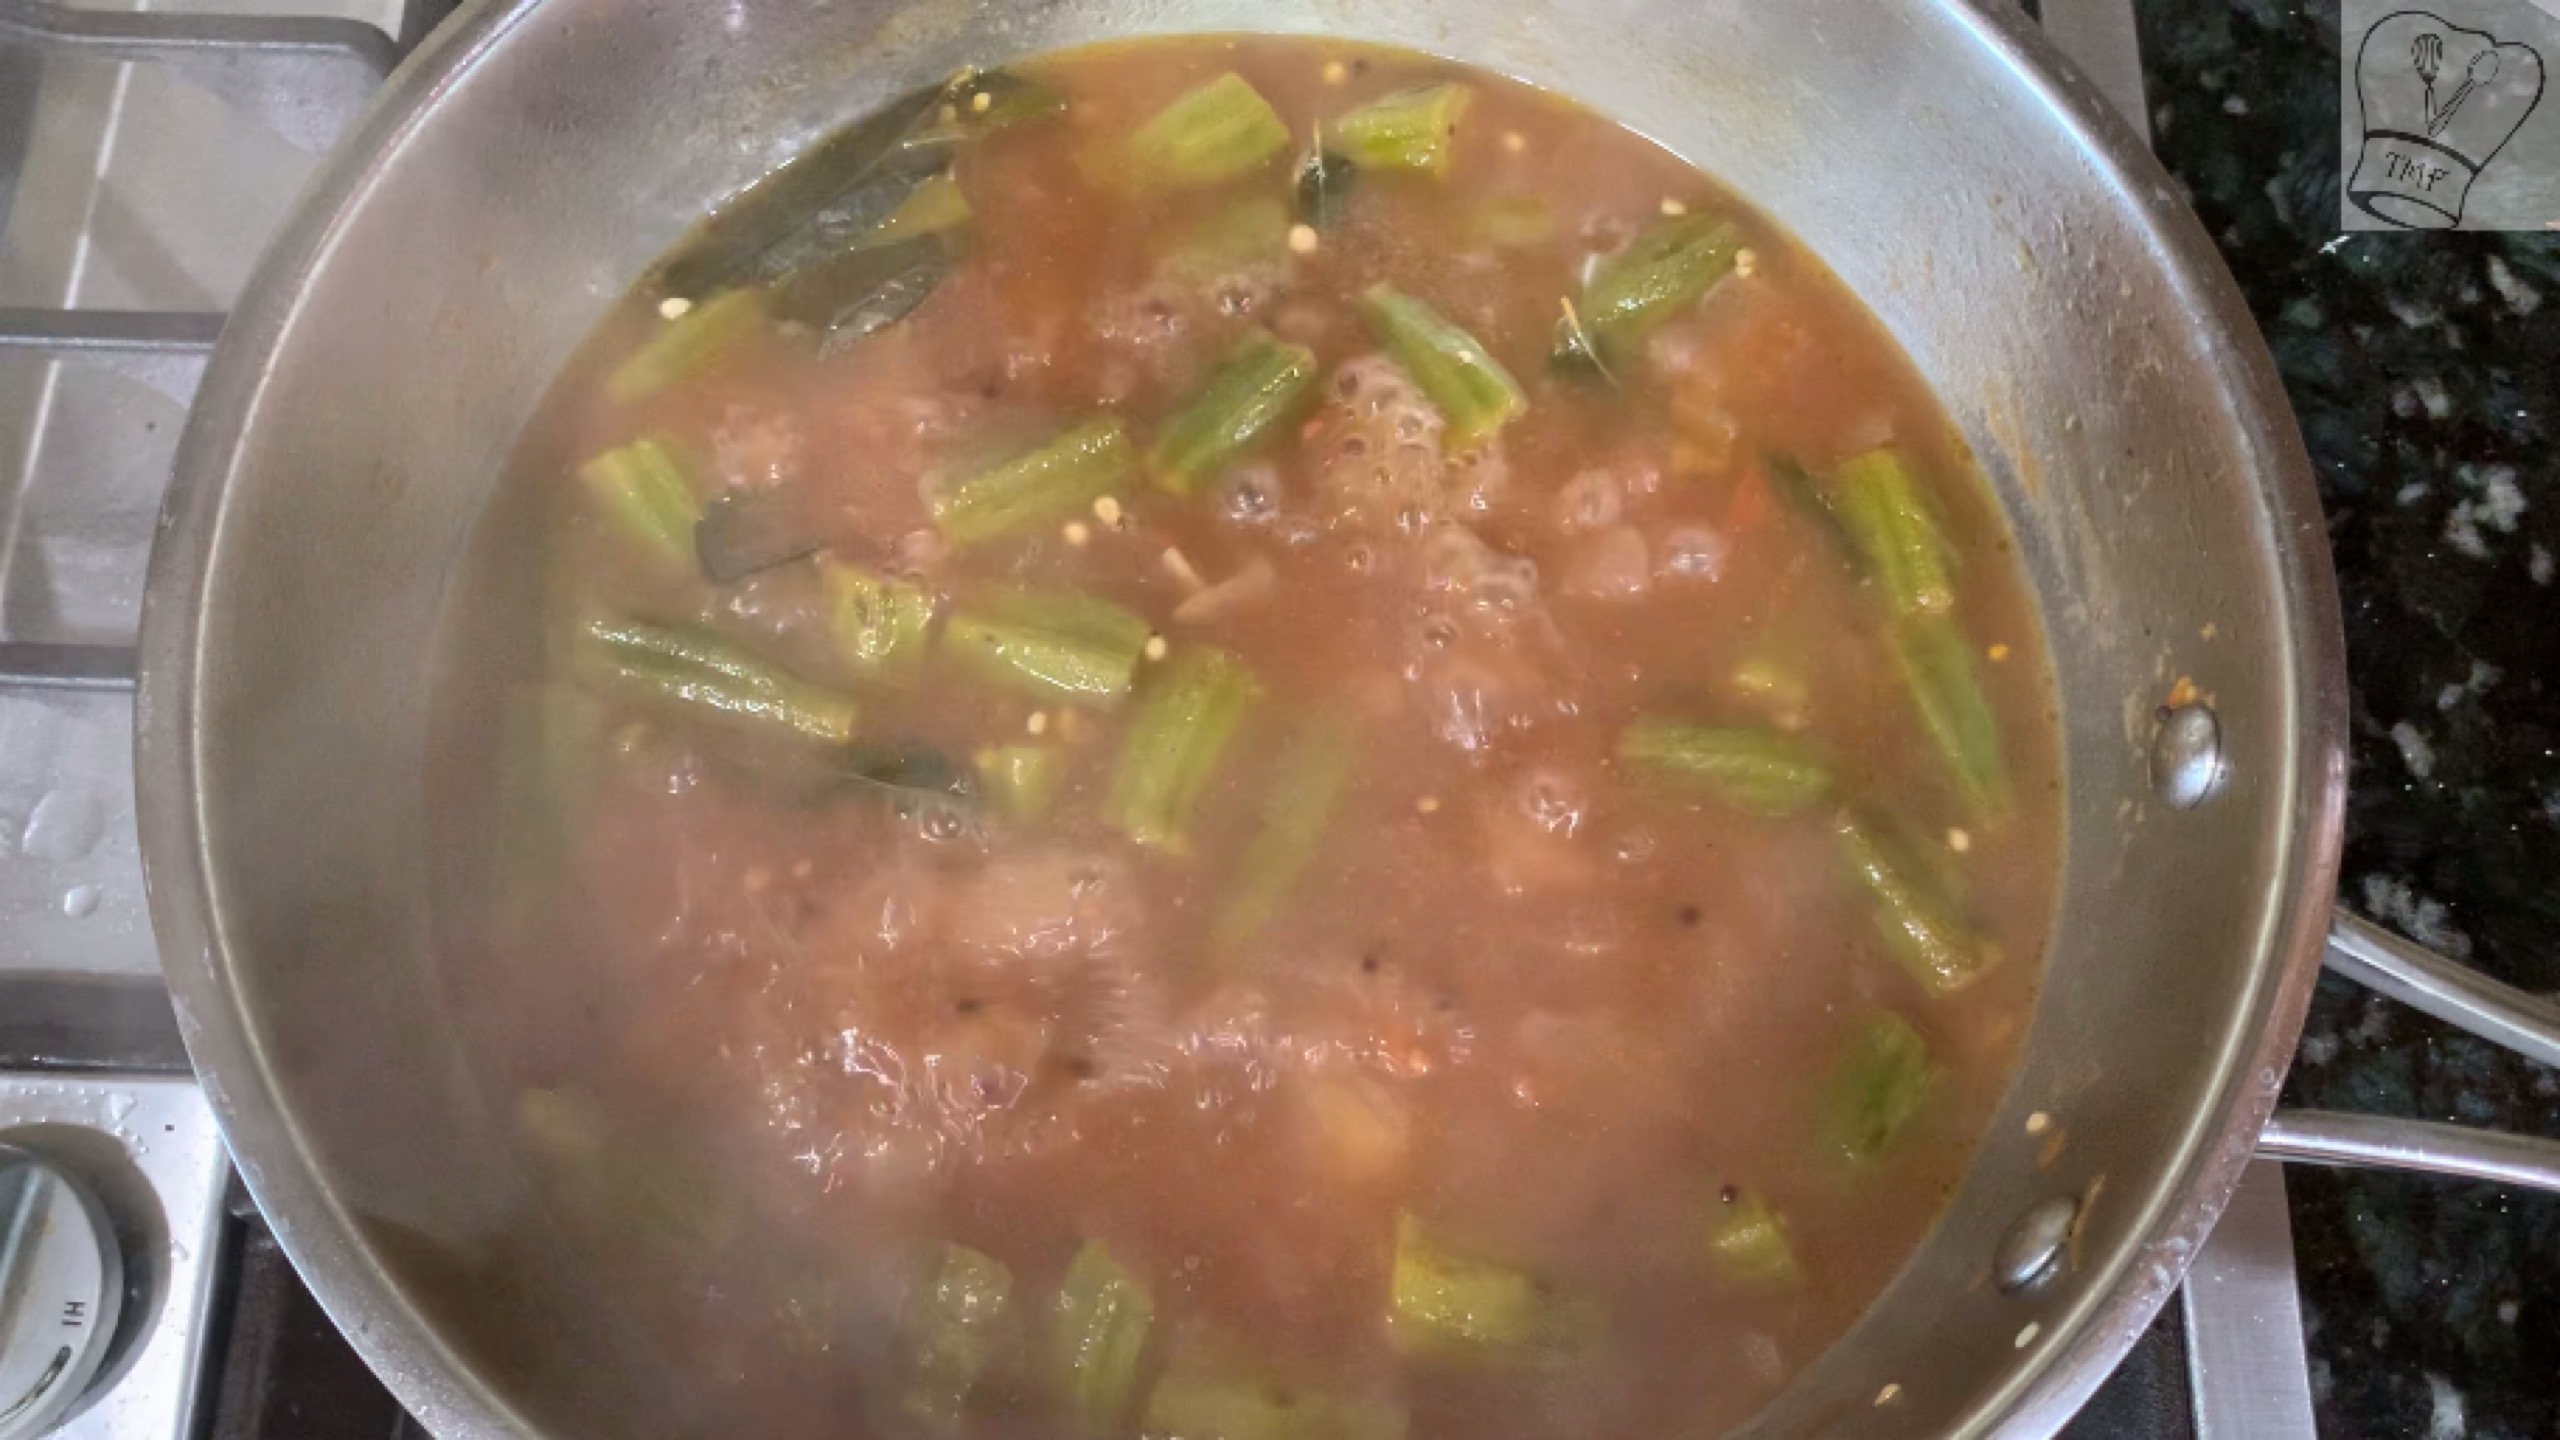
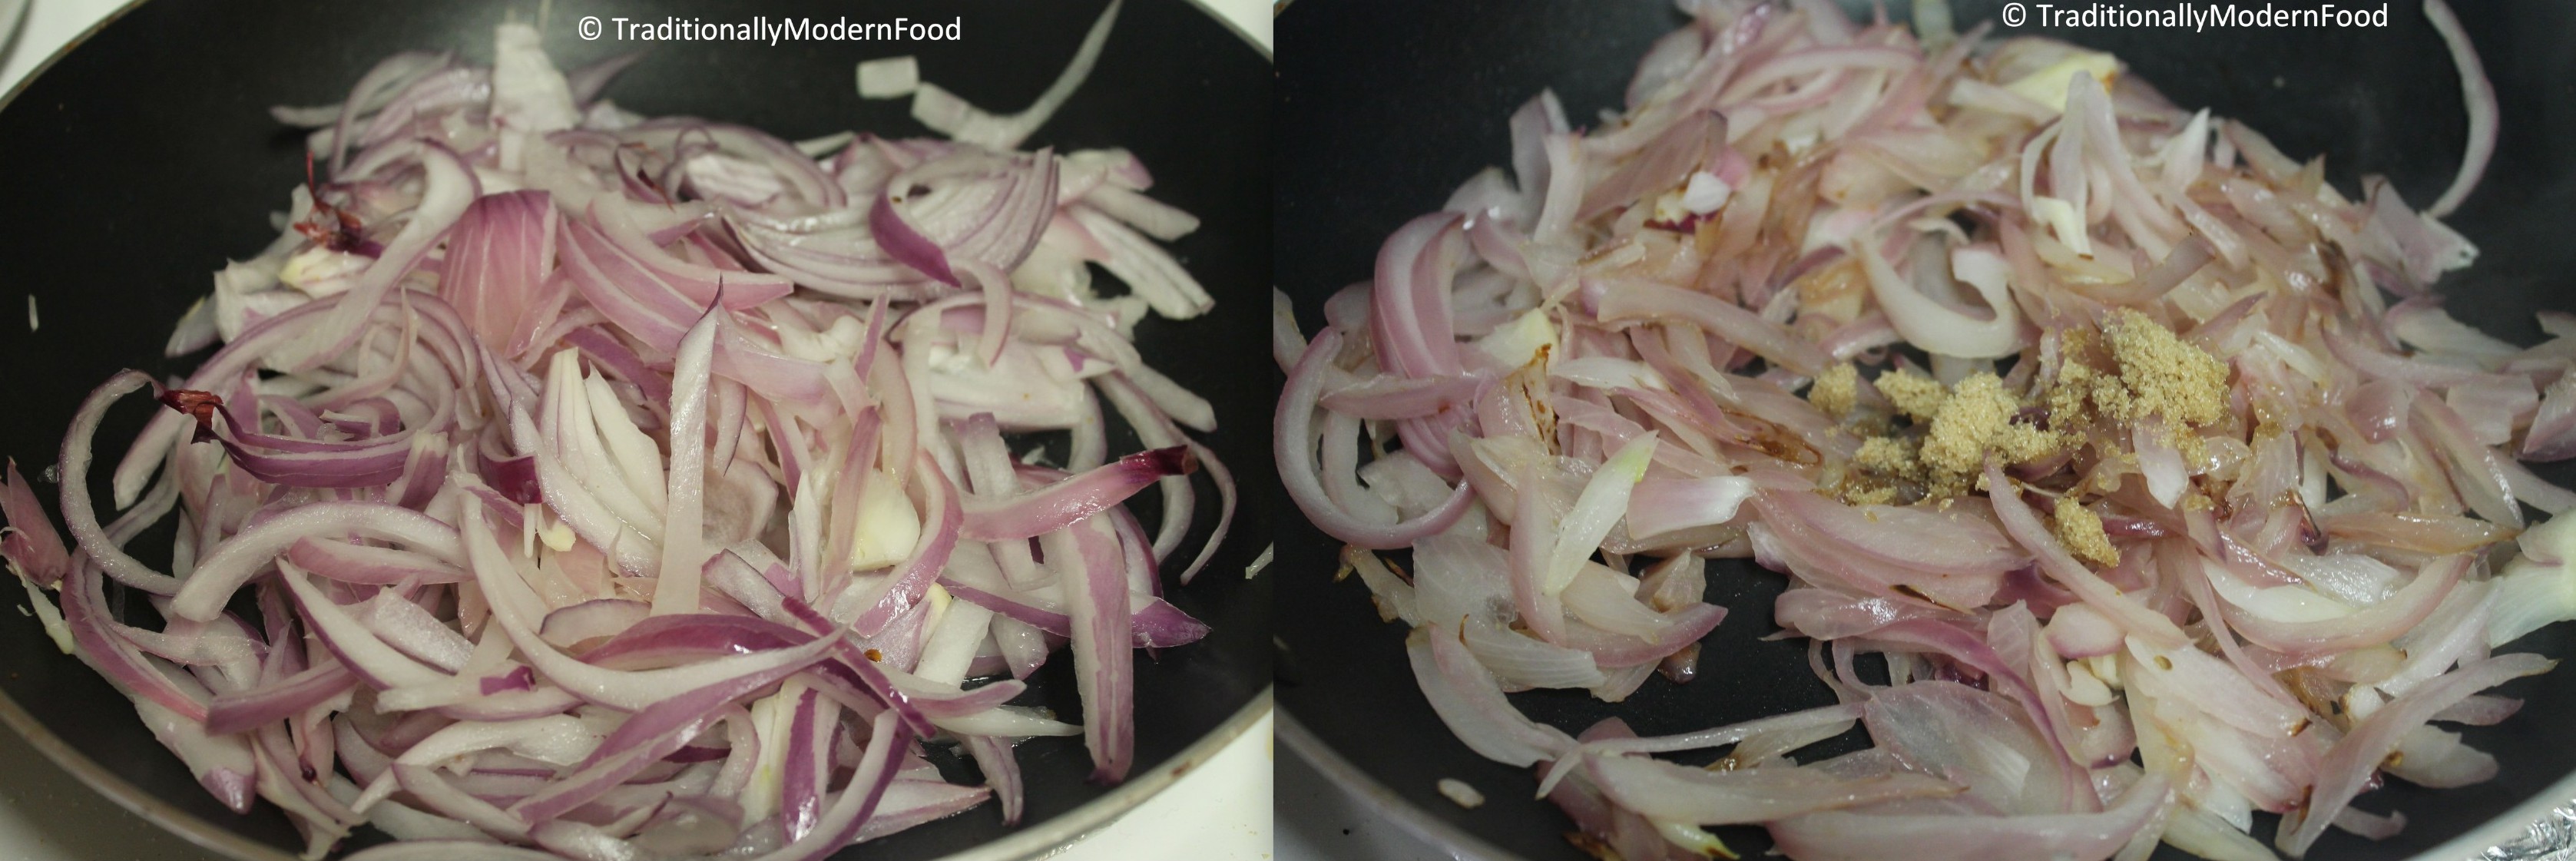 Add 1 teaspoon of oil to the same pan. When the oil is hot, add whole spices and cook for 30 seconds. Add the ginger garlic paste and green chilli; cook till the raw smell goes off. Add vegetables and salt; cook till the veggies are cooked, if required sprinkle little water and cook. Add garam masala and cook for 2 minutes


