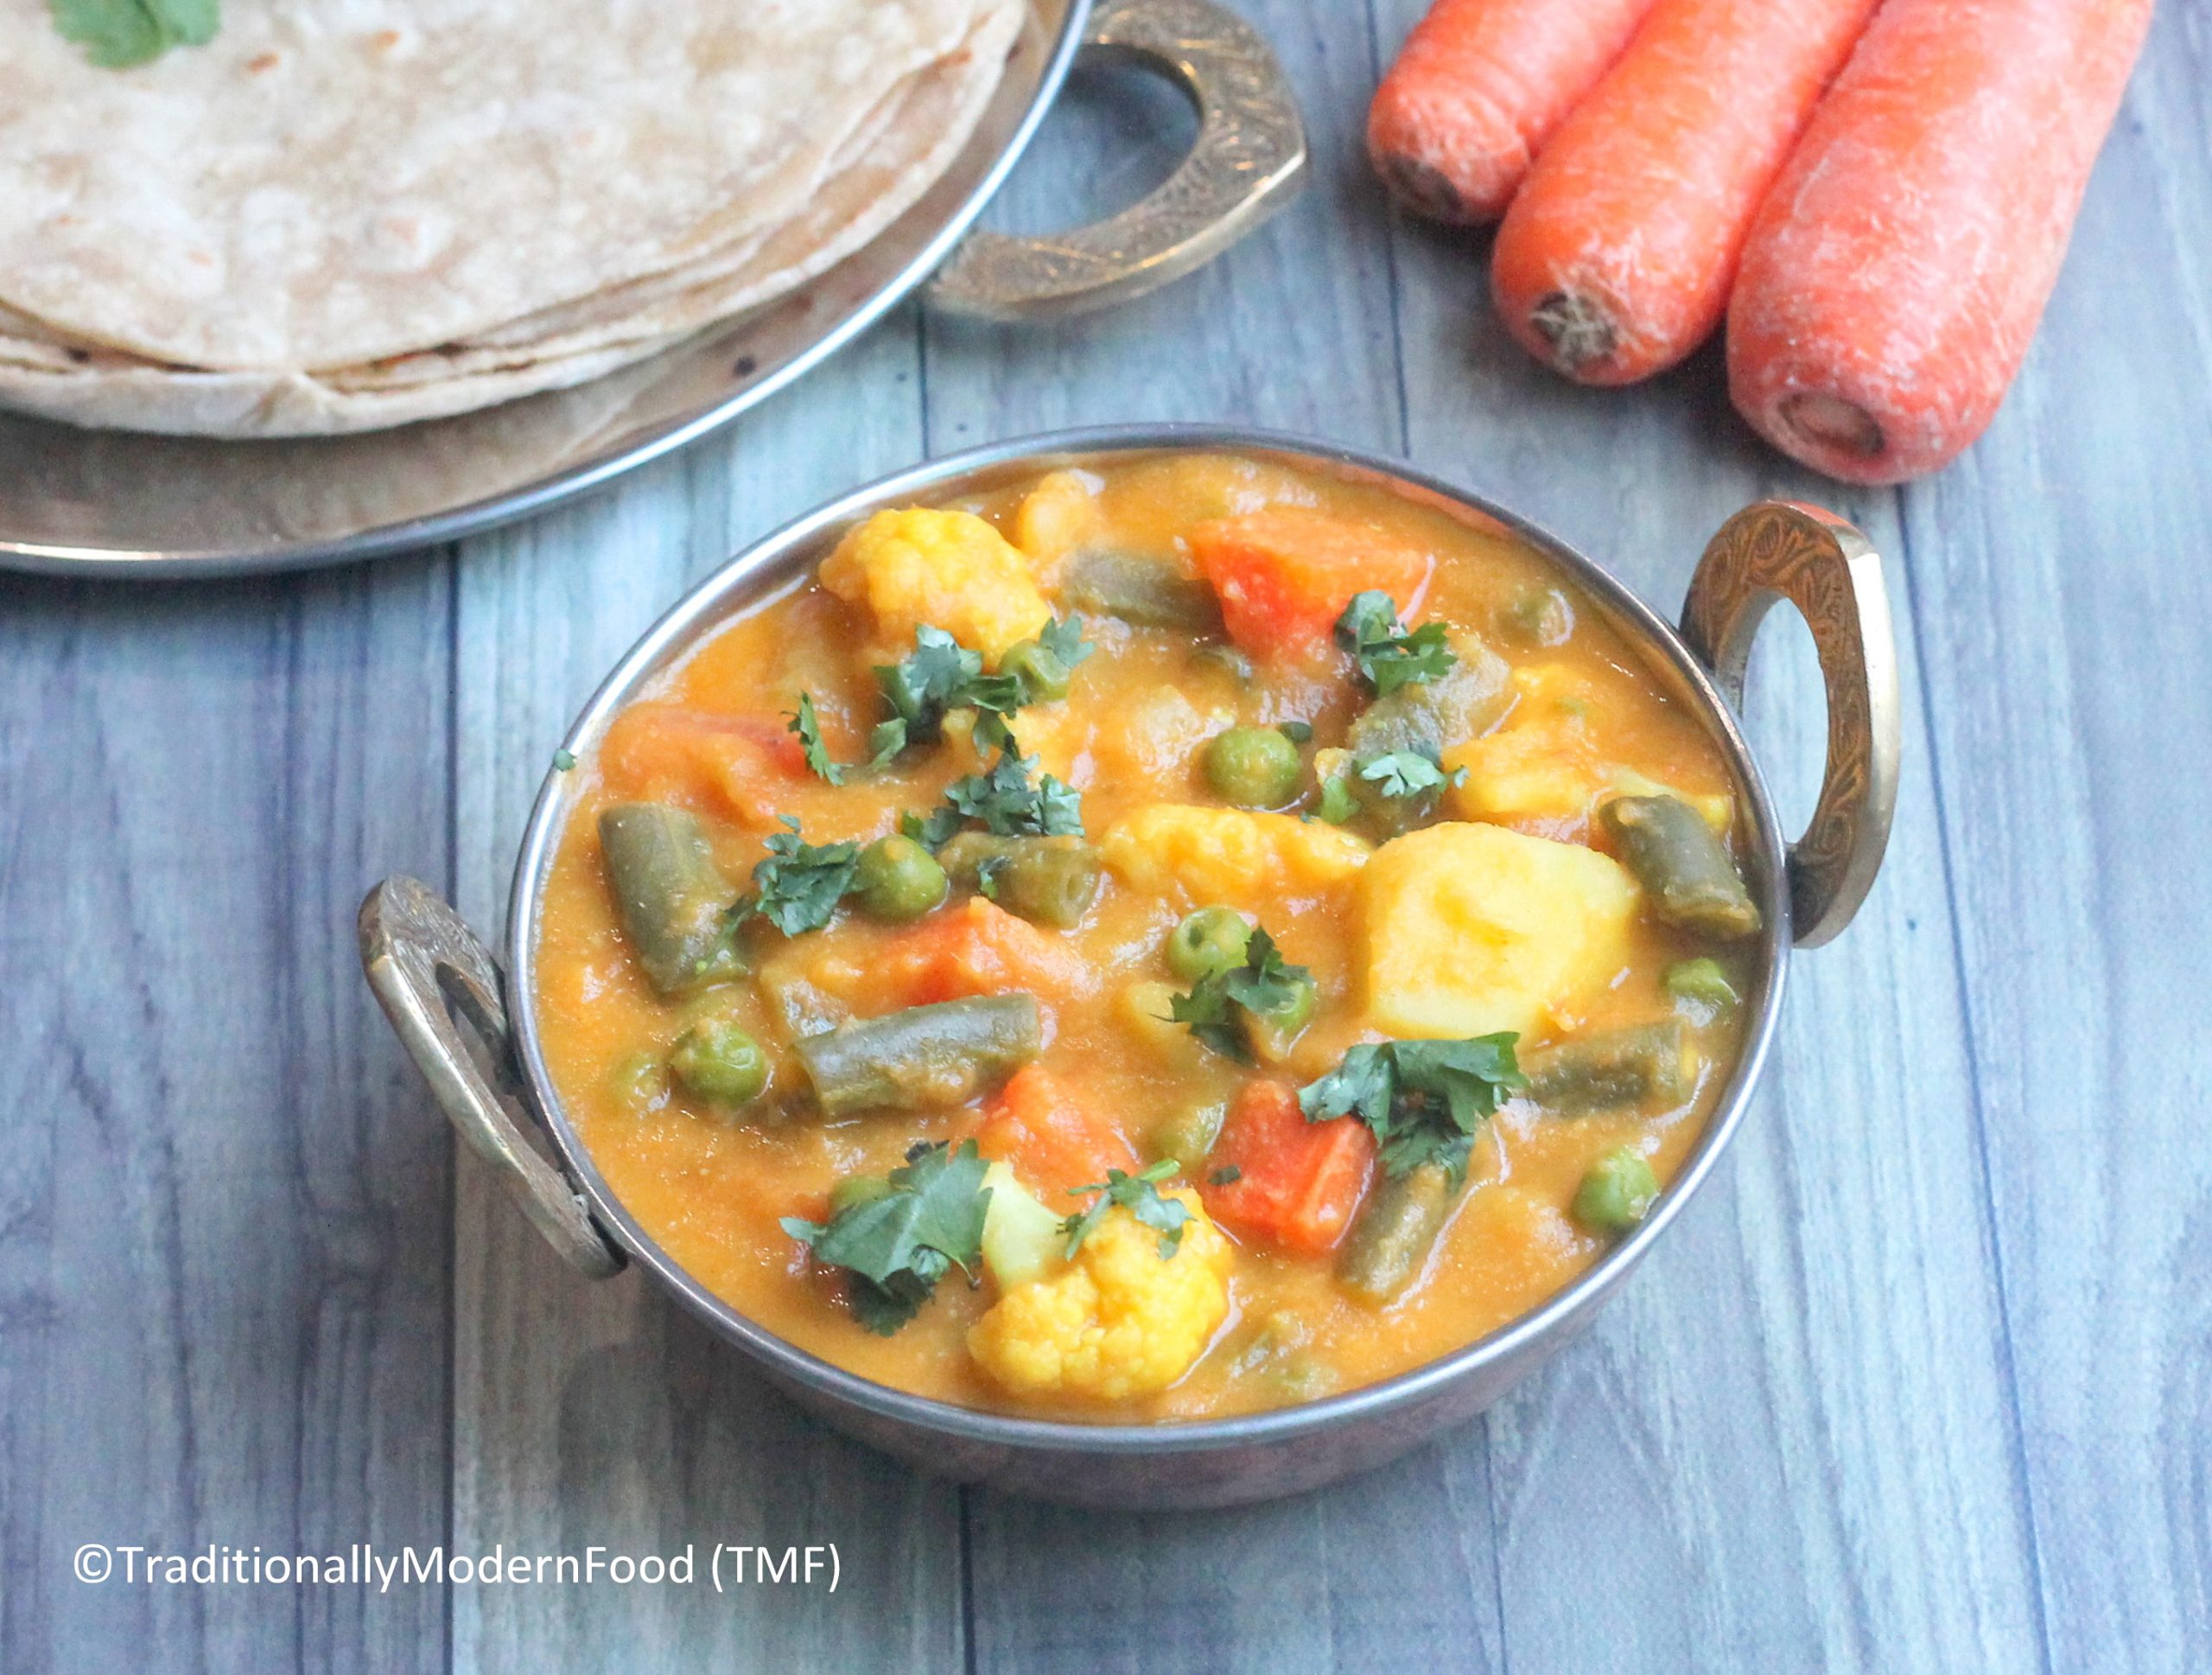
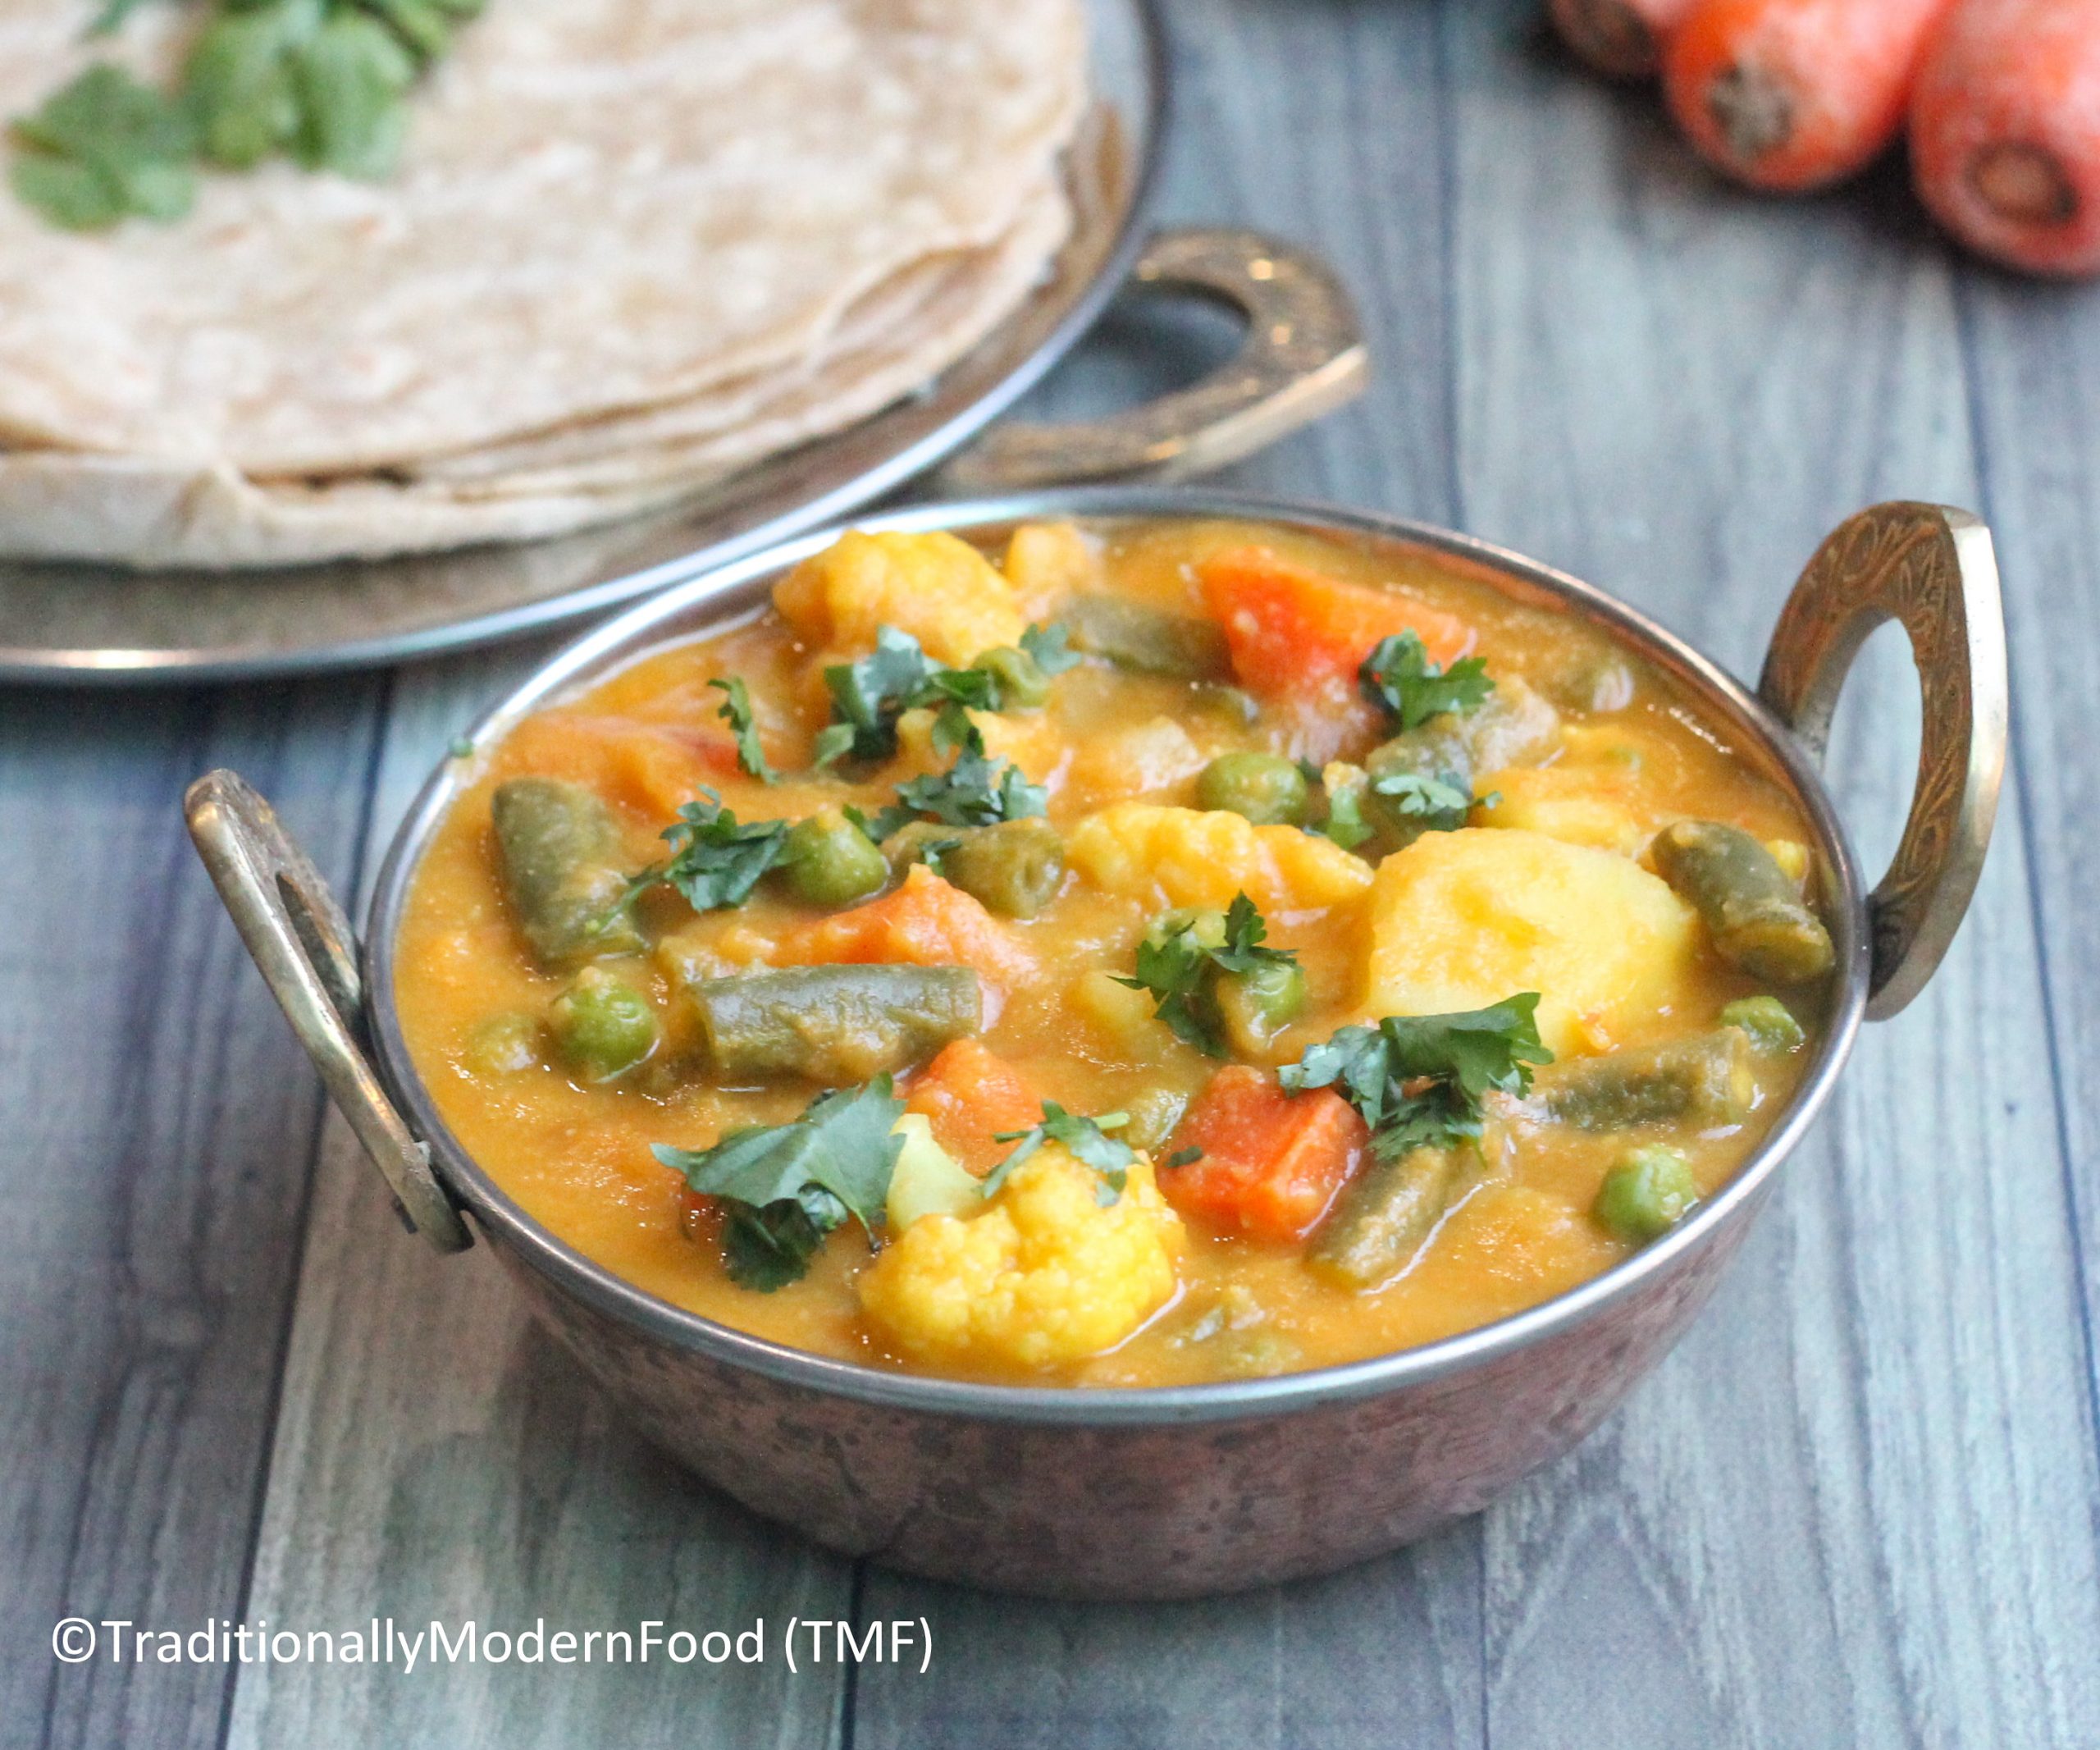
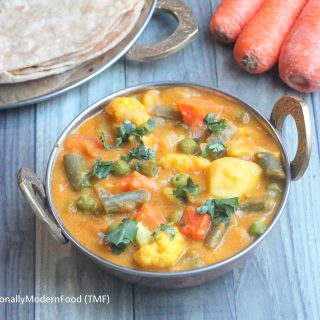
 Veg kurma is a tasty side dish preoared with mixed vegetables, coconut and freshly ground spices. kurma tastes delicious sit chappati/roti/parotta varieties.
Veg kurma is one of our favorite and frequent side dish for Chappati. Ever once childhood days I am a big fan of Veg kurma. It is prepared wit Lot of variation but I love the way my Aamma prepares o we just follow it till date.
Growing up Chappati is not a common tiffin in home. Now a days we eat Chappati almost everyday but those days we use to eat rice regularly. Whenever Amma makes Chappati this Veg kurma, Moong dal tadka, onion- tomato gravy are certain recipes that happen in home.
 My sister is not a big fan of onion but this Veg kurma is acceoatabke as we grind onion for these kurma. Now a days this kurma is my son’s favorite and he started asking me to make Veg kurma regularly.
For biryani variety checkout tomato kurma
Kurma also tastes good with Appam
Ingredients
- Carrot - 2
- Beans - around 15
- Potato - 2 peeled and diced
- Cauliflower - 1 + 1/4 cup big florets
- Peas - 3 tbsp
- Coriander leaves - handful
- Coconut Oil - 1 tbsp
- Salt - to taste
- Sugar - one pinch
- To grind:
- Onion - 1 roughly chopped
- Tomato - 2
- green Chilli - 2
- Ginger - 1/4 tsp peeled and chopped
- Garlic - 4 cloves
- Cashewnuts - 3
- Fried Gram Pottukadalai - 1 tsp
- Fennel seeds - 1/4 tsp
- Poppy seeds - 1/4 tsp
- Peppercorns - 1/8 tsp
- Coriander powder - 1 tsp
- Cumin powder - 1/2 tsp
- Garam masala - 1/2 tsp
- Cardamom - 2 pods
Instructions
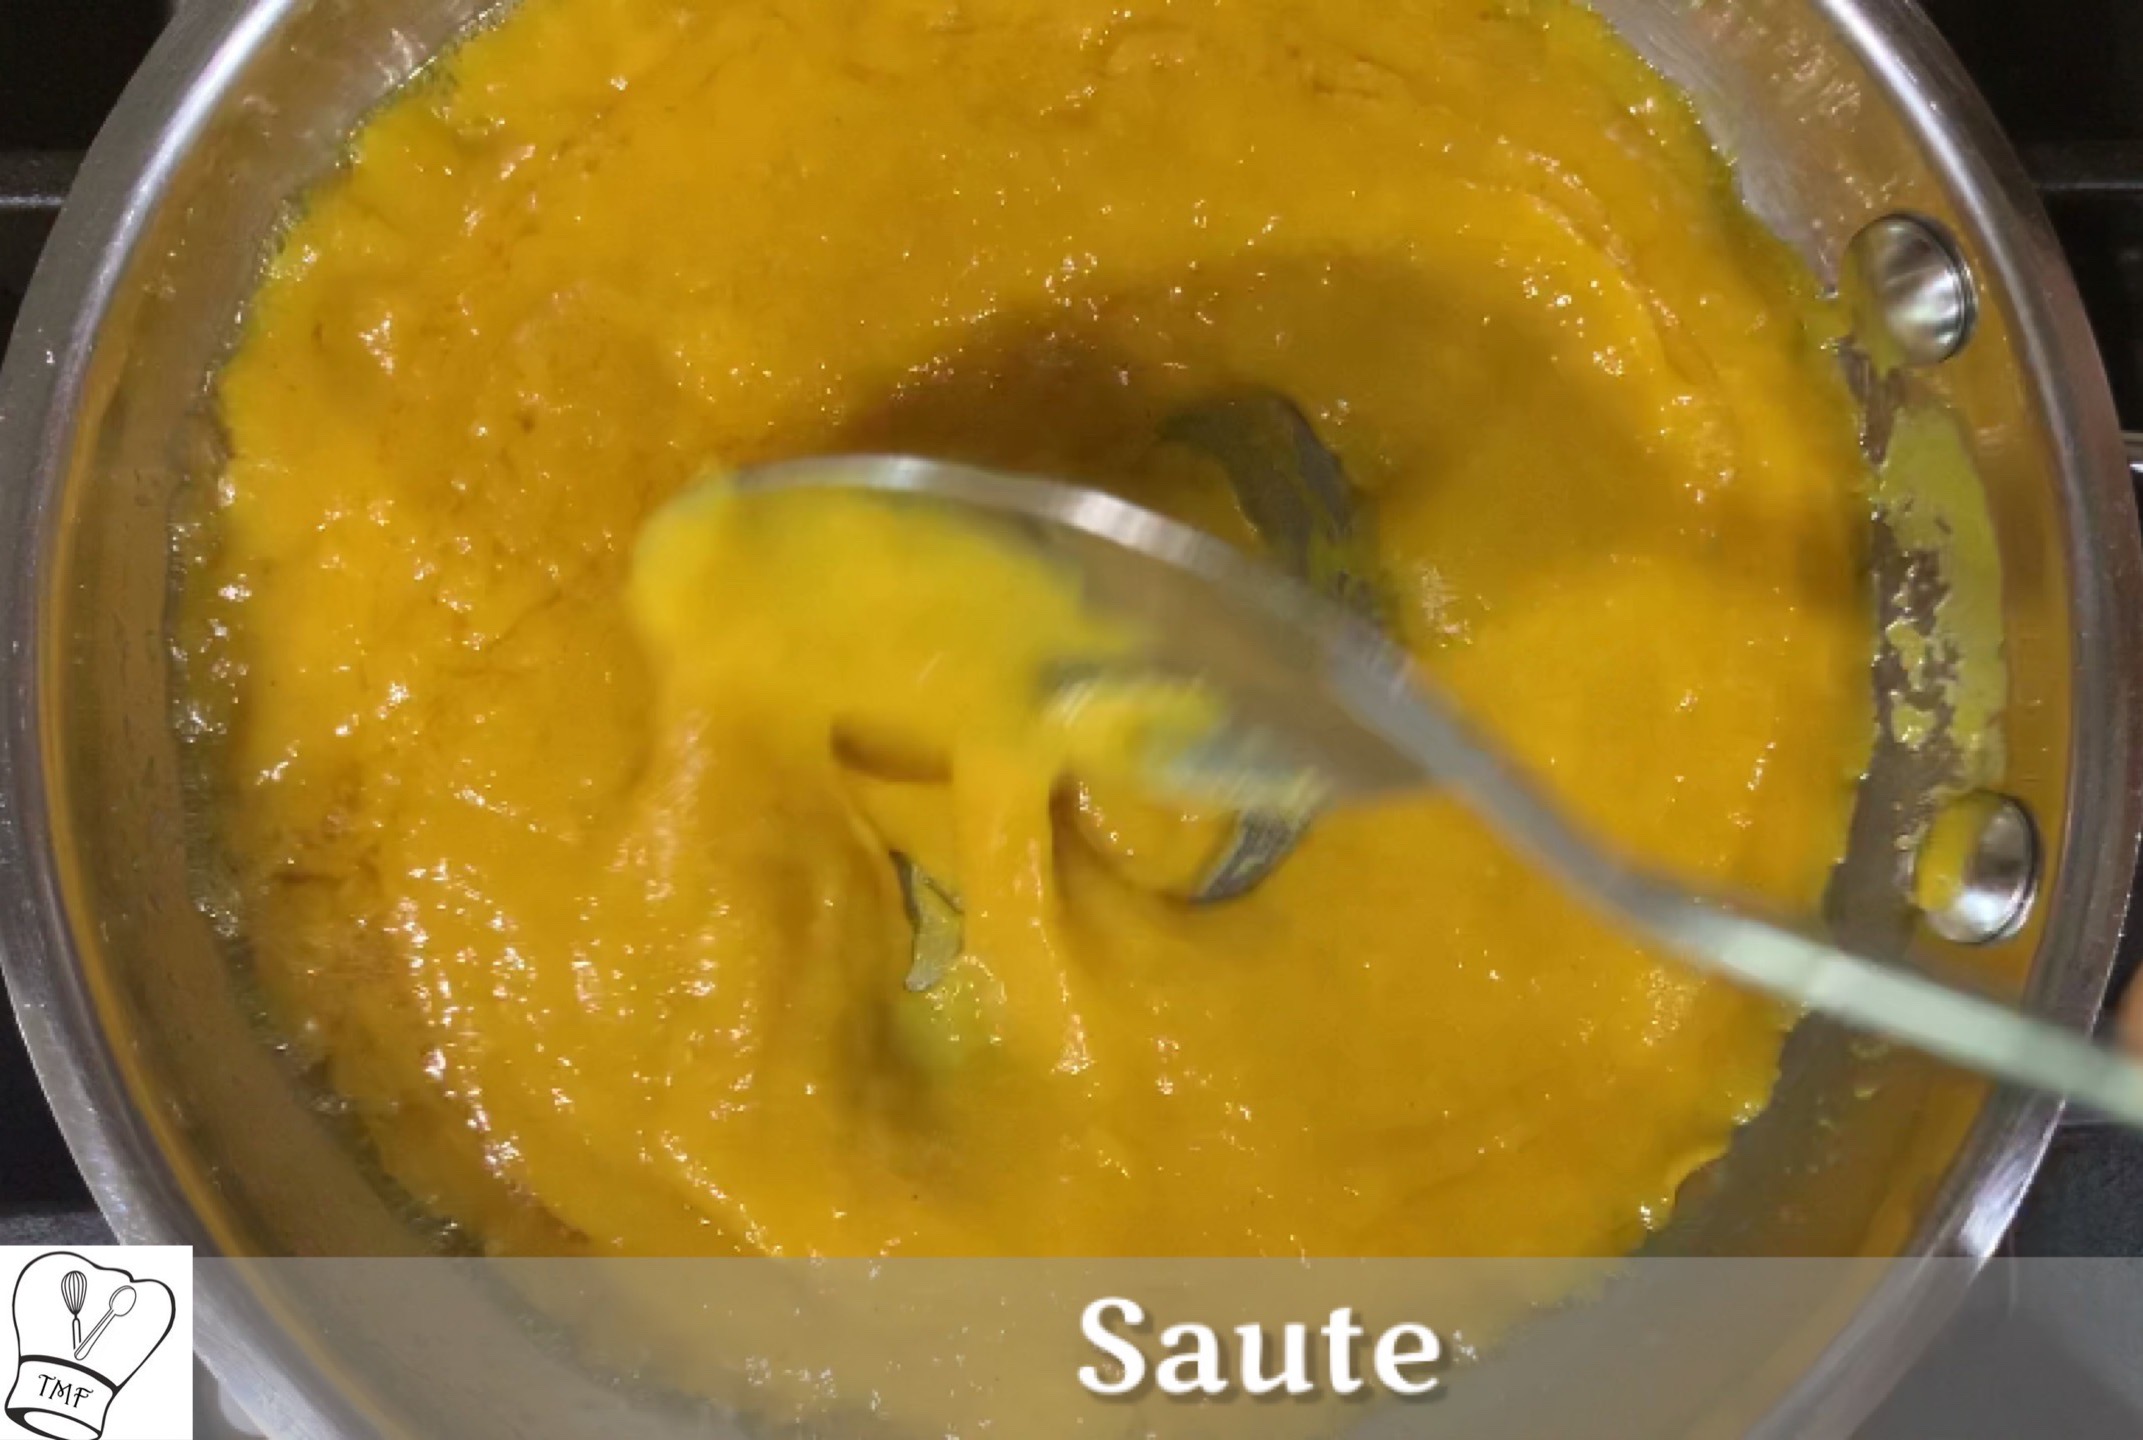
- Add 1/2 tablespoon oil to the pan when the oil is hot add fennel seed, poppy seeds, pepper and cardamom pods; let fennel seed crackle
- Add onion and sauté till onions are translucent
- Add ginger and garlic;mix well and sauté for a minute
- Add tomatoes and green Chilli; cook till tomatoes are mushy
- Add turmeric powder, coriander powder, garam masala and cumin powder;sauté for 2 mins
- Add coconut and sauté for a min. switch off
- Add pottukadalai and cashew and let it cool down
- Add all the veggies in a vessel, little salt and 2 tablespoon of water. Close it with a lid and pressure cook for 1 whistles
- After the tomato onion mixture is cold grind it without water
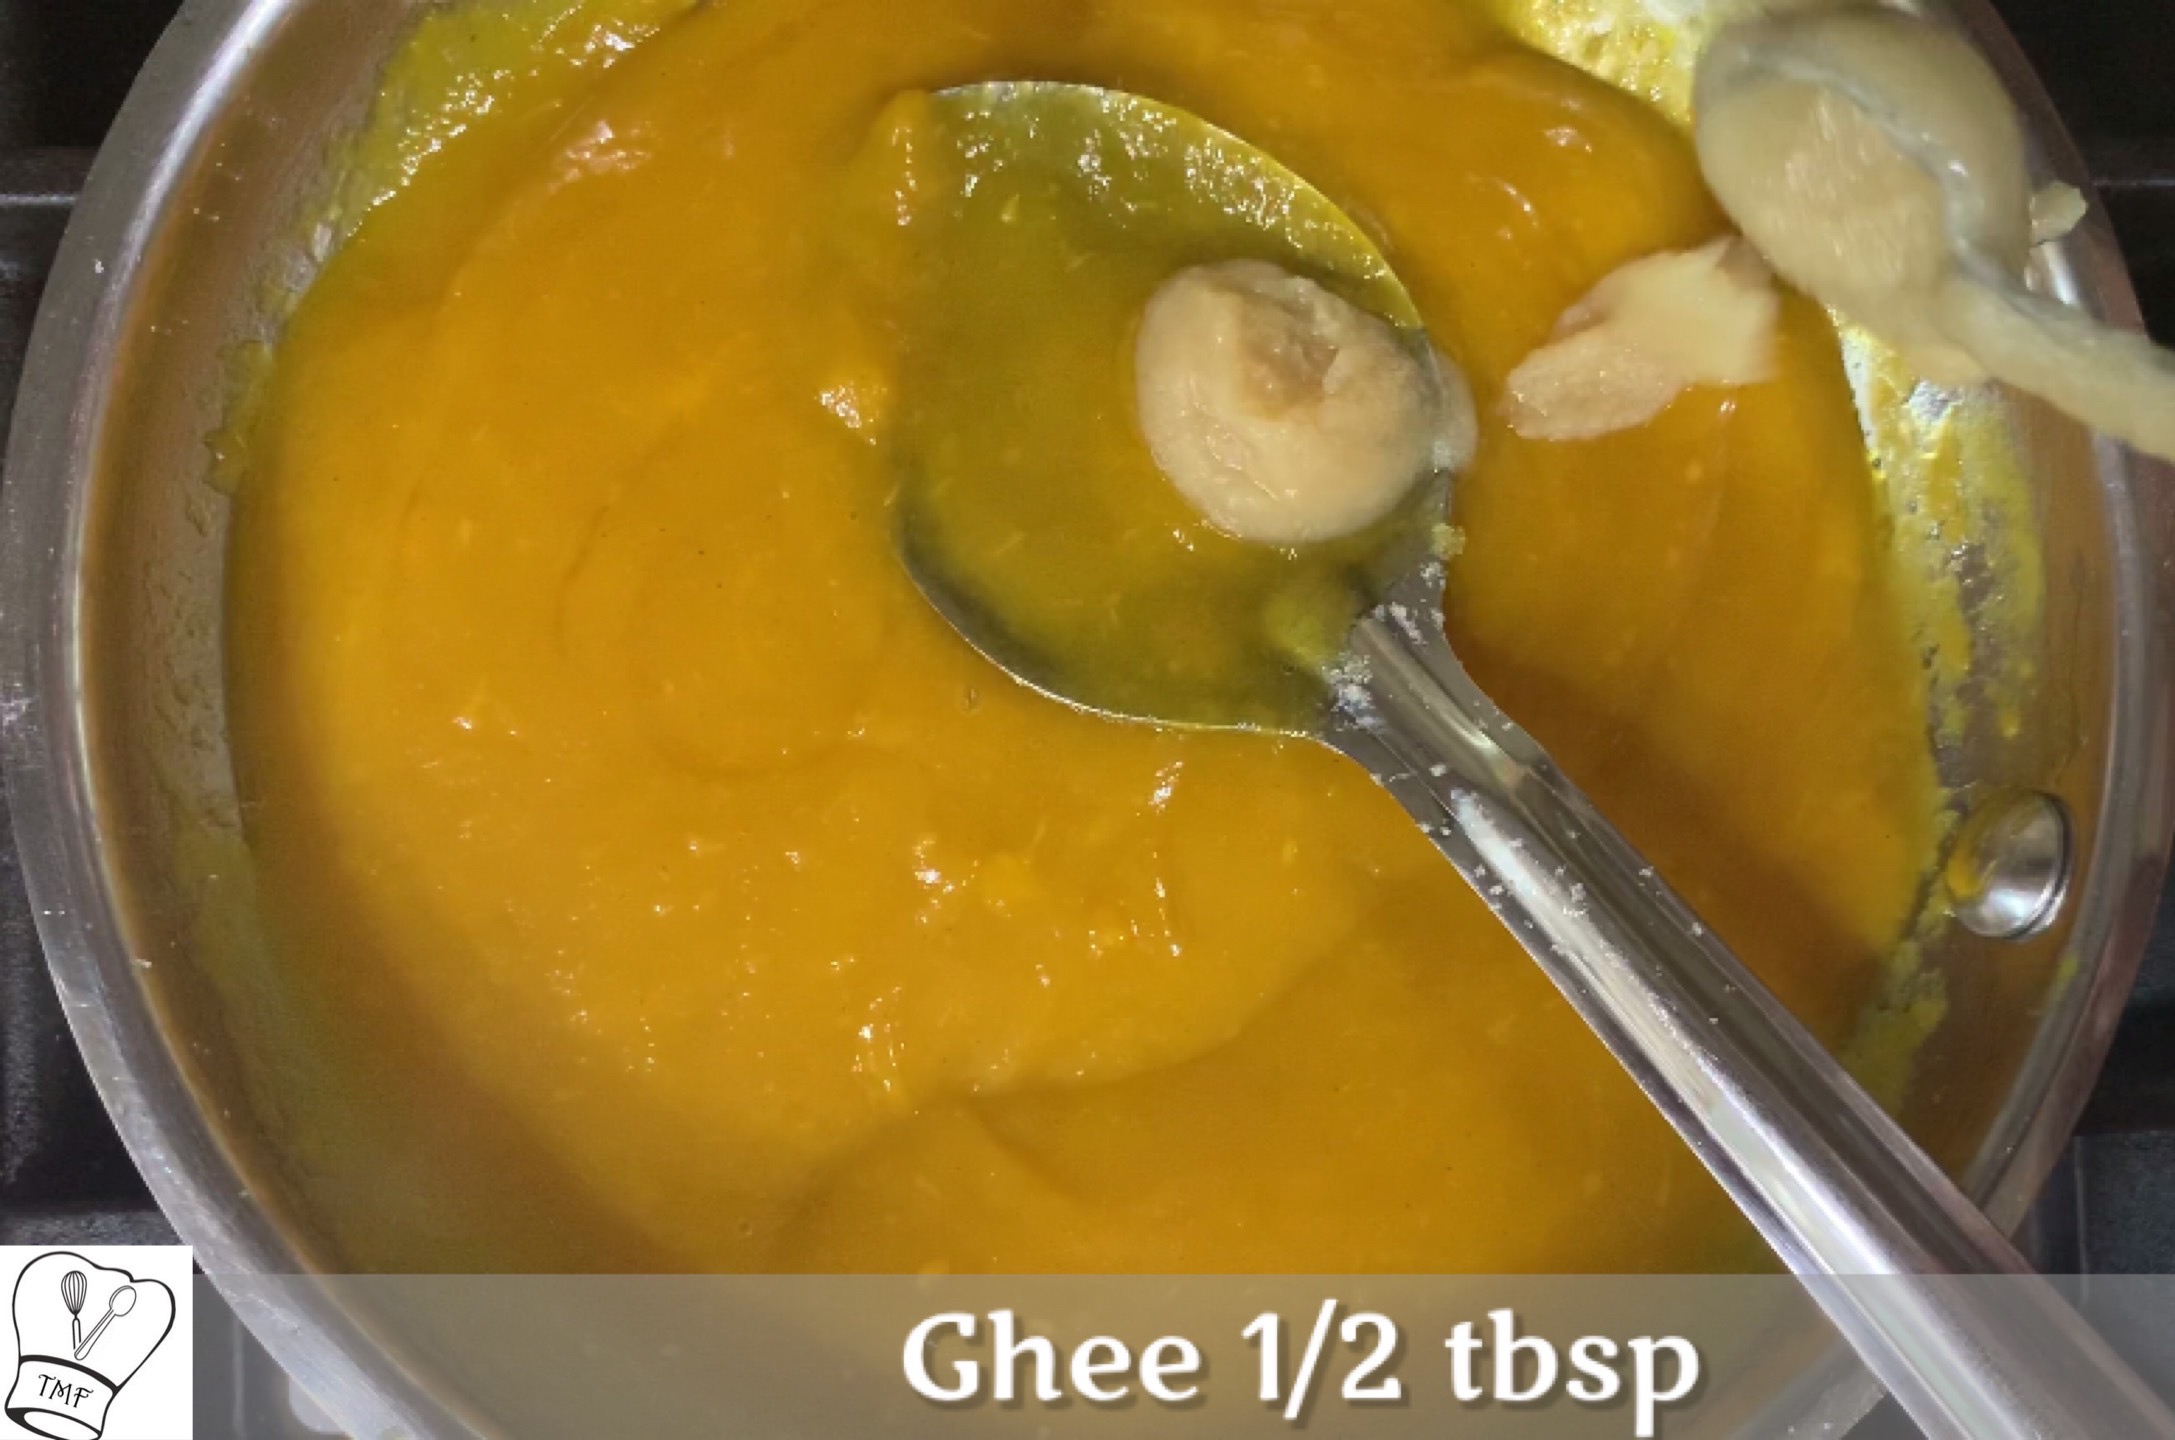
- Add 1/2 tablespoon of oil and add the ground paste and salt(if required)
- Cook for 3-4 mins
- After pressure subsides transfer the cooked vegetable to the pan
- Add 1 cup of water and pinch of sugar; mix well
- Cover and cook for 5 minutes
- Sprinkle coriander leaves and switch off
- in a medium flame, saute the ingredients listed under 'to grind' (including the masala powders, except coconut and fried gram). Once tomato shrinks, add coconut and saute for 2 mins. Switch off and cool down. Once it comes to room temperature, transfer the roasted ingredients to a mixer, add little water and grind to coarse paste. Set aside
Ingredients:
Carrot - 2
Beans - around 20
Potato - 2, peeled and diced
Cauliflower - 1 /2, cut into big florets
Peas - 1/2 cup
Chow chow - 1, peeled and diced
Coriander leaves - handful
Coconut Oil - 1 tbsp
Salt - to taste
Sugar - 1/4 tsp
To grind:
Big Onion - 1, roughly chopped
Tomato - 3
green Chilli - 2
Ginger powder - 1/4 tsp
Garlic - 4 cloves
Cashewnuts - 5
Fried Gram (Pottukadalai) - 1 tbsp
Fennel seeds - 1/4 tsp
Poppy seeds - 1/2 tsp
Pepper powder - 1/8 tsp
Garam masala - 1/2 tsp
Chilli powder - generous pinch
Turmeric powder - 1/2 tsp
Cardamom - 1/8 tsp

Method:
- Add 1 tablespoon oil to the pan when the oil is hot add fennel seed, poppy seeds; let fennel seed crackle
- Add garlic and saute till they starts browning
- Furthermore add onion and sauté till onions are translucent. Sprinkle little salt for fast cooking
- Add green chilli and cashews, give a quick saute
- Add tomatoes andlittle salt, cook till tomatoes are mushy
- Add turmeric powder, coriander powder, garam masala and cumin powder;sauté for 2 mins
- Add coconut and sauté for a min. switch off
- Add pottukadalai and cashew and let it cool down

- Add all the veggies in a vessel, little salt and 2 tablespoon of water. Close it with a lid and pressure cook for 1 whistles
- After the tomato onion mixture is cold grind it without water
- Add 1/2 tablespoon of oil and add the ground paste and salt(if required)
- Cook for 3-4 mins
- After pressure subsides transfer the cooked vegetable to the pan
- Add 1 cup of water and pinch of sugar; mix well
- Cover and cook for 5 minutes
- Spnkle coriander leaves and switch off