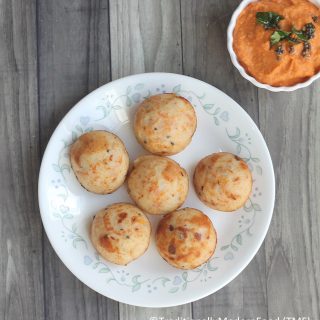
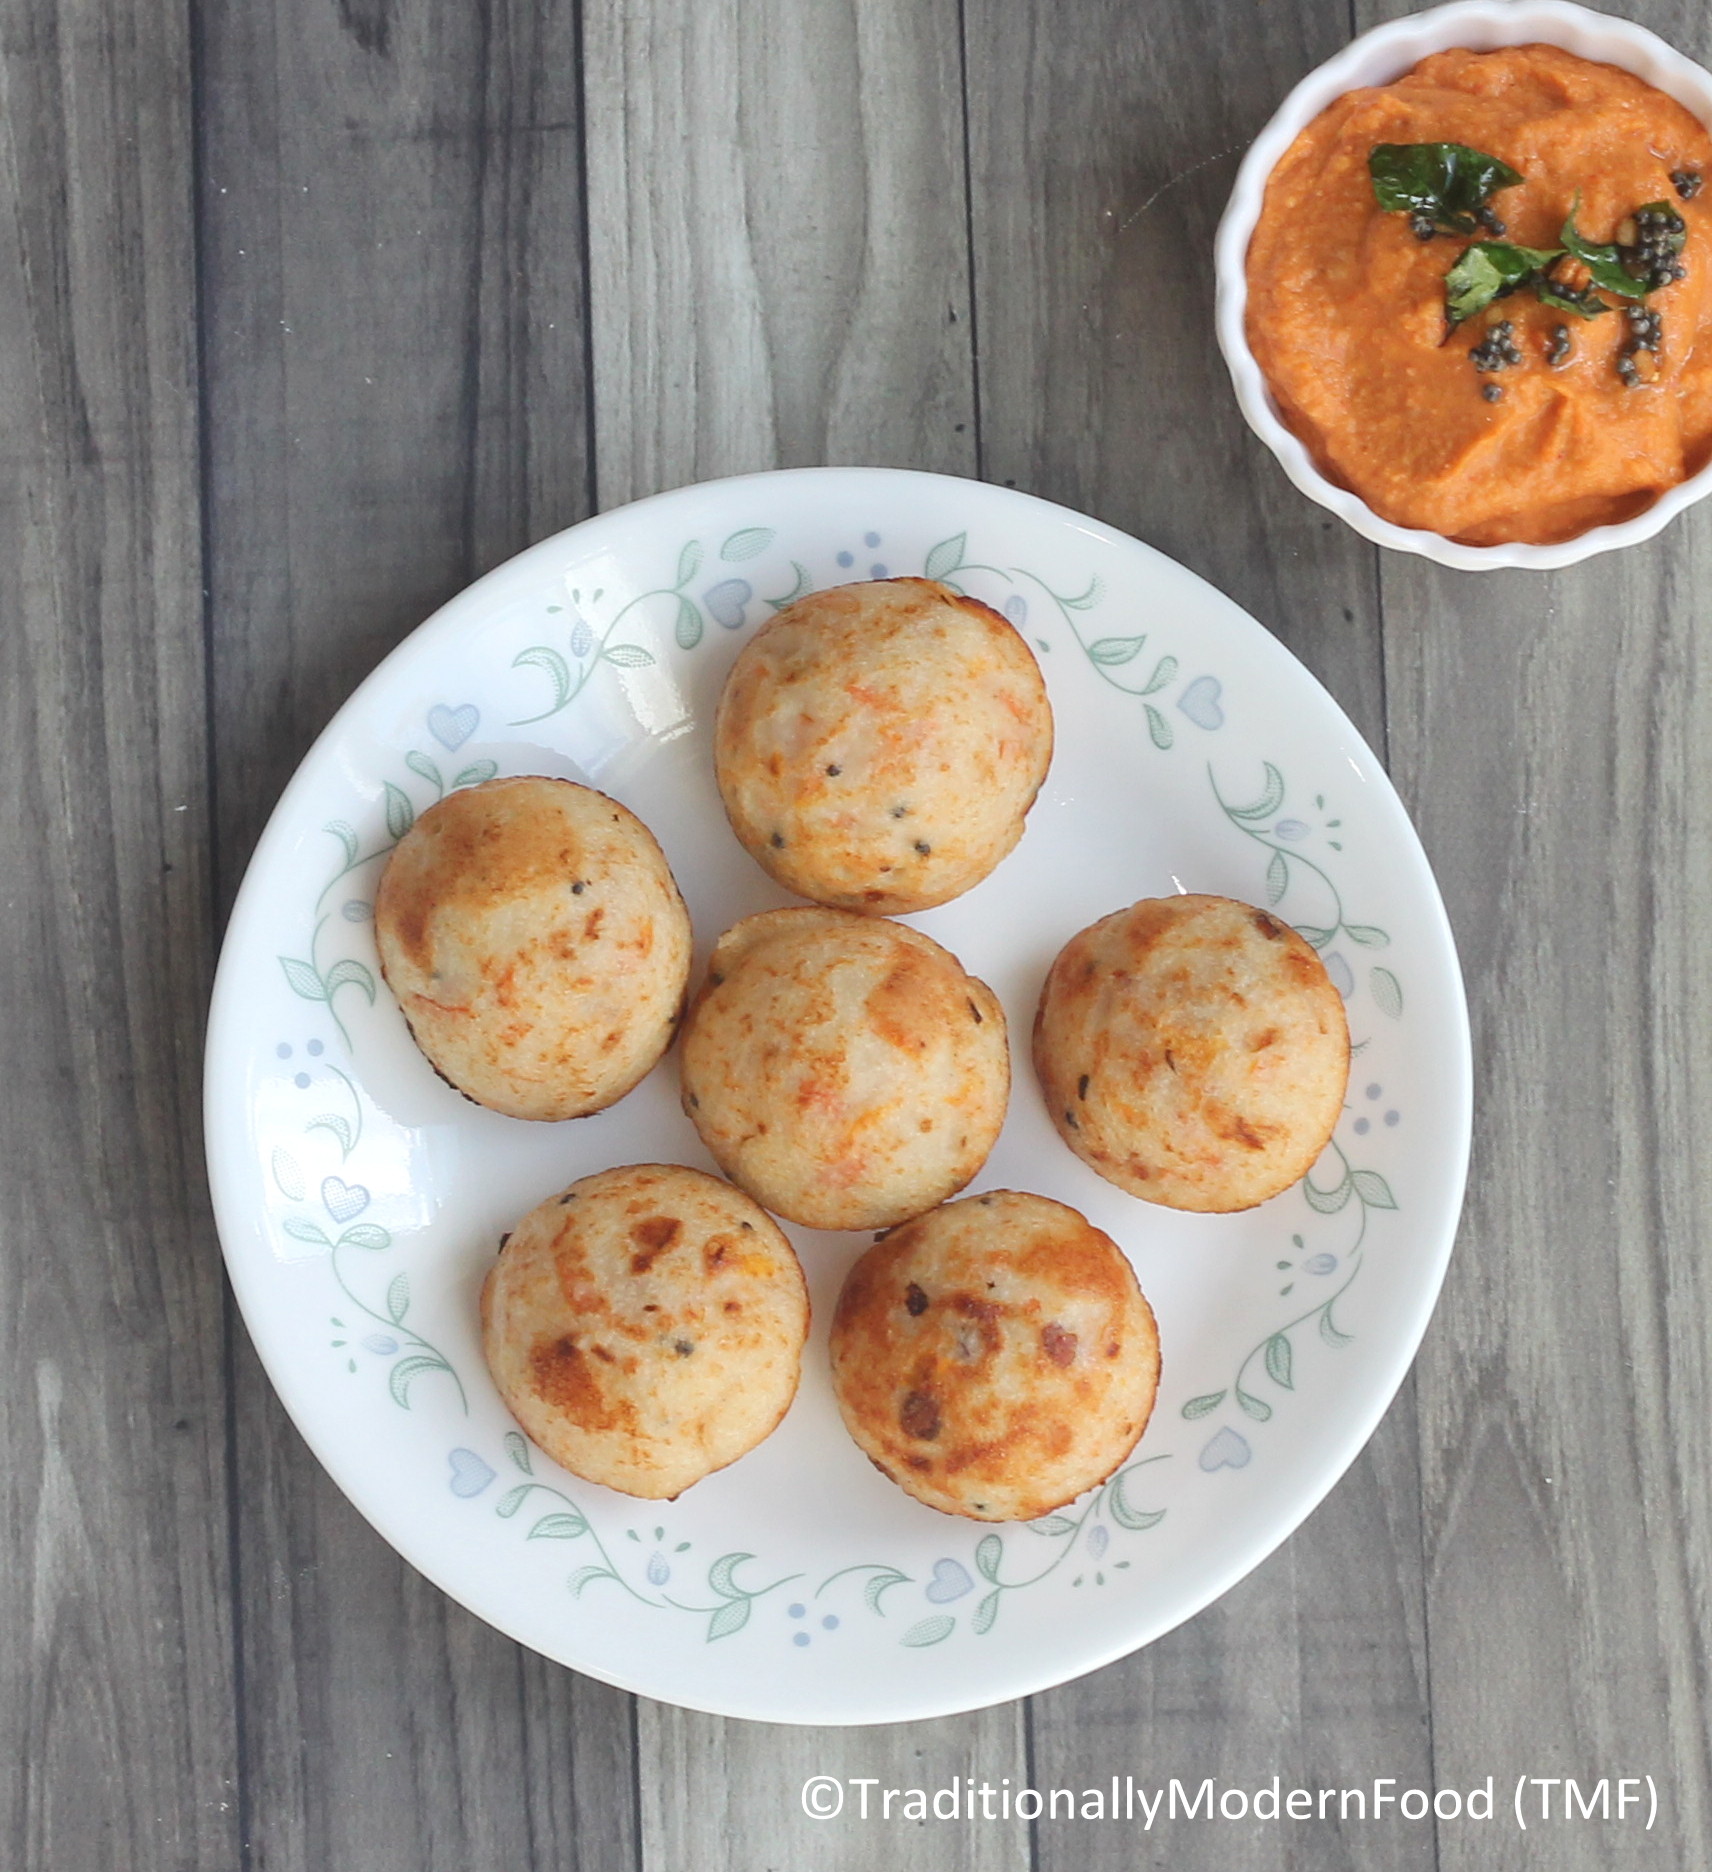
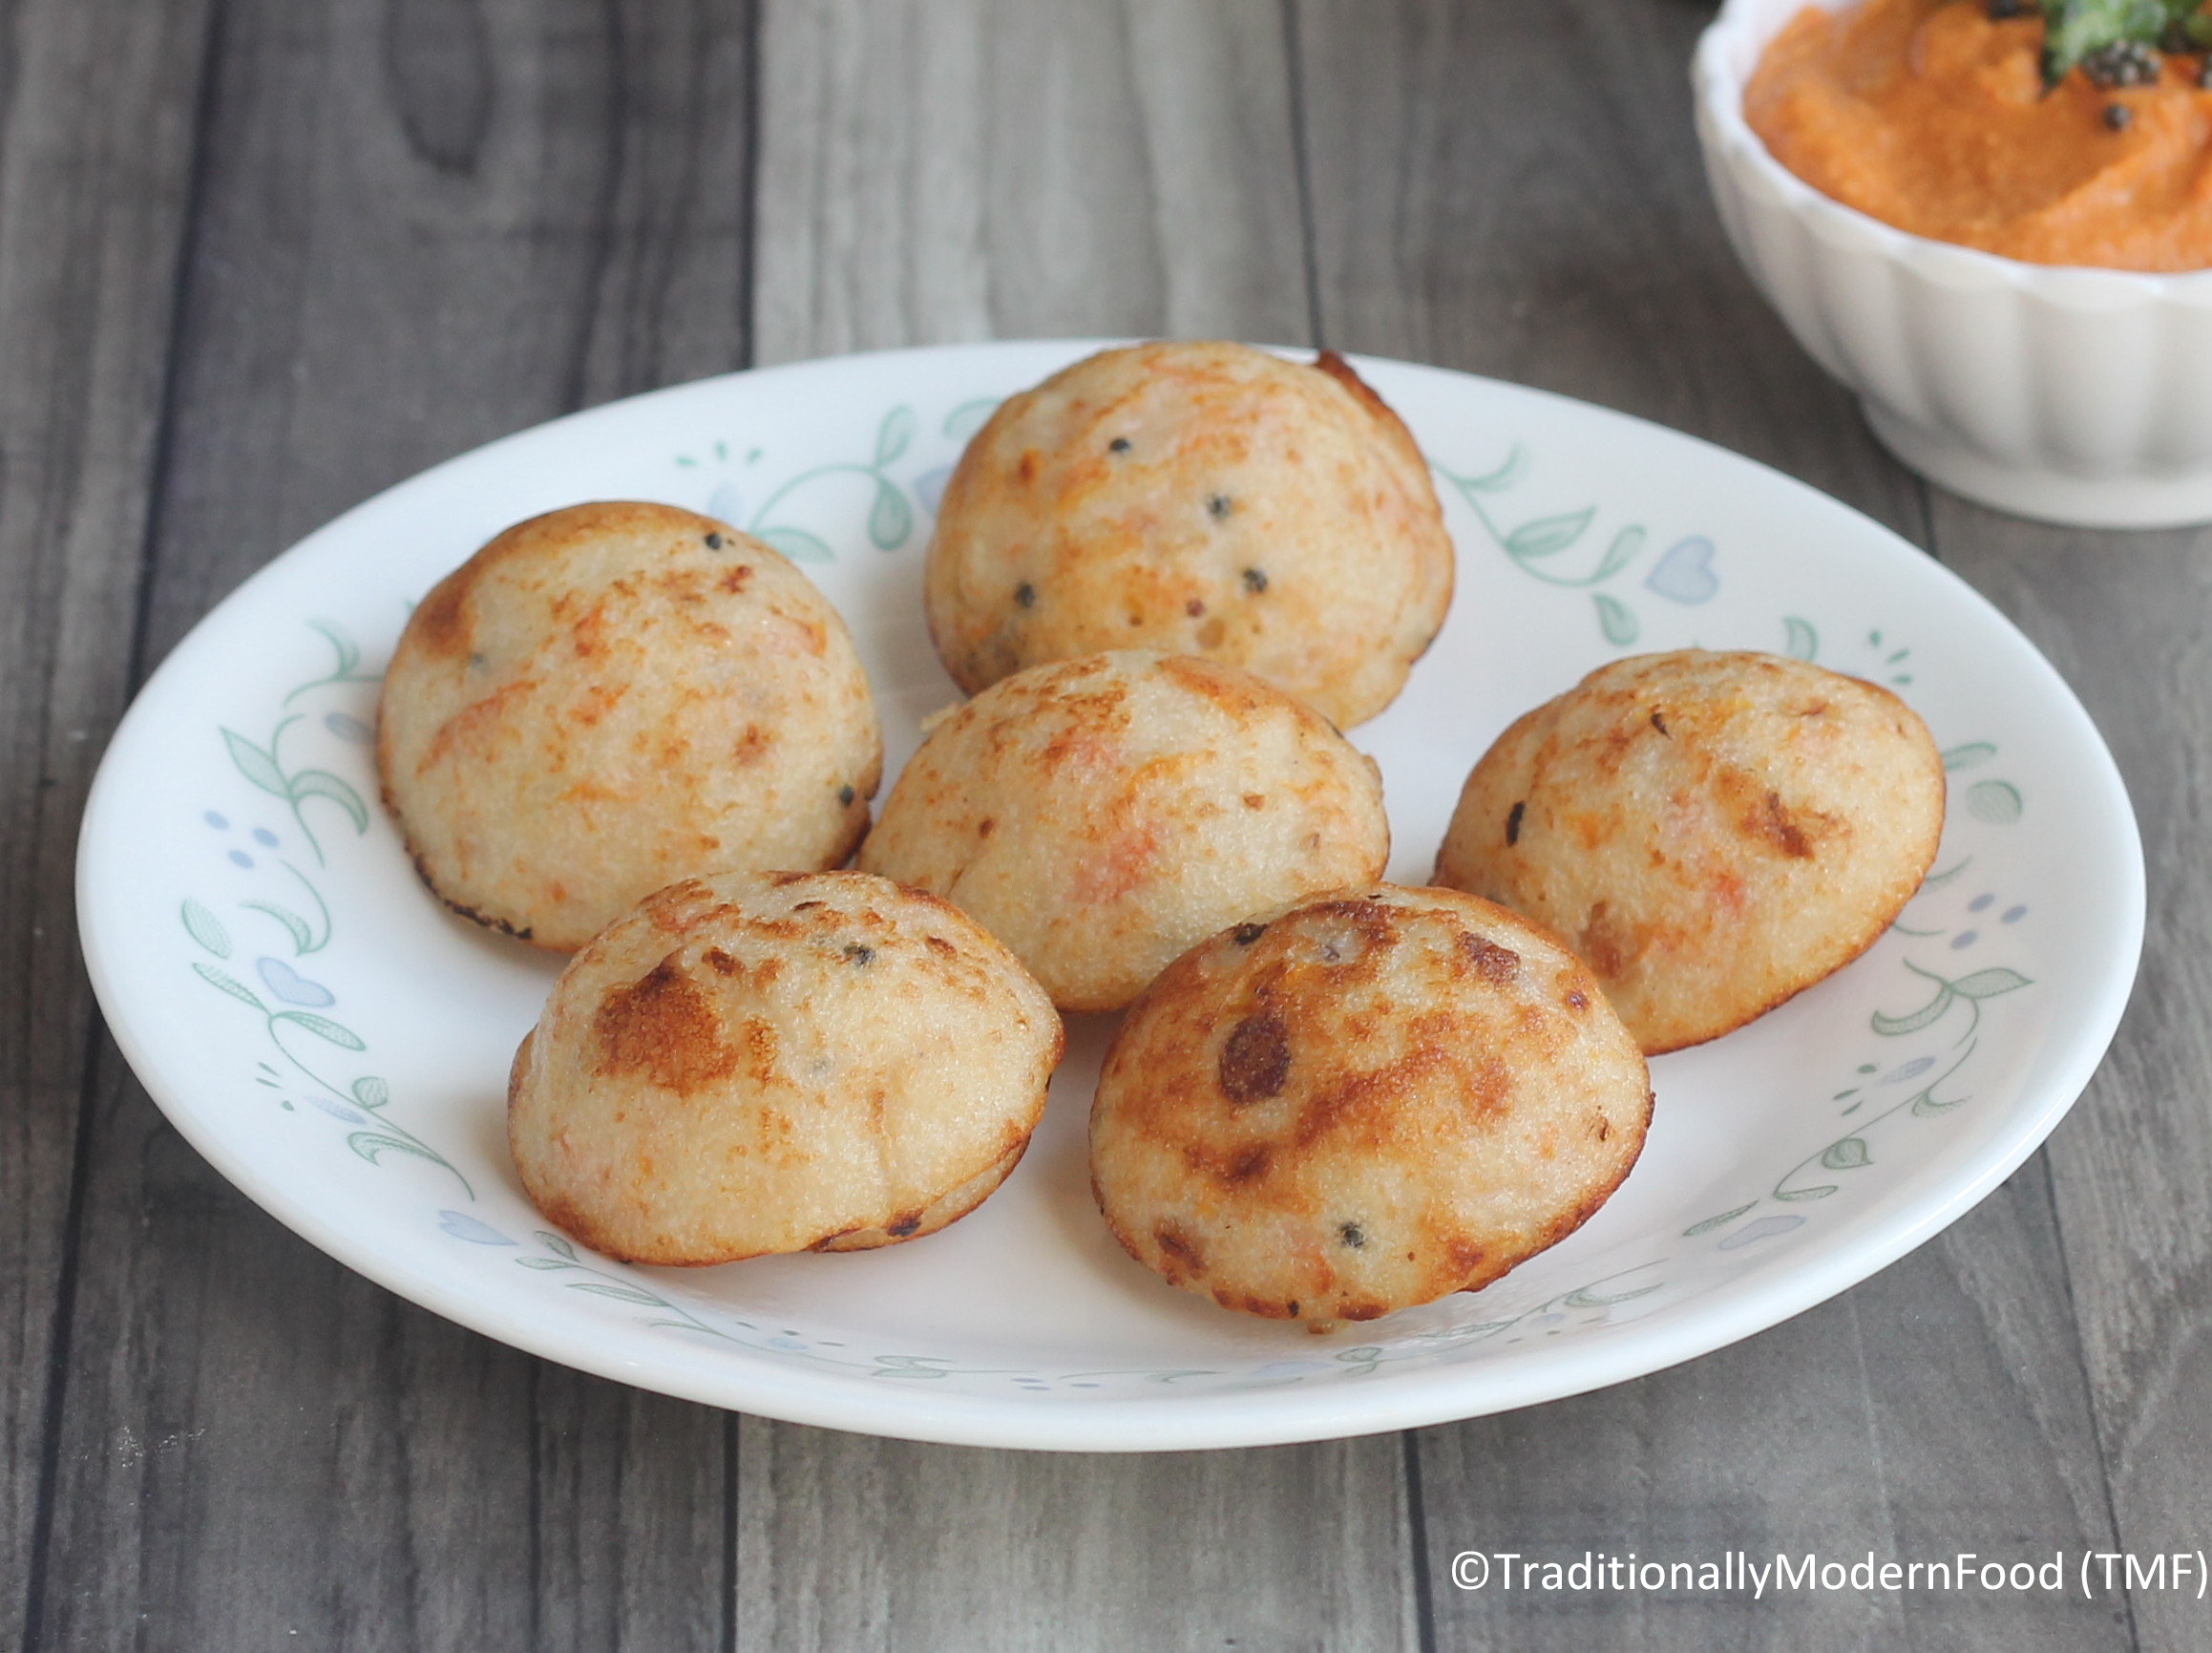
Masala paniyaram is a tasty Kuzhi paniyaram made with left over Idli dosa batter. This is good way to finish the batter.
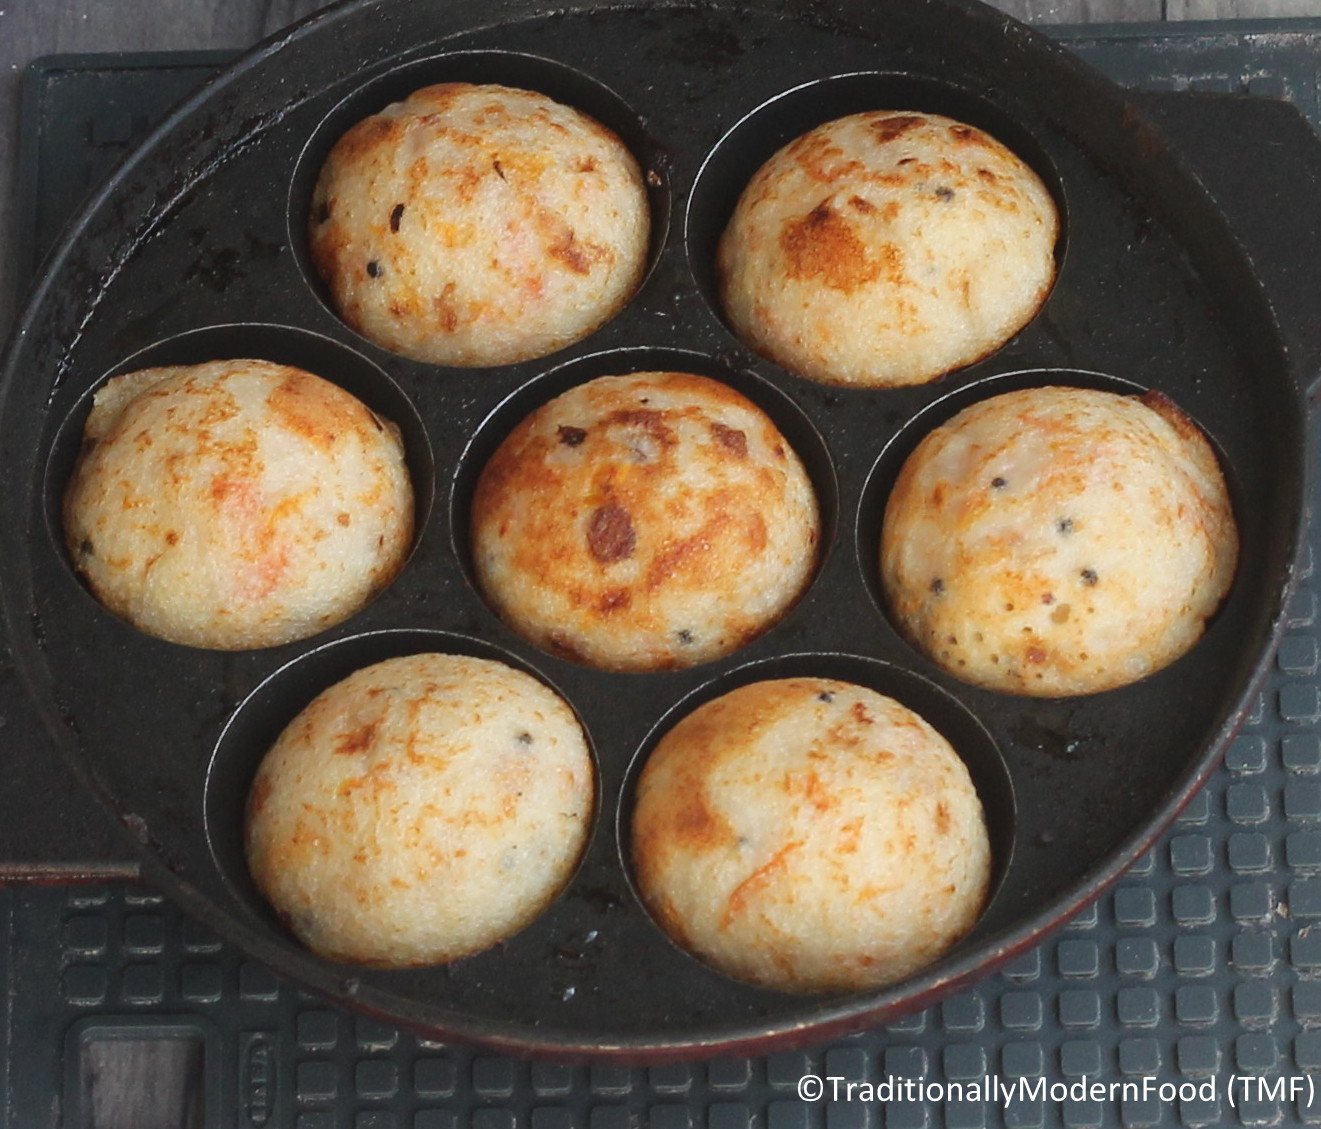
During our childhood days, whenever we get bored of idli/dosa, kuzhi paniyaram is an immediate alternative Amma prepares with idli/dosa batter. For preparing this dish, Kuzhi paniyaram stand and left over idli/dosa batter is all that’s needed. I tried savory version. If you don’t have kuzhi paniyaram pan, try frying it in oil to enjoy quick snack 🙂
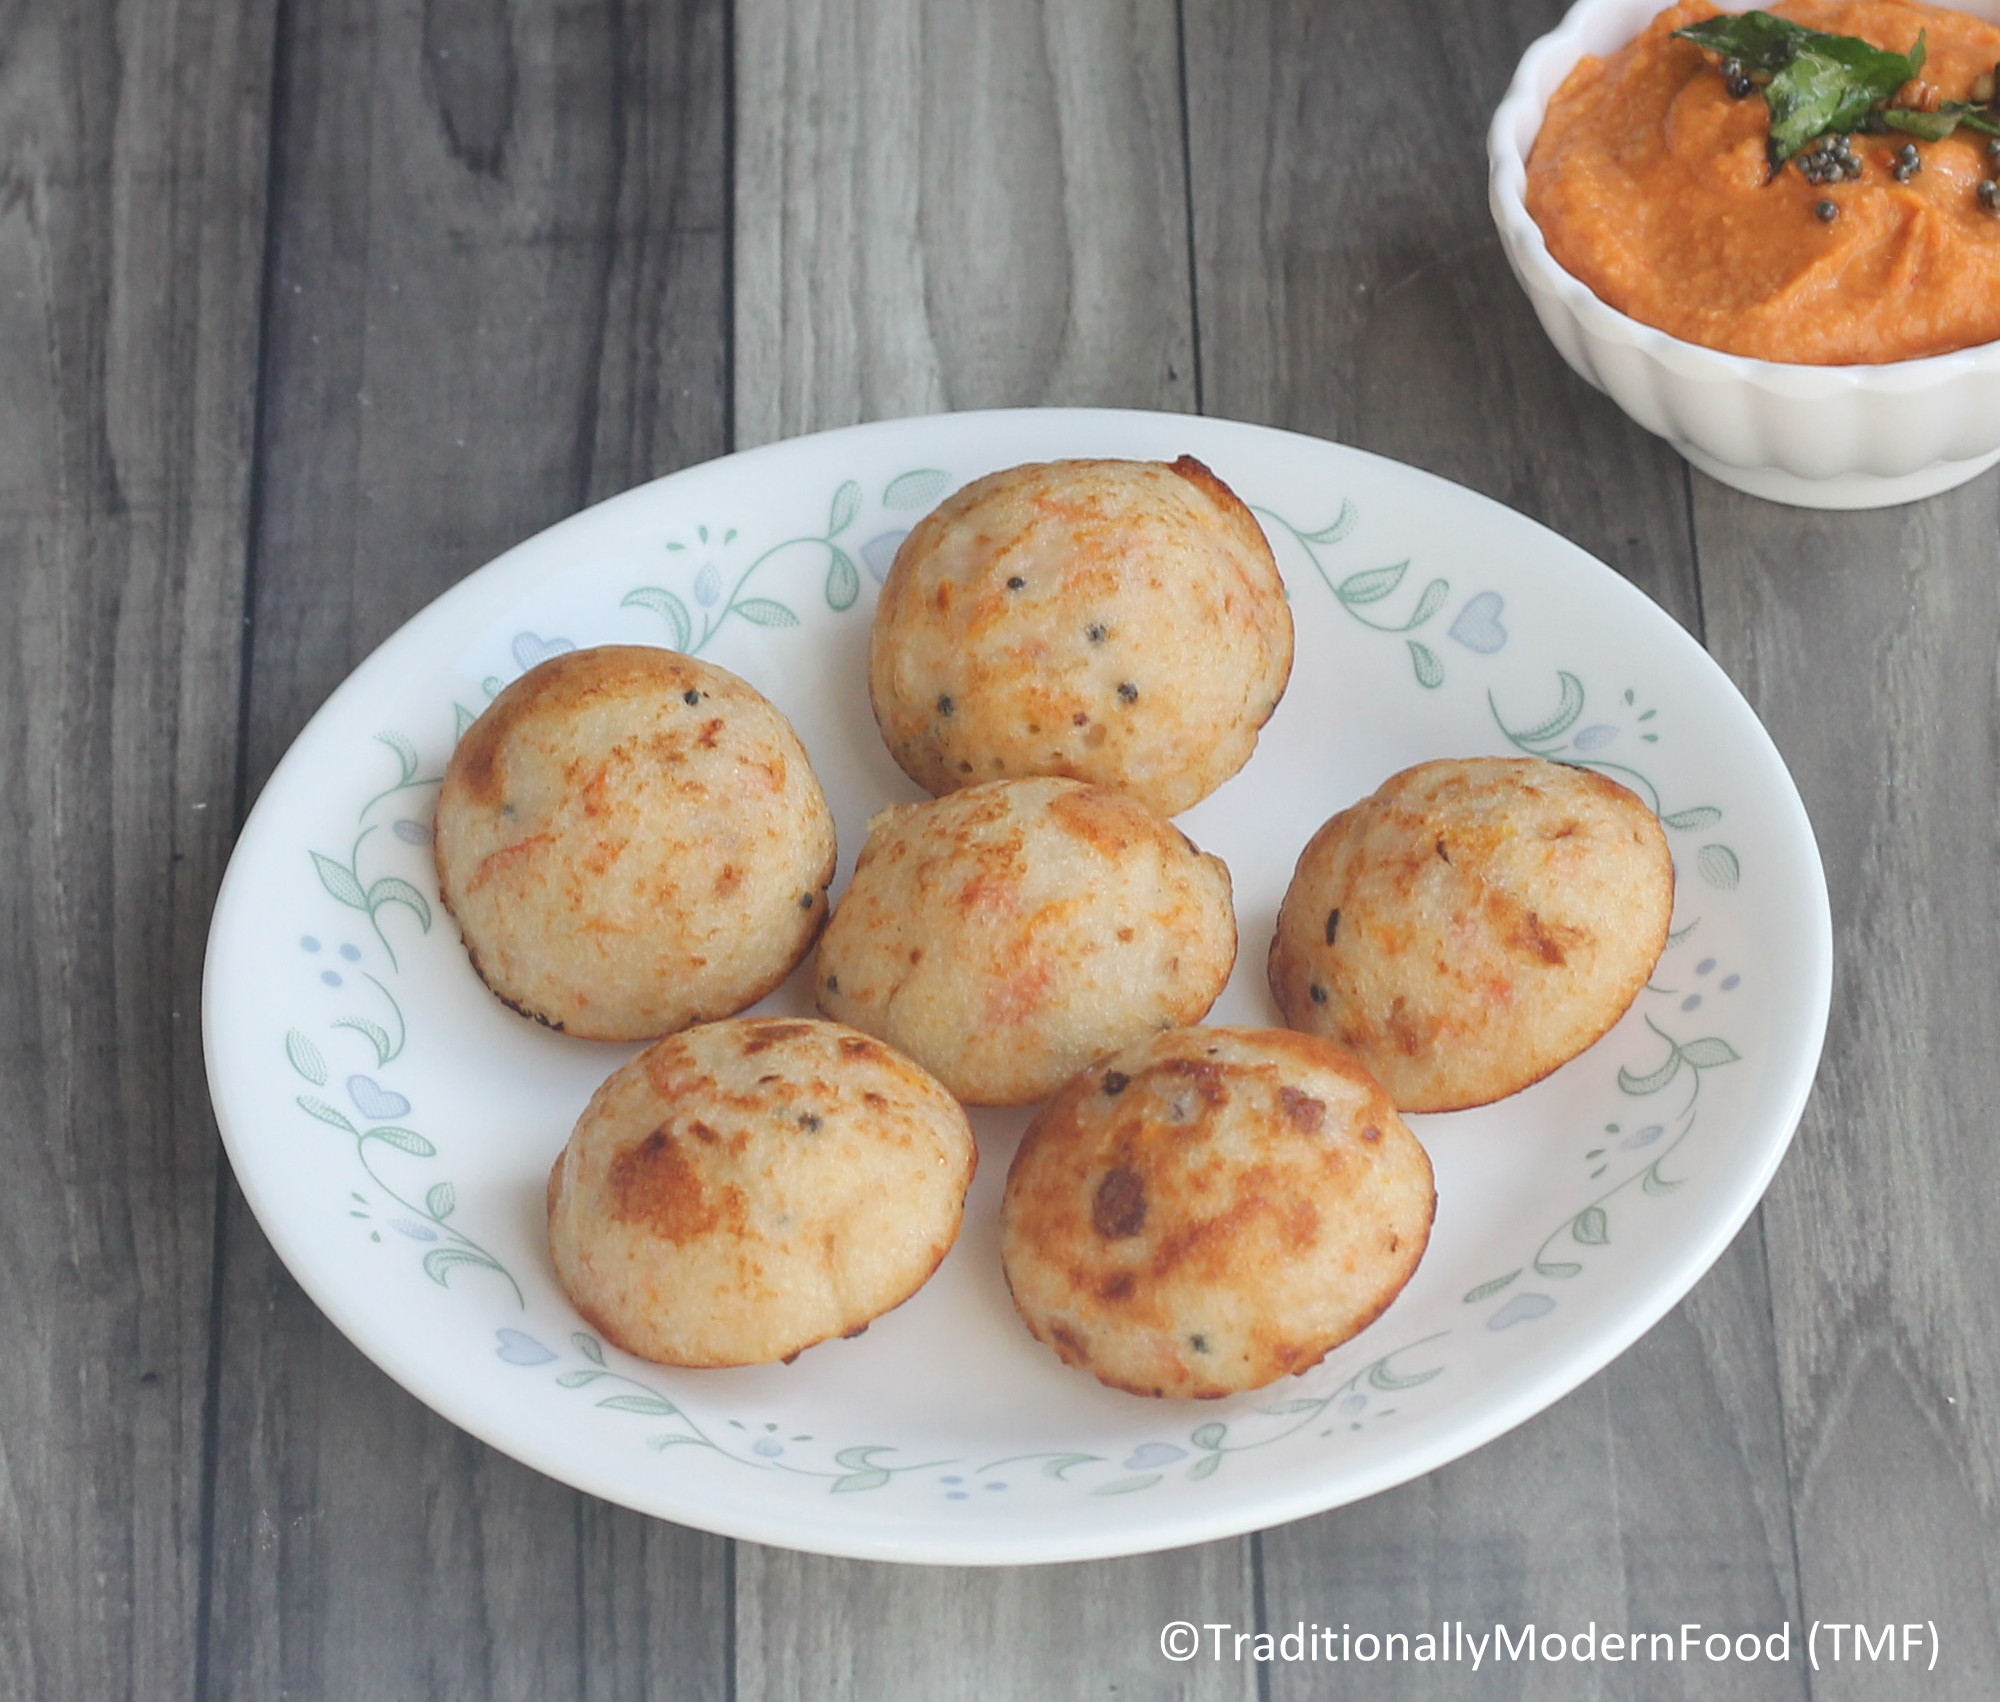
Masala Paniyaram (Savory Rice Ball):
Preparation Time : 10 mins | Cooking Time : 10 mins | Serves : 3
Recipe Category: Breakfast
Ingredients:
Dosa/Idly batter - 2 cups
Idli Podi - 1 tsp
Finely chopped Onion - 1
Grated Carrots - 2
wheat flour - 2 tbsp
Hing - a generous pinch
Curry leaves - few, roughly chopped
Ginger - 1/8 teaspoon (optional)
Coriander leaves - Handful
Oil - to cook
To temper:
Mustard seeds - 1/8 tsp
Channa dal - 1 tsp
Urad dal - 1 tsp
Oil - 1 tsp
Method
- Add onion, carrot, Idli podi, coriander leaves, curry leaves, hing and ginger to the Idli batter
- Temper the all the ingredients given under “to temper” and add it to the batter. Mix well

- Heat the paniyaram pan. Add a little oil to each hole. Spoon the batter into the pan and cook for 2 minutes on one side

- After one side is cooked well, turn the paniyarams and cook the other side. Flip carefully and cook until it is done
- Serve with any chutney

Ingredients
- Dosa/Idly batter - 2 cups
- Idli Podi - 1 tsp
- Finely chopped Onion - 1
- Wheat flour - 2 tbsp
- Grated Carrots - 2
- Hing - a generous pinch
- Curry leaves - few roughly chopped
- Ginger - 1/8 tsp optional
- Coriander leaves - Handful
- Oil - to cook
- To temper:
- Mustard seeds - 1/8 tsp
- Channa dal - 1 tsp
- Urad dal - 1 tsp
- Oil - 1 tsp
Instructions
- Add onion, carrot, Idli podi, wheat flour, coriander leaves, curry leaves, hing and ginger to the Idli batter
- Temper the all the ingredients given under “to temper” and add it to the batter. Mix well
- Heat the paniyaram pan. Add a little oil to each hole. Spoon the batter into the pan and cook for 2 minutes on one side
- After one side is cooked well, turn the paniyarams and cook the other side. Flip carefully and cook until it is done
- Serve with any chutney
Notes
2. Ragi, Bajra, millet flour can be added to the batter
3. Vegetables can ev suated in the oil and added to the batter
Check my other recipes using Idli/Dosa Batter,