
Baked Thattai | Thattai Indian snacks
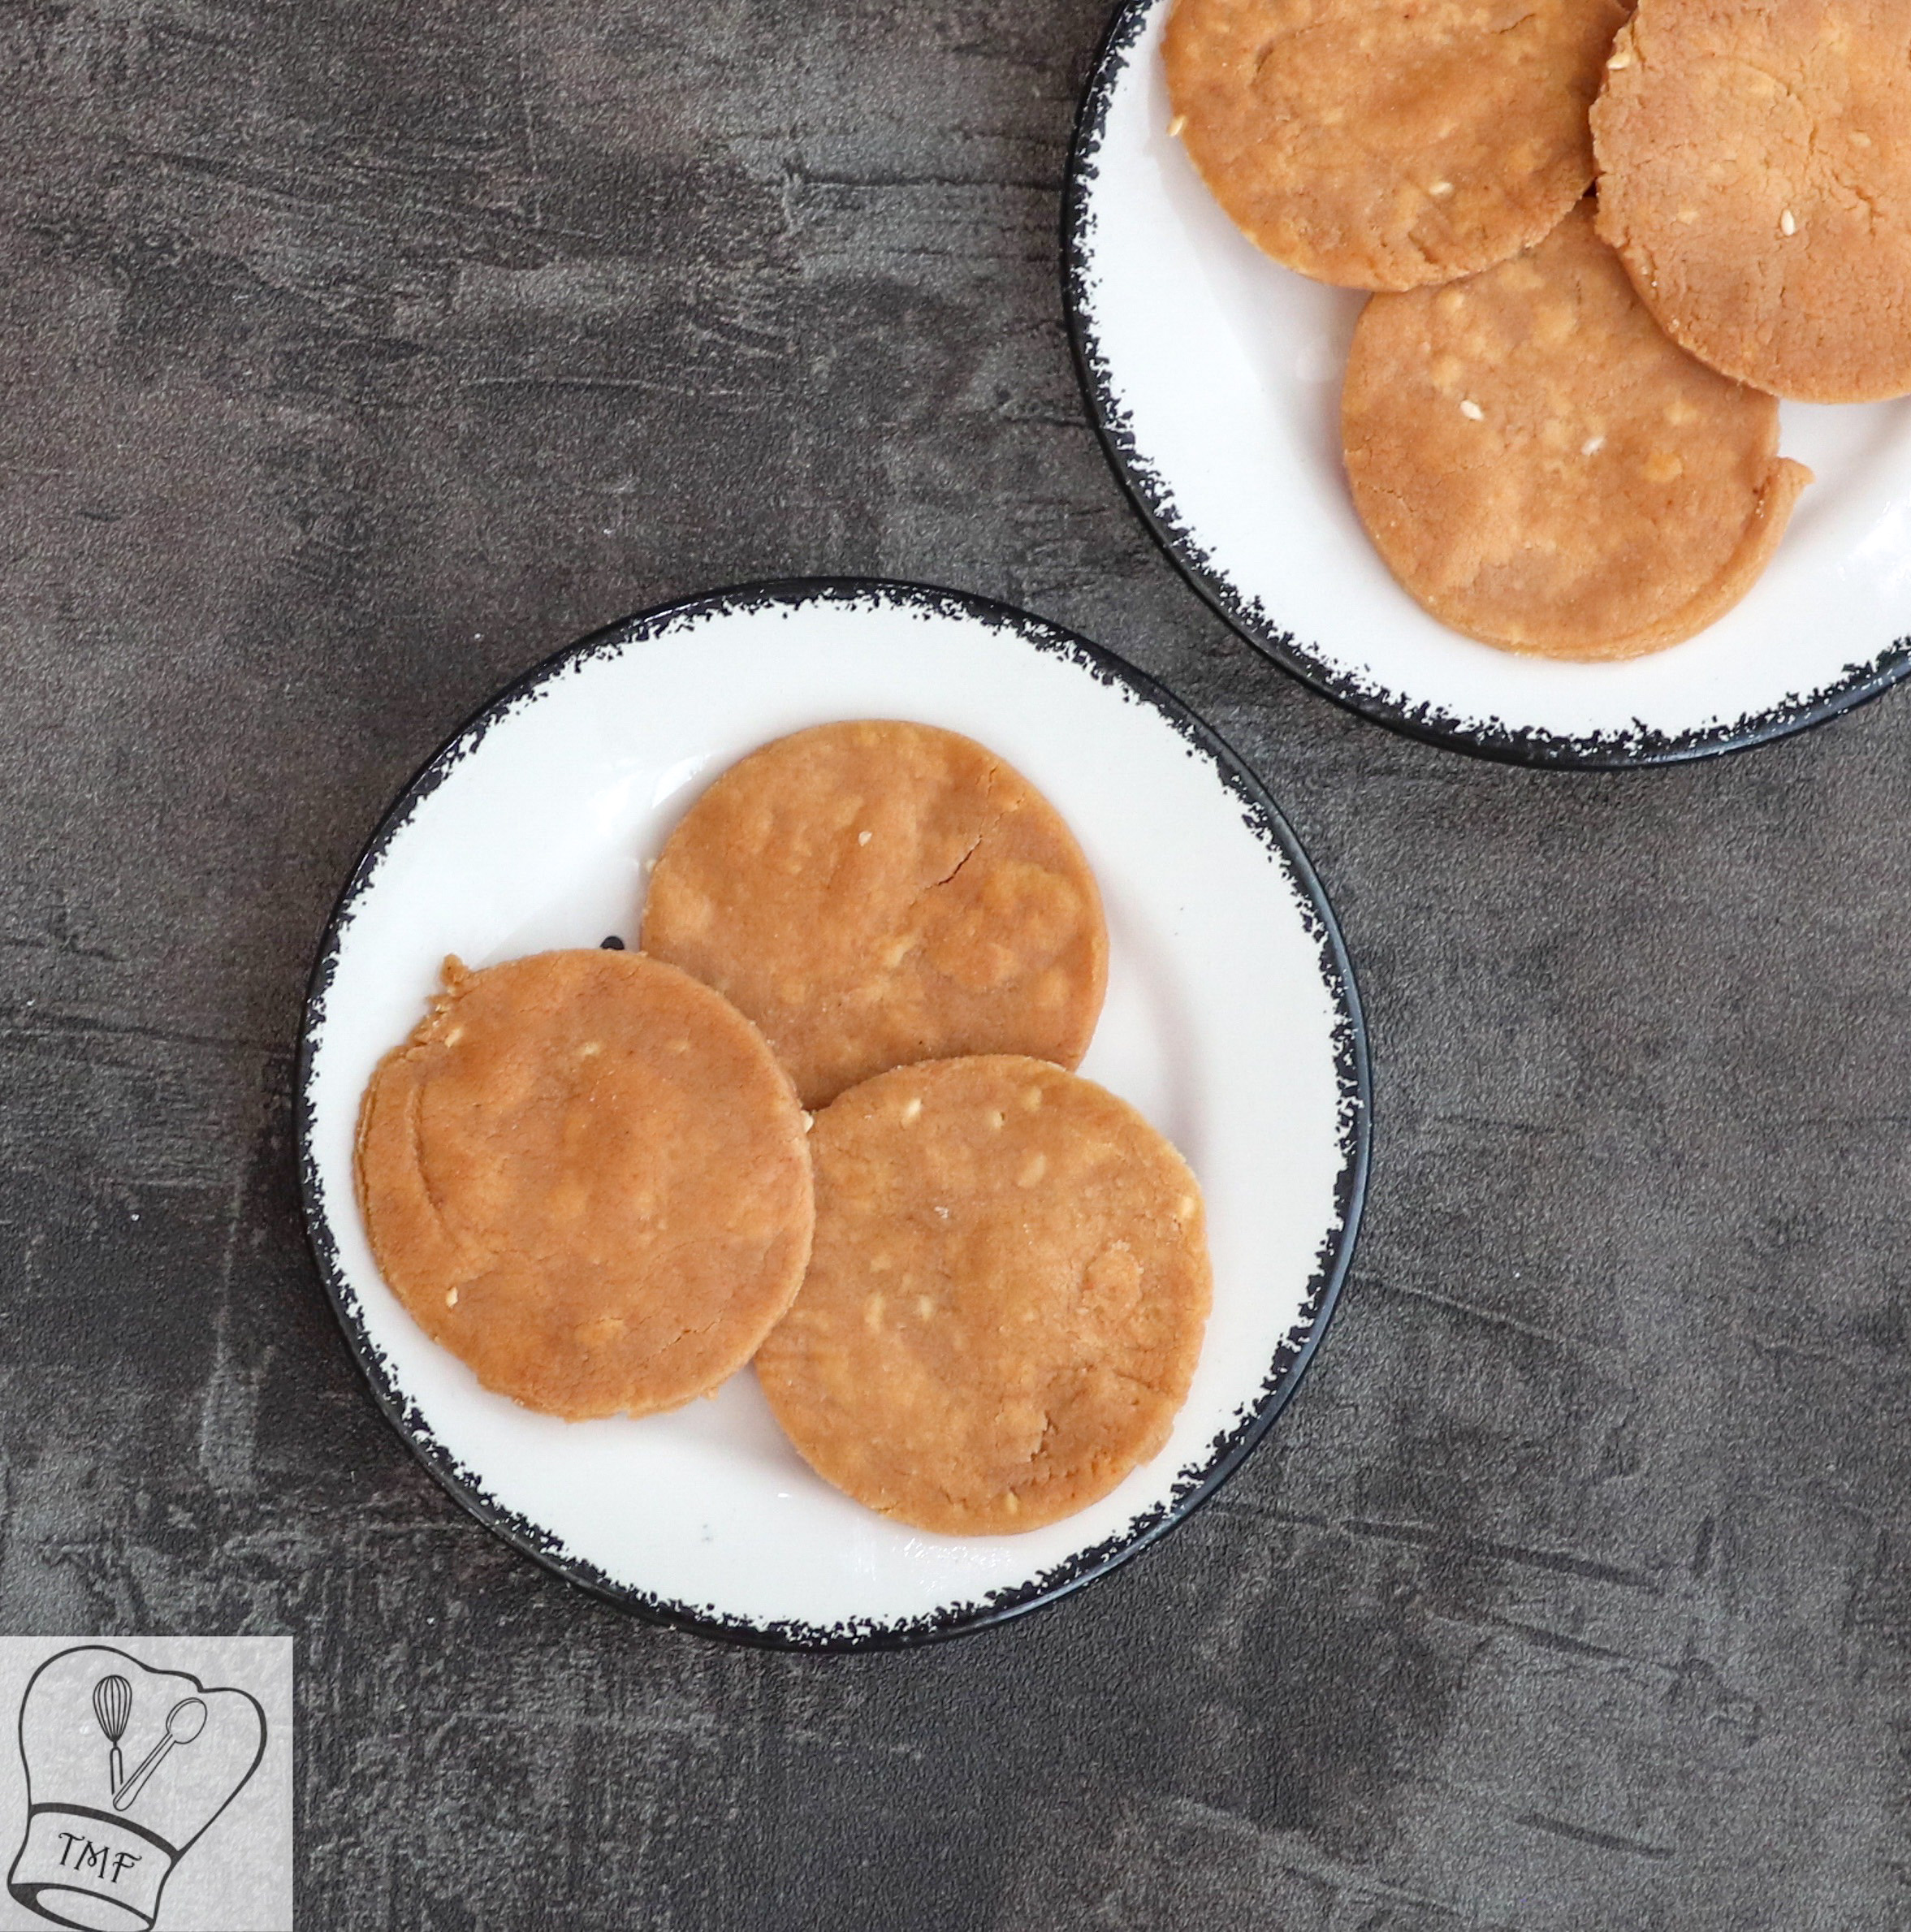
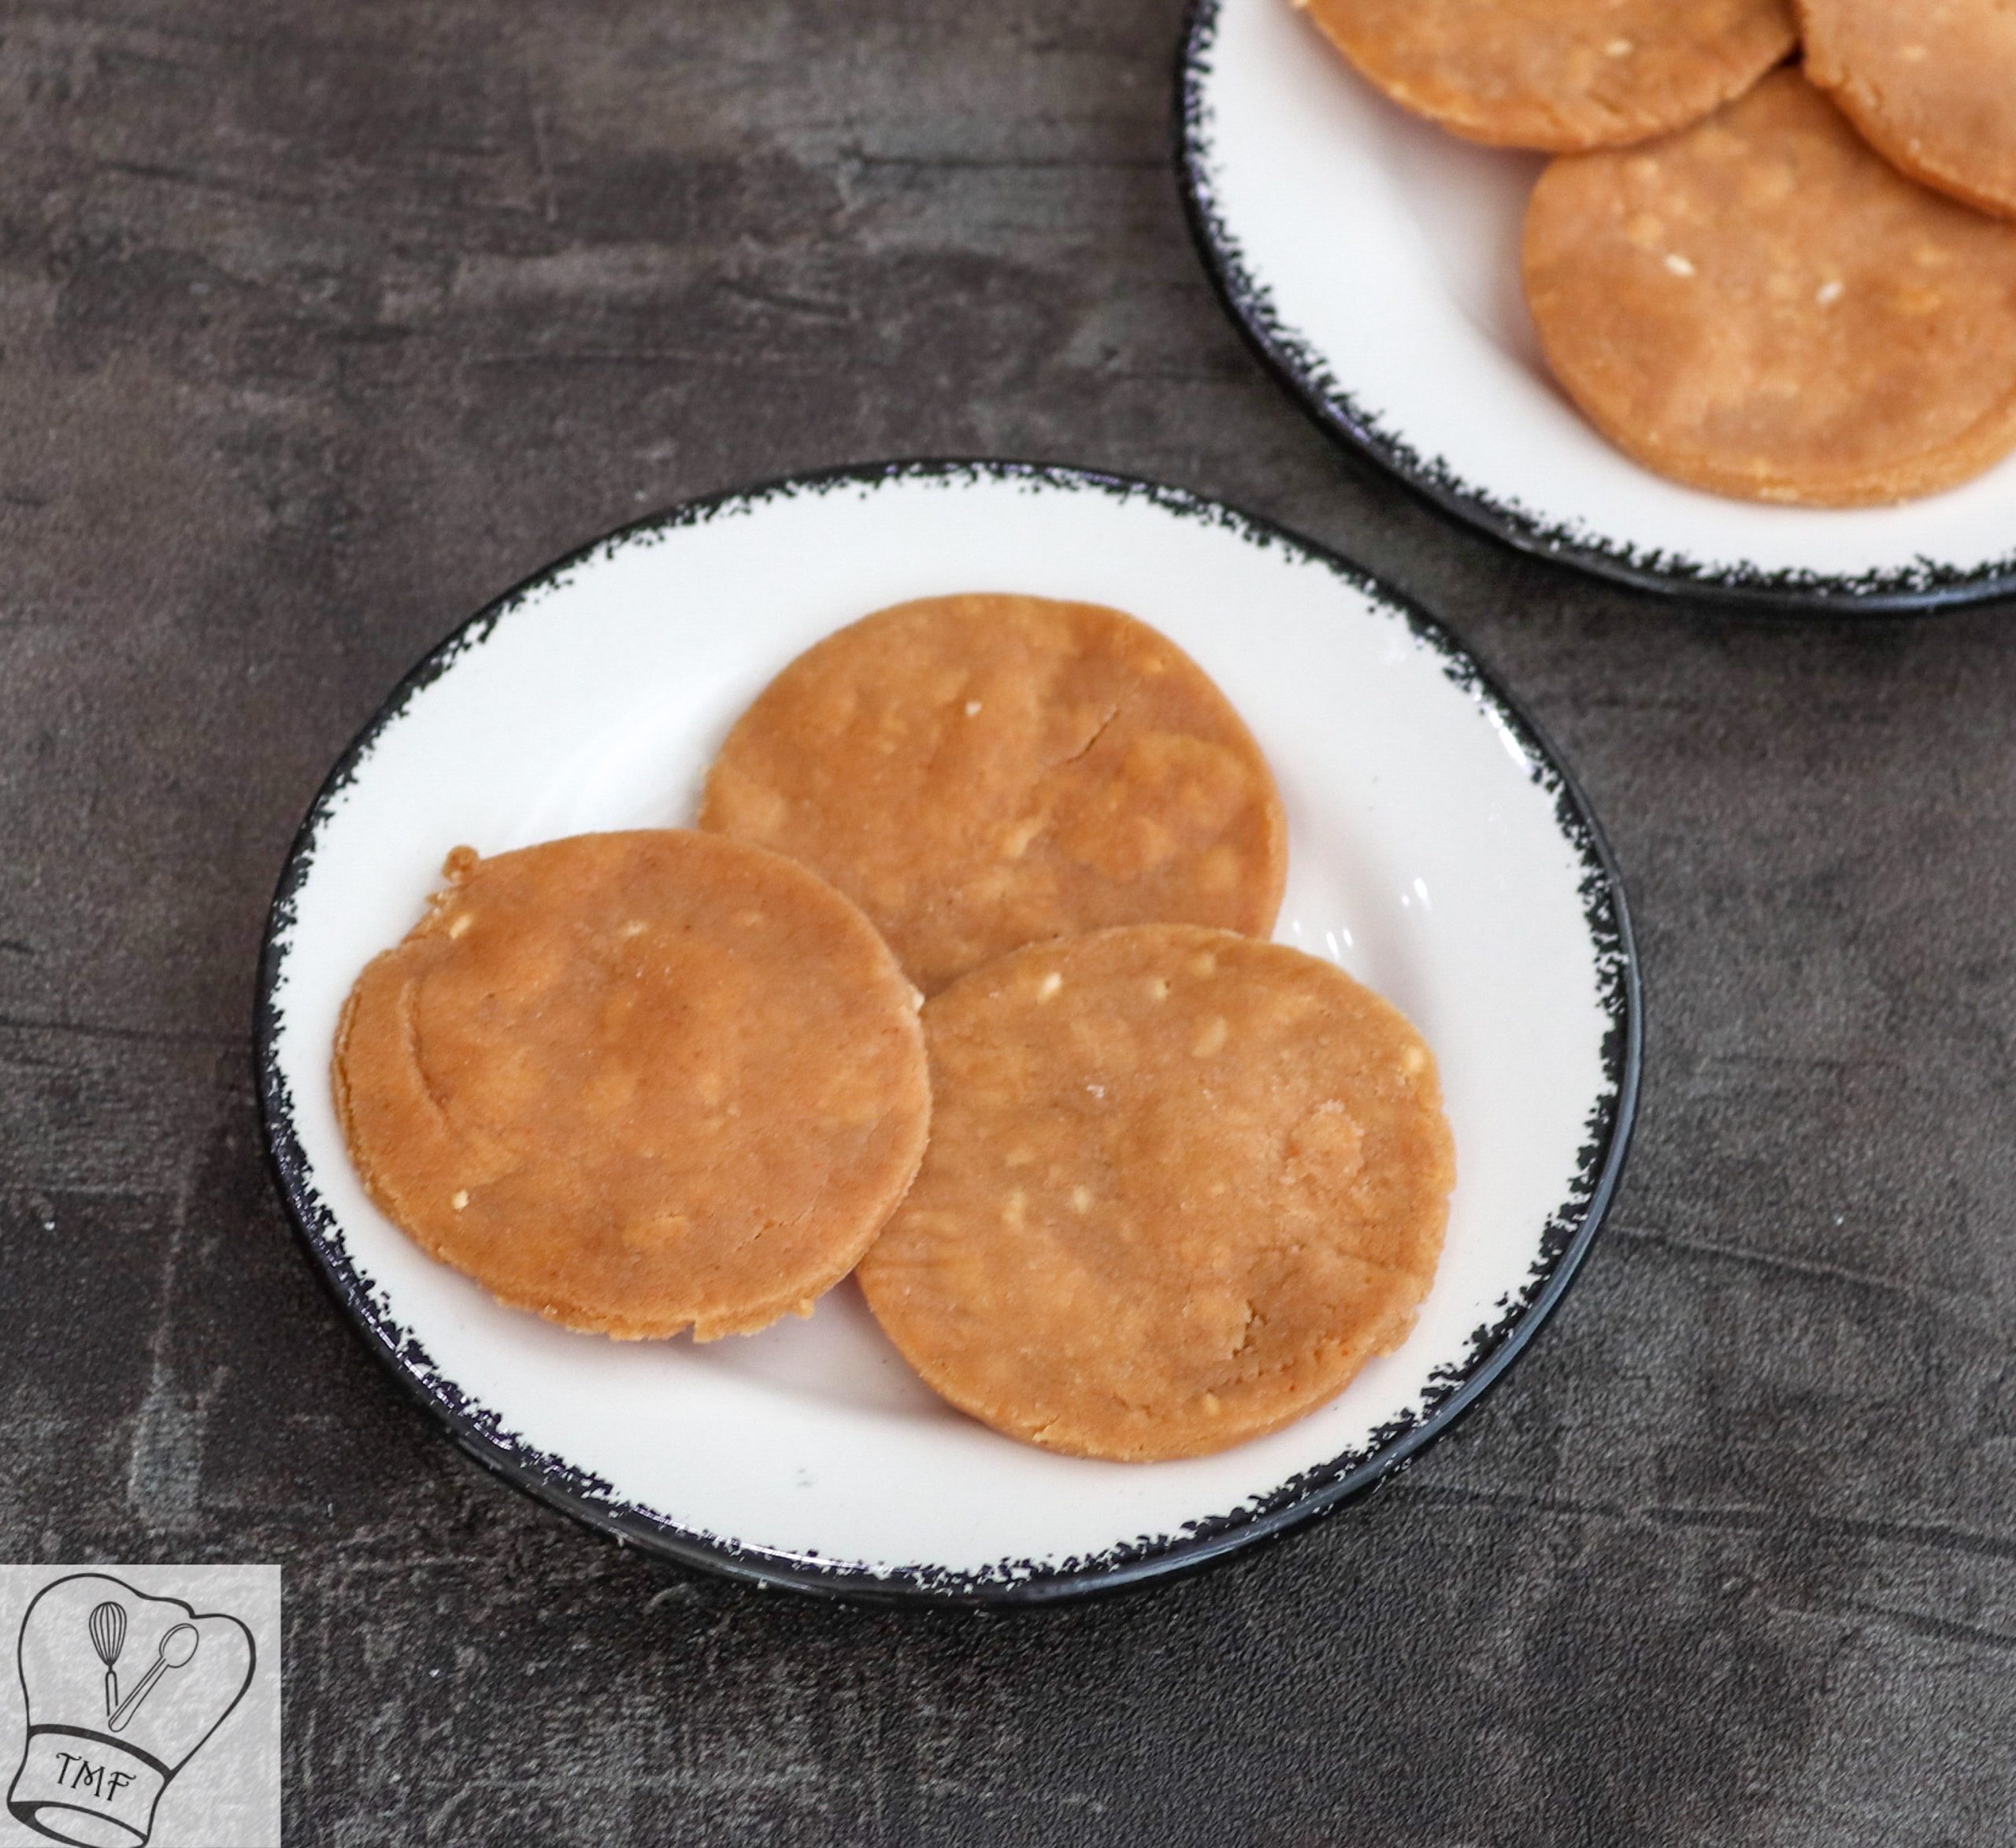
Thattai is a traditional south Indian snack prepared during several festivals. To make it a bit healthy here us a baked version. Baked thattai is crispy and delicious, no compromise in taste.
Why thattai?
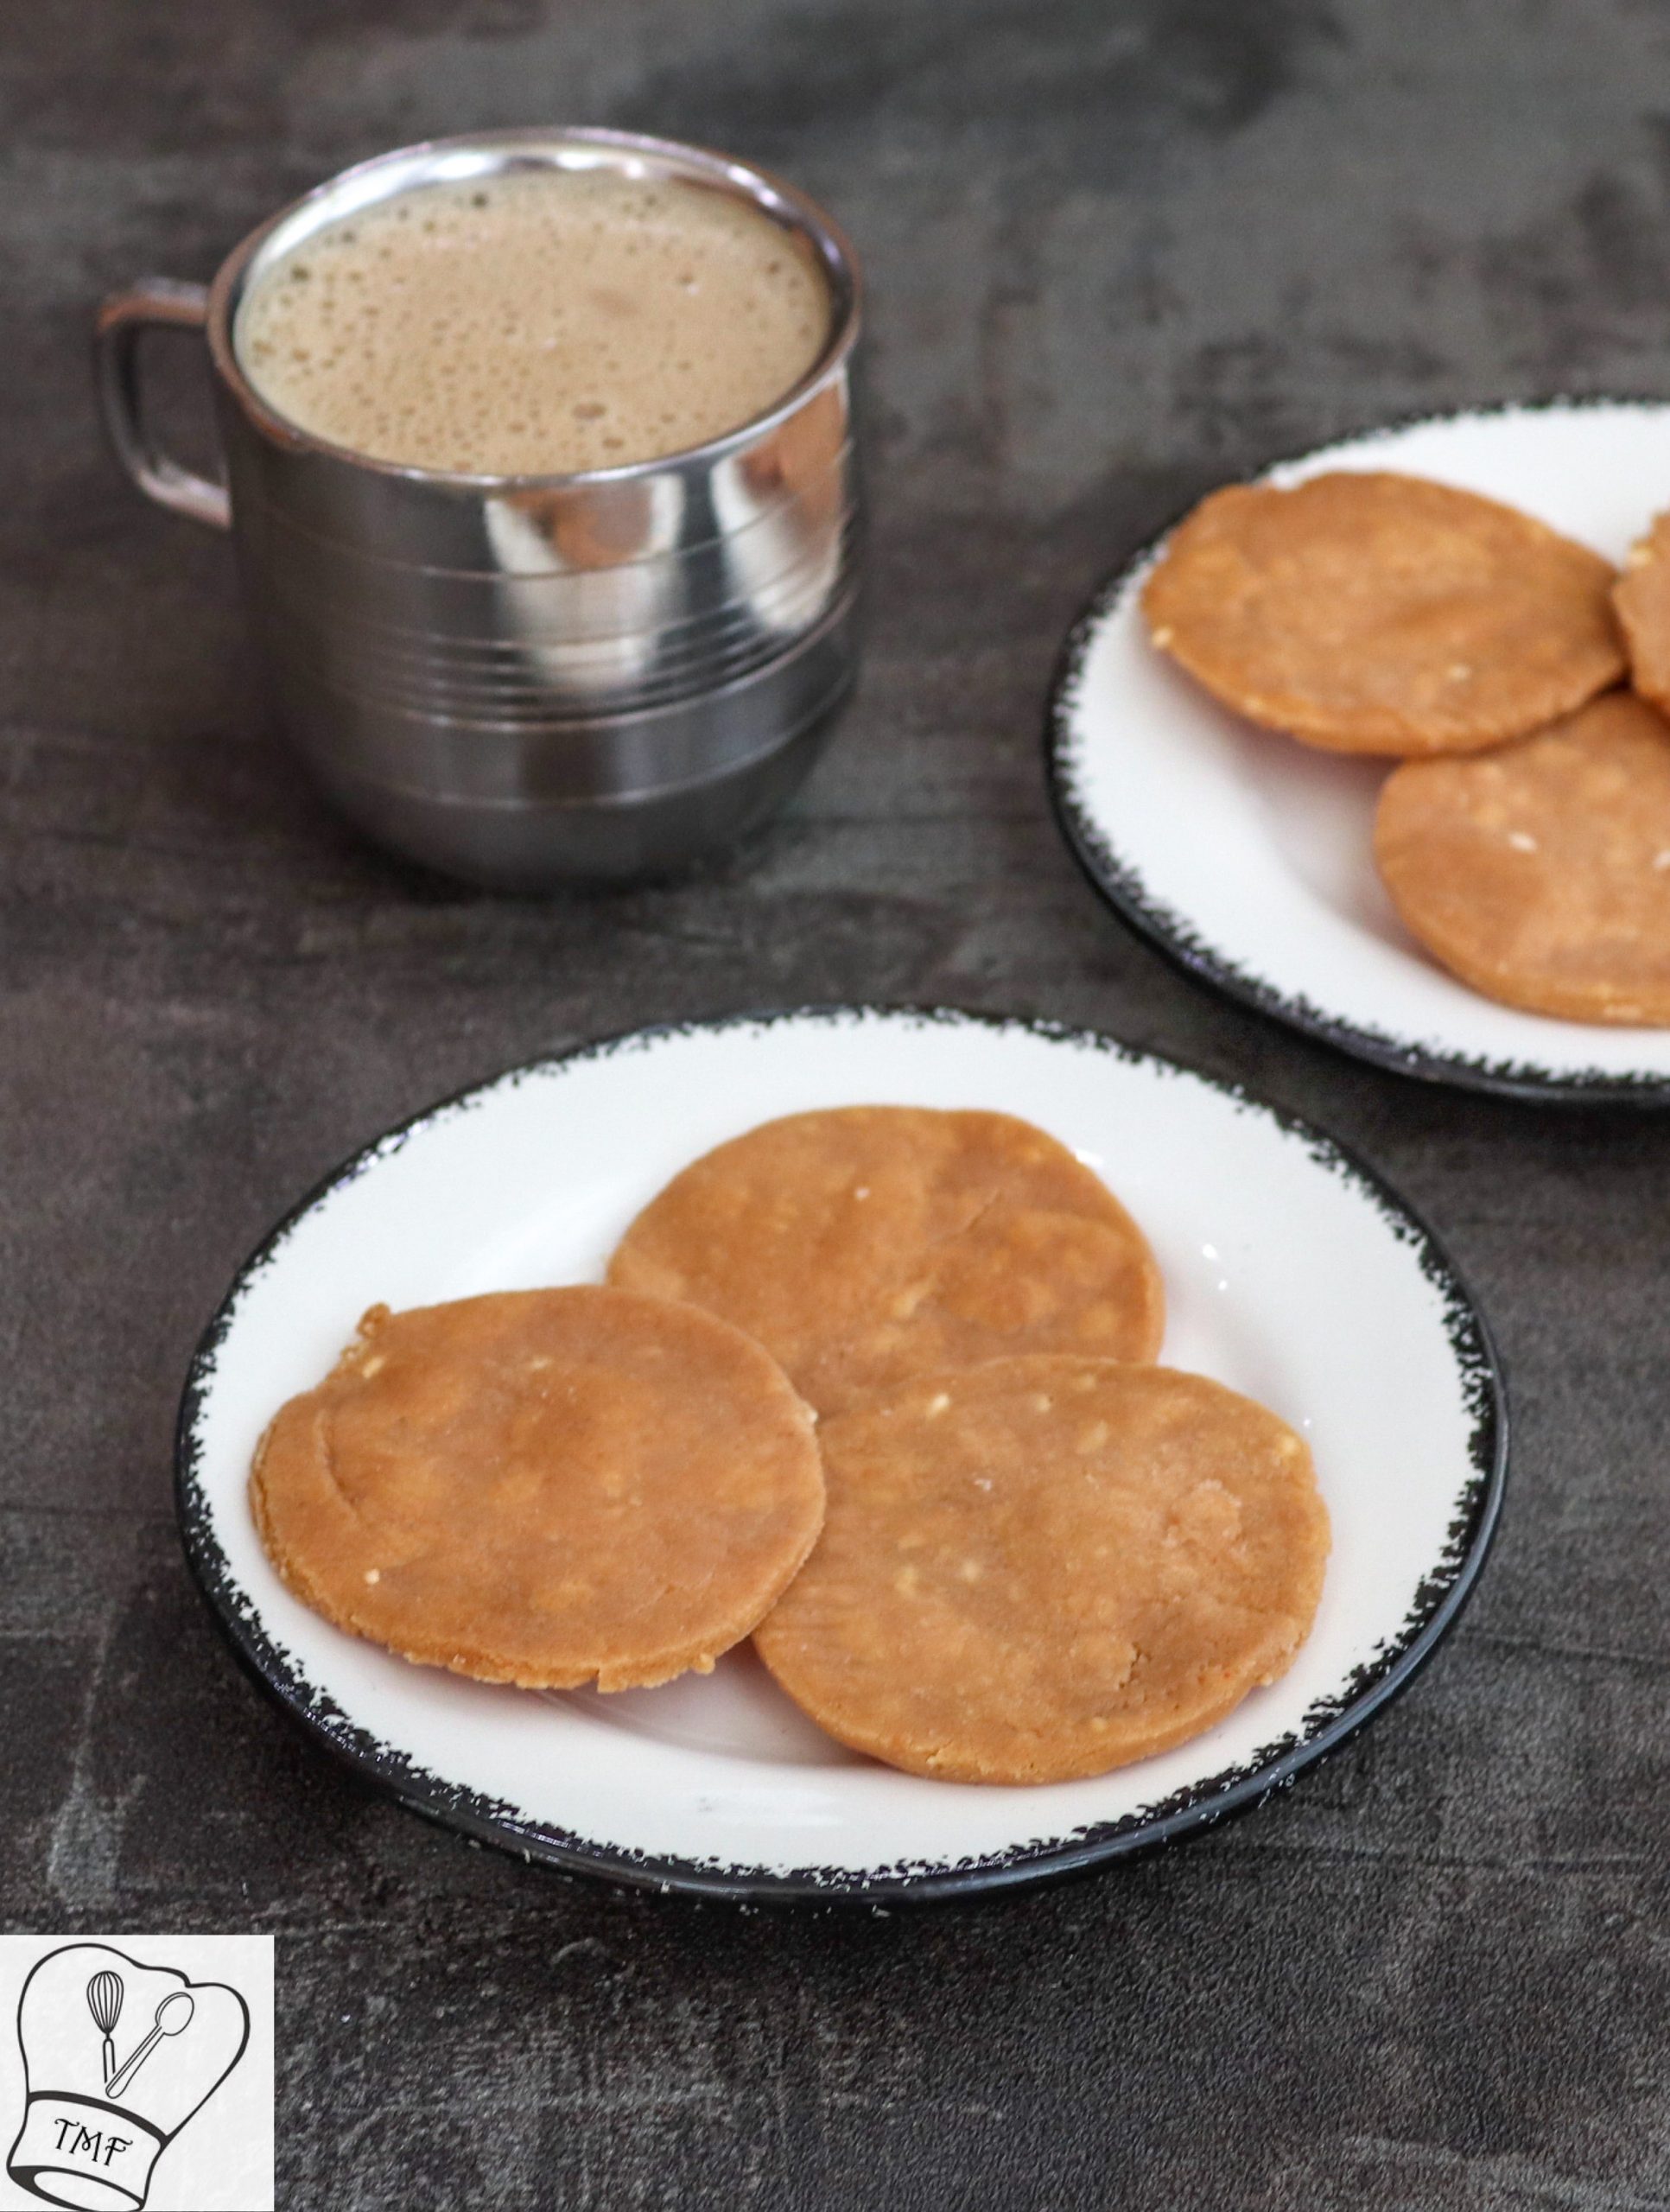
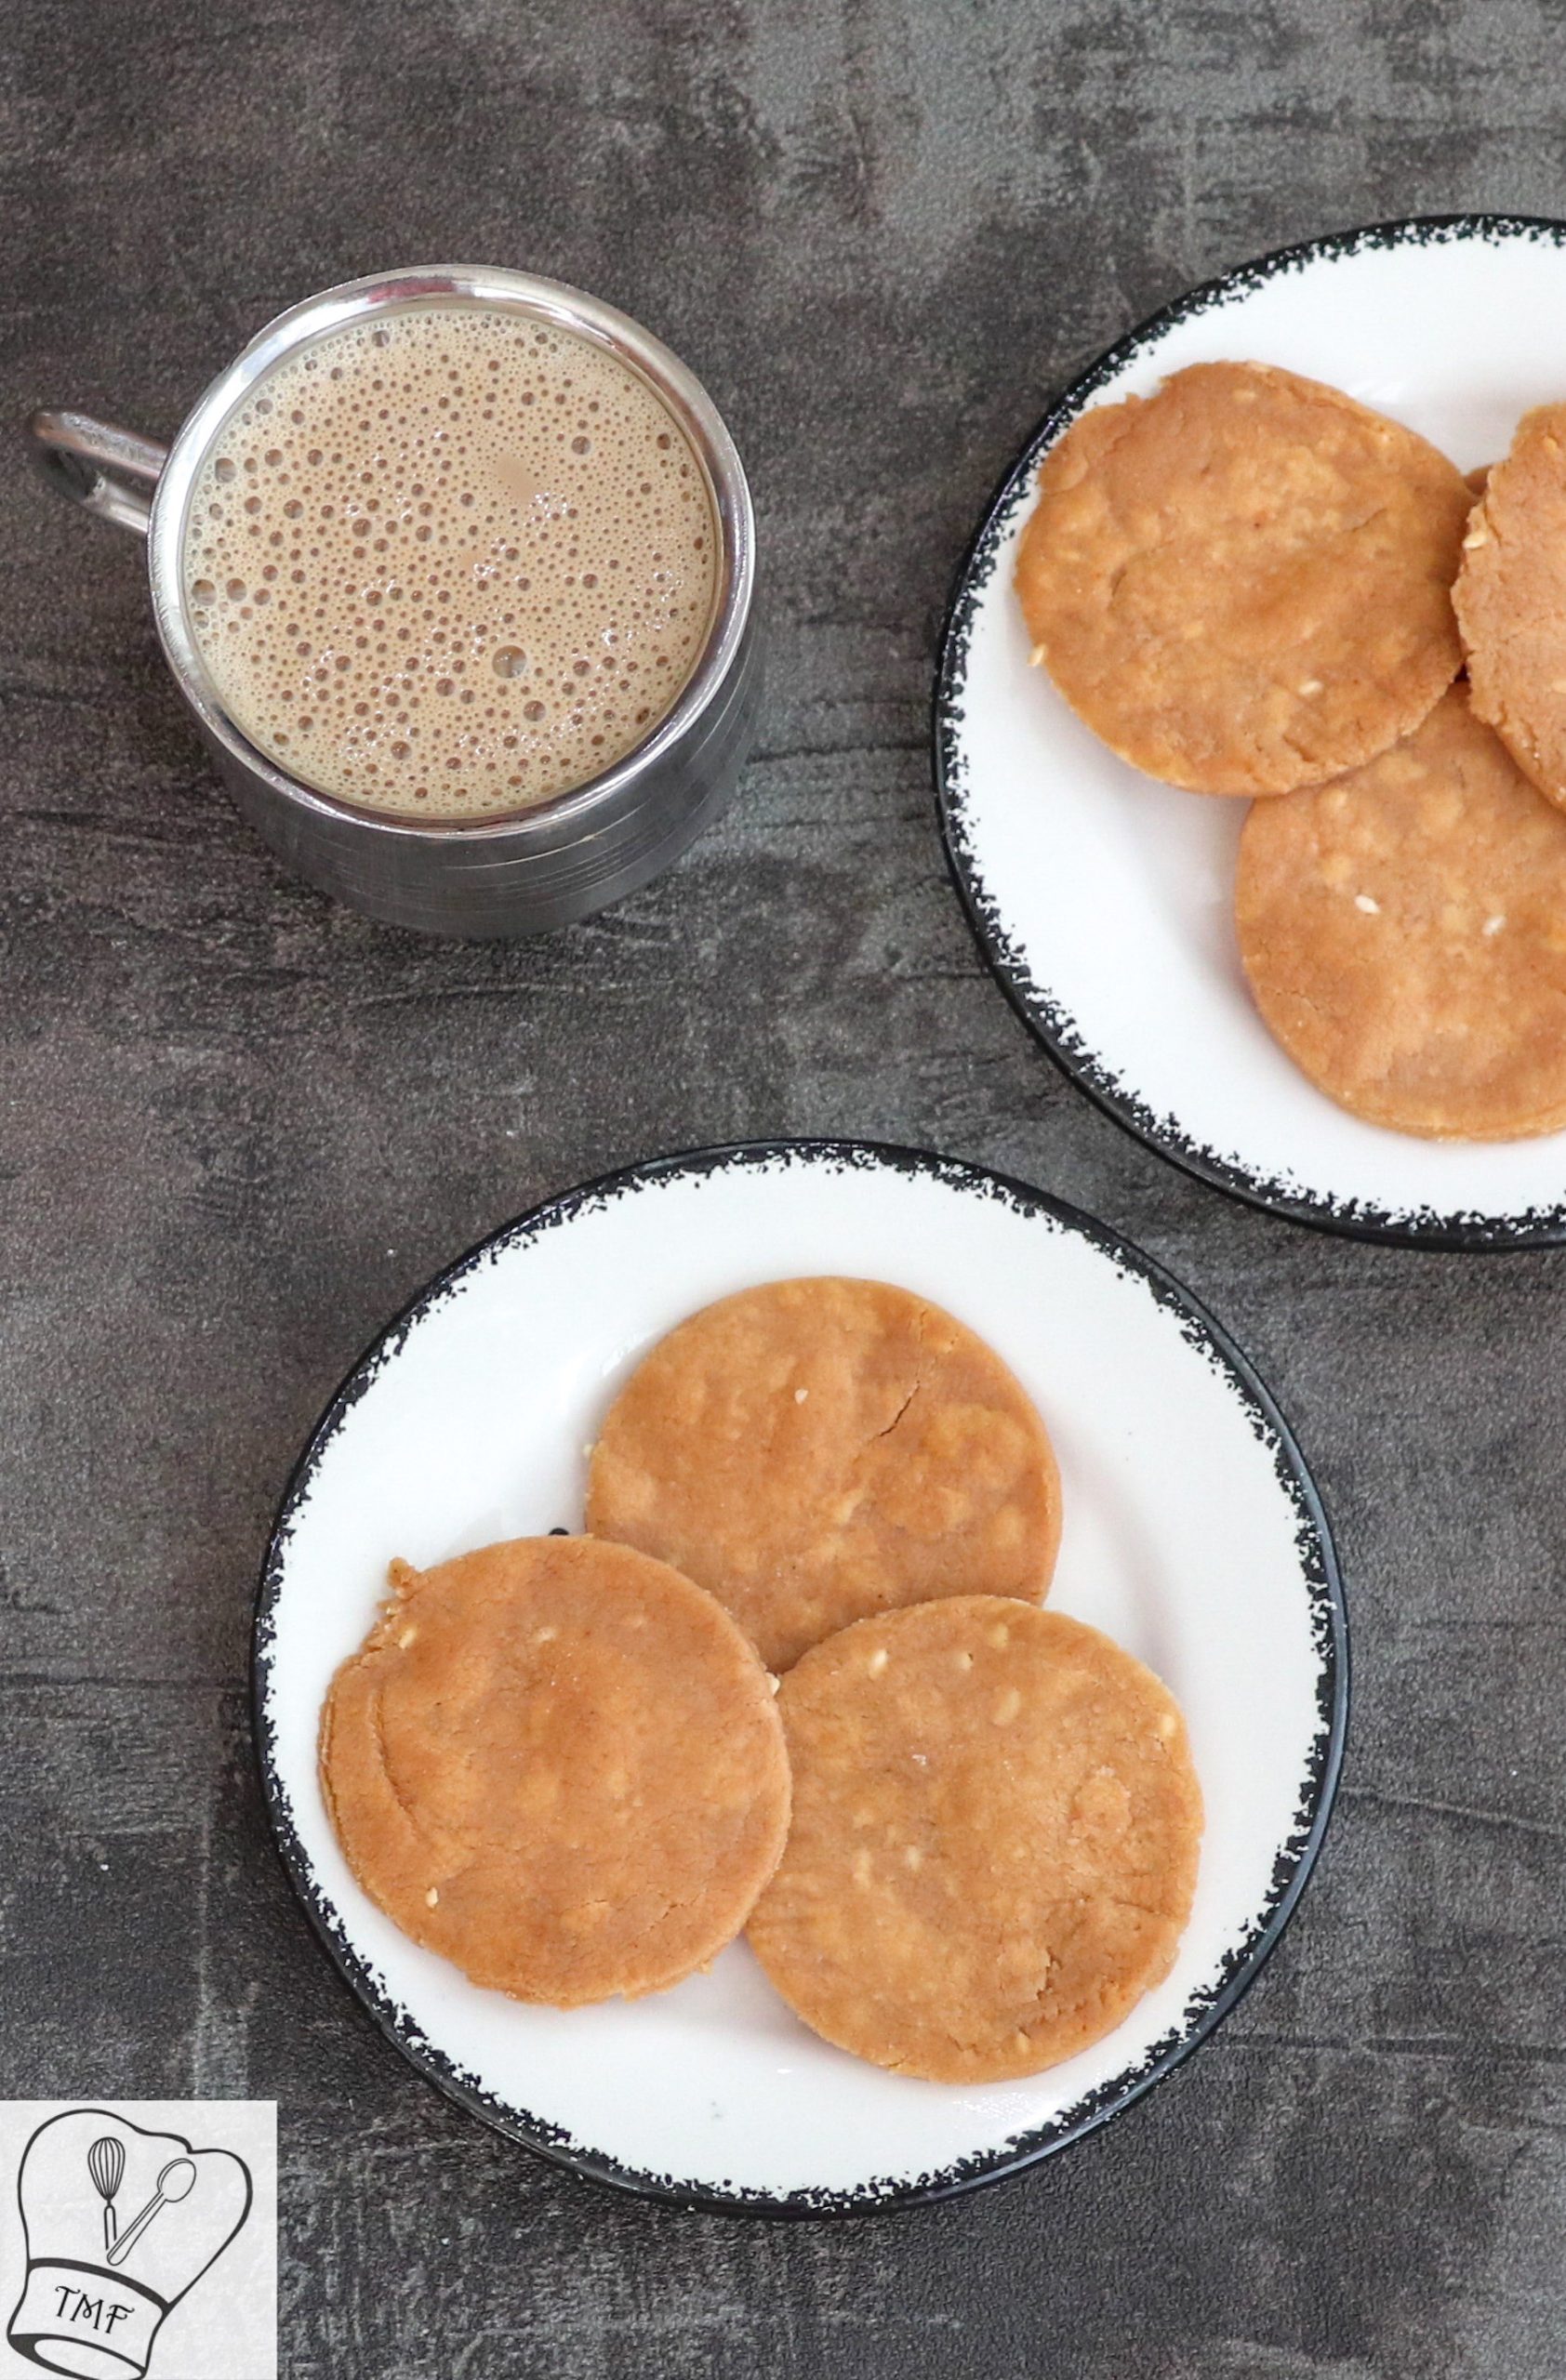
Thattai is a popular snack that makes a great tasty side for coffee/ tea. It is also widely prepared during Krishna Jayanthi / Gokulashtami / Janmashtami festival and Diwali.
When compared to other traditional South Indian Thattai is less time consuming to make. It stays fresh for weeks.
Thattai is one snack that is always made even during regular days. I still remember those days where I will hunt for thattai boxes after coming from school.
Amma deep fry them in oil but off-late my oven has become my new friend and I try to recreate my favorite South Indian snacks with less oil by baking them.
For a perfect baked that Thattai homemade/store brought rice flour works perfectly. I have used a fine store that brought rice flour.
Recently when my mother-in-law came to visit us, she prepared thattai and put them in a big box. We snack them all day. After getting addicted to that On Krishna Jayanthi, I wanted to do some thattai. Generally, they are deep-fried in oil.
Baked thattai
After seeing the Baked Seedai result, I was confident enough to try my luck with baked healthy thattai. Thattai and seedai are almost similar – for thattai, chilli powder is the additional ingredient. Crispy and yummy thattai without much oil was ready.
After Krishna Jayanthi, I posted this pic on my FB page. Somehow it took me so much time to draft this post. Thanks to everyone who messaged me on FB for thattai recipes, and sorry for the delay in posting it.
Check out my other Krishna Jayanthi Special Recipes,
Baked Thattai
Preparation time: 5mins | Cooking time: 25 – 30 mins
Recipe Category: Snacks

Ingredients
- Rice Flour- 1 cup
- Urad Dal - 2 tbsp
- Butter - 3tbsp melted in room temperature
- Red Chilli powder - 1/4 tsp Adjust according to your spice level
- Salt - as needed
- Asafoetida - Geneous pinch
- Coconut Oil - to grease
Instructions
- For urad dal Flour:
- Take 1/4cup of whole urad Dal and dry roast till they are golden brown. When it comes to room temperature, grind them into fine powder
- Preheat the oven to 350 F. Line a baking tray with parchment paper and grease the parchment paper with oil
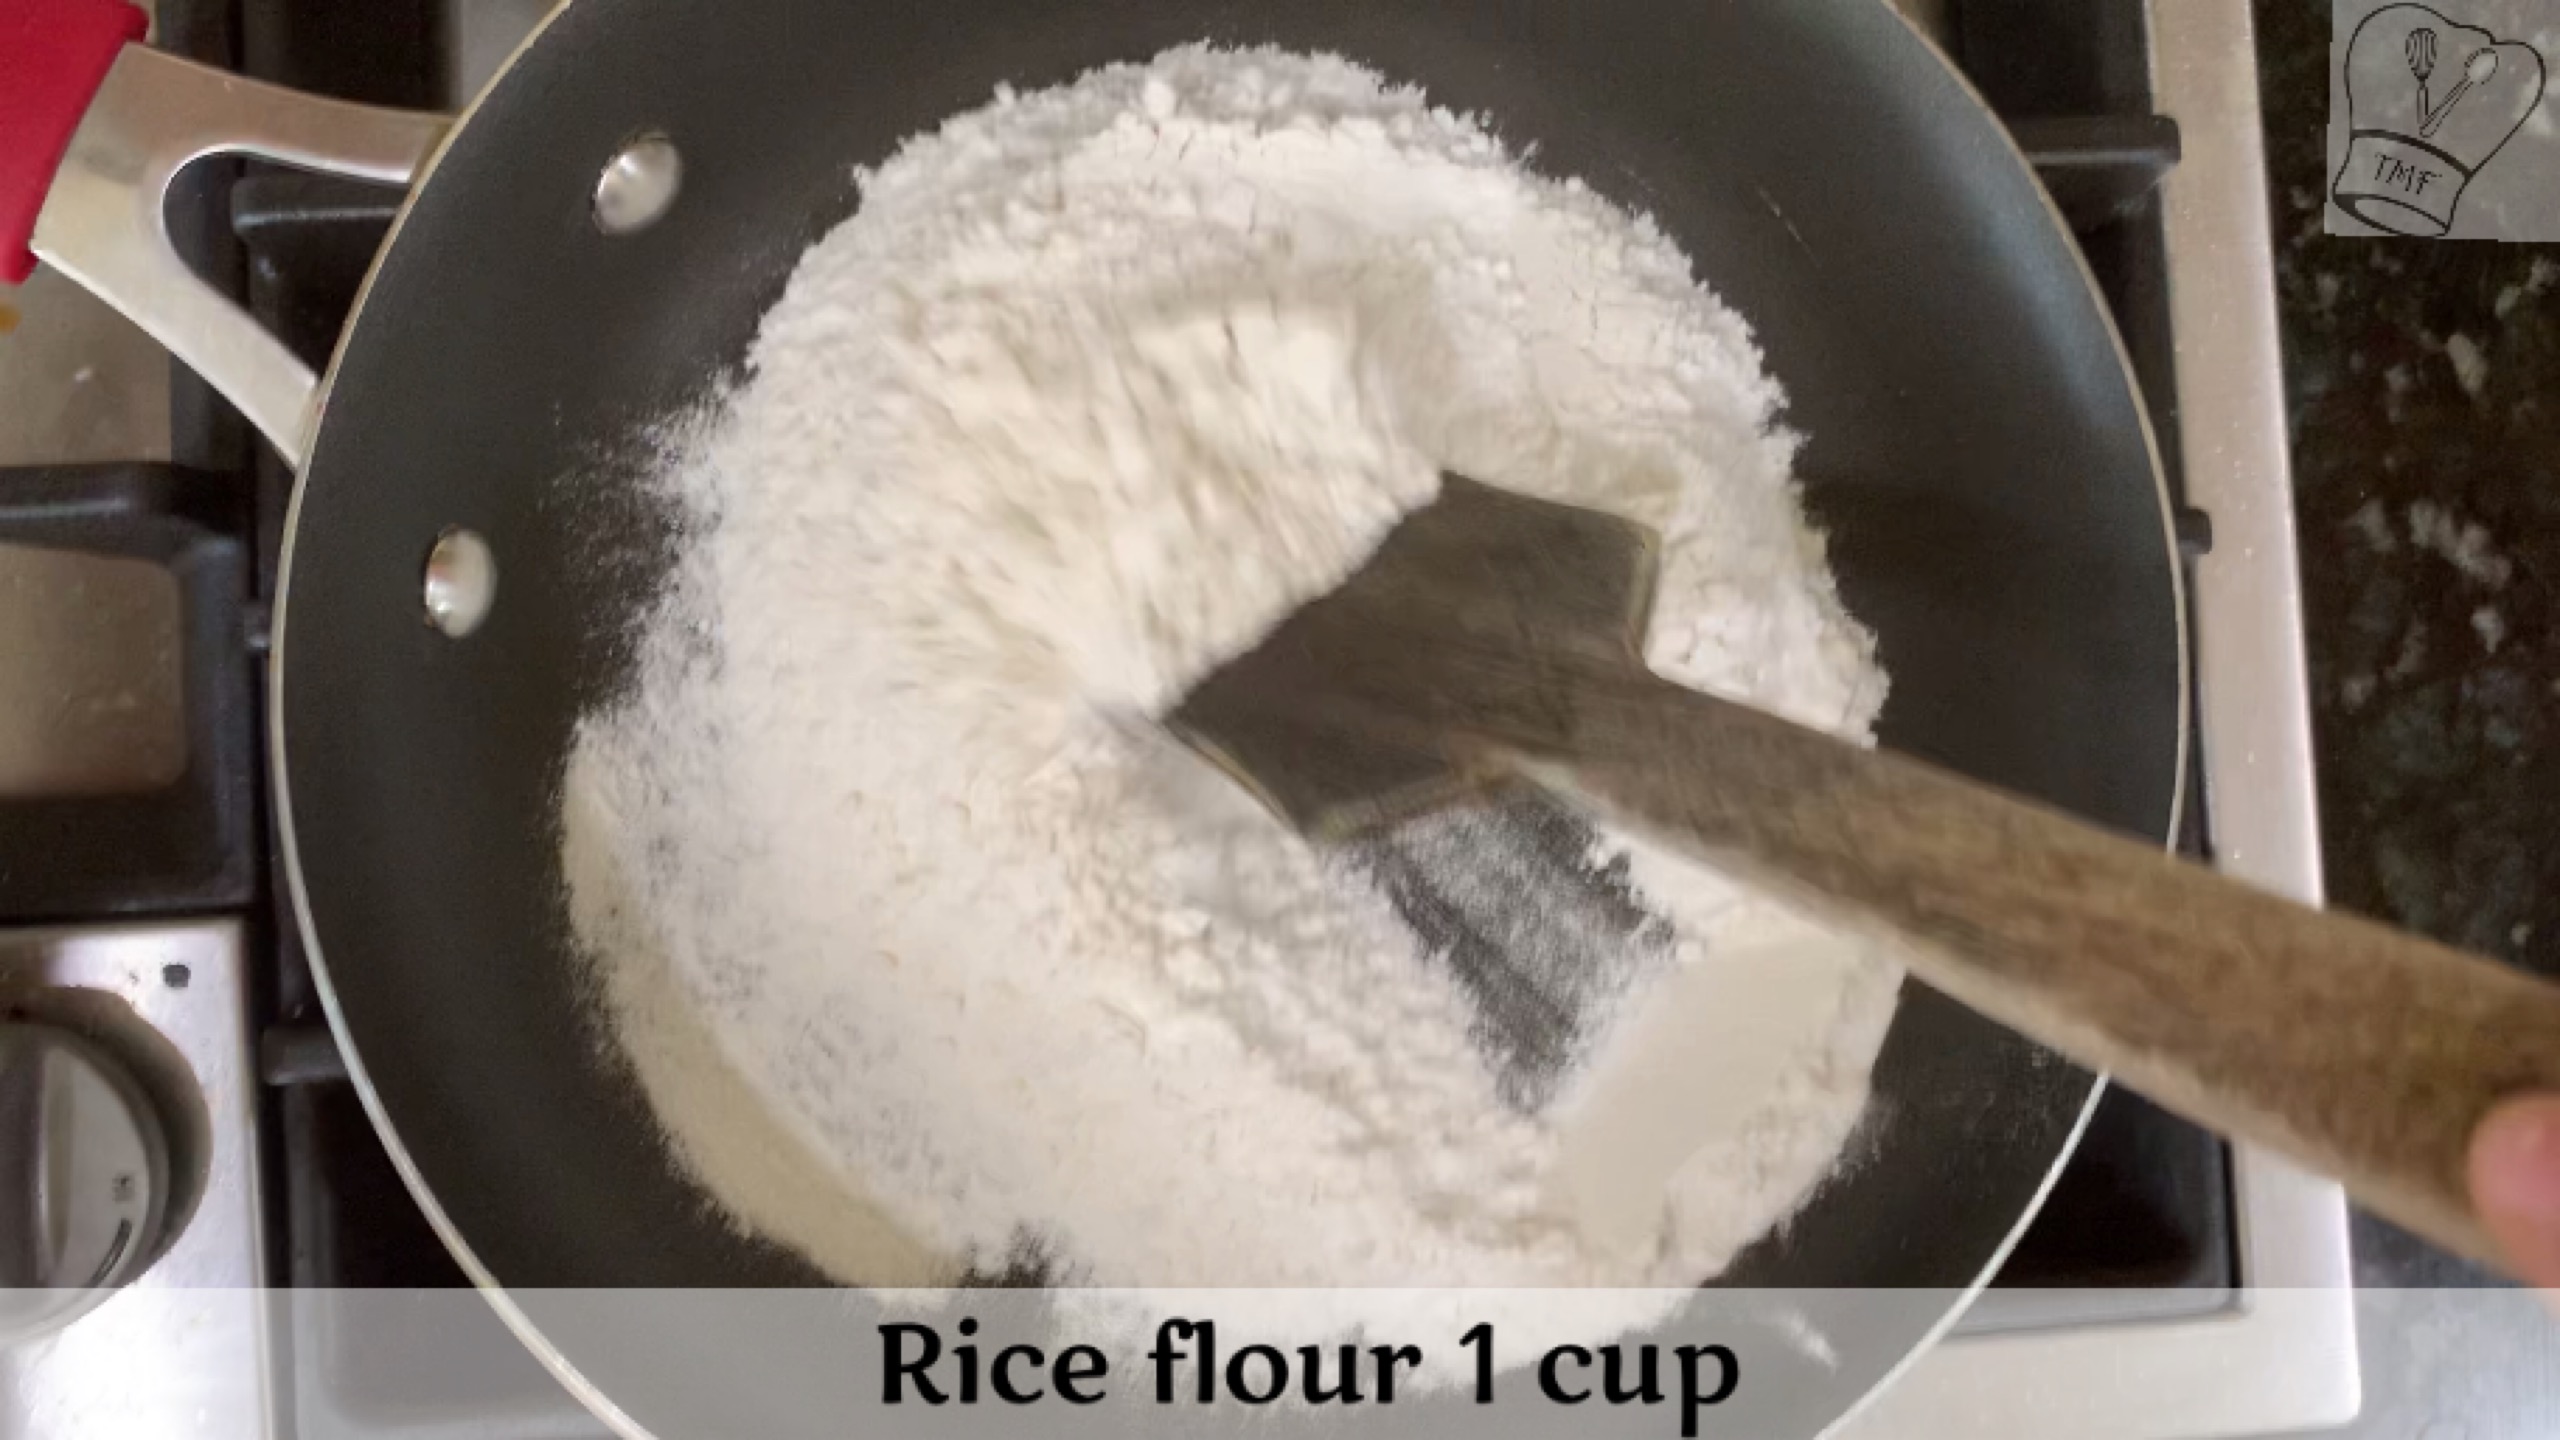
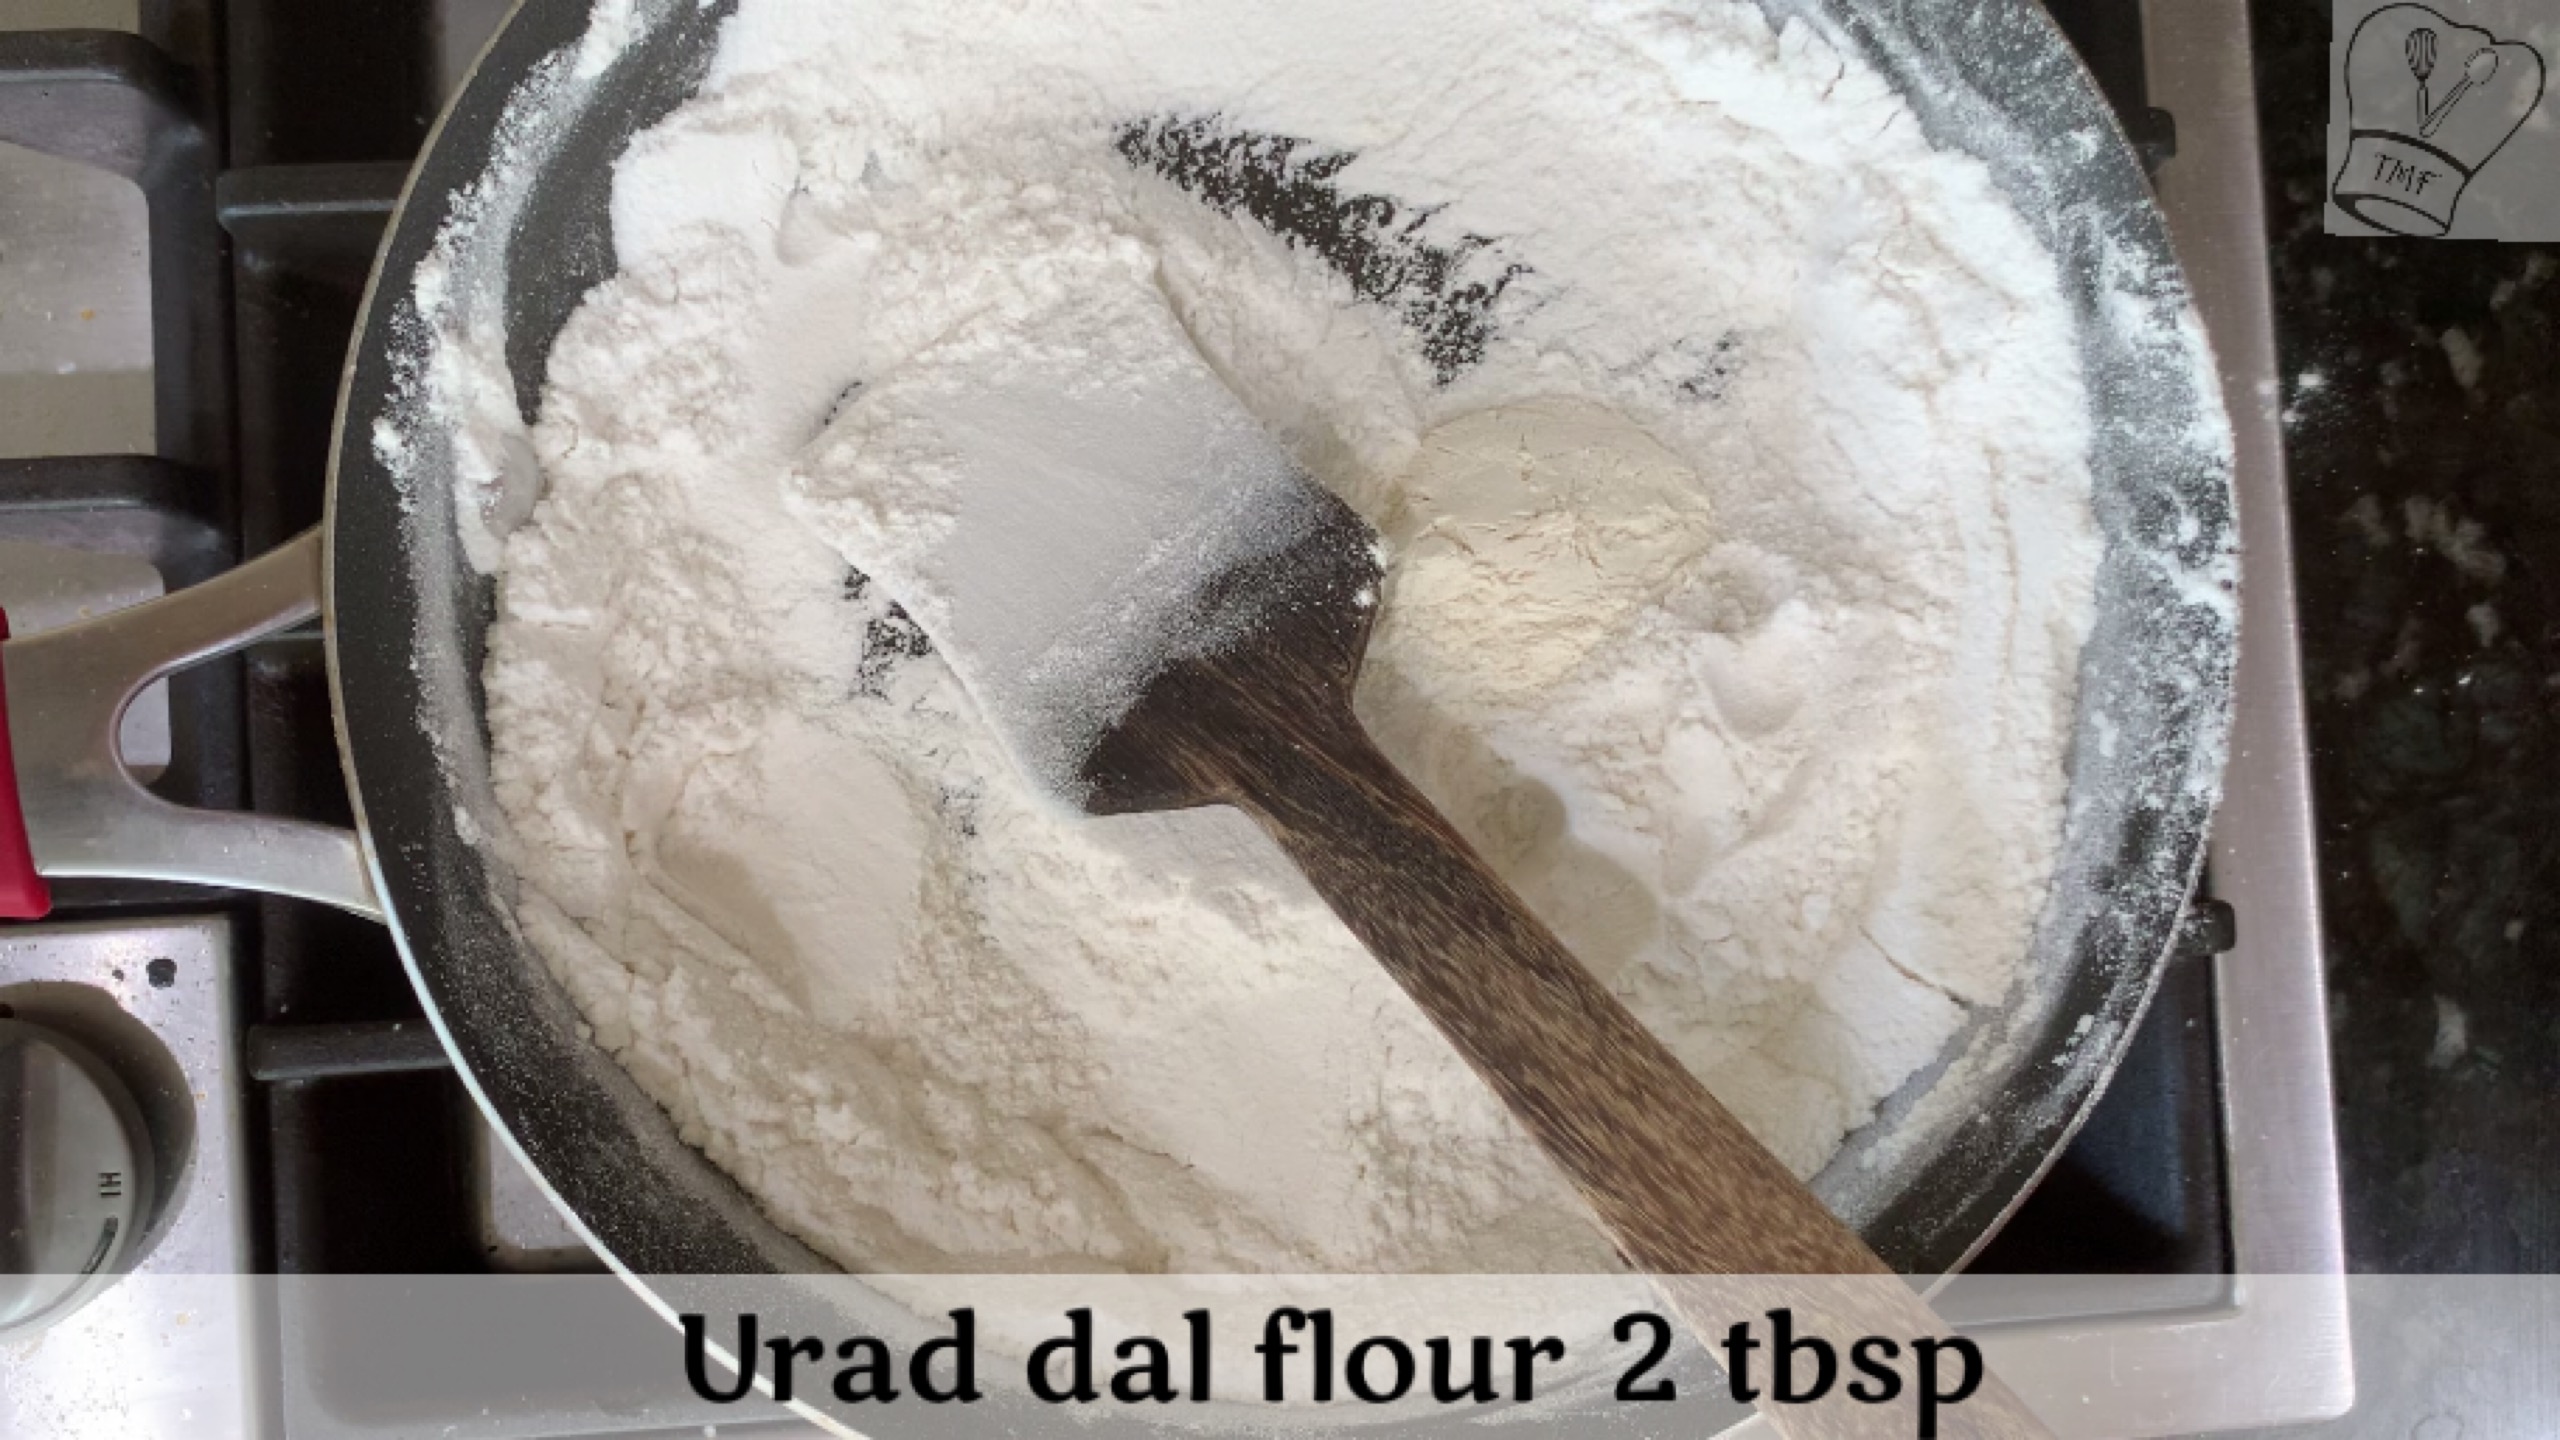
- Dry roast the rice flour in low flame for 2 or 3 minutes. Do not overcook till they change color
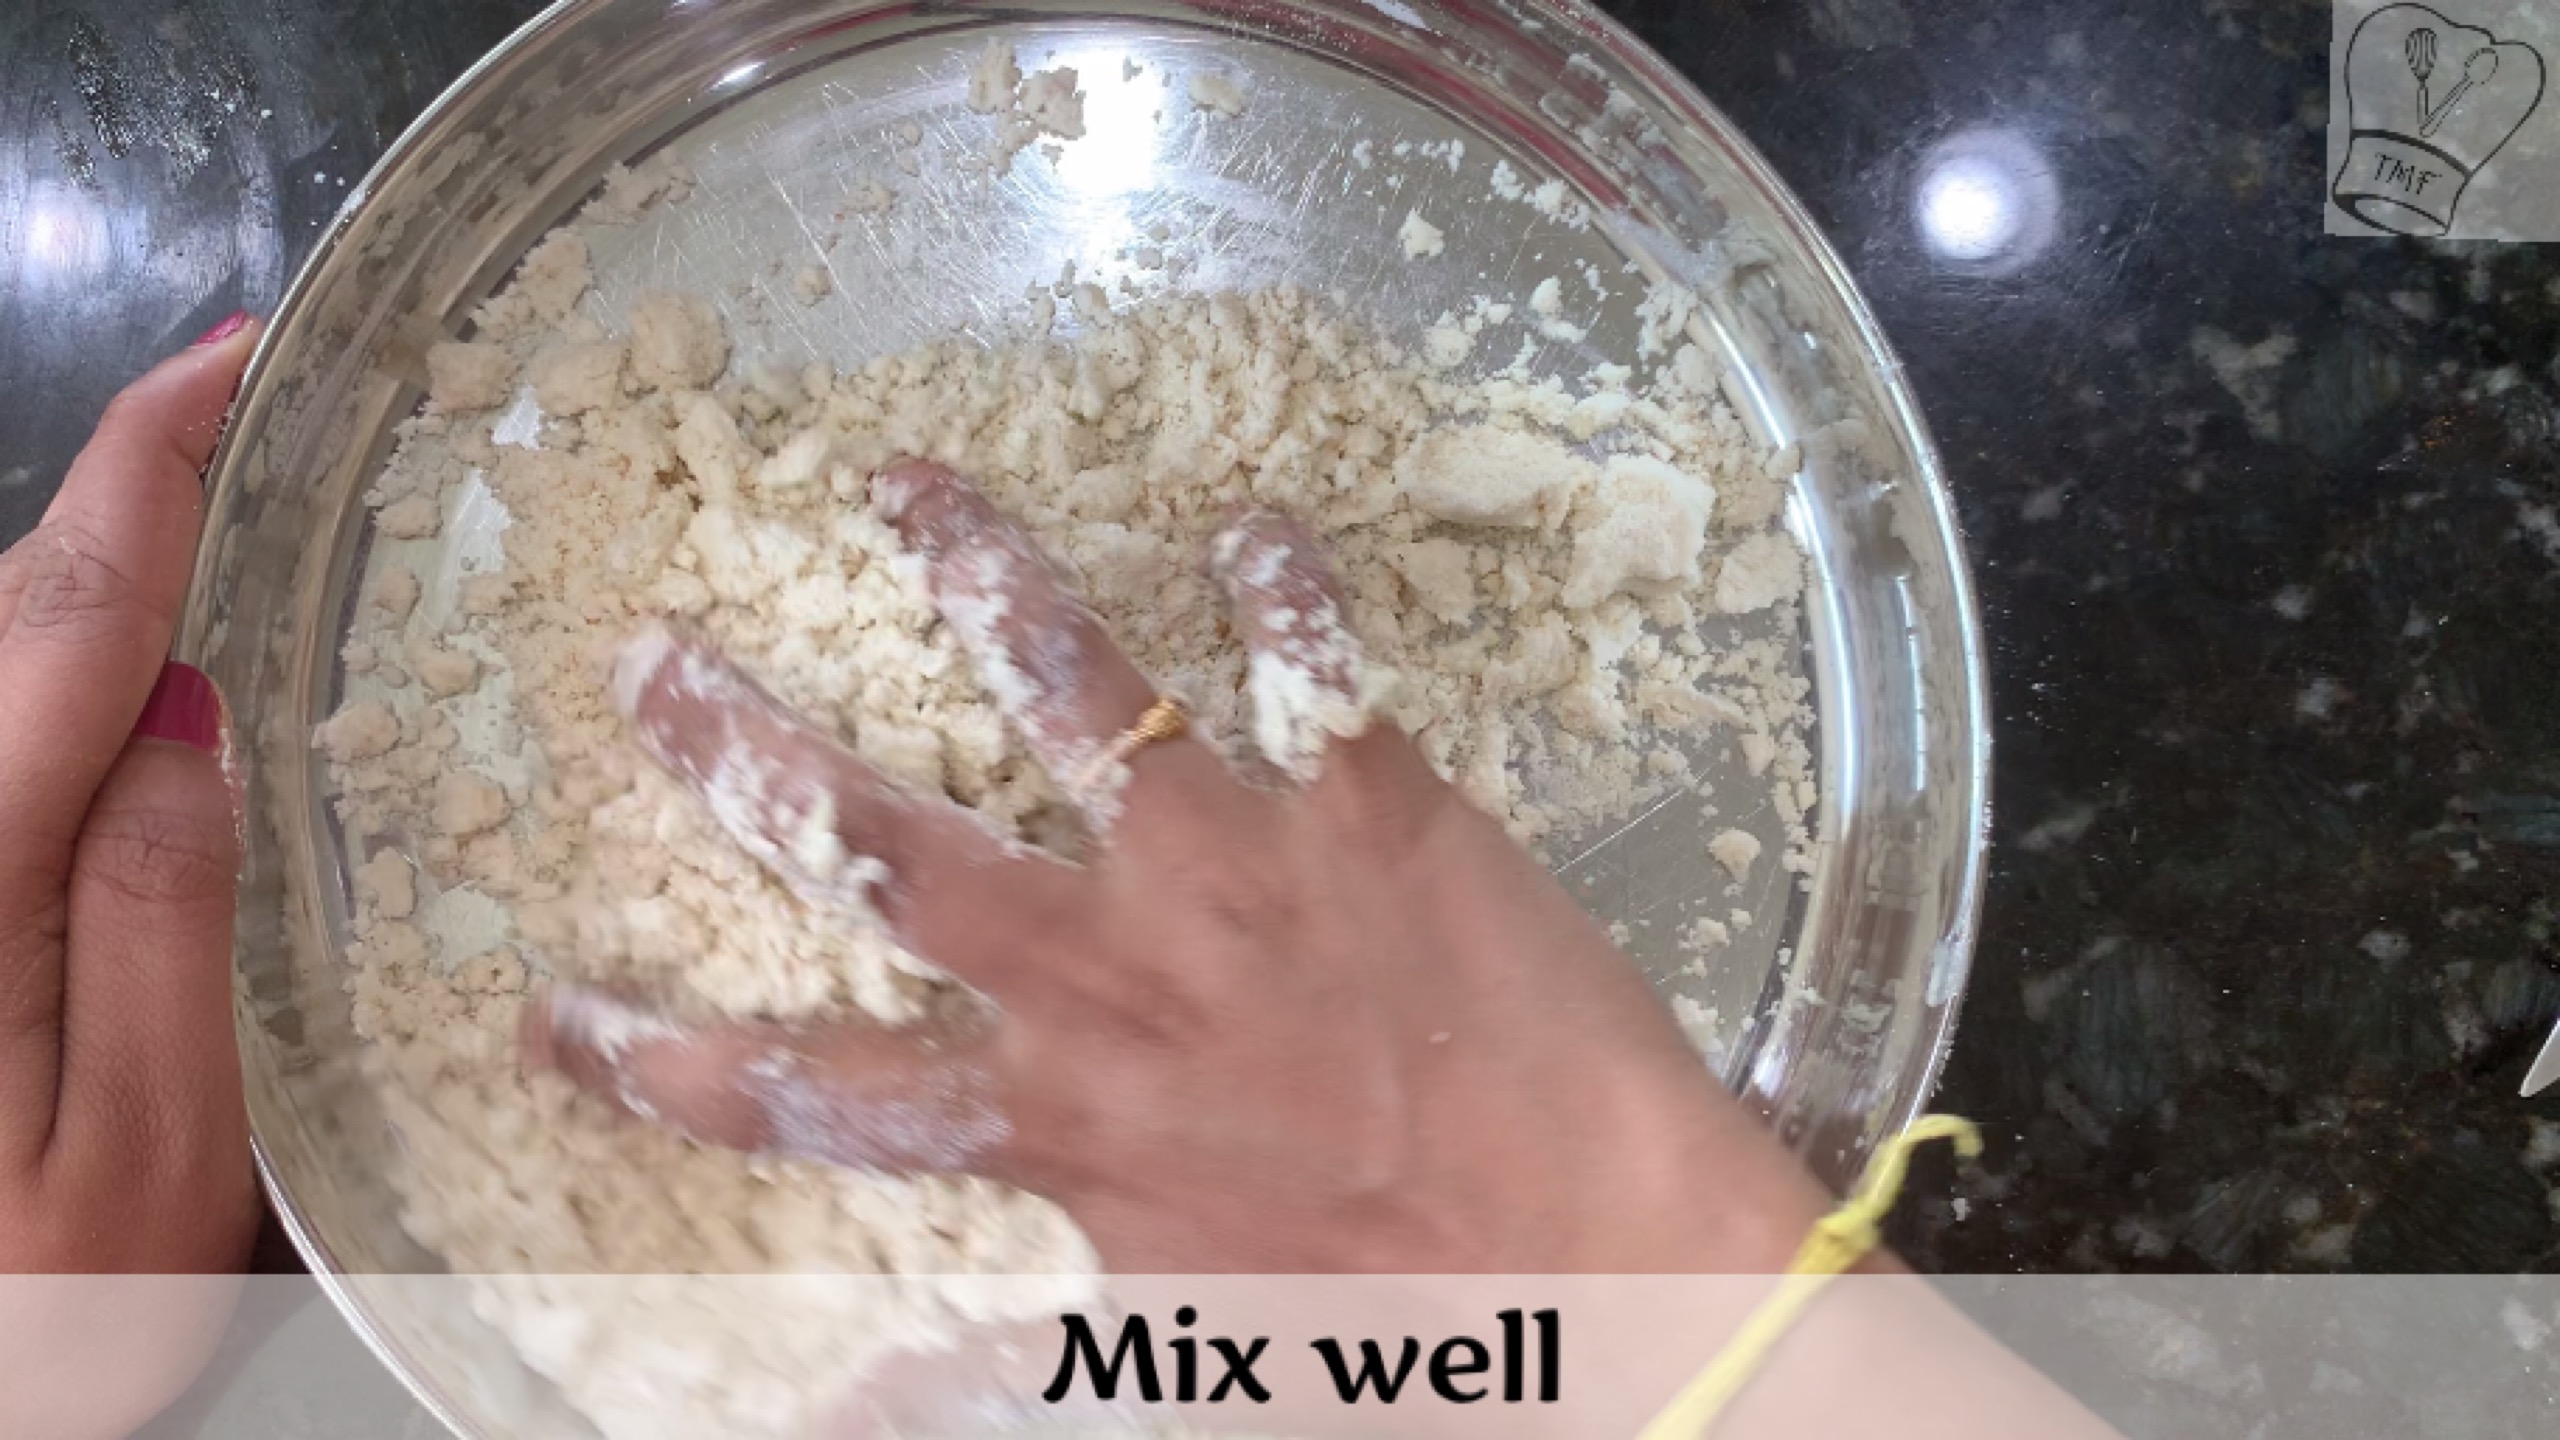
- In a wide vessel, add the rice flour and 2 tblsp of urad dal flour and salt. Sieve them for even mixing. Add asofetida and chilli powder to sieved flour and mix well
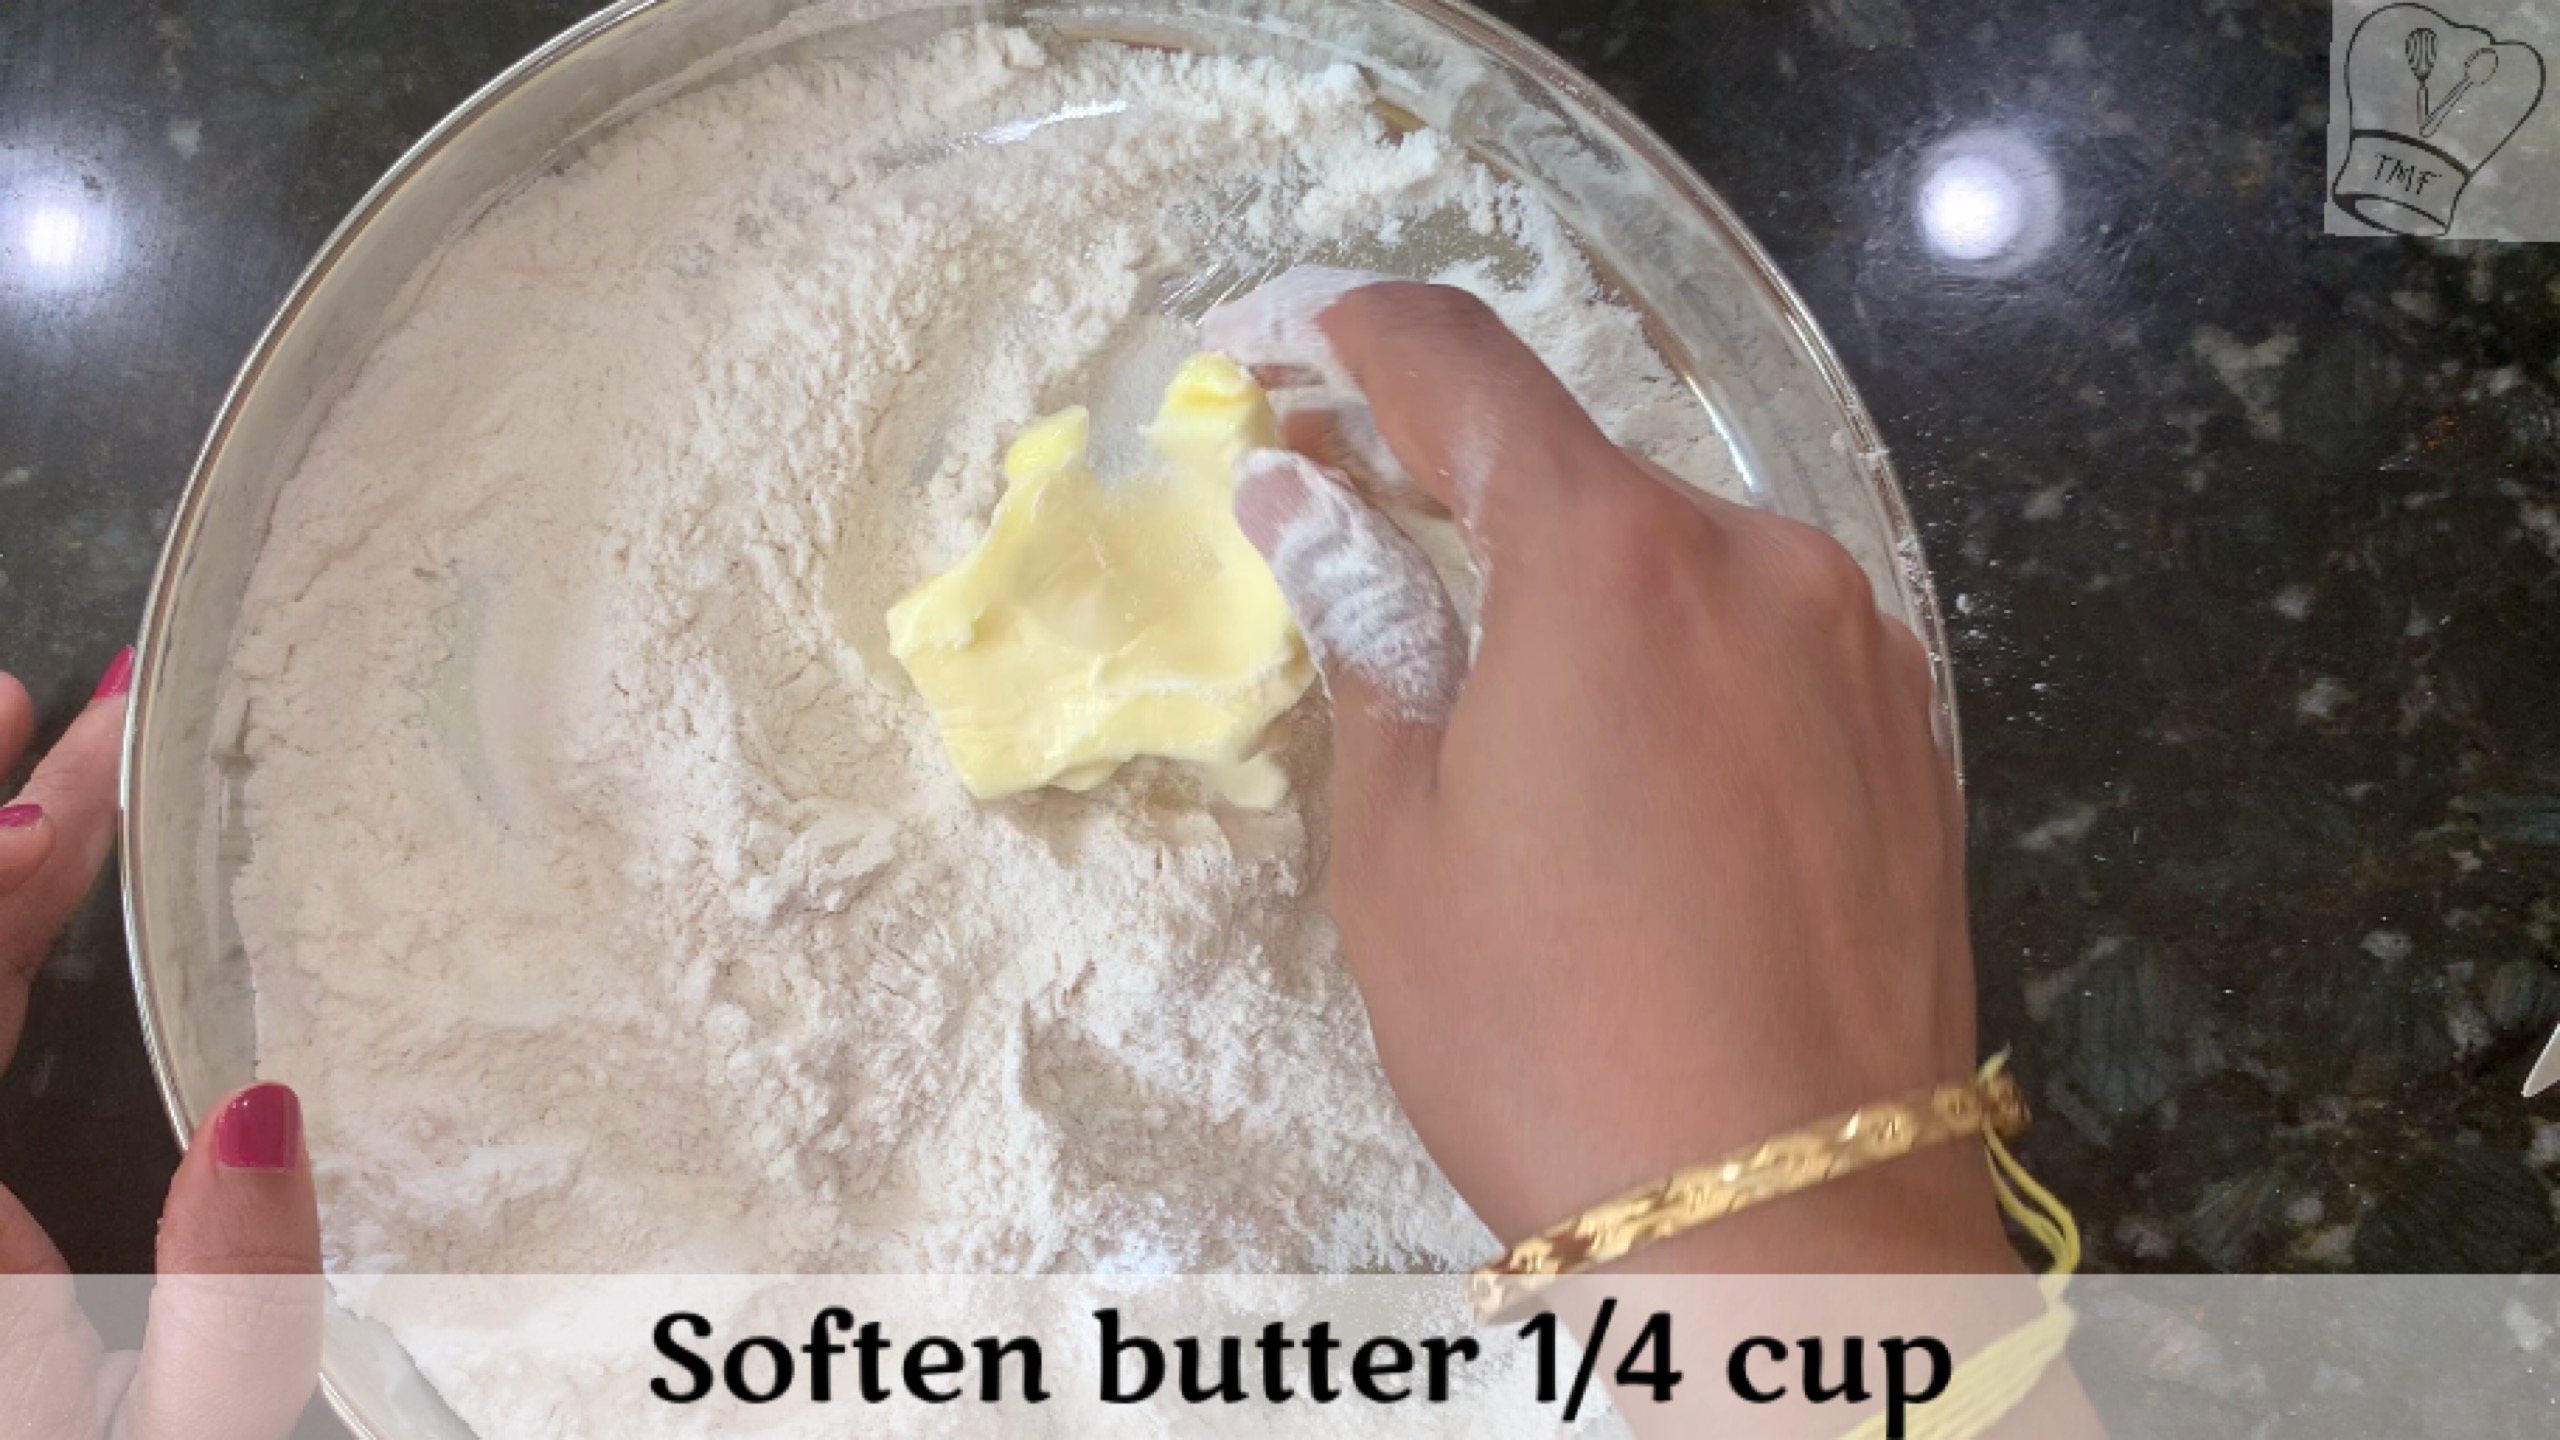
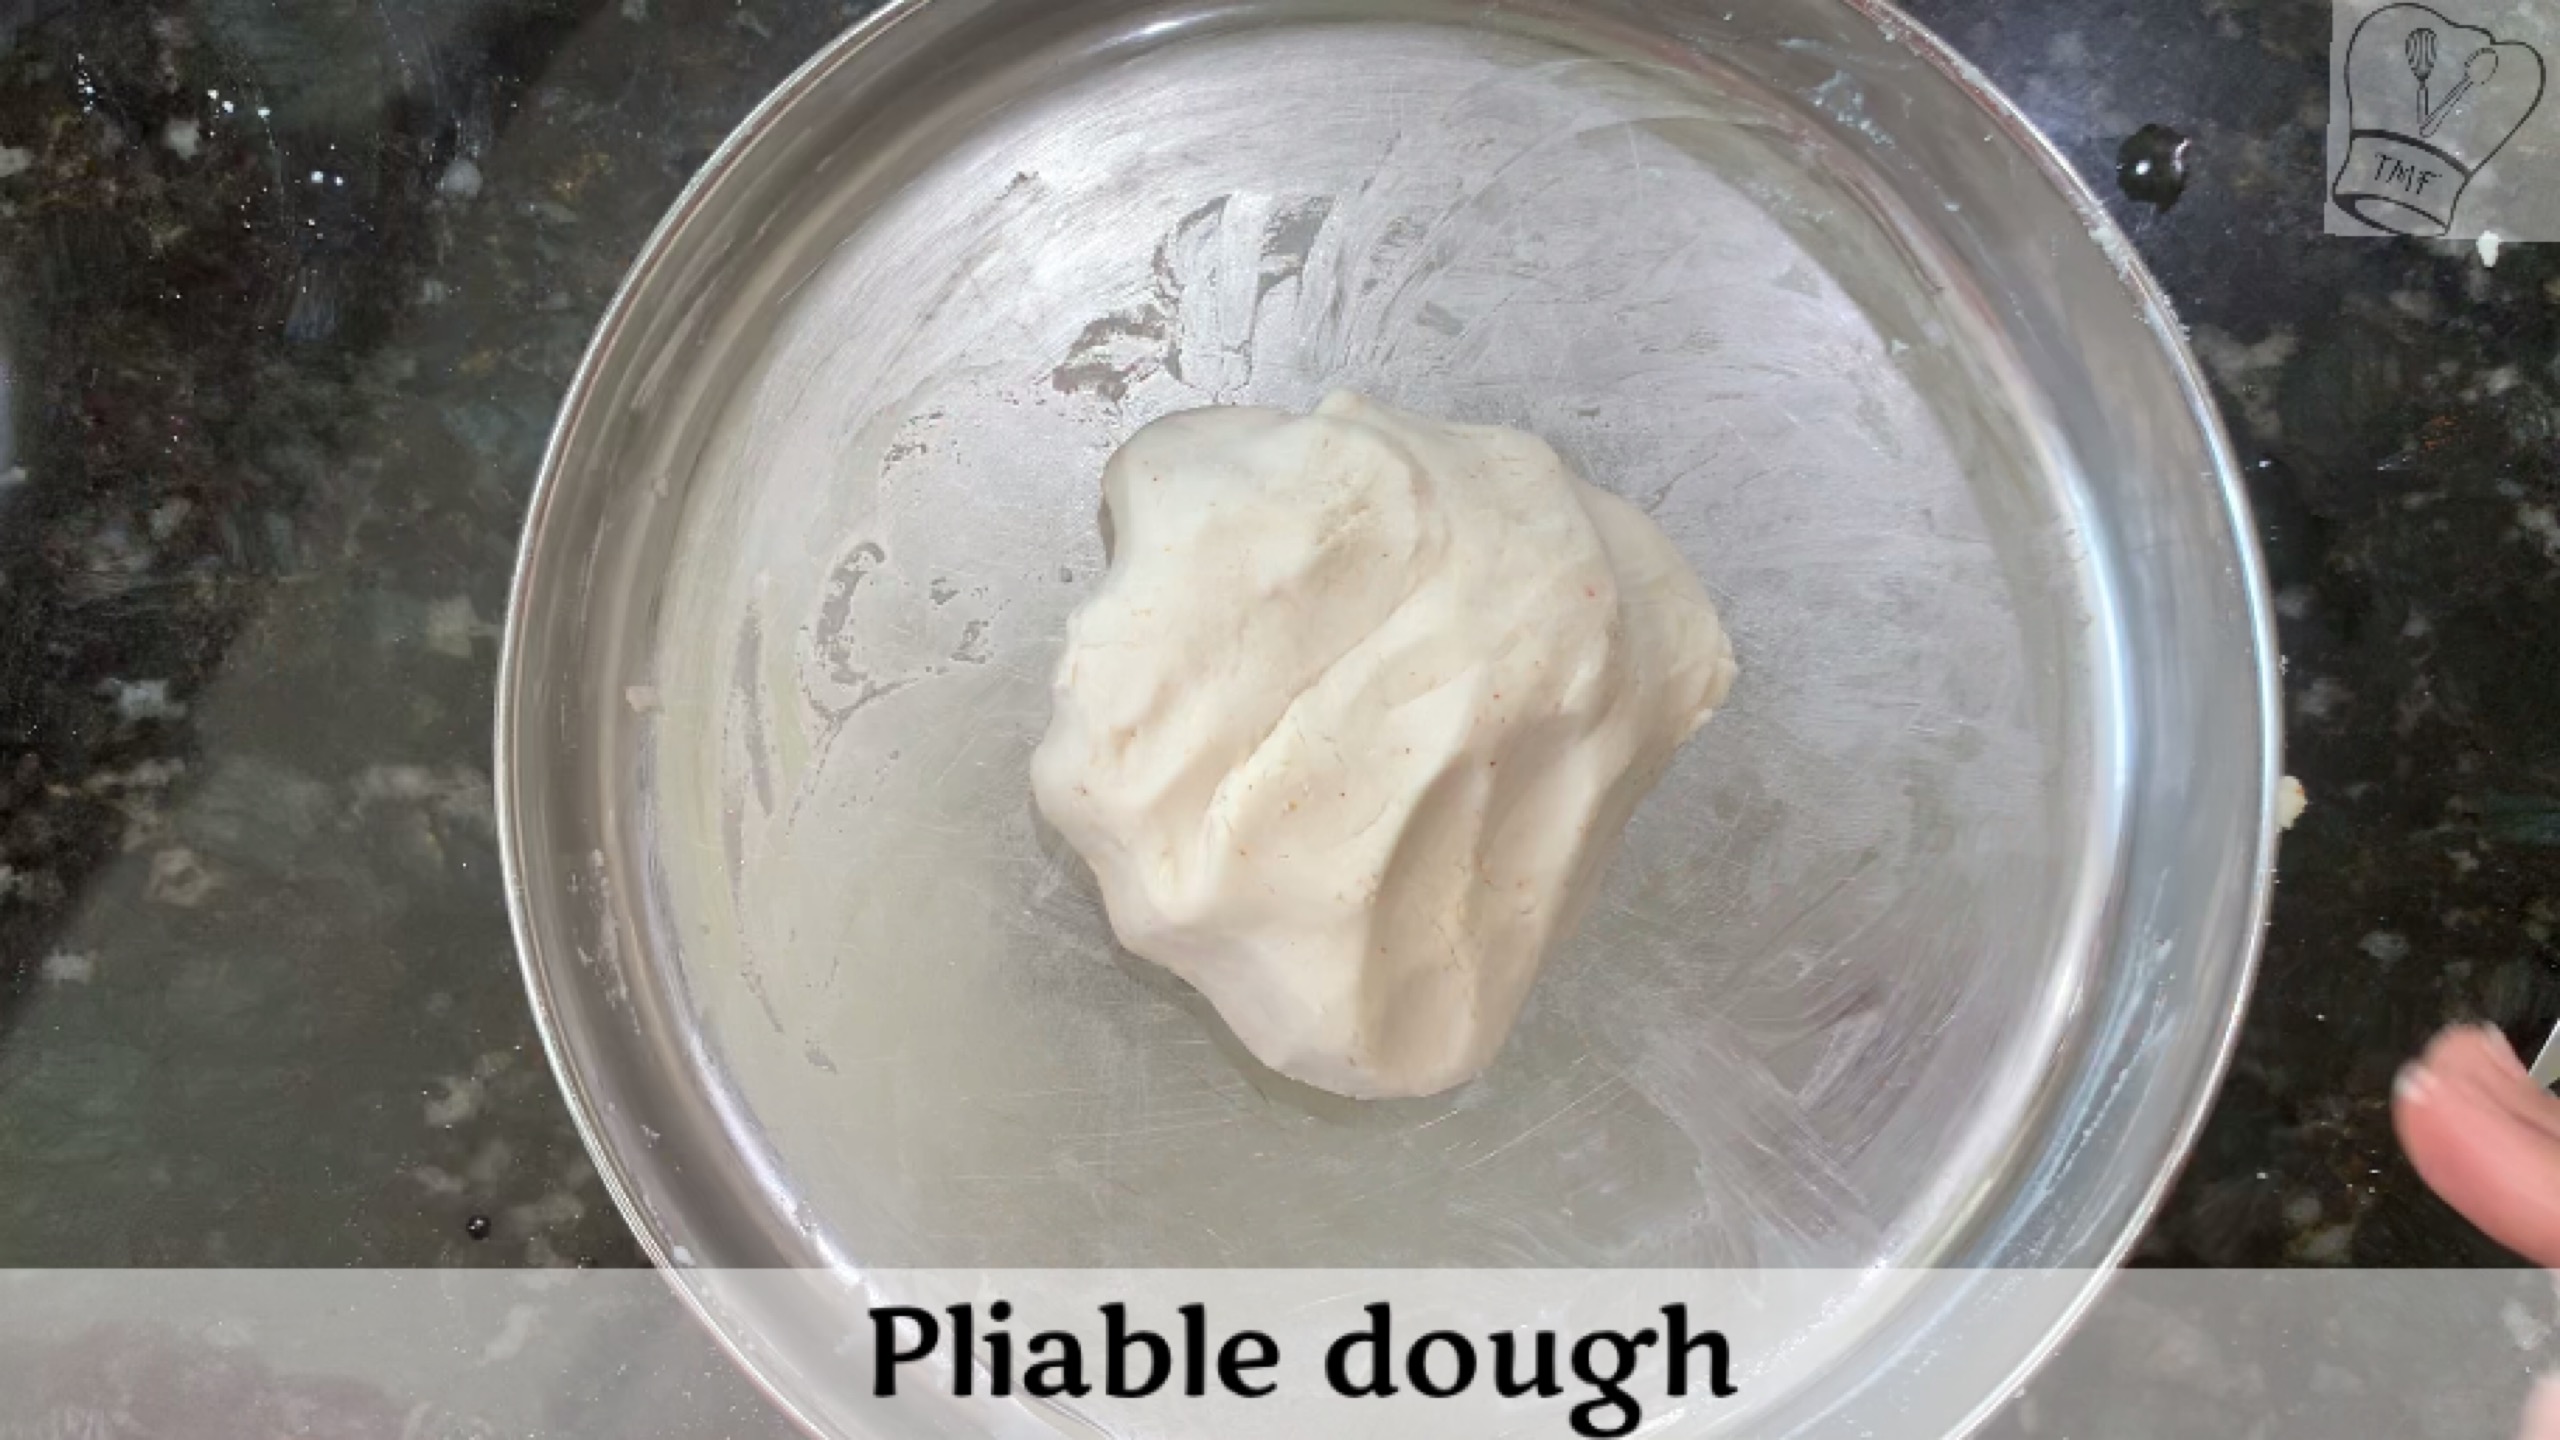
- Add butter and mix well. Add water slowly and knead them into a pliable dough
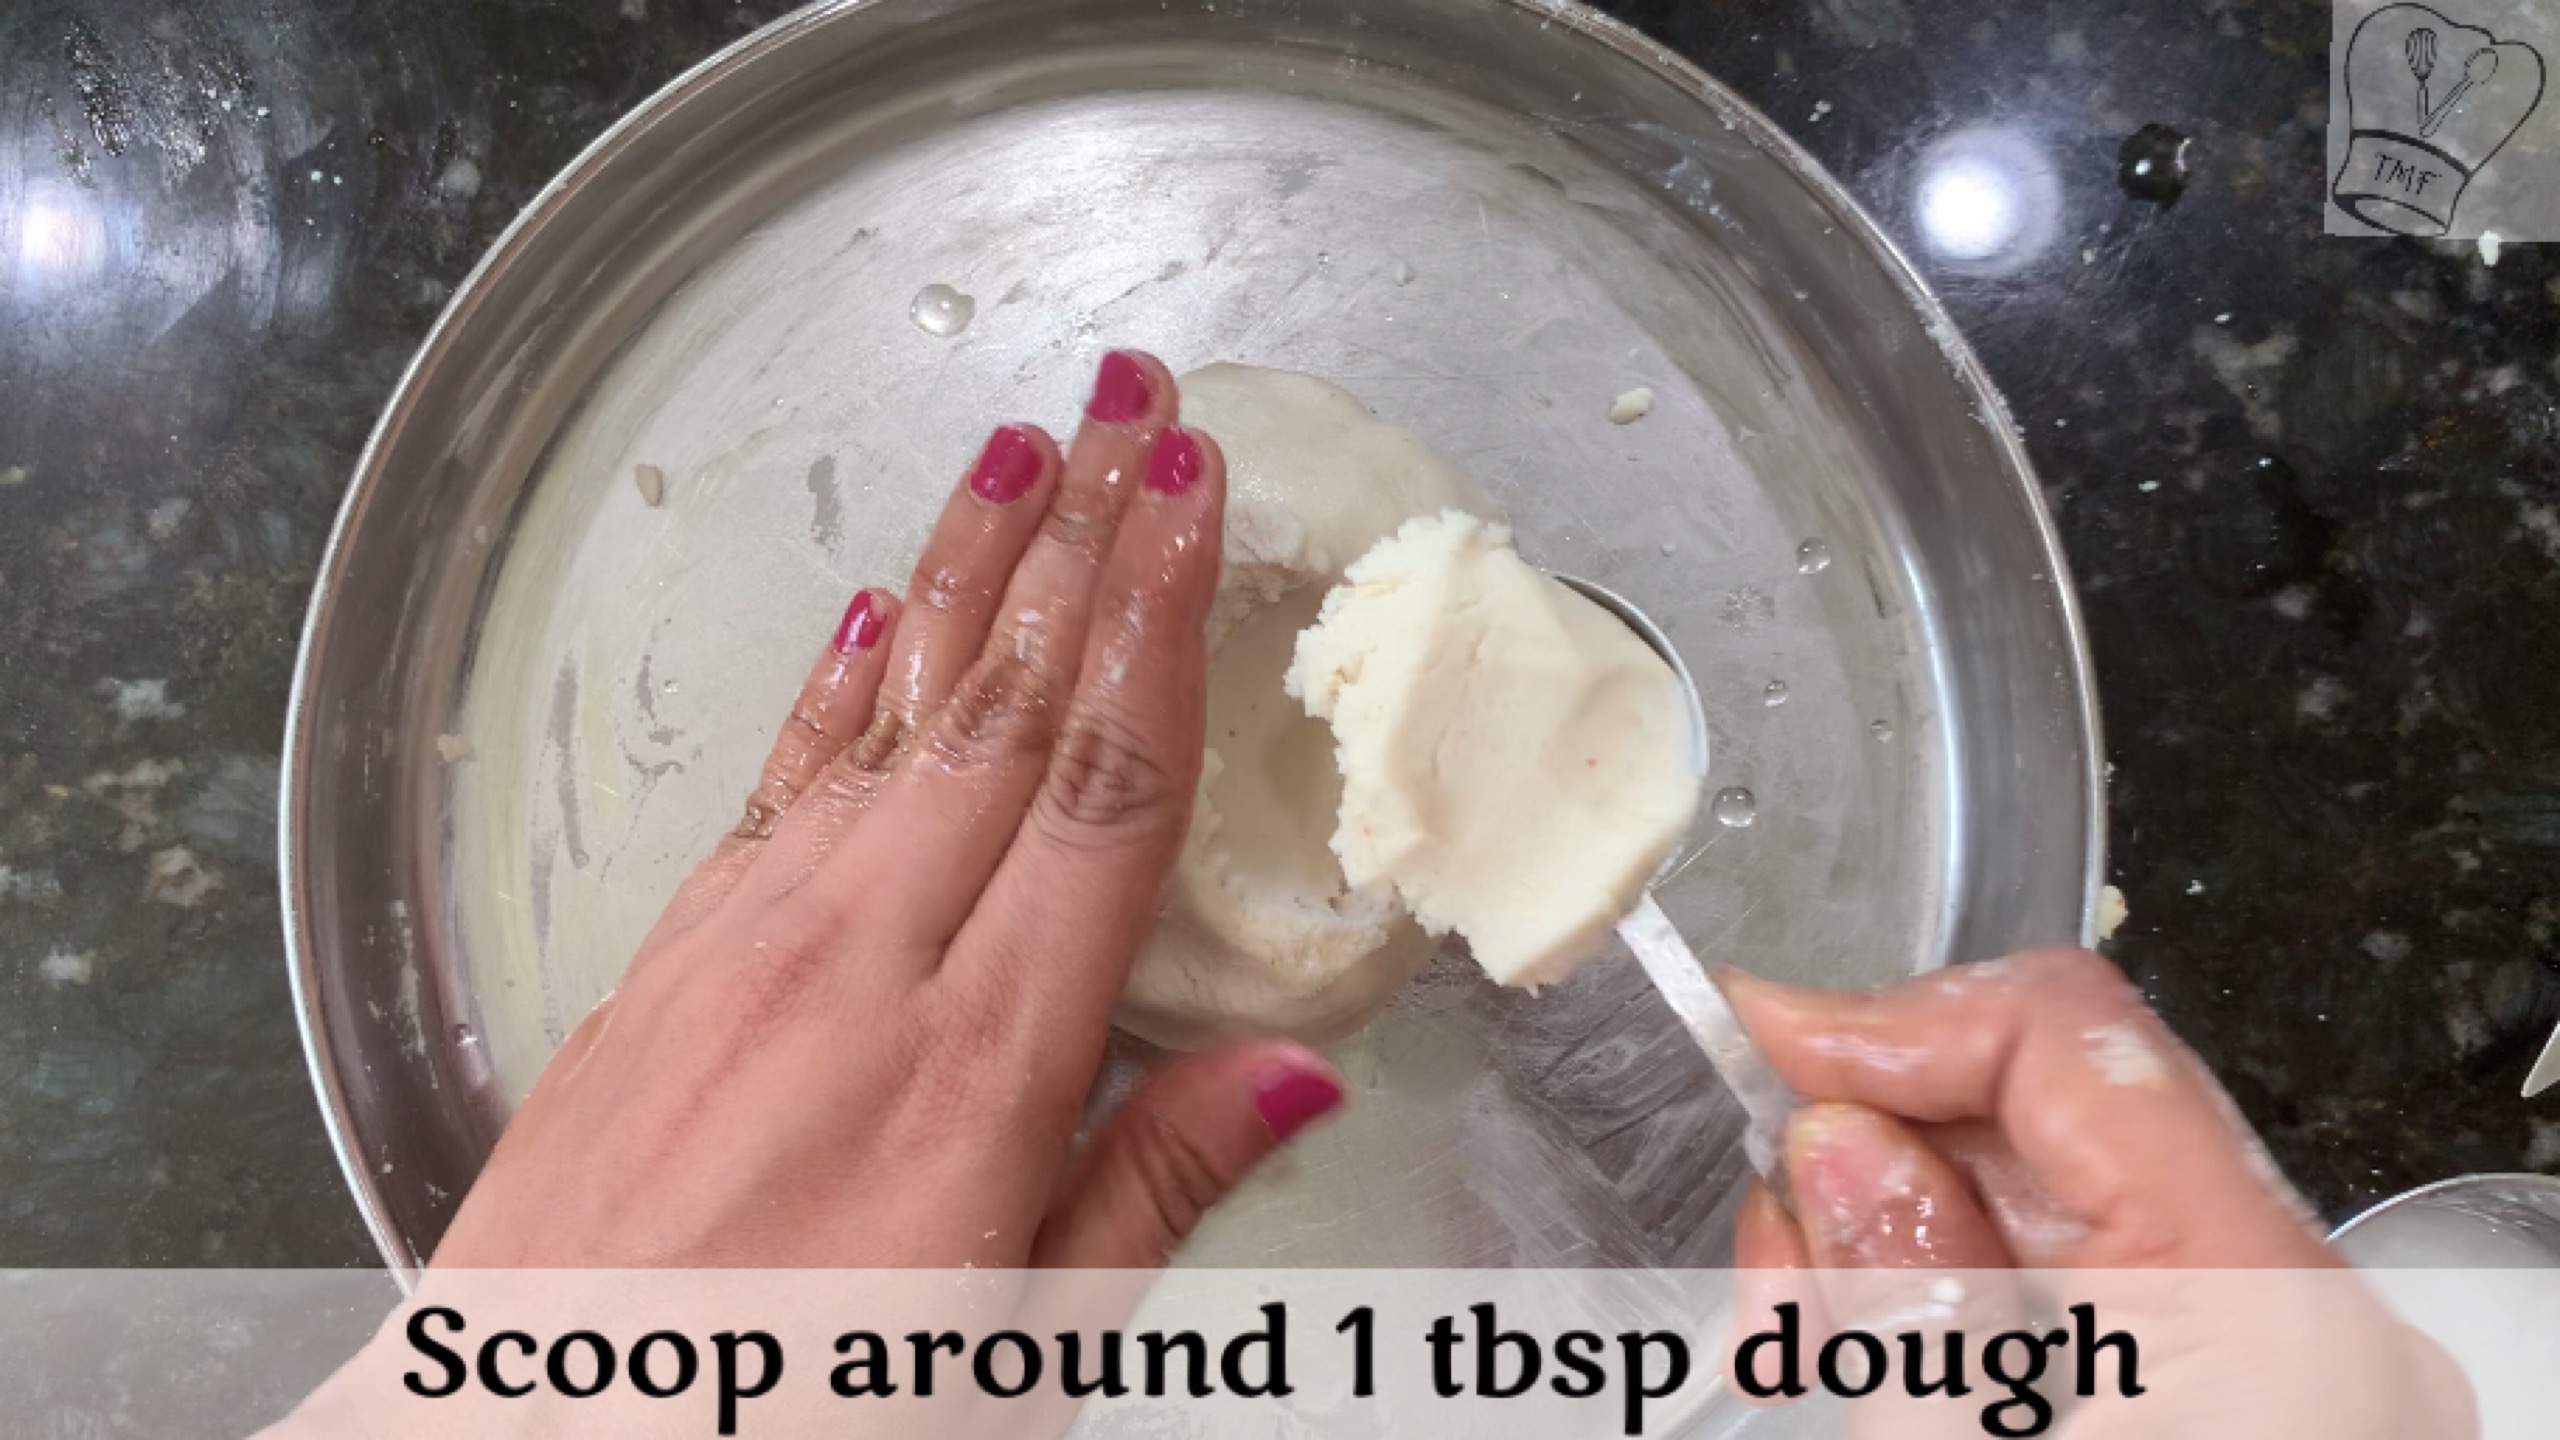
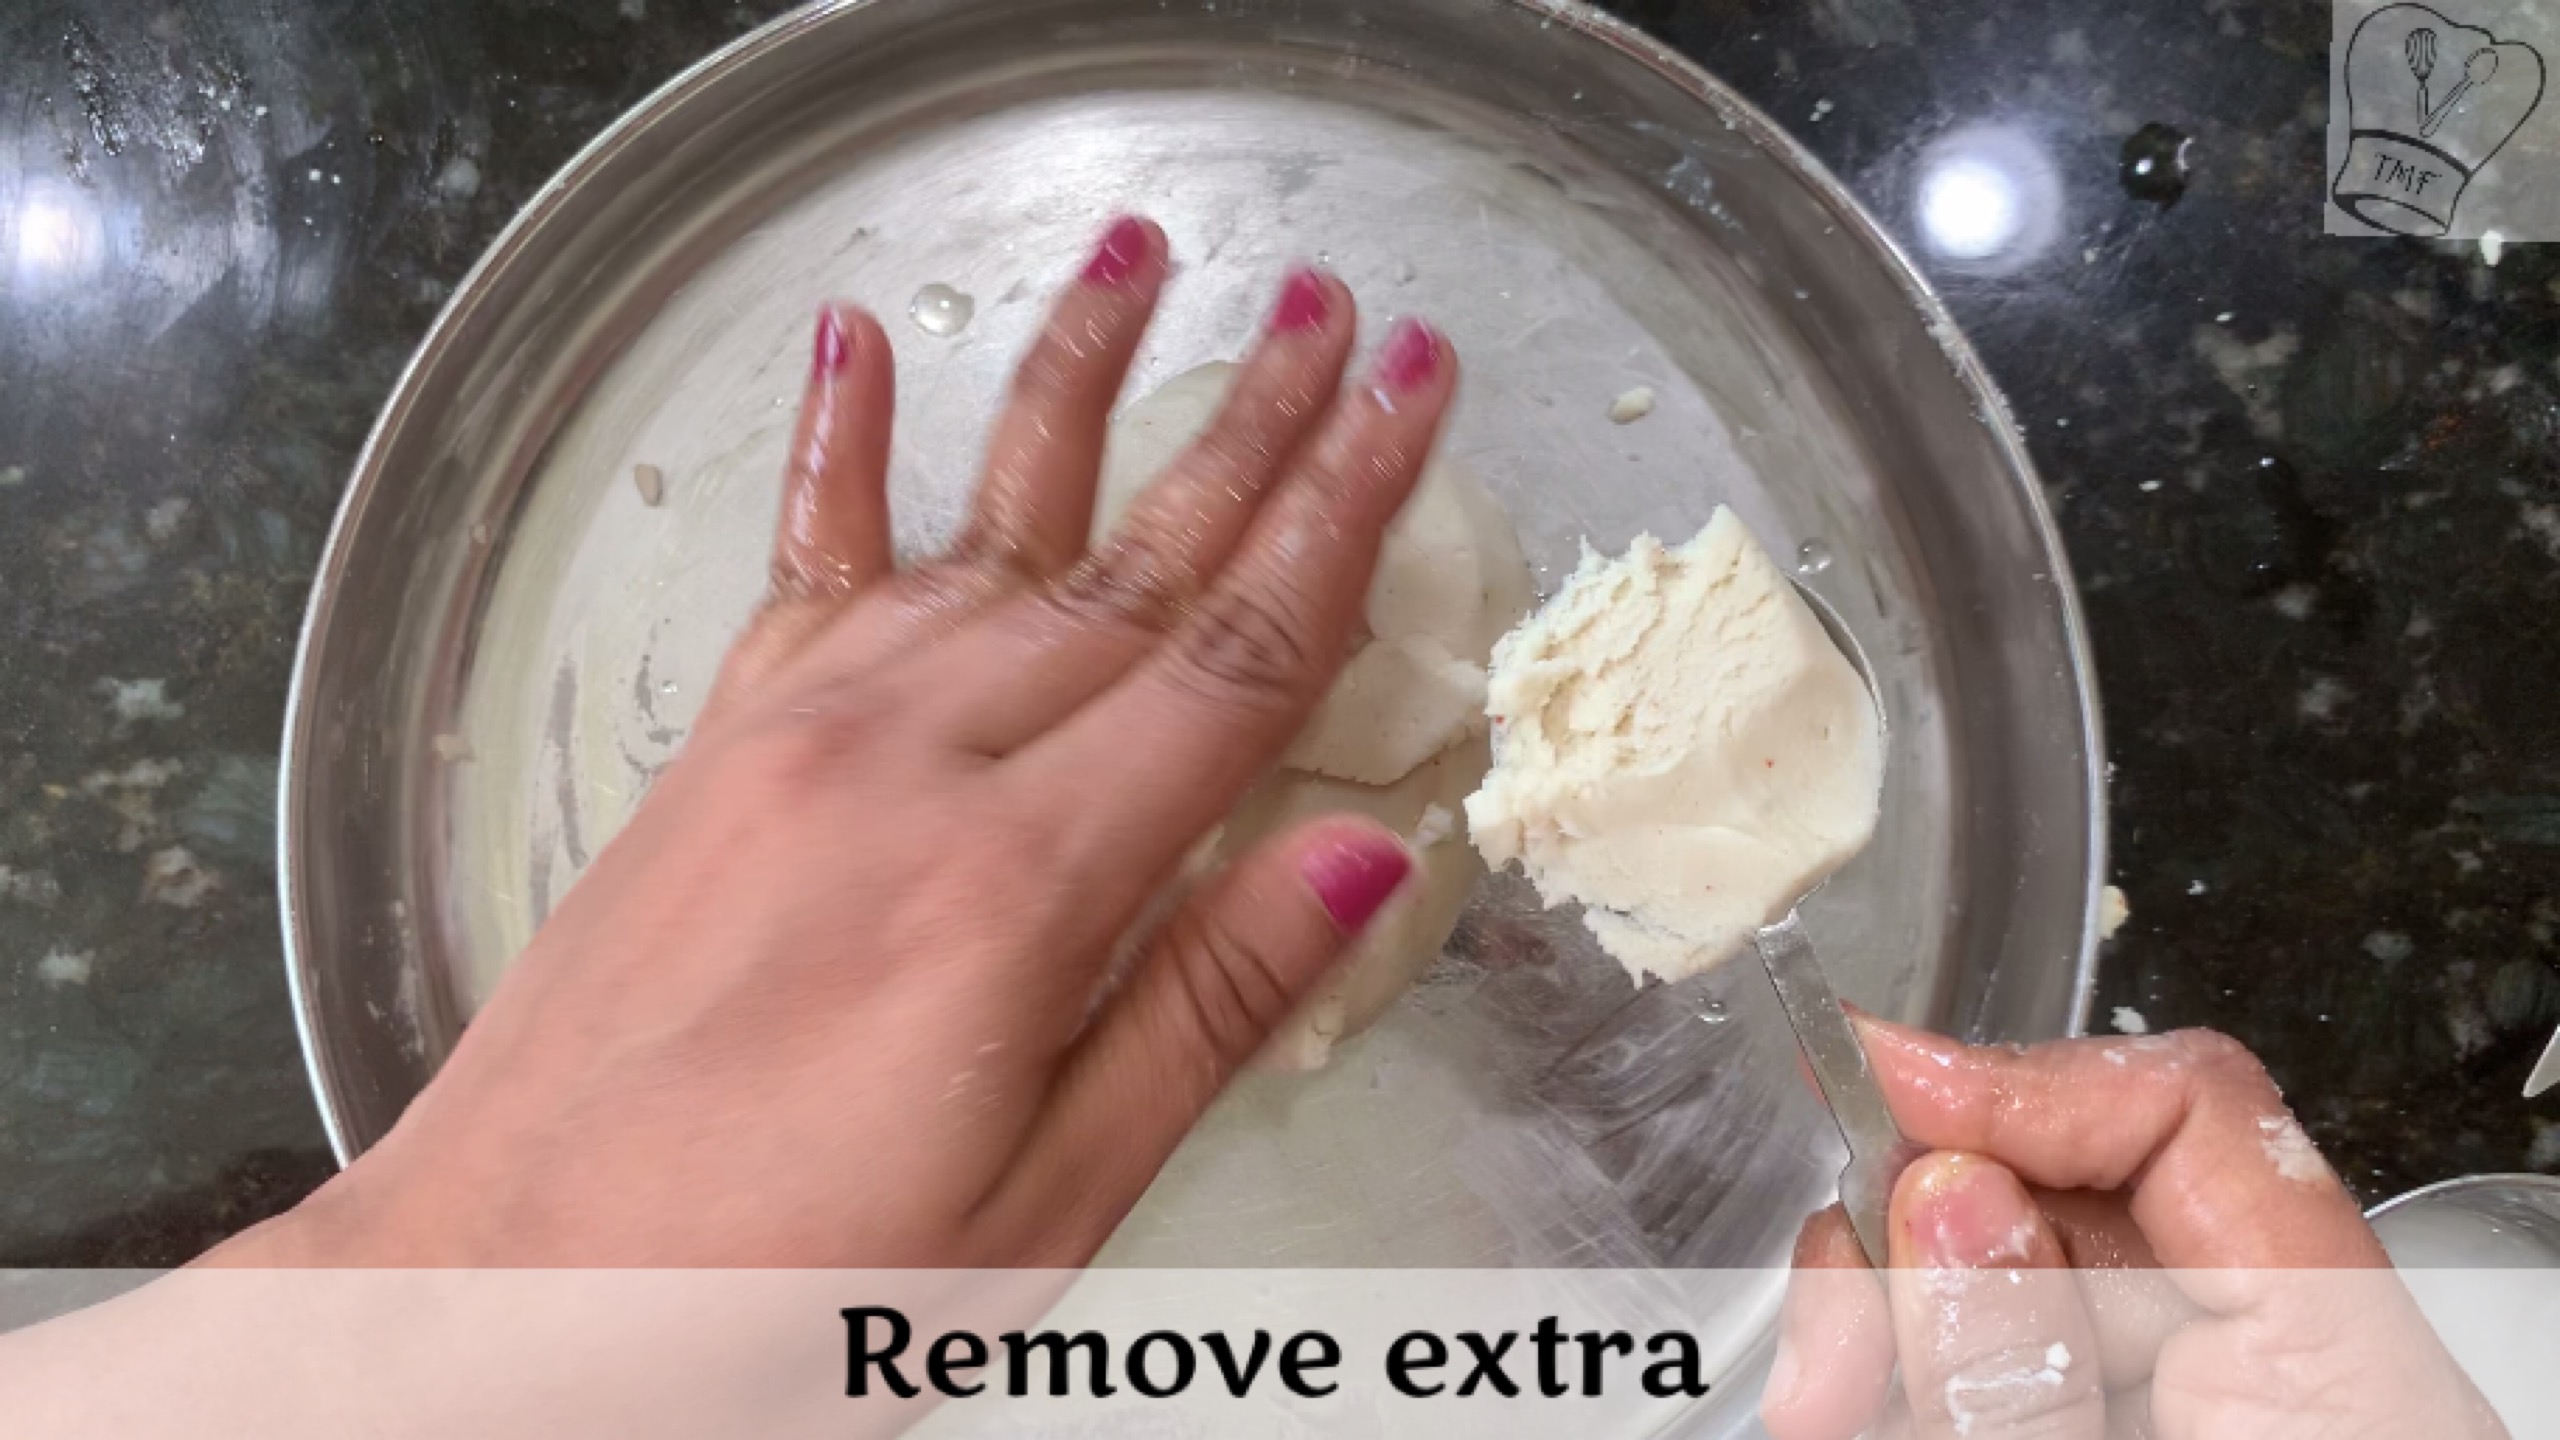
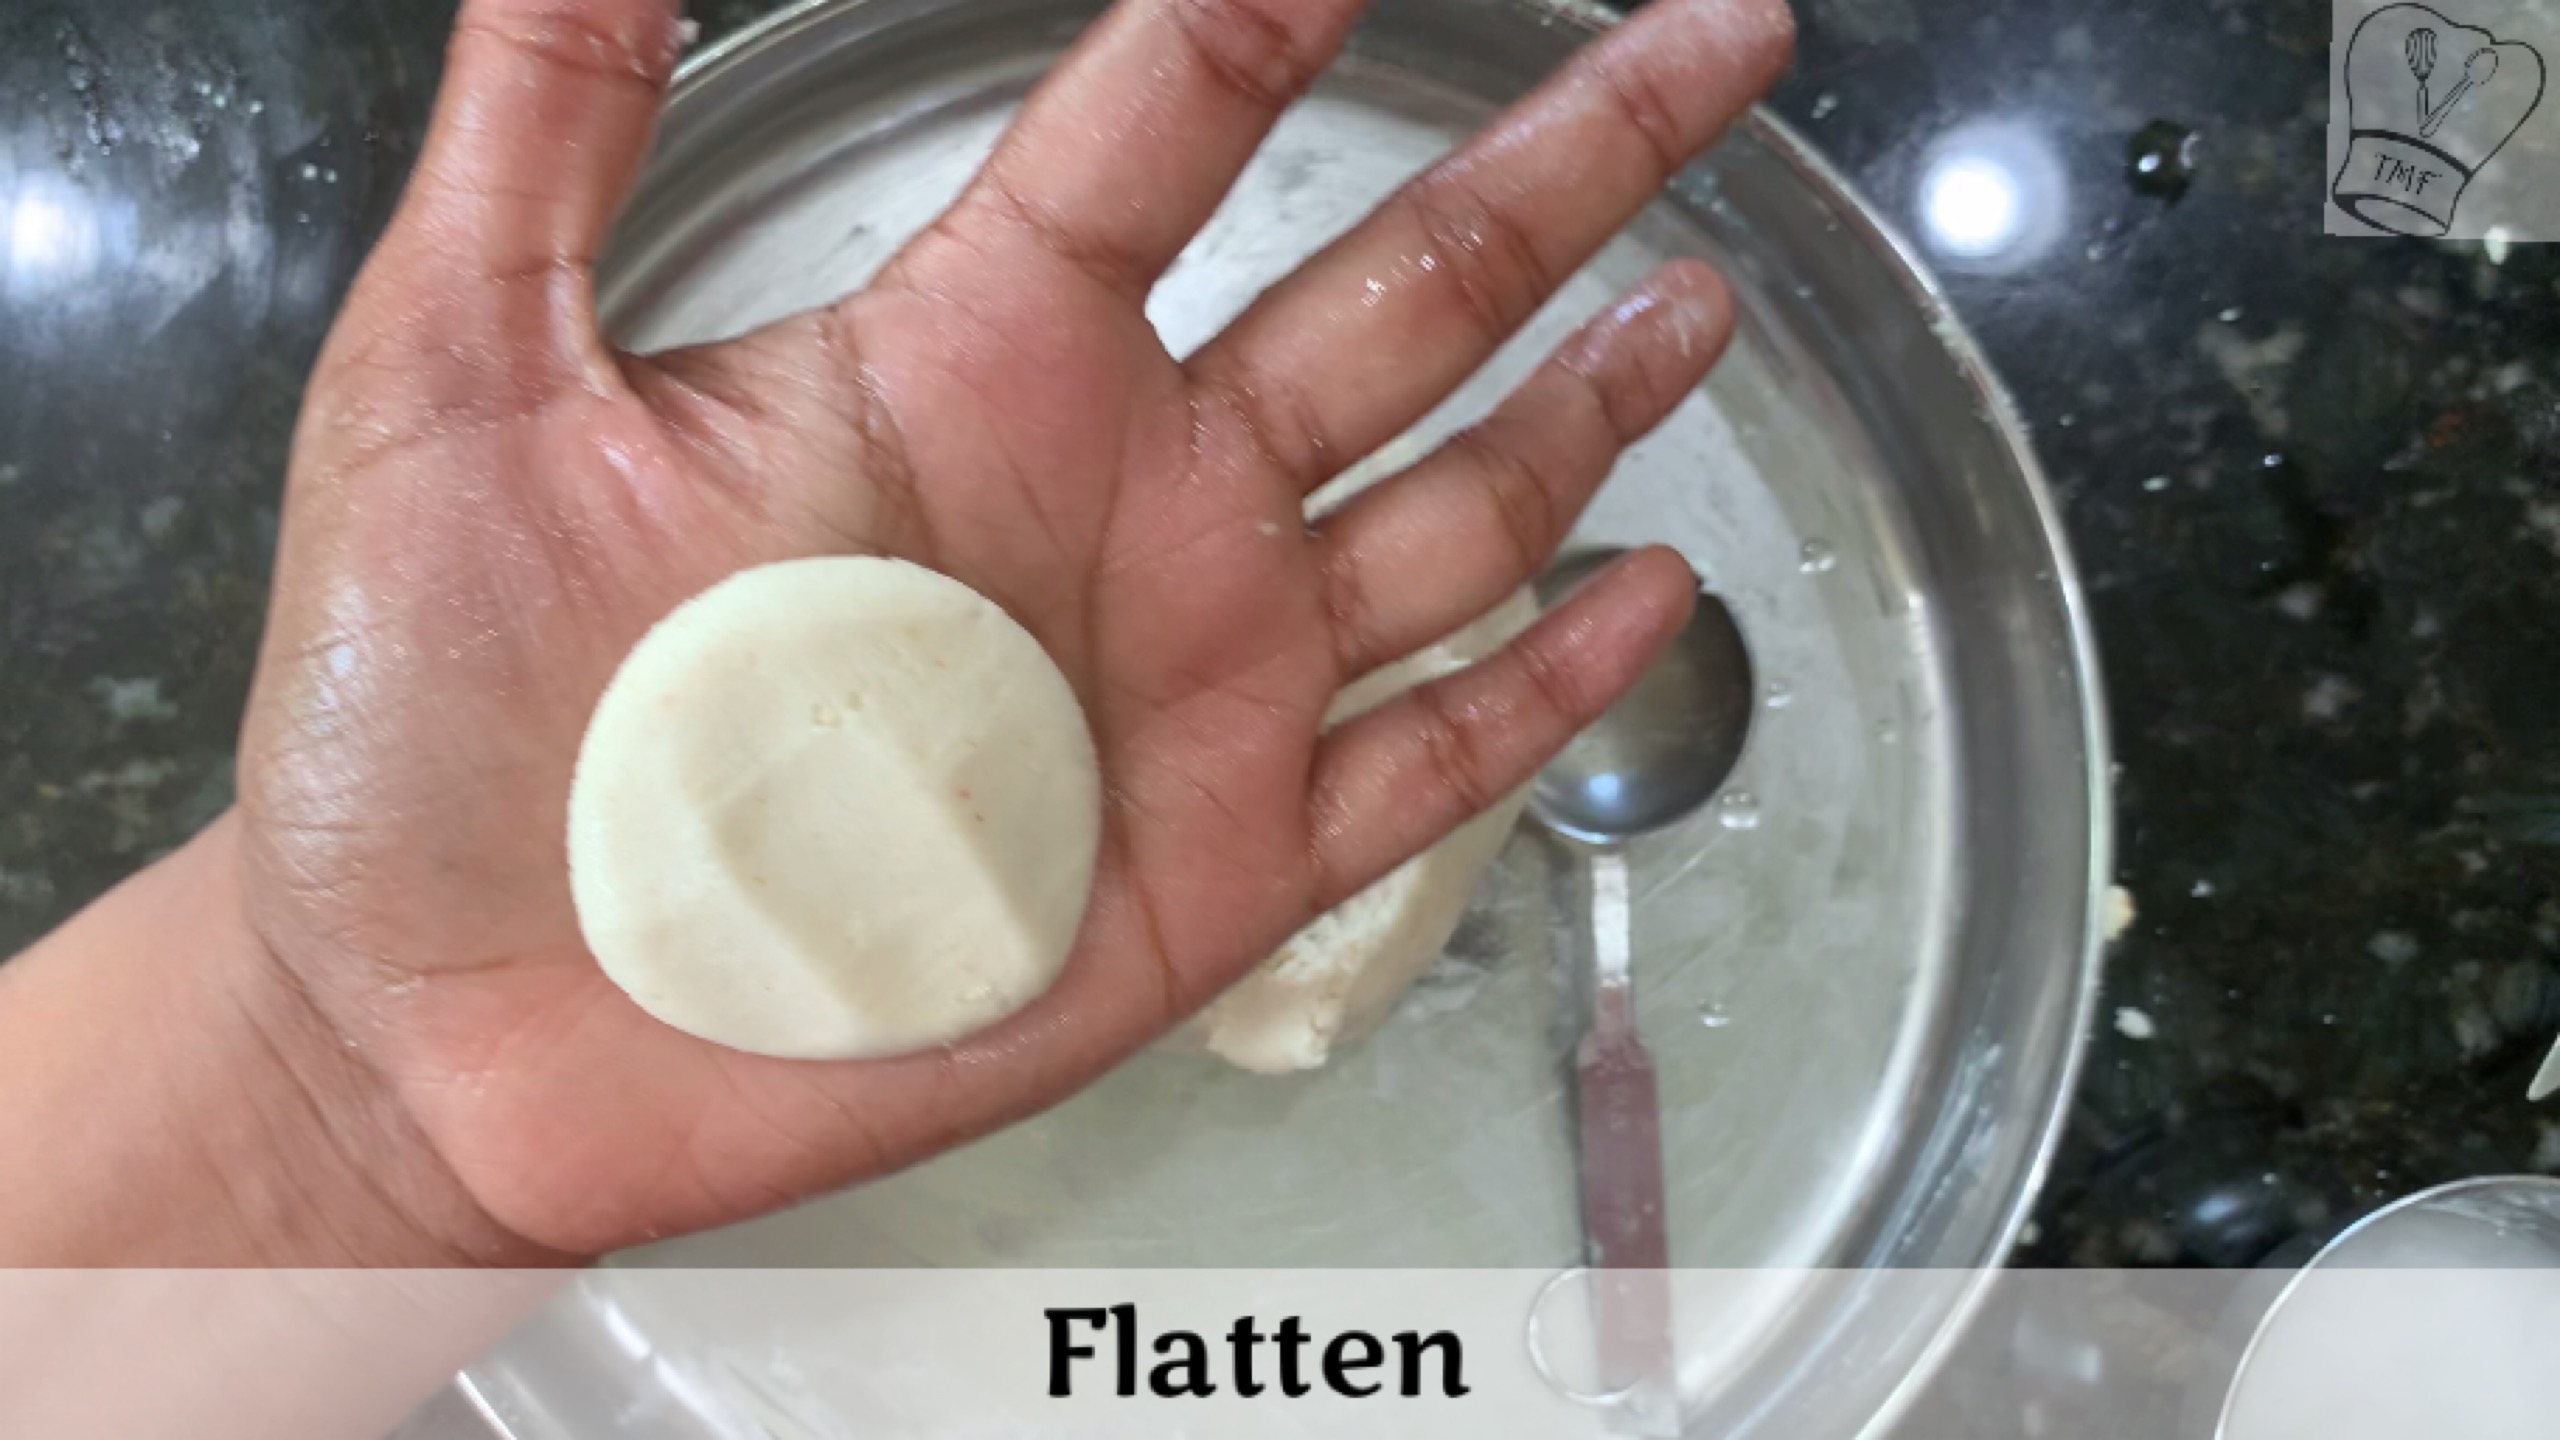
- Grease your hands with coconut oil and make small balls (approximately 1 tsp dough). Flatten the balls on greased palm (2-3 inch in diameter) and carefully place on baking tray
- Bake in the preheated oven for 12 - 15 minutes. Then flip over very carefully and bake for another 12-15 minutes
Video
Notes
- Cumin seeds, sesame seeds, curry leaves and Chana Dal can be added
- If you are frying, the thattai has to be fried in a medium low flame, as it will help for even cooking. Heat oil in a pan
- When the oil becomes hot gently put the thattai to the oil. Cook till the hissing sound of oil subsides
- I used the store-bought rice flour. Alternatively you can wash and soak the raw rice for 1/2 hours and dry them in a cloth till moisture completely dries, and grind them into fine powder
- Roasted gram flour (pottukadalai flour) can be used instead of urad dal flour
Ingredients:
Rice Flour- 1 cup
Urad Dal flour – 2 tbsp
Butter – 3tbsp, melted in room temperature
Red Chilli powder – 1/2 tsp heaped (Adjust according to your spice level)
Salt – as needed
Asafoetida – Generous pinch
Sesame seed – 1/4 tsp
Oil – to grease (I used coconut oil)
Method:
For urad dal Flour:
Take 1/4cup of whole urad dal and dry roast till they are golden brown. When it comes to room temperature, grind them into a fine powder
- Preheat the oven to 350 F. Line a baking tray with parchment paper and grease the parchment paper with oil
- Dry roast the rice flour at low flame for 2 or 3 minutes. Do not overcook till they change color
- In a wide vessel, add the rice flour and 2 tbsp of urad dal flour and salt. Sieve them for even mixing. Add asafetida, sesame seed, and chilli powder to sieved flour and mix well
- If you are using store brought rice flour and urad dal flour skip sieving
- Add butter and mix well. Add water slowly and knead them into a pliable dough

- Grease your hands with coconut oil and make small balls (approximately 1 tbsp dough). Flatten the balls on the greased palm (2-3 inch in diameter) and carefully place on the baking tray
- Bake in the preheated oven for 12 – 15 minutes
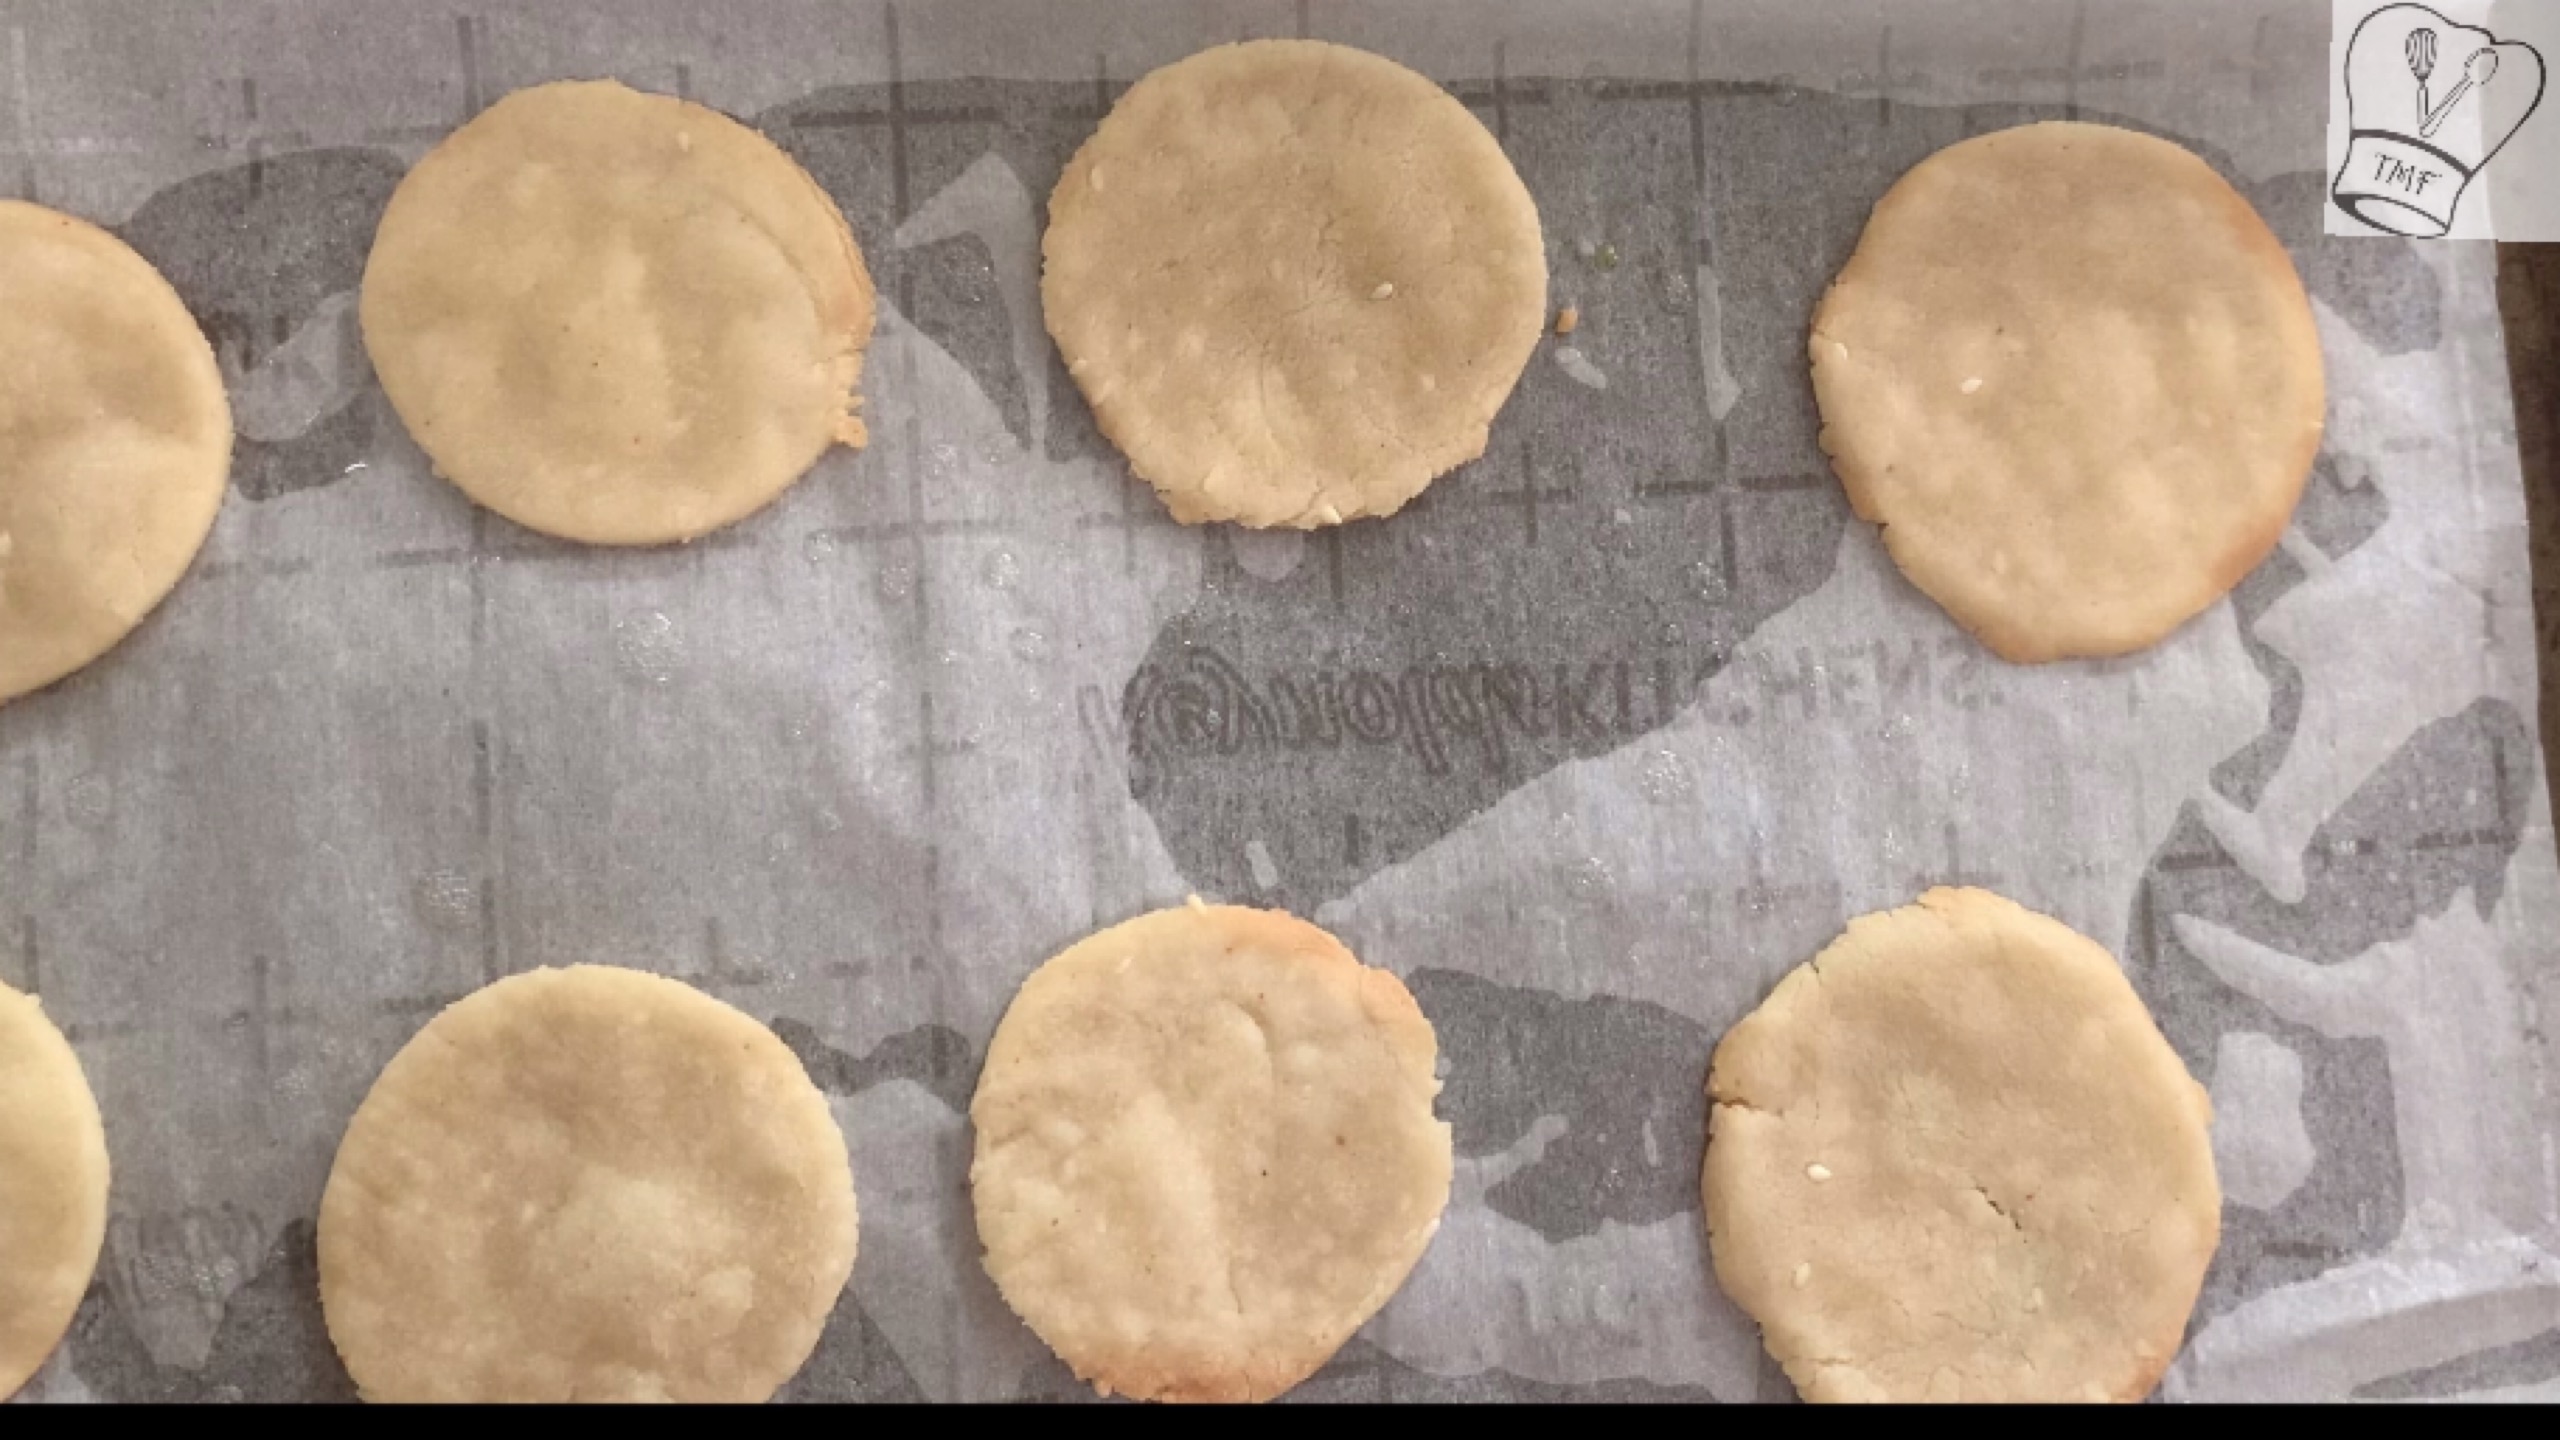
- Grease all thattai, flip and grade again
- Bake again for another 12-15 minutes
This looks delicious even though I don’t know exactly what it’s!
Thanks Liz:-) its s traditional indian snack with rice flour
Vidya full fledged baking 😀 too good, did it taste the same as we deep fry? I need to try all your recipes soon dear !!!
Yes Malar it was crispy and we didn’t find any difference in taste 🙂 got sabudana today, guess what;-)
That’s cool Vidya, very soon will try this 🙂 baking sabudana vada 😉 go ahead you will love it 🙂
Sure dear:-) will try and let you know
I see why you would snack on these all day long! Yum!
Thanks Lori:-)
I have never heard of these before! And I would use the store bought rice flour as it is much easier than making your own 🙂
Yes its simplified version and less time consuming:-)
Wow…i can imagine the crispiness rt frm here vidya!Yum
Thanku Shannu:-)
Looks yummylicious Vidya. …:)
Thanks Chitra:-)
Nice.. 🙂
Thanks Sri:-)
That’s an epic recipe <3
Thanks Charu:-)
Seeing this post and other wonderful Indian bloggers reminds me how little I know about Indian food, it’s one of my favorites to eat but I really know so little about it. Lovely recipe, nice that it’s baked, avoiding the oil for health reasons although I am sure fried would be great too!
Thanks a lot Suzanne:-)
Thank you for this recipe. What is Urad Dal ? If this is not added will it not come out right? Looks good crunchy and the dice kick I love.
Urad dal is a type of lentil.it helps for the texture:-)
Cool! I made masala mathri yesterday!
Wow that’s Awesome:-) you rock bigtime
The toasting of flour to add more flavor is easy and so smart. Your snack looks delicious, as always.
Thanks Gina:-)
I love the baking touch you give to the traditional recipes. good job Vidya.
Thanku Swathi:-)
These look tasty!
Thanku:-)
kudos for the great cooking!
Thank you for sharing this with us! It looks like a great snack!
Thanks Jeanne:-)
Lovely thattai…and baked version is really good Vidya
Thanku Sherien:-)
is there nothing you can’t do with lentils? 🙂 What fun these must be! Better than bagged chips for sure.
Thanks Liz:-) its a great snack
Yumm Vidya
Thanku Naina:-)
Superb version vidya..baked version is good. I tried with gram flour instead of urad dhal flour.
Baking idea was great!
Thanks for trying Sandhya:-) Glad it turned out yummy
Always loved thattai! Mom makes superb ones….but I hate frying business..always thought if baking would work or not. Now I know I can try a hand at it, thanks to you. Am going to make this one day!
Glad you liked it Rupa:-) do try it and let me know
Hi Vidya,
I love your food blog. I tried three recipes today and they all turned out great. I tried baked thatai (what an awesome idea to bake instead of fry), carrot payasam ( was a hit) and the cauliflower sabji. Thank you for sharing. Keep up the good work.
Rekha
Hi Rekha, thanks for trying my recipe. You made my day
Hi..you have mentioned butter in the ingredients..but can please tell how to use it?
SOrry priya I missed mentioning about butter. Add it while making dough. Just updated the recipe, thanks