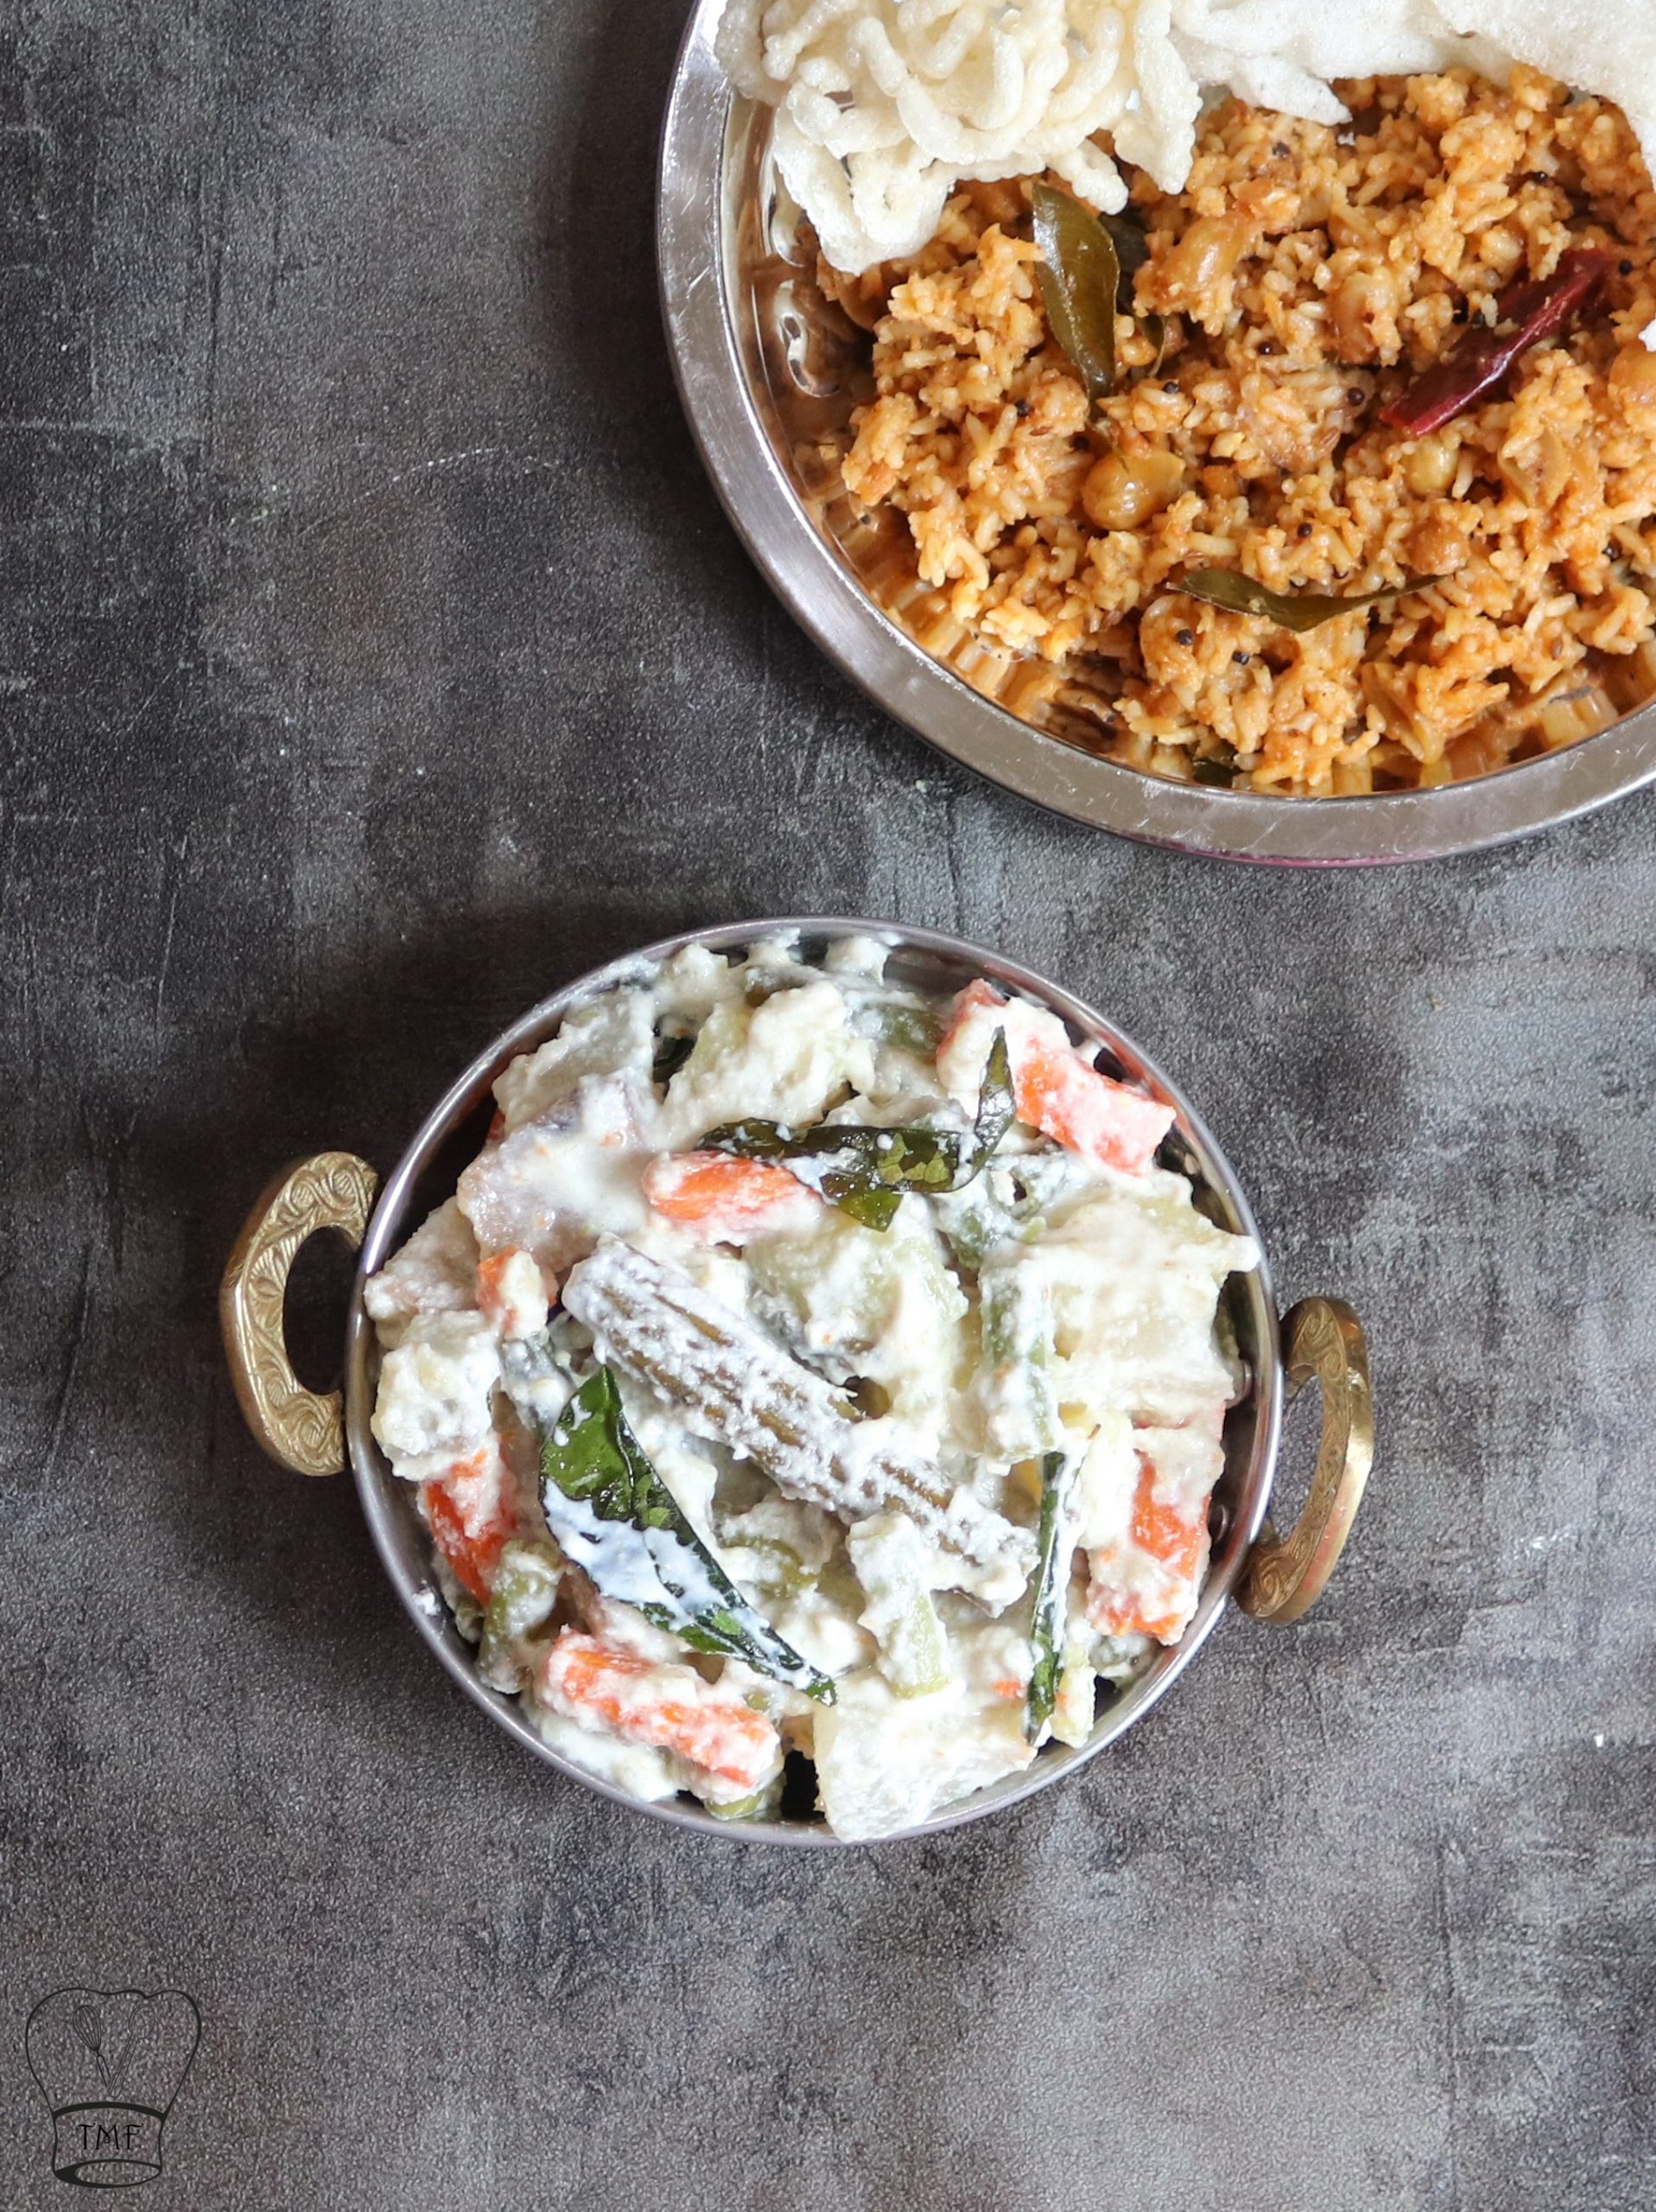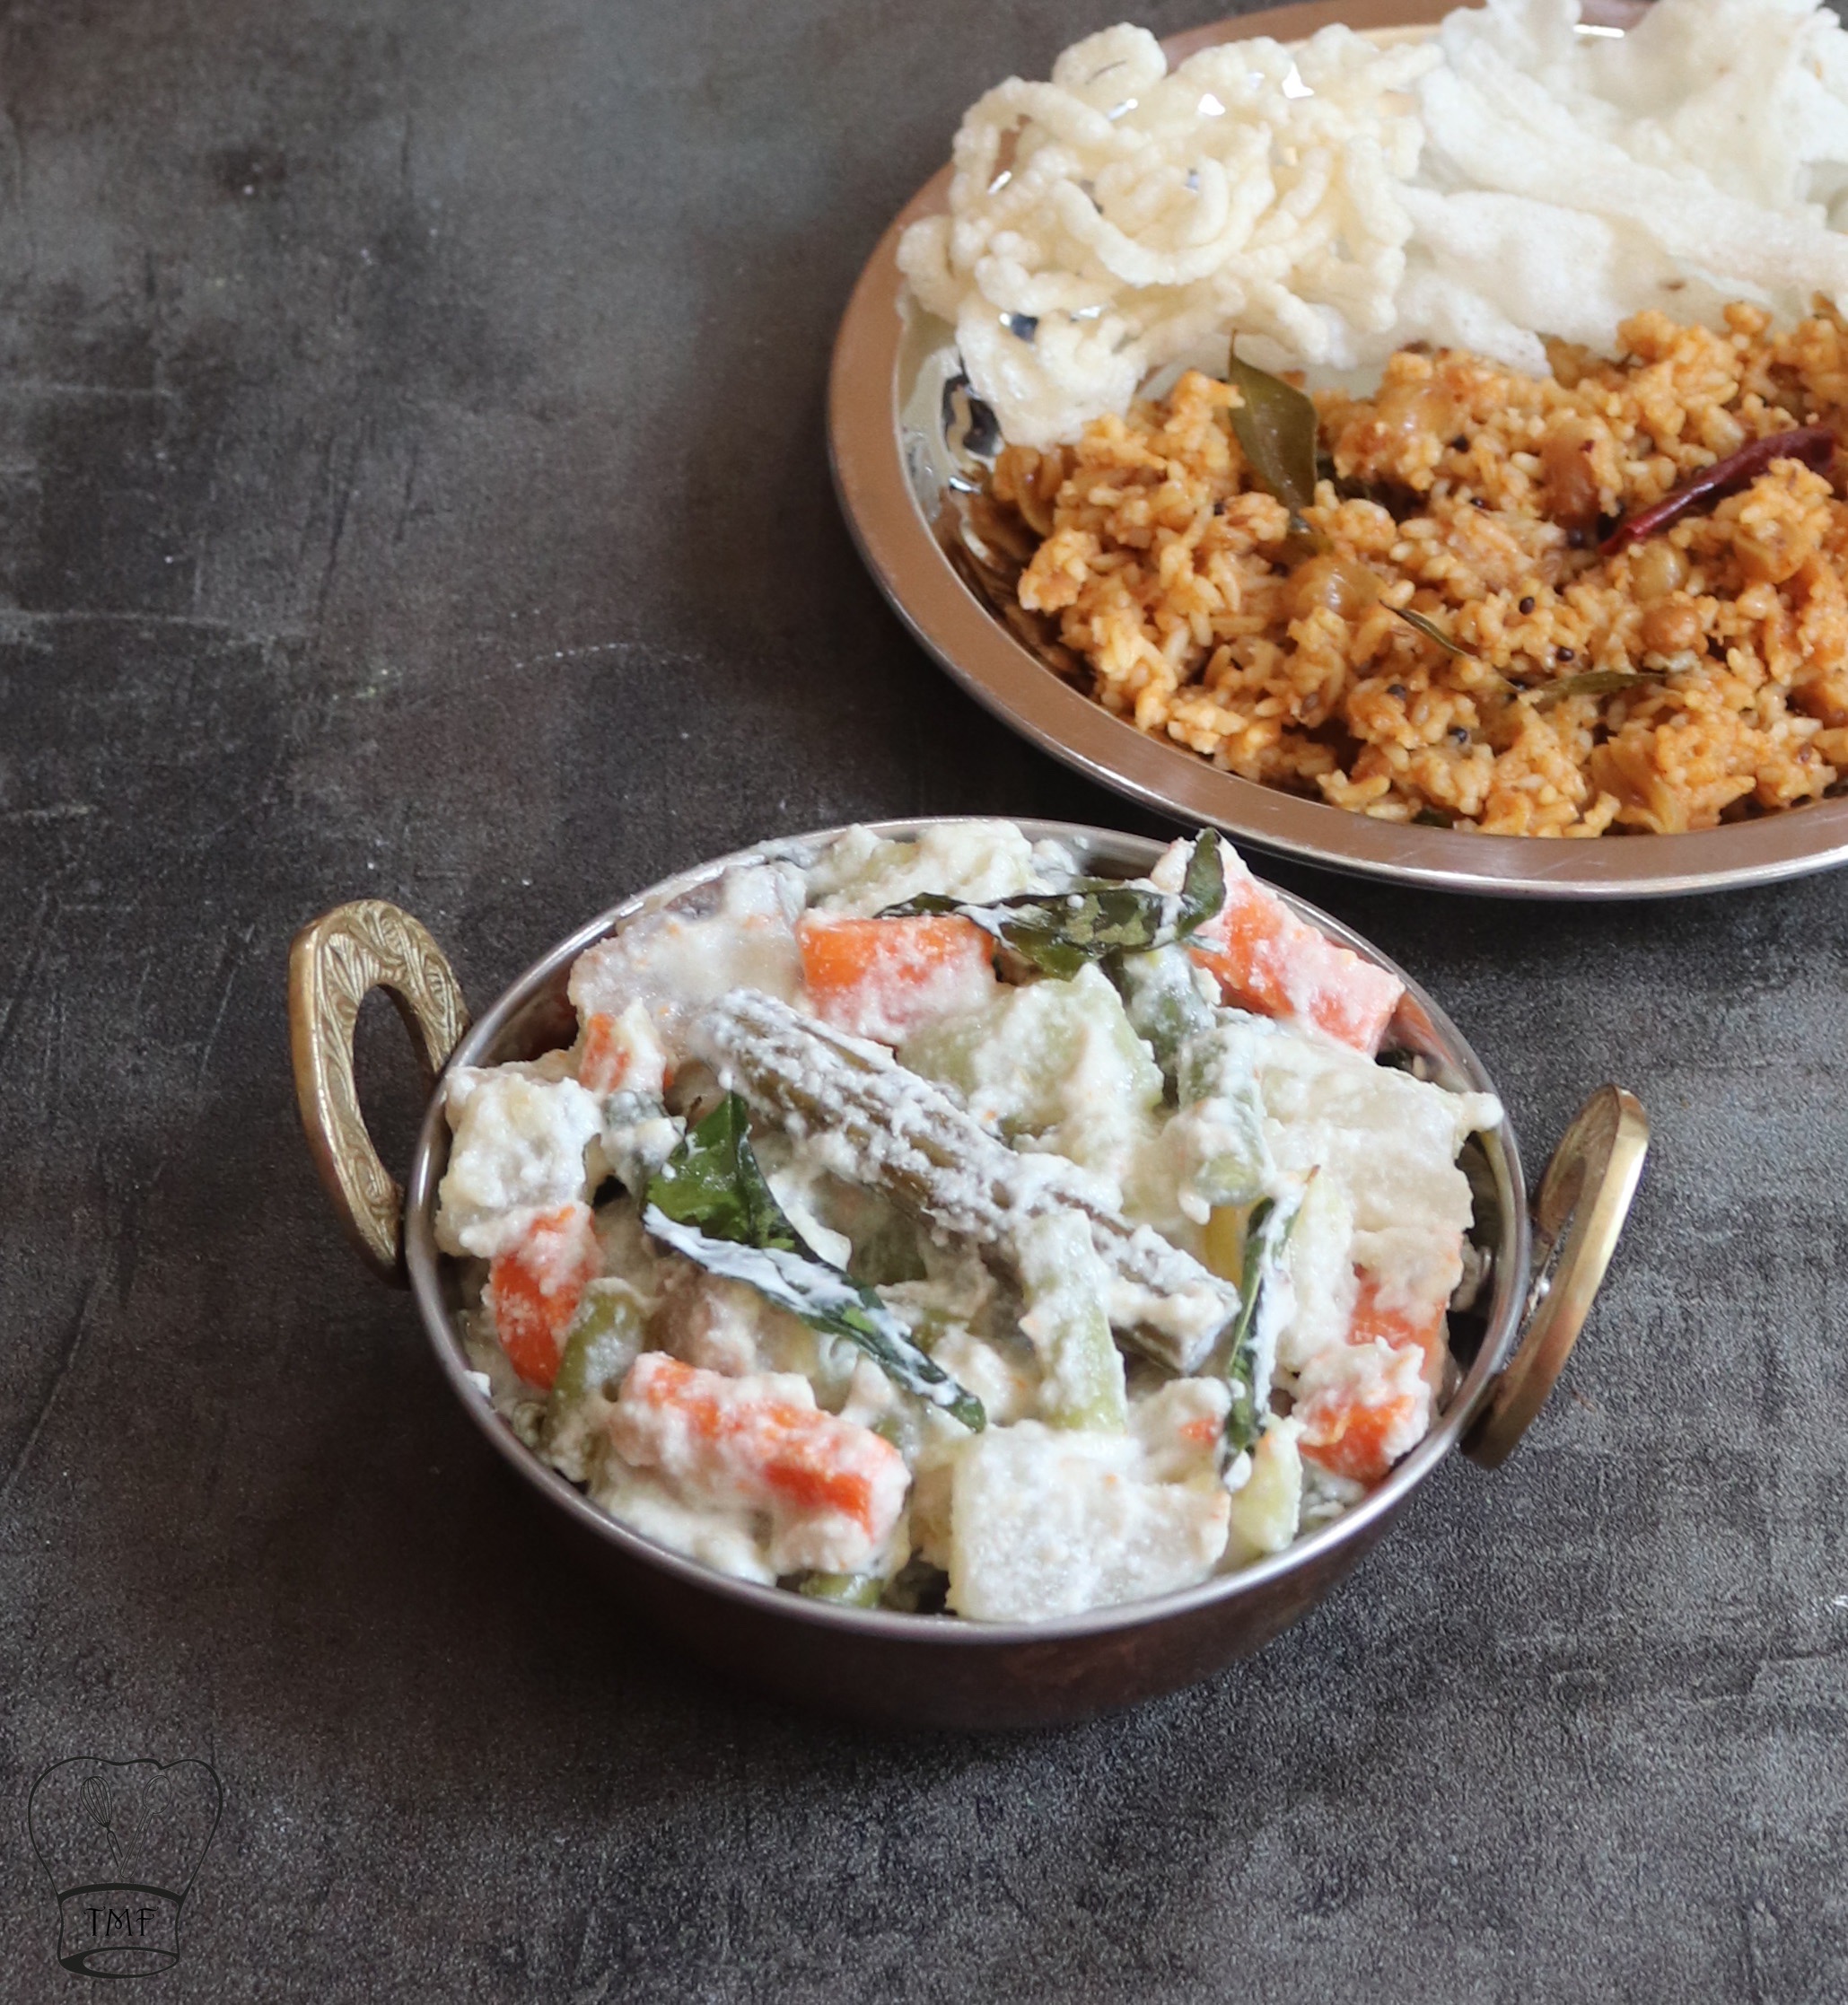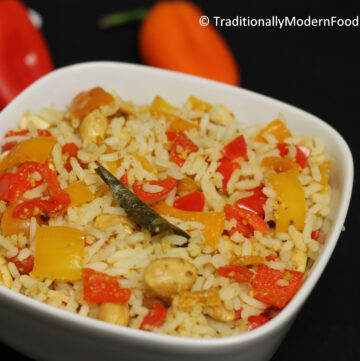
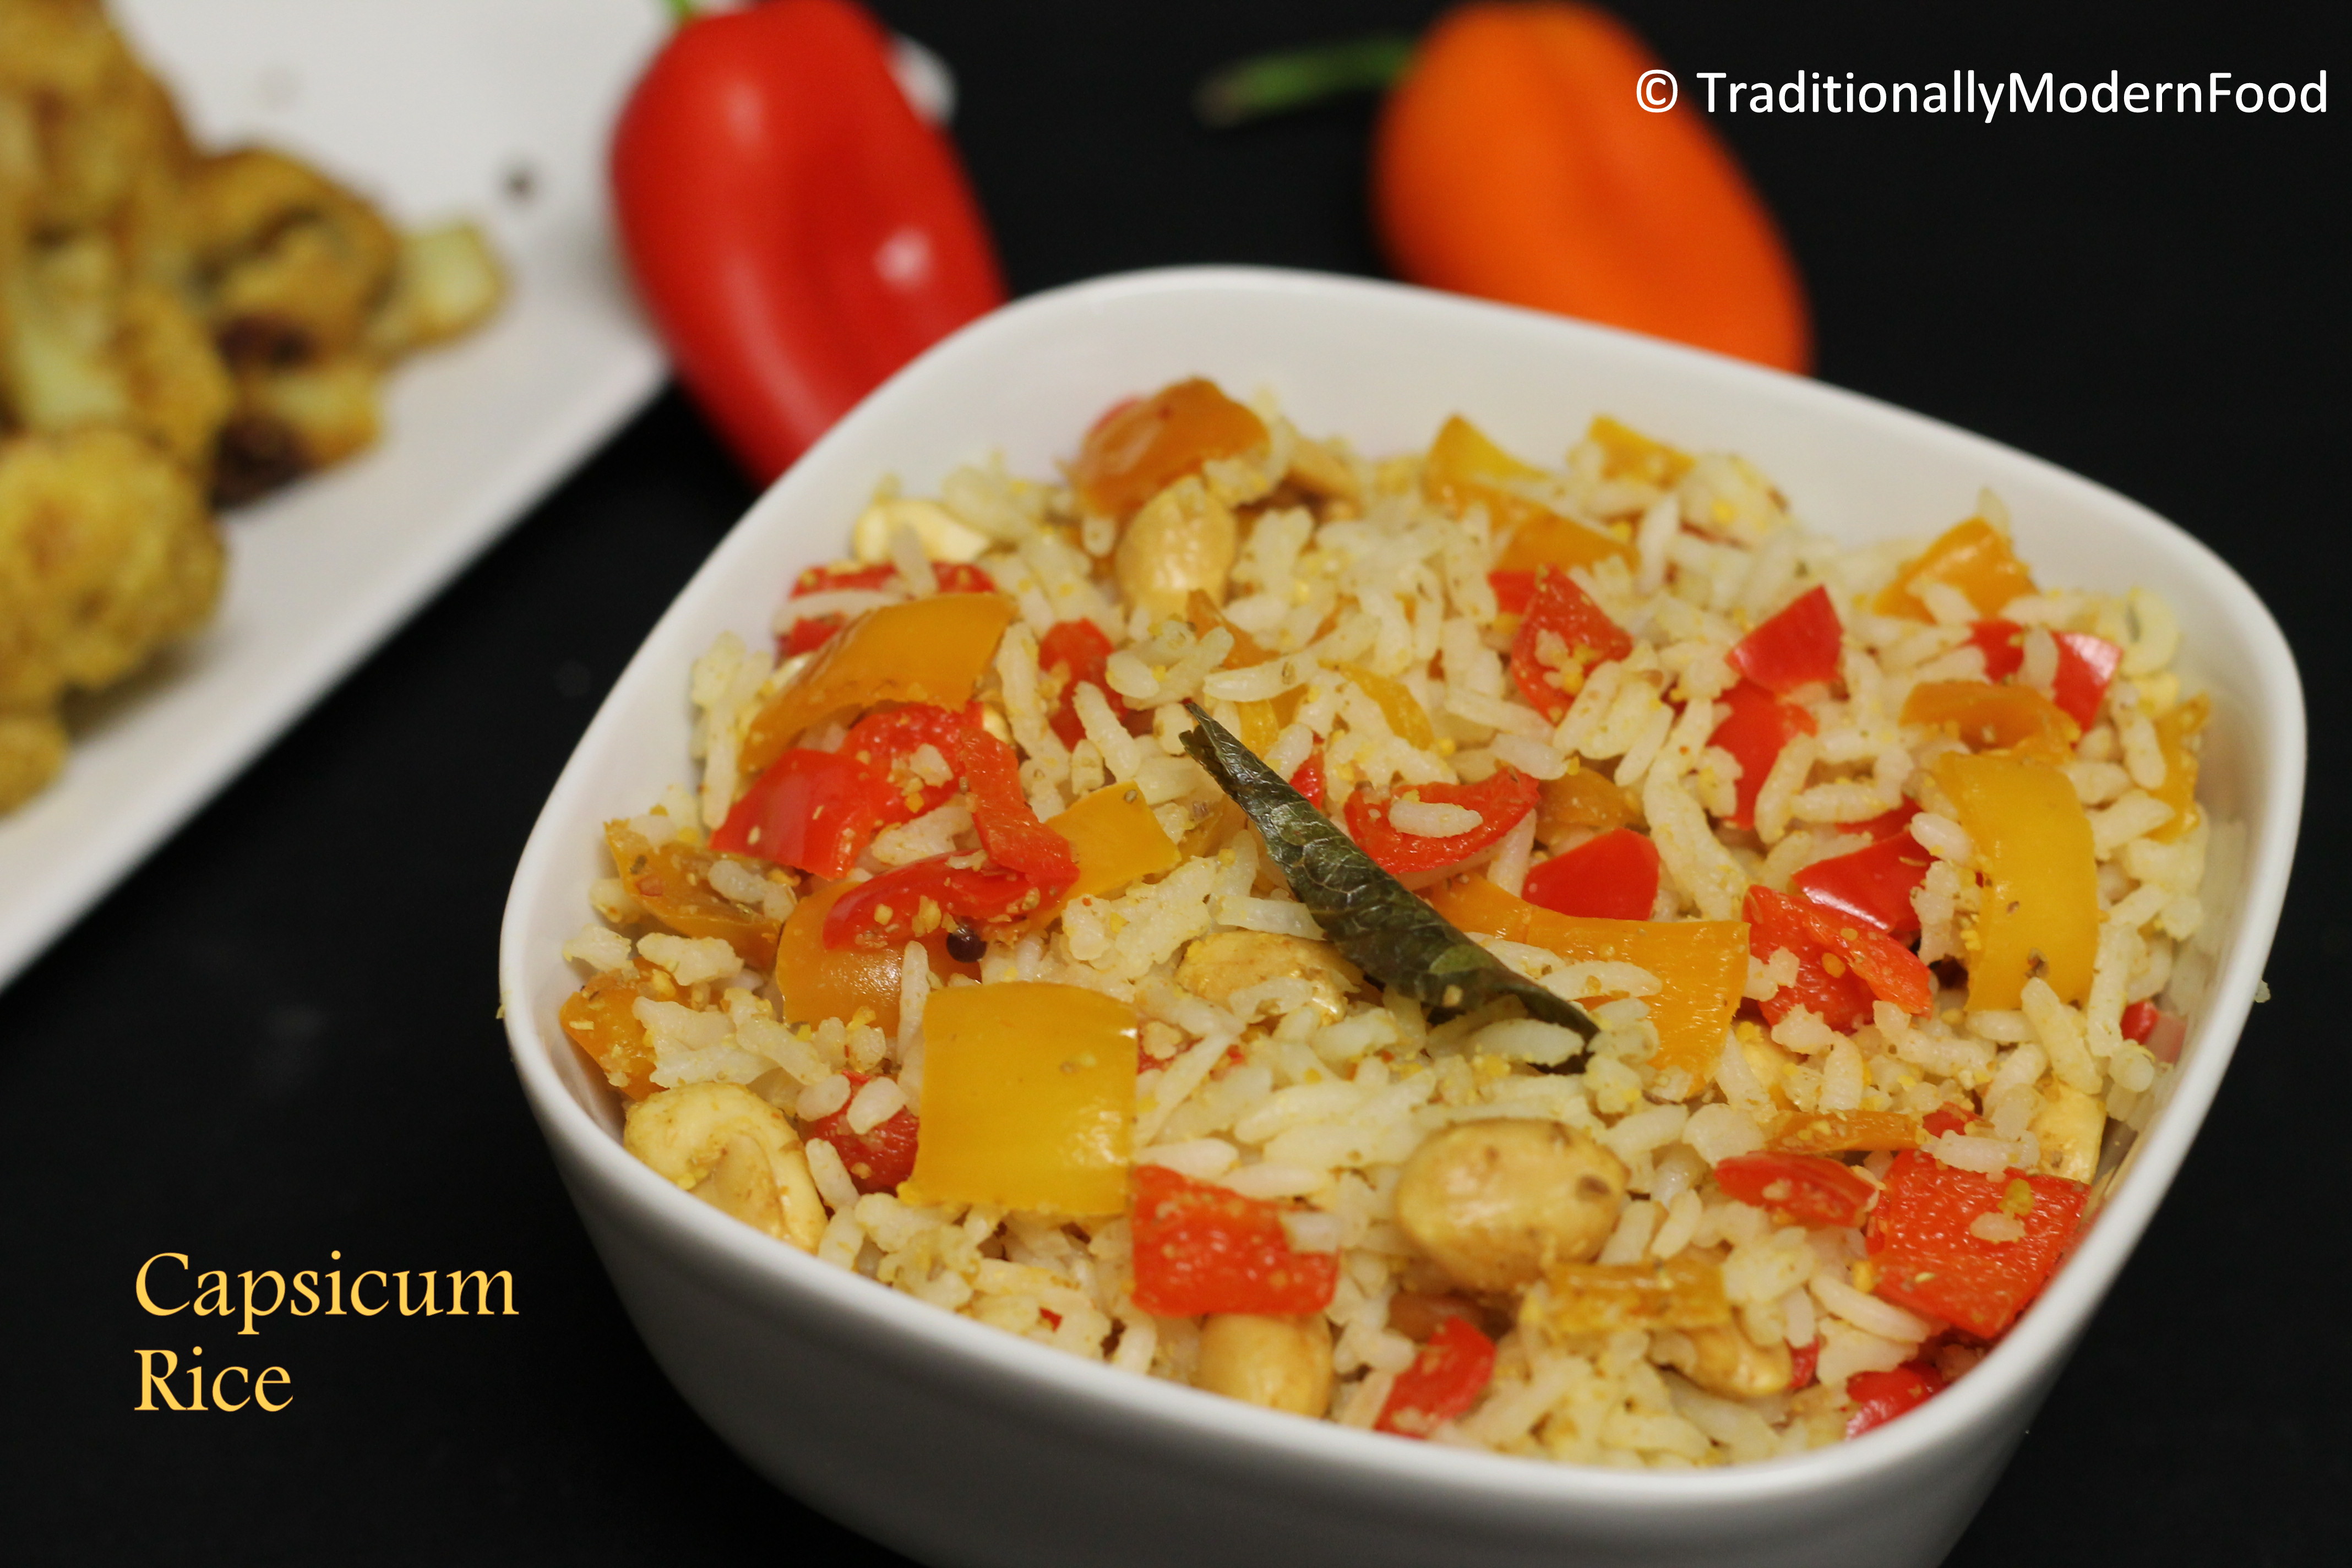
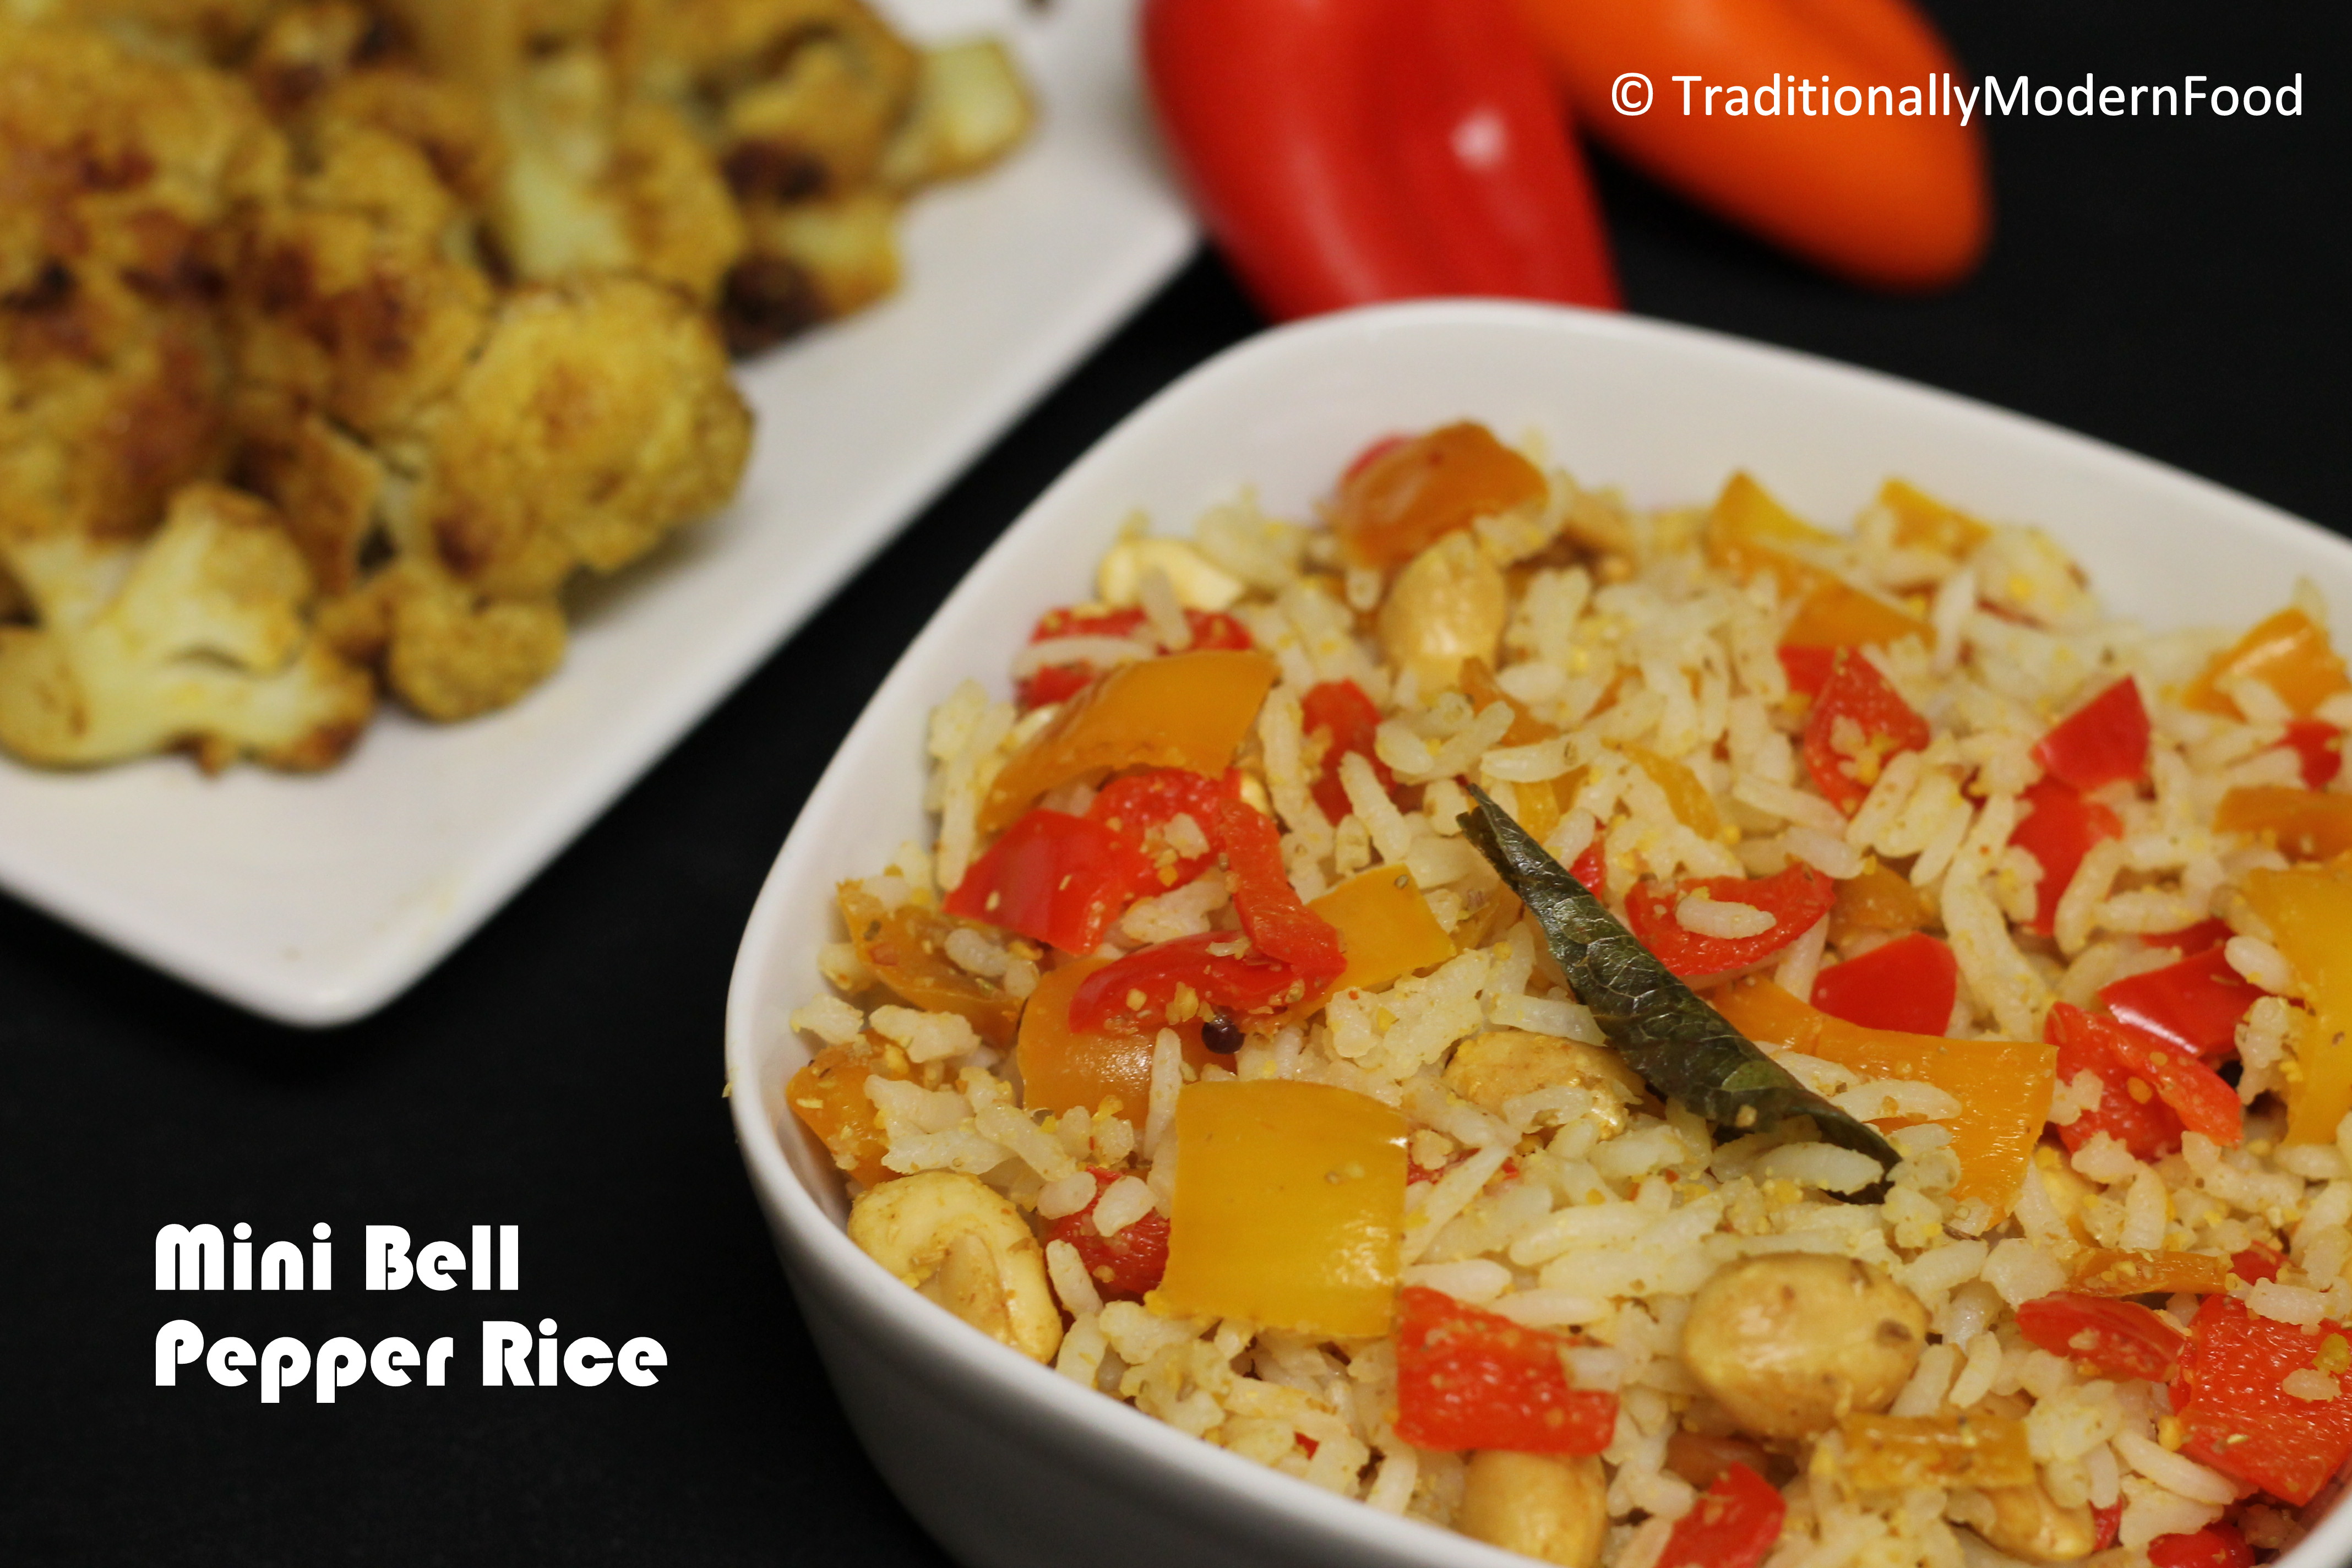
Sweet mini pepper Rice | Bell pepper rice | Kudai mulagai Sadam | variety rice with sweet pepper | Indian rice with mini pepper is a quick lunch box recipe that can be easily prepared within 20 minutes with cooked rice. Kids will love this mild sweet rice.
I usually prepare Capsicum rice with onion, ginger garlic paste, whole garam masala, etc. When my mom visited us she prepared Capsicum rice with curry powder, and I loved it. I frequently use green bell peppers for preparing this but one day was out of it, and mini peppers I bought for the sandwich were in the fridge.
Tried capsicum rice with mini peppers and we loved it. This is one of hubby’s favorite office lunches. I am sure kids will love this for school lunch.
I have prepared the fresh spice powder but the curry powder we use for Kathirkai sadam/ Vazhakkai Podi curry can also be used.
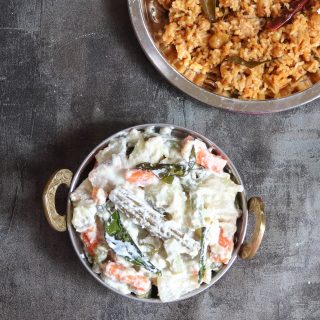
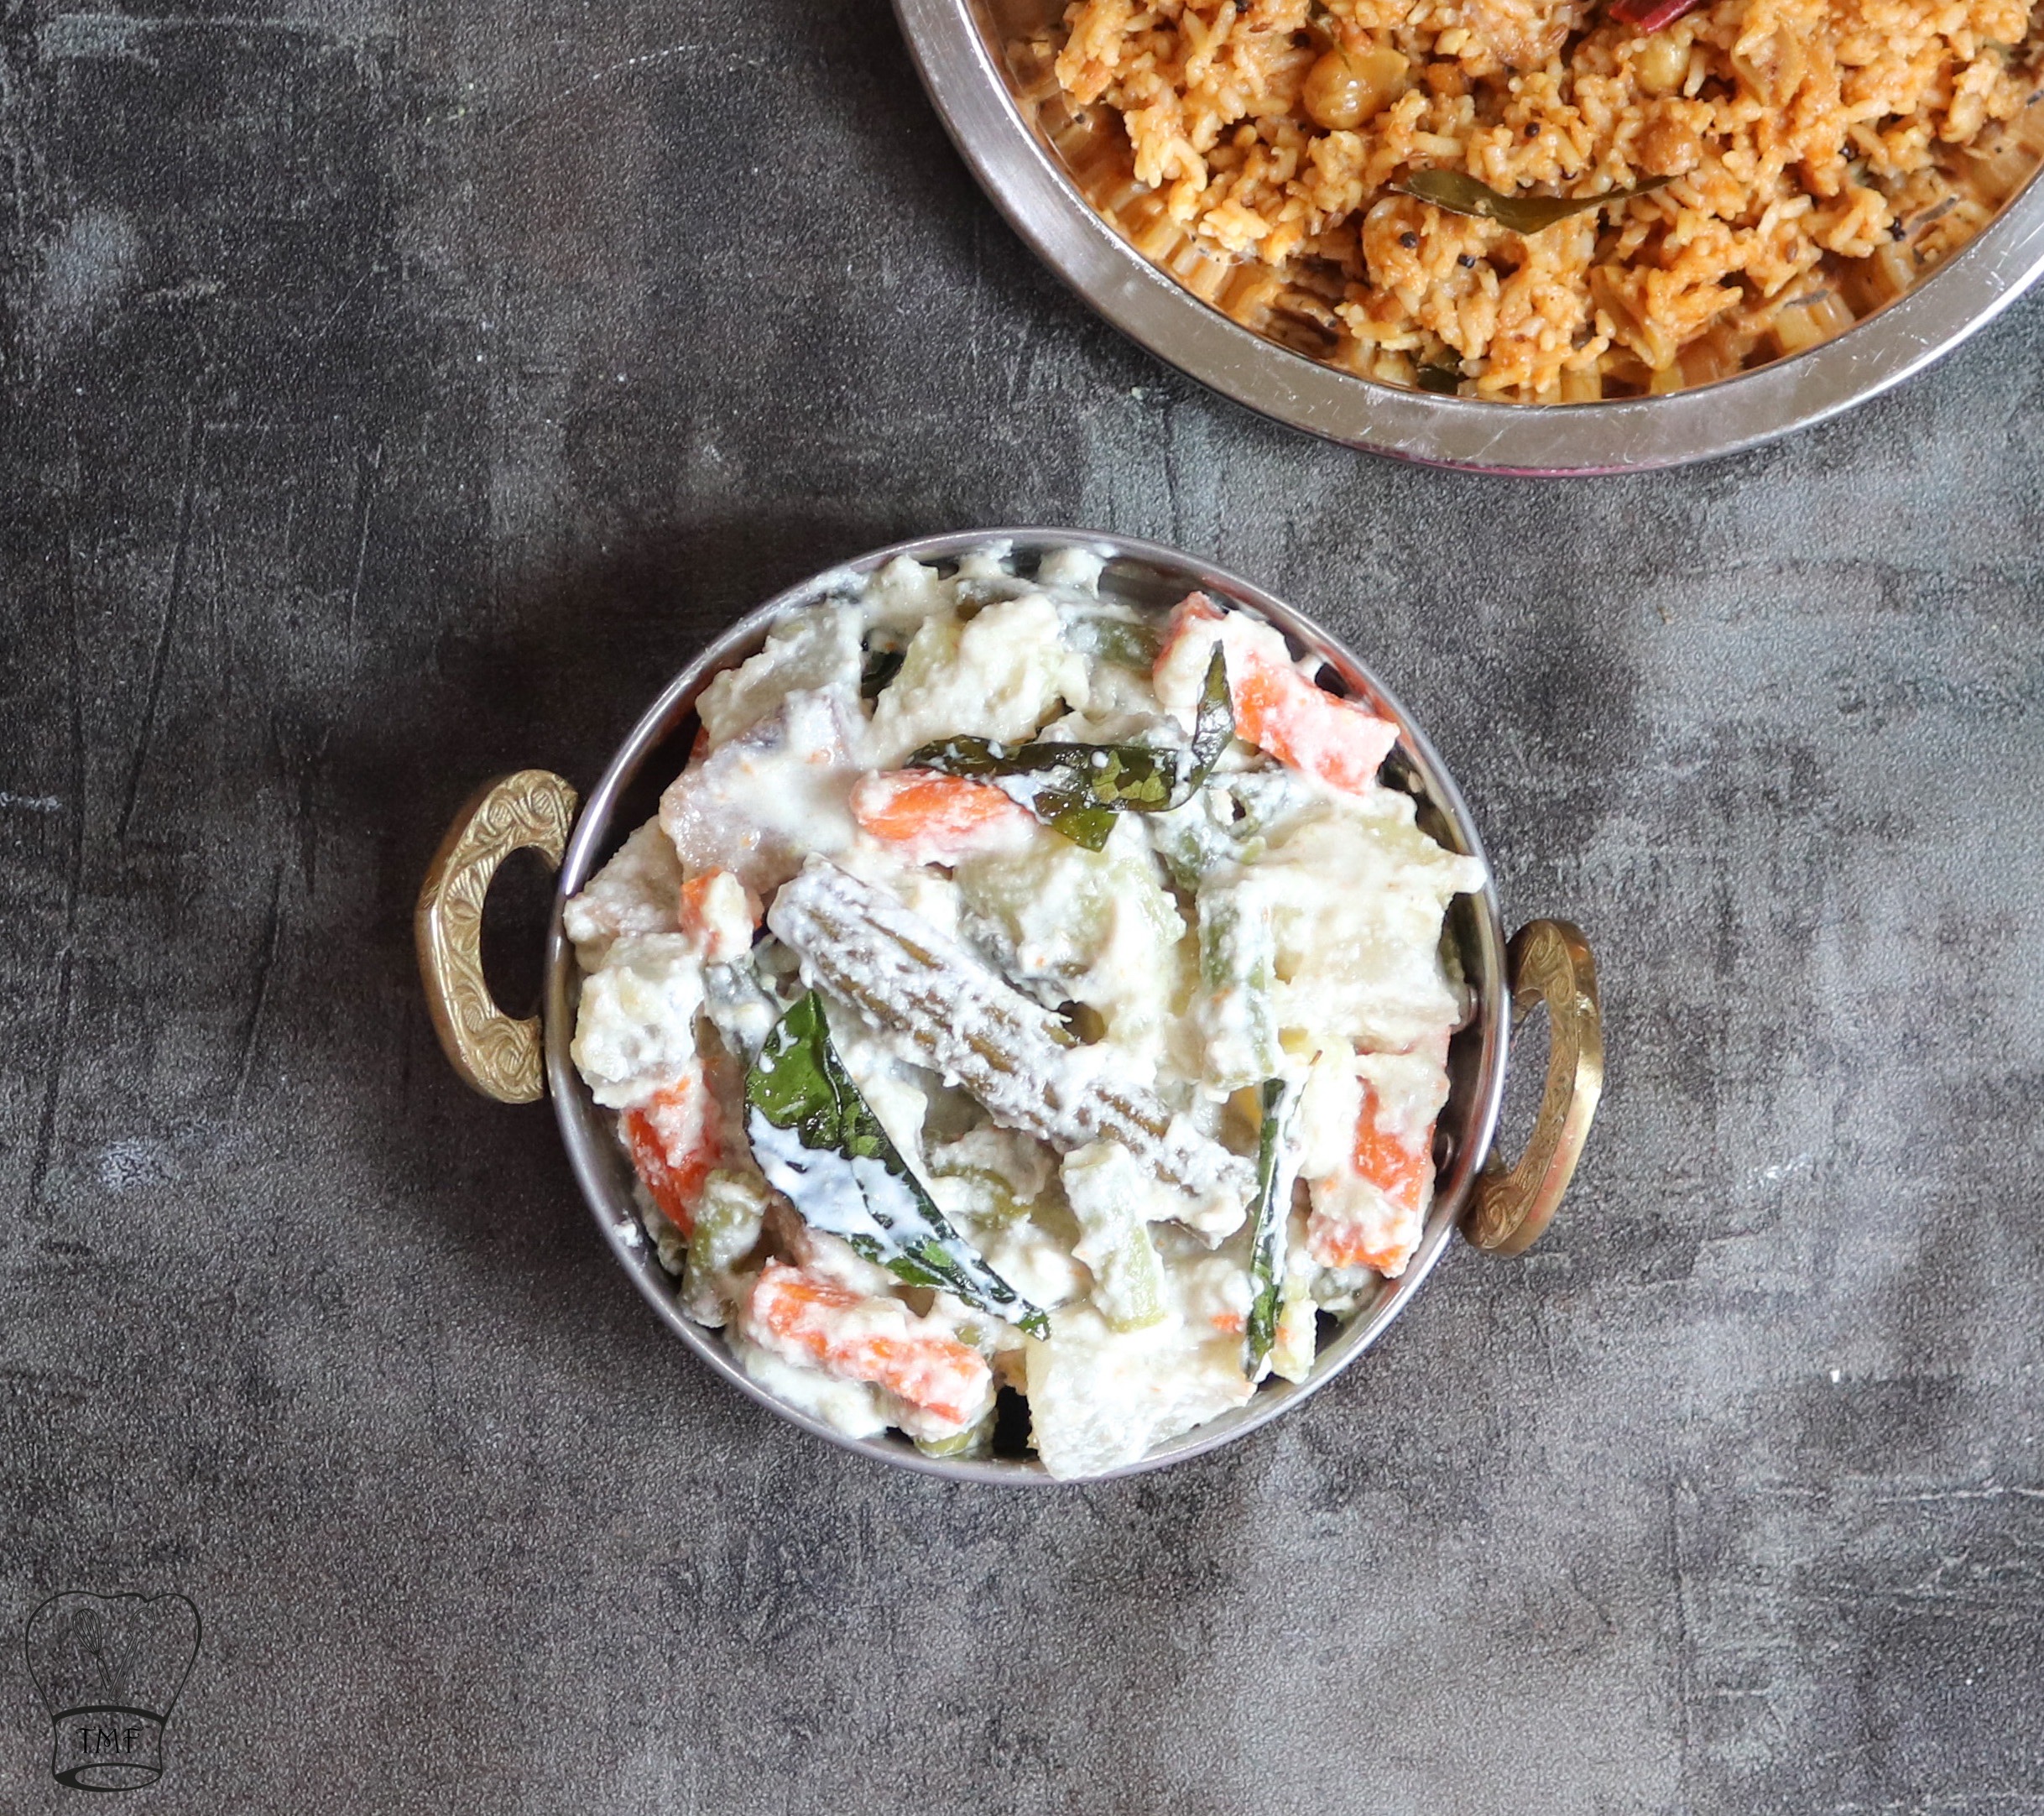
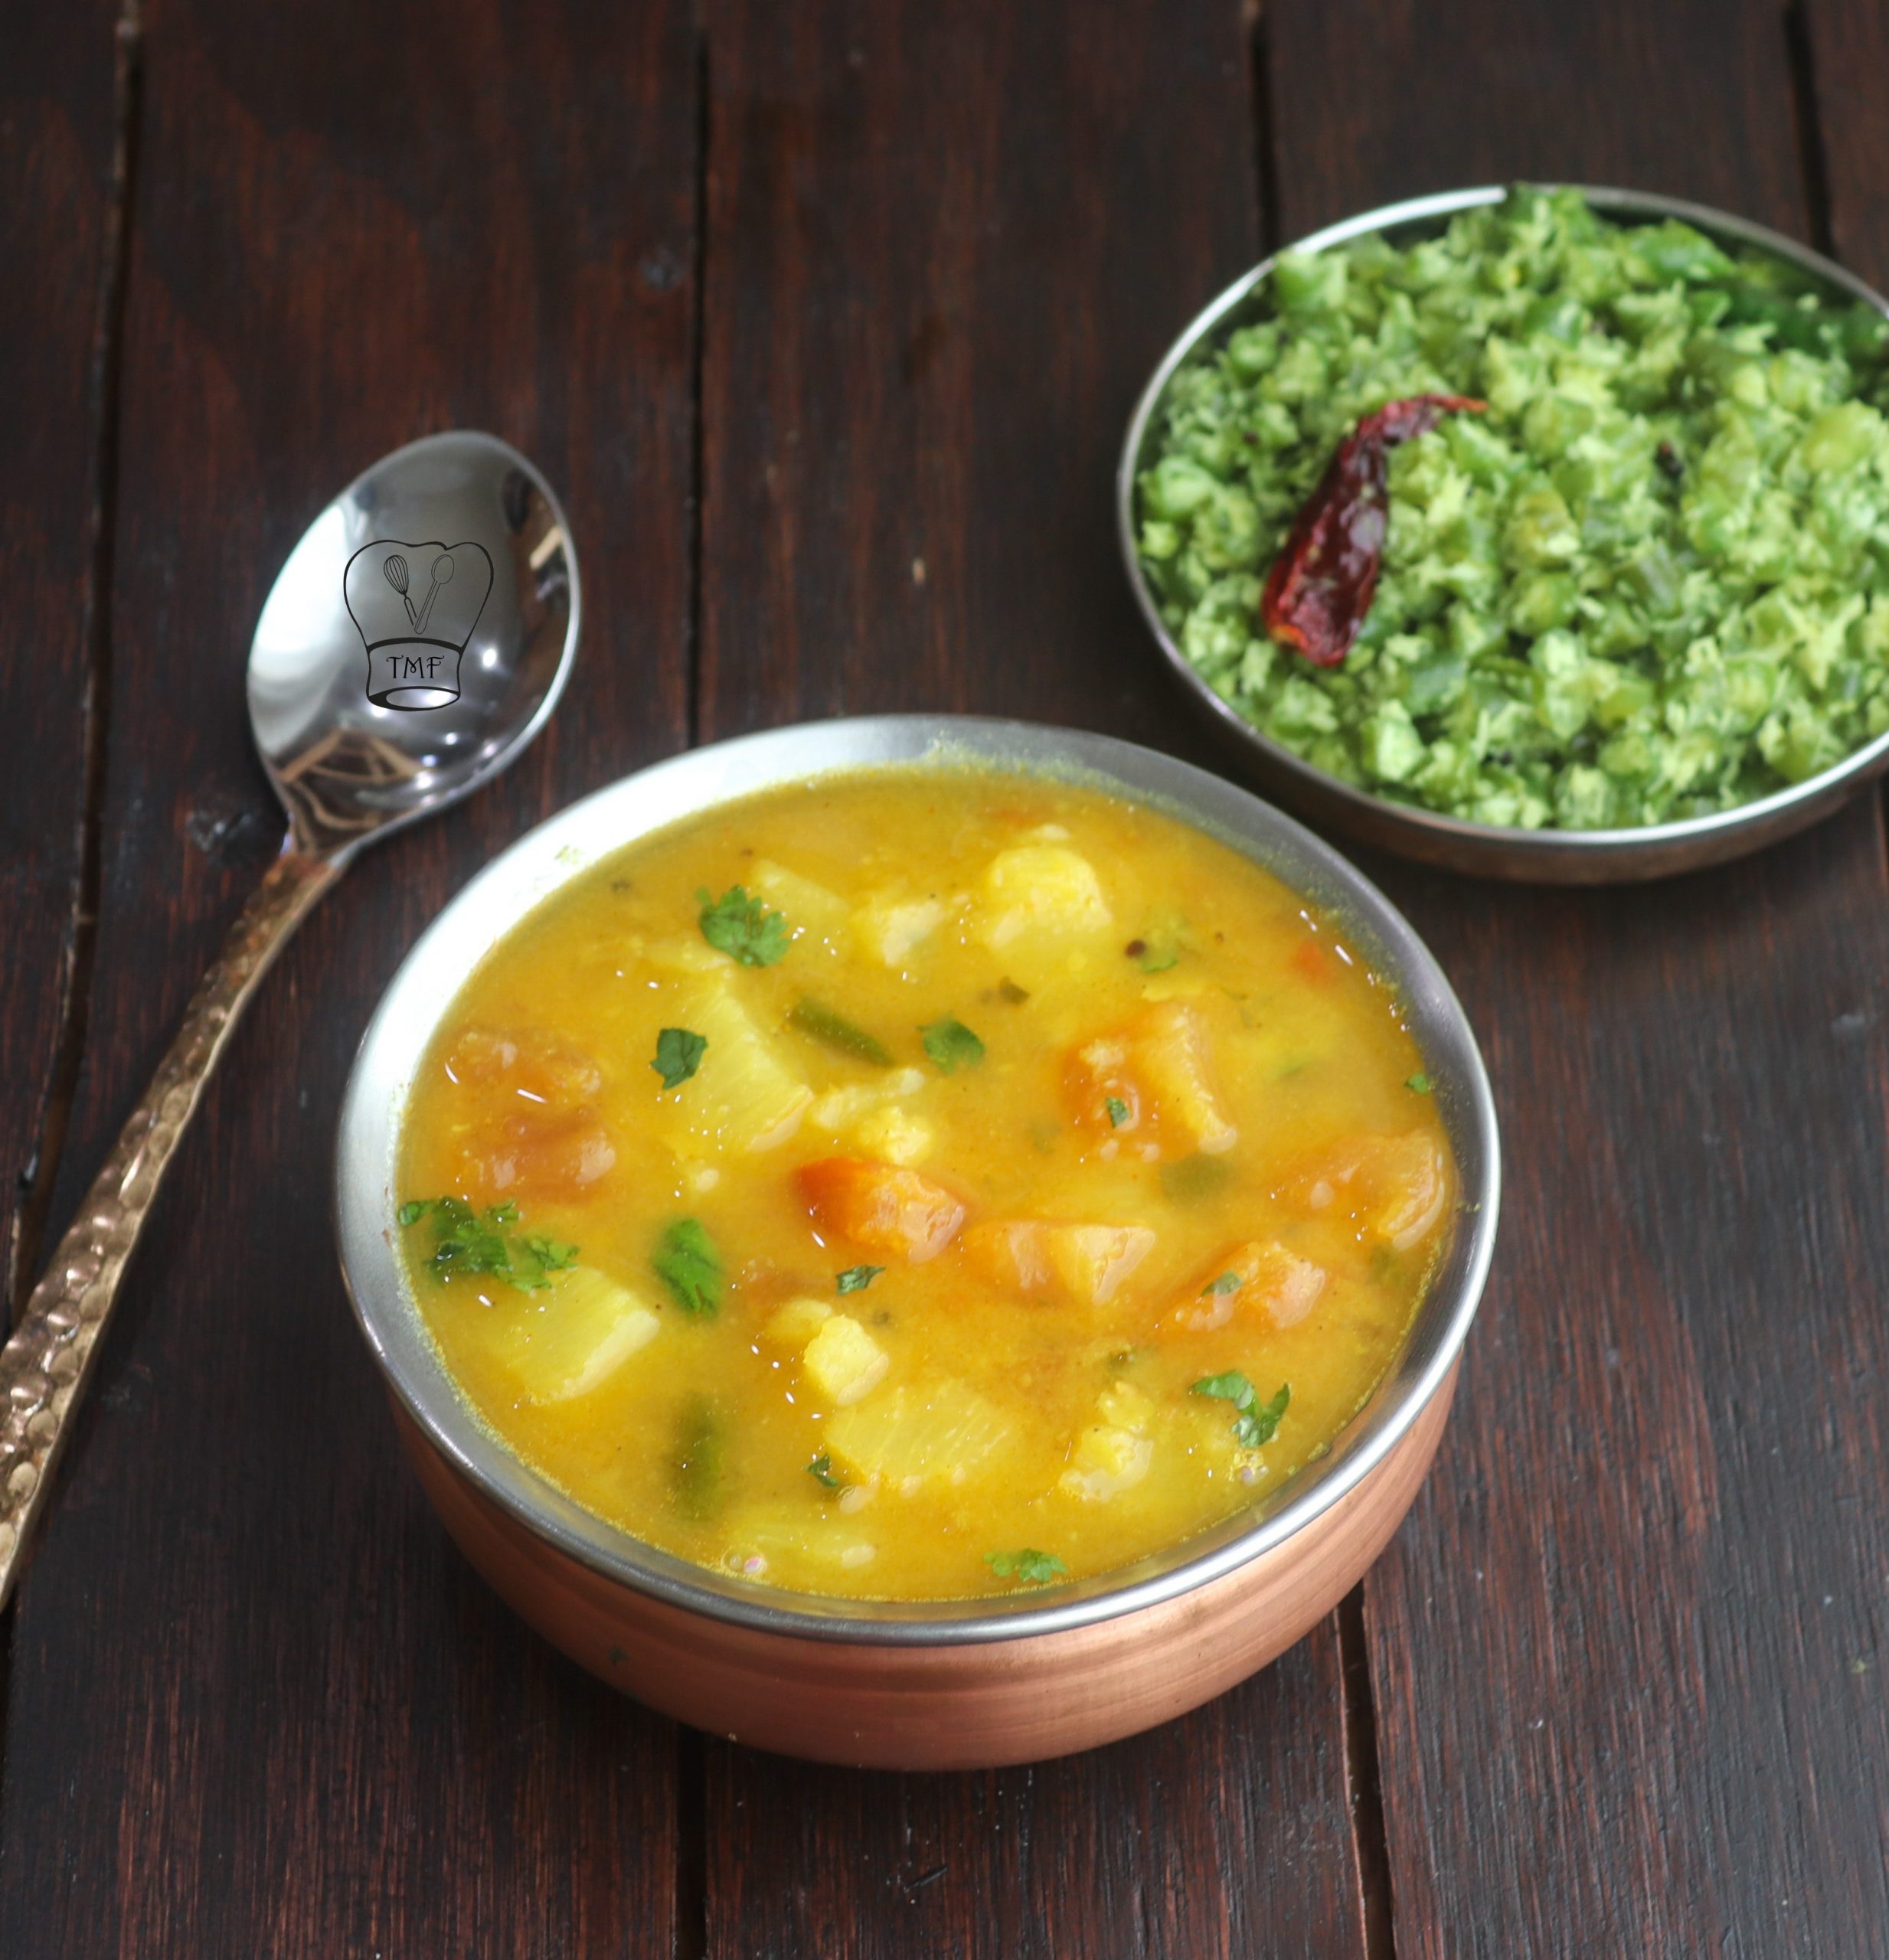
Check out the tasty side with capsicum and besan flour.
Ingredients :
Cooked Rice - 2 cups (I used regular rice but basmati rice can also be used)
Mini Sweet peppers - 10 (I used 4 red, 4 yellow, and 2 orange, to make it colorful:-)) or use 2 capsicums (bell pepper)
Roasted peanuts - 1/4 cup
Asafoetida - a generous pinch
Turmeric powder - a pinch
Salt - as needed
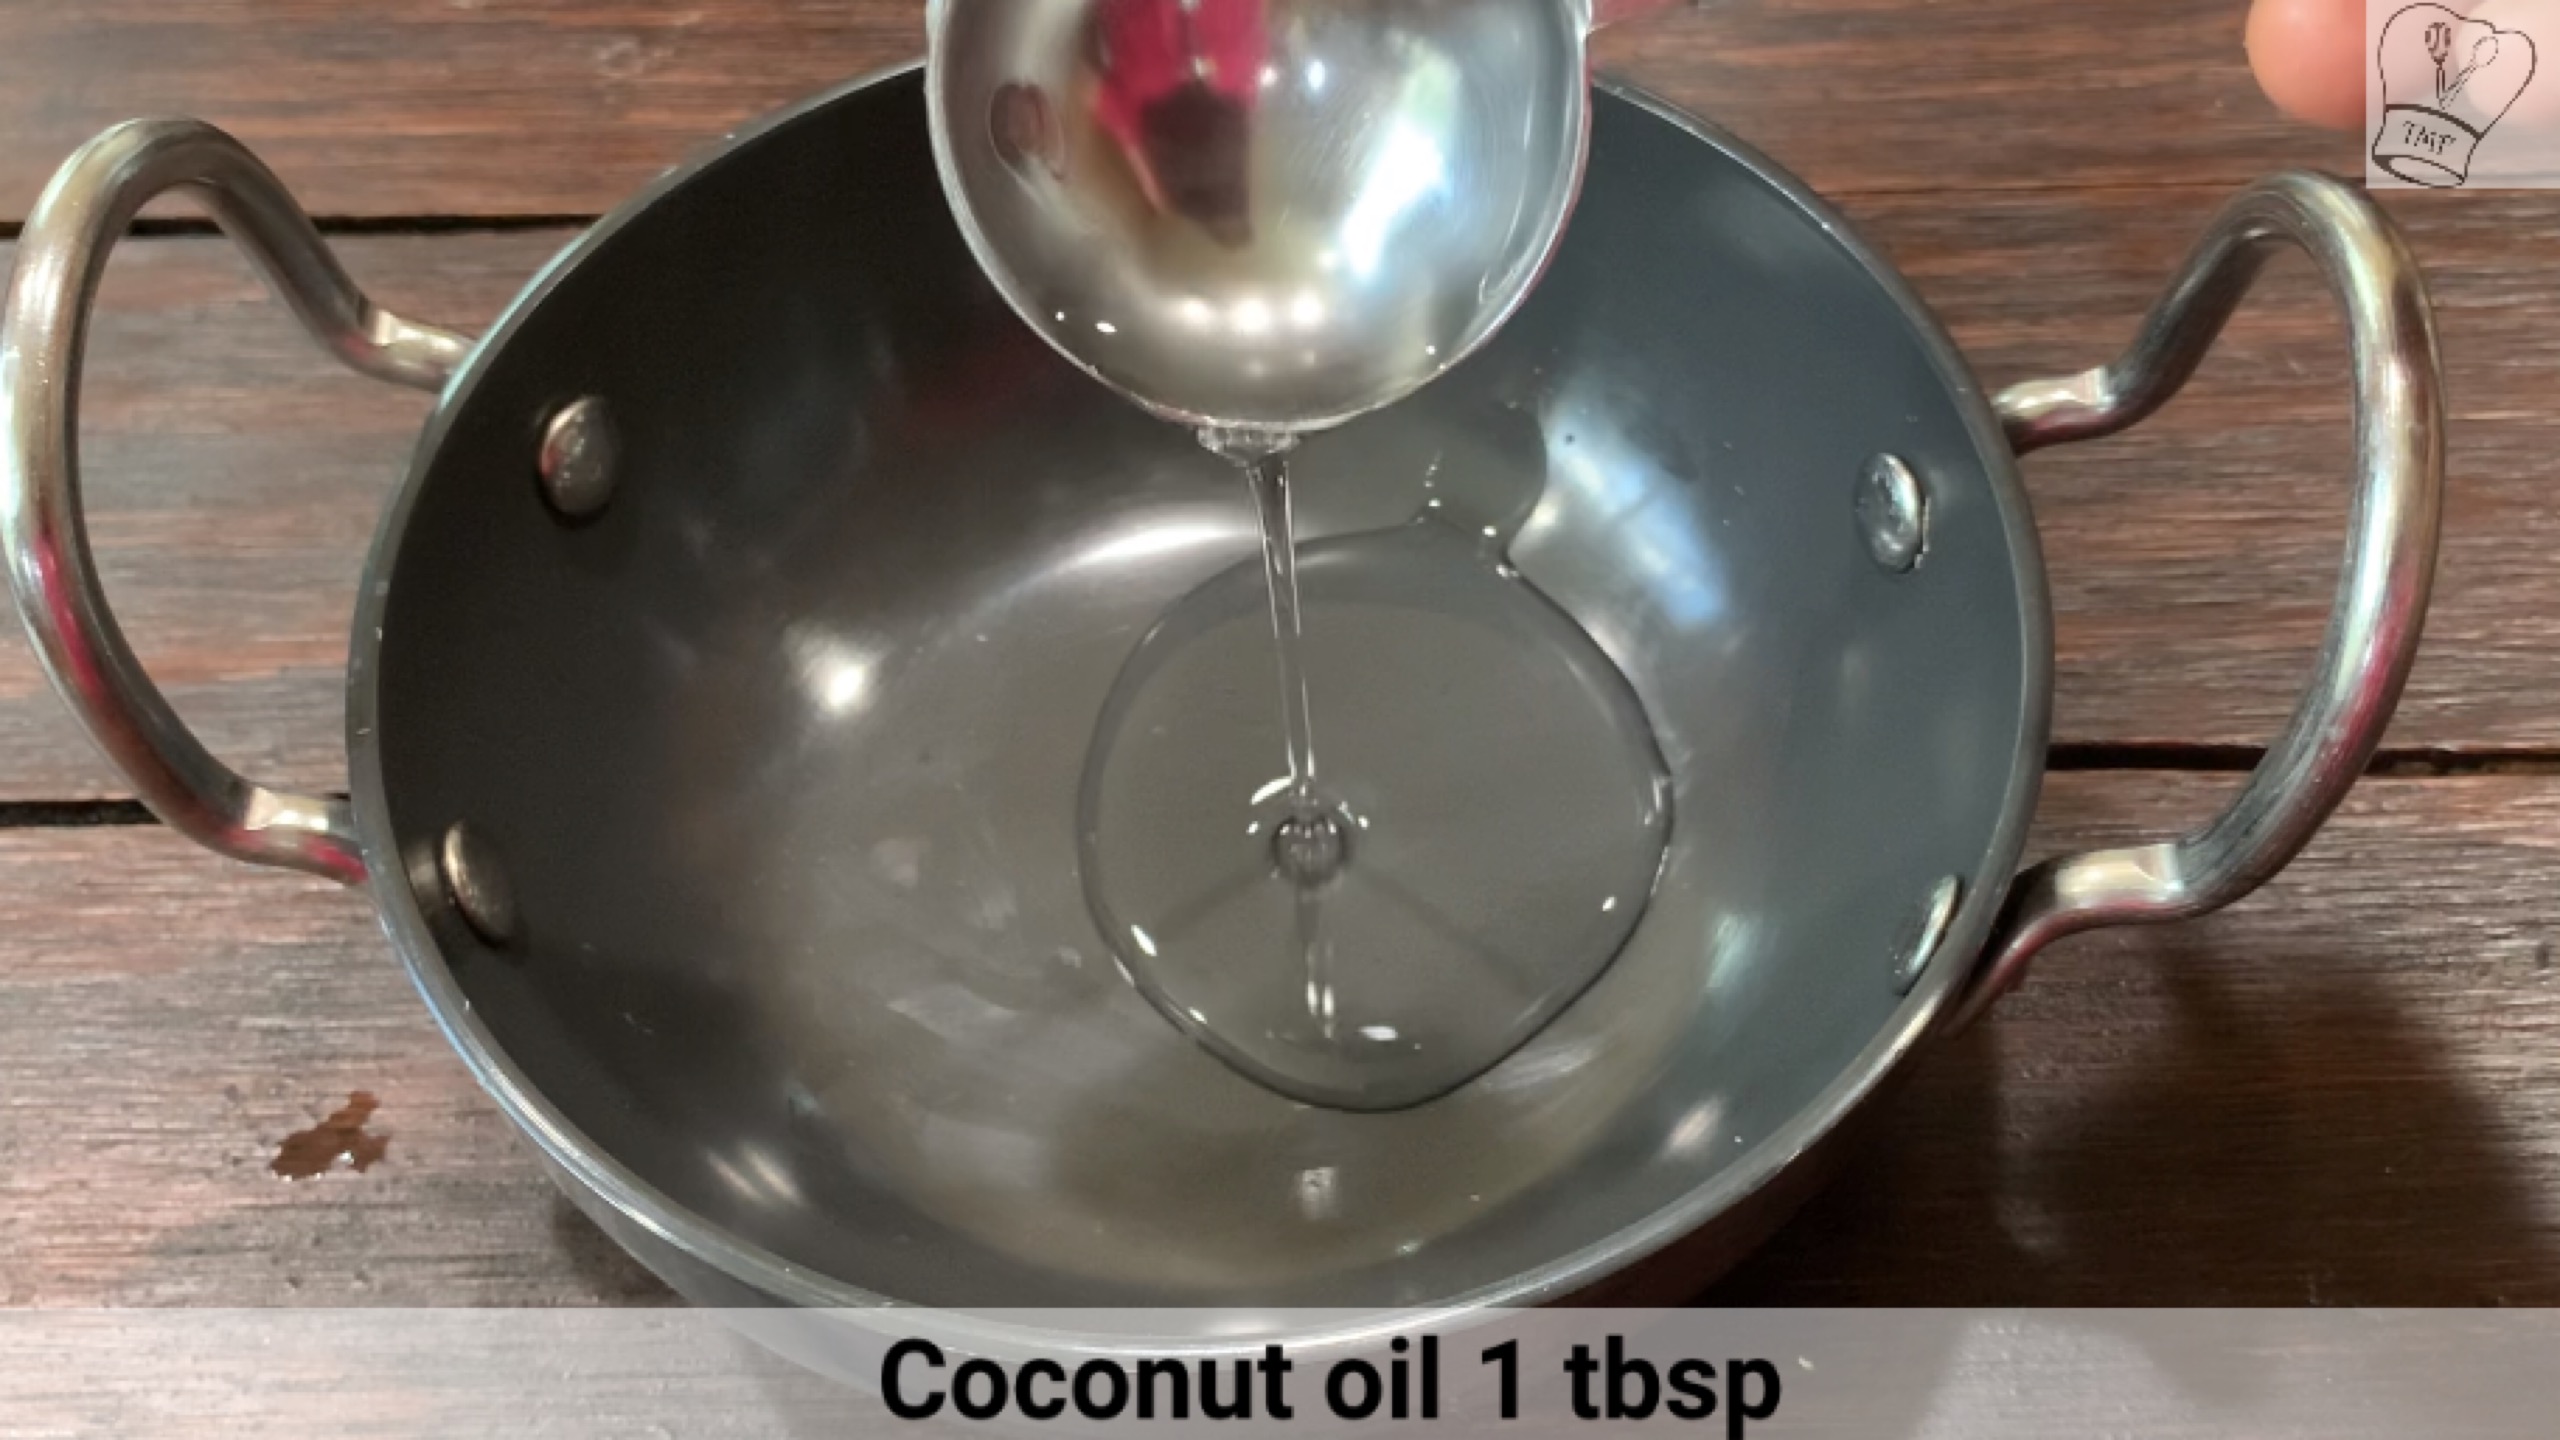
Oil - 1 tsp
To temper:
Sesame Oil - 1/2 tsp
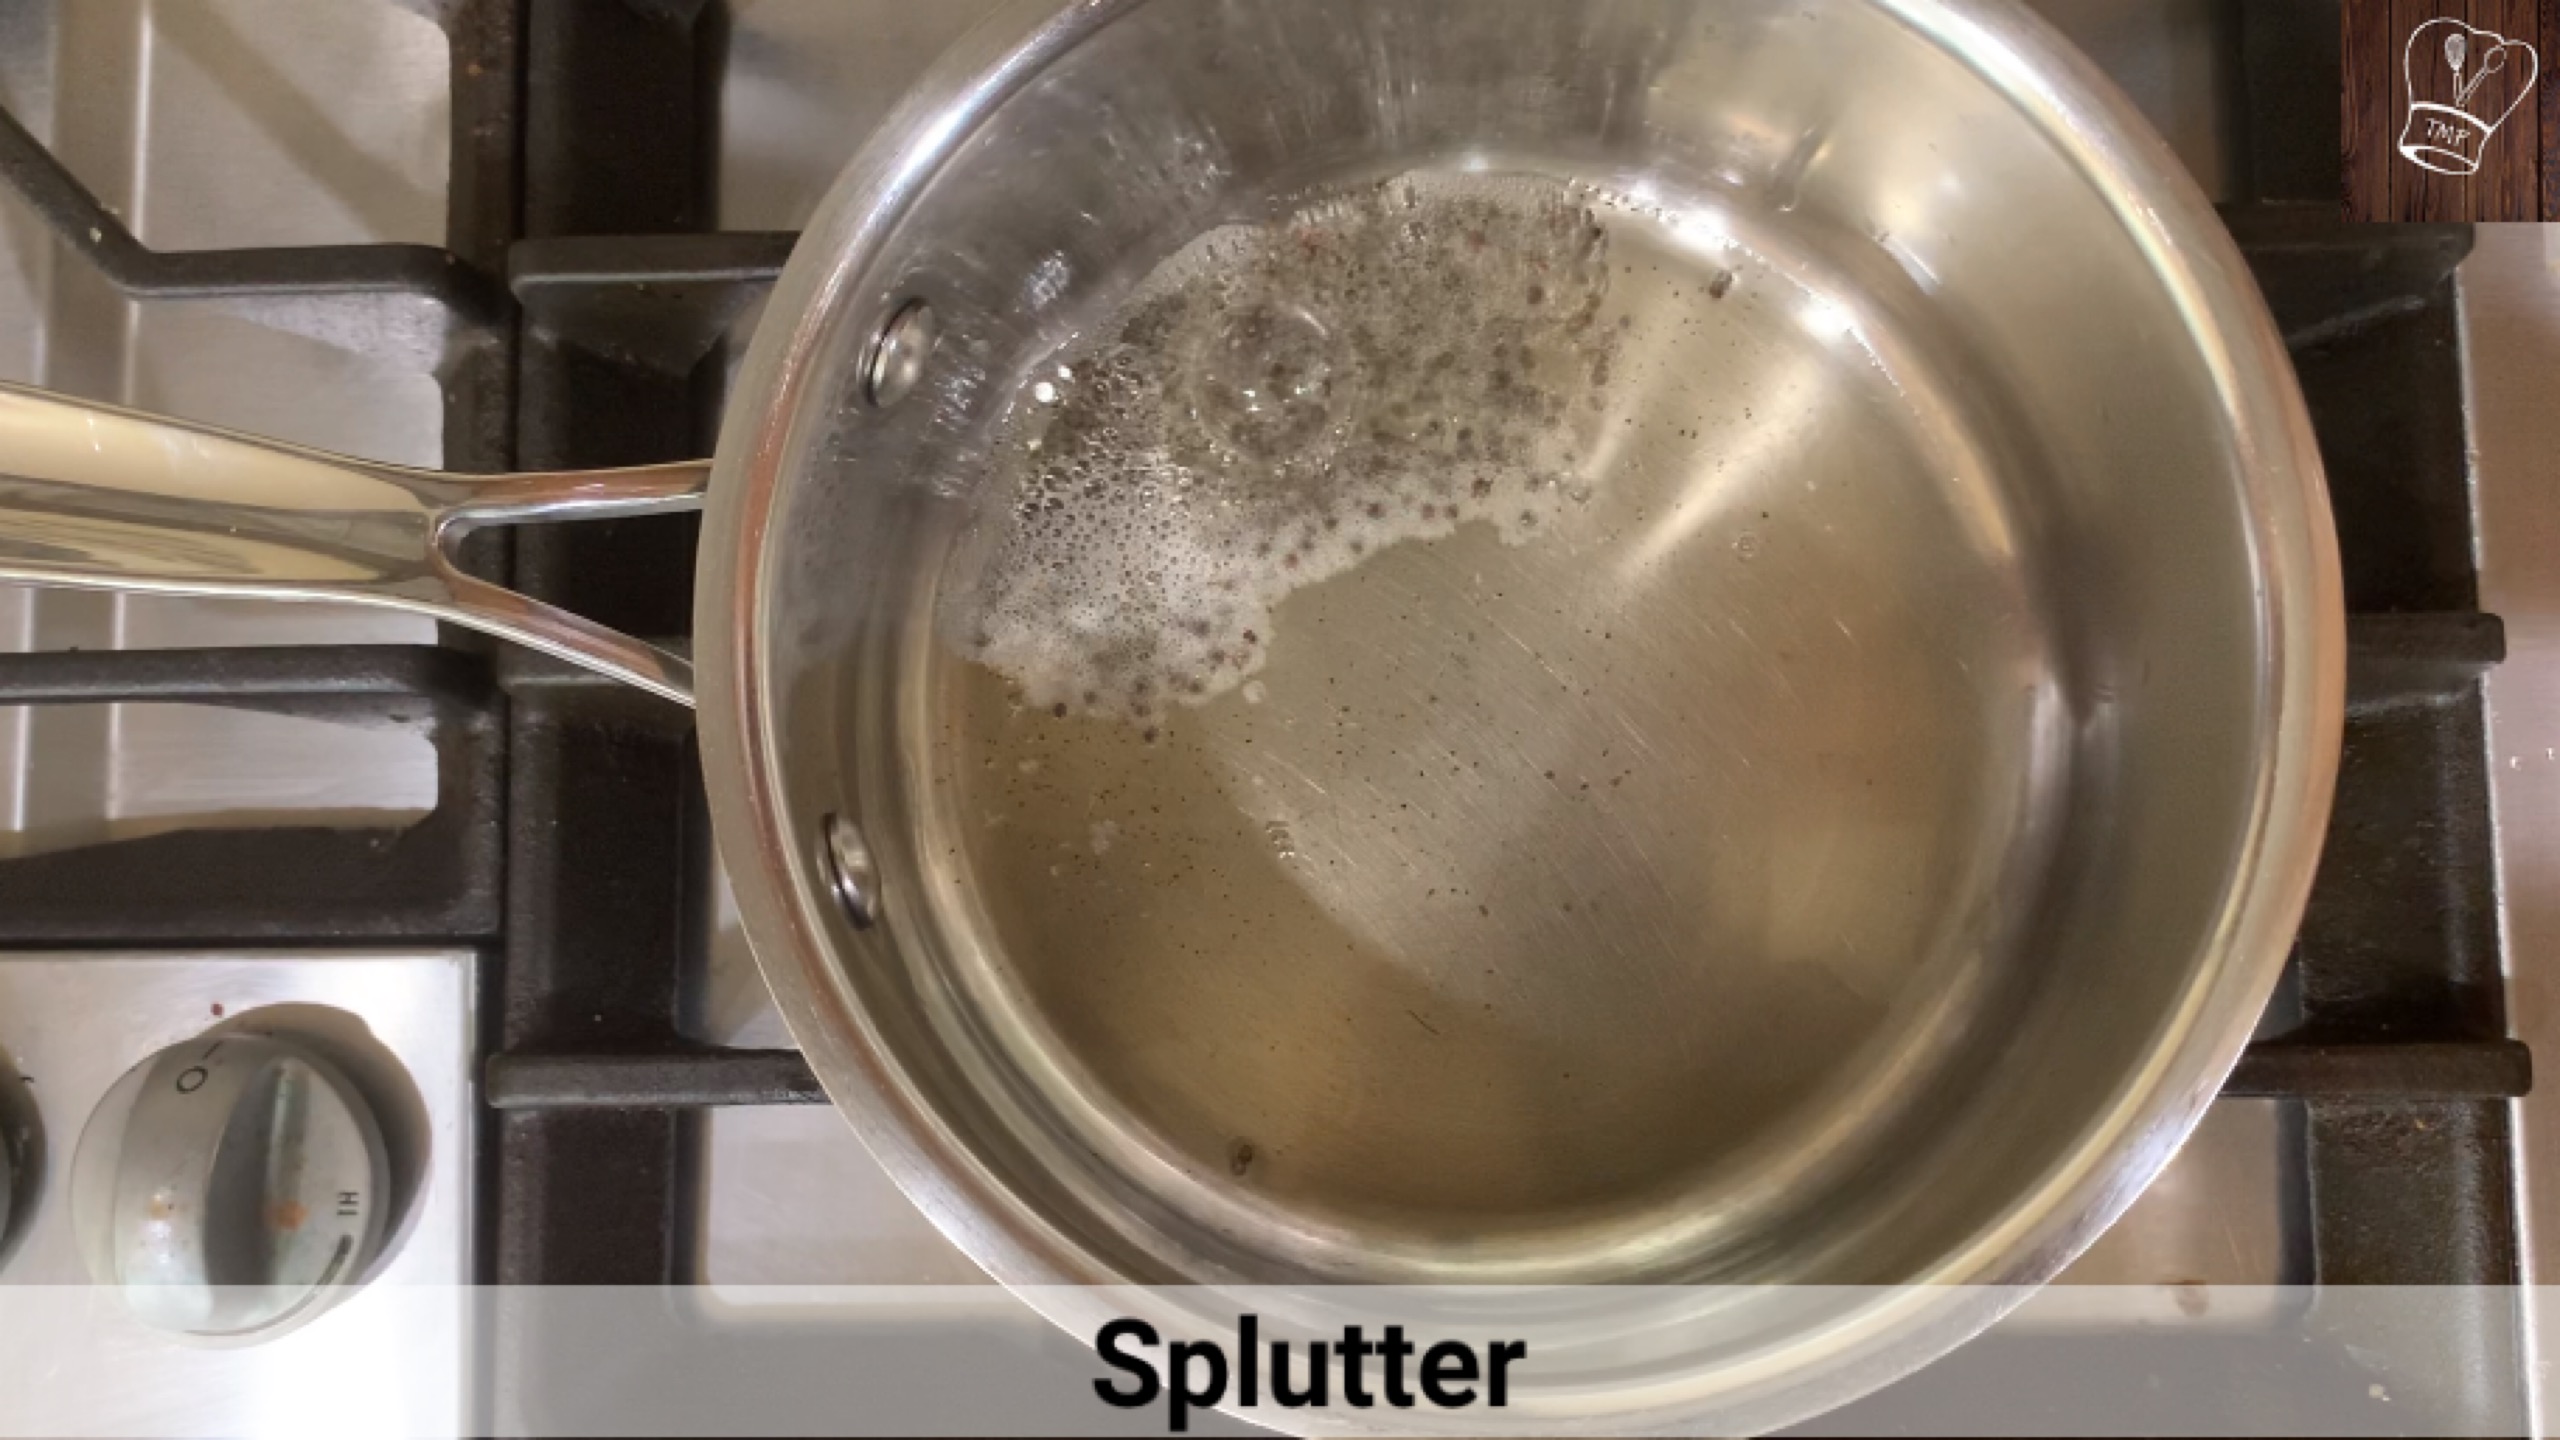
Mustard seeds -1/4 tsp
Channa dal - 1 tsp
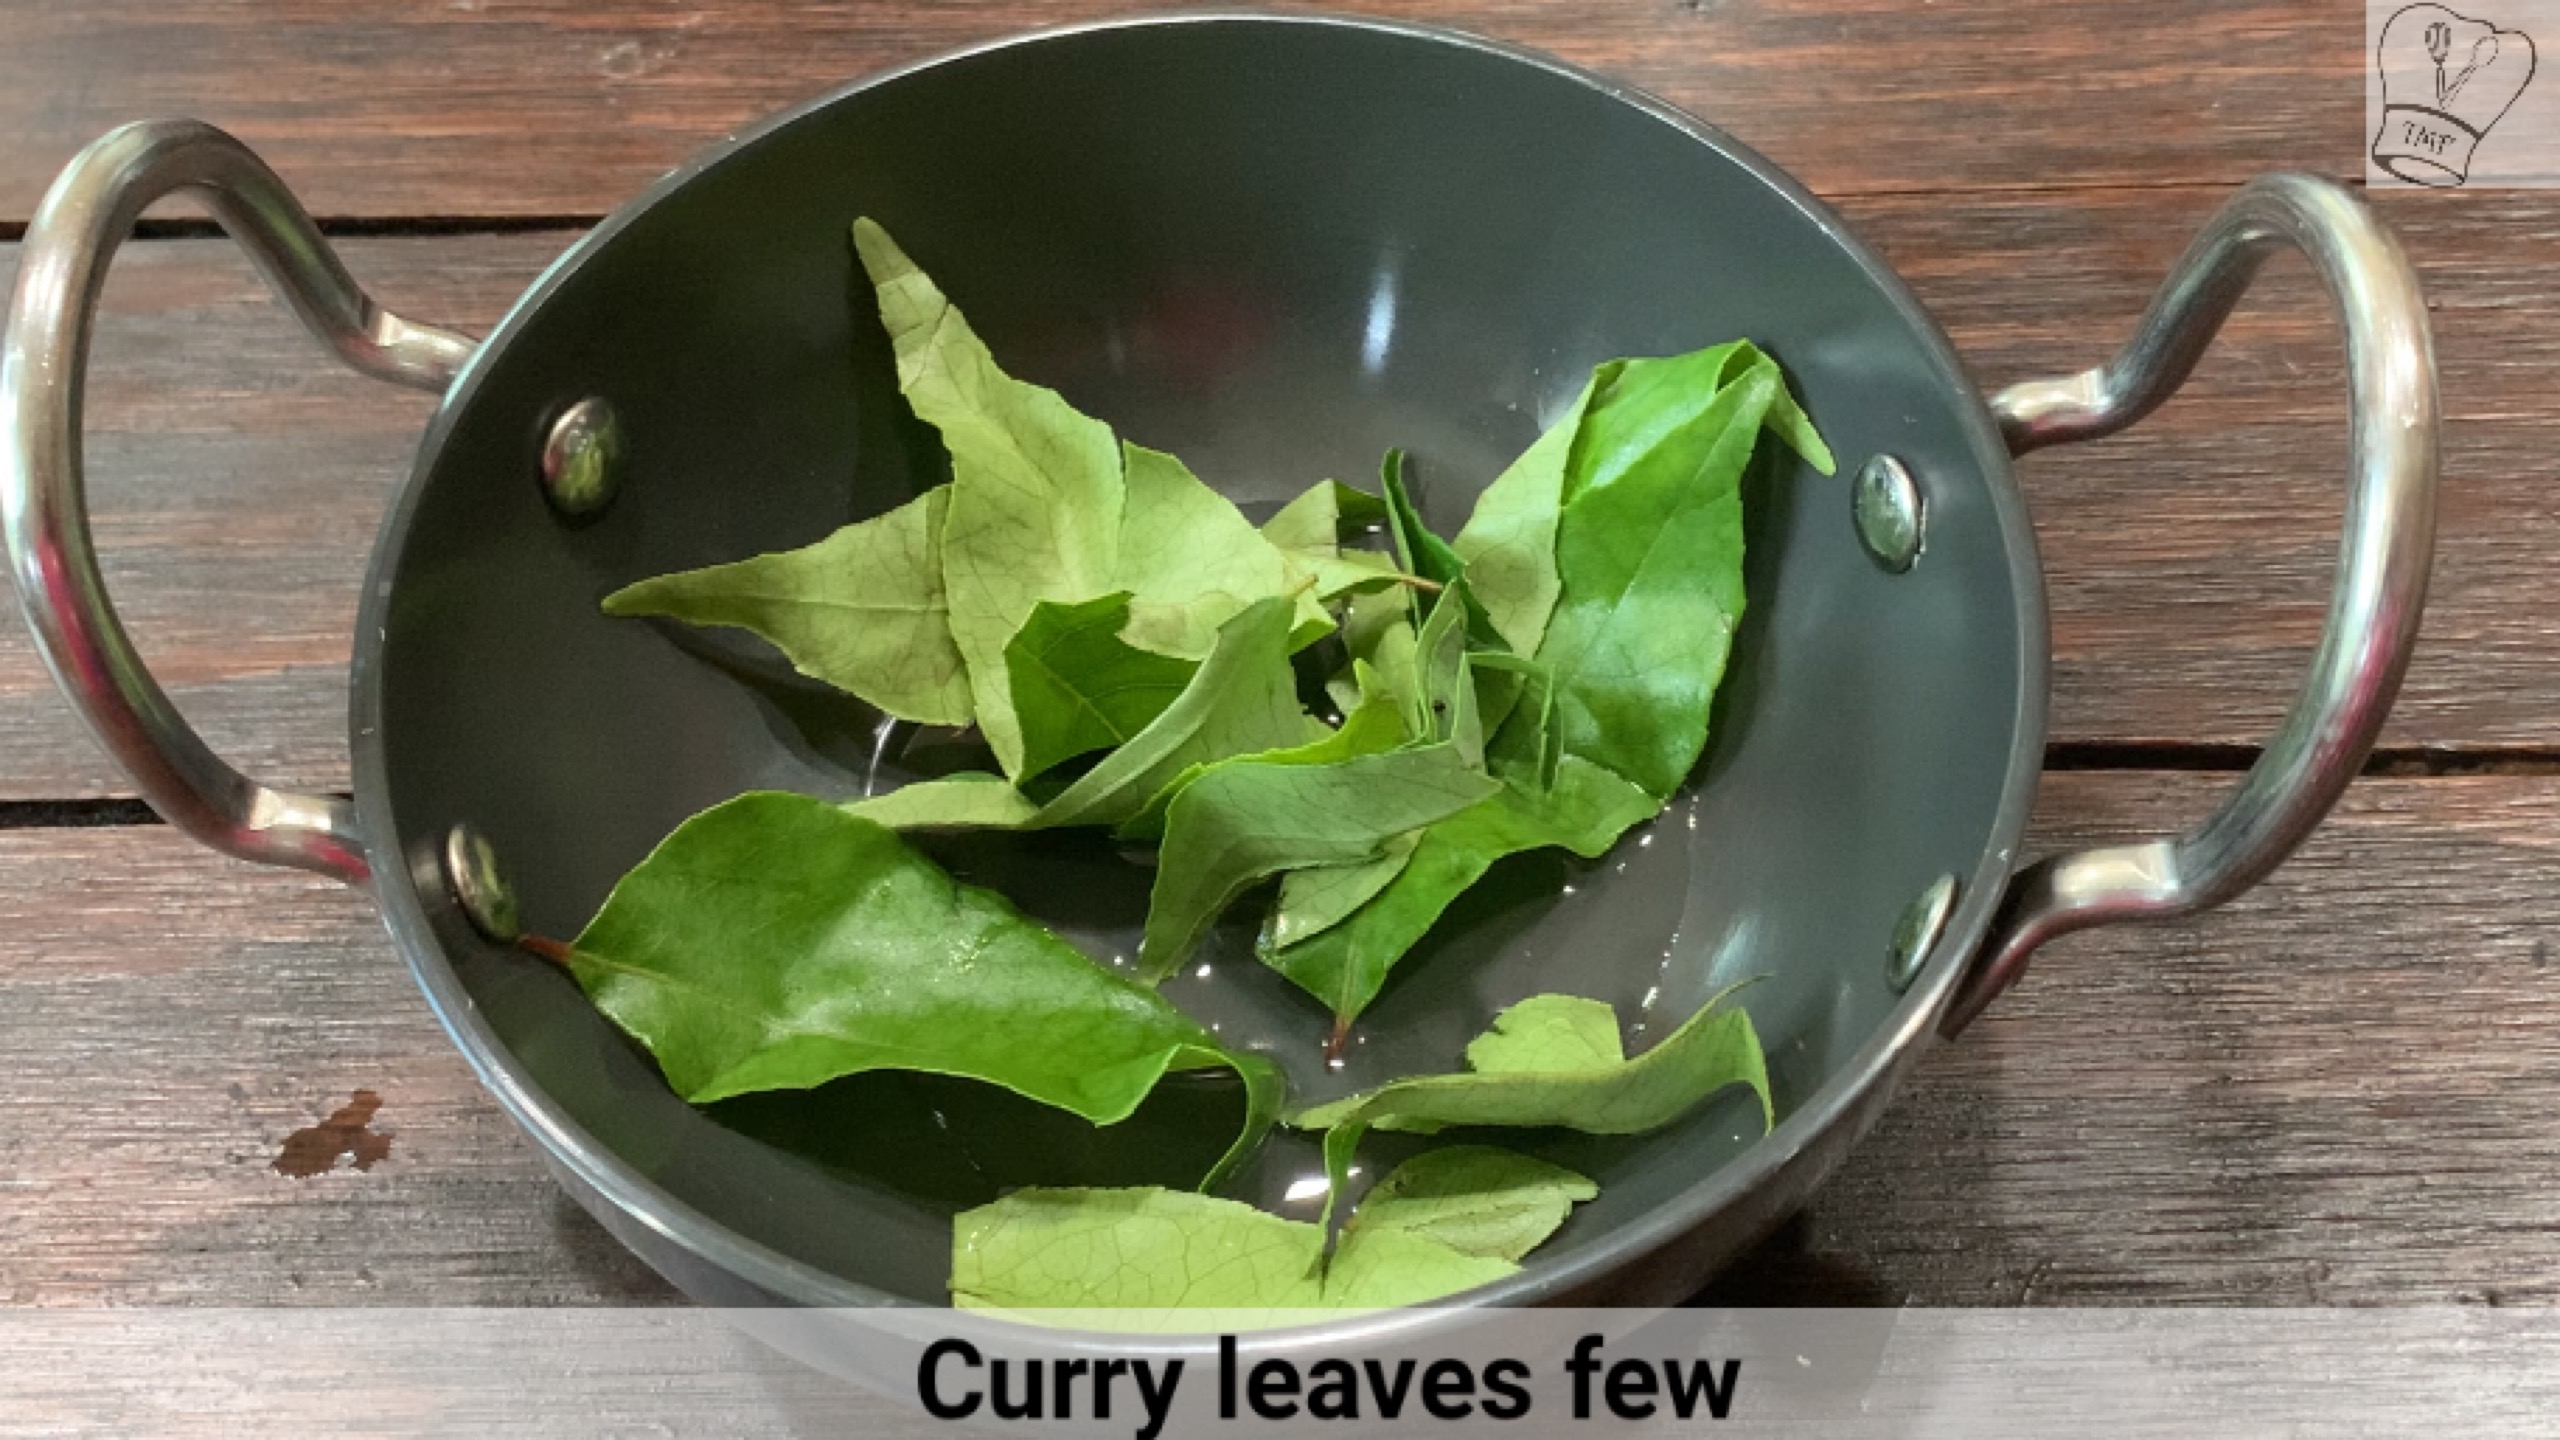
Curry leaves - 1 sprig
Spice Powder:
Channa Dal – 1 tbsp
Coriander seed – 1 tbsp
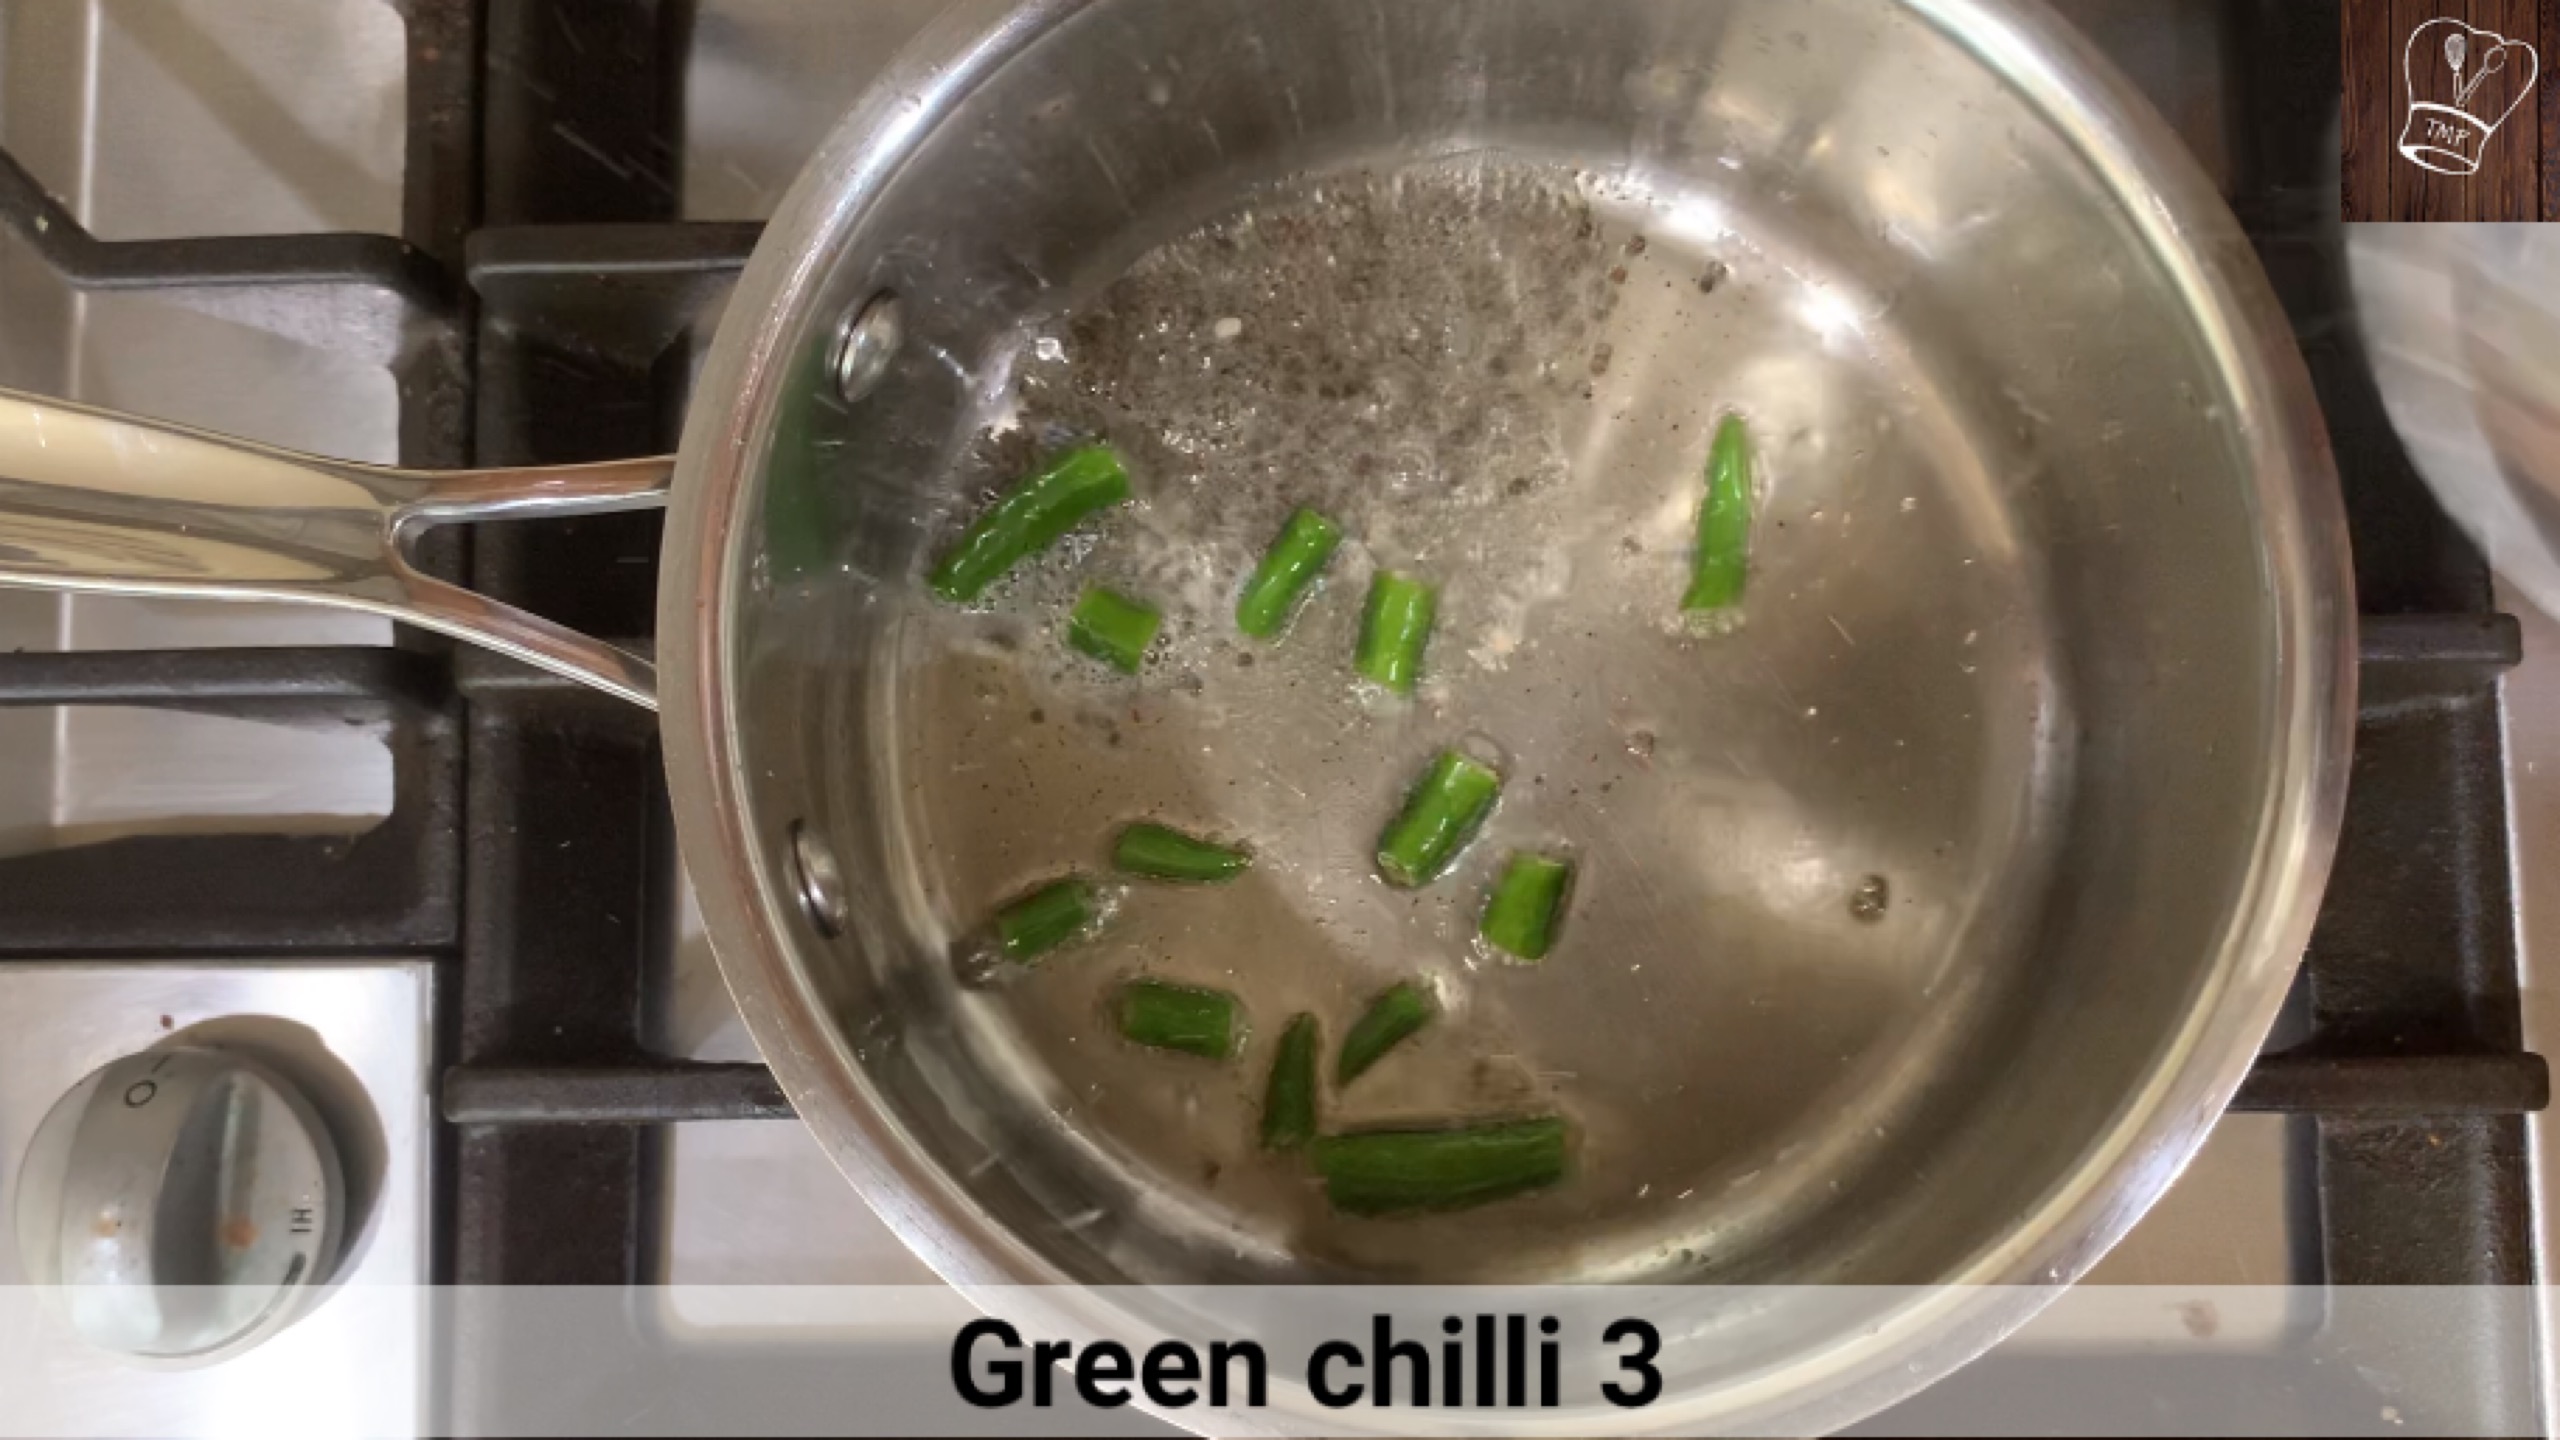
Dry Red Chilli – 2 (According to your spice level)
How to make sweet mini pepper rice with step-by-step pictures:
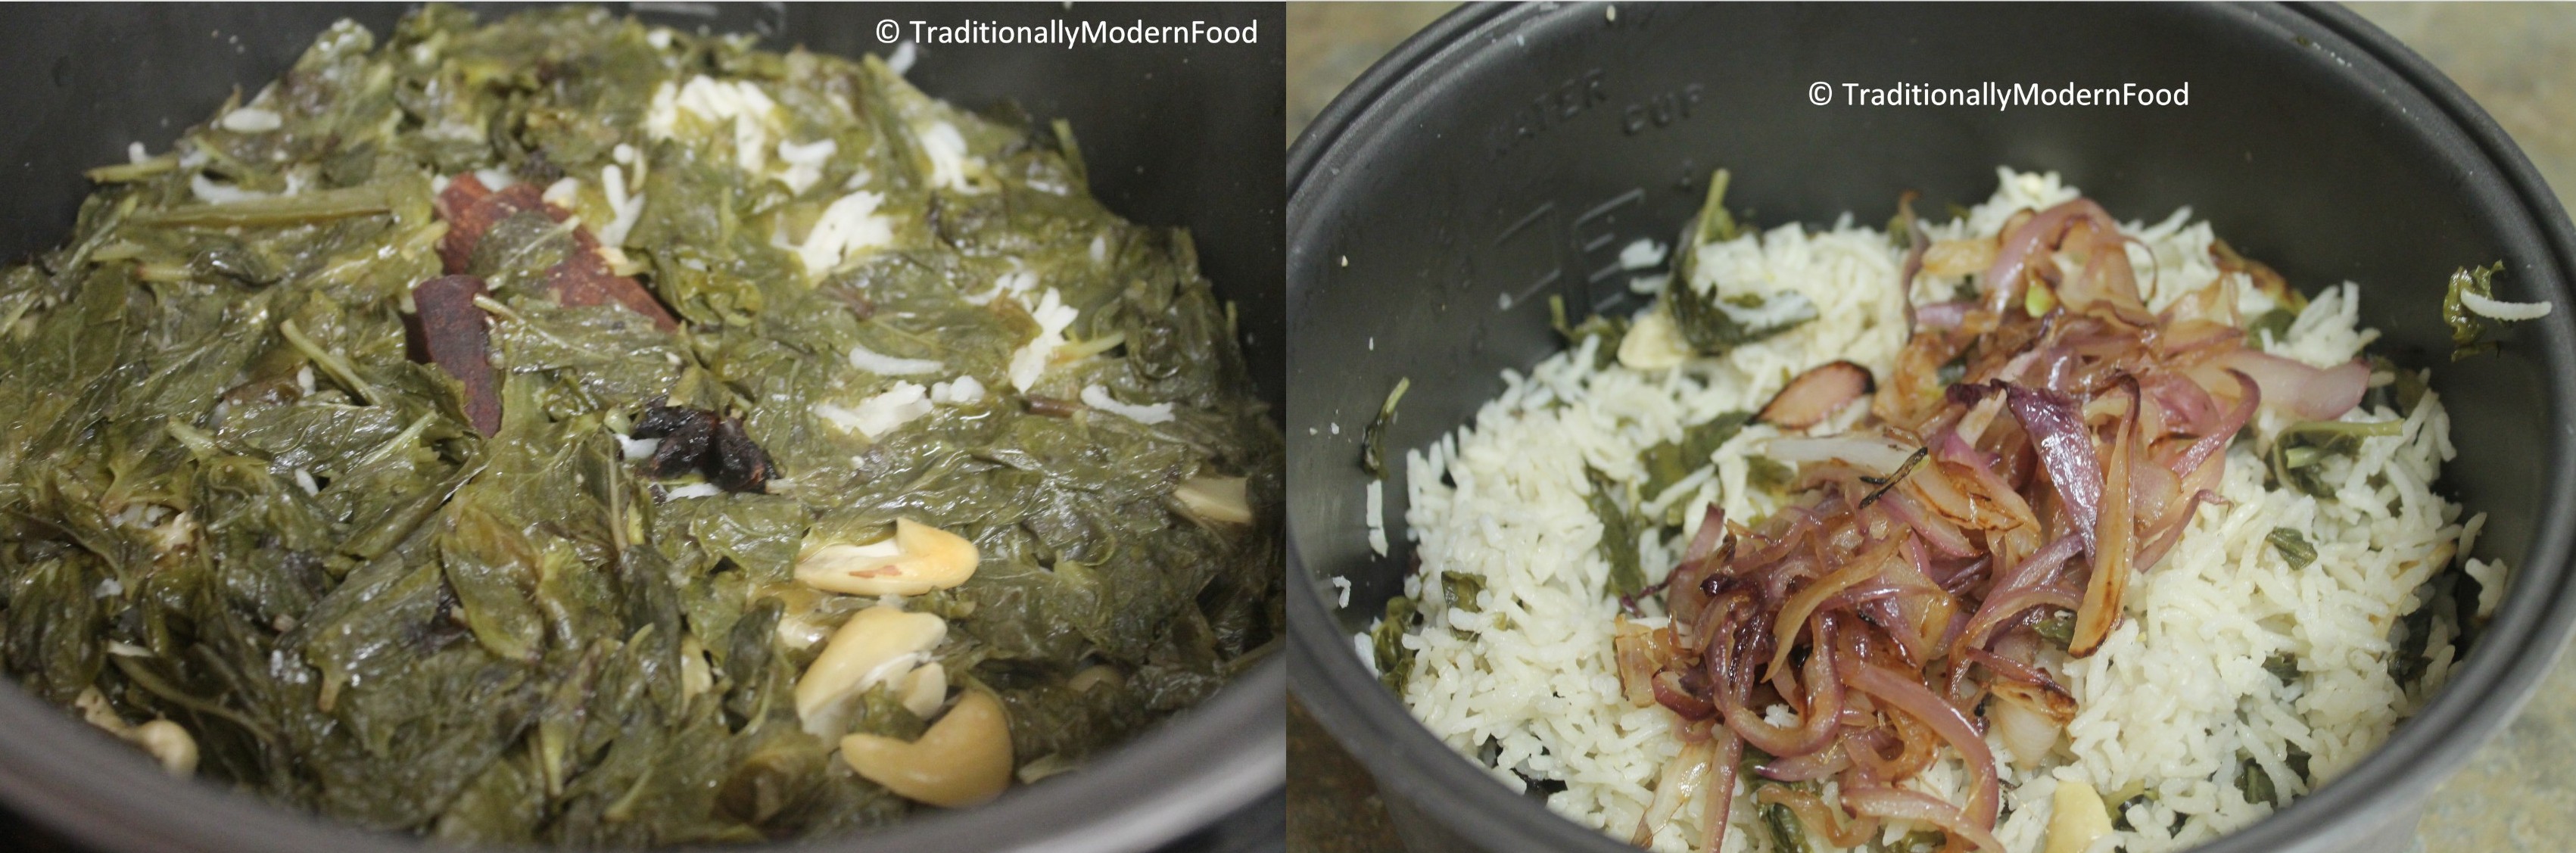
- Cook rice with 1:2 water for 2 whistles, and after the steam is naturally released, spread the rice in a wide pan
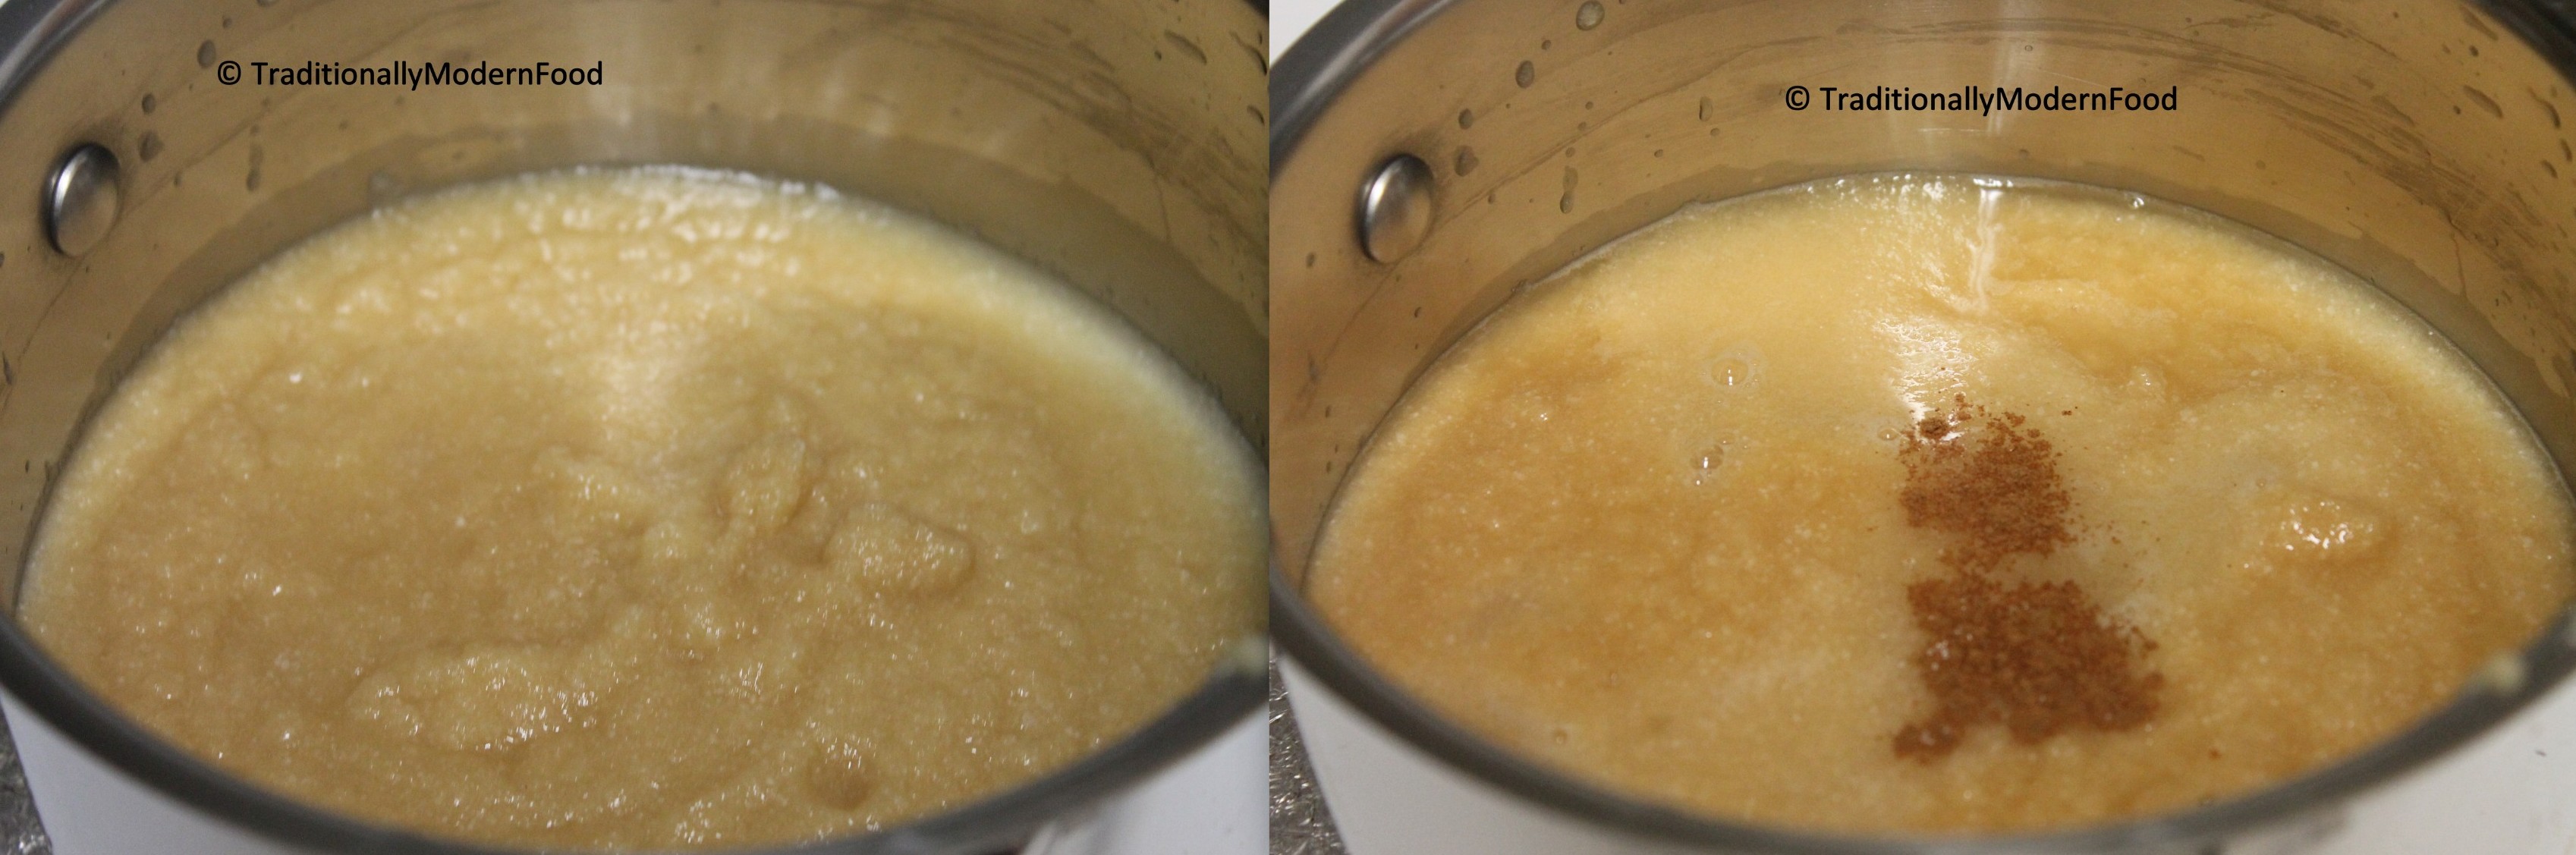
- Dry roast all the ingredients mentioned under “Spice Powder' till they are golden brown. Switch off and set aside. Once they come to room temperature grind them without adding water
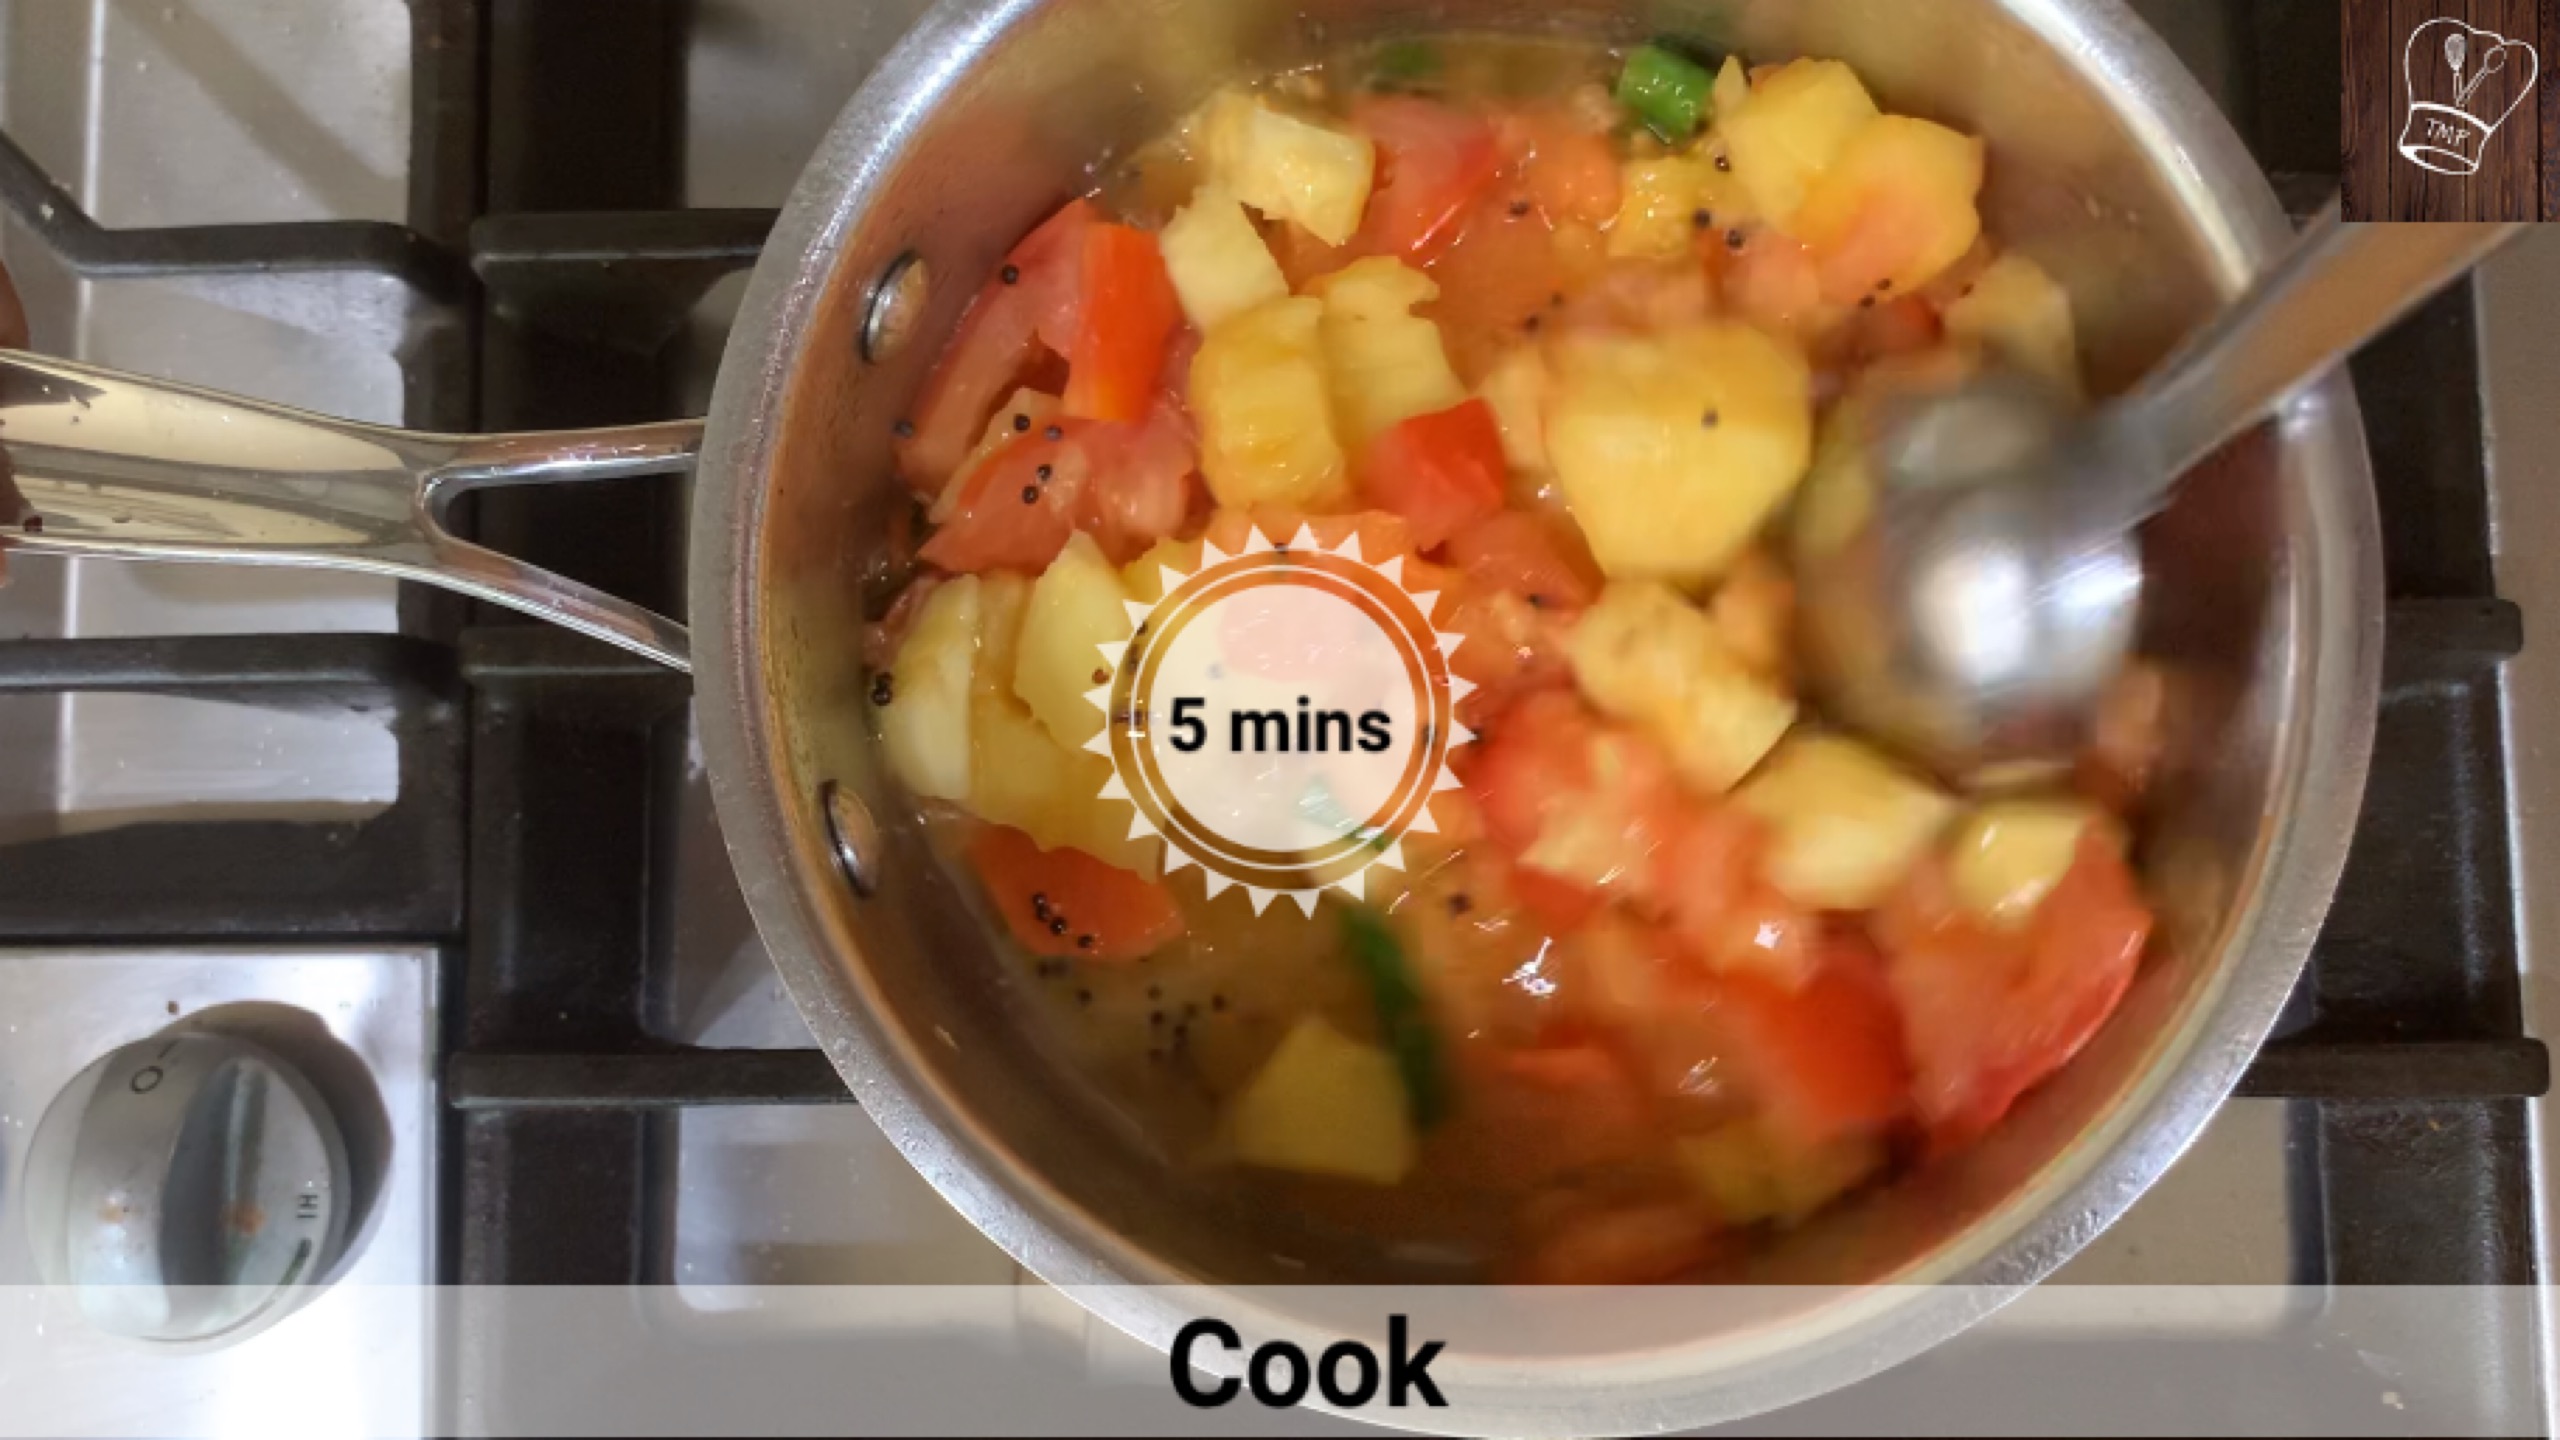
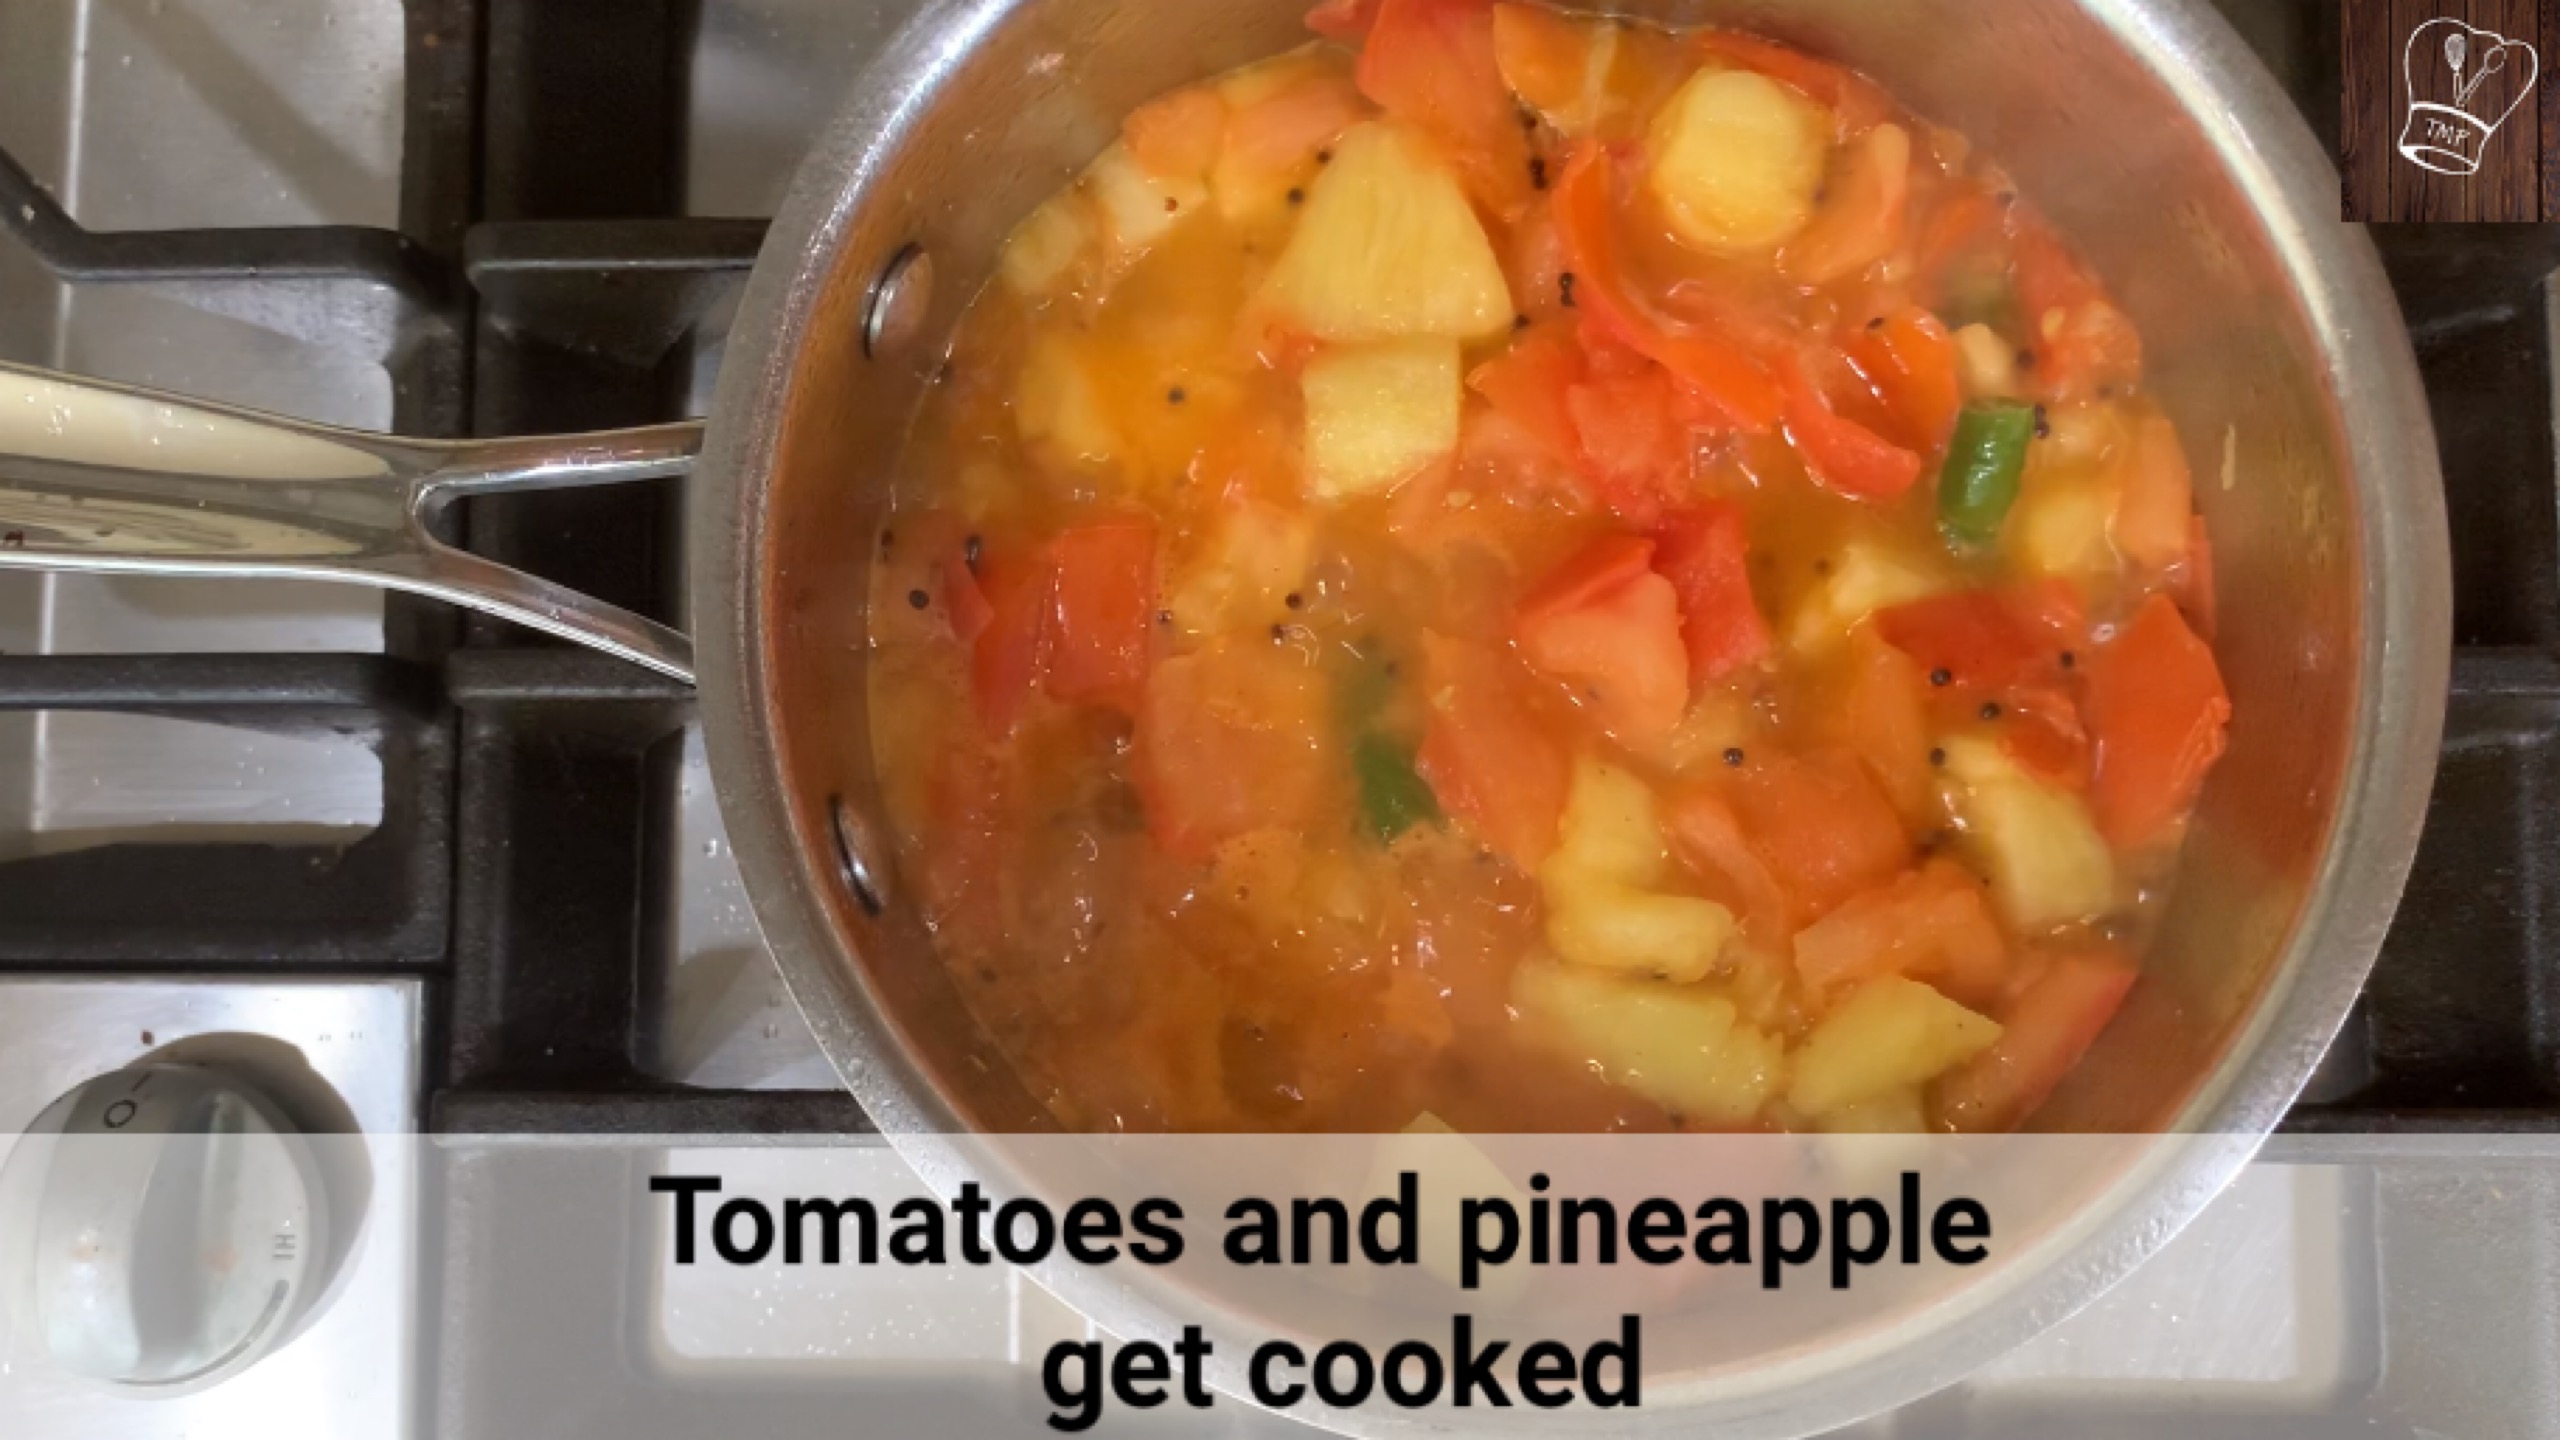
- Add 1 tsp of oil to the pan and saute the bell peppers with salt, until they are cooked
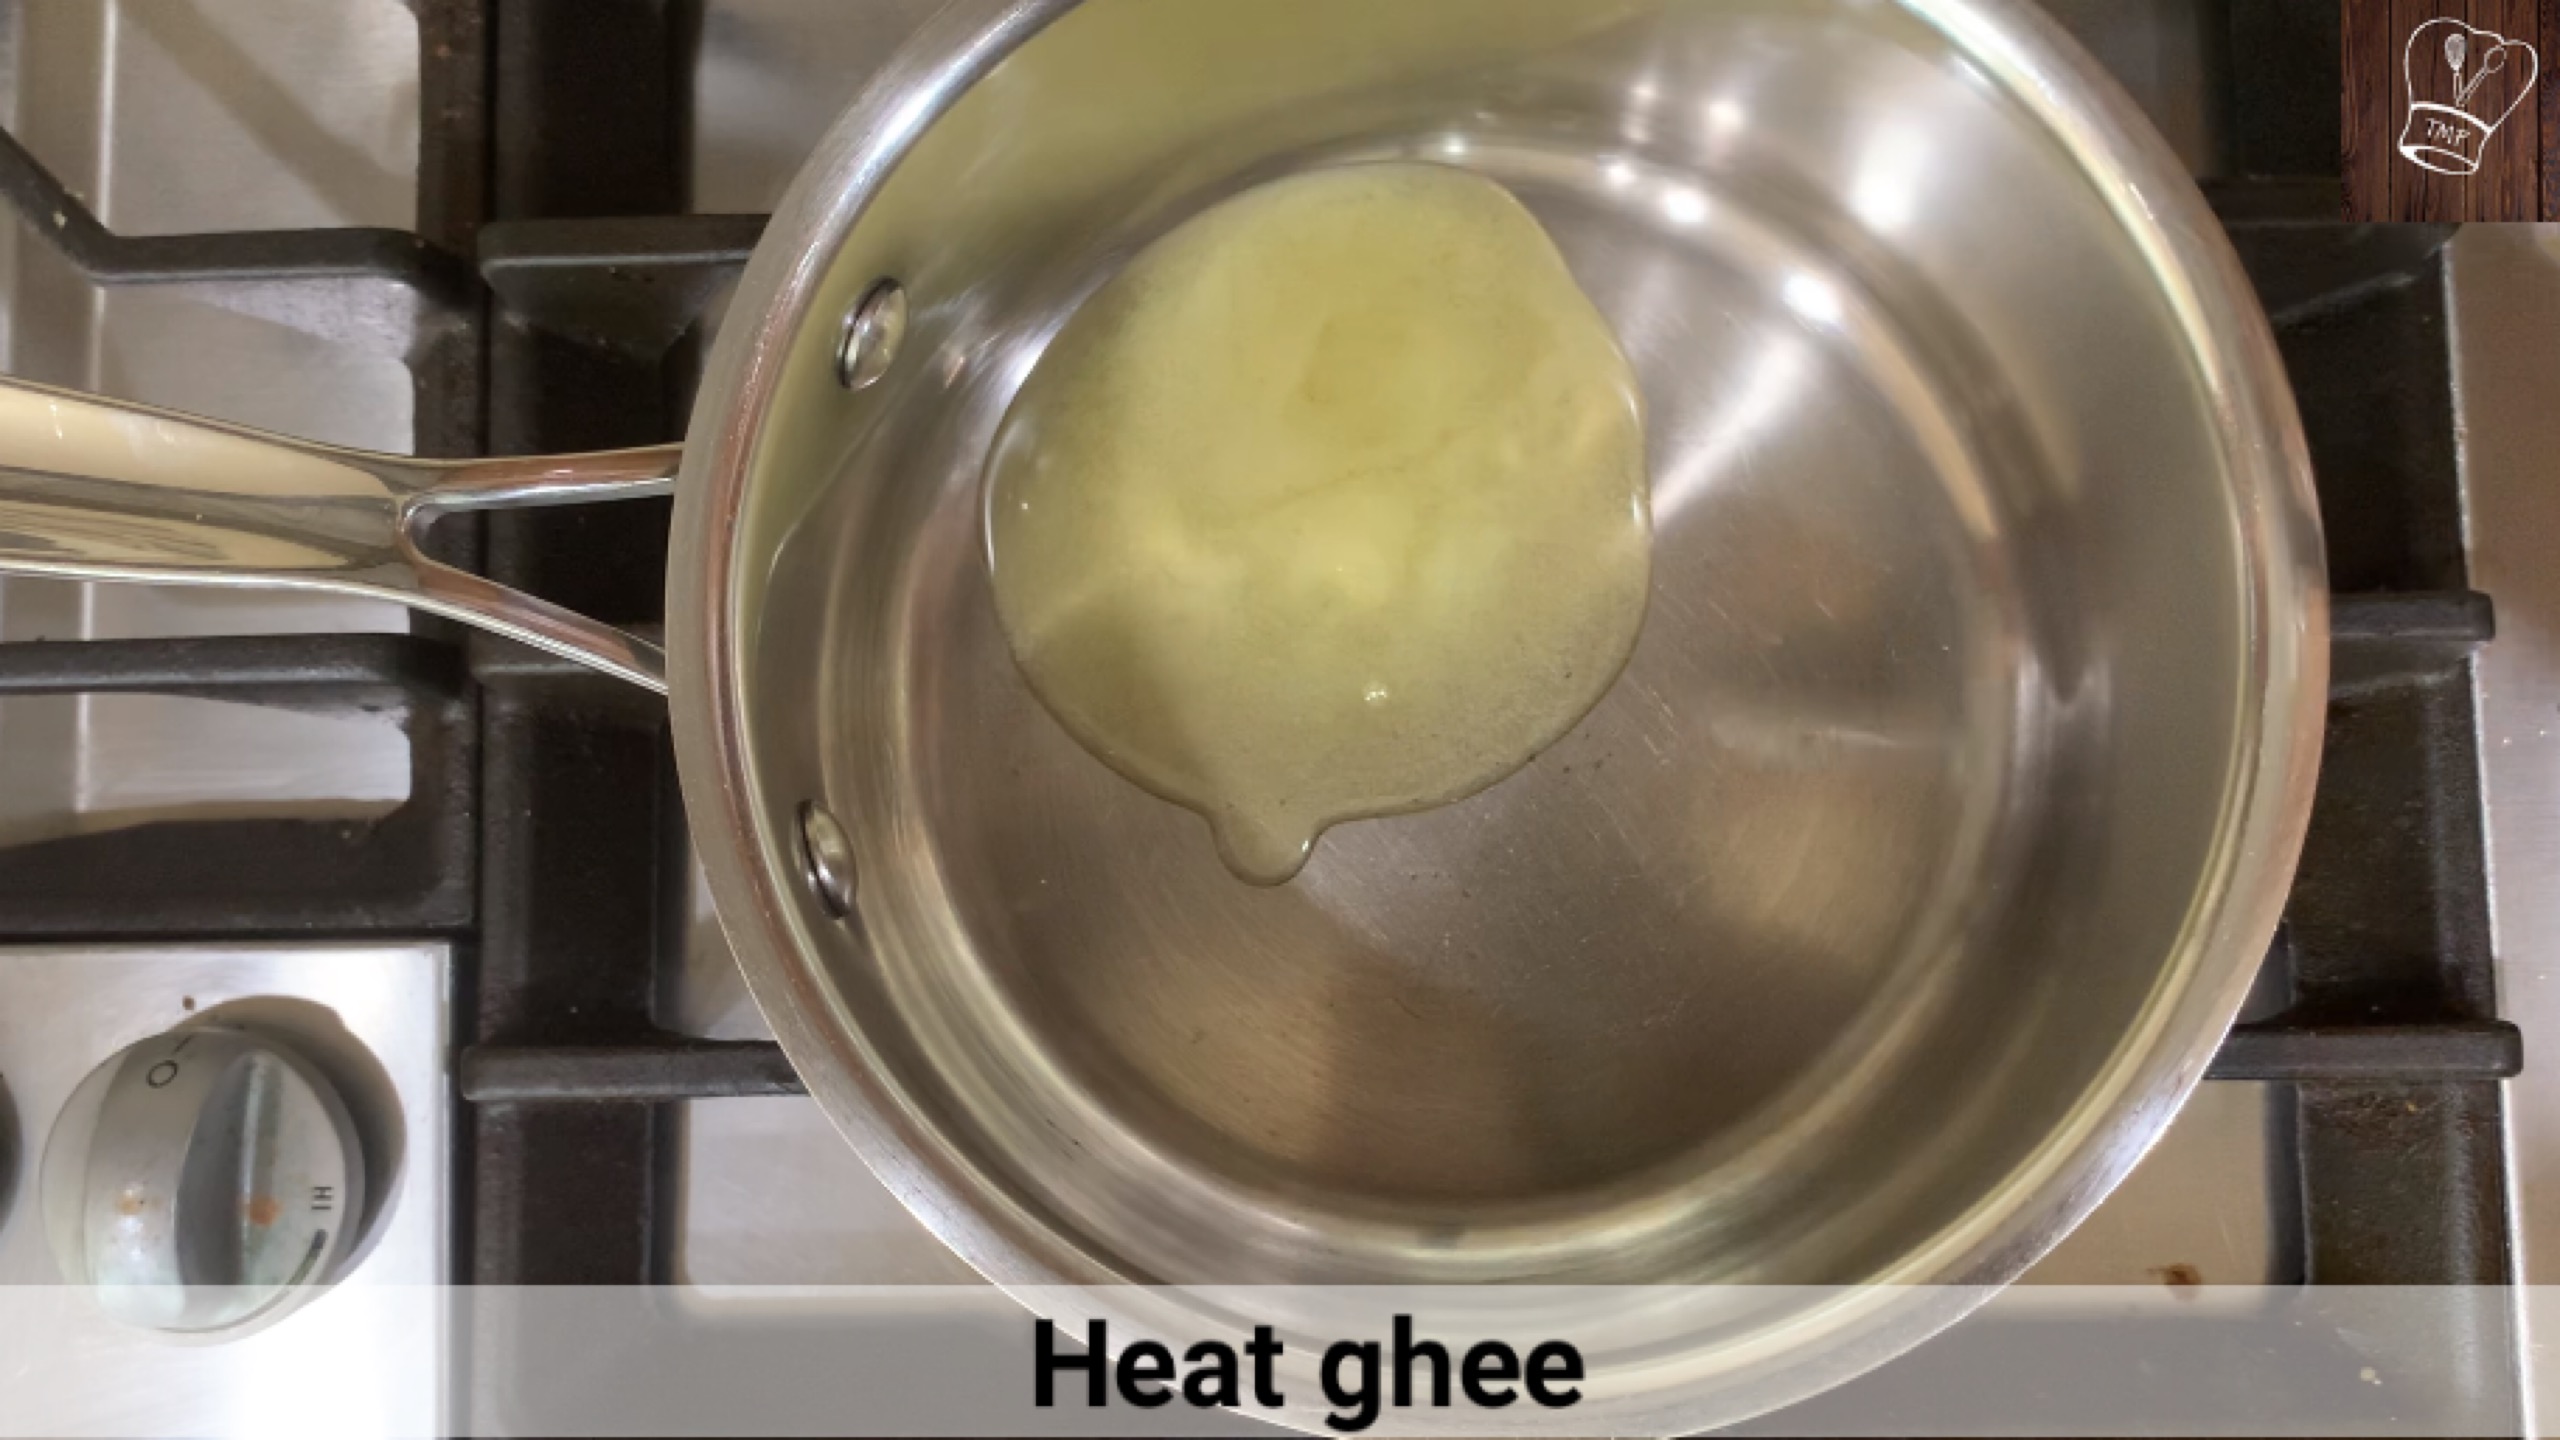
- Add 1/2 teaspoon of oil and add the mustard seeds, urad dal, channa dal, asafoetida, curry leaves, and peanuts till they become golden brown, and add the tempering to the cooked bell peppers and keep aside

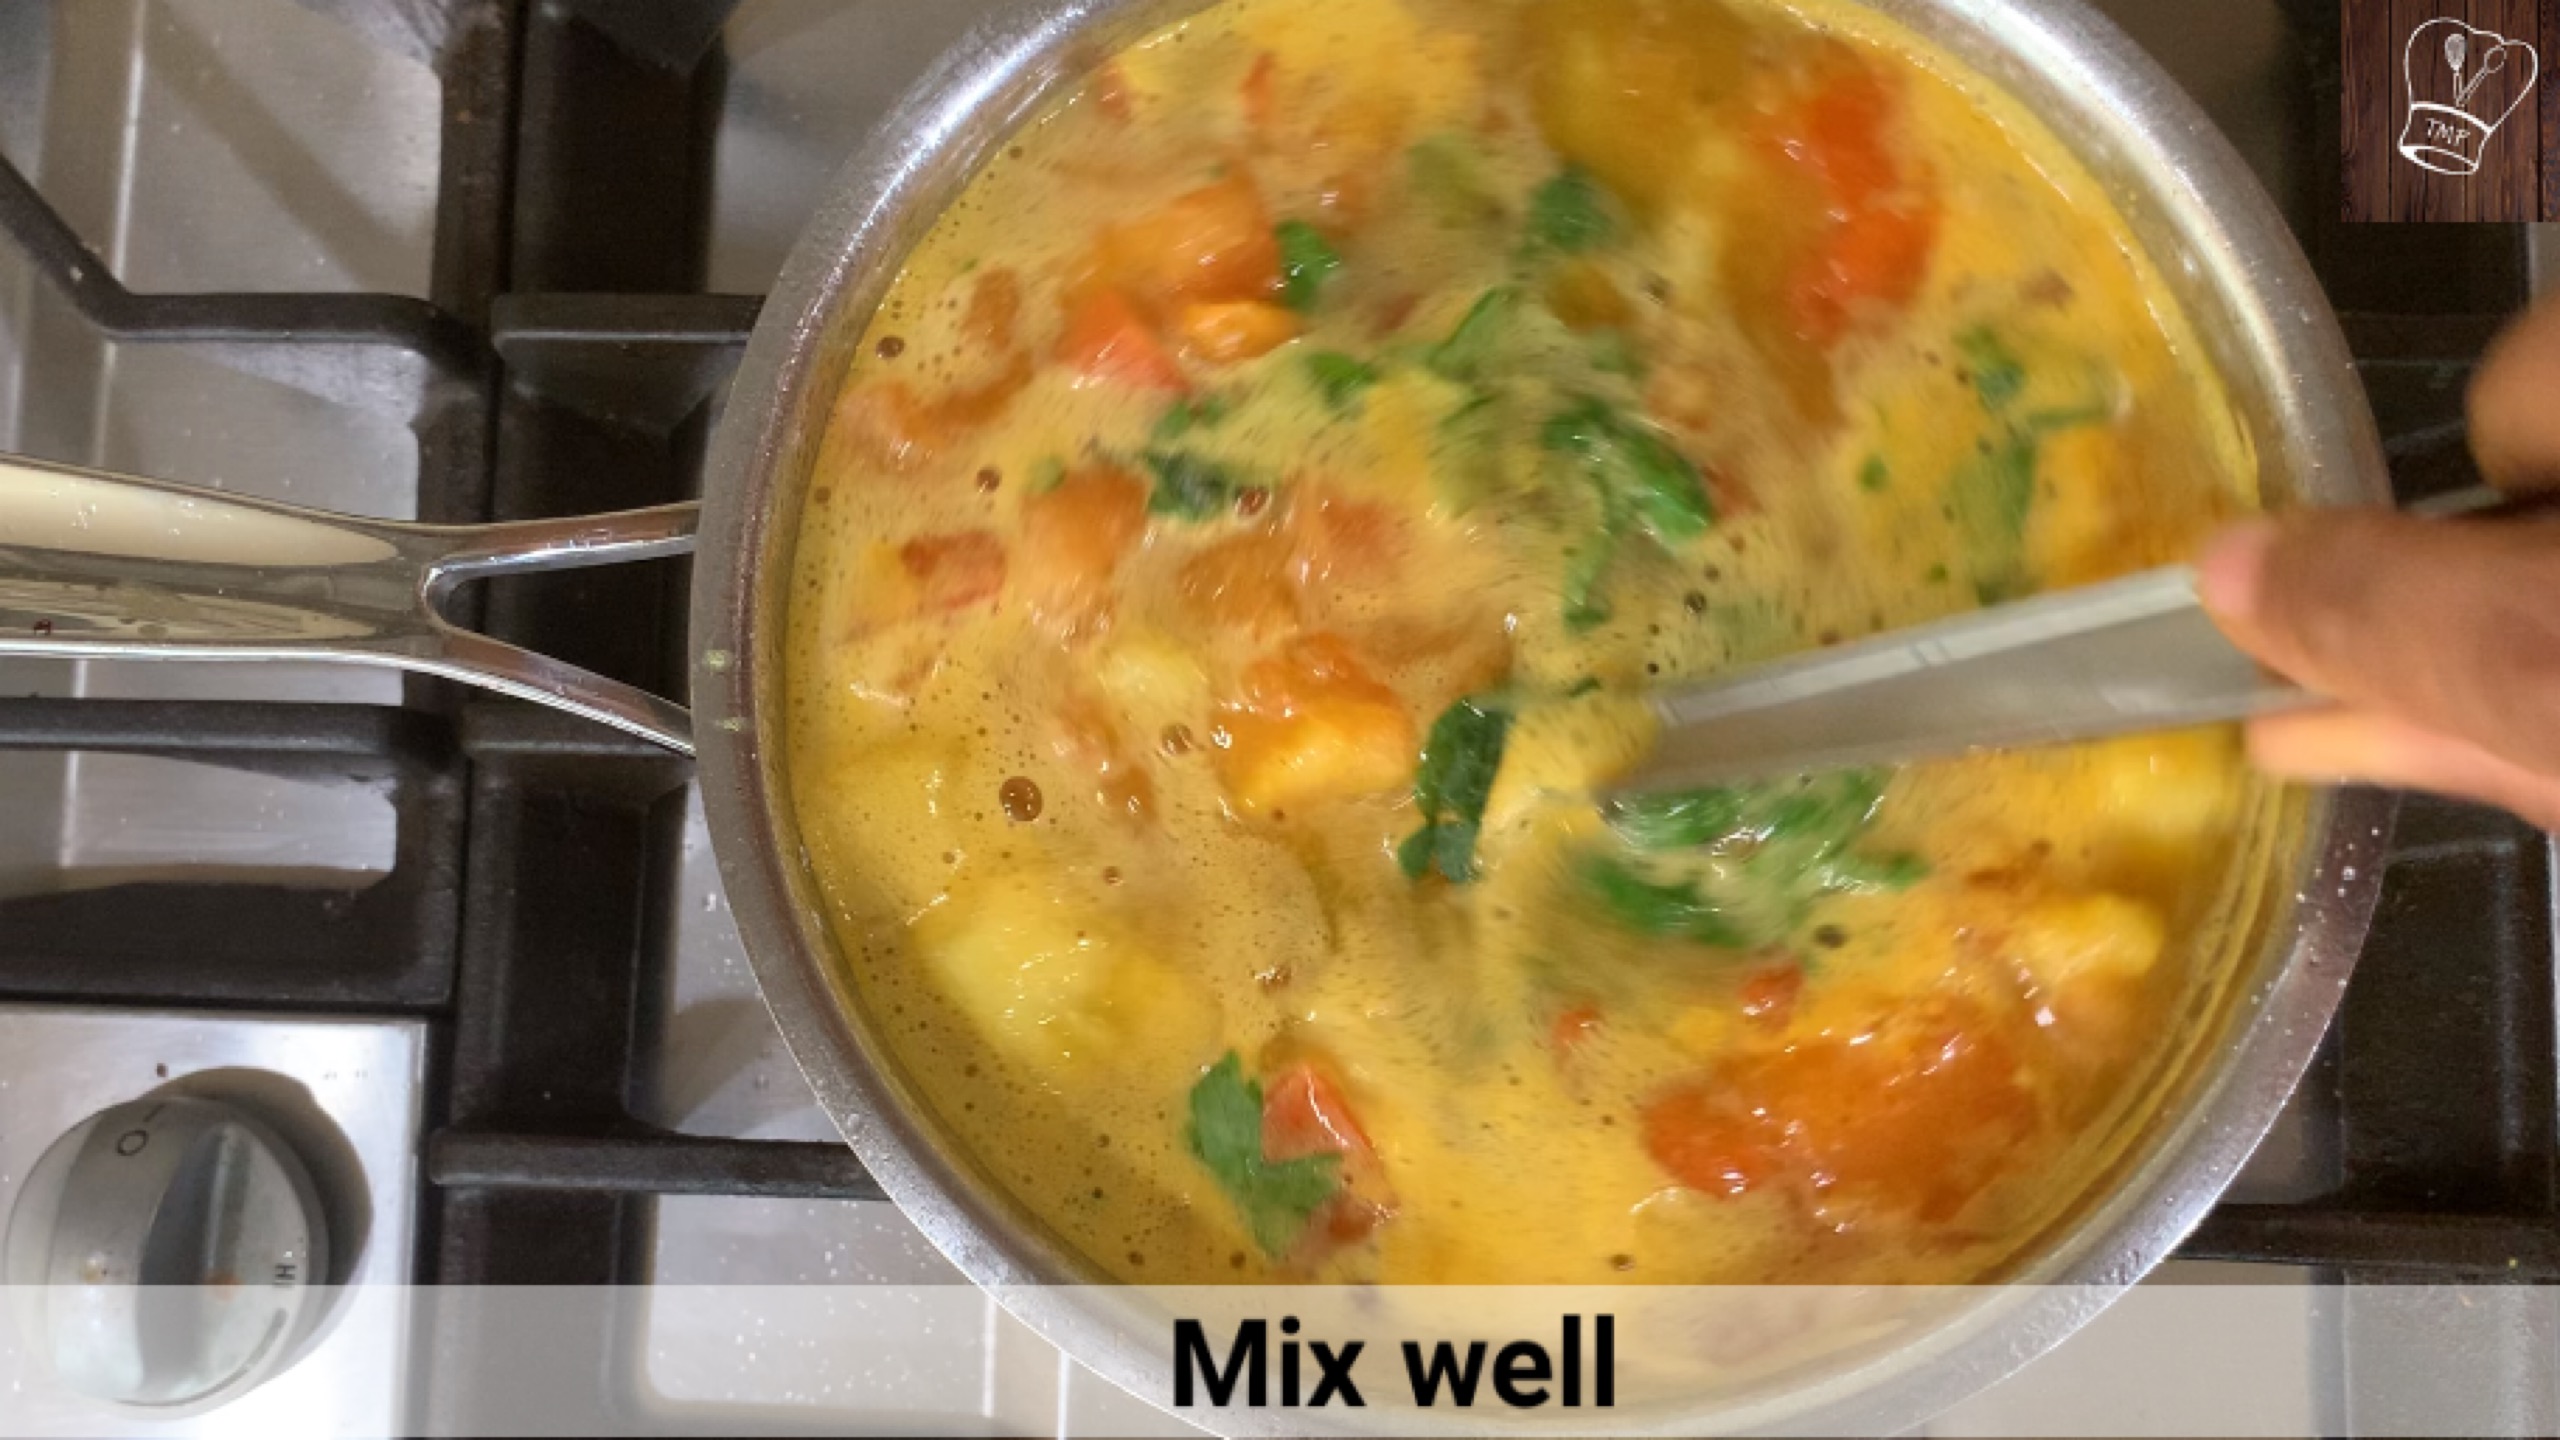
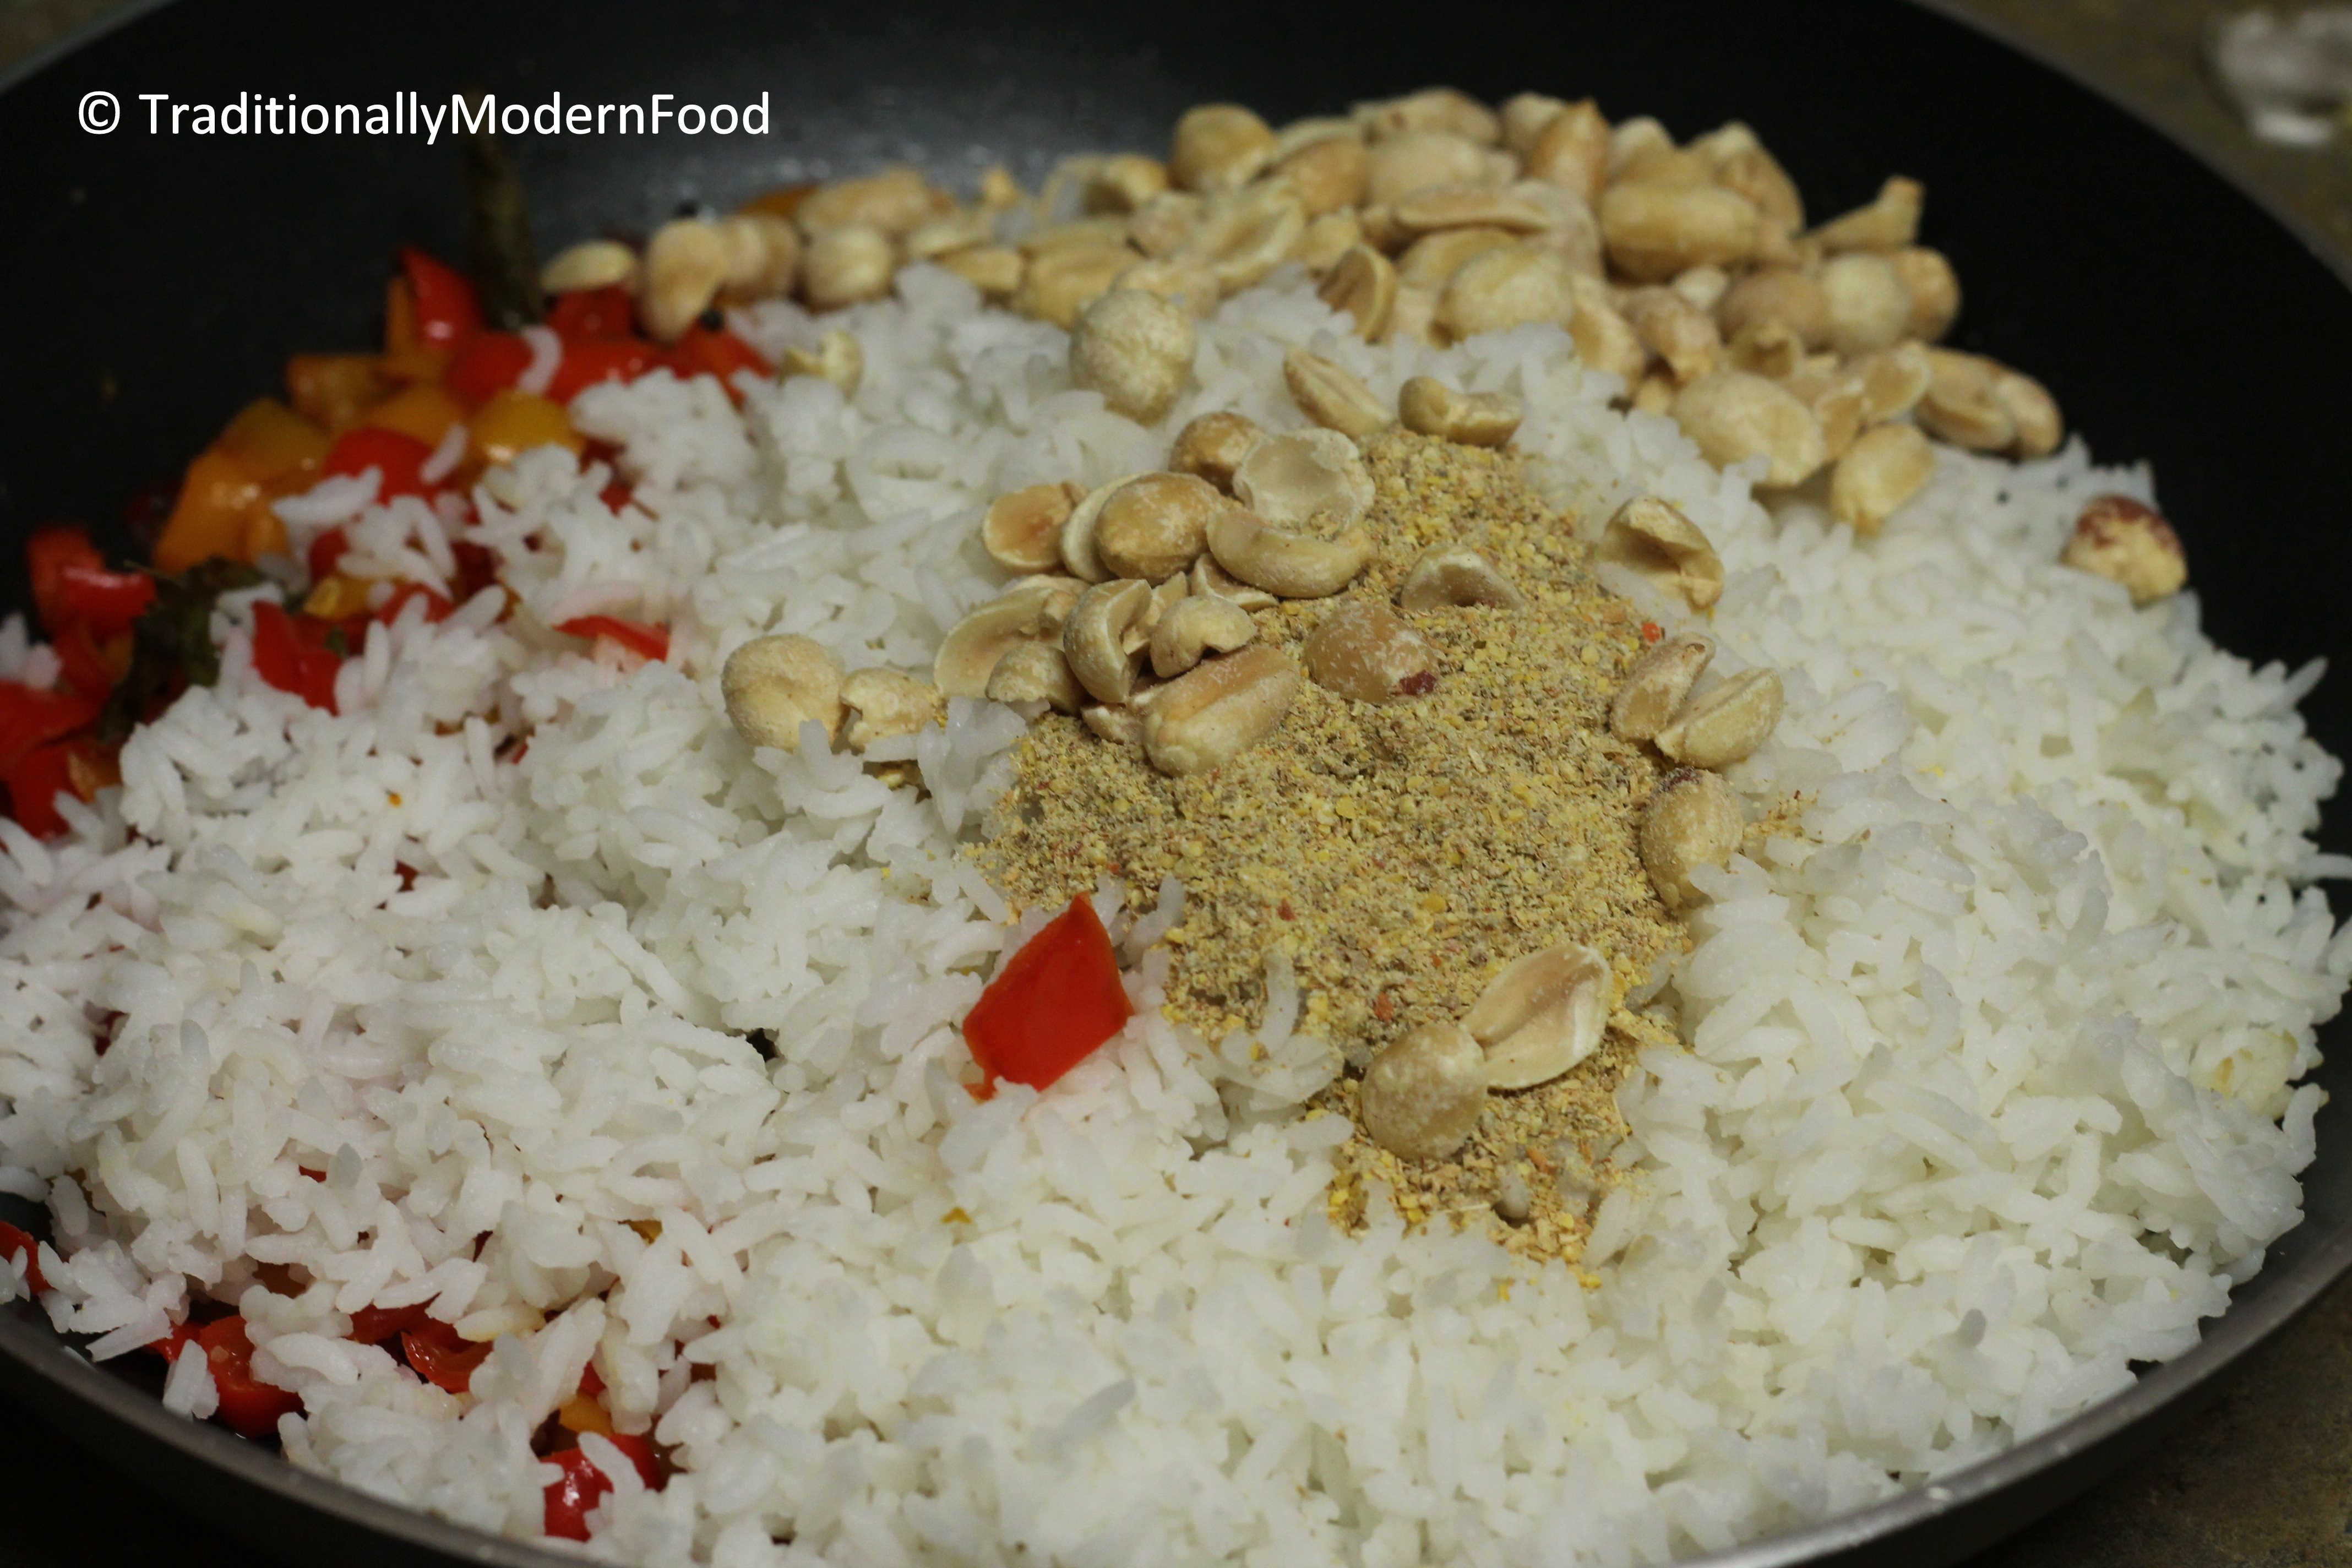
- Add the cooked rice, spice powder, and peanuts to the peppers and mix well. Check for the seasoning and add salt if required.
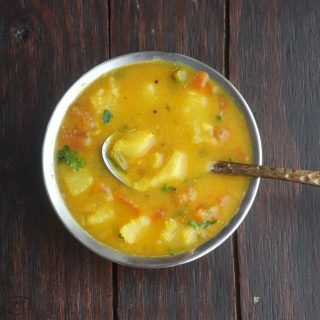
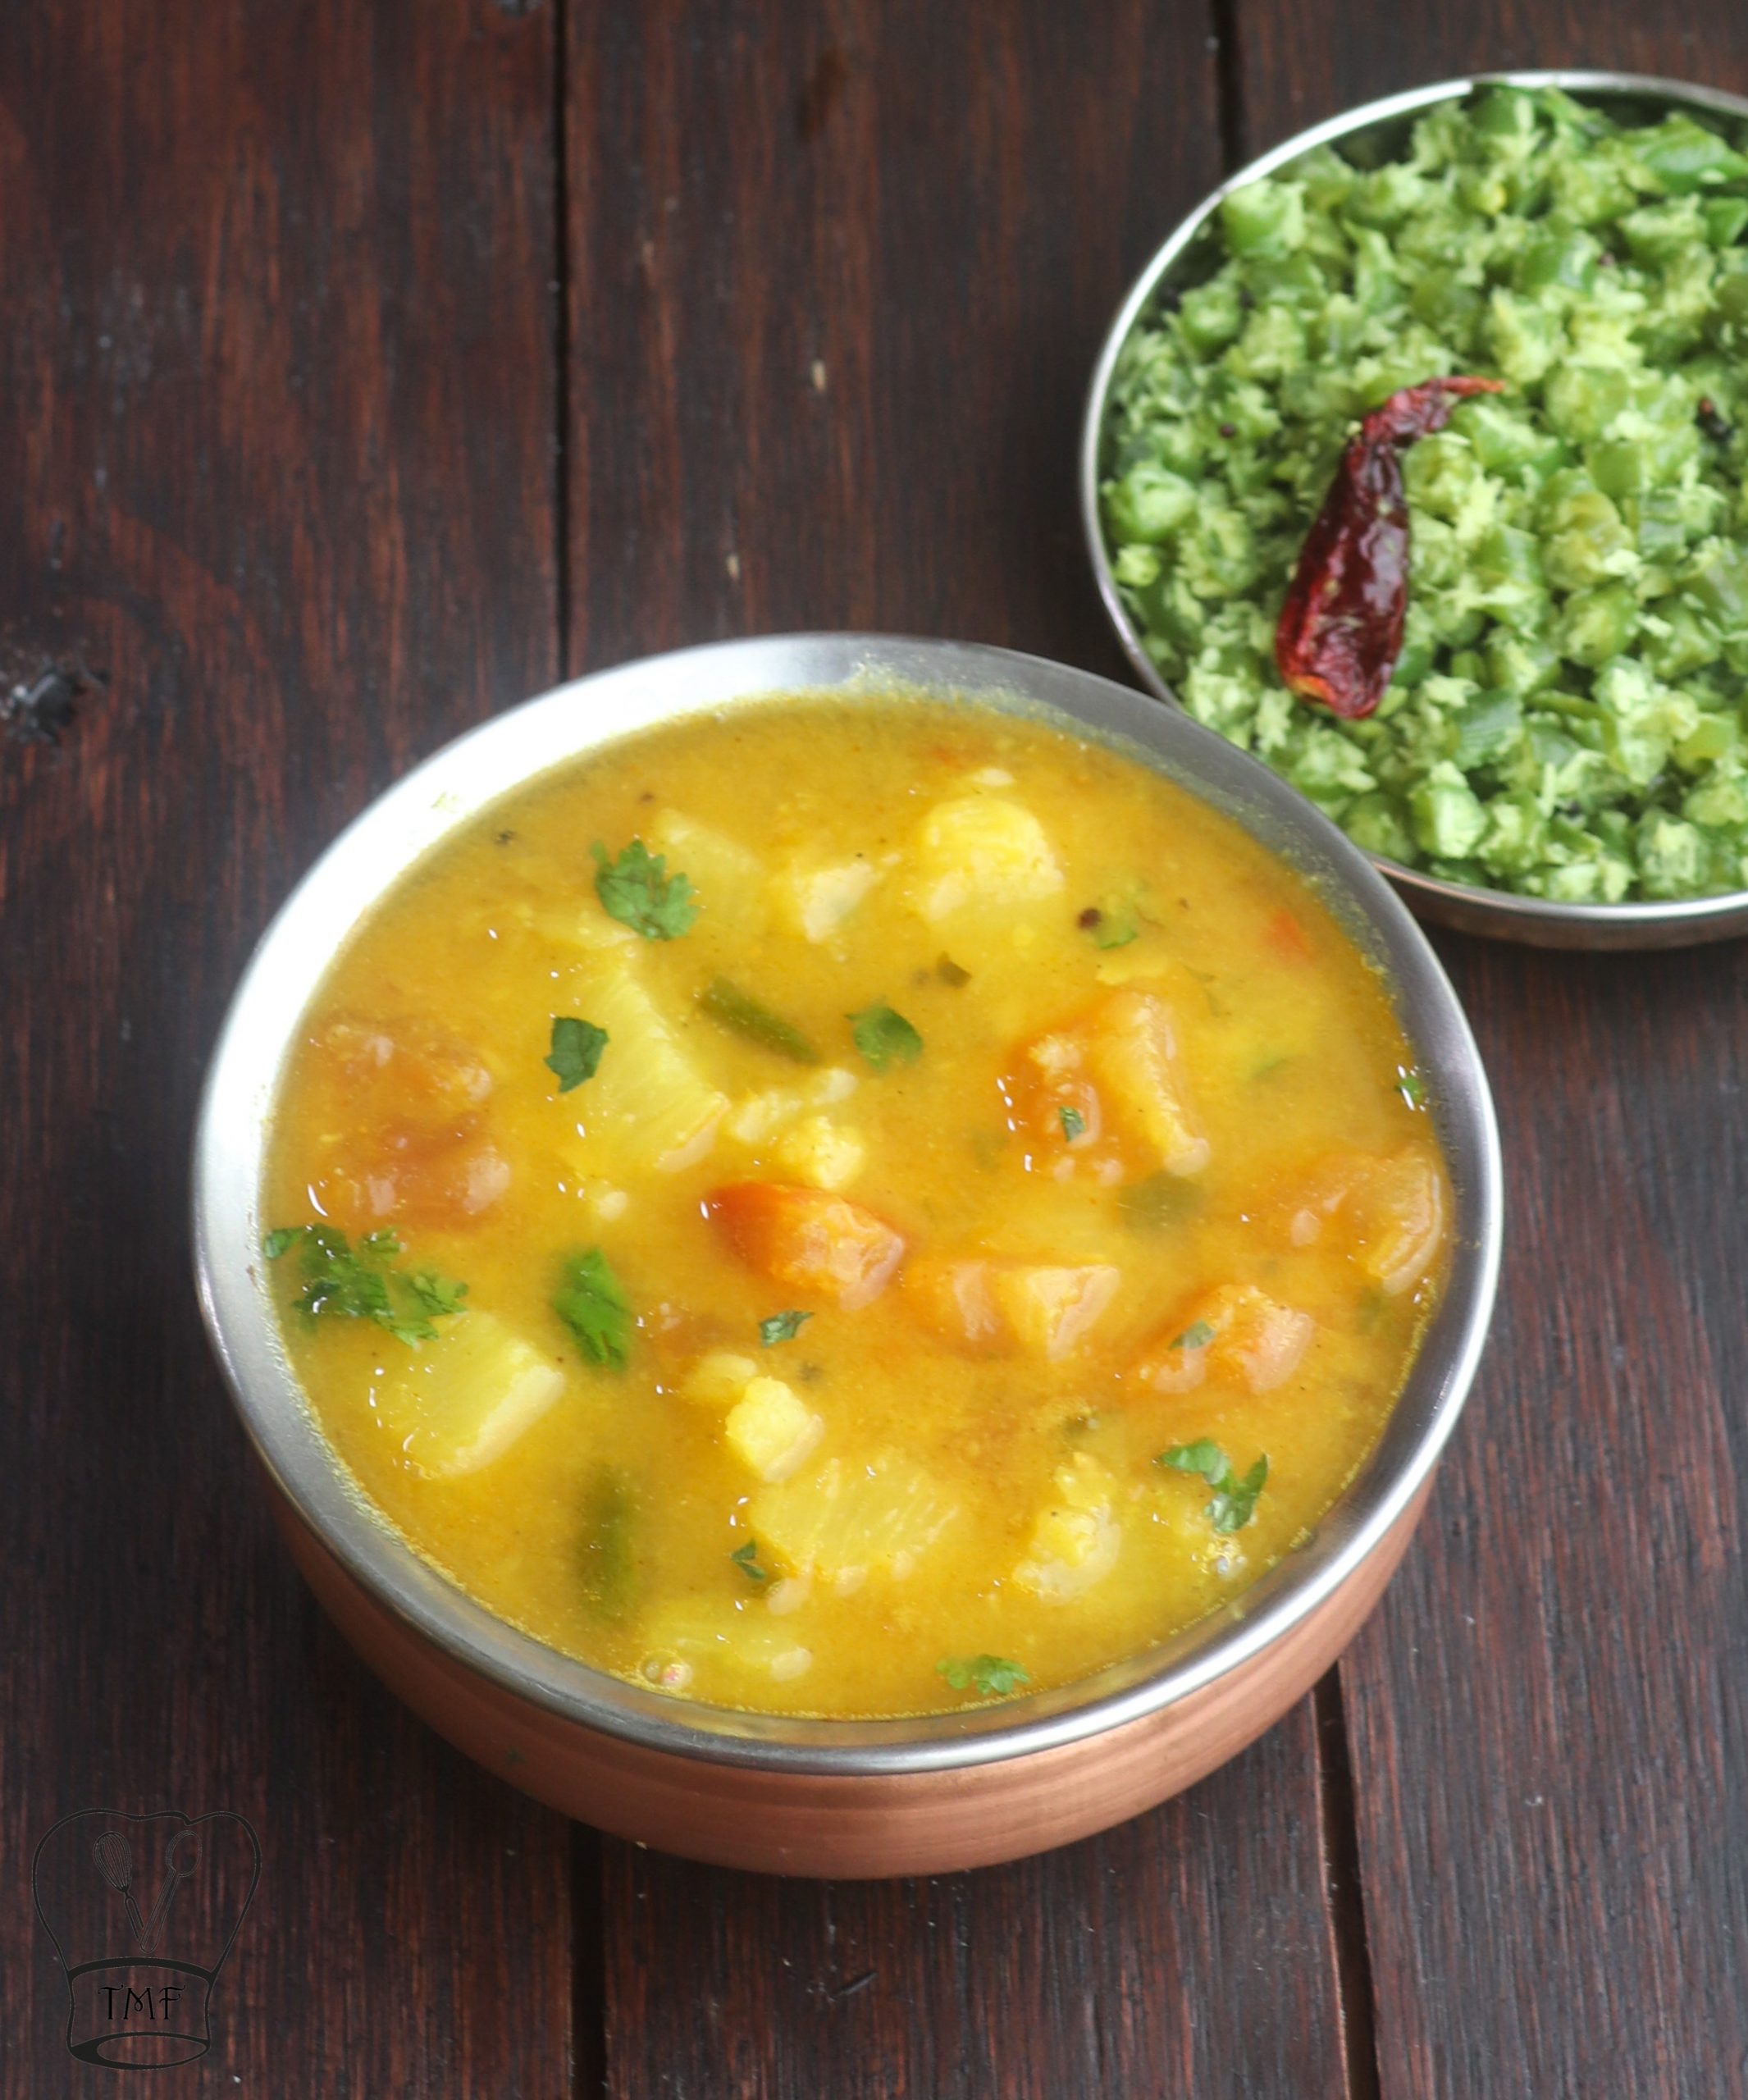
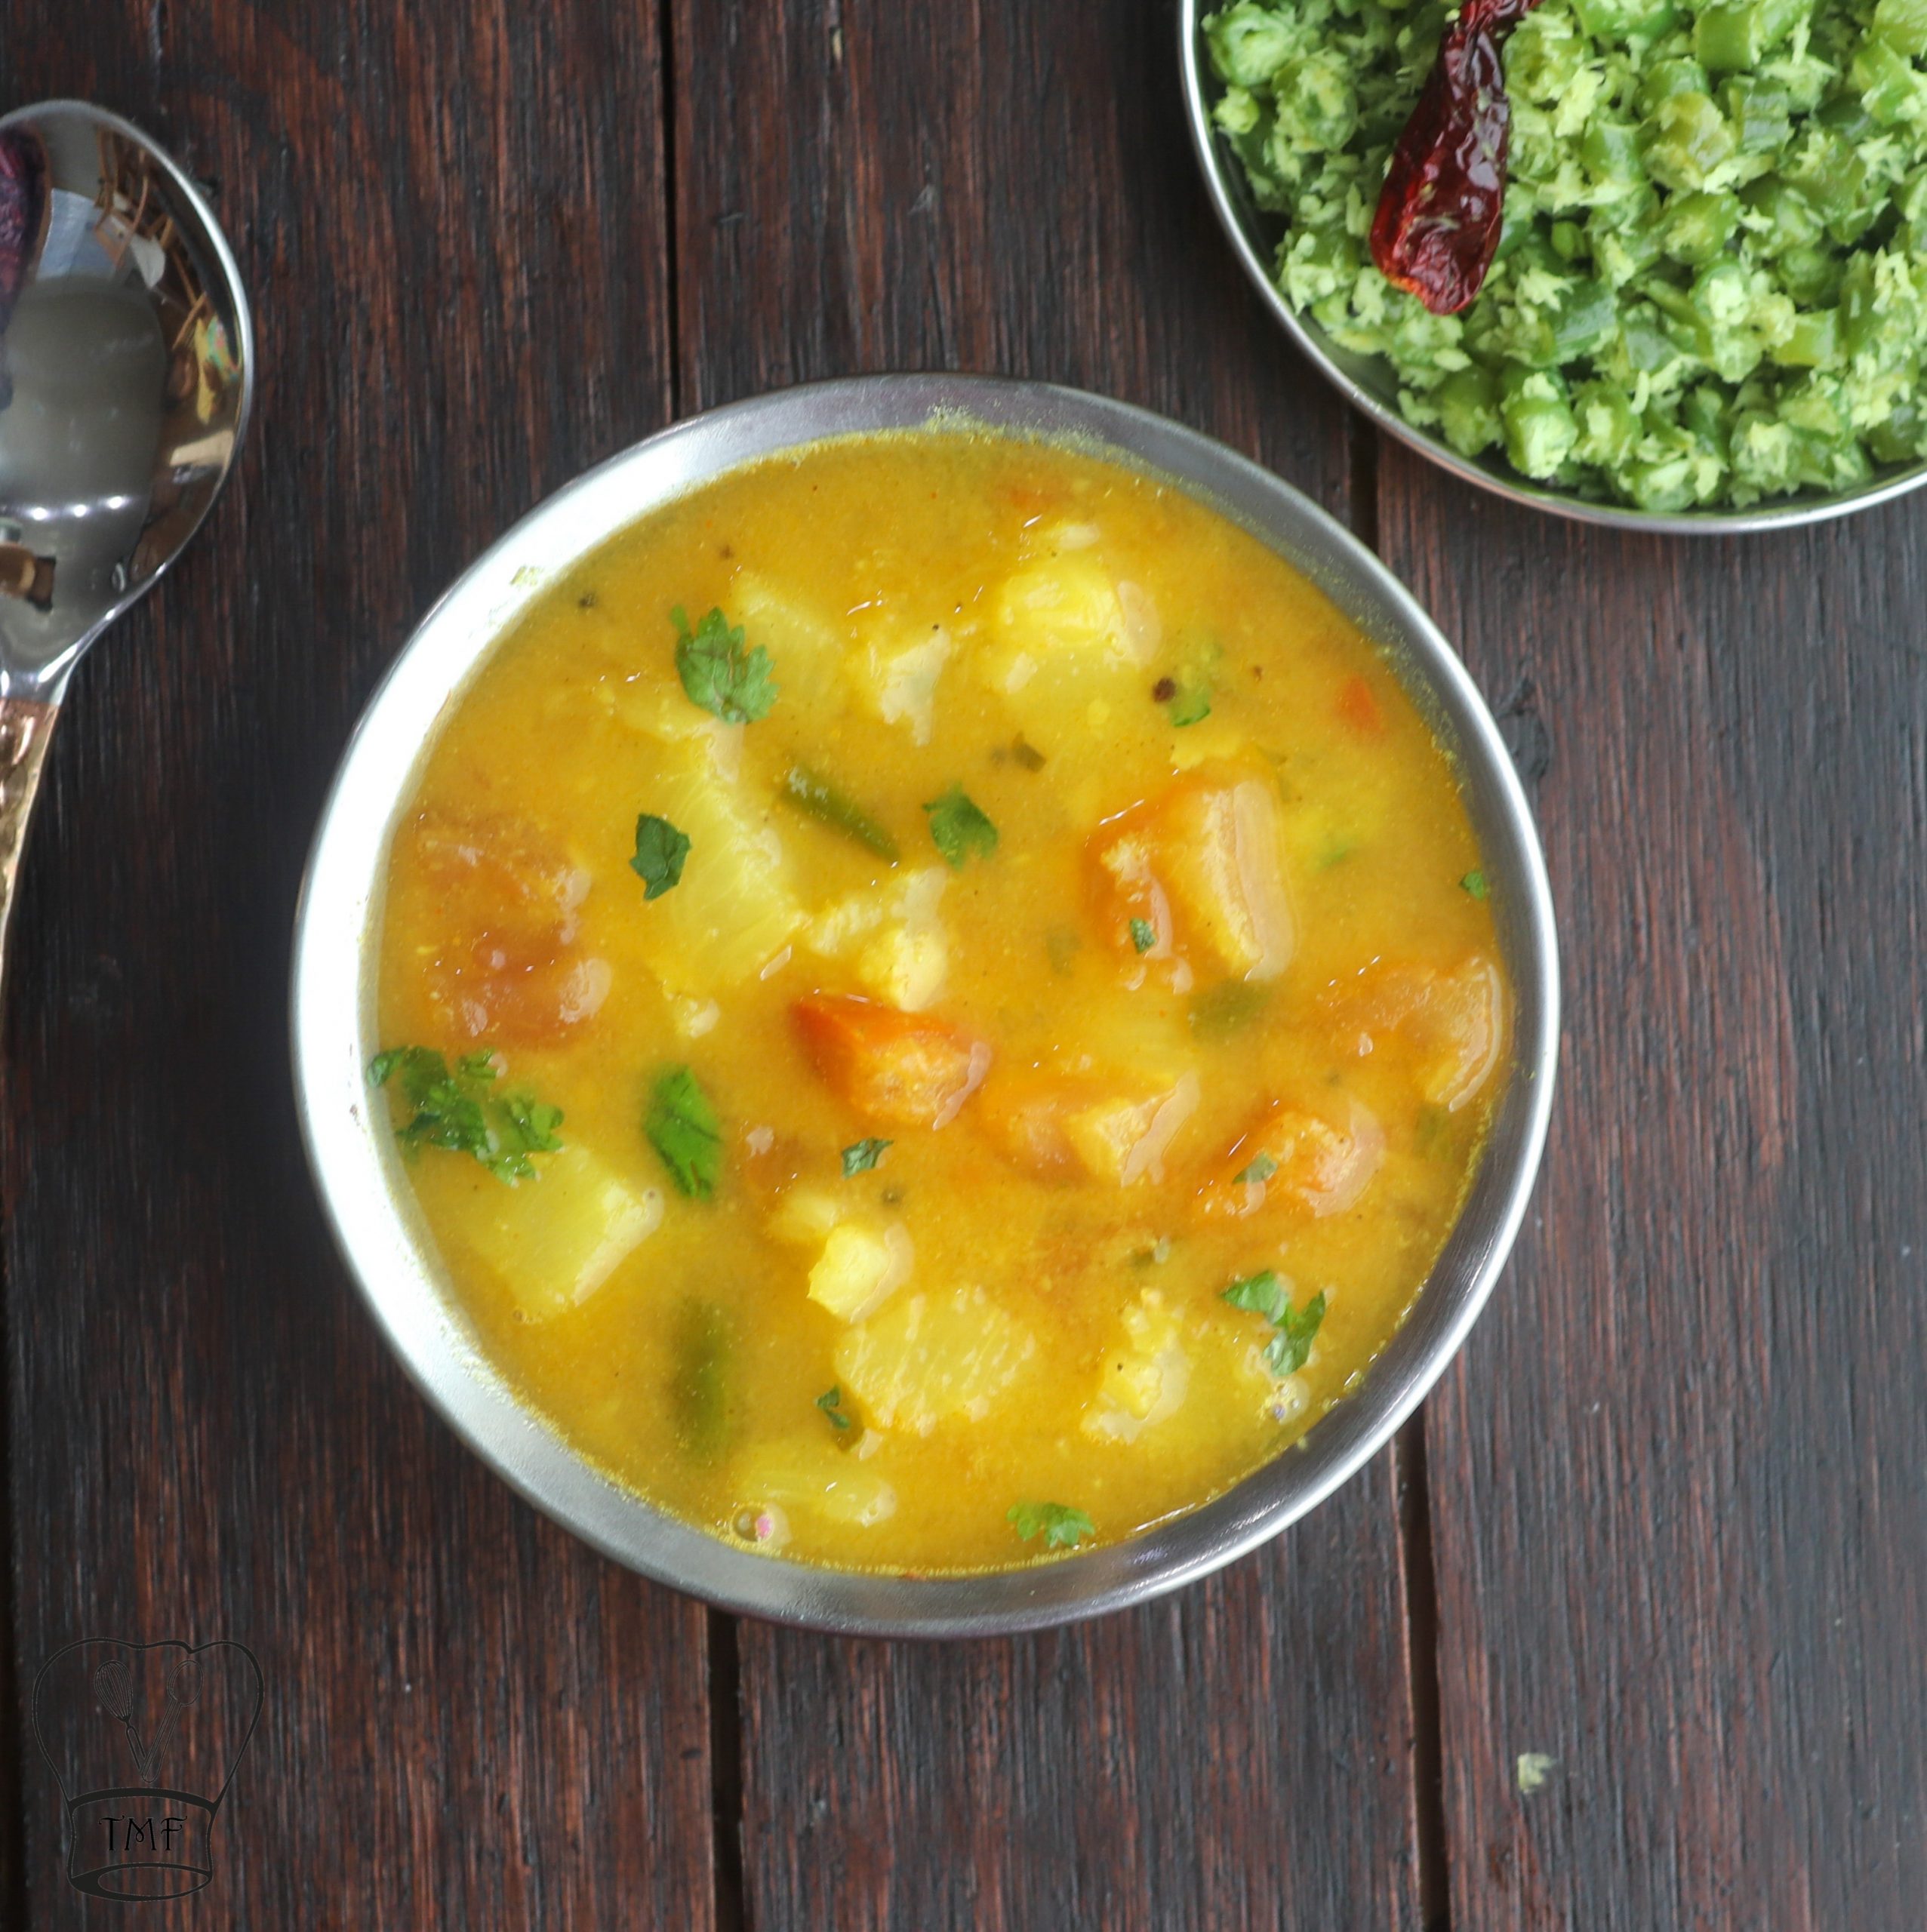
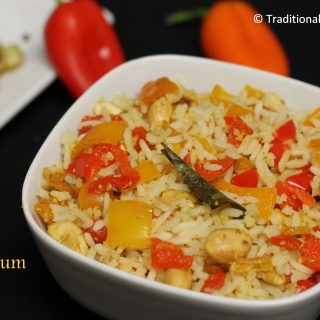
- Serve the rice with any dry vegetable curry/chips
Ingredients
- Cooked Rice - 2 cups I used regular rice but basmati rice can also be used
- Mini Sweet peppers - 10 I used 4 red, 4 yellow, and 2 orange, to make it colorful:-) or use 2 capsicums (bell pepper)
- Roasted peanuts - 1/4 cup
- Asafoetida - a generous pinch
- Turmeric powder - a pinch
- Salt - as needed
- Oil - 1 tsp
To temper:
- Sesame Oil - 1/2 tsp
- Mustard seeds -1/4 tsp
- Channa dal - 1 tsp
Spice powder
- Channa Dal – 1 tbsp
- Coriander seed – 1 tbsp
- Dry Red Chilli – 2 According to your spice level
Instructions
- Cook rice with 1:2 water for 2 whistles, and after the steam is naturally released, spread the rice in a wide pan
- Dry roast all the ingredients mentioned under “Spice Powder' till they are golden brown. Switch off and set aside. Once they come to room temperature grind them without adding water
- Add 1 tsp of oil to the pan and saute the bell peppers with salt, until they are cooked
- Add 1/2 teaspoon of oil and add the mustard seeds, urad dal, channa dal, asafoetida, curry leaves, and peanuts till they become golden brown, and add the tempering to the cooked bell peppers and keep aside
- Add the cooked rice, spice powder, and peanuts to the peppers and mix well. Check for the seasoning and add salt if required.
- Serve the rice with any dry vegetable curry/chips
Notes