
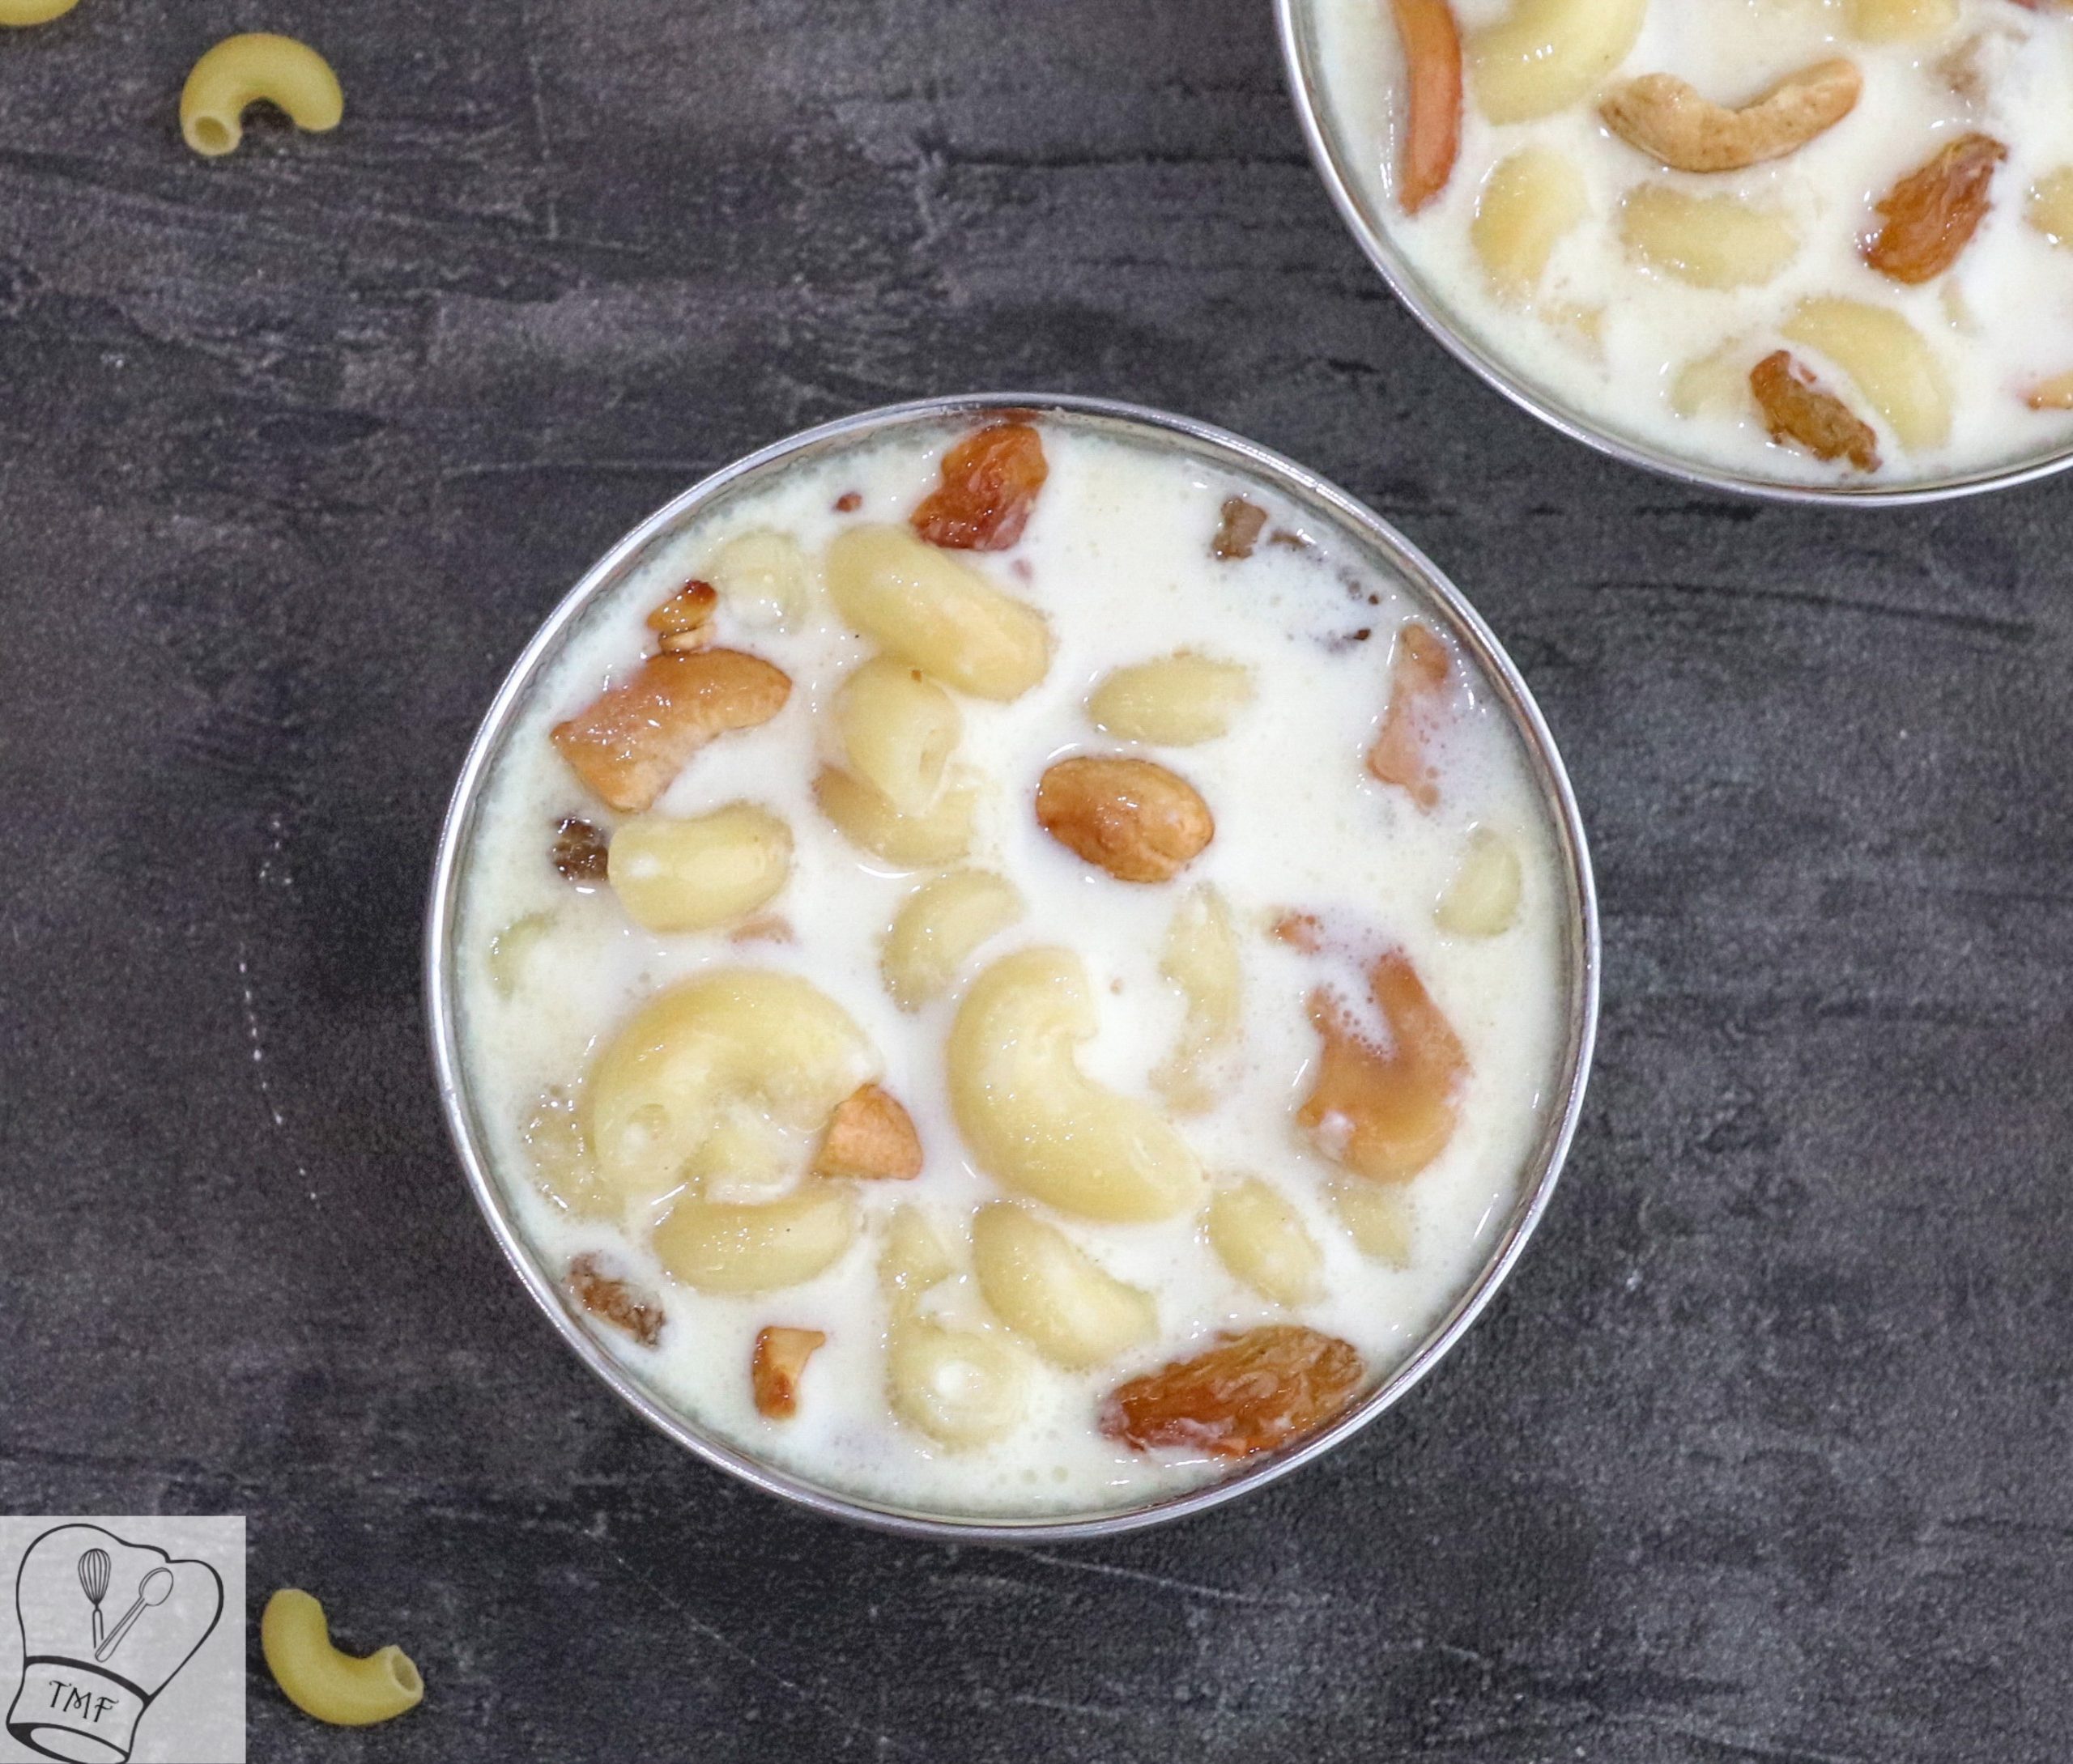
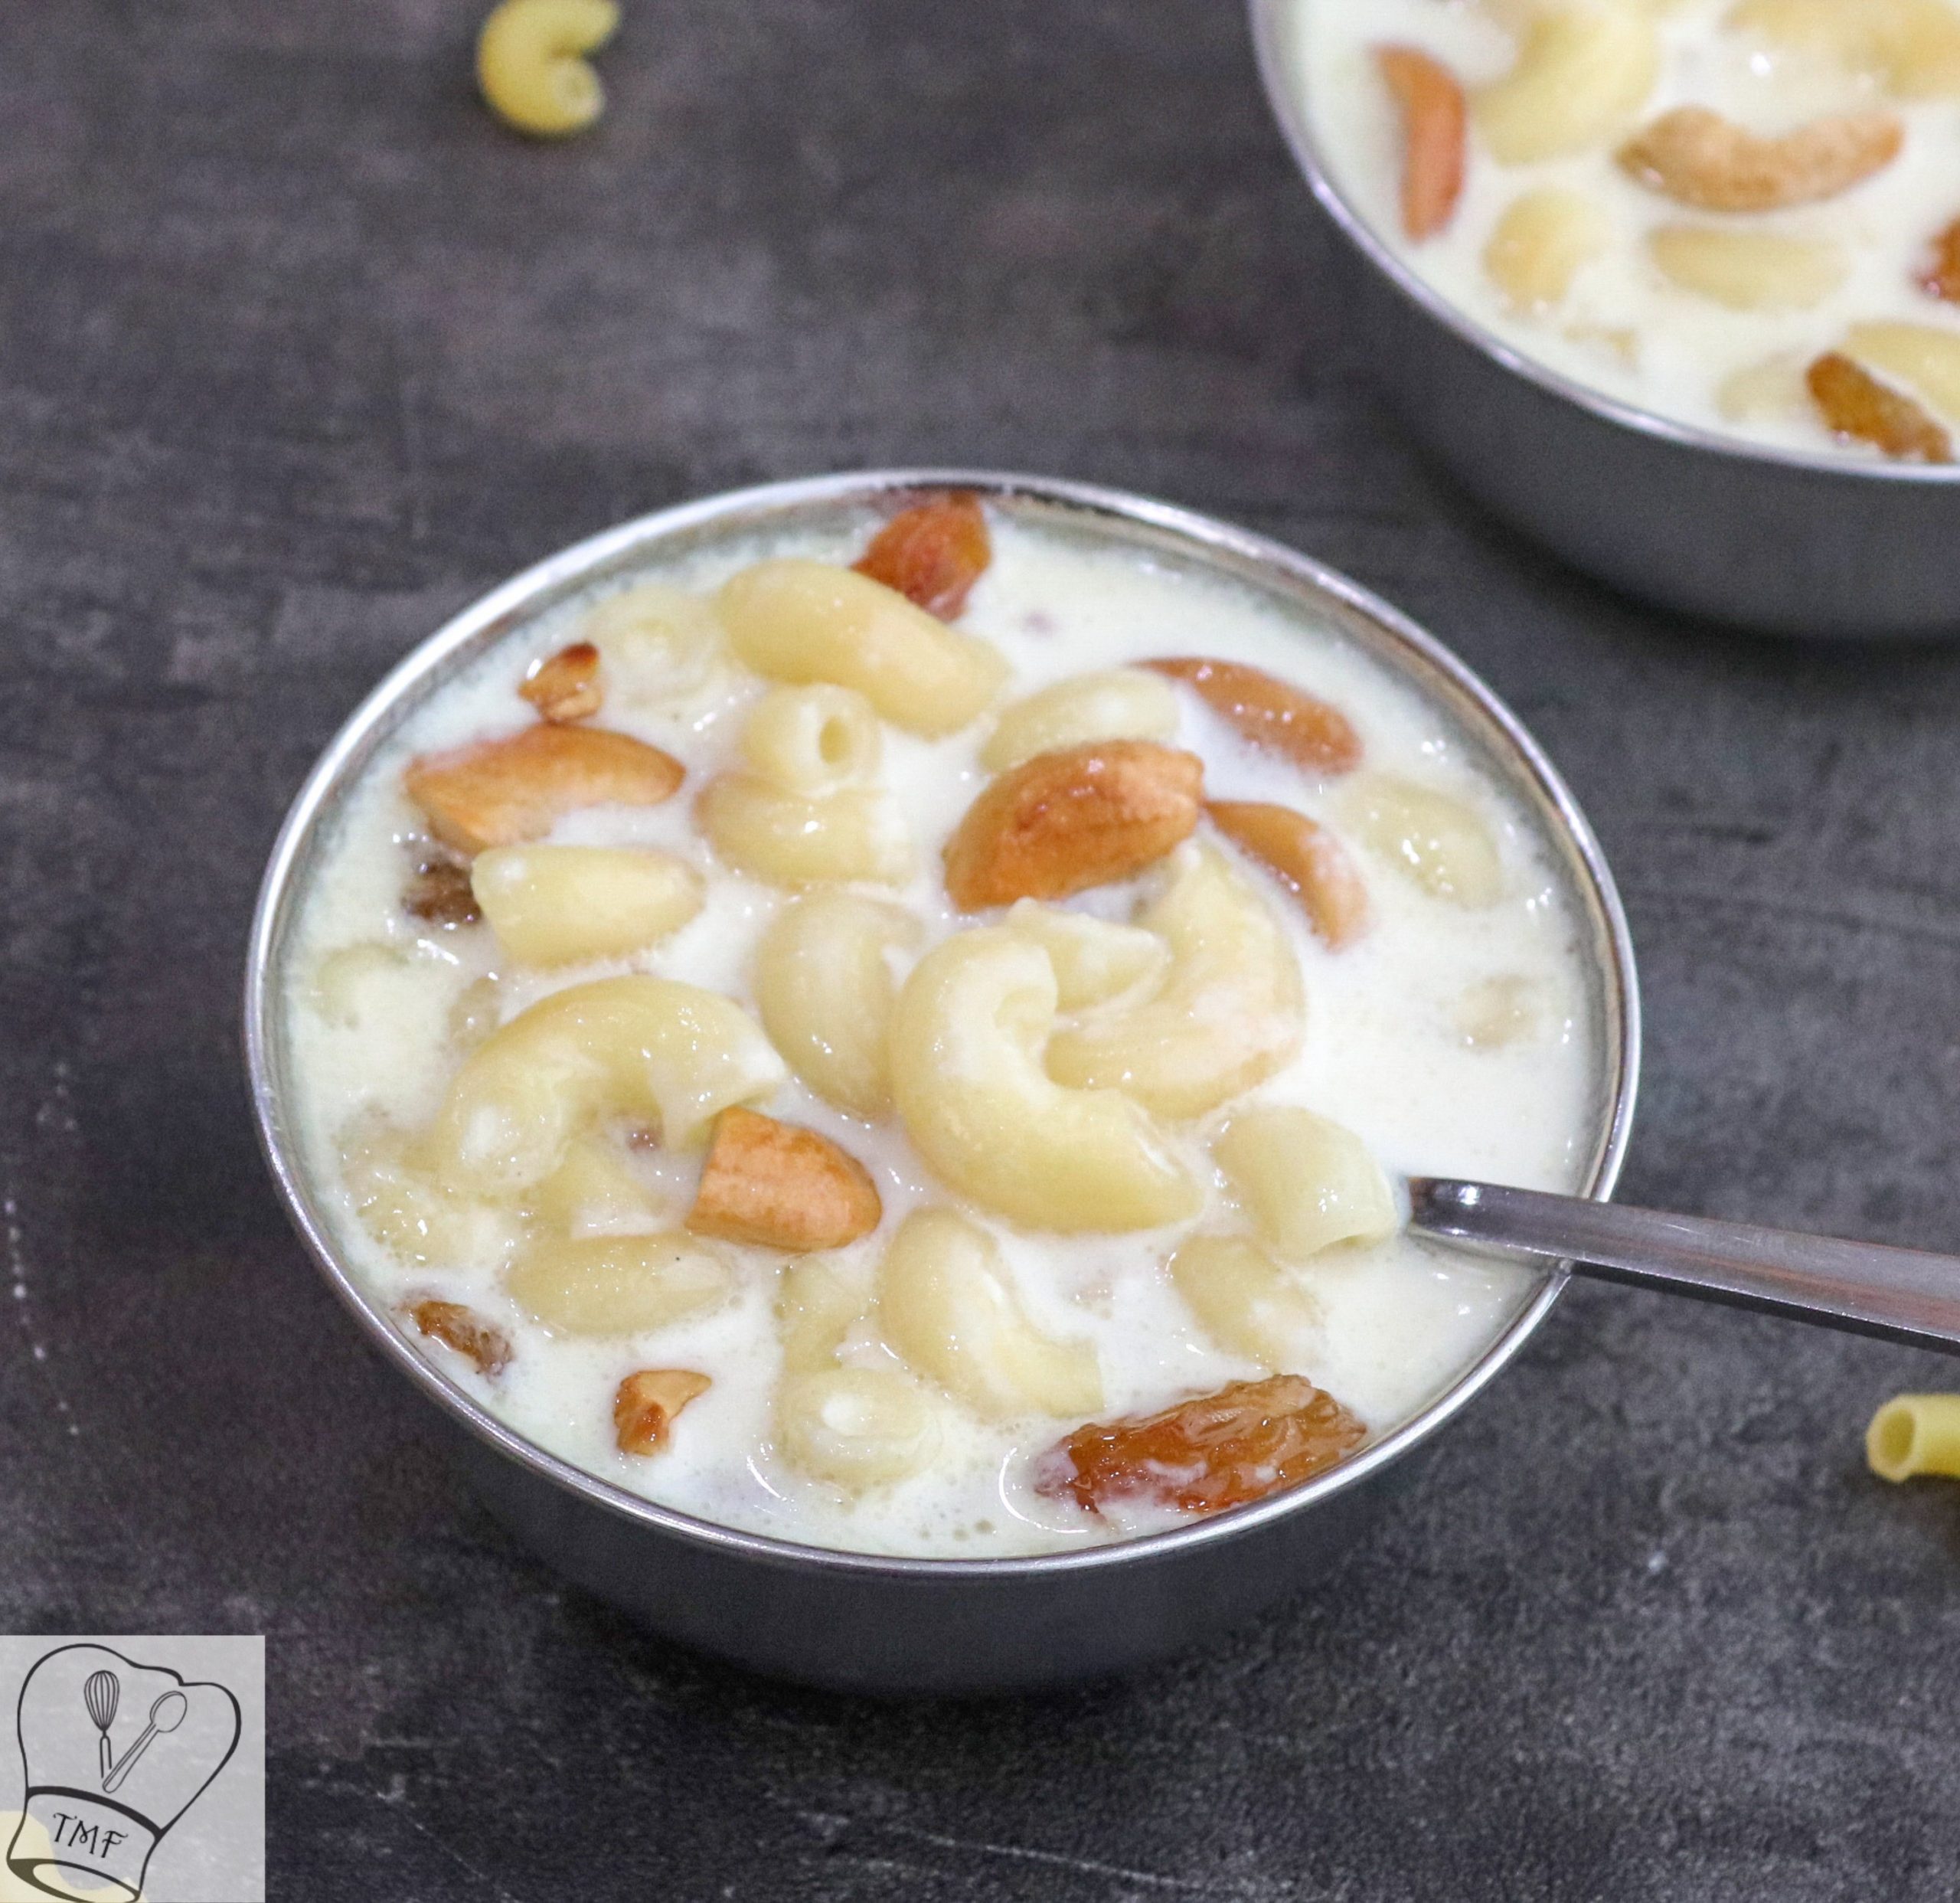
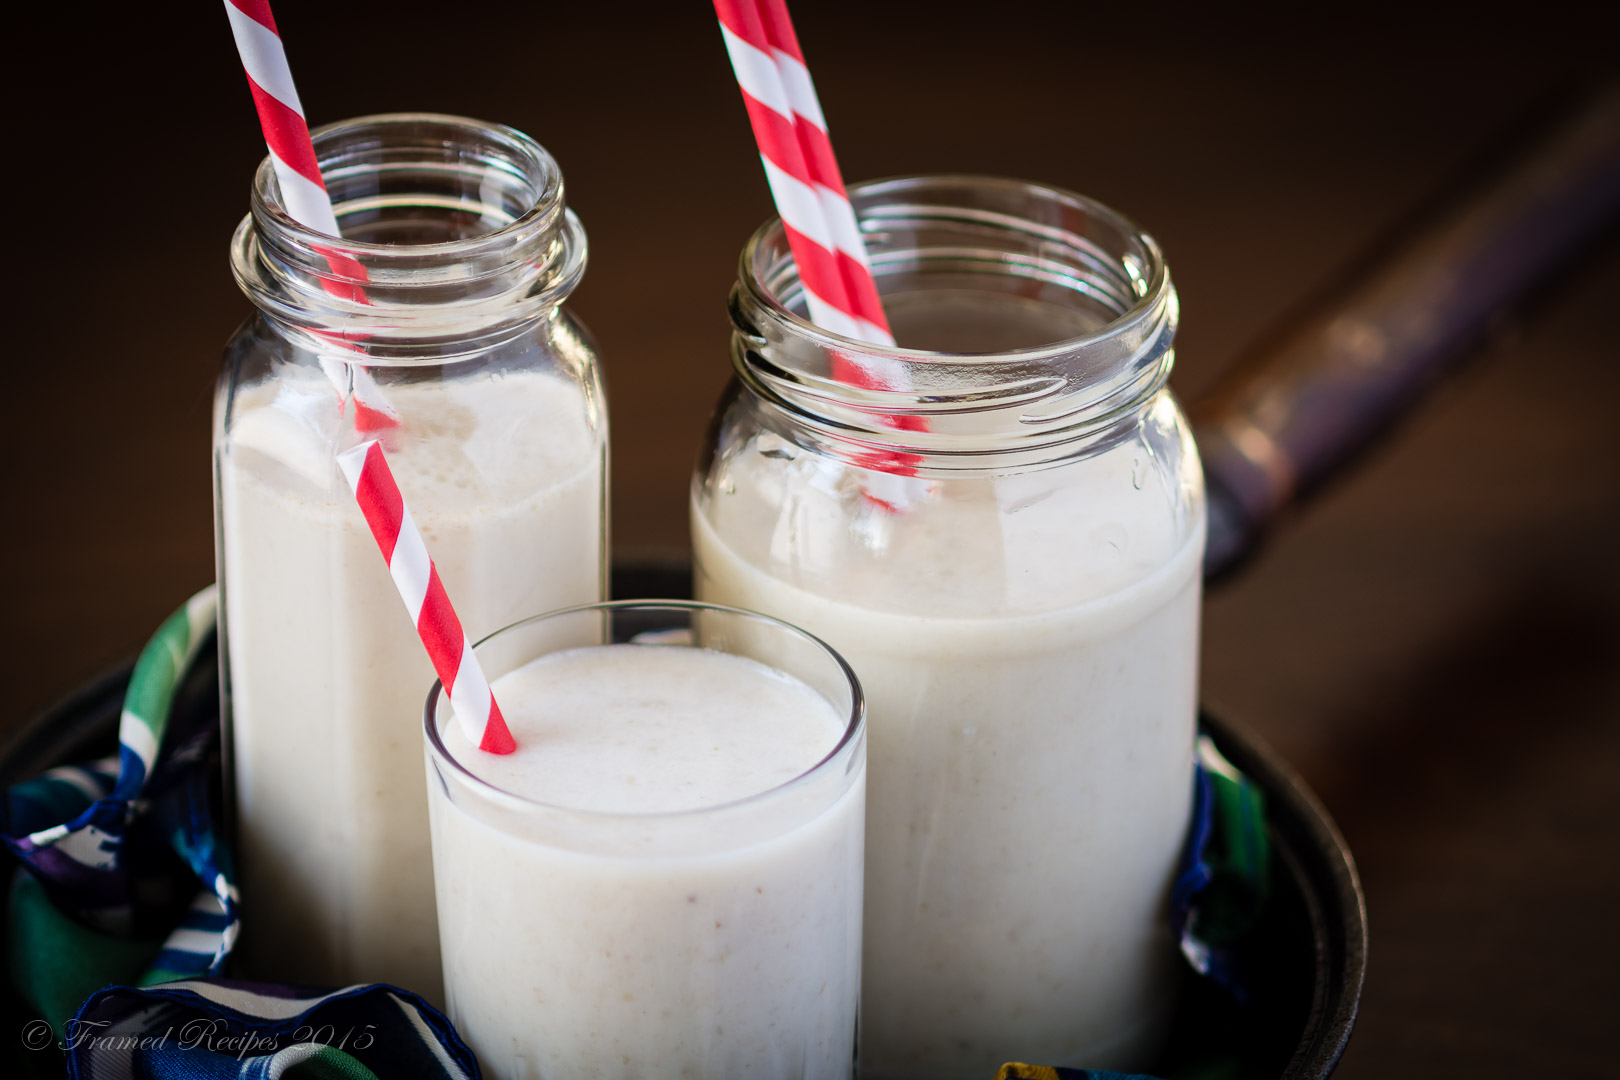
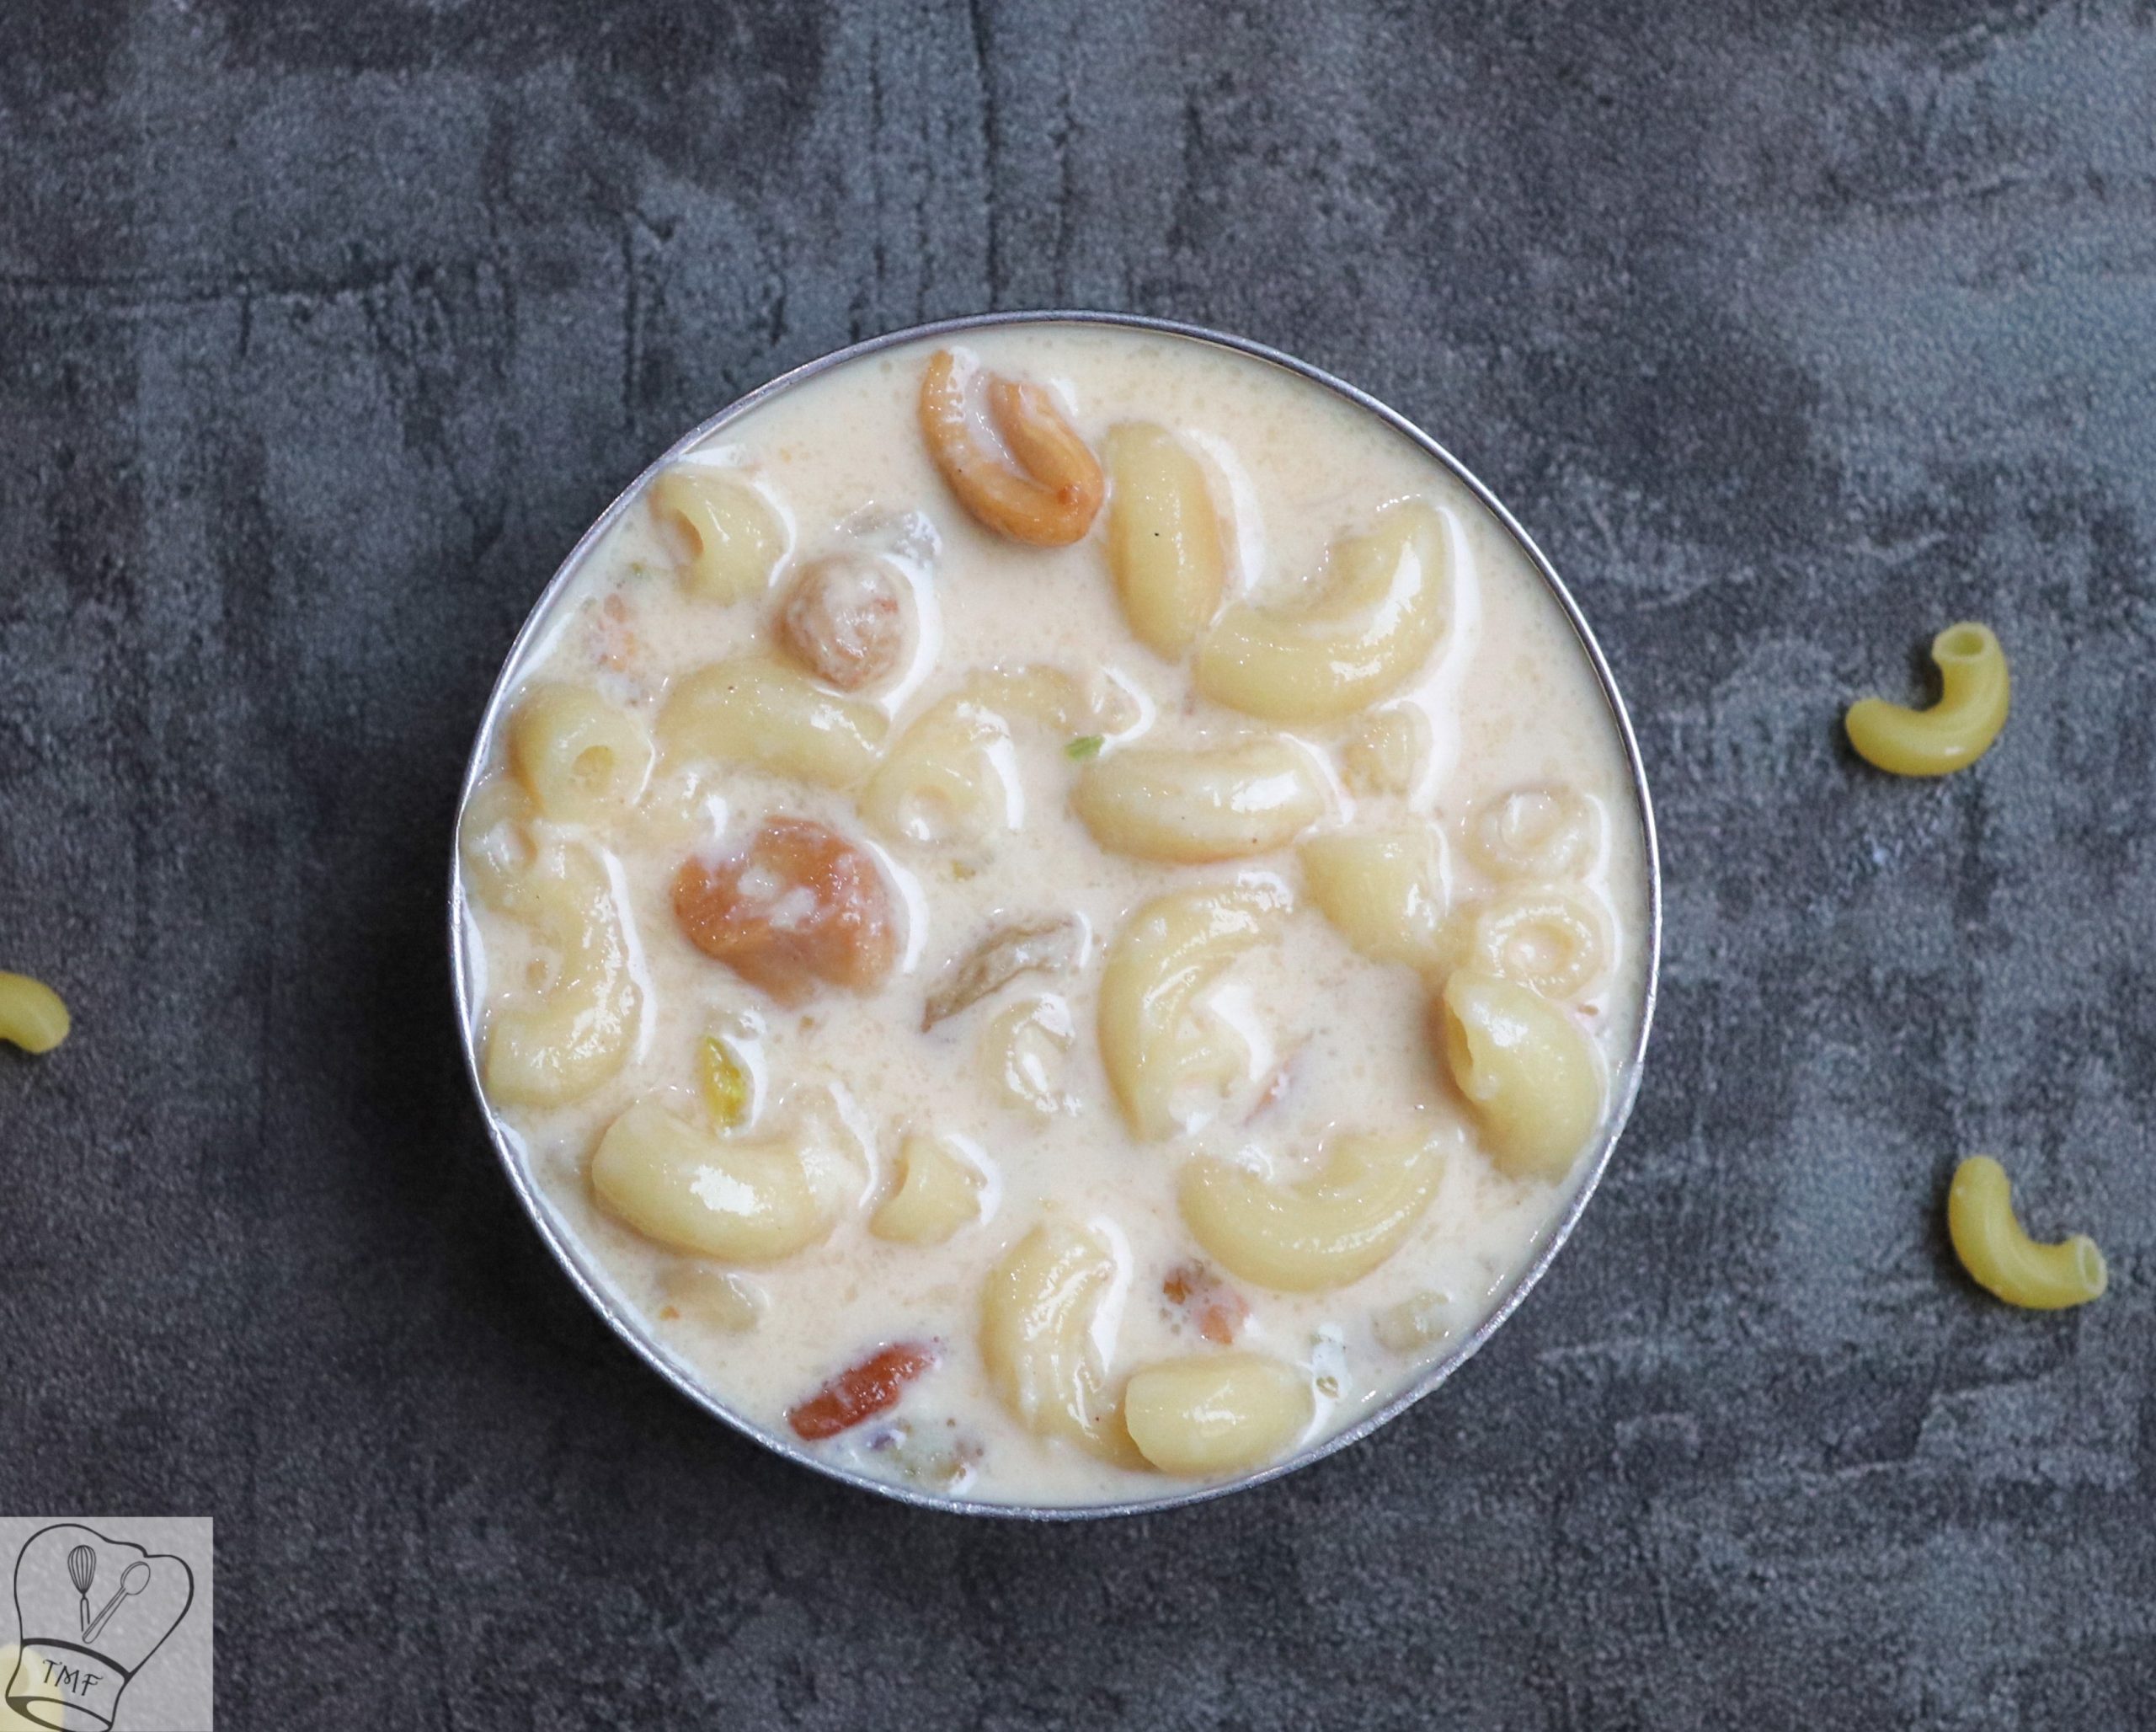
 Pasta Payasam | Pasta Kheer | payasam recipe | kheer variety is a tasty fusion style Indian sweet recipe. Payasam with elbow variety of pasta makes a tasty dessert for a get-together, party, etc.
Fusion payasam recipe
Both my husband and I love pasta, and nowadays even my little one started liking Mac & Cheese. Every time I open a pasta packet I wouldn't finish it and have some leftovers. To finish the remaining uncooked pasta, I end up buying some variety of pasta again. Another day I felt like having semiya payasam and searched for semiya, suddenly pasta pulled my attention, and tried pasta payasam. It was a big hit at home.
What kind of pasta works for Pasta payasam?
I have used Elbow variety of pasta which is my favorite type for pasta payasam. If you are using other big-size pasta it might take a little longer time to cook. For spaghetti-type pasta I would recommend breaking it for the best taste.Can I cook pasta in water for pasta payasam?
Yes, you can cook pasta in water according to package instructions and add milk to the cooled pasta. To make pasta kheer rich and delicious I personally prefer cooking pasta in milk.Can I add evaporated milk /condensed milk for Pasta payasam like your paal payasam?
Of course yes, that will definitely add some richness to the payasam recipe. If you are using evaporated milk reduce the milk quality accordingly. if you are using condensed milk reduce sugar accordingly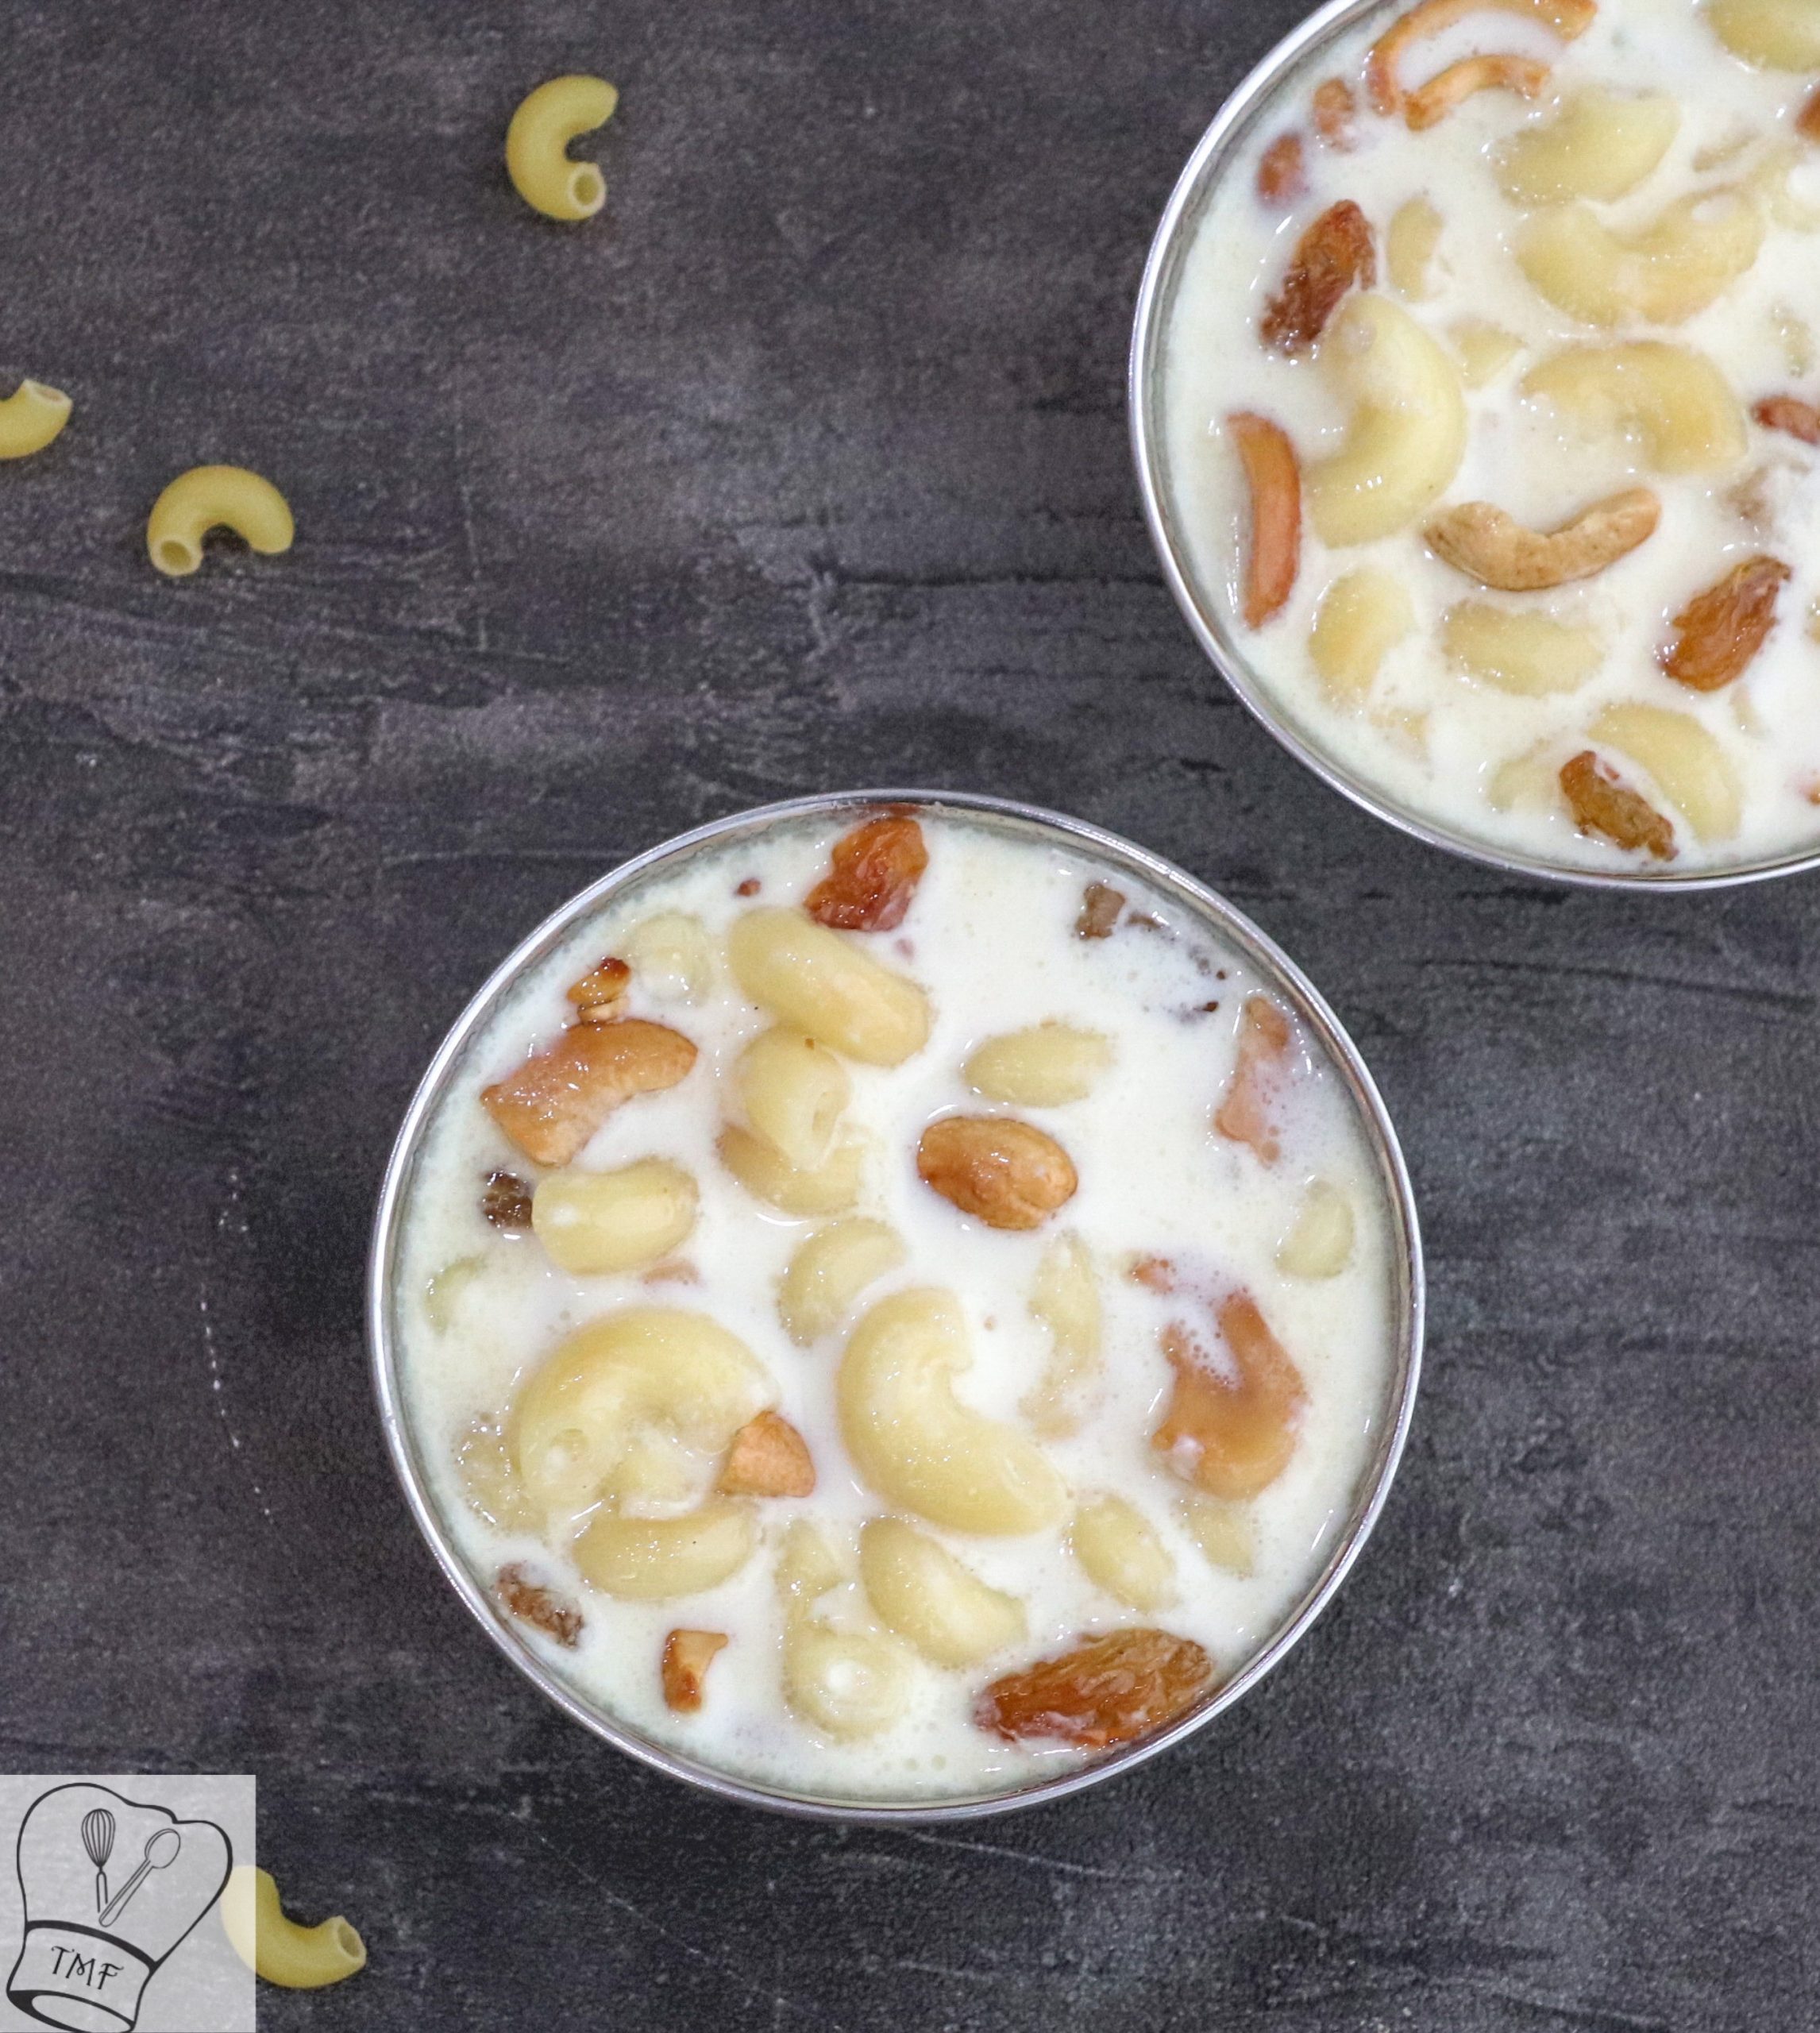
See more Payasam recipes
Indian sweet recipes in TMF
Milk-based recipes in TMF
Ingredients
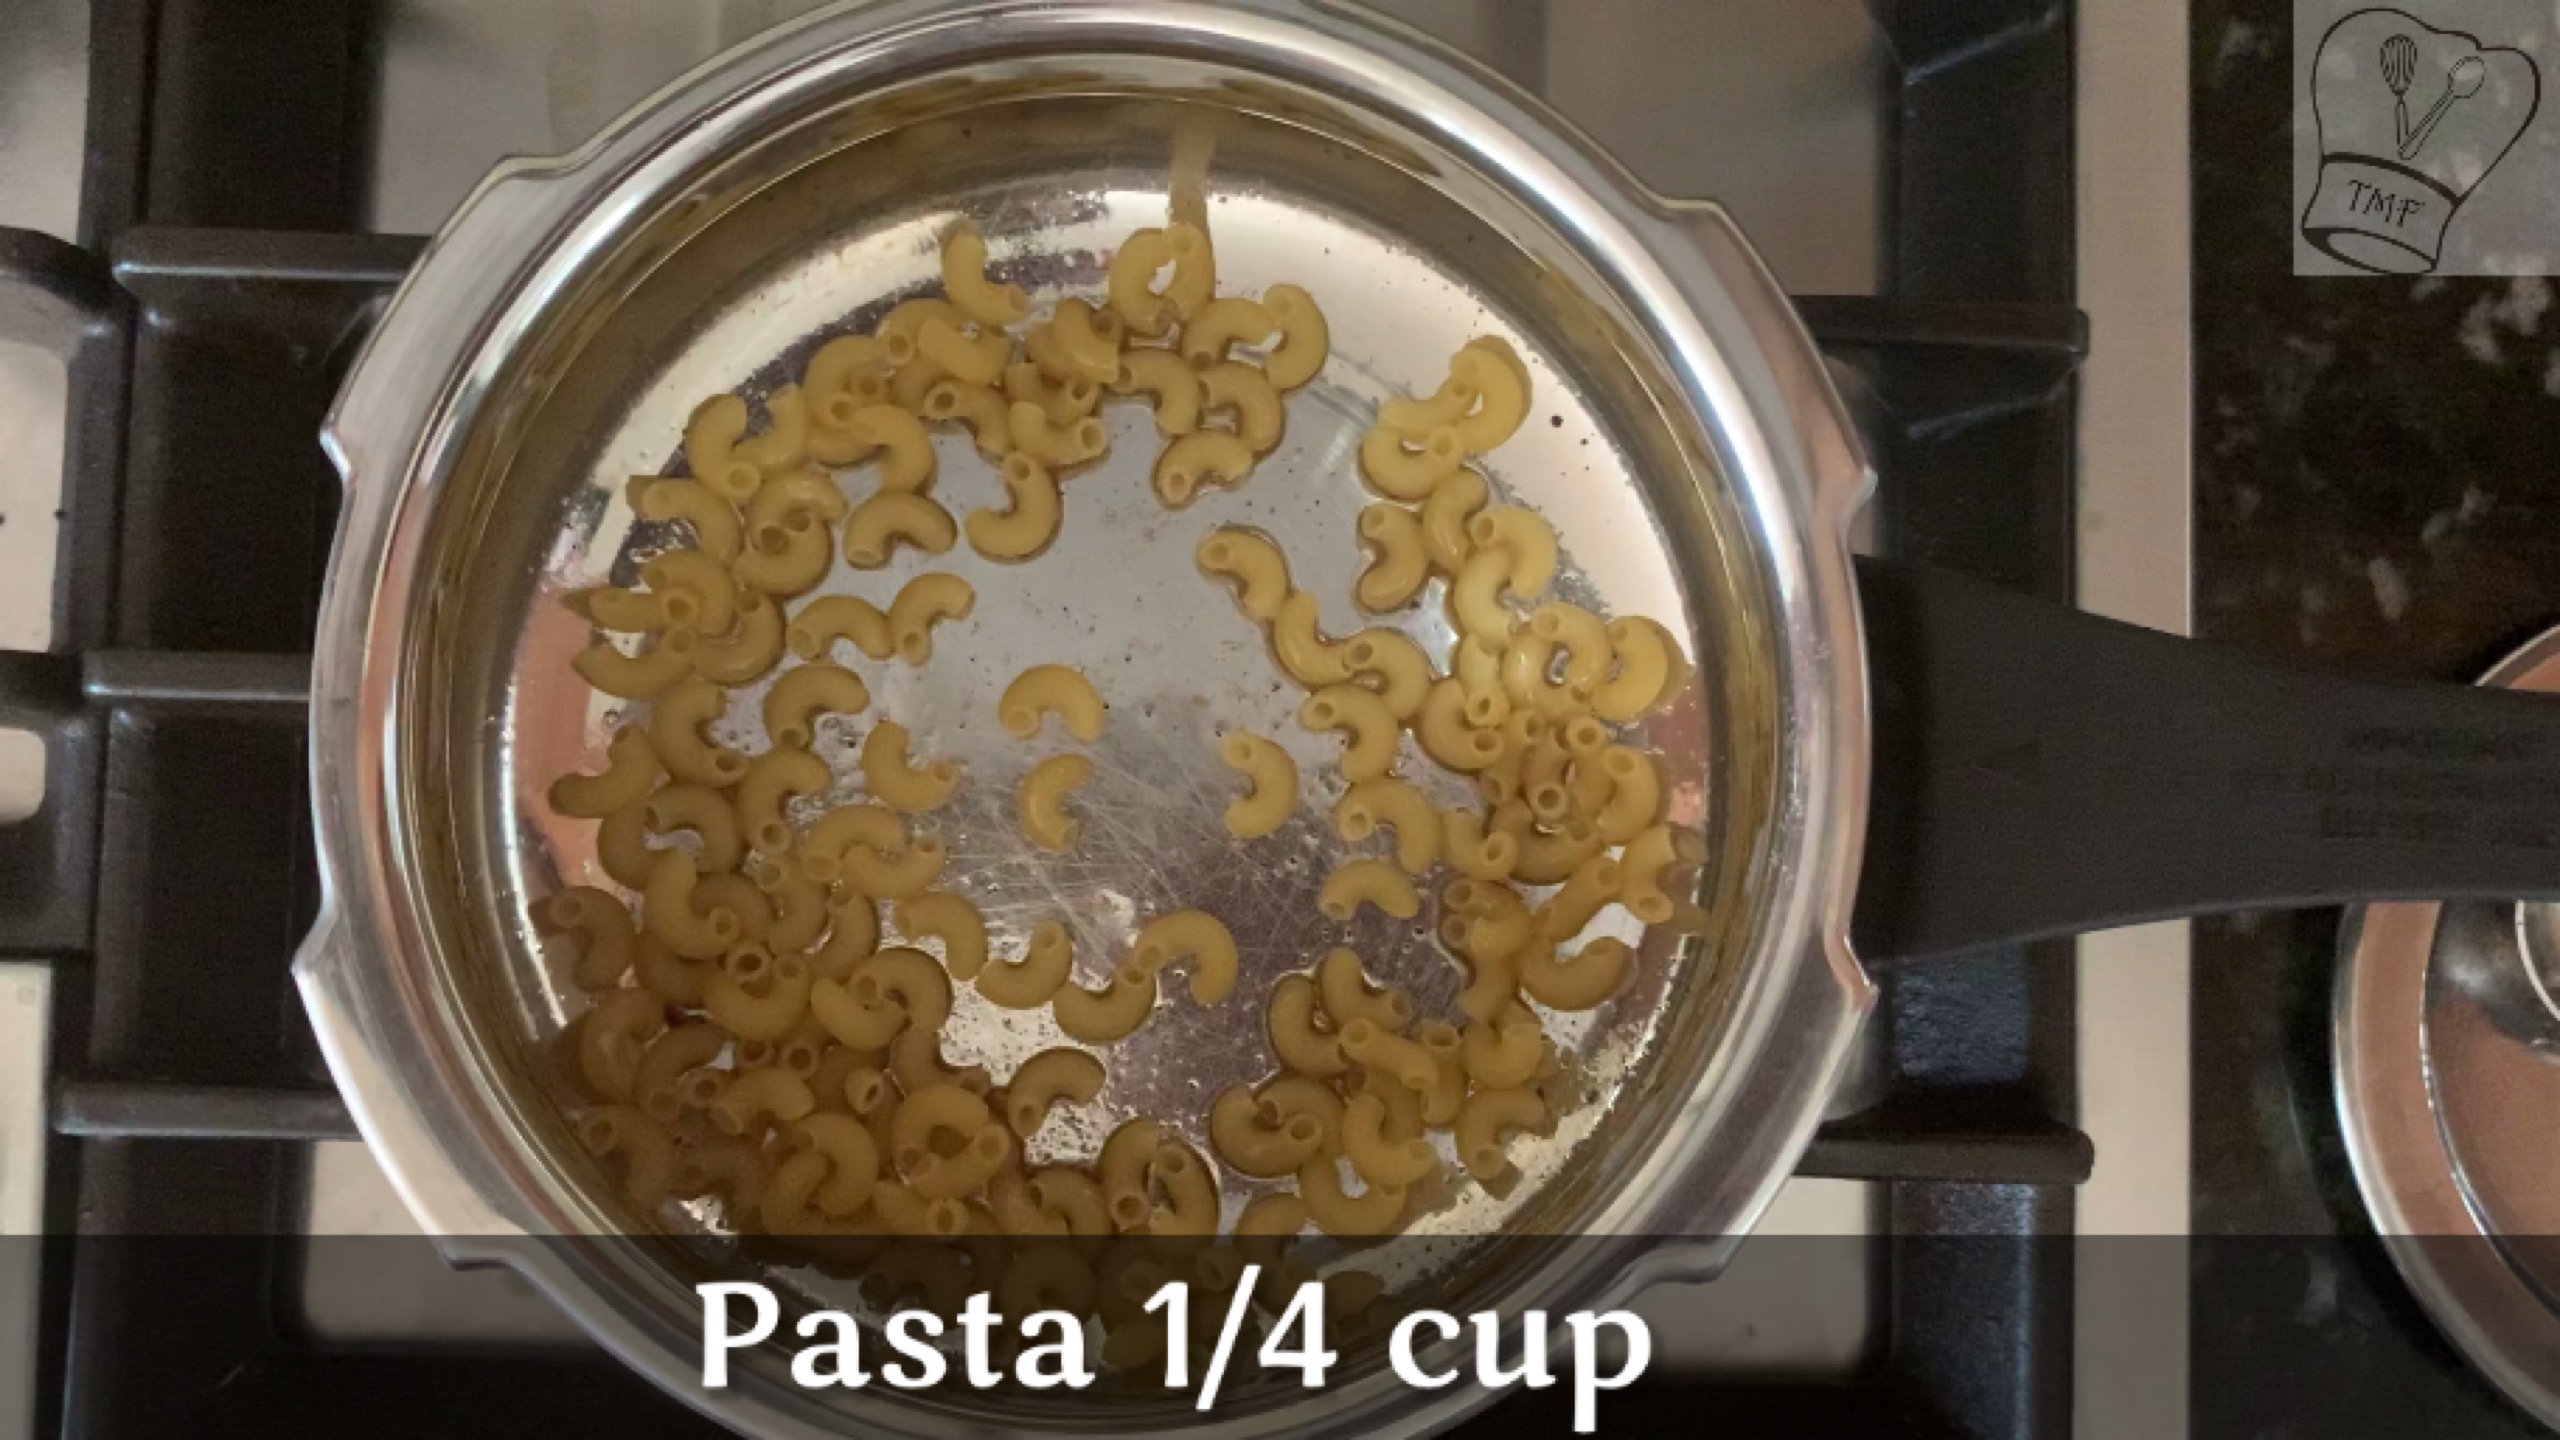
- Macaroni - 1/4 cup
- Milk - 3 cups
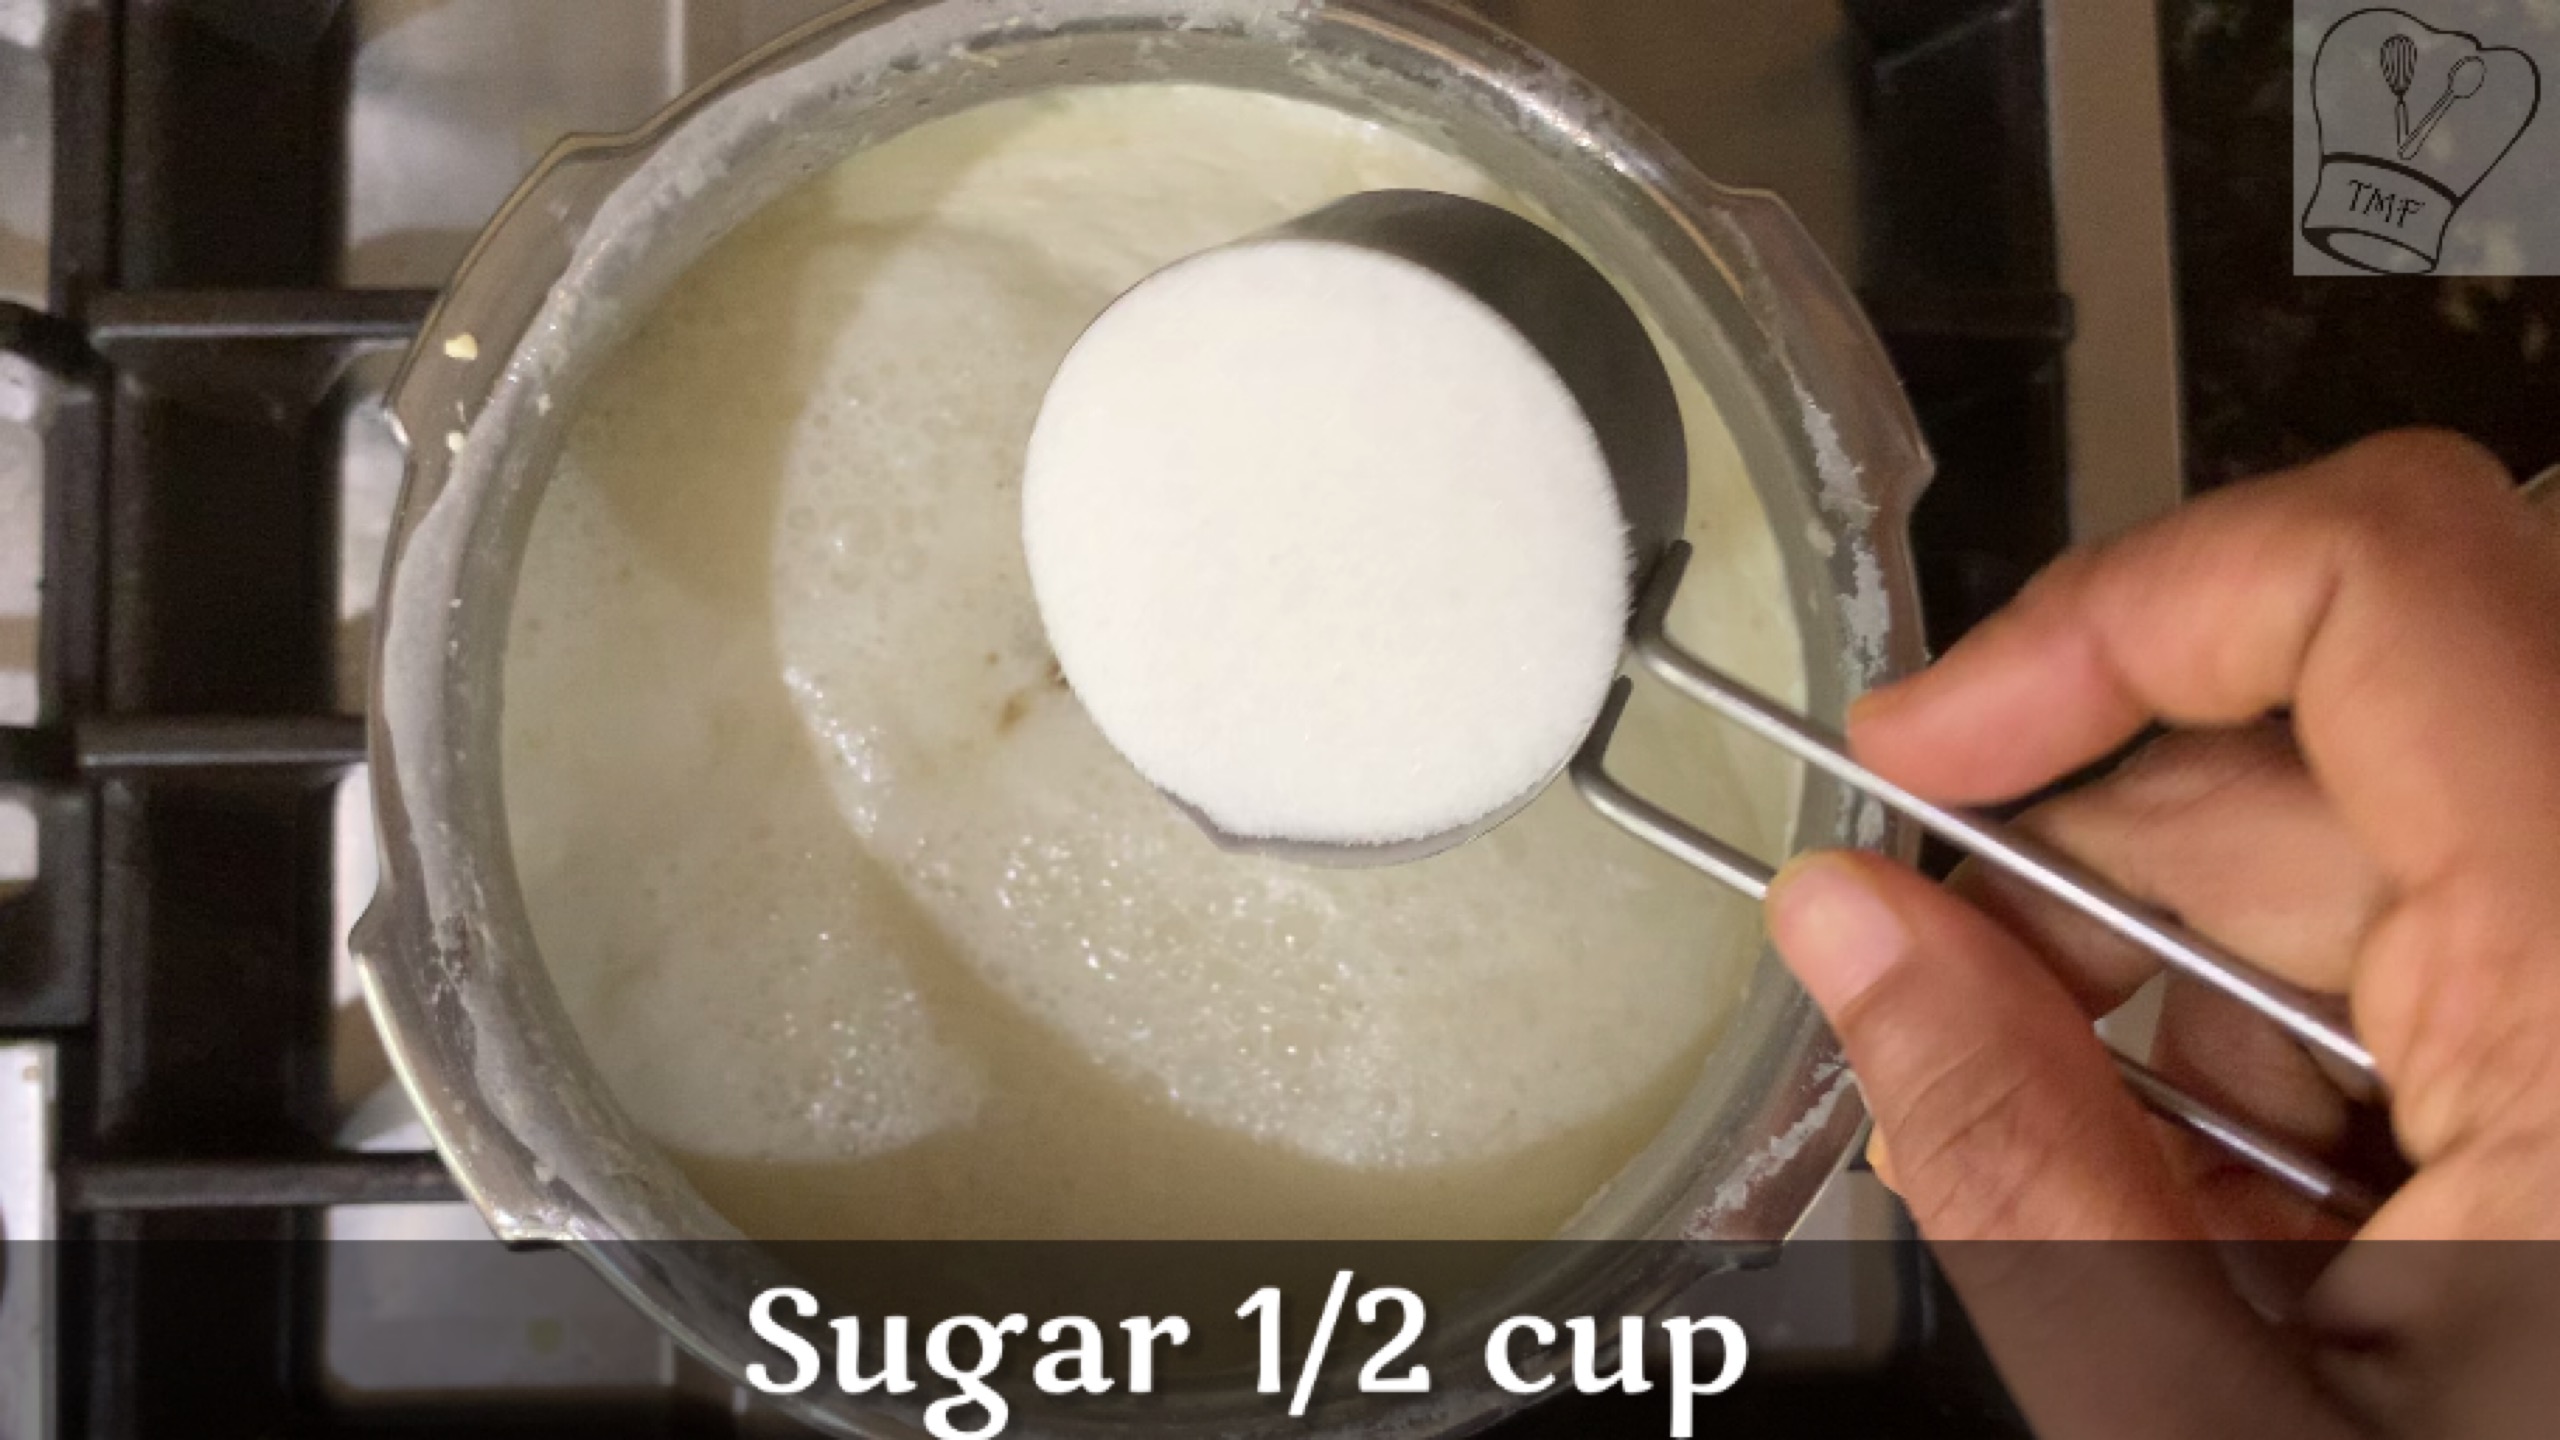
- Sugar - 1/2 cup adjust according to your sweetness
- Cardamom powder - Generous pinch
- Butter/ Ghee- 1/2 tbsp
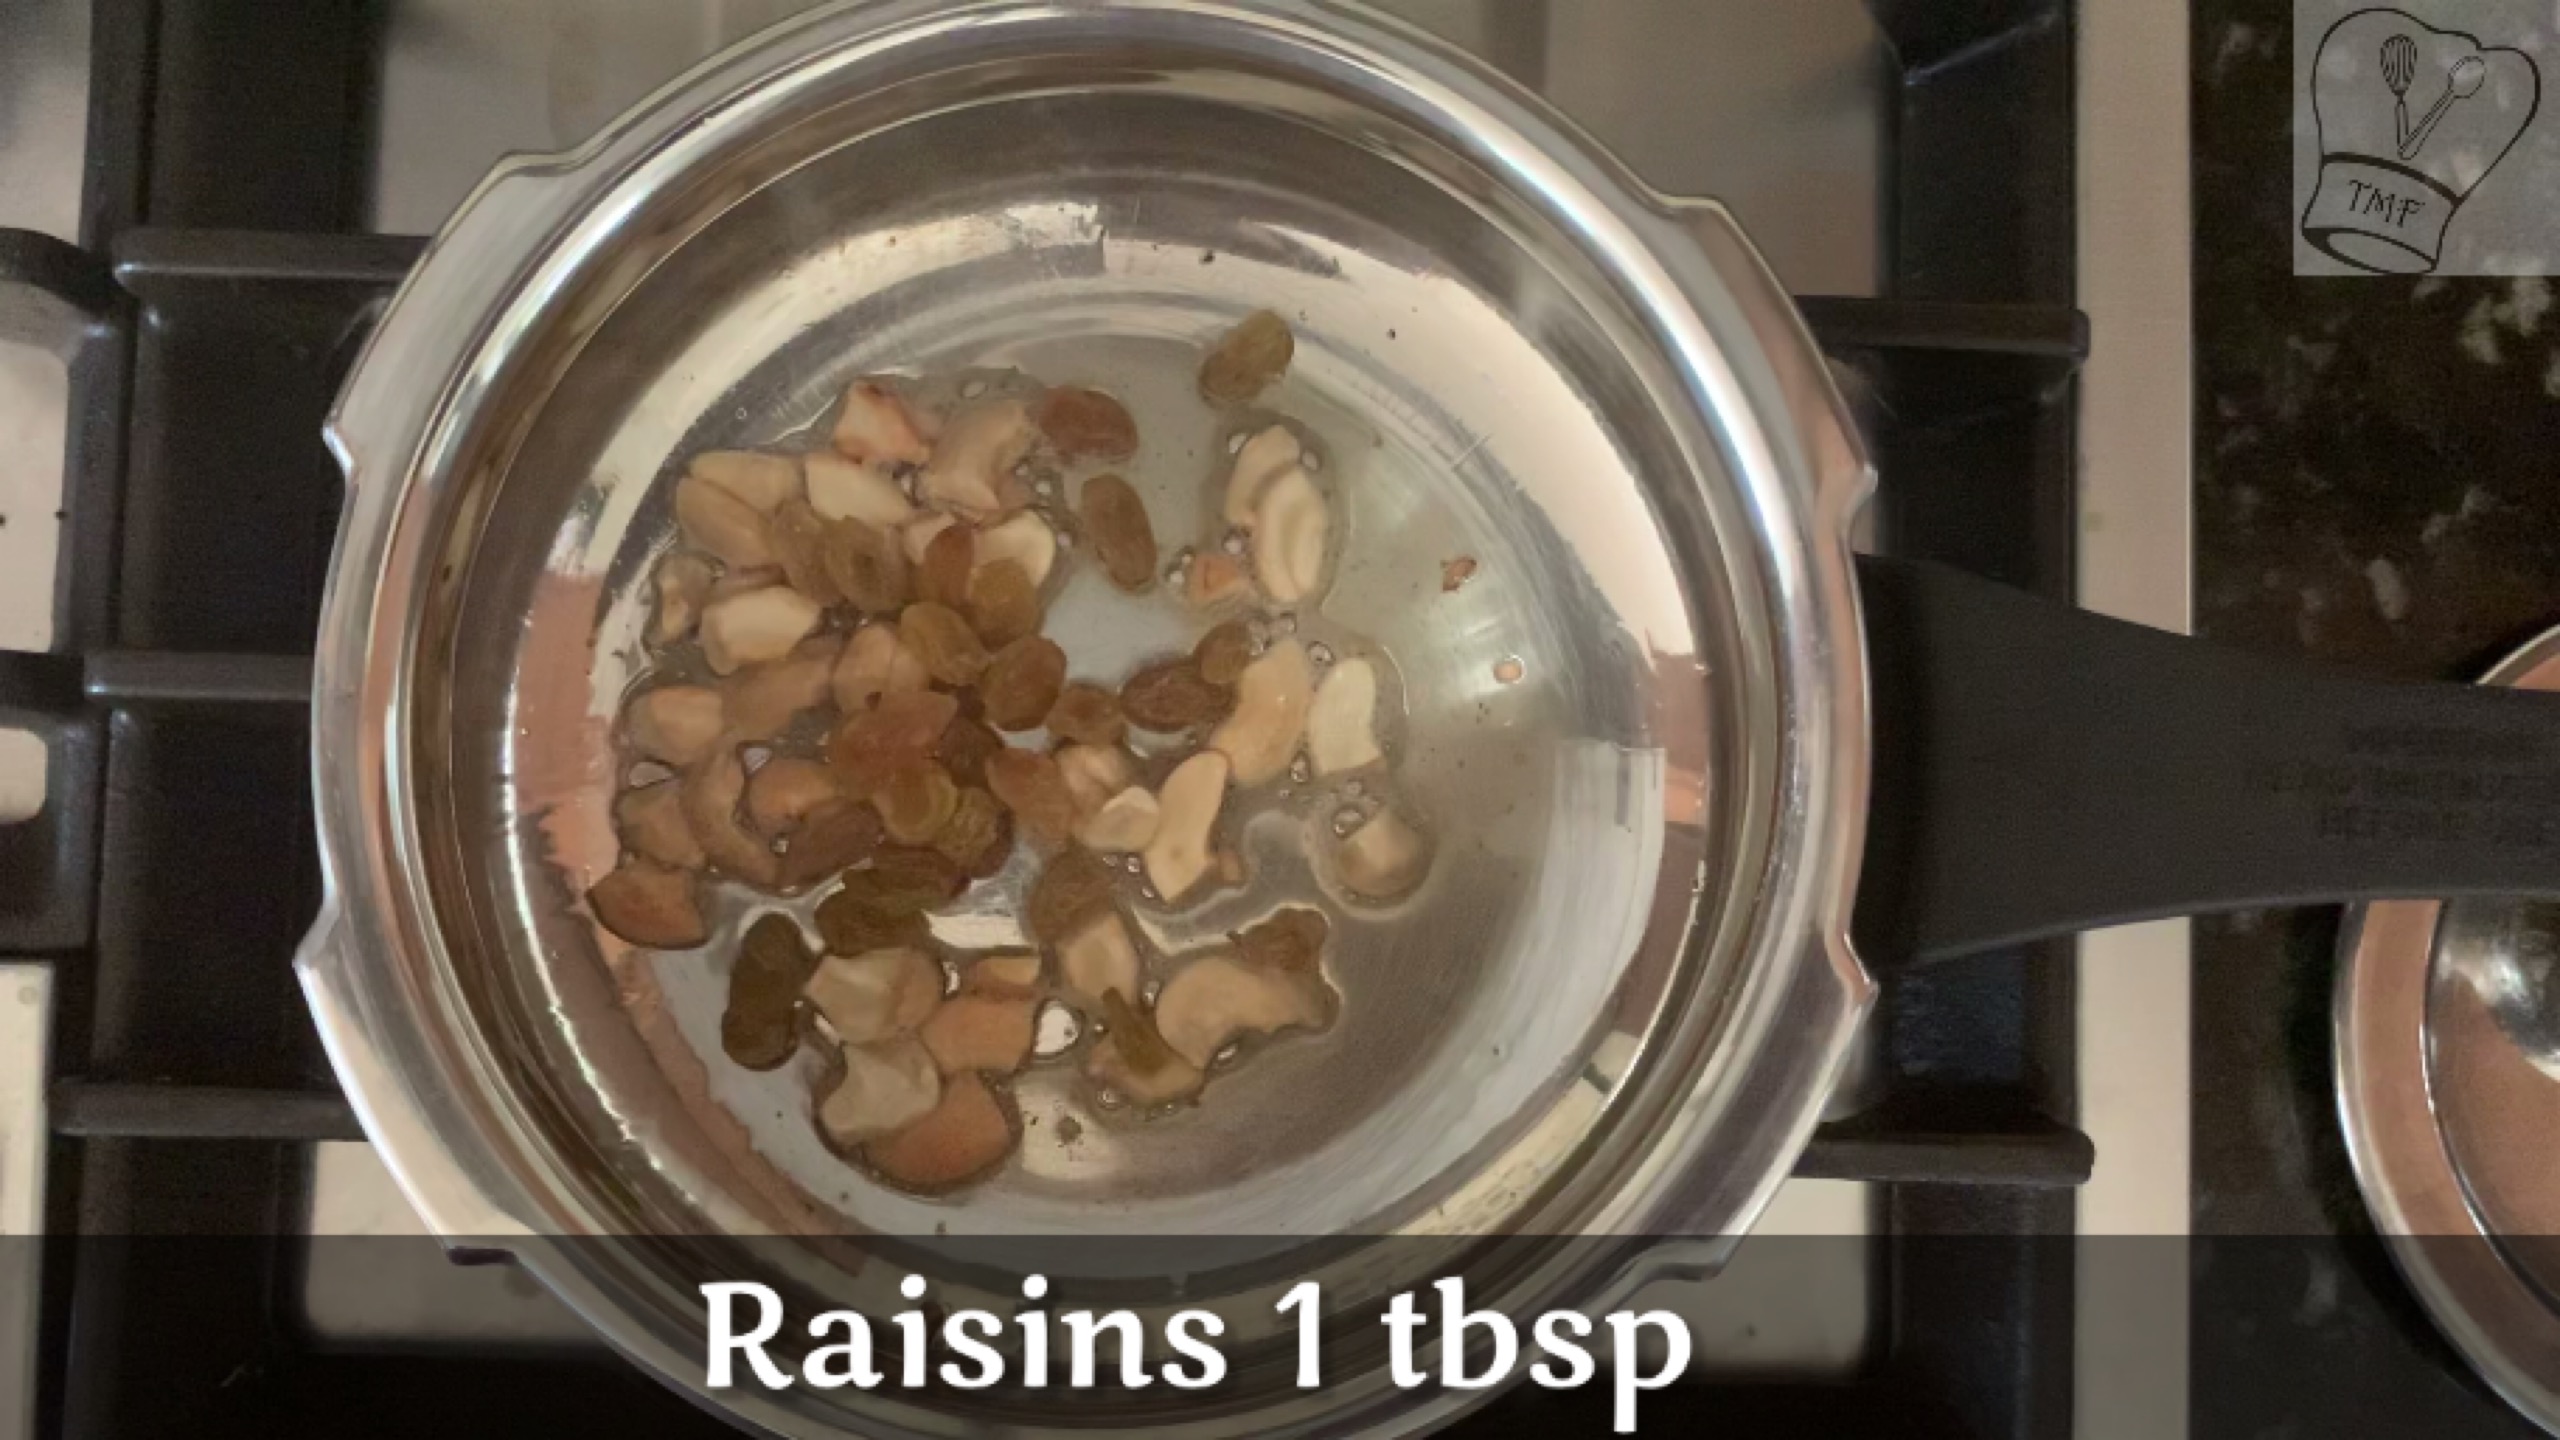
- Raisins - 1 tbsp
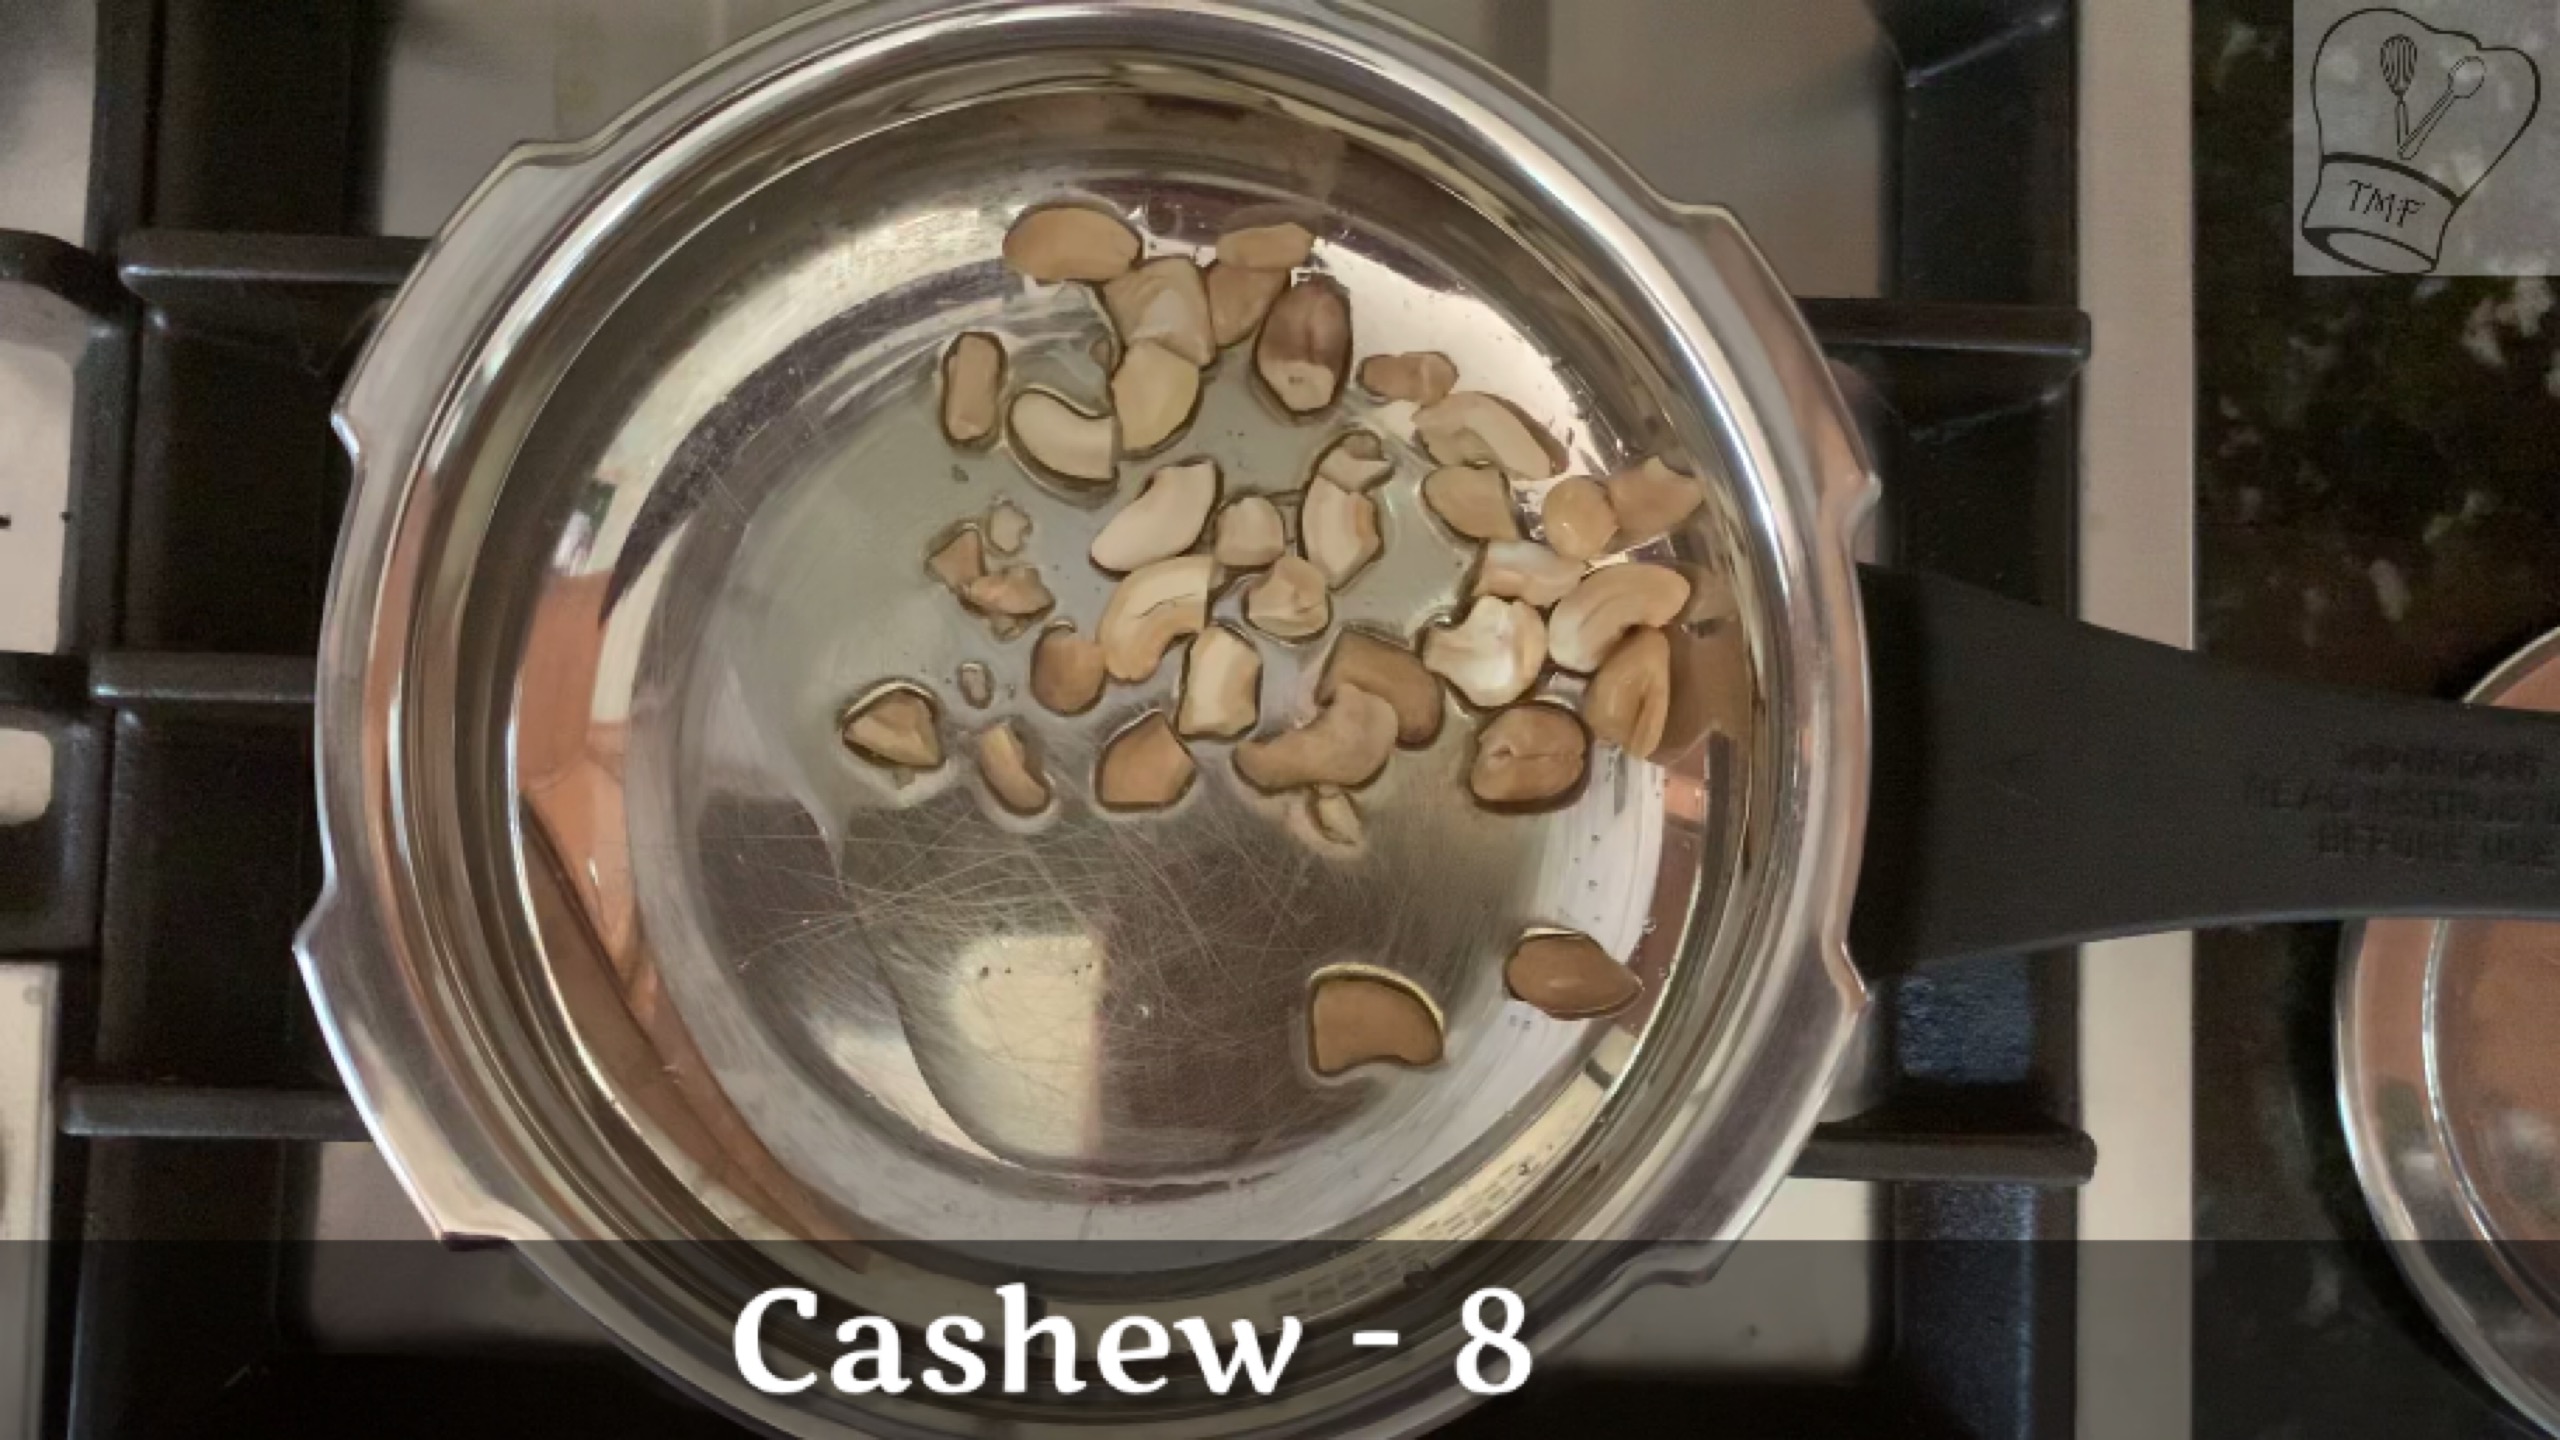
- Cashew - 7 split
- Salt - a pinch
Instructions
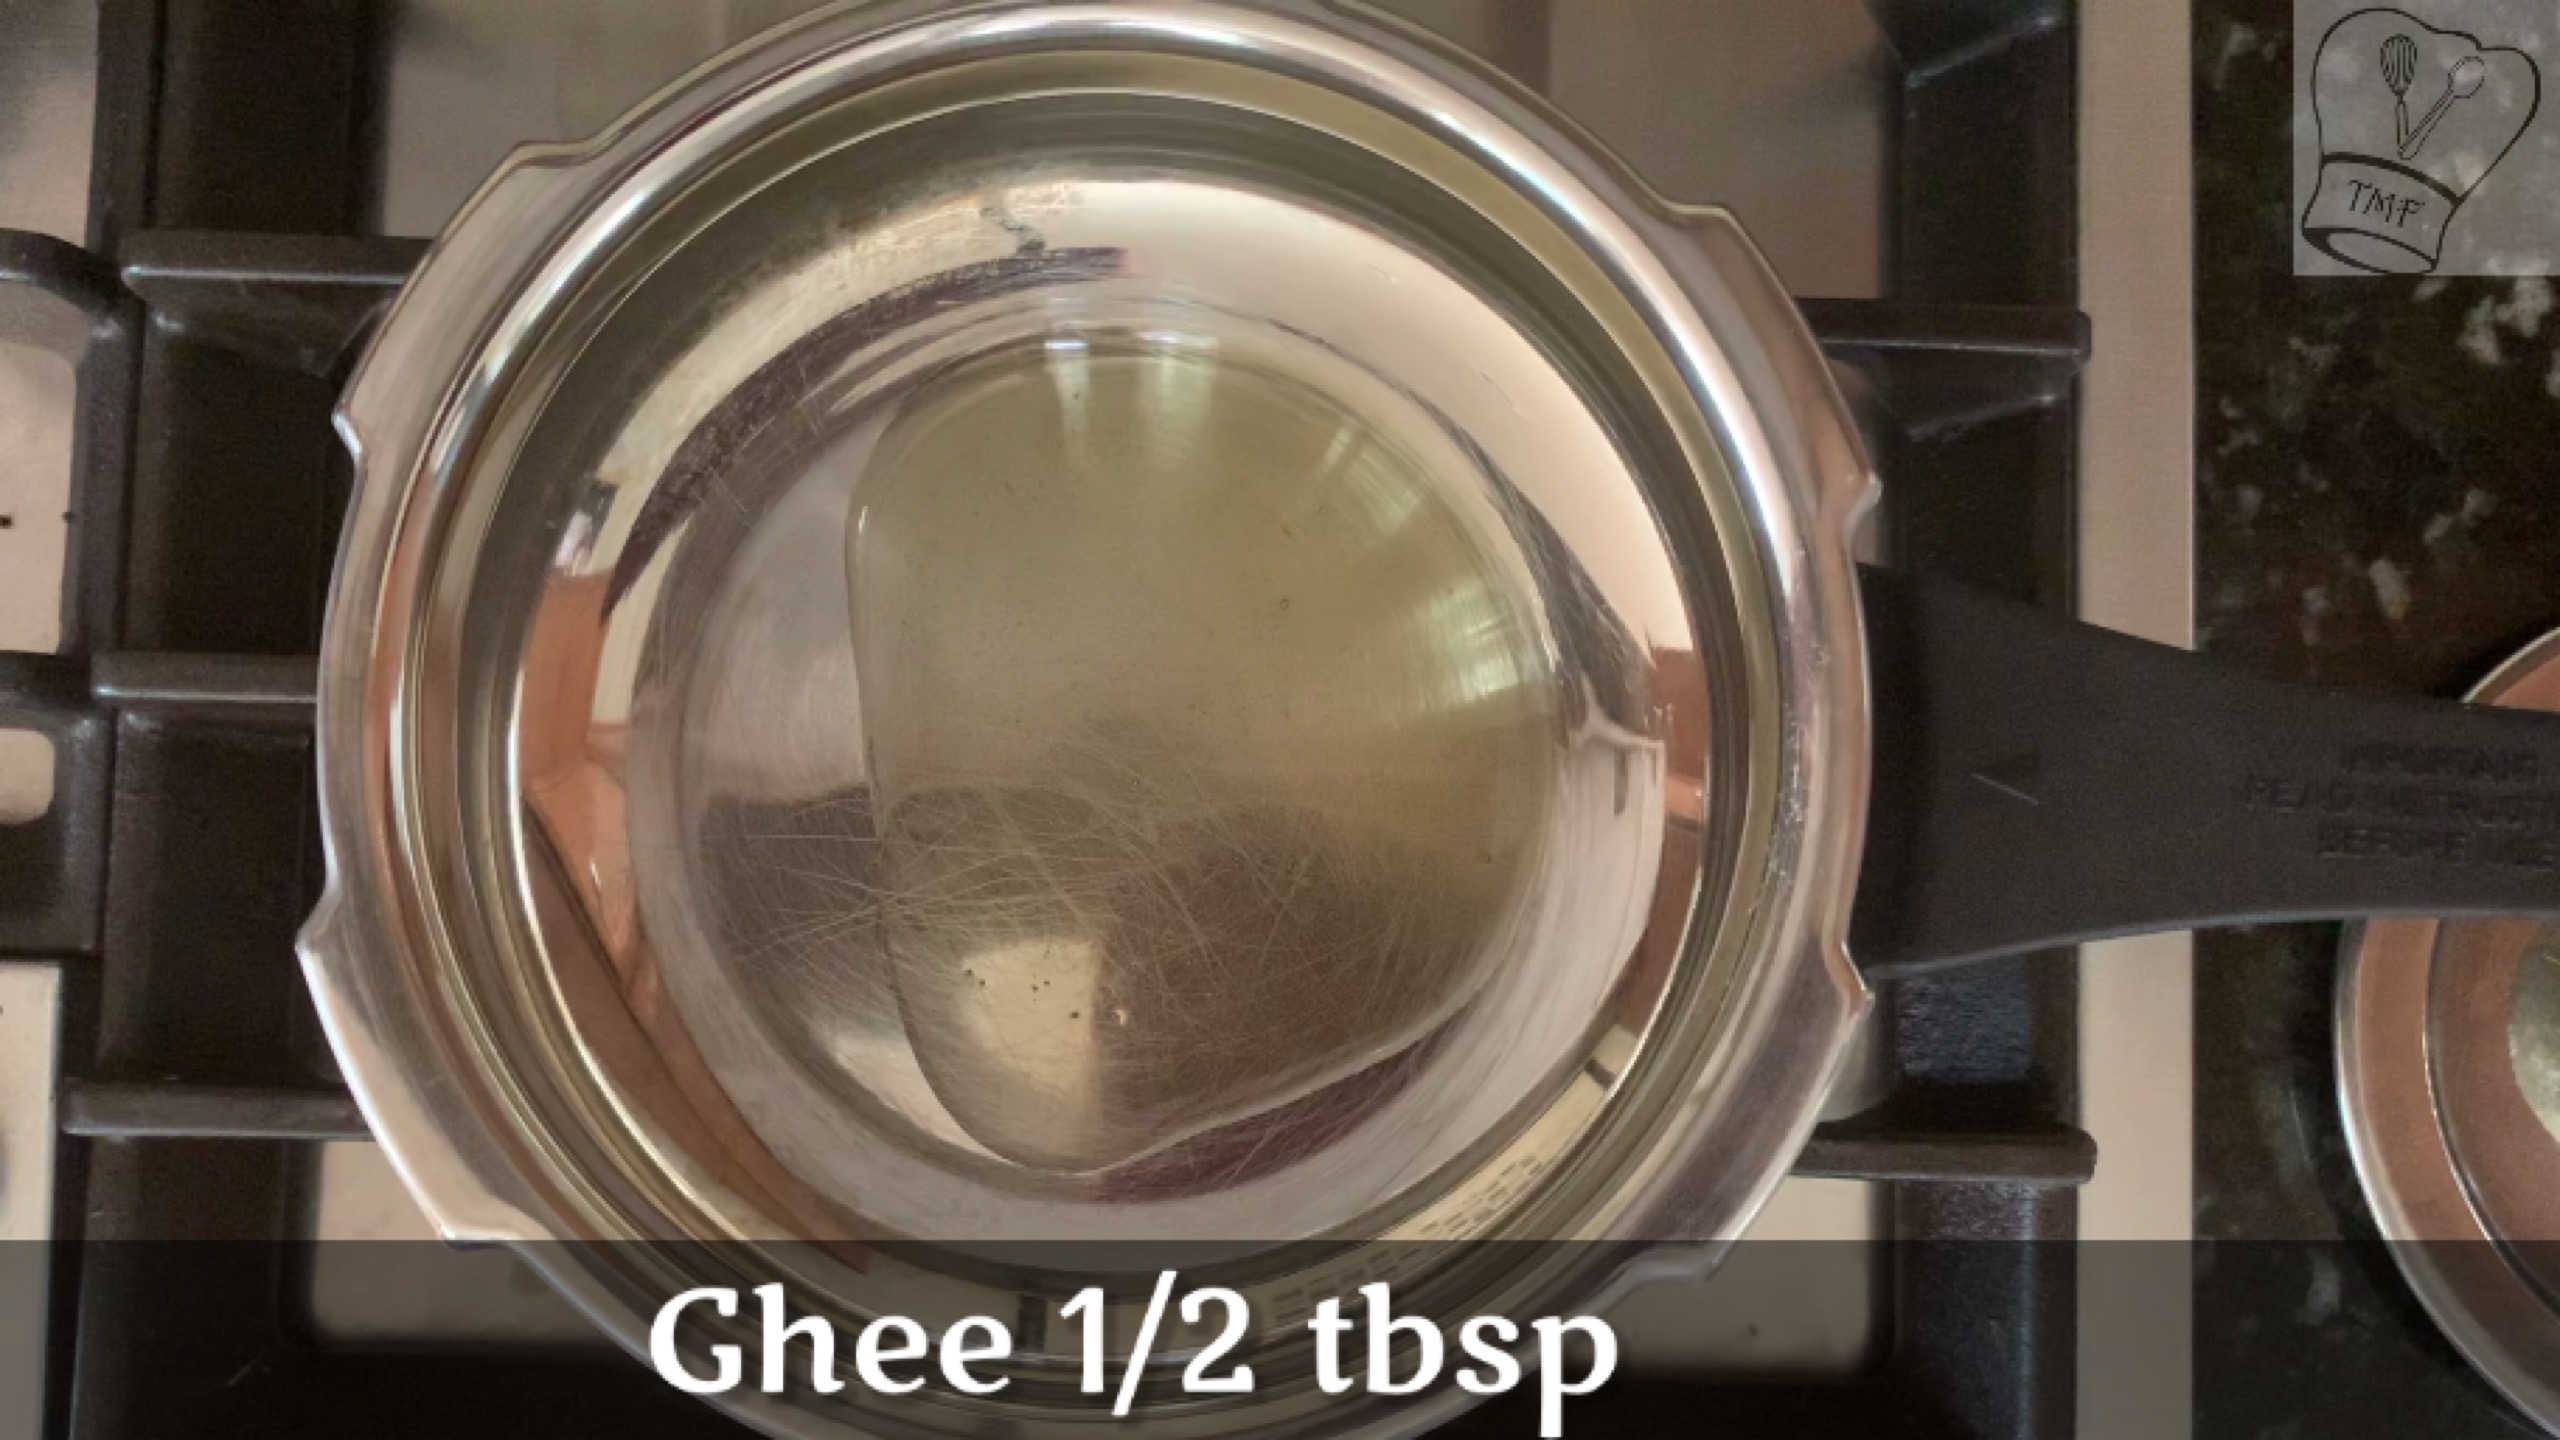
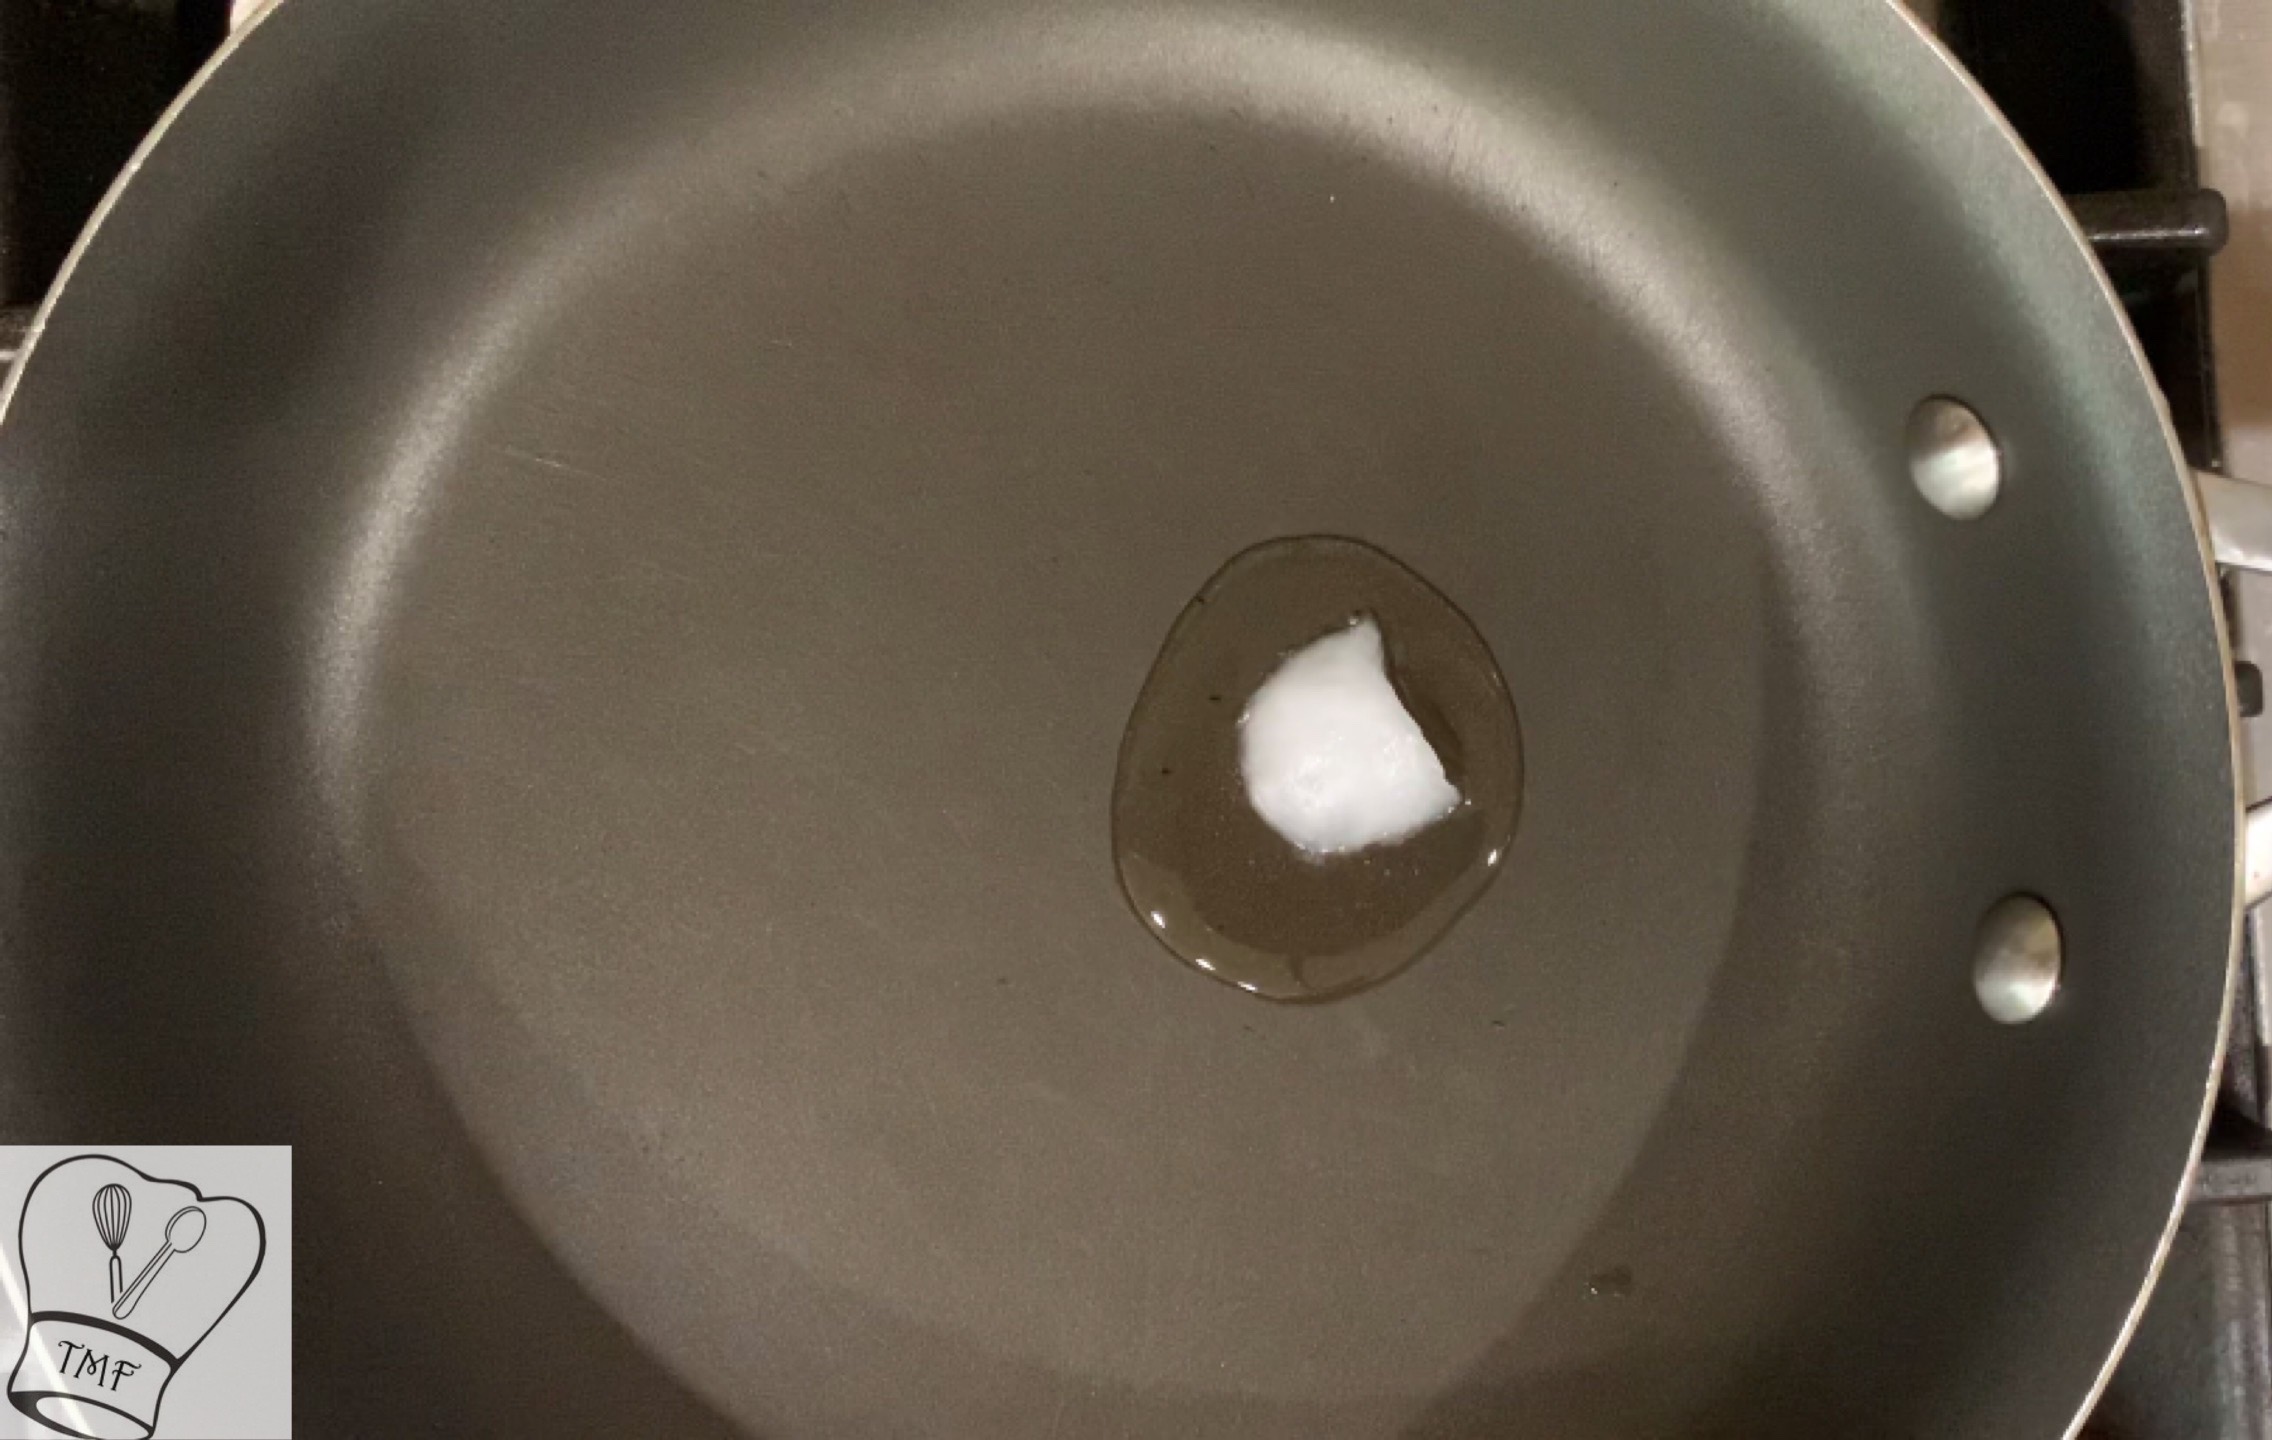
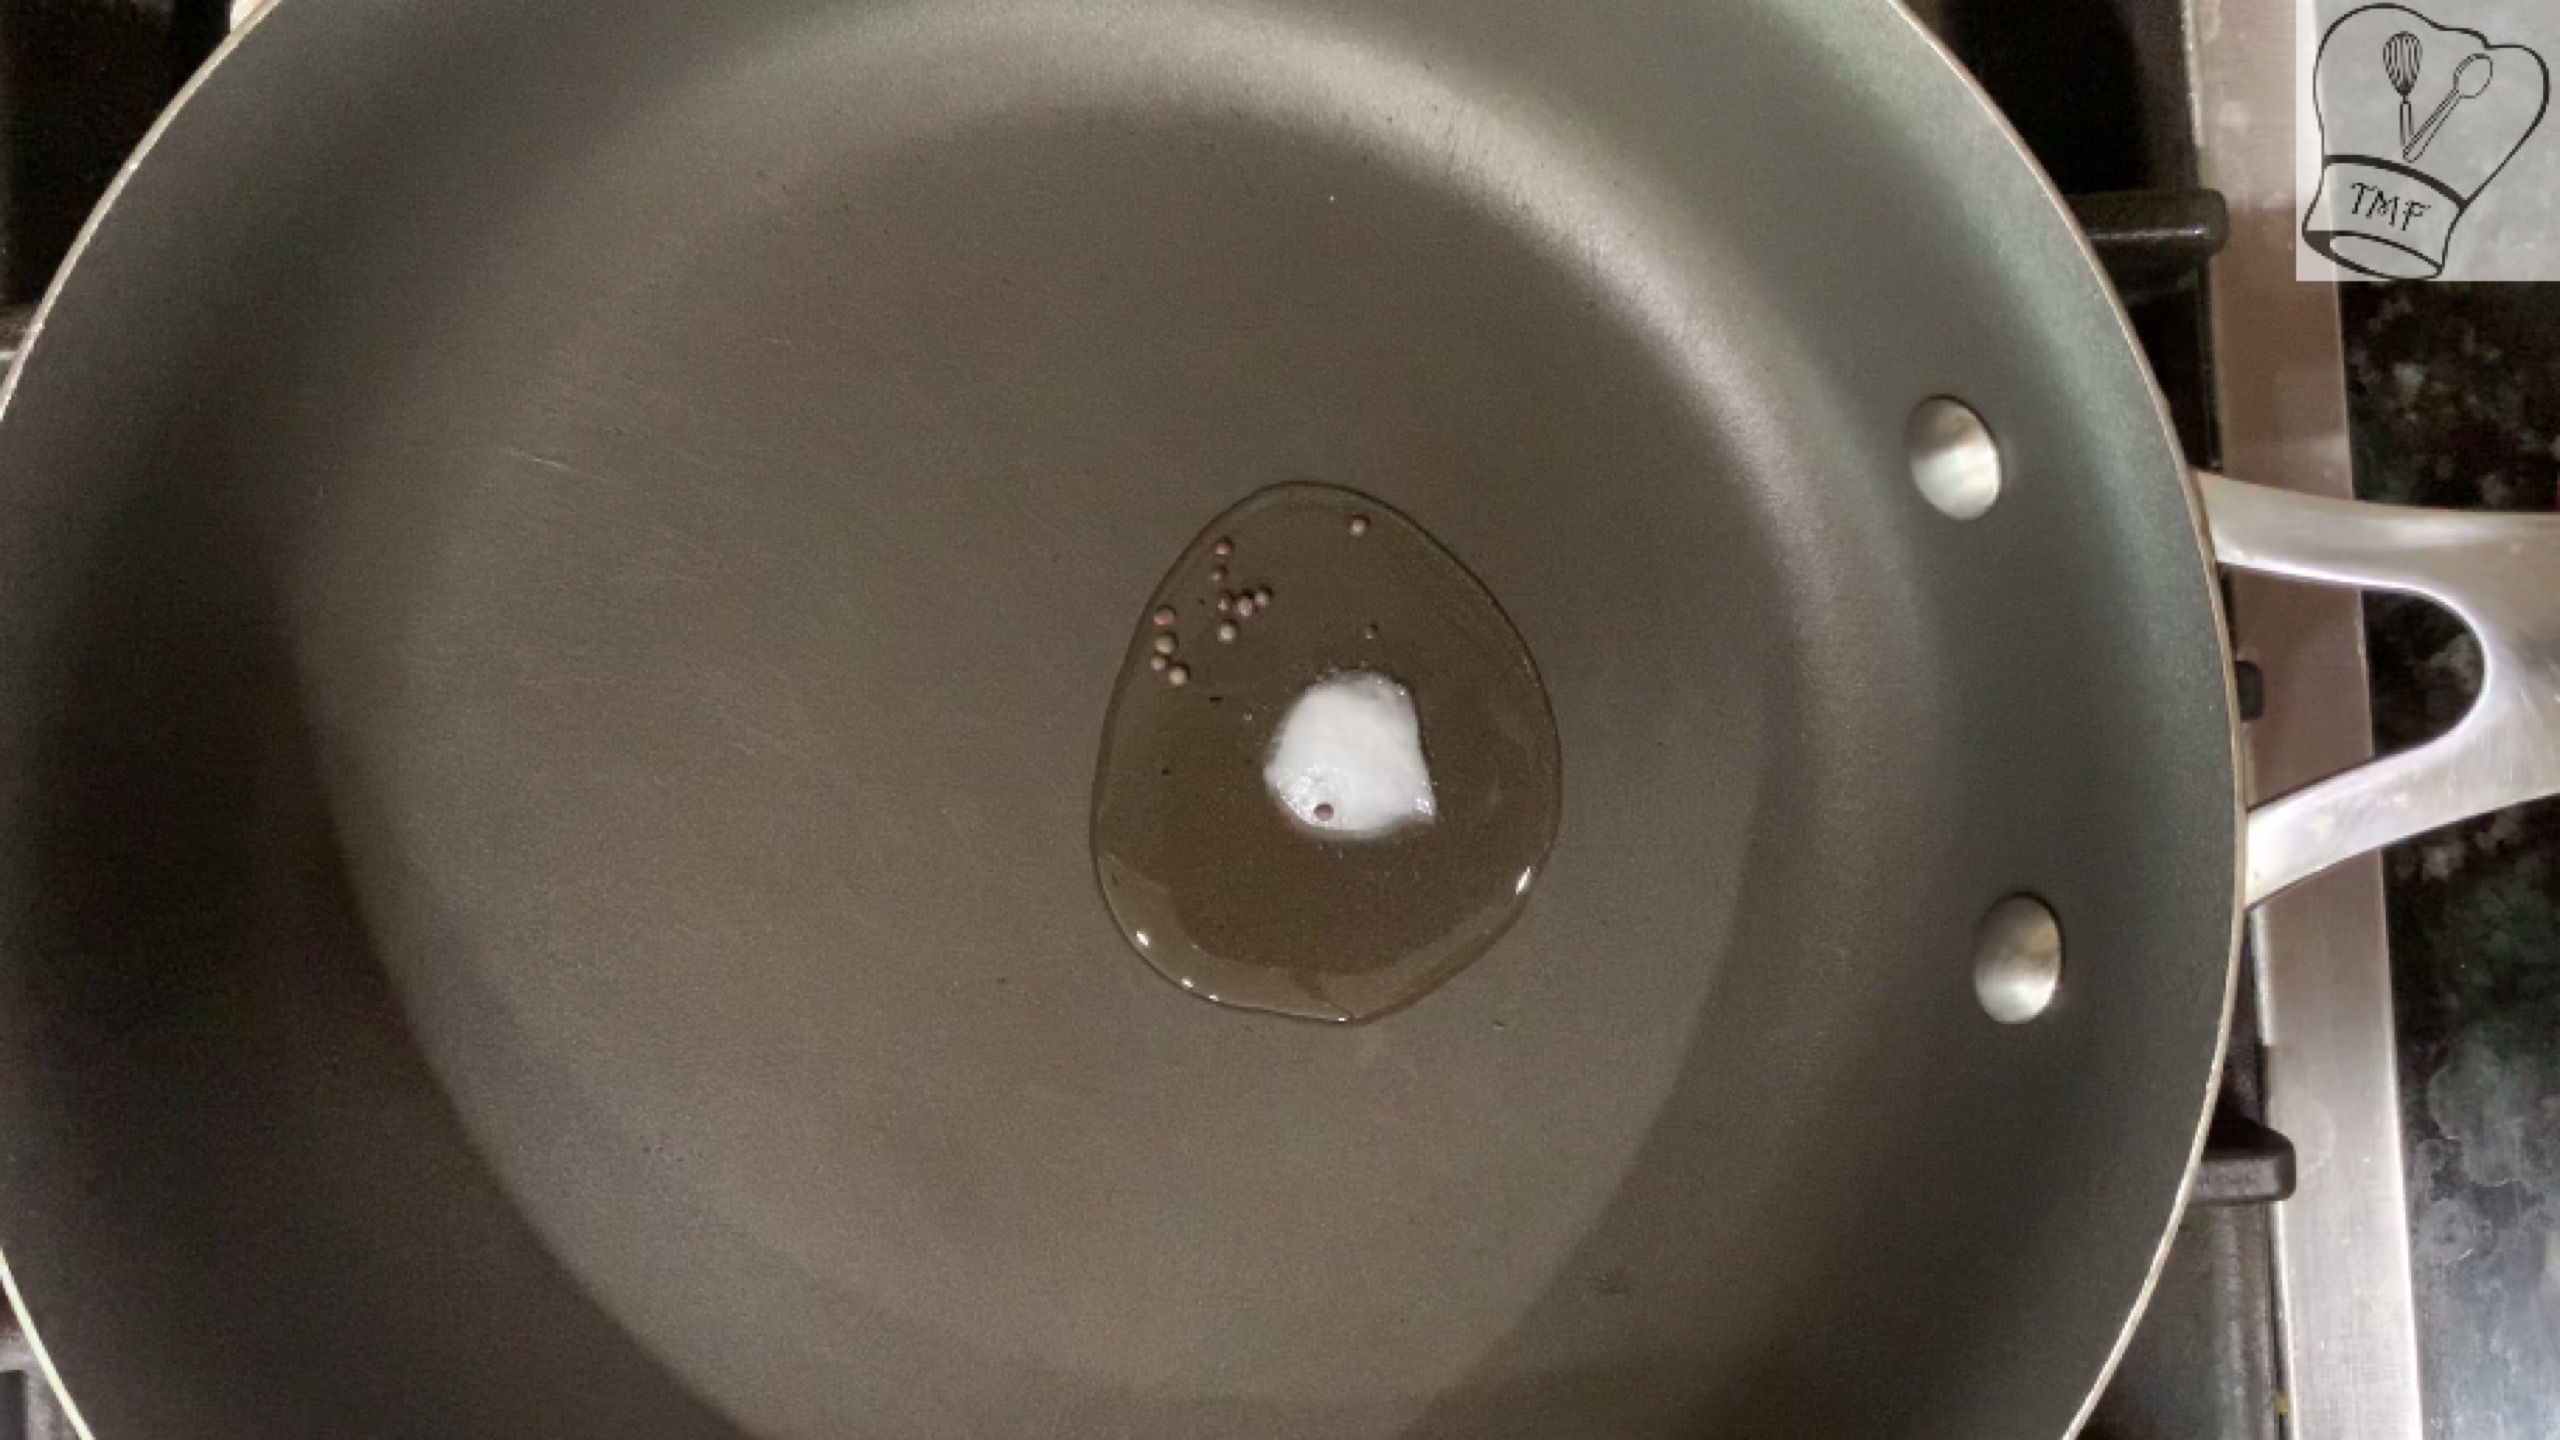
- In a heavy bottomed pan add ghee and when ghee is hot add cashew
- Saute the causes till they change golden brown. Add raisin and mix well
- Transfer them to a small cup
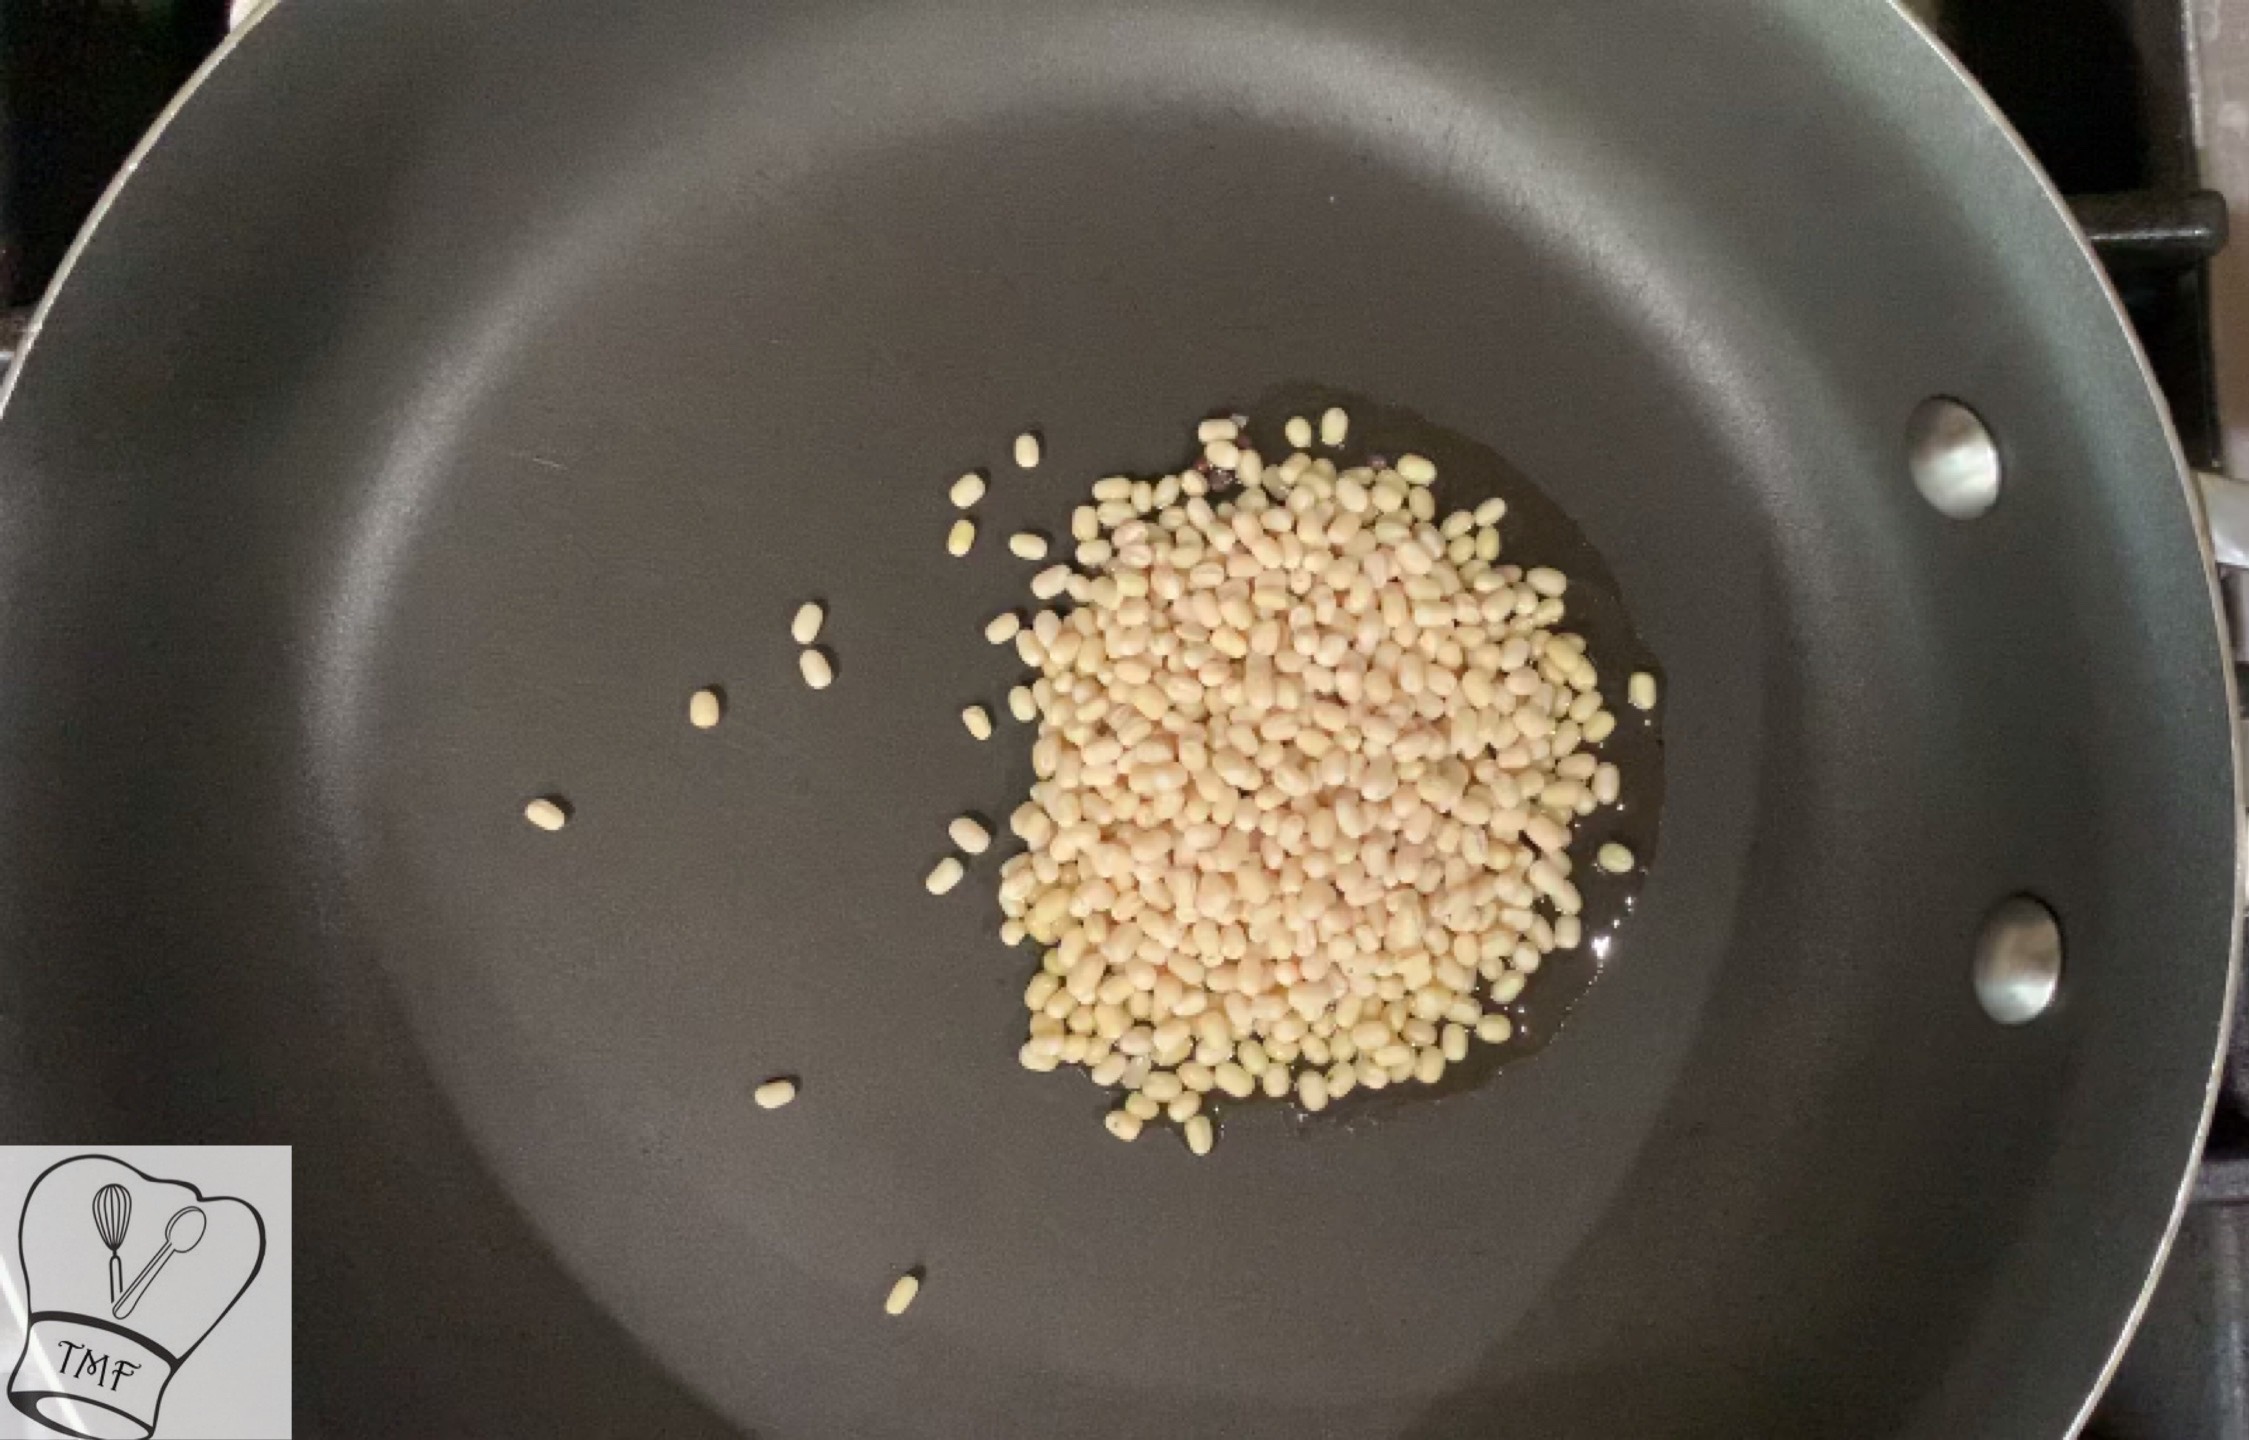
- In the same pan saute pasta for 30 seconds
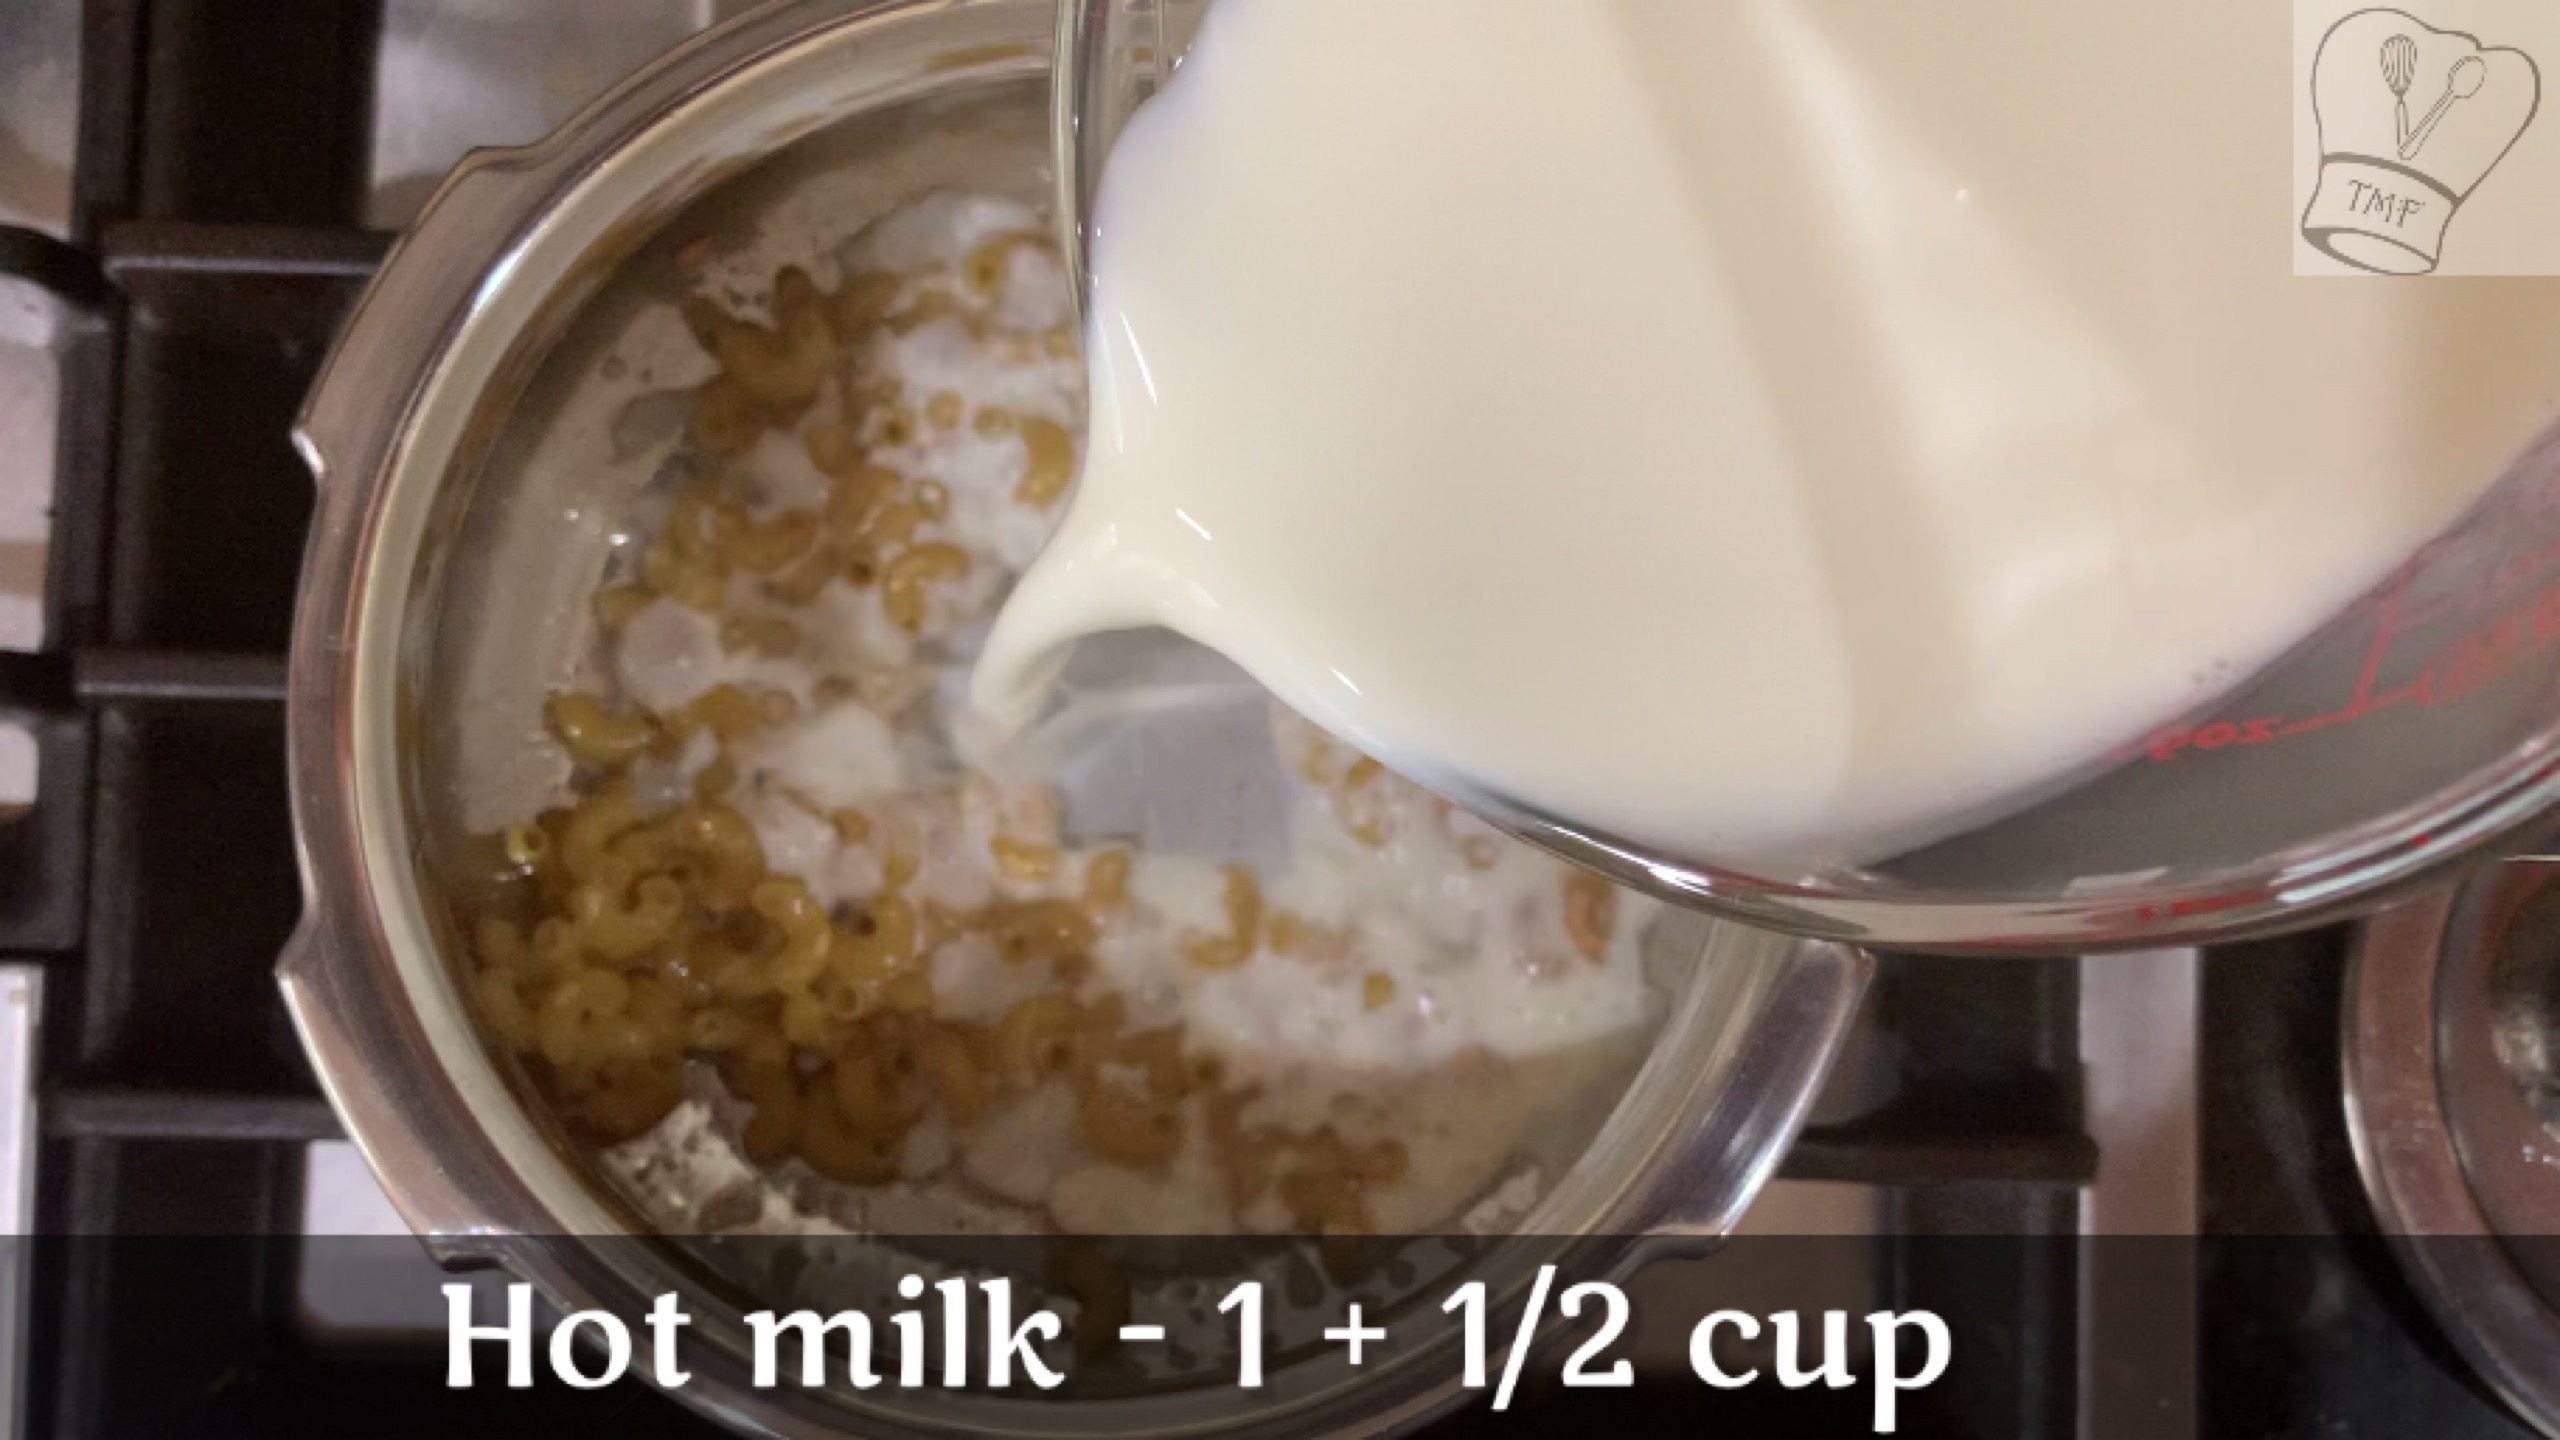
- Add 1 + 1/2 cup of hot milk and cook the pasta
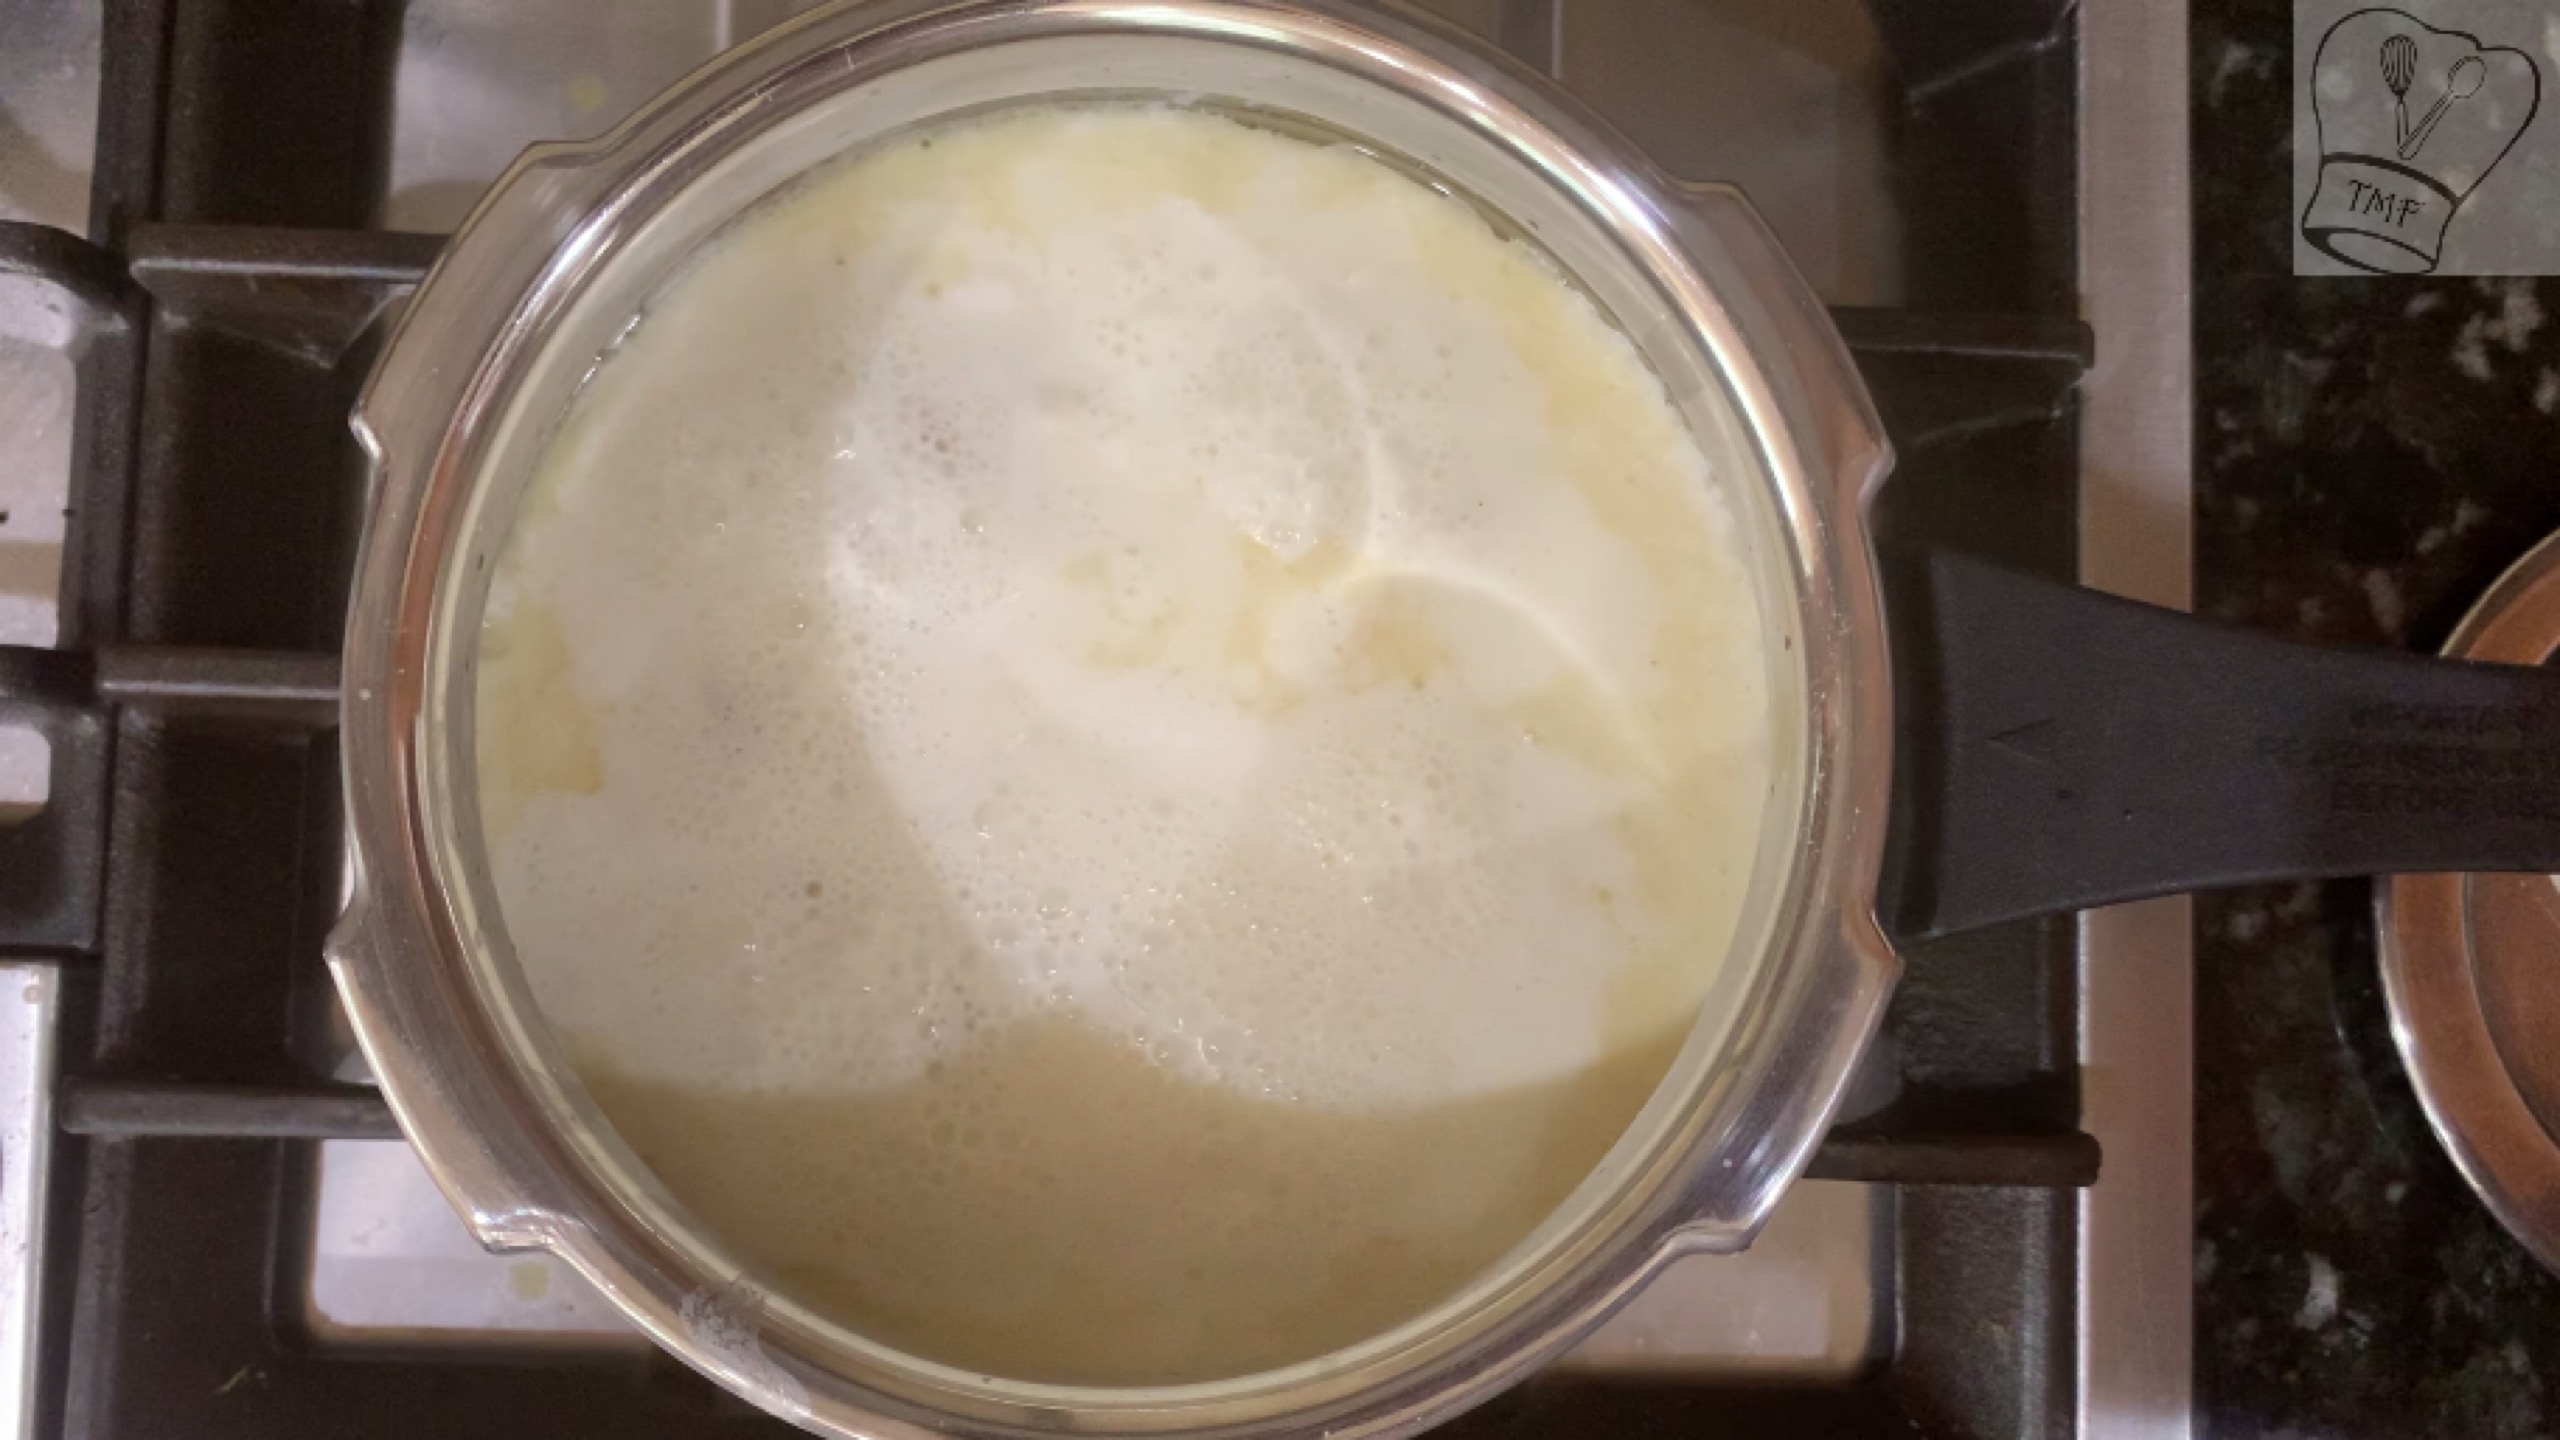
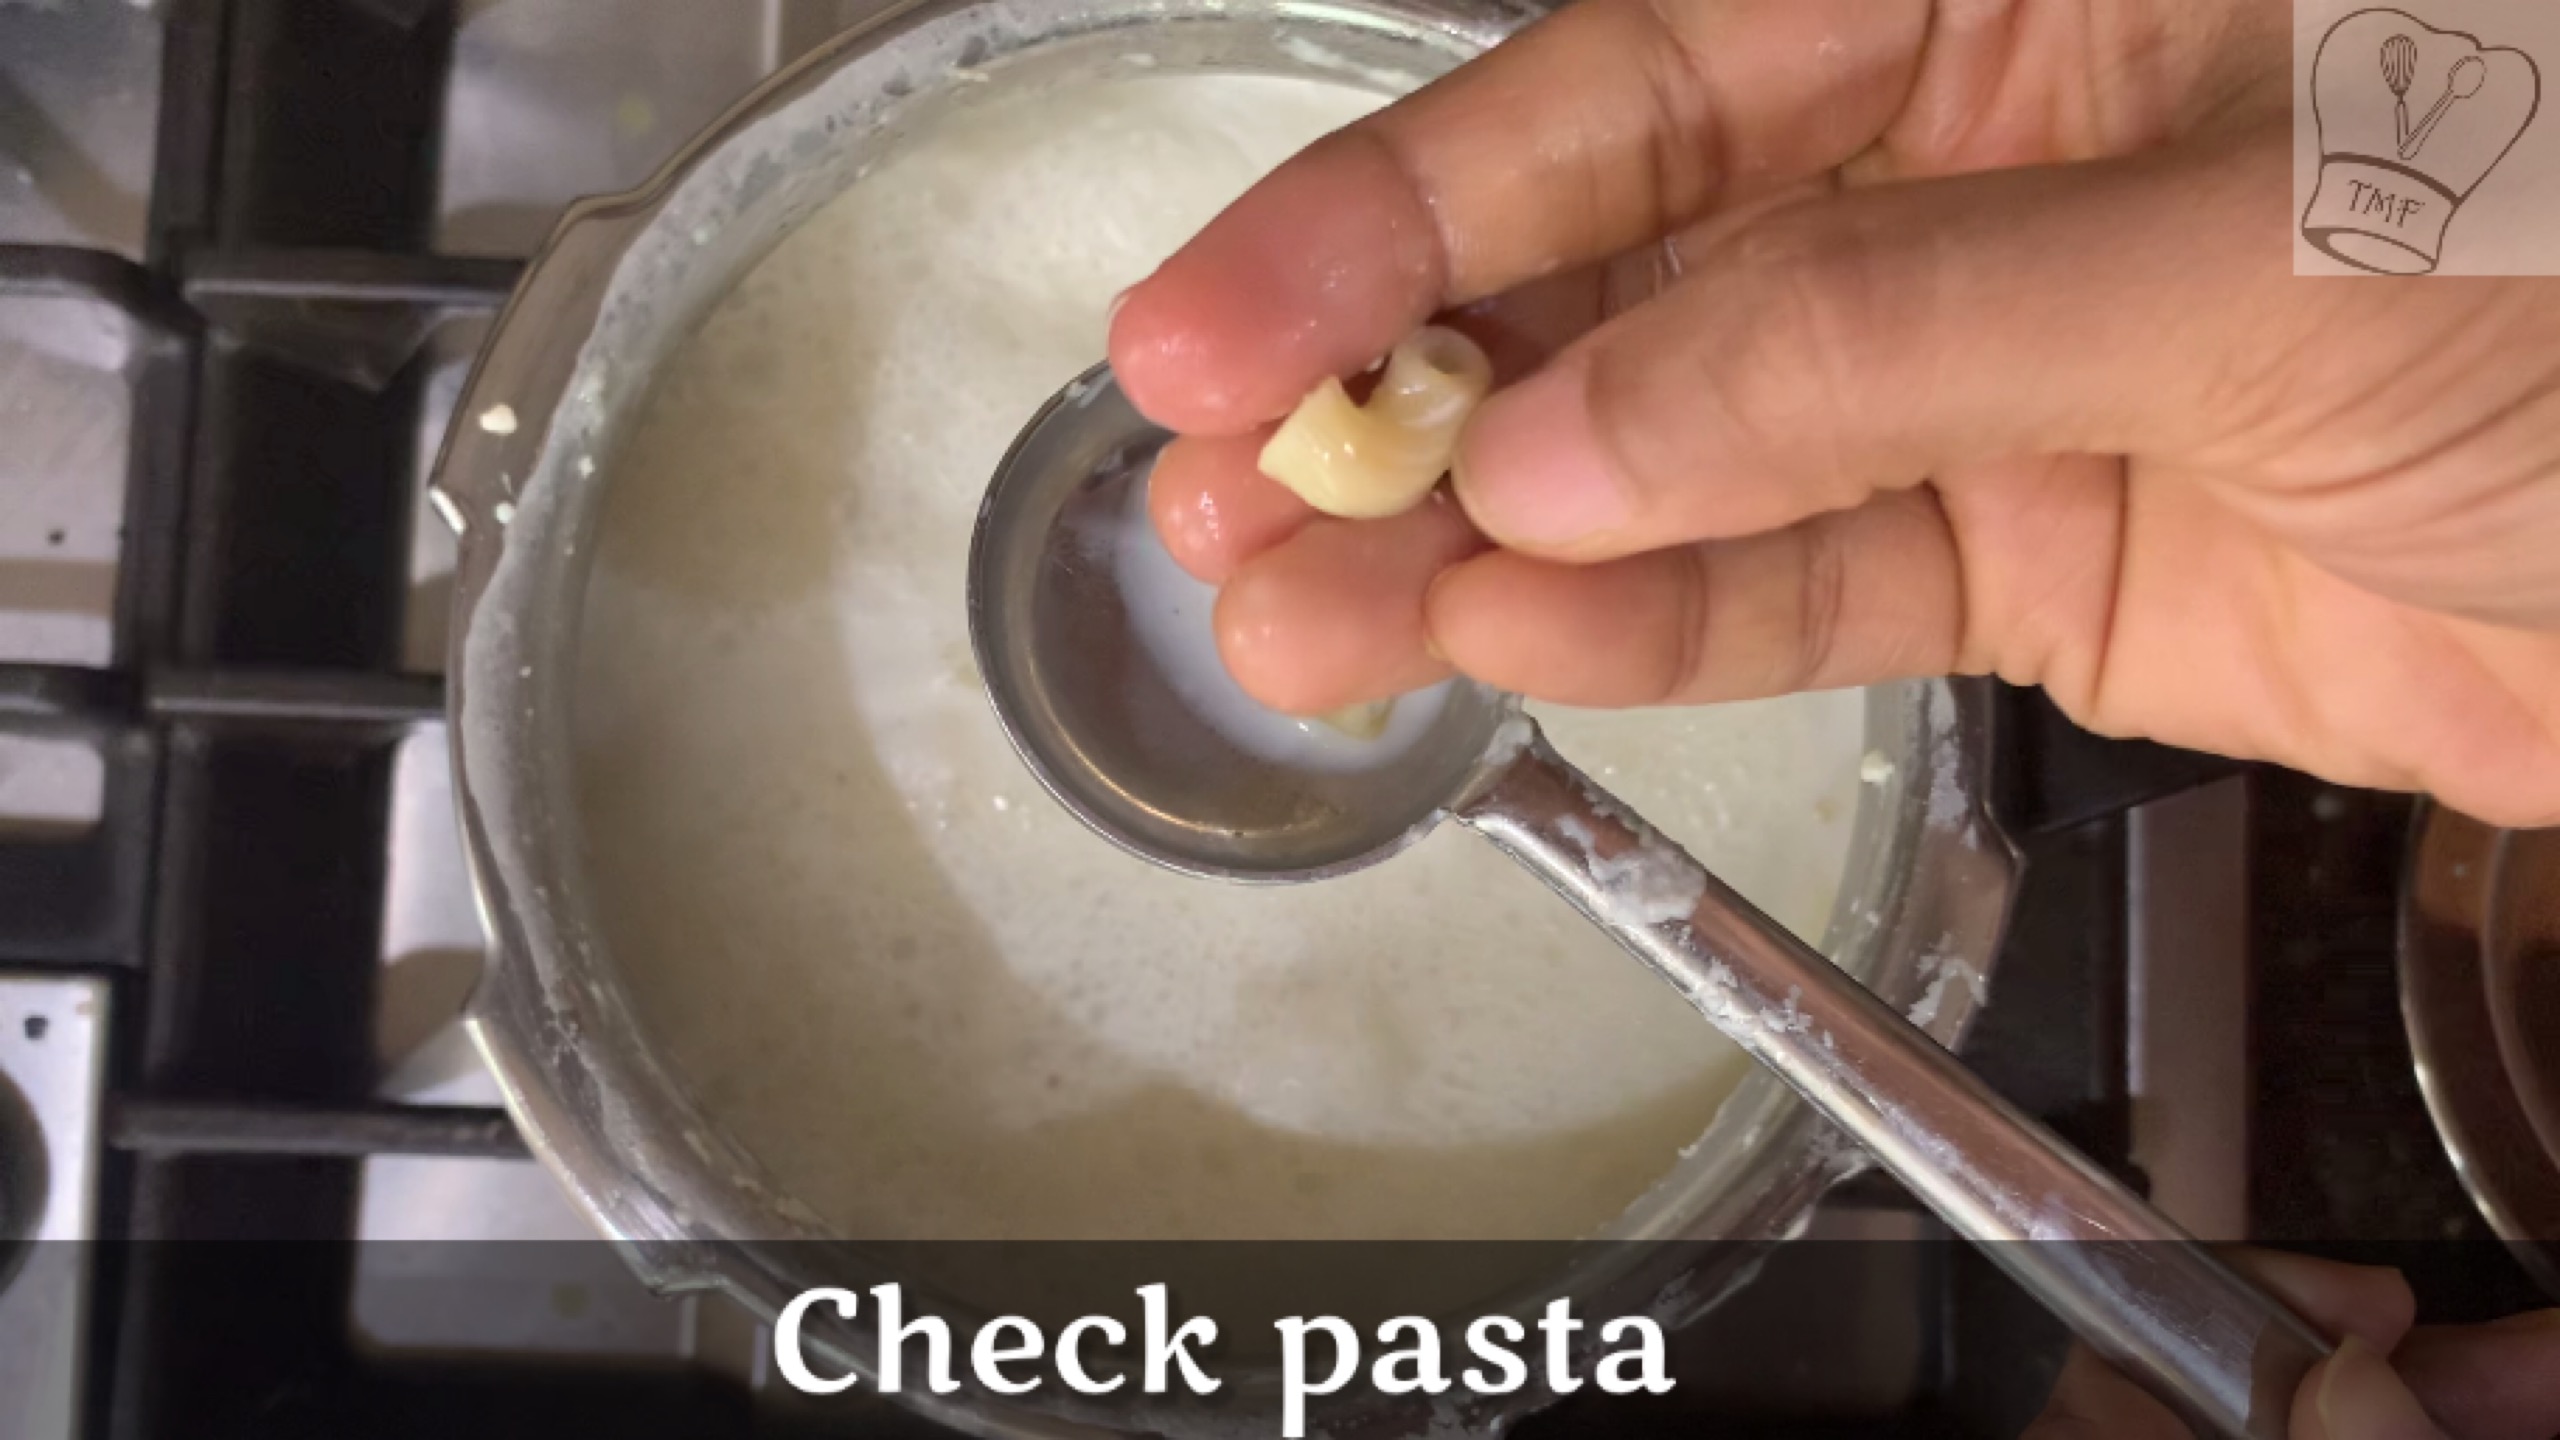
- Stir in between cook till the pasta is fork tender
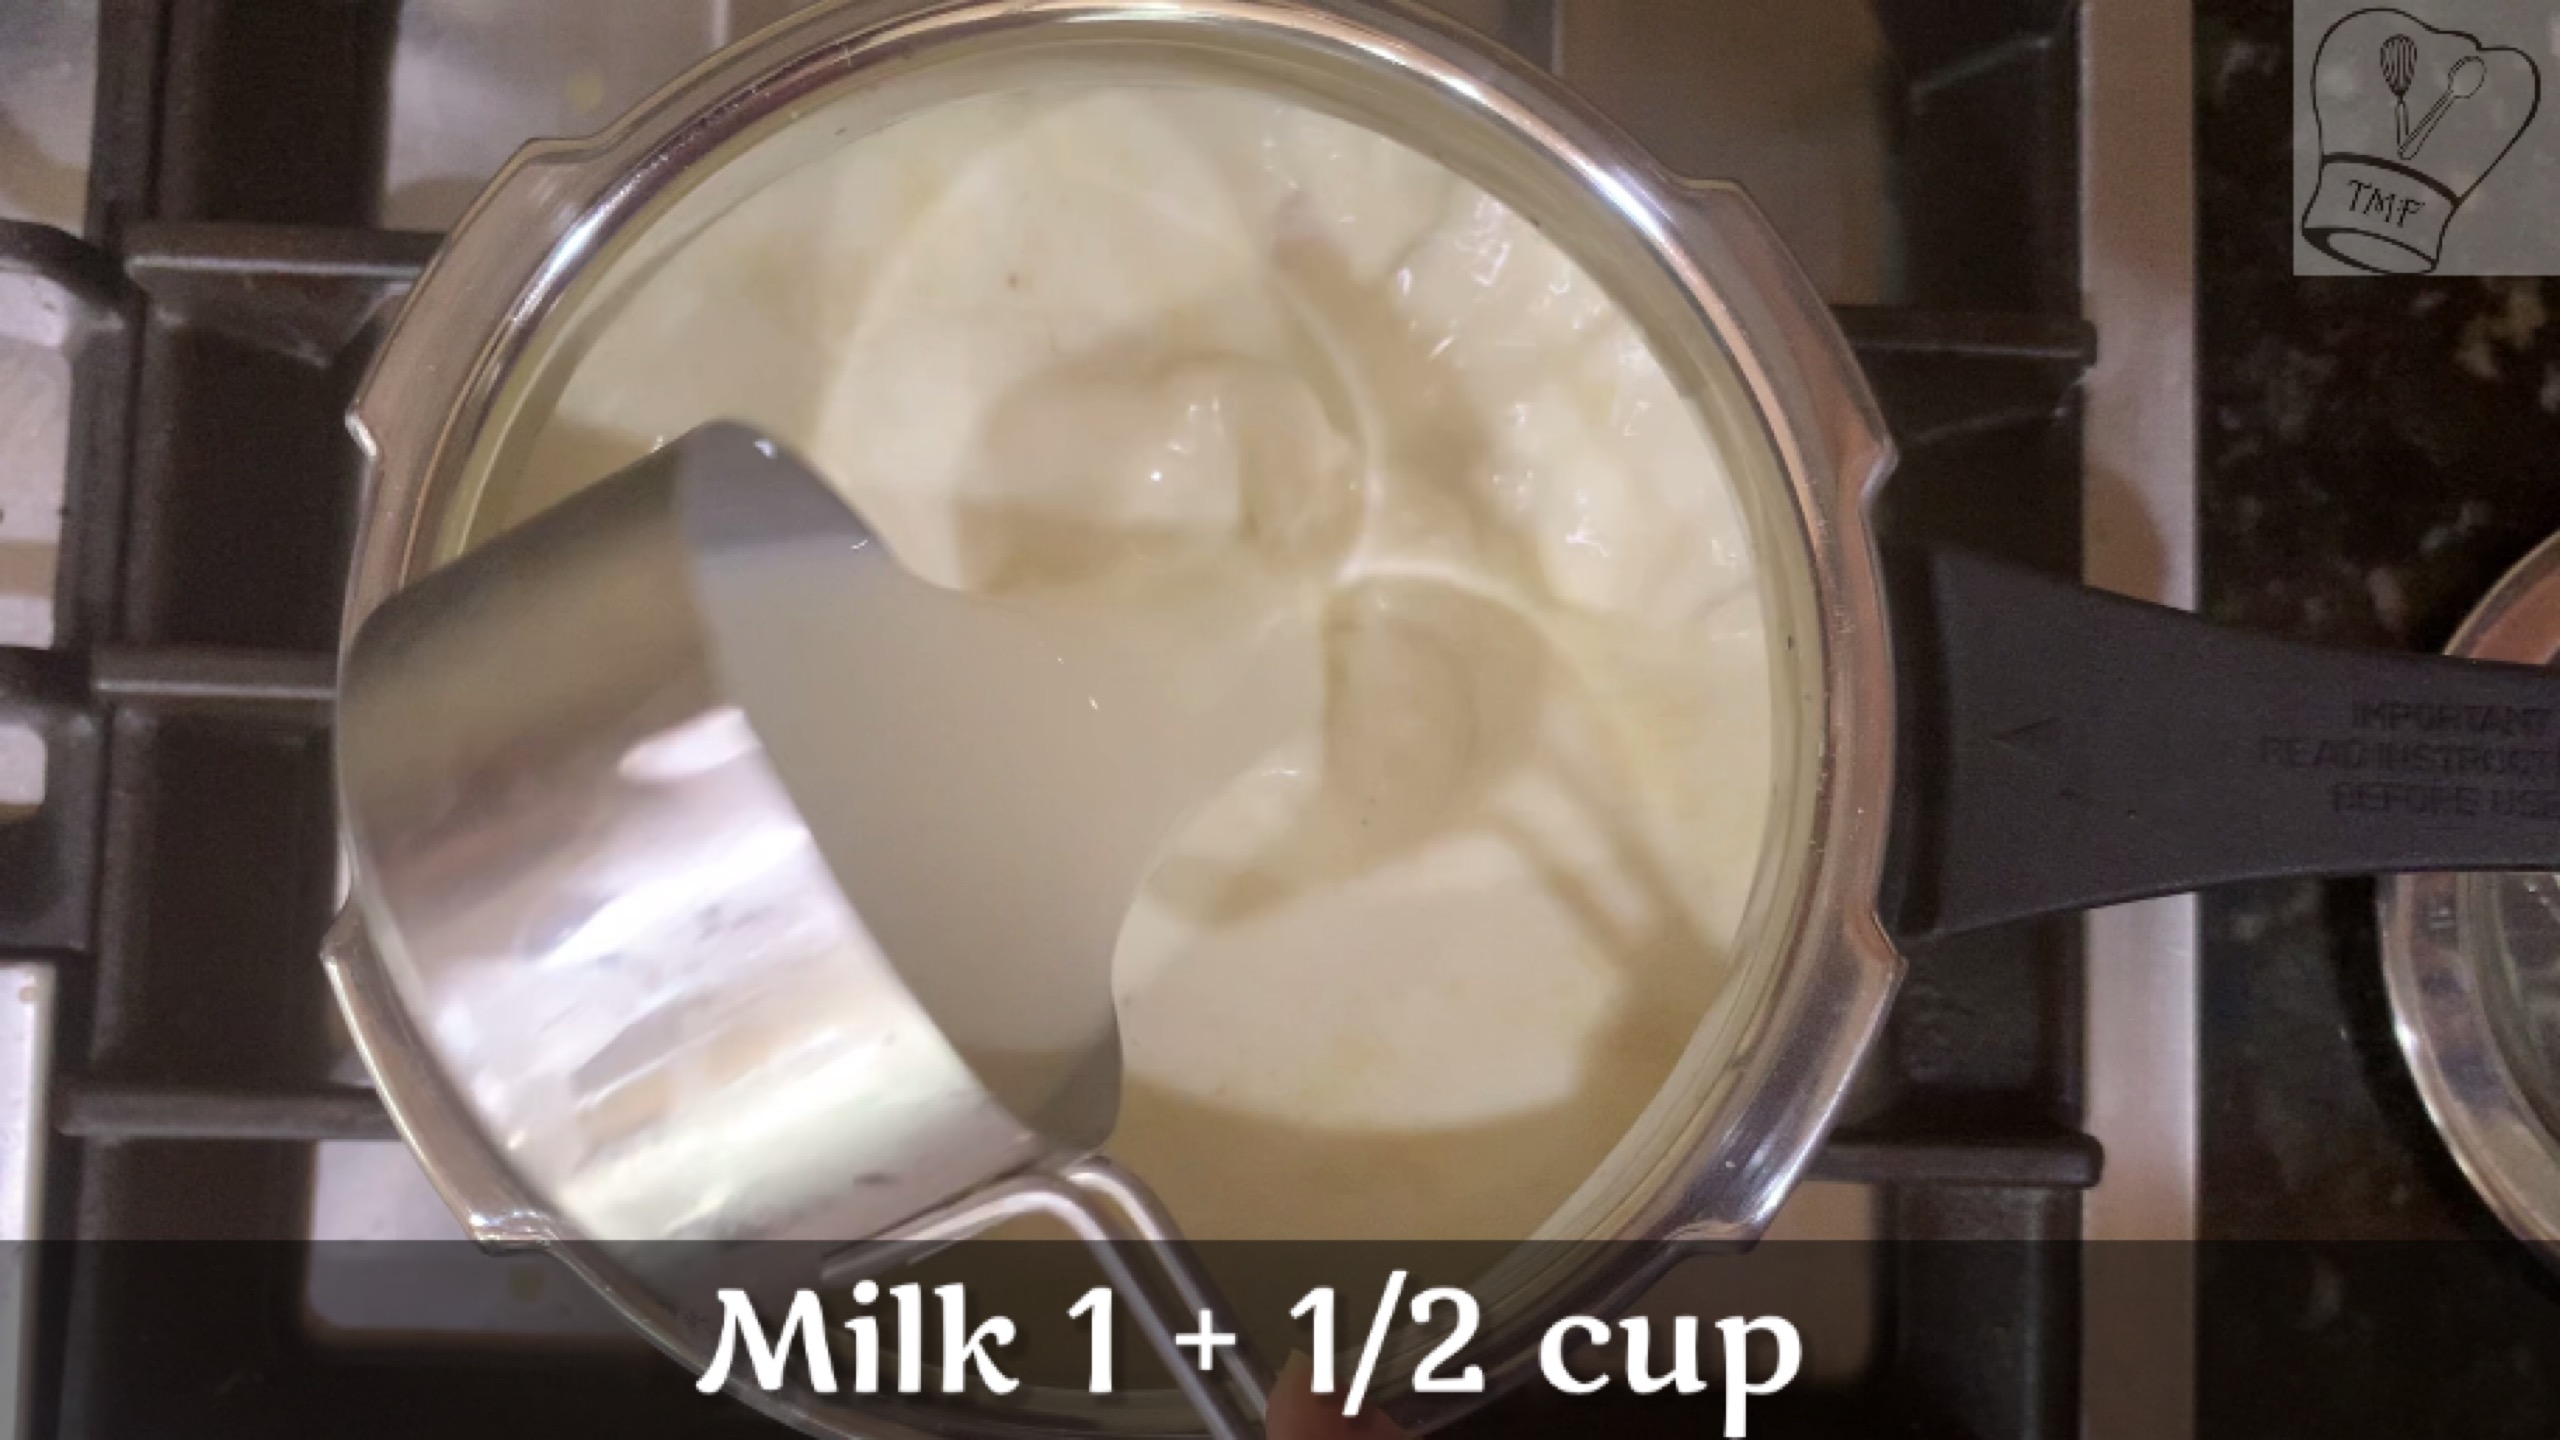
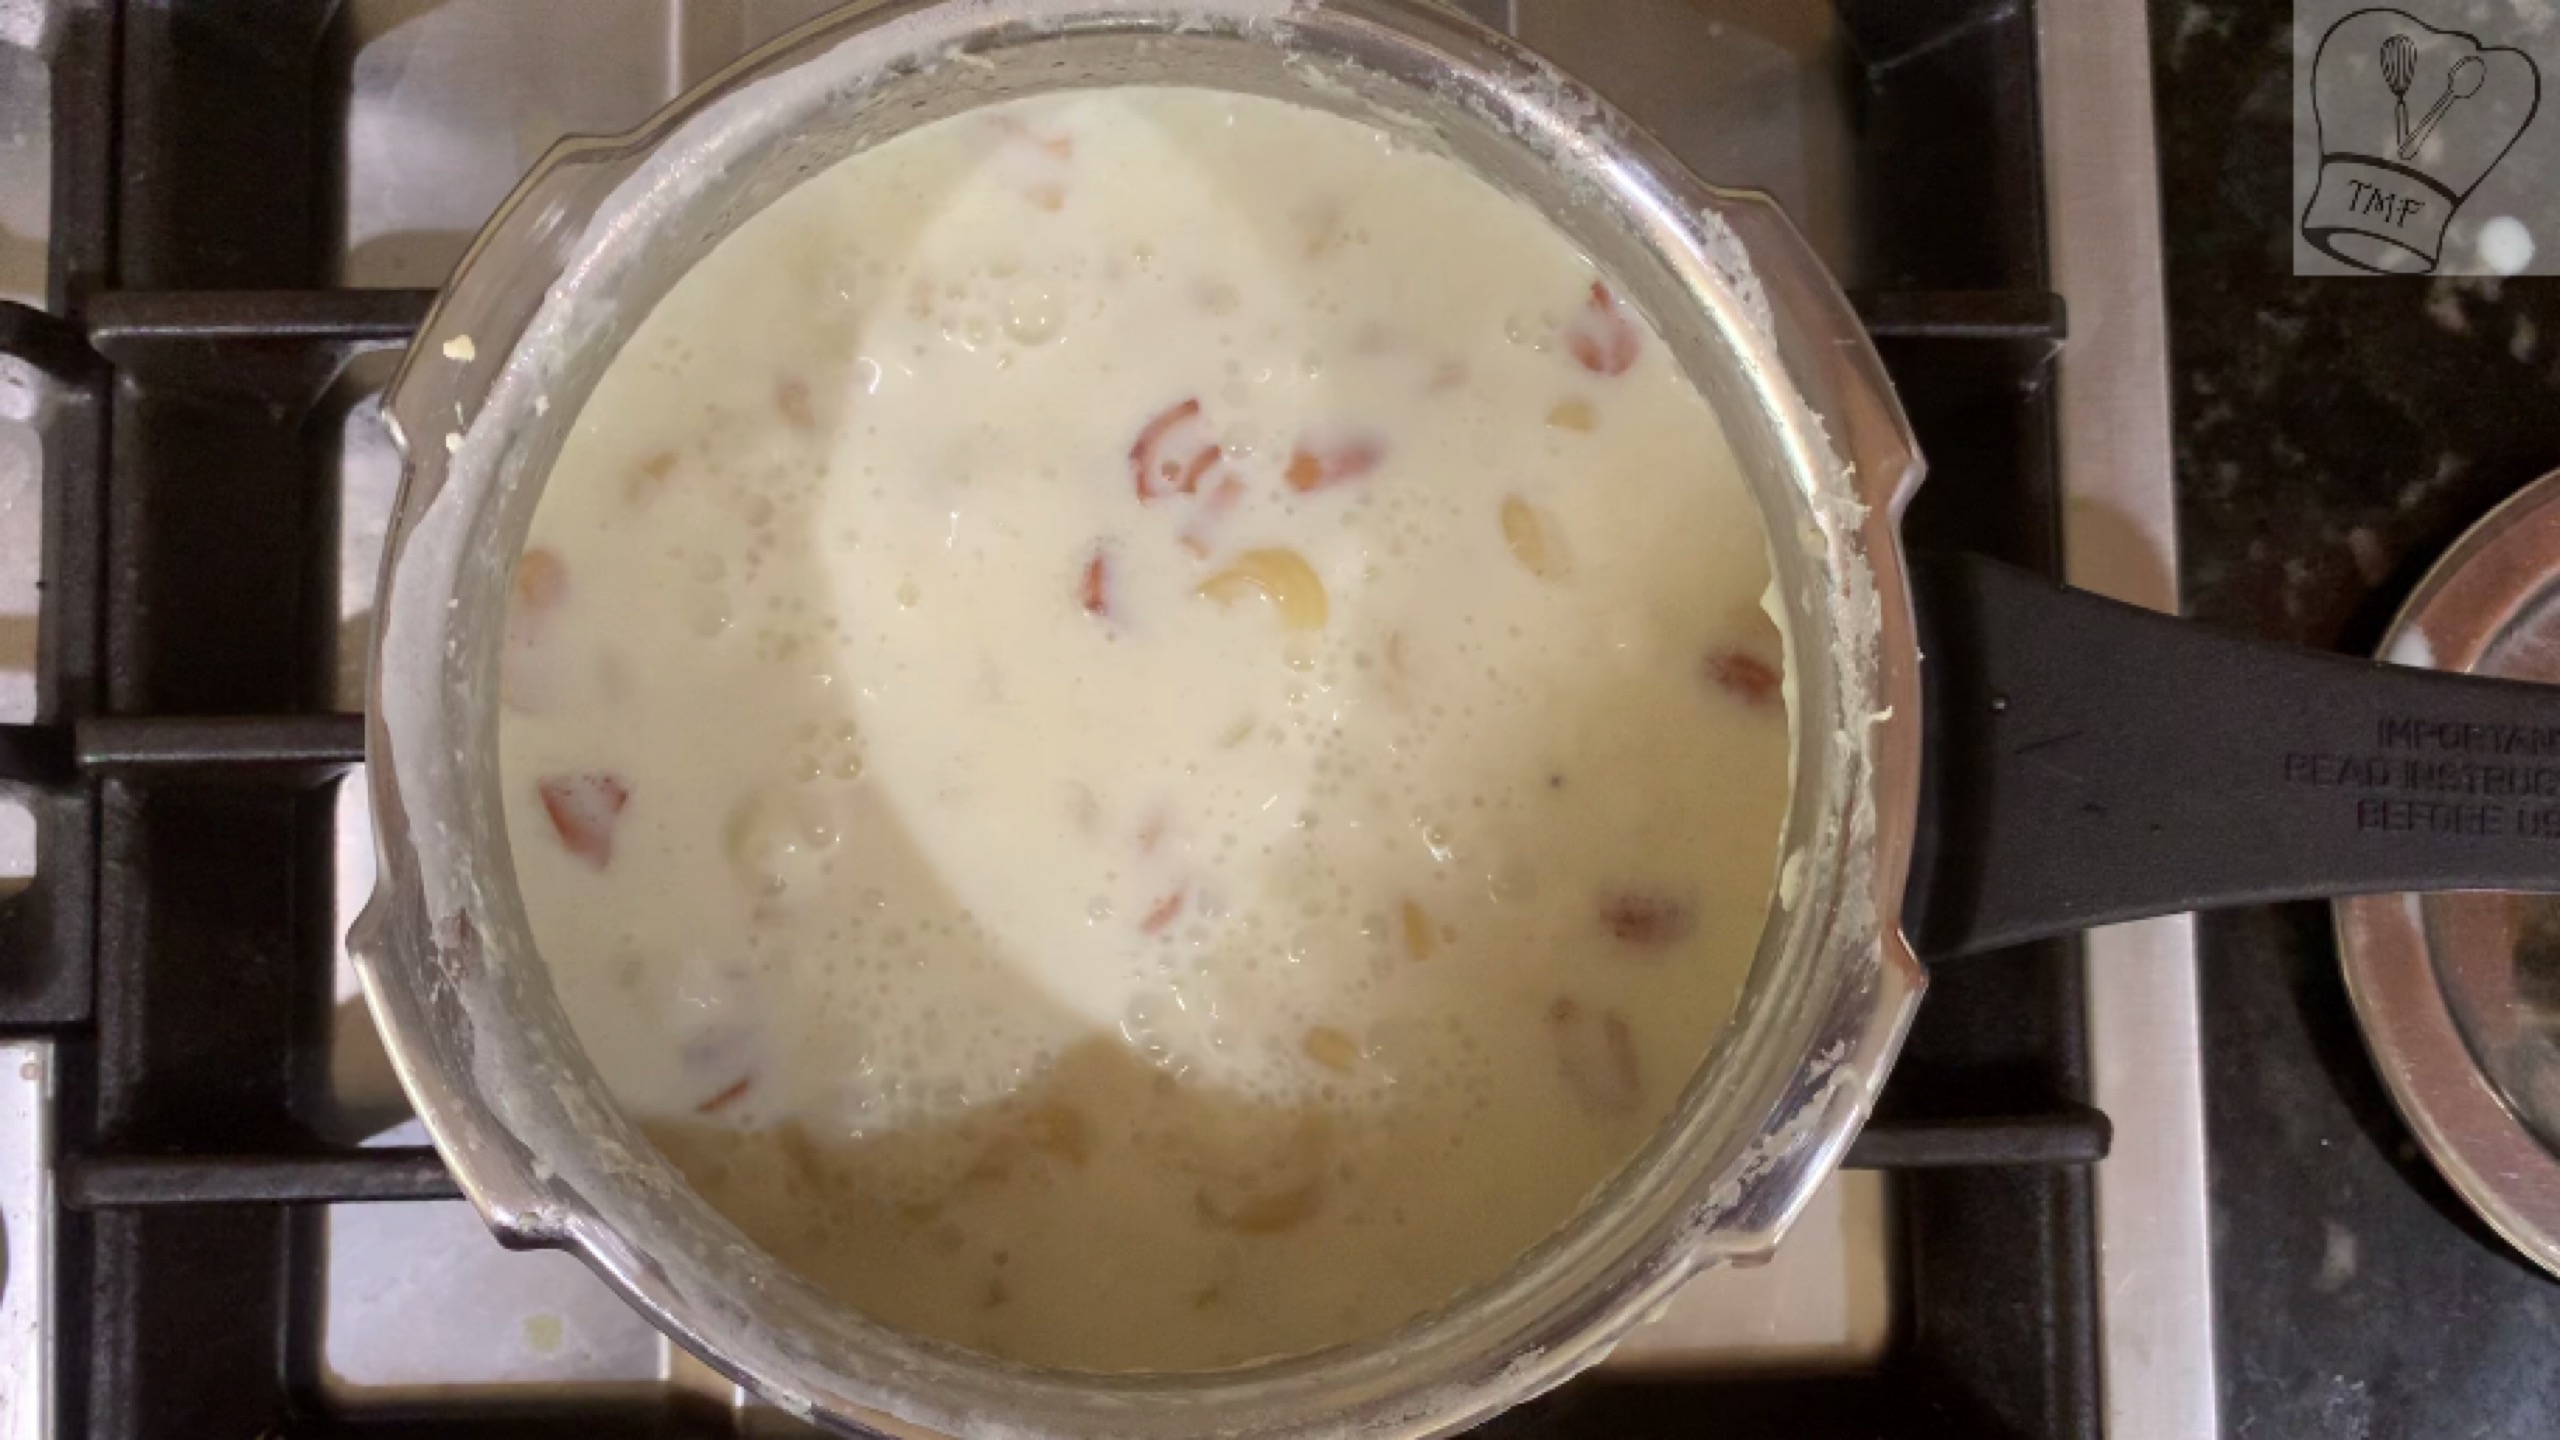
- Add 1 + 1/2 cup of milk and cook for 10 minutes, stir in between
- Payasam boils well and comes together
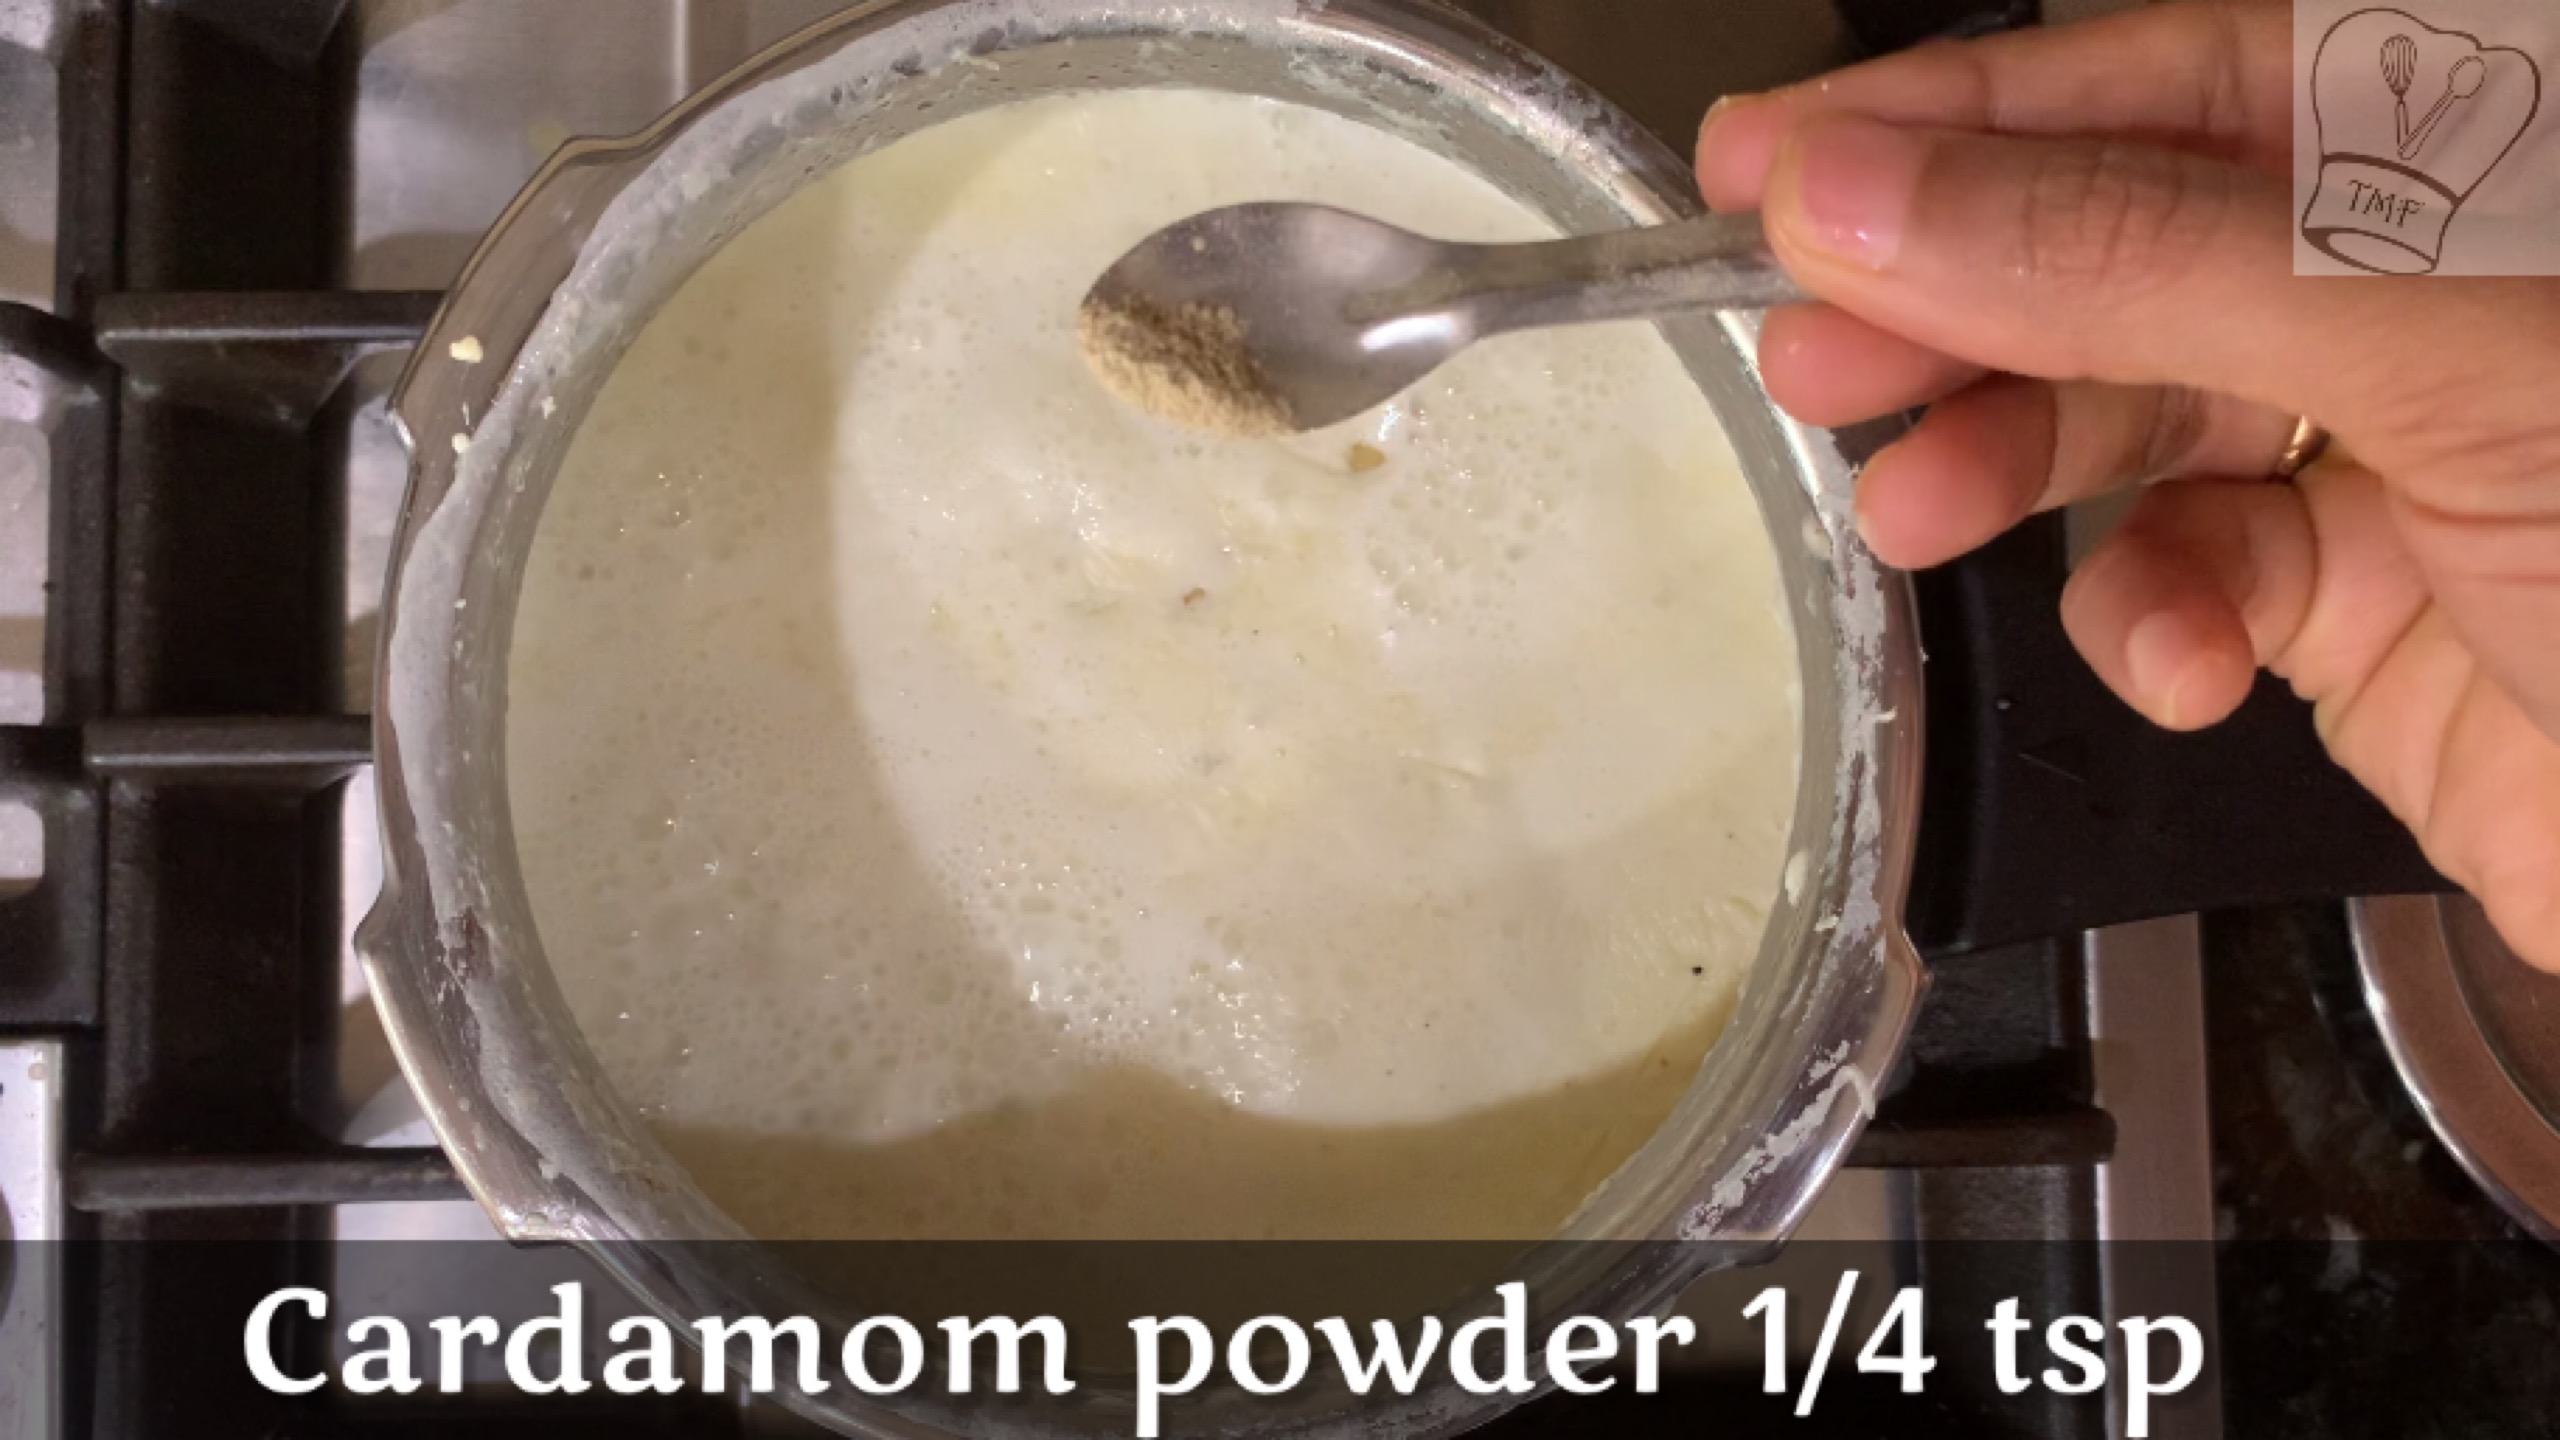
- In this stage add cardamom powder, salt and sugar mix well
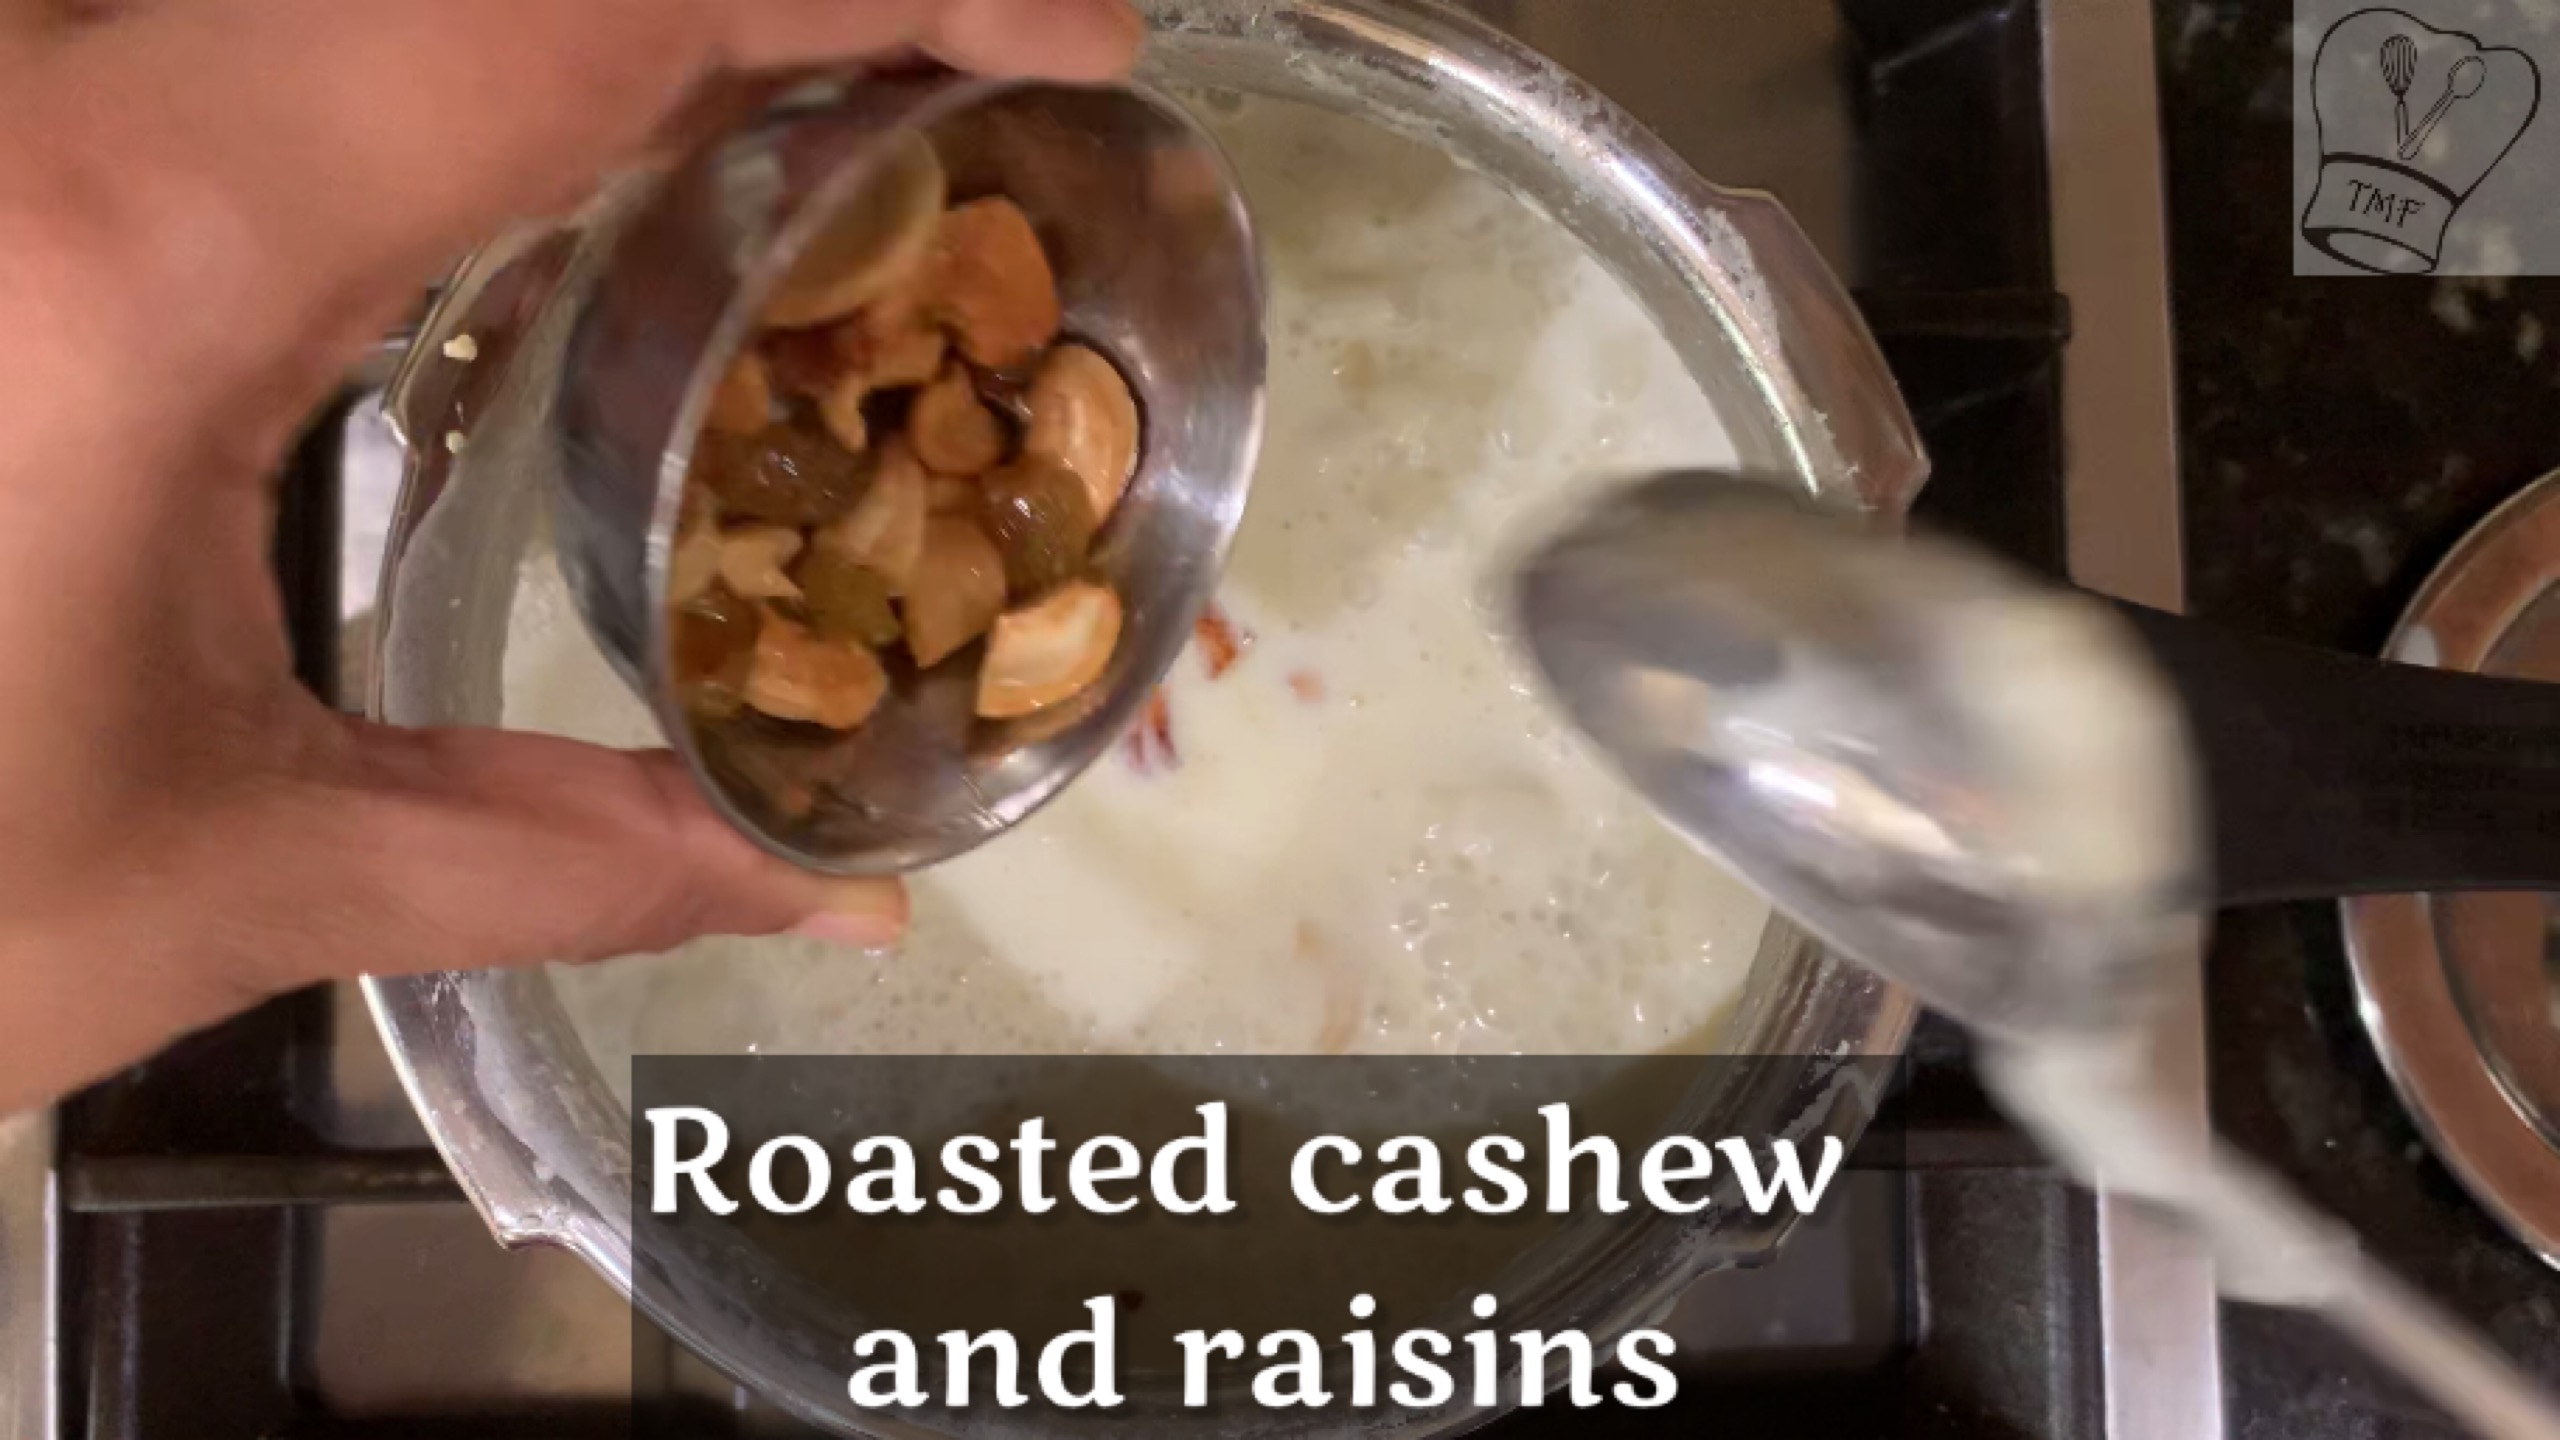
- Finally add roasted cashews and raisin and let the payasam cook for 5 minutes
- Switch off and serve immediately or chillI for few hours and serve cold
Video
Subscribe to my YouTube channelCheck out Traditionally Modern Food!
Notes
- Pasta can be cooked in water according to package instruction and milk can be added to the cooked pasta
- I have used elbow pasta but any pasta of your choice can be used
- Saffron can be added for extra flavor
- For pasta cooked in water add evaporated milk like semiya payasam to boost flavor
- I have used all-purpose-flour pasta but wheat pasta can also be used but the flavour might vary
- Avoid flavored pasta for kheer
- If you are adding condensed milk for extra flavor adjust sugar accordingly
- I sometimes caramelize the sugar and add it to the payasam
Tried this recipe?Mention @traditionallymodernfood or tag #traditionallymodernfood!
How to make pasta payasam with step by step pictures:
- In a heavy-bottomed pan add ghee and when ghee is hot add cashew
- Saute the causes till they change golden brown. Add raisin and mix well
- Transfer them to a small cup
- In the same pan saute pasta for 30 seconds
- Add 1 + 1/2 cup of hot milk and cook the pasta
- Stir in between and cook till the pasta is fork-tender
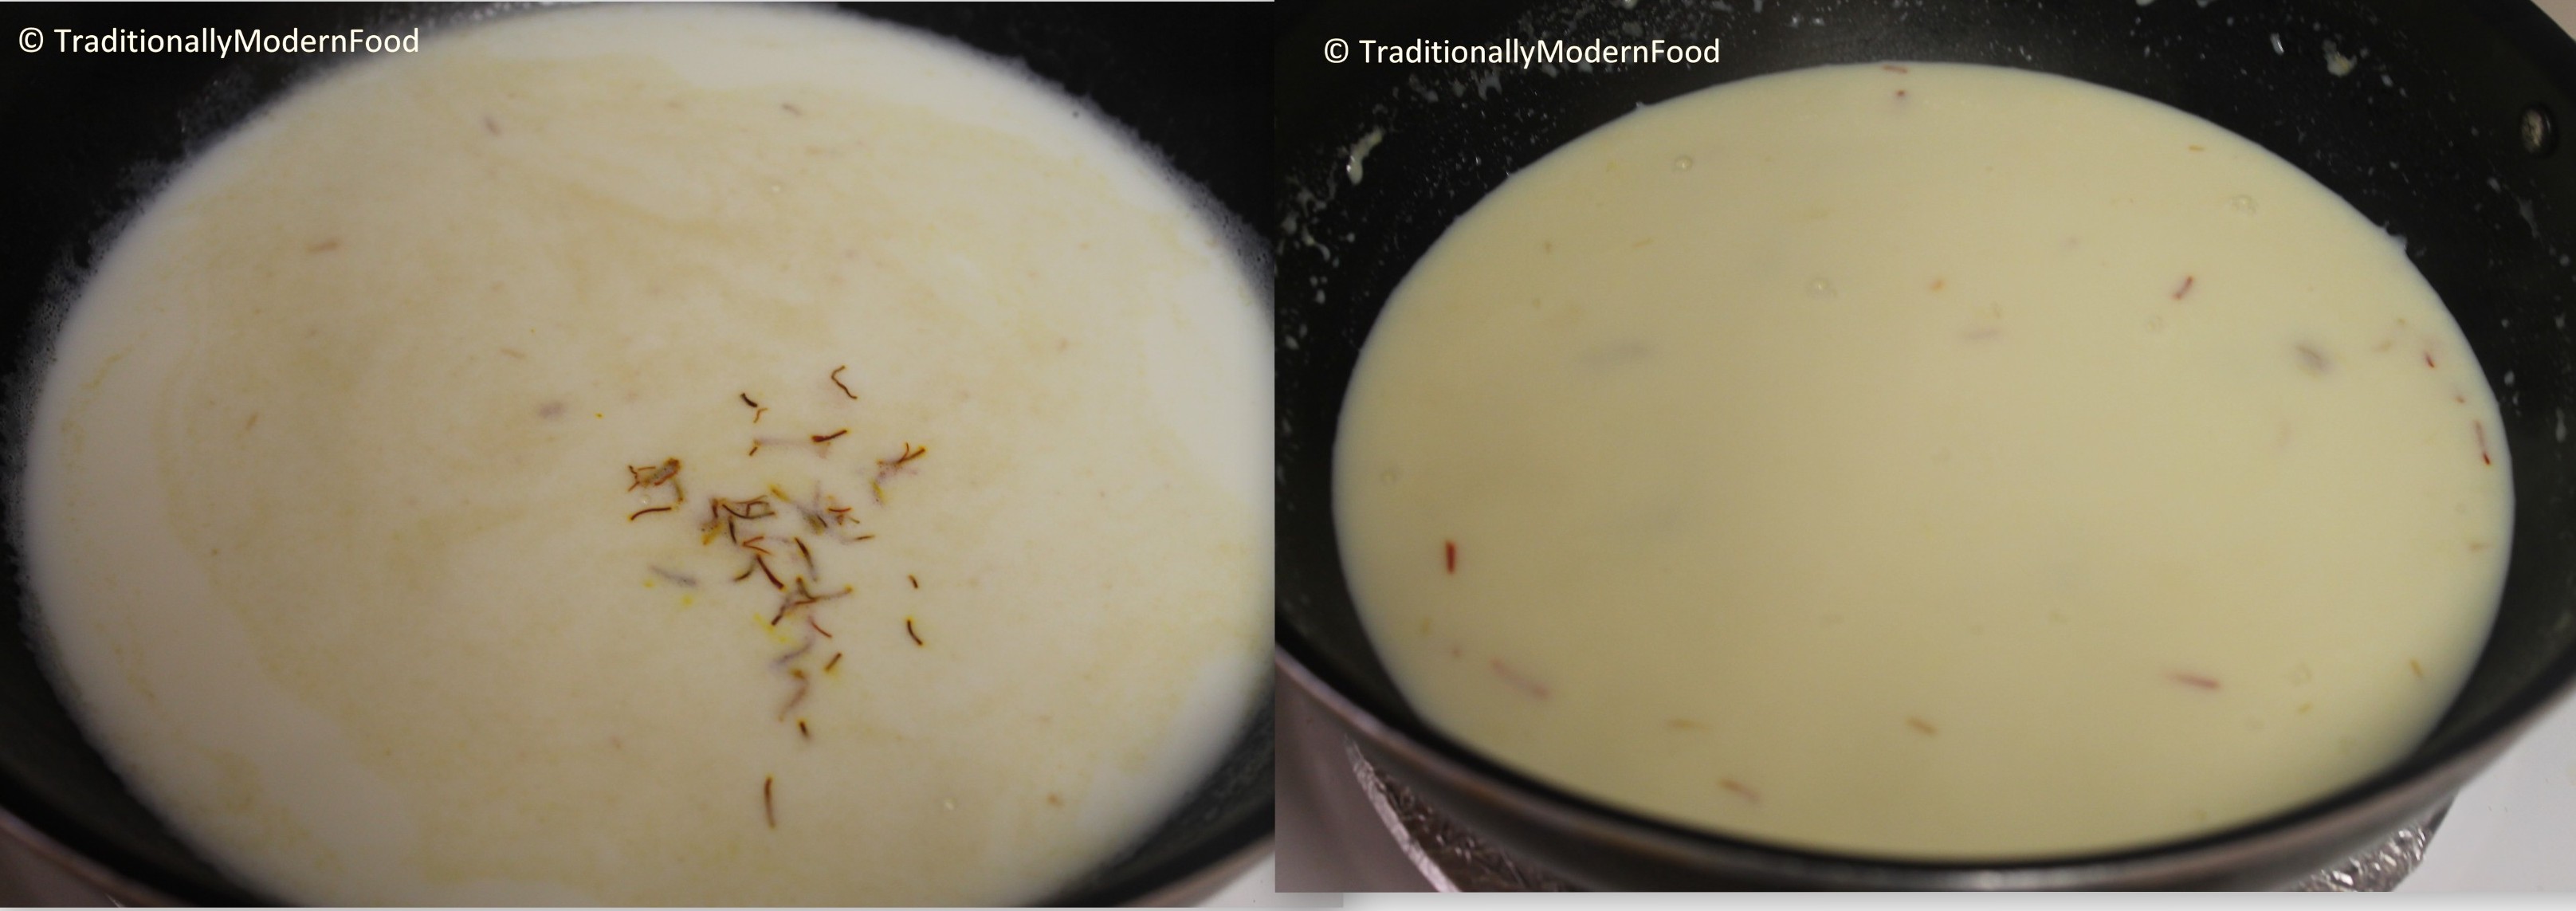
- Add 1 cup + 1/2 of milk and cook for 15 minutes, stir in between
- Payasam boils well and comes together
- In this stage add cardamom powder, salt, and sugar mix well
- Finally, add roasted cashews and raisin and let the payasam cook for 5 minutes
- Switch off and serve immediately or chillI for few hours and serve cold

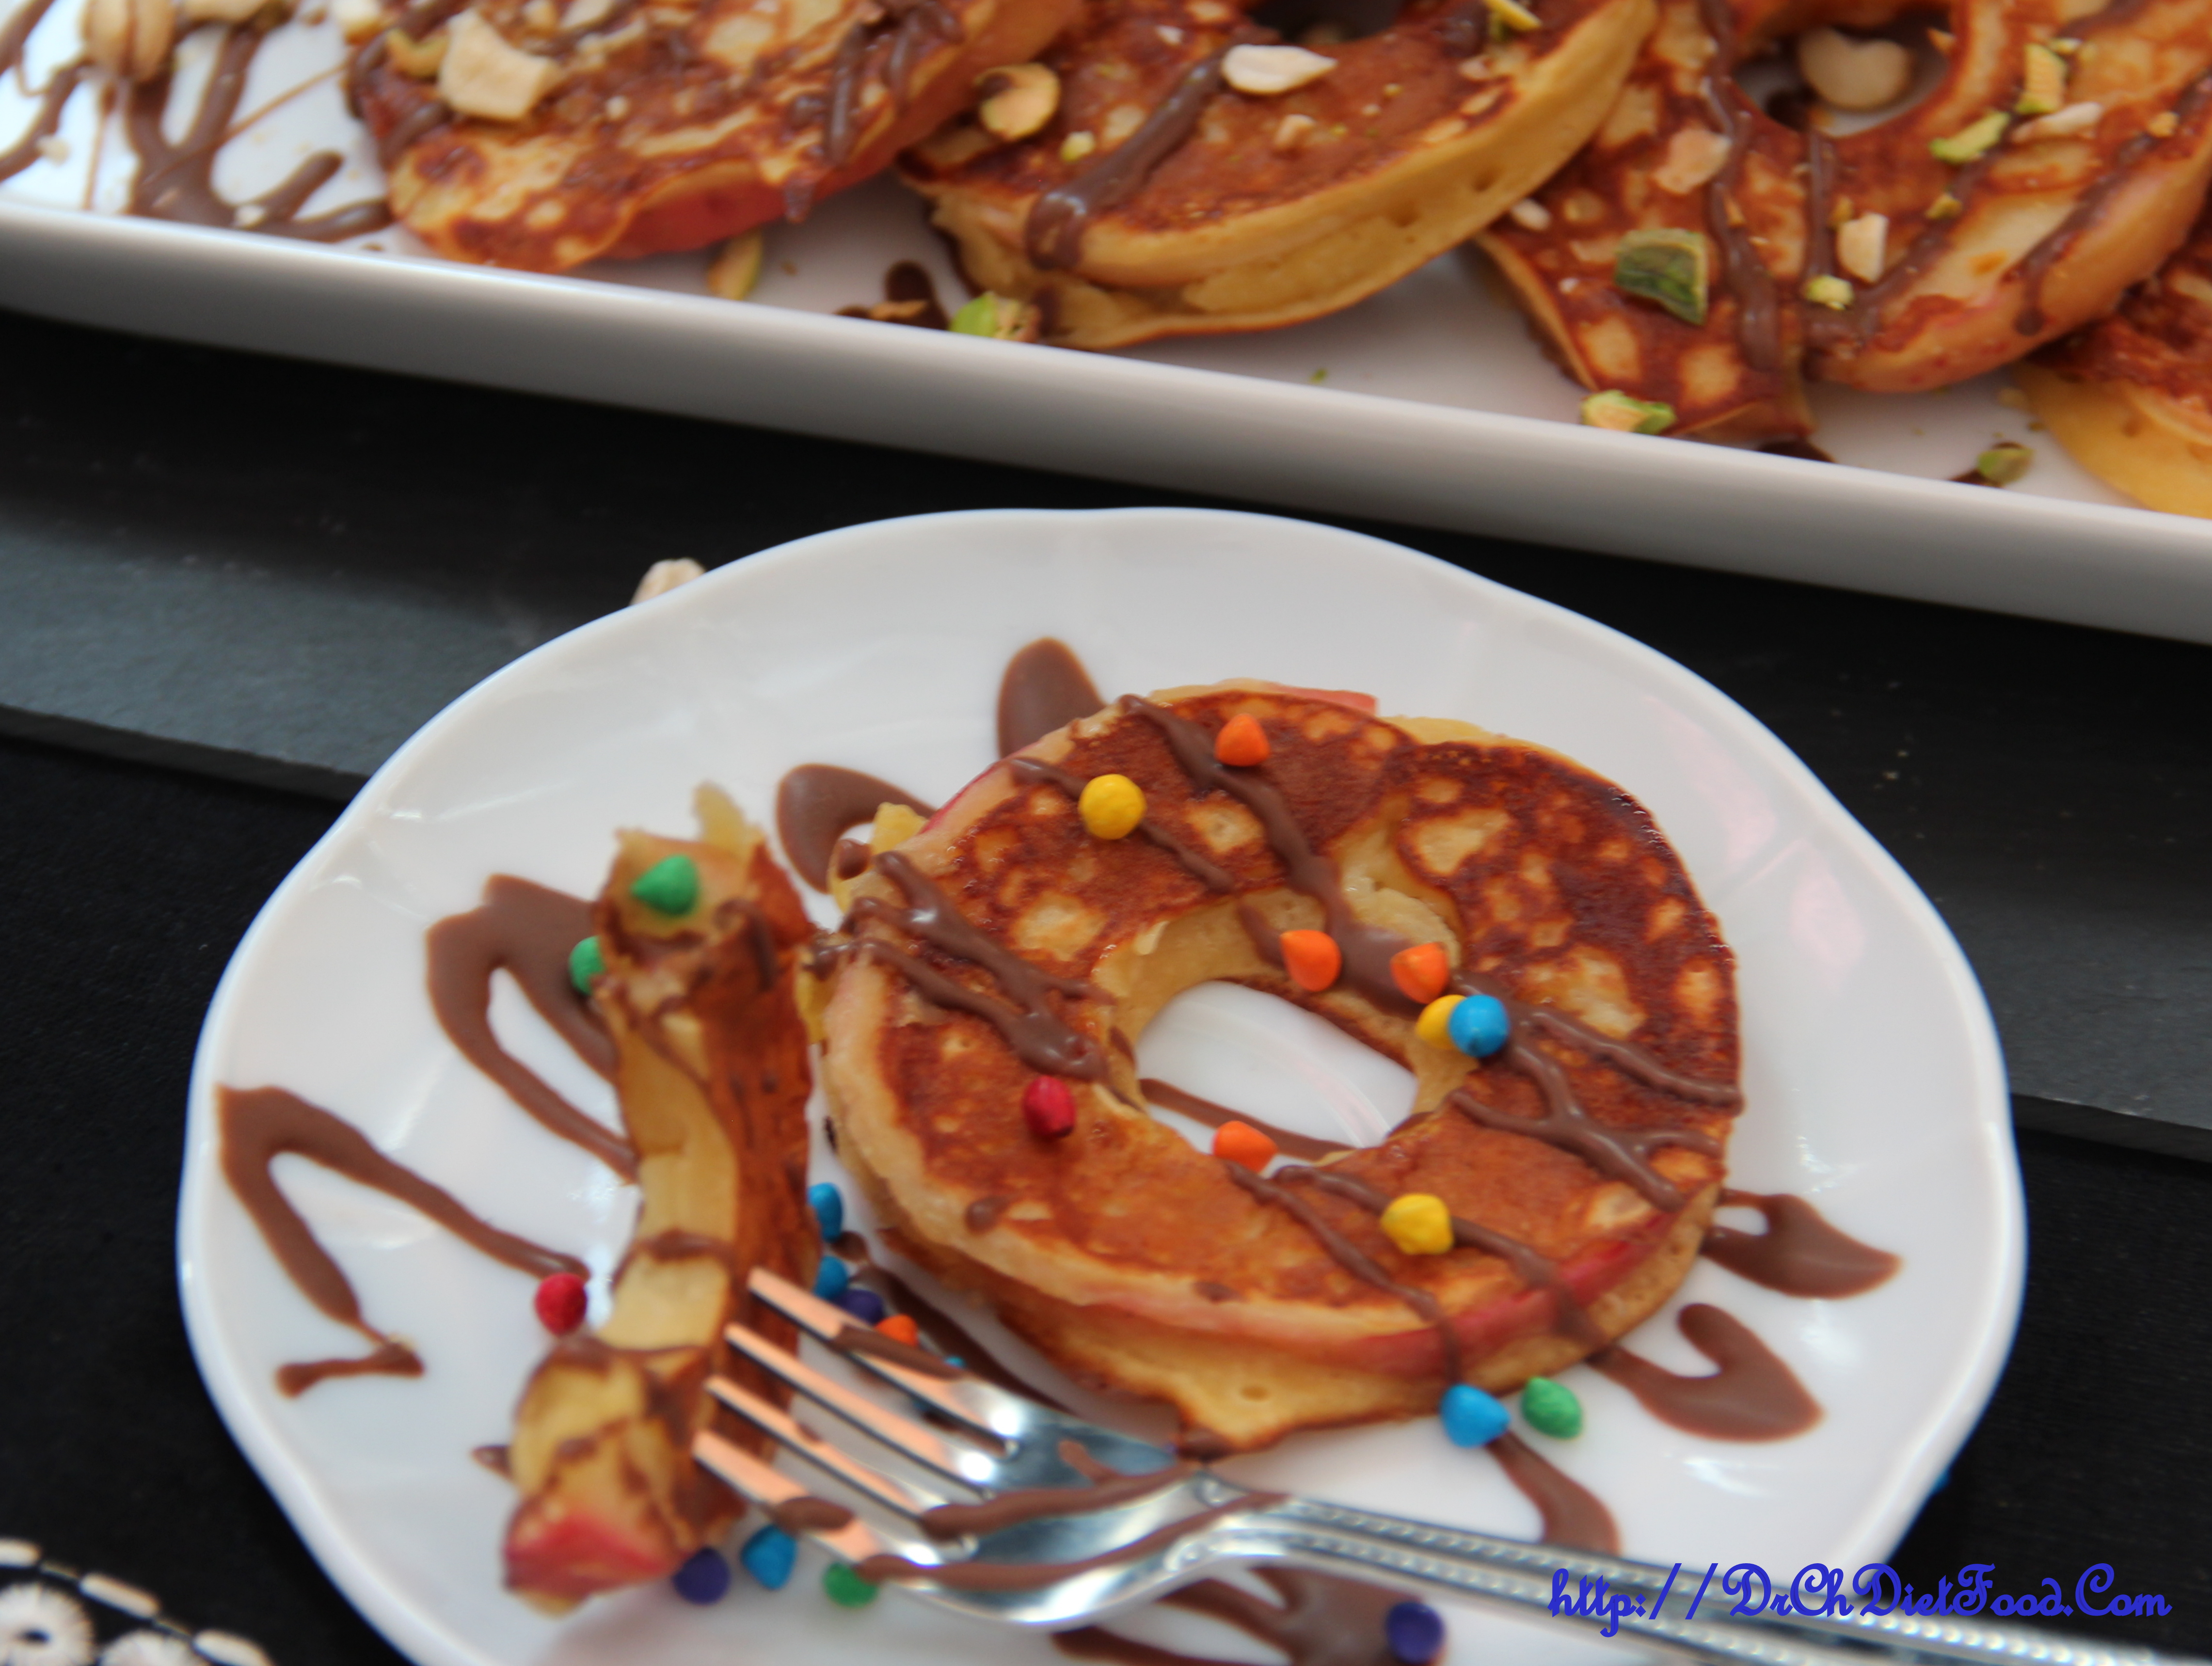


![DSC_0659[1]](https://traditionallymodernfood.com/wp-content/uploads/2015/04/apple-pancakes-guest-post-from-chitra-11.jpg)


![DSC_0656[1] (1)](https://traditionallymodernfood.com/wp-content/uploads/2015/04/apple-pancakes-guest-post-from-chitra-10.jpg)


