
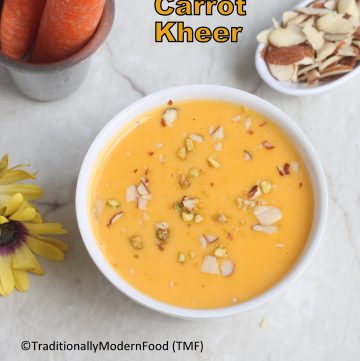
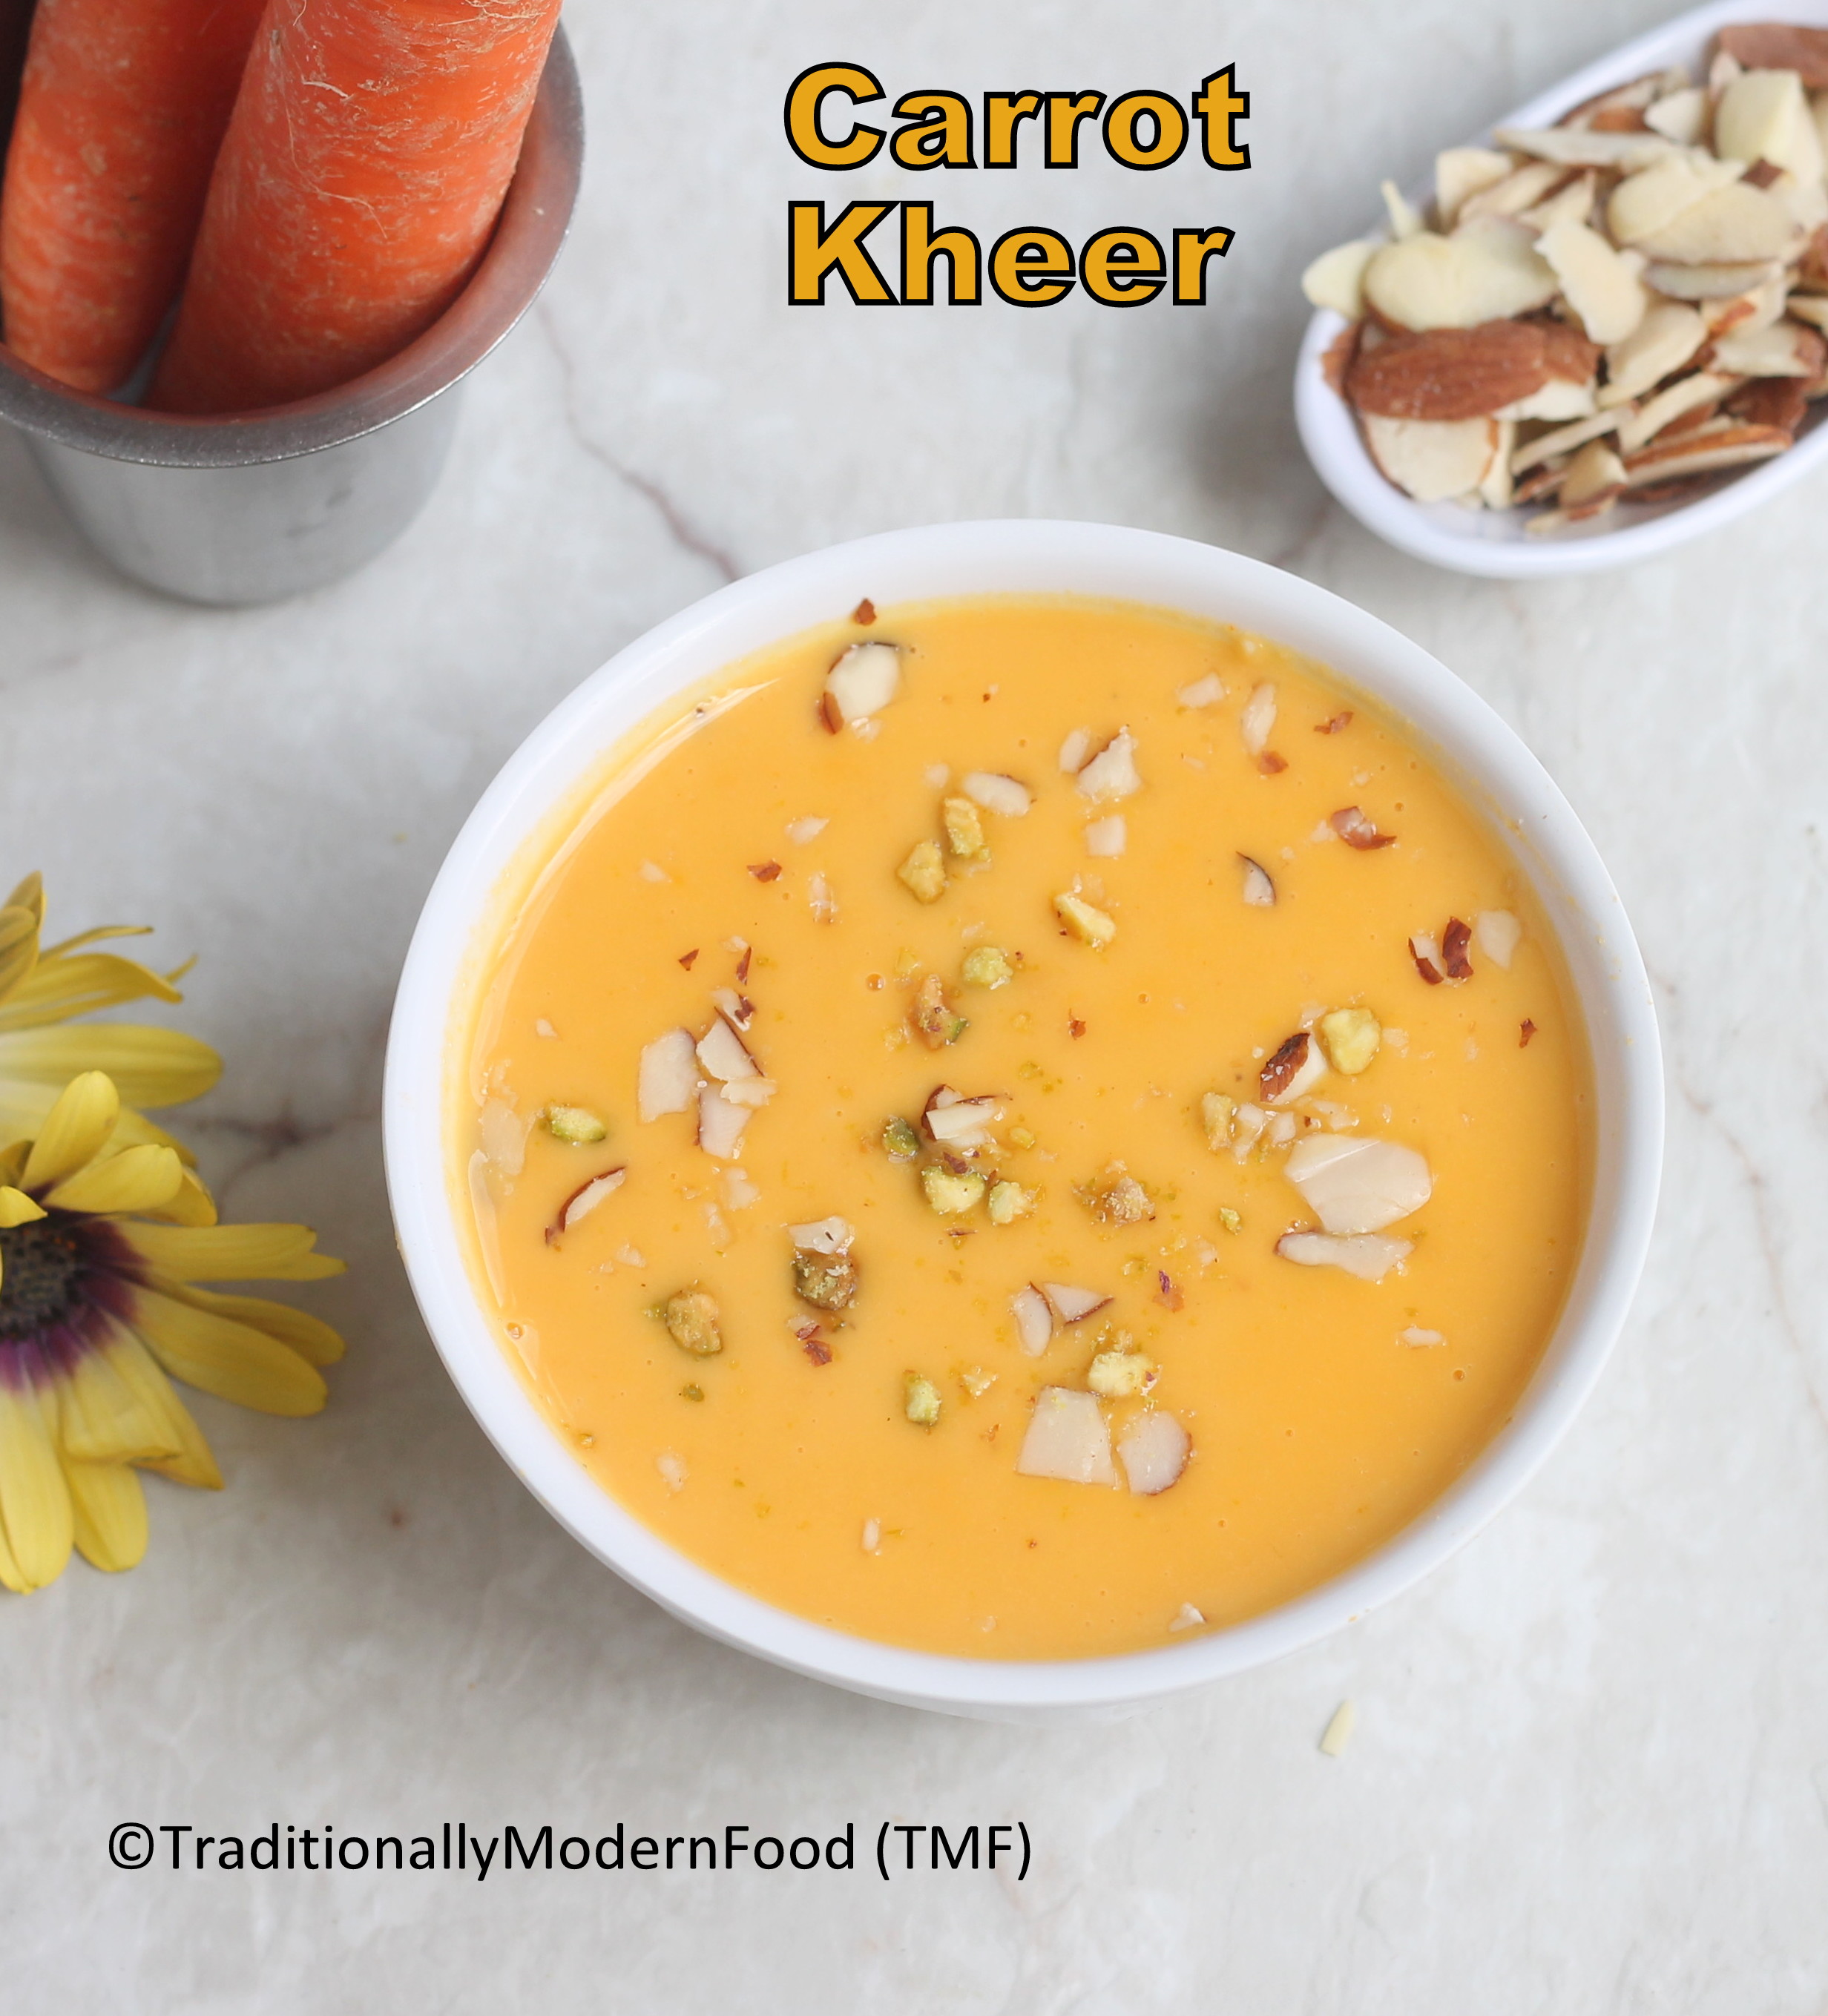
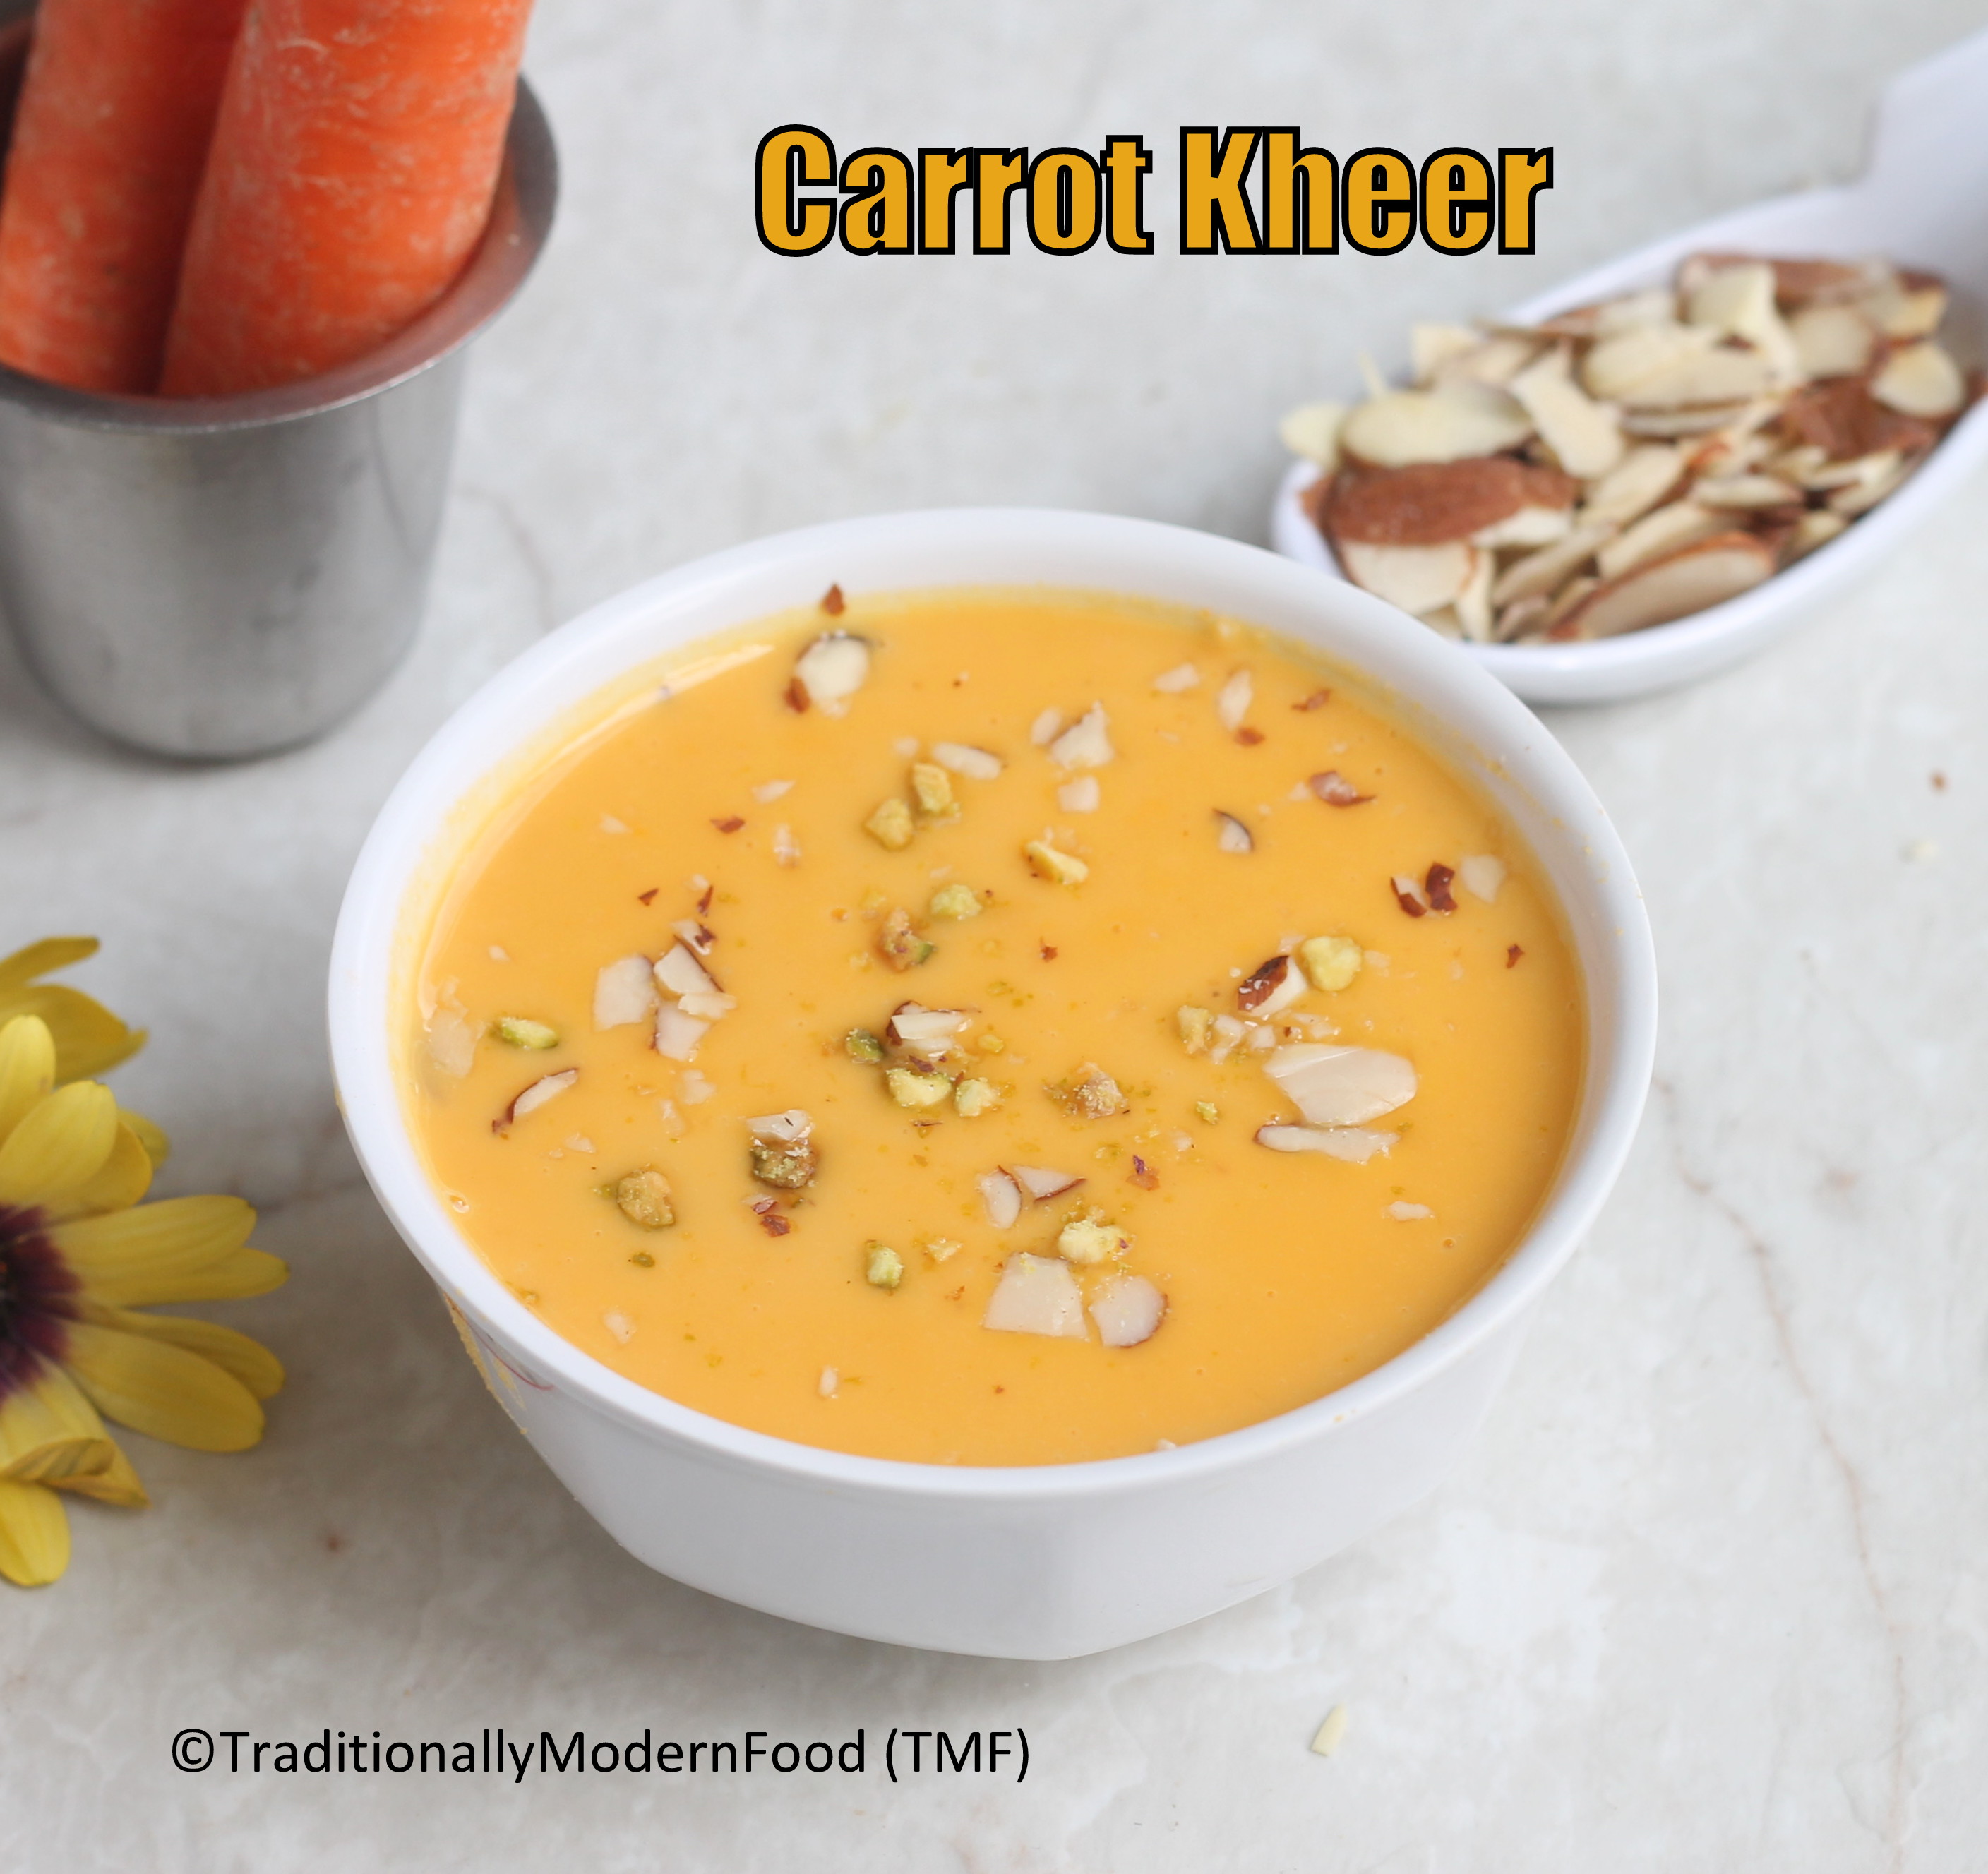
Carrot Payasam | Carrot kheer | Payasam recipe | Kheer recipes | carrot almond Payasam | carrot badam Kheer is a rich and flavourful Payasam/ kheer prepared with carrots and almonds. Carrot payasam can be prepared within 30 minutes. The pressure cooker makes it super fast and tasty. Carrot badam Kheer can be prepared for any Indian festival, special occasion, party, etc.
Healthy payasam
As a kid, I was a picky eater when it came to vegetables. Don't know why, but I always hated carrots and beetroots. Having a big sweet tooth, I accept these vegetables if it in dessert form. Amma frequently prepares sweets like beetroot halwa, carrot halwa, and carrot Payasam.Should I cook carrots in a pressure cooker?
For faster cooking, I prefer cooking in a pressure cooker. You can also cook carrots on the stovetop. Within 30 minutes the tasty payasam can be prepared. Cooker helps for easy cooking.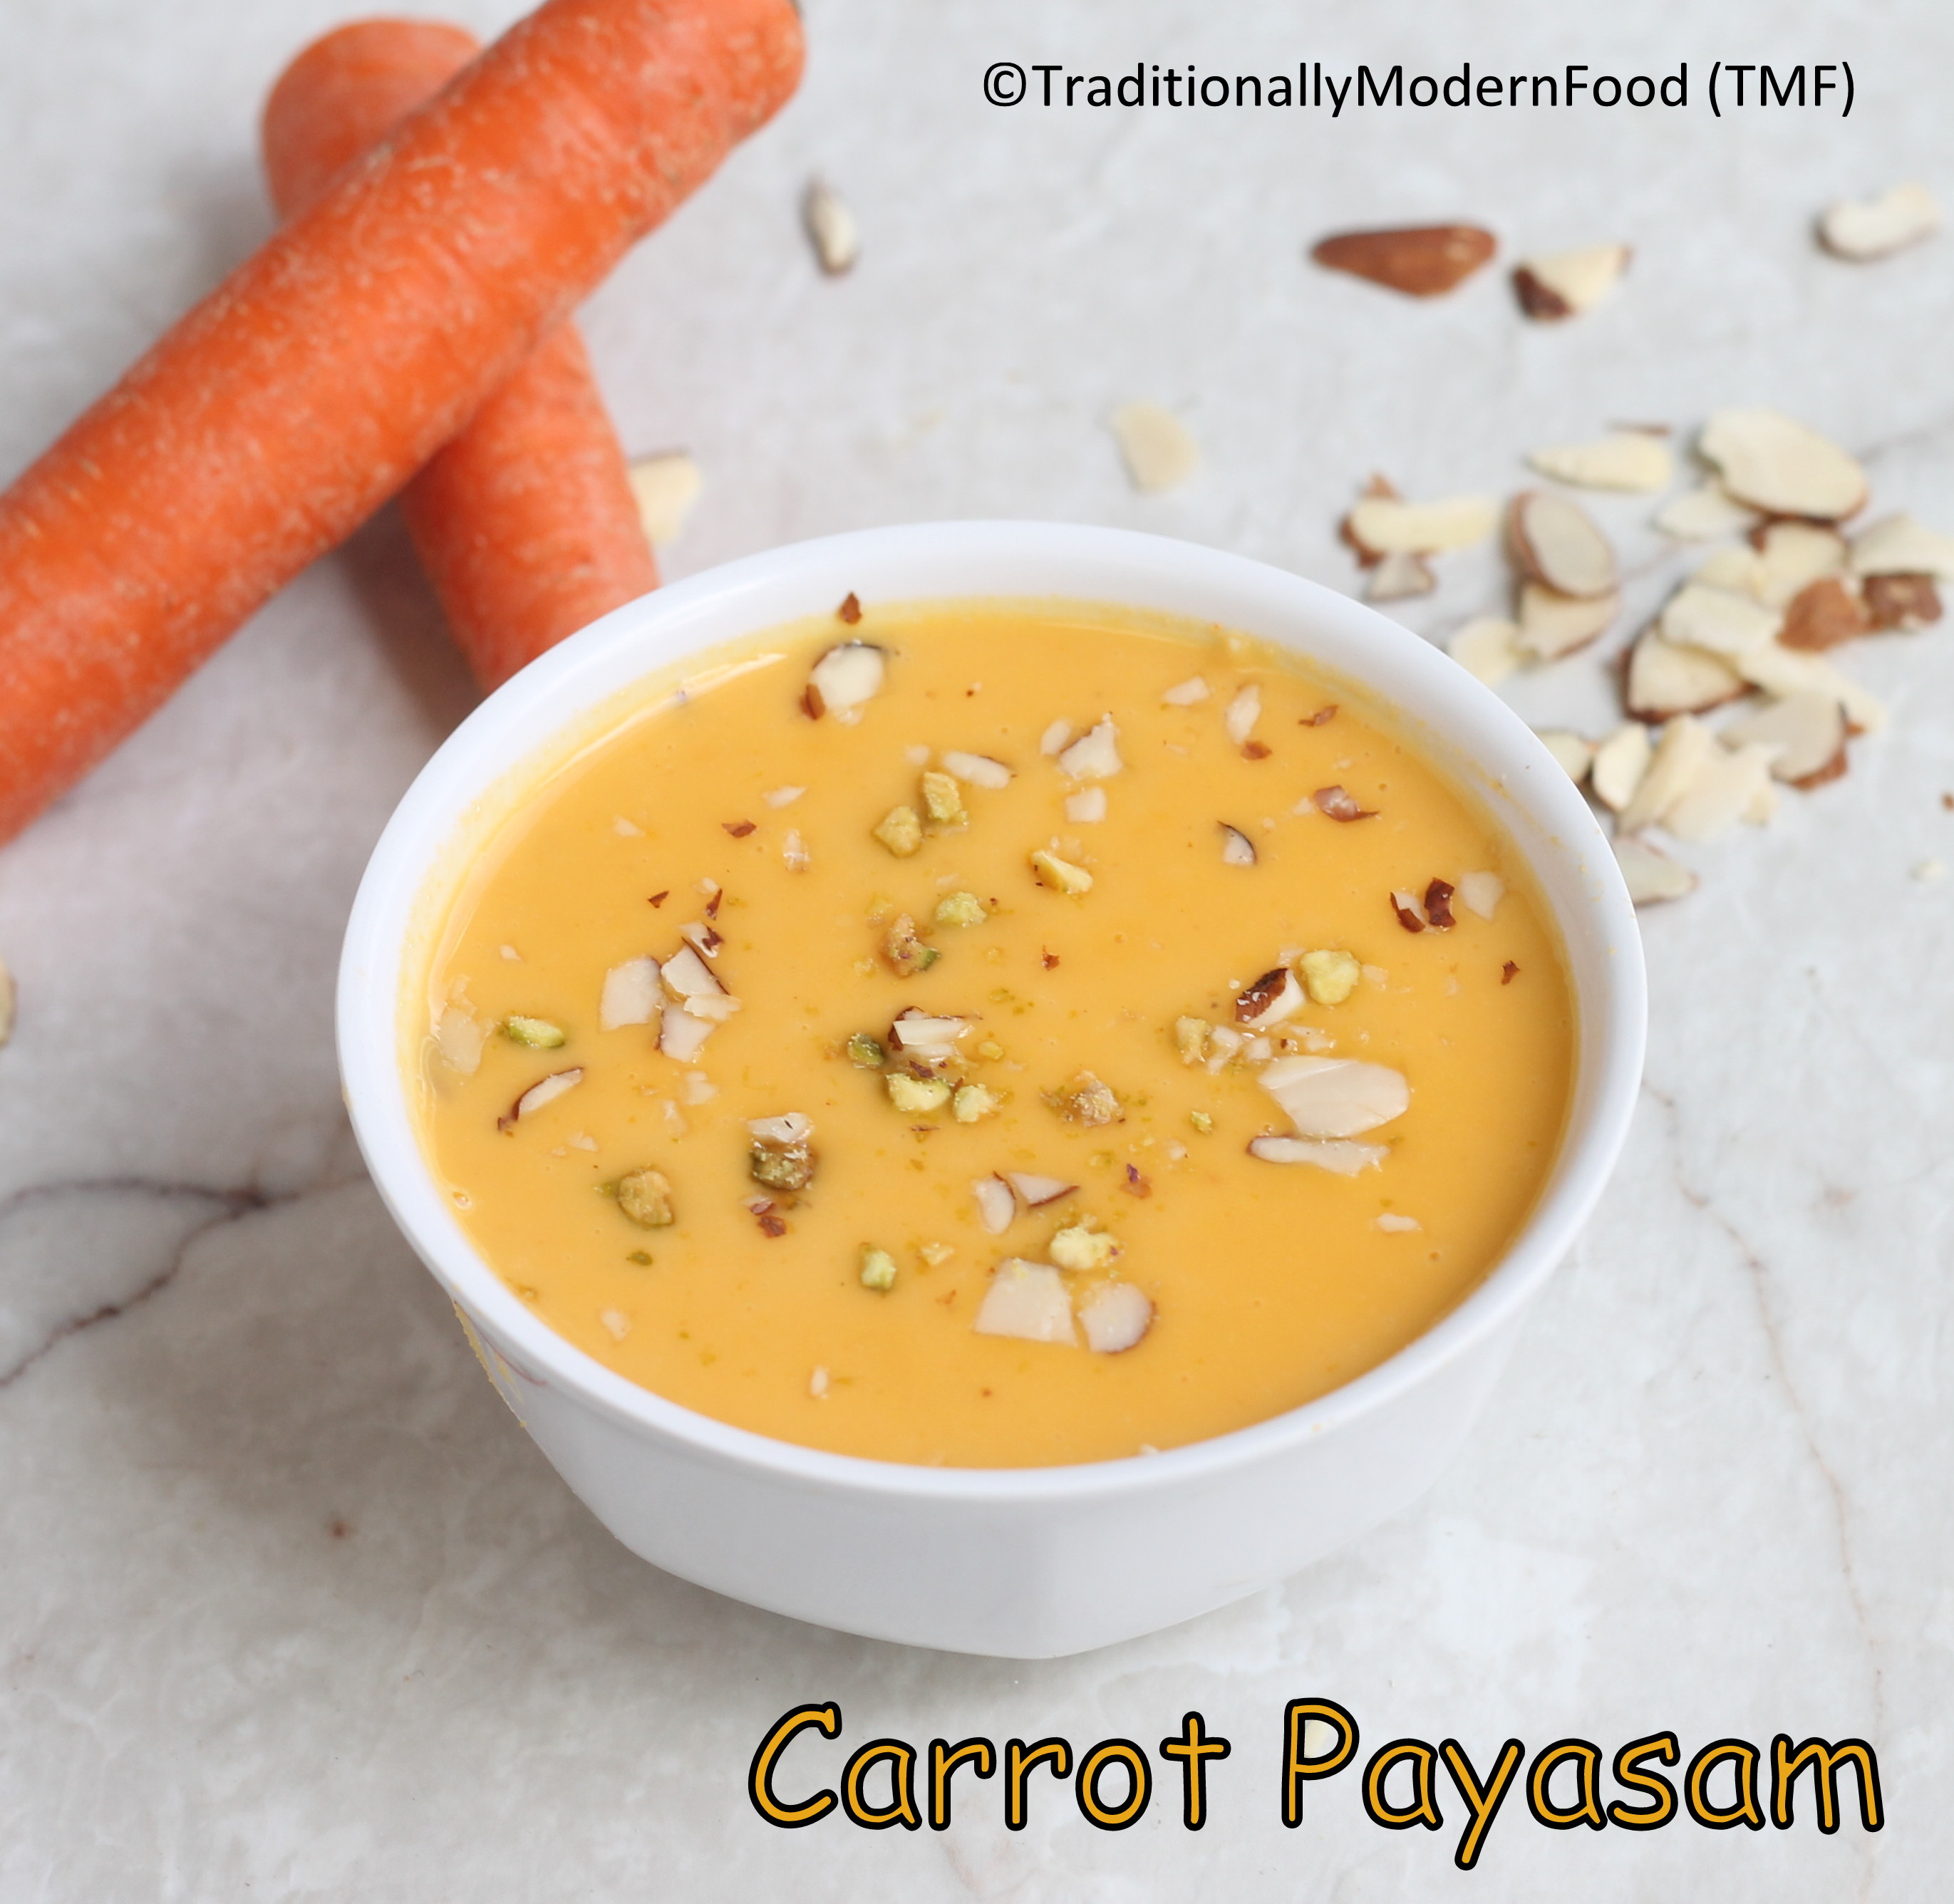
can I use Almond flour instead of almonds?
yes, use 3 tablespoon of almond flour instead of almonds. You need not pressure cook almond flour with carrots. Add almond flour while blending carrots.Rich and tasty Payasam recipe
Carrots combined with Almonds make this payasam super healthy. Making kids eat nuts is a big deal but I am sure if served as a dessert in the form of payasam it is a big yes😋😋Should I cook carrots in milk?
Milk adds richness to the tasty payasam. Alternatively, you can cook in water and add little milk towards the end.Can I use evaporated milk for Payasam?
Yes, use 1 cup of evaporated milk instead of 1 + 1/2 cup of milk.How to serve carrot kheer?
Whether you serve it hot or cold, carrot Payasam is always a winner✋️✋️ My personal favorite is refrigerating Payasam recipes for few hours and enjoy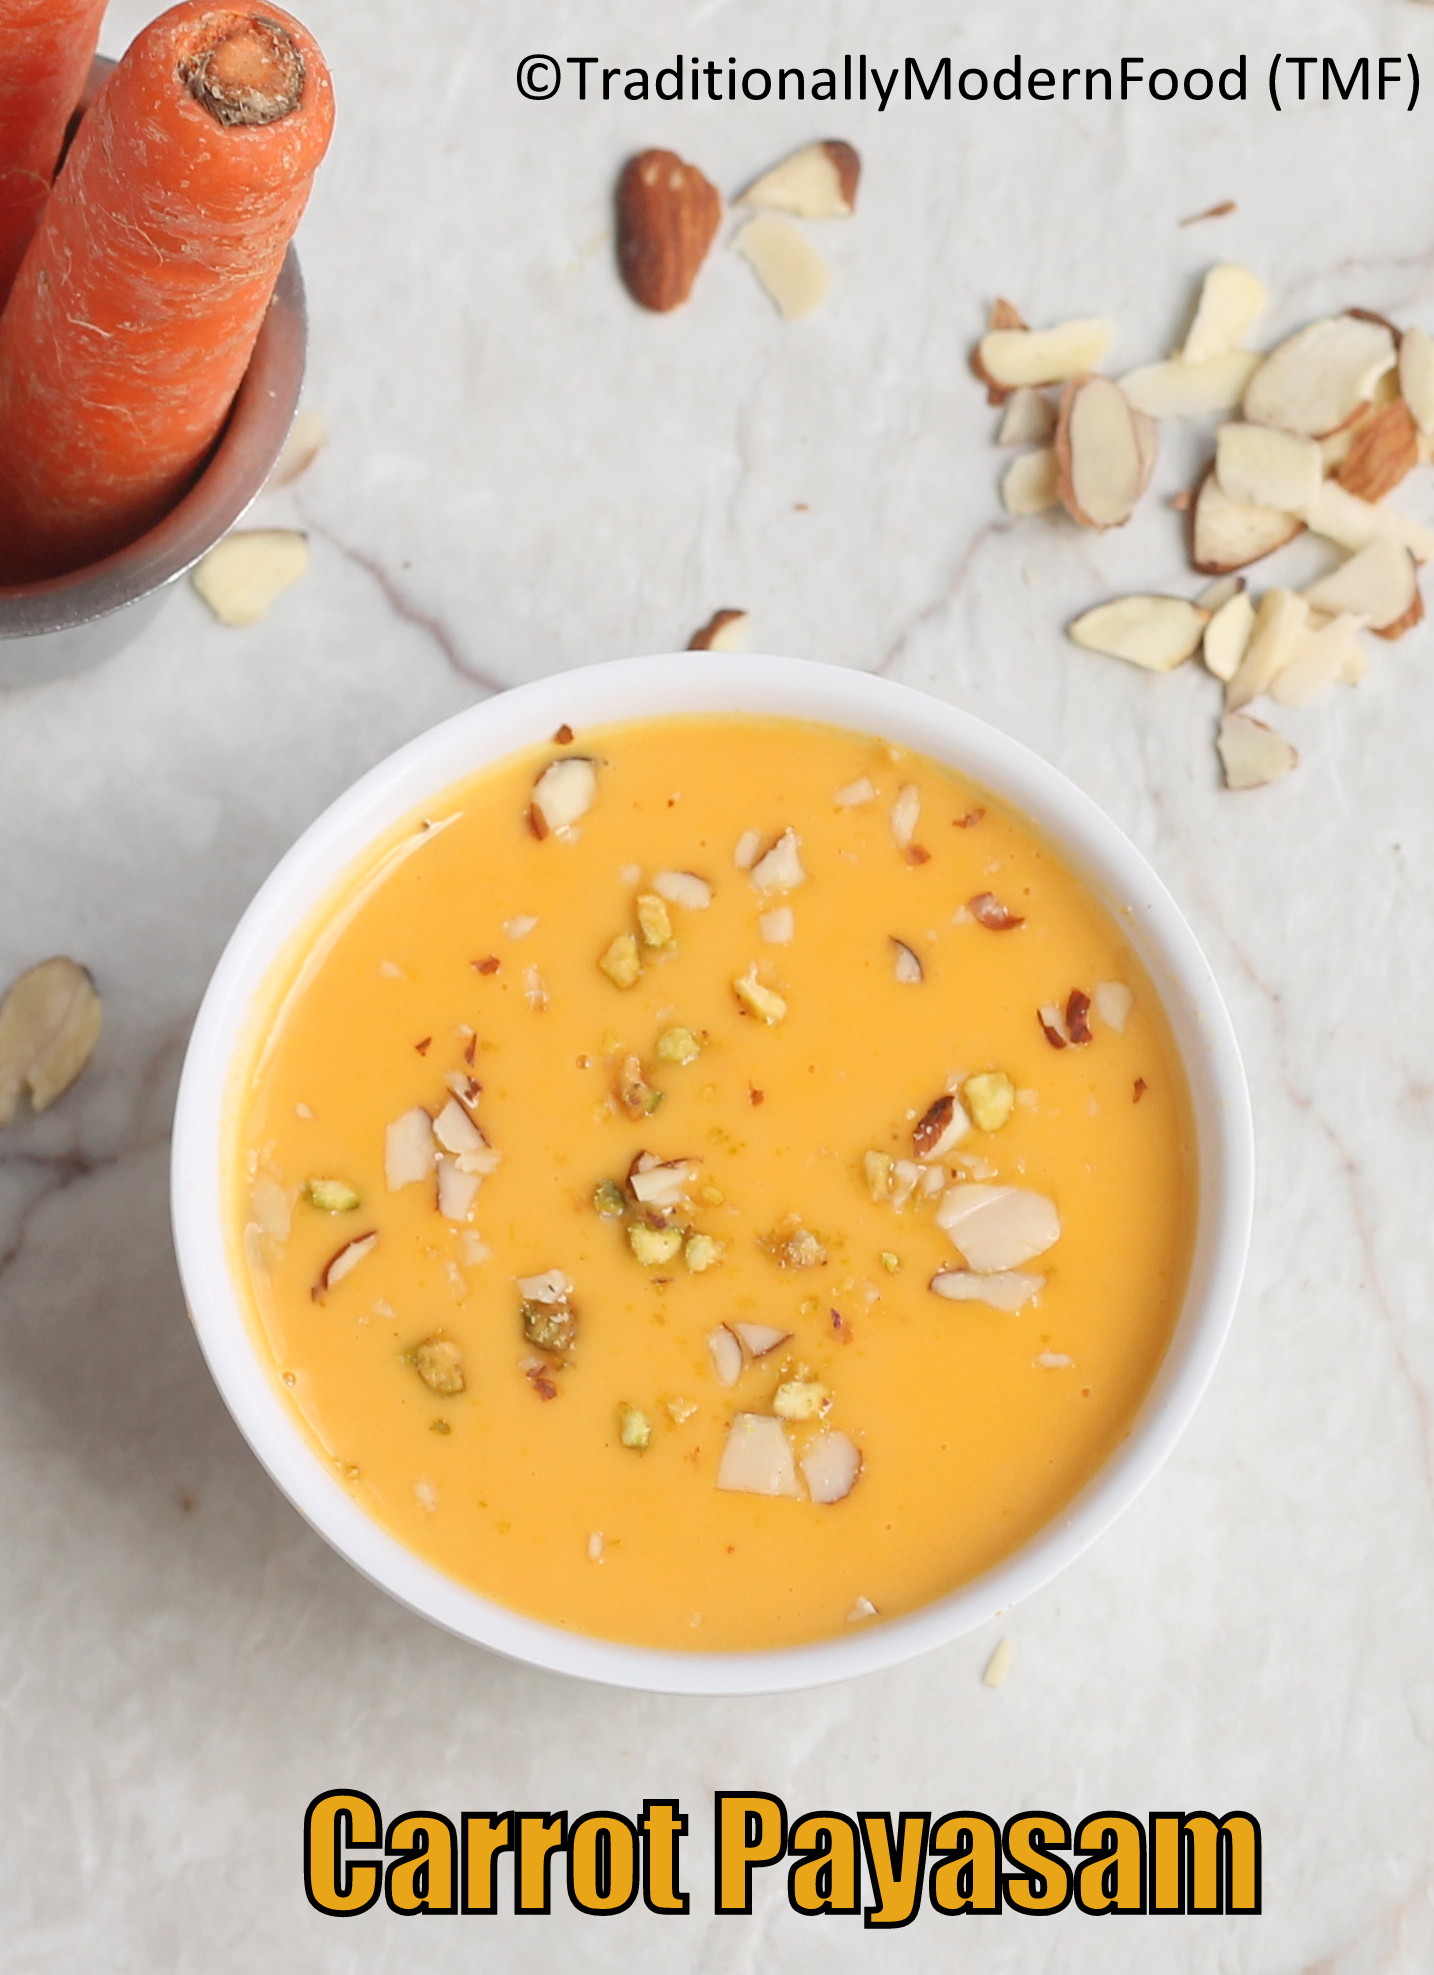
See more Payasam recipes
Indian sweet recipes in TMF
Milk-based recipes in TMF
carrot sadam
carrot halwa
condensed milk-based recipes in TMF
Dry fruits based recipes in TMF
pressure cooker recipes in TMF
Indian sweet recipes in TMF

Ingredients
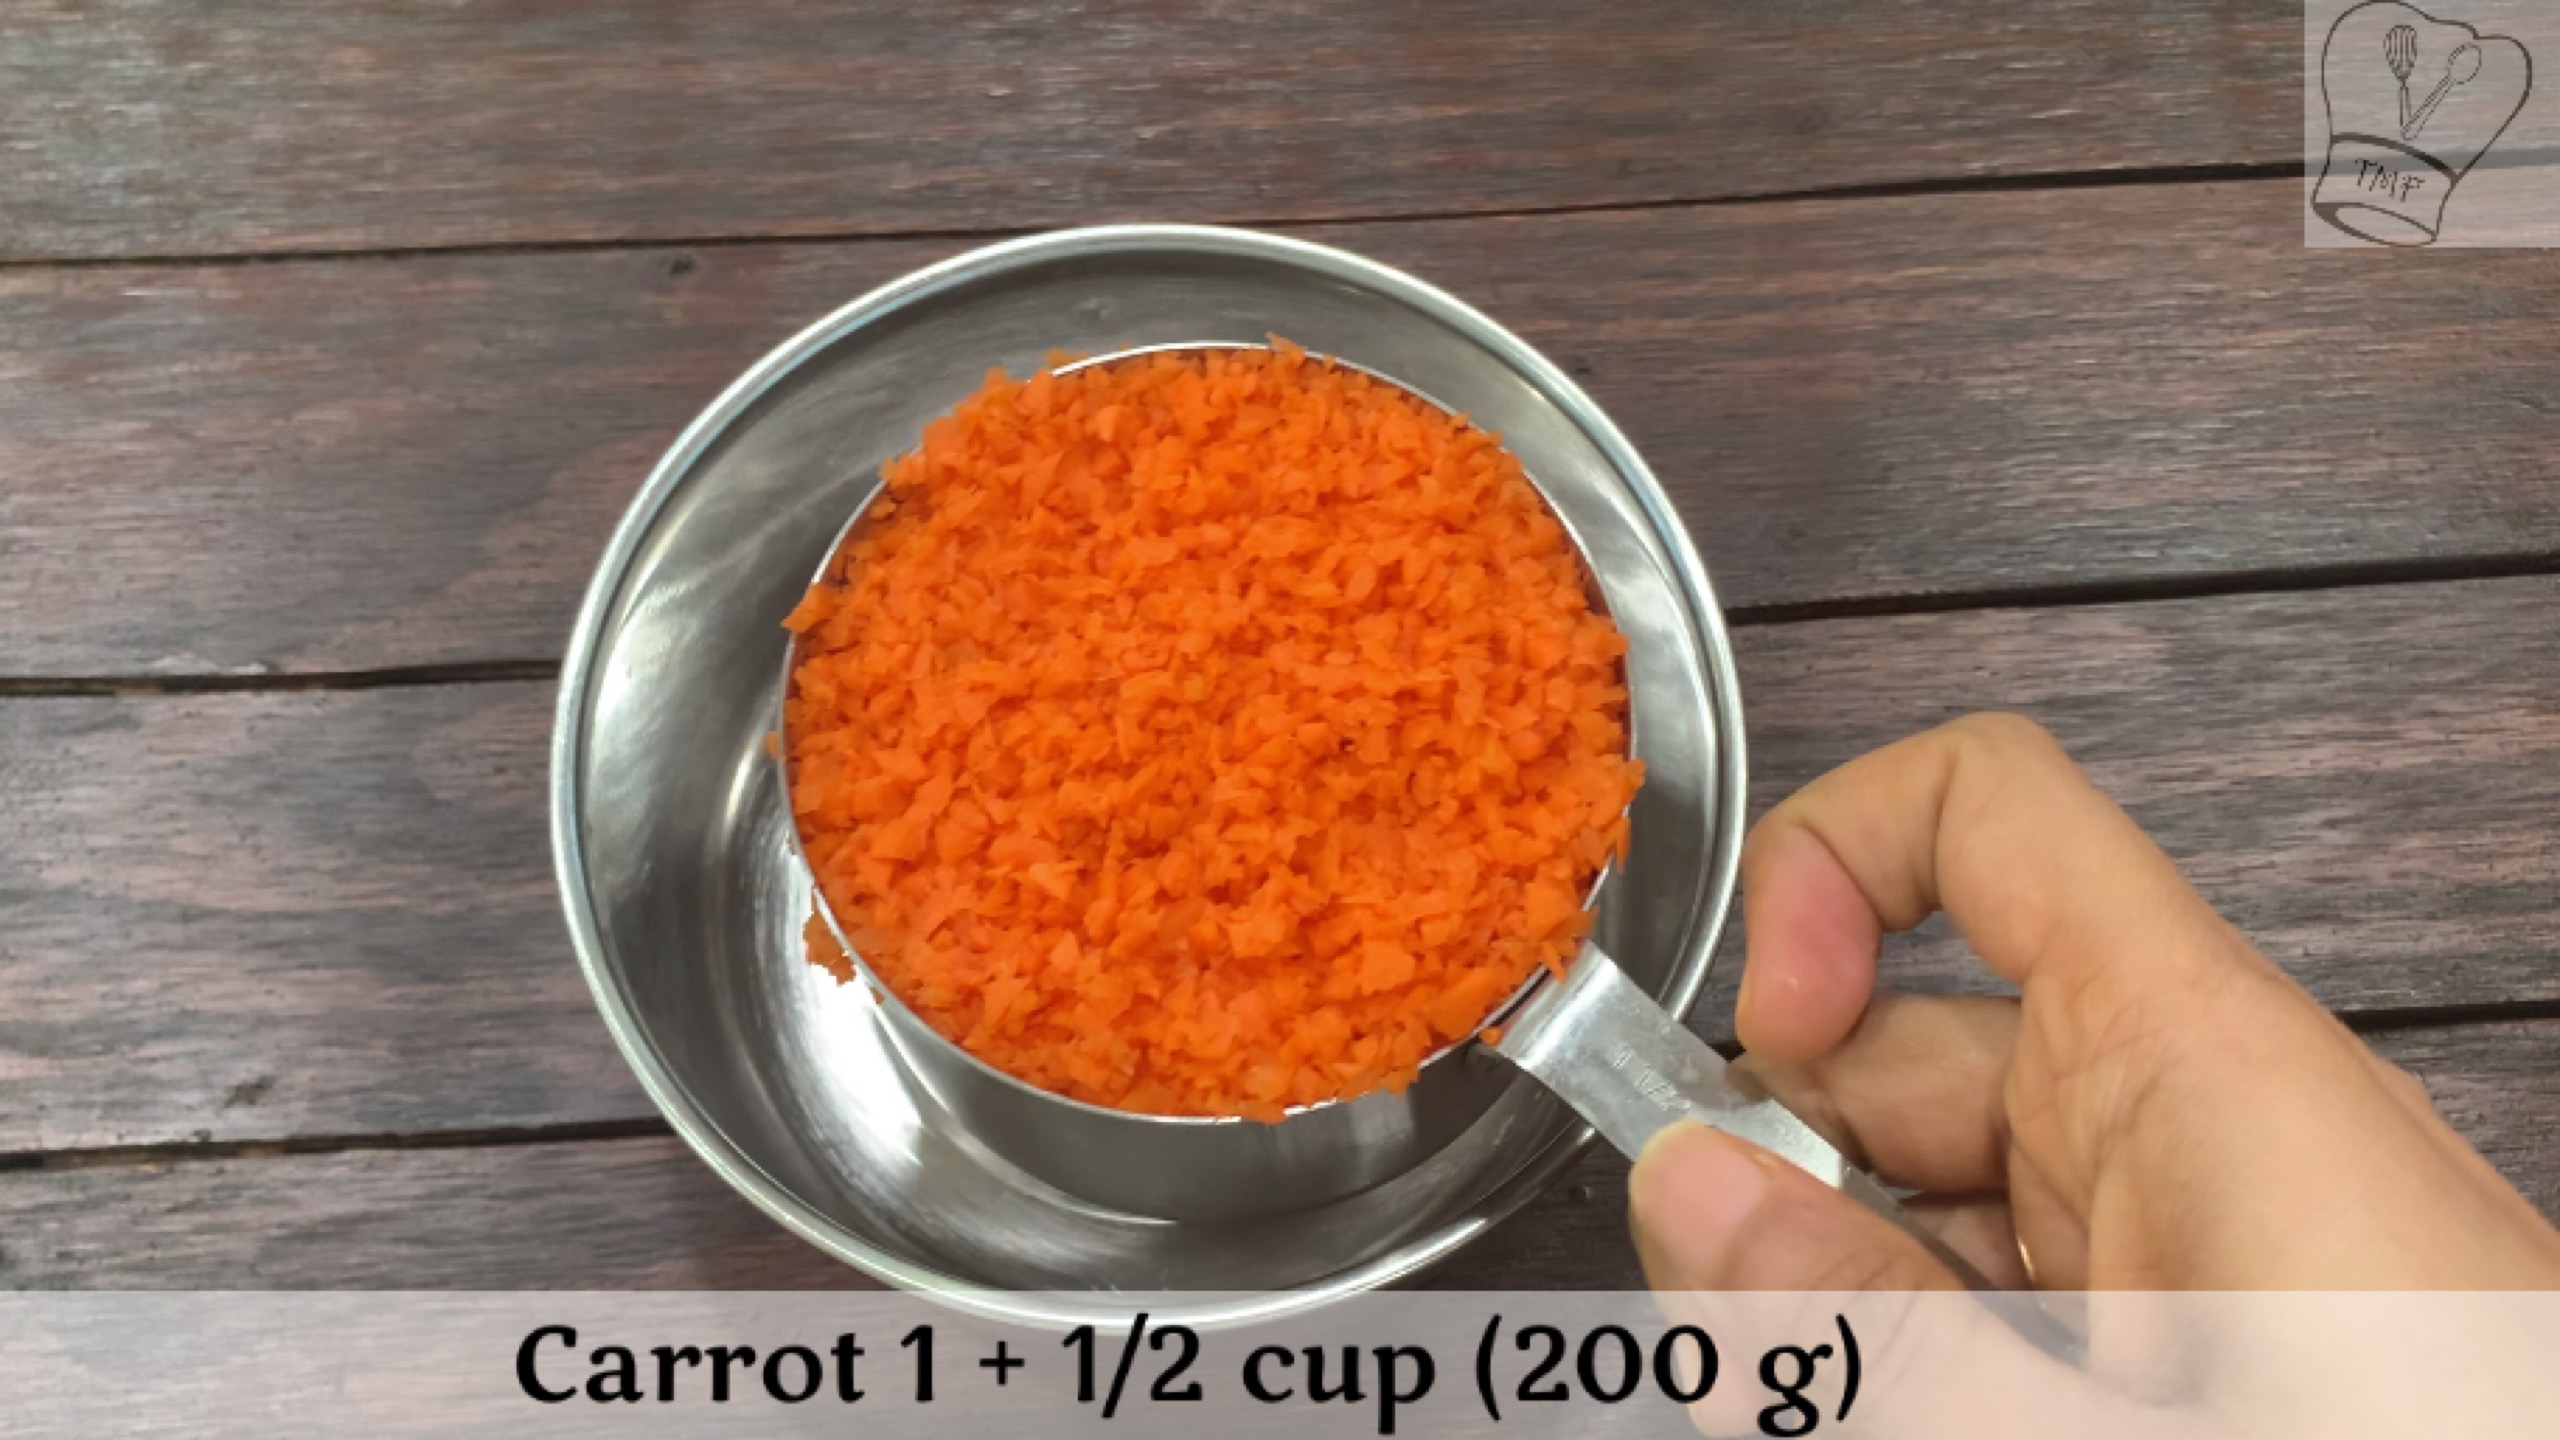
- Carrots - 1 + 1/2 cup 200 g, finely chopped
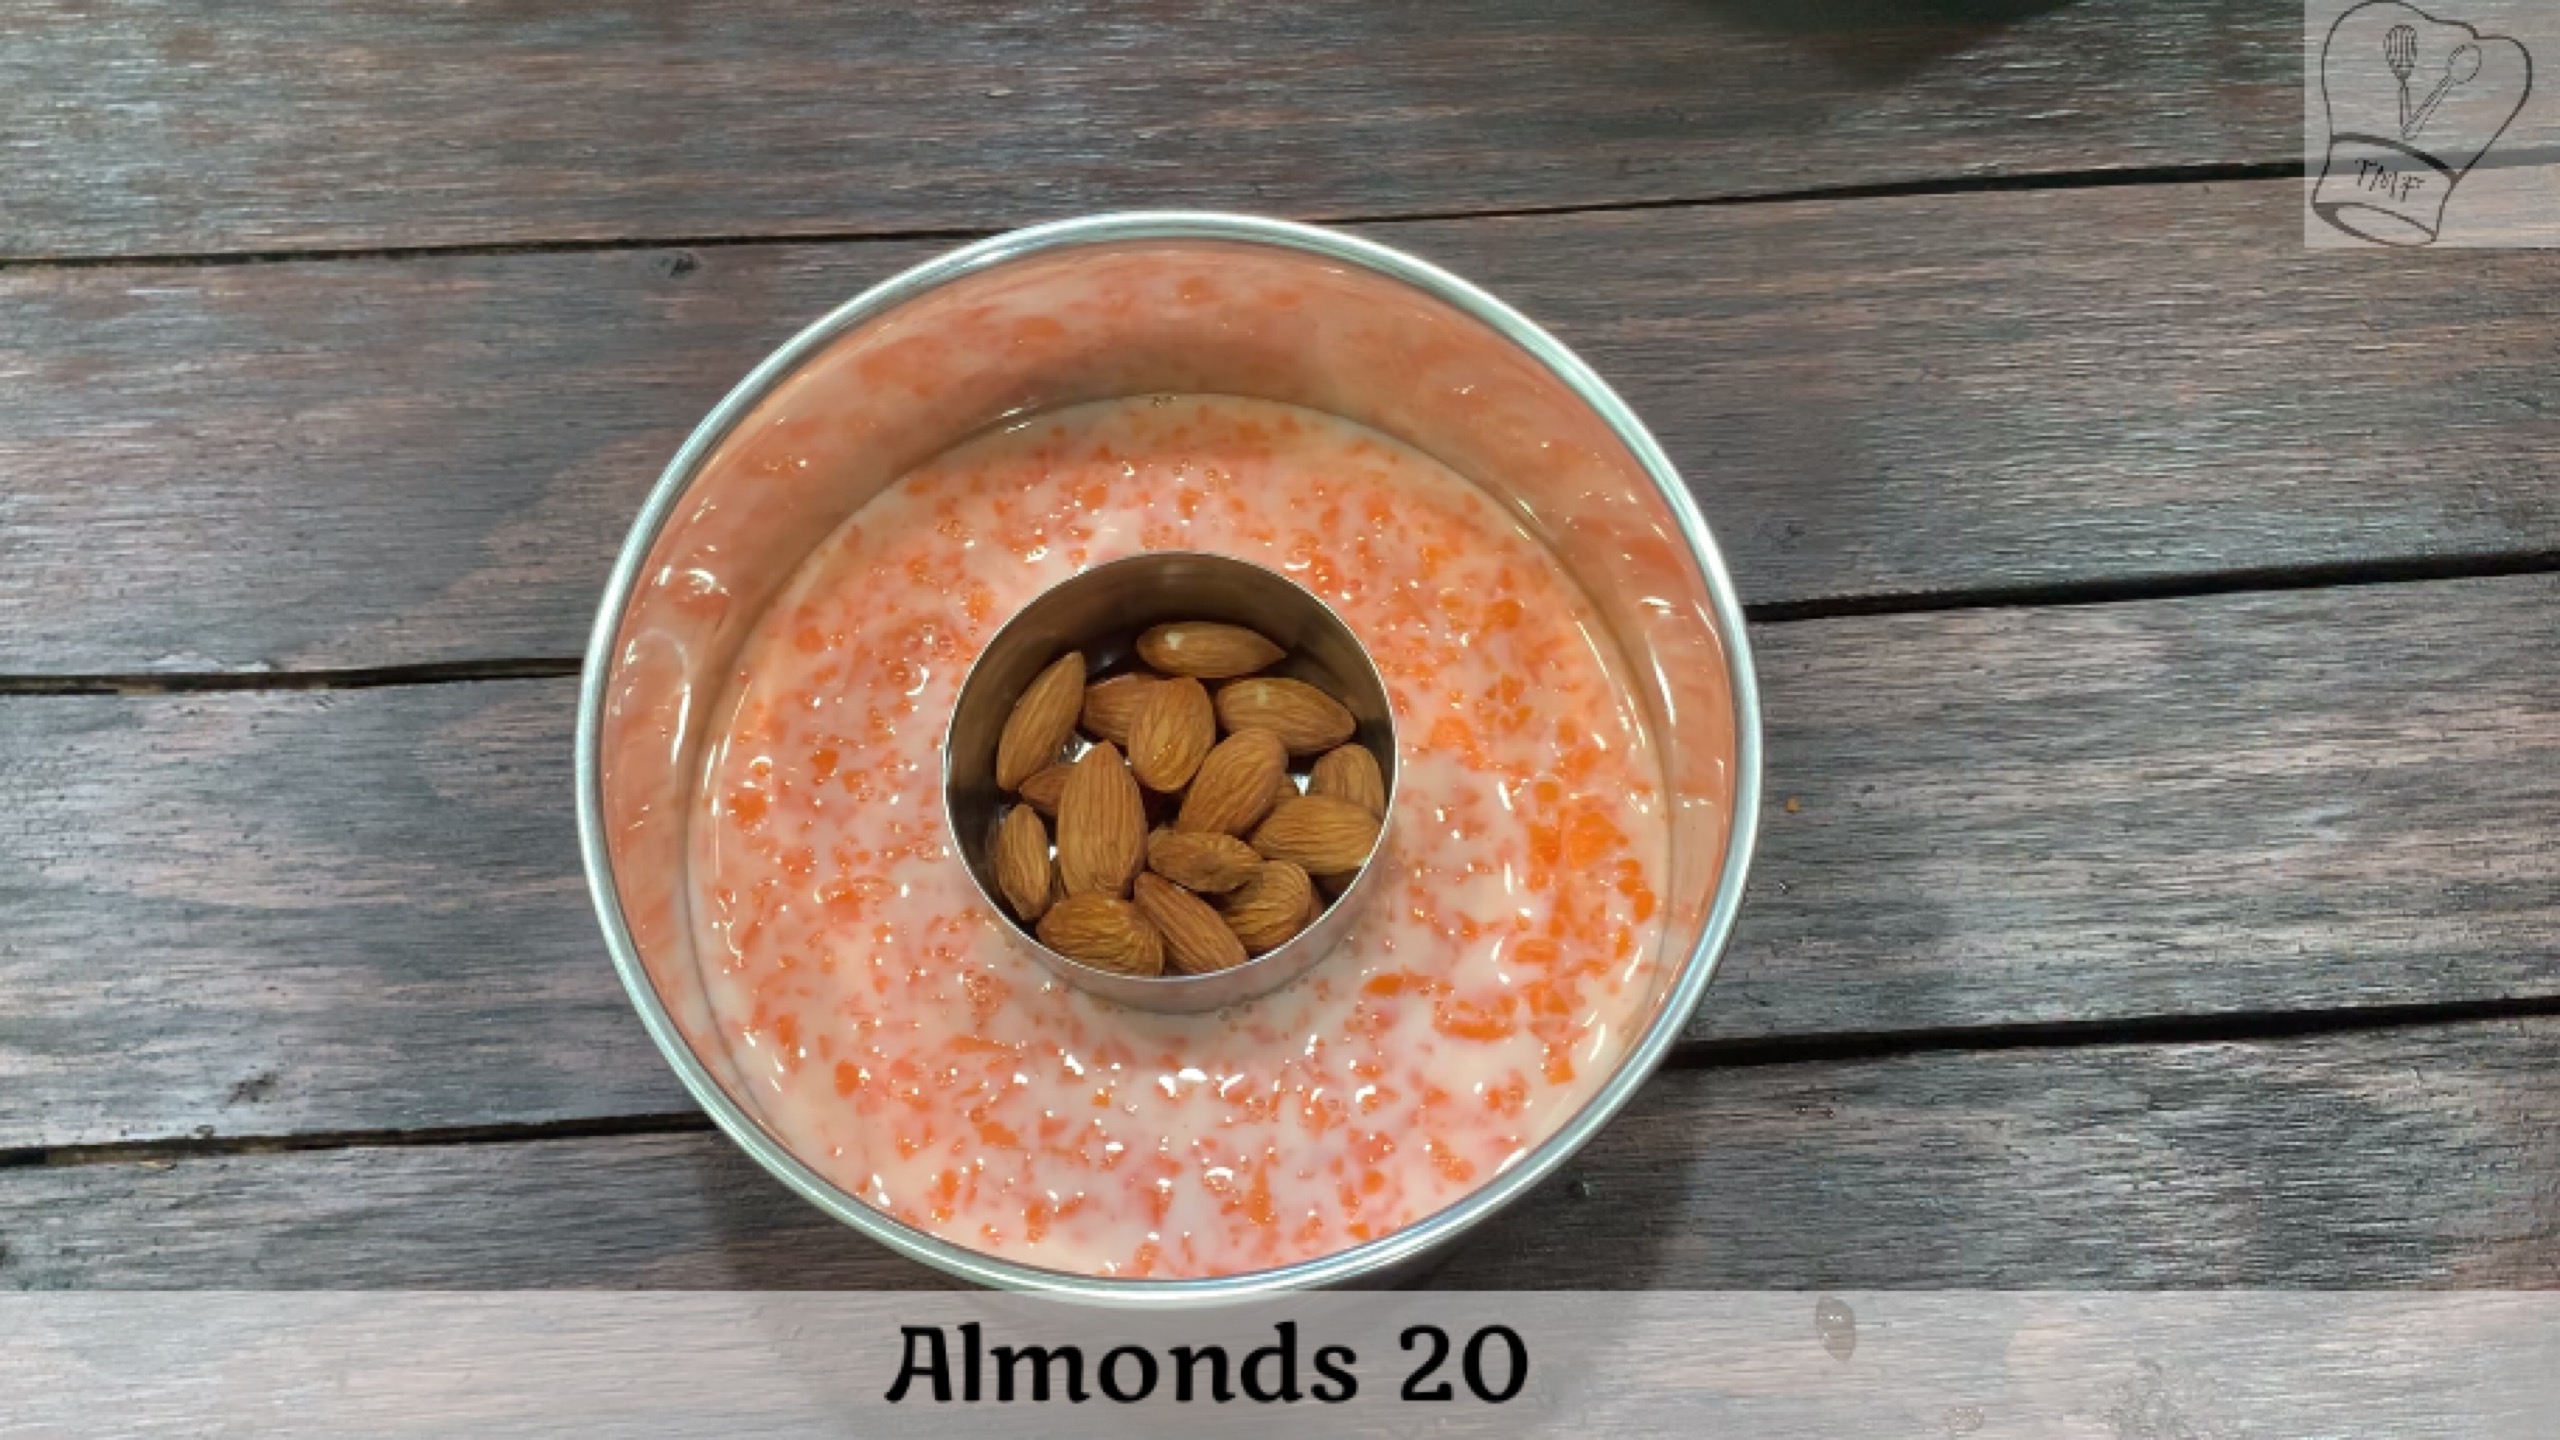
- Almonds - 20
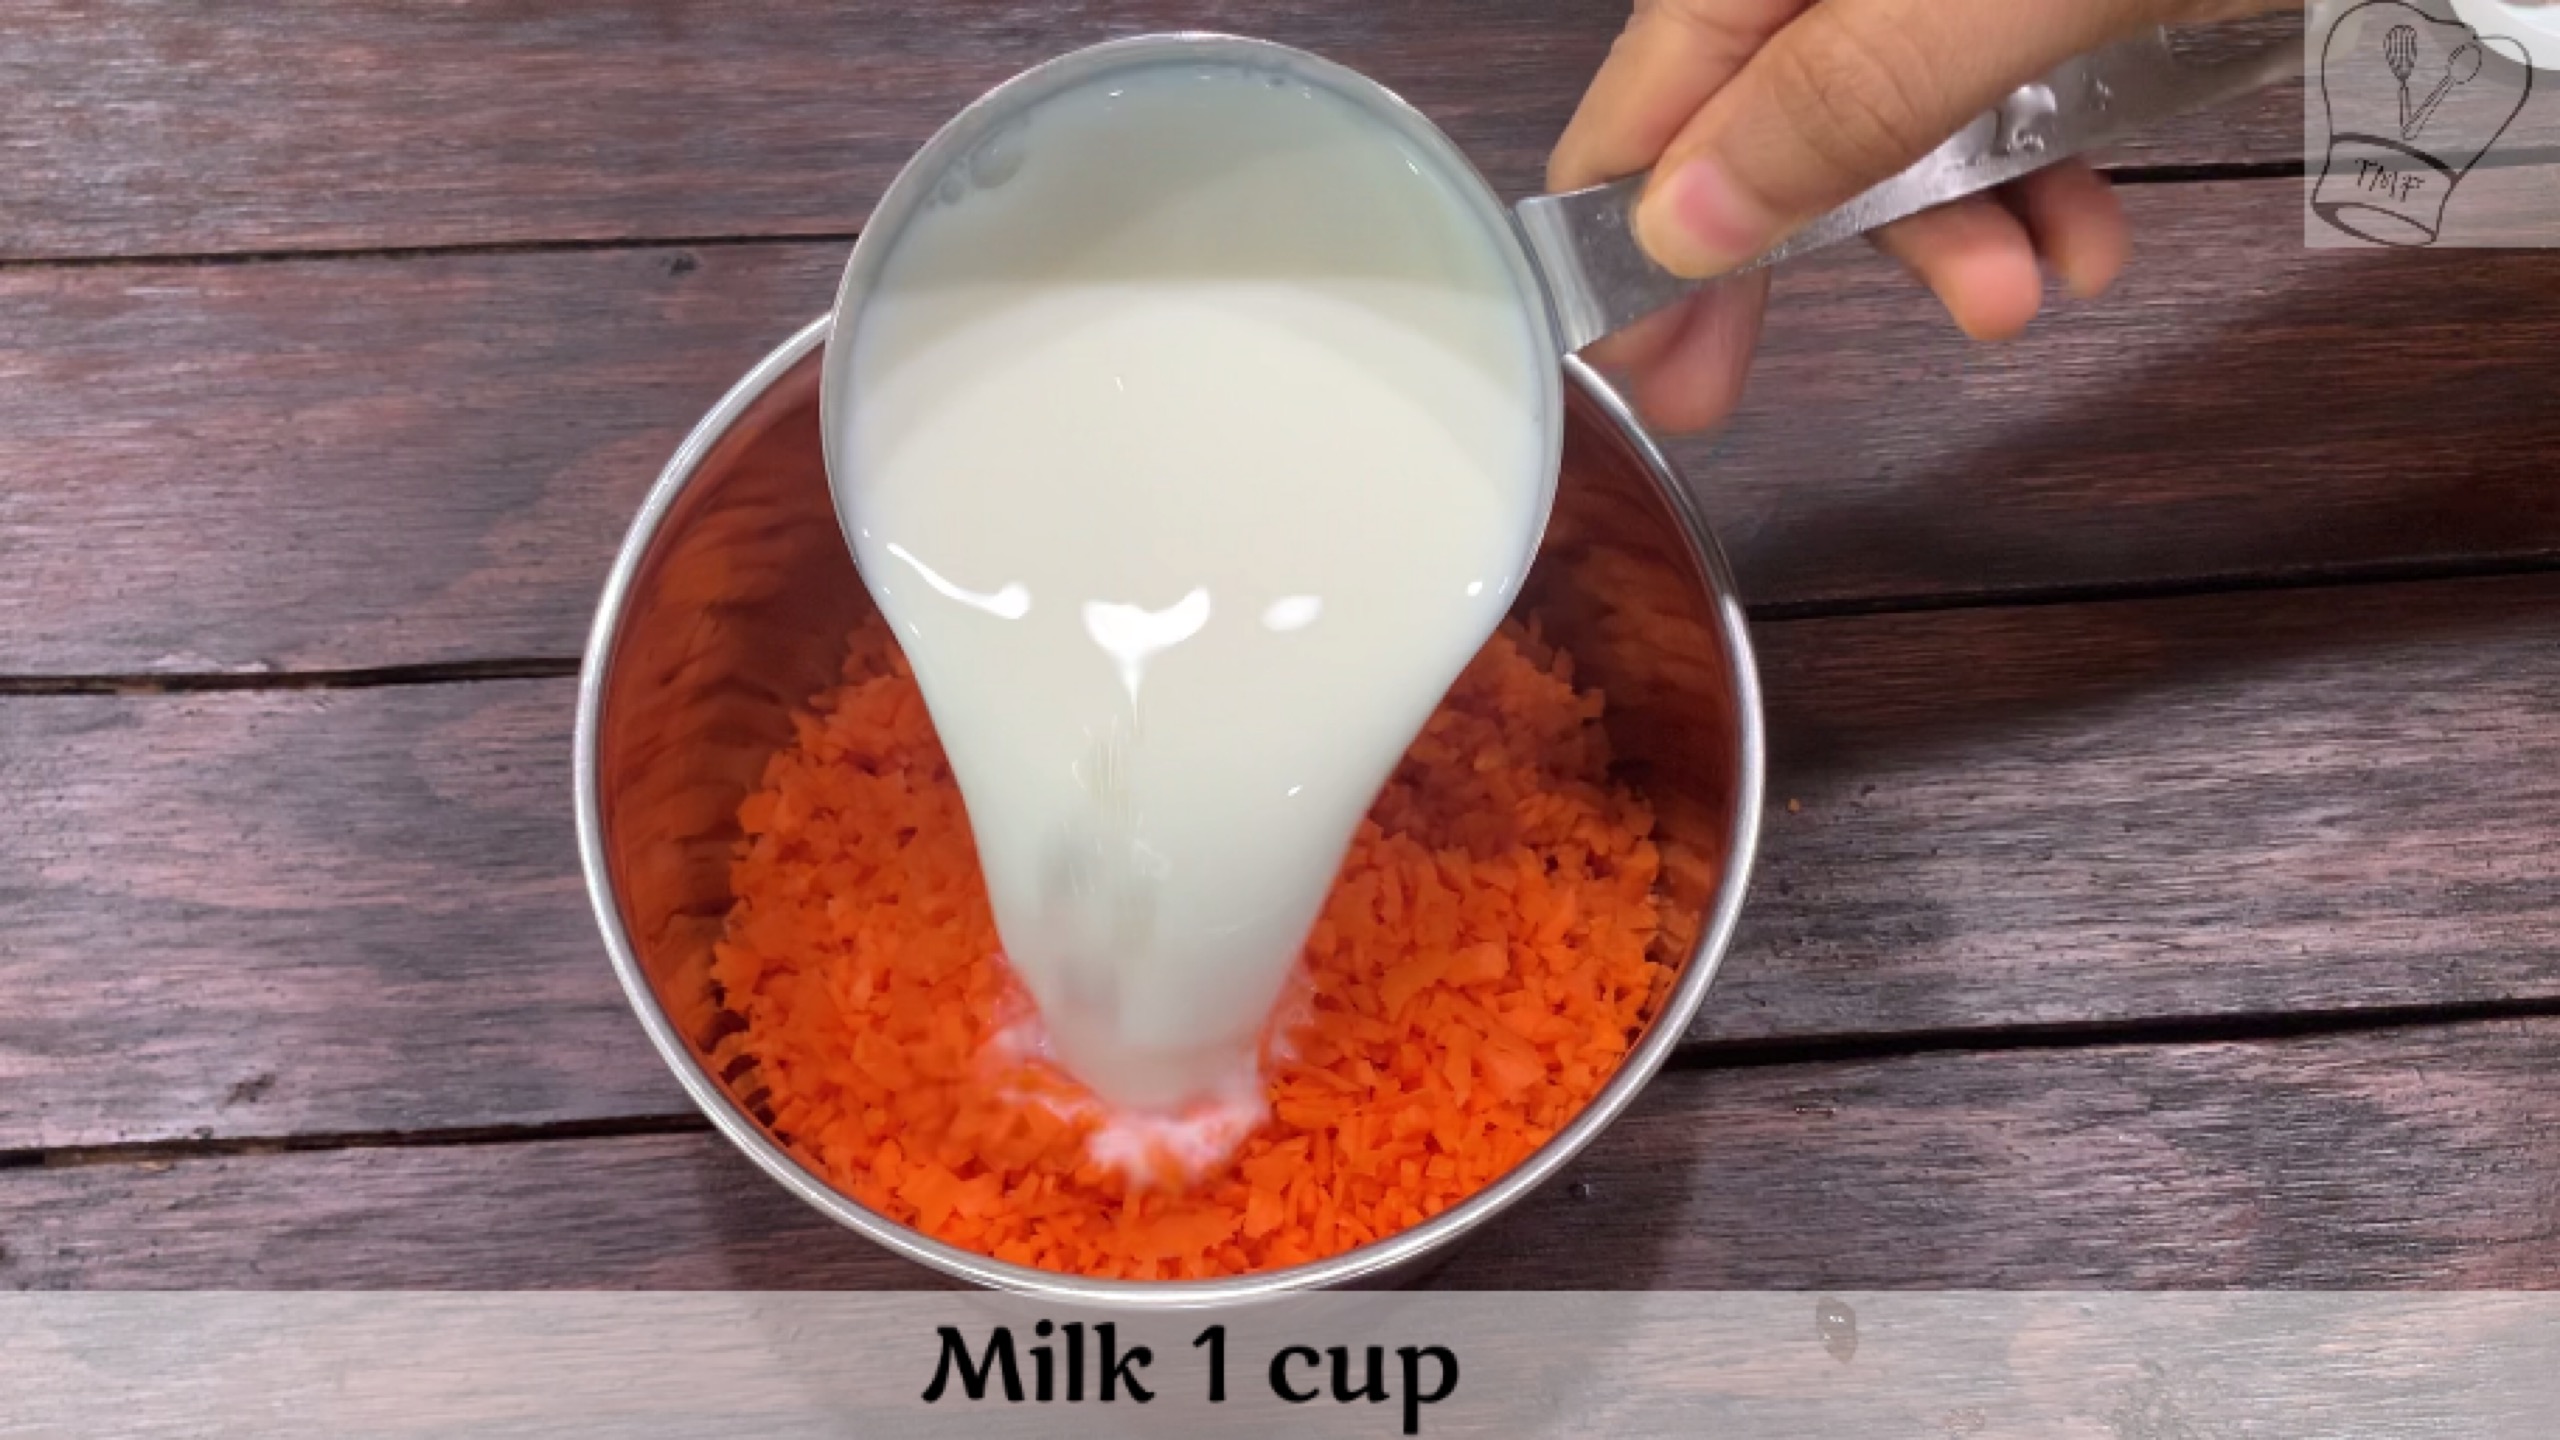
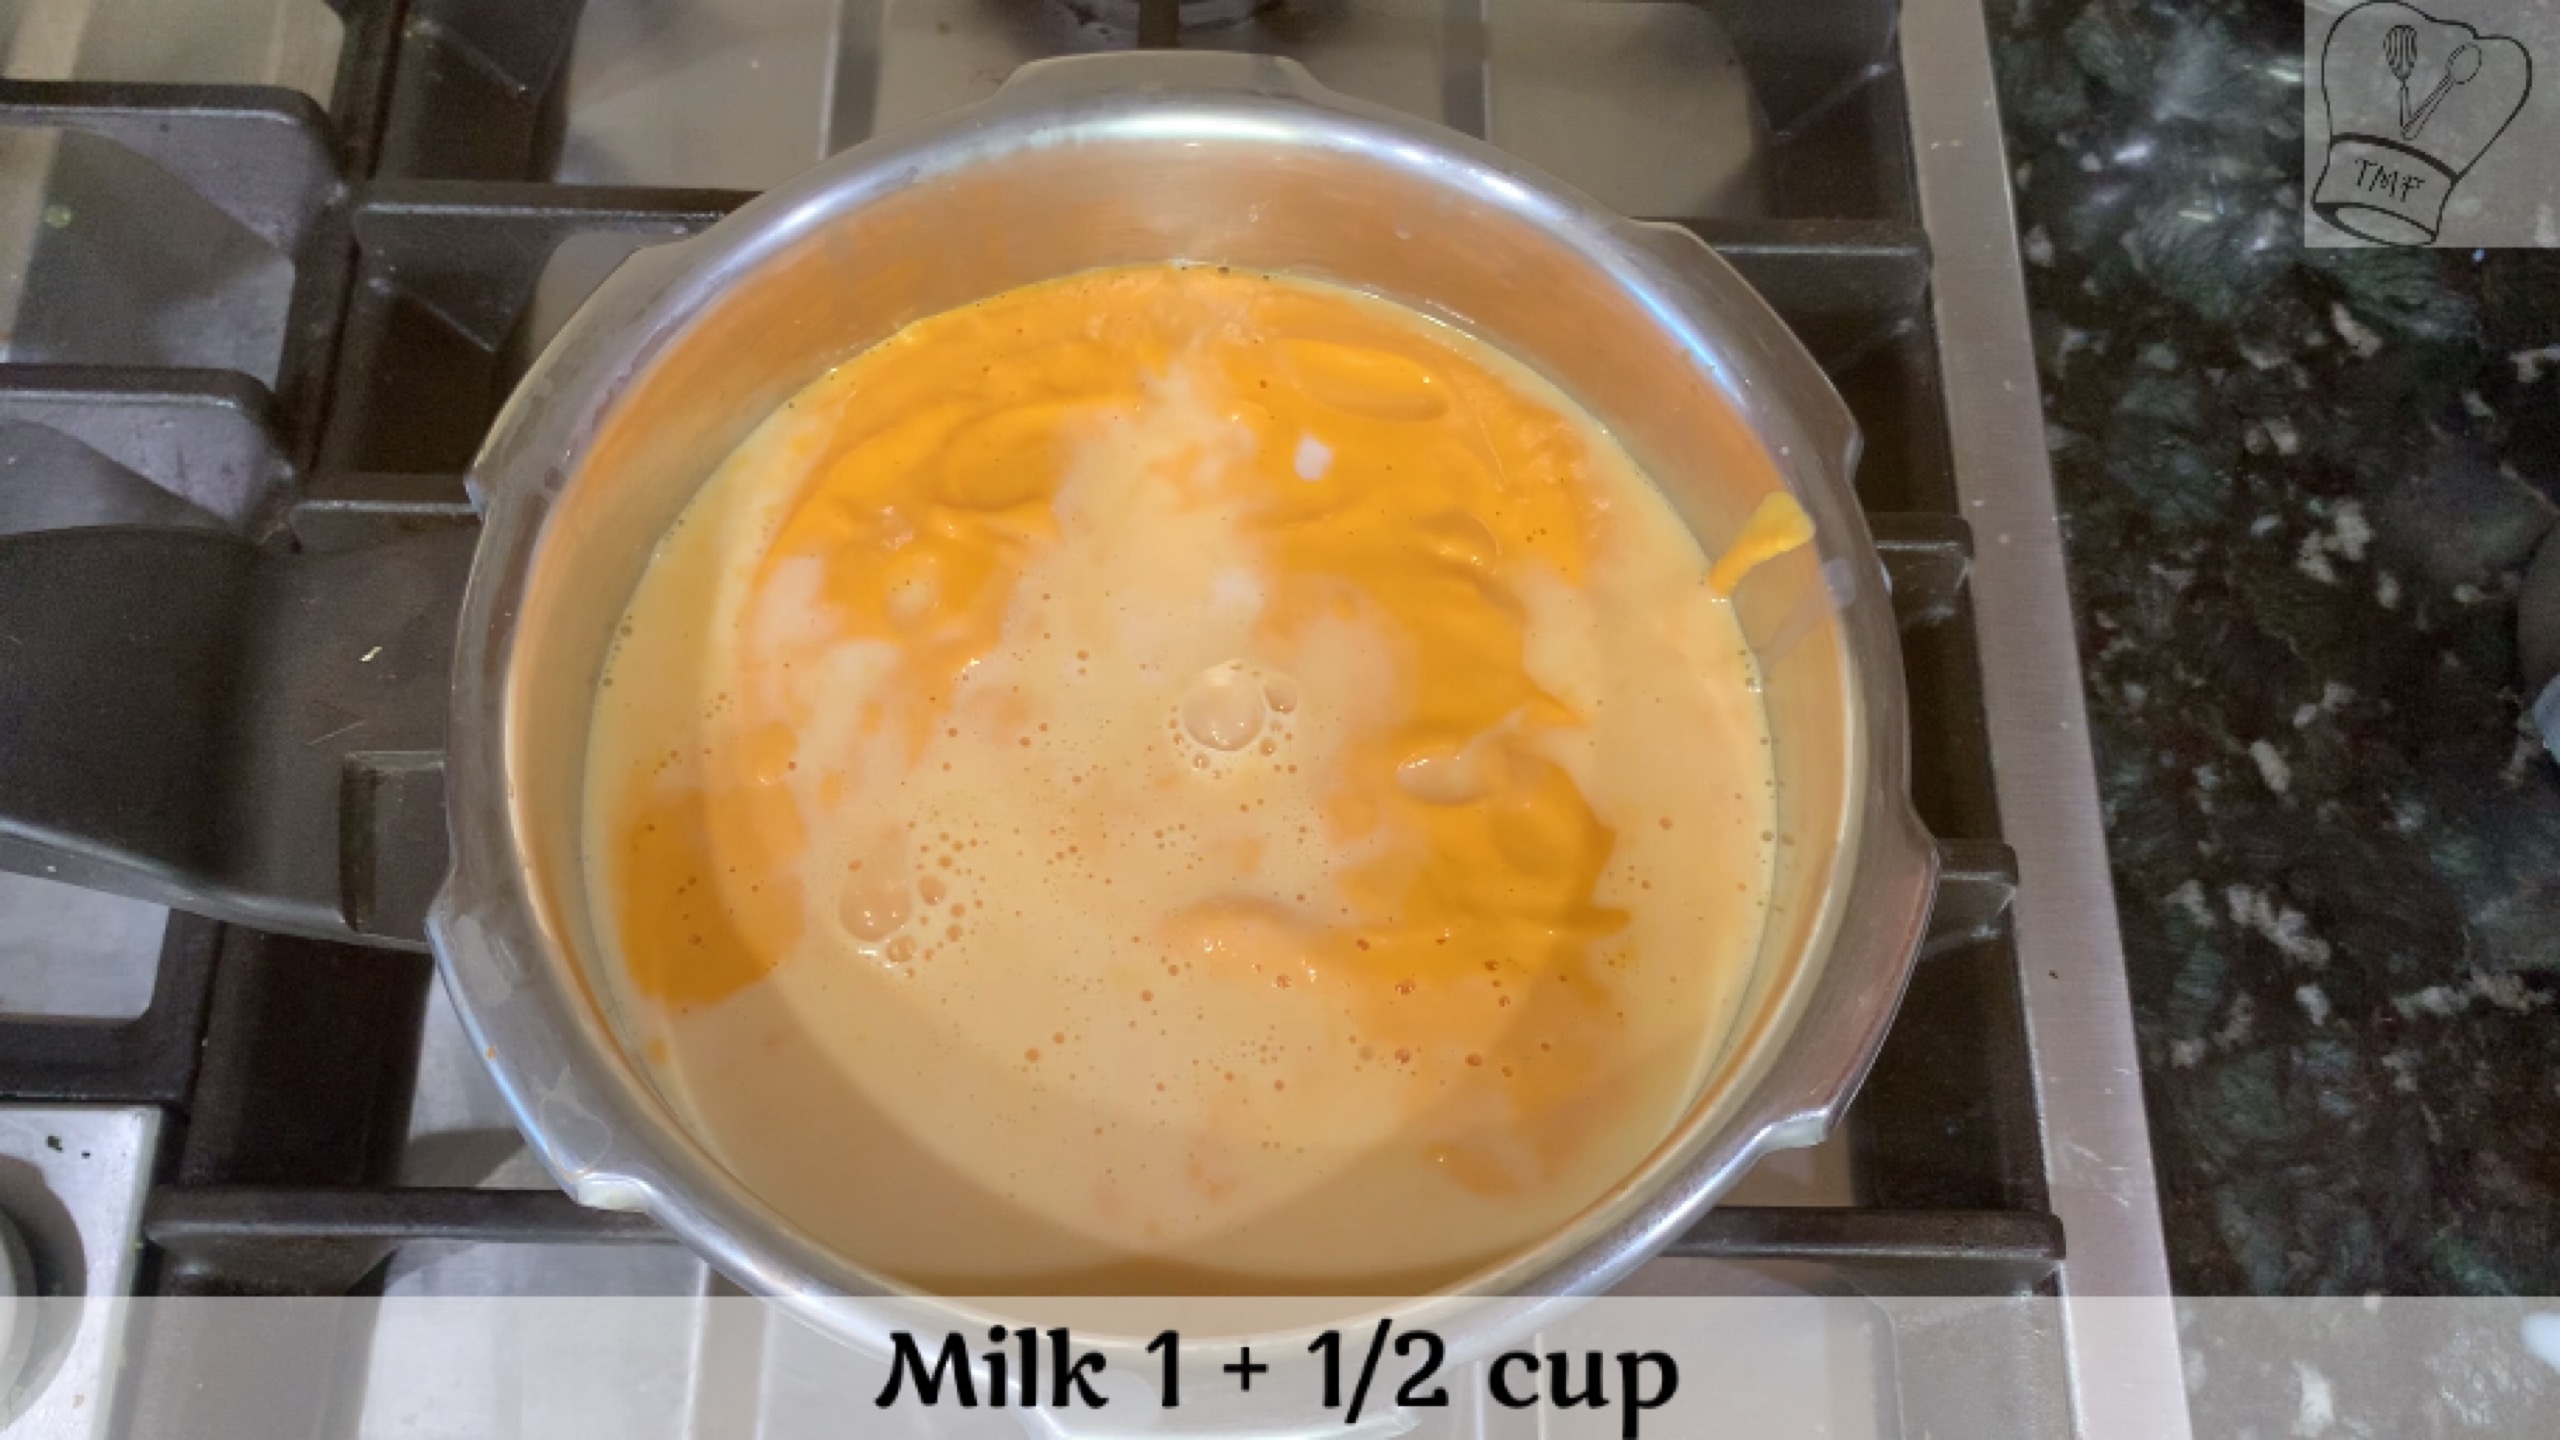
- Milk - 3 cup
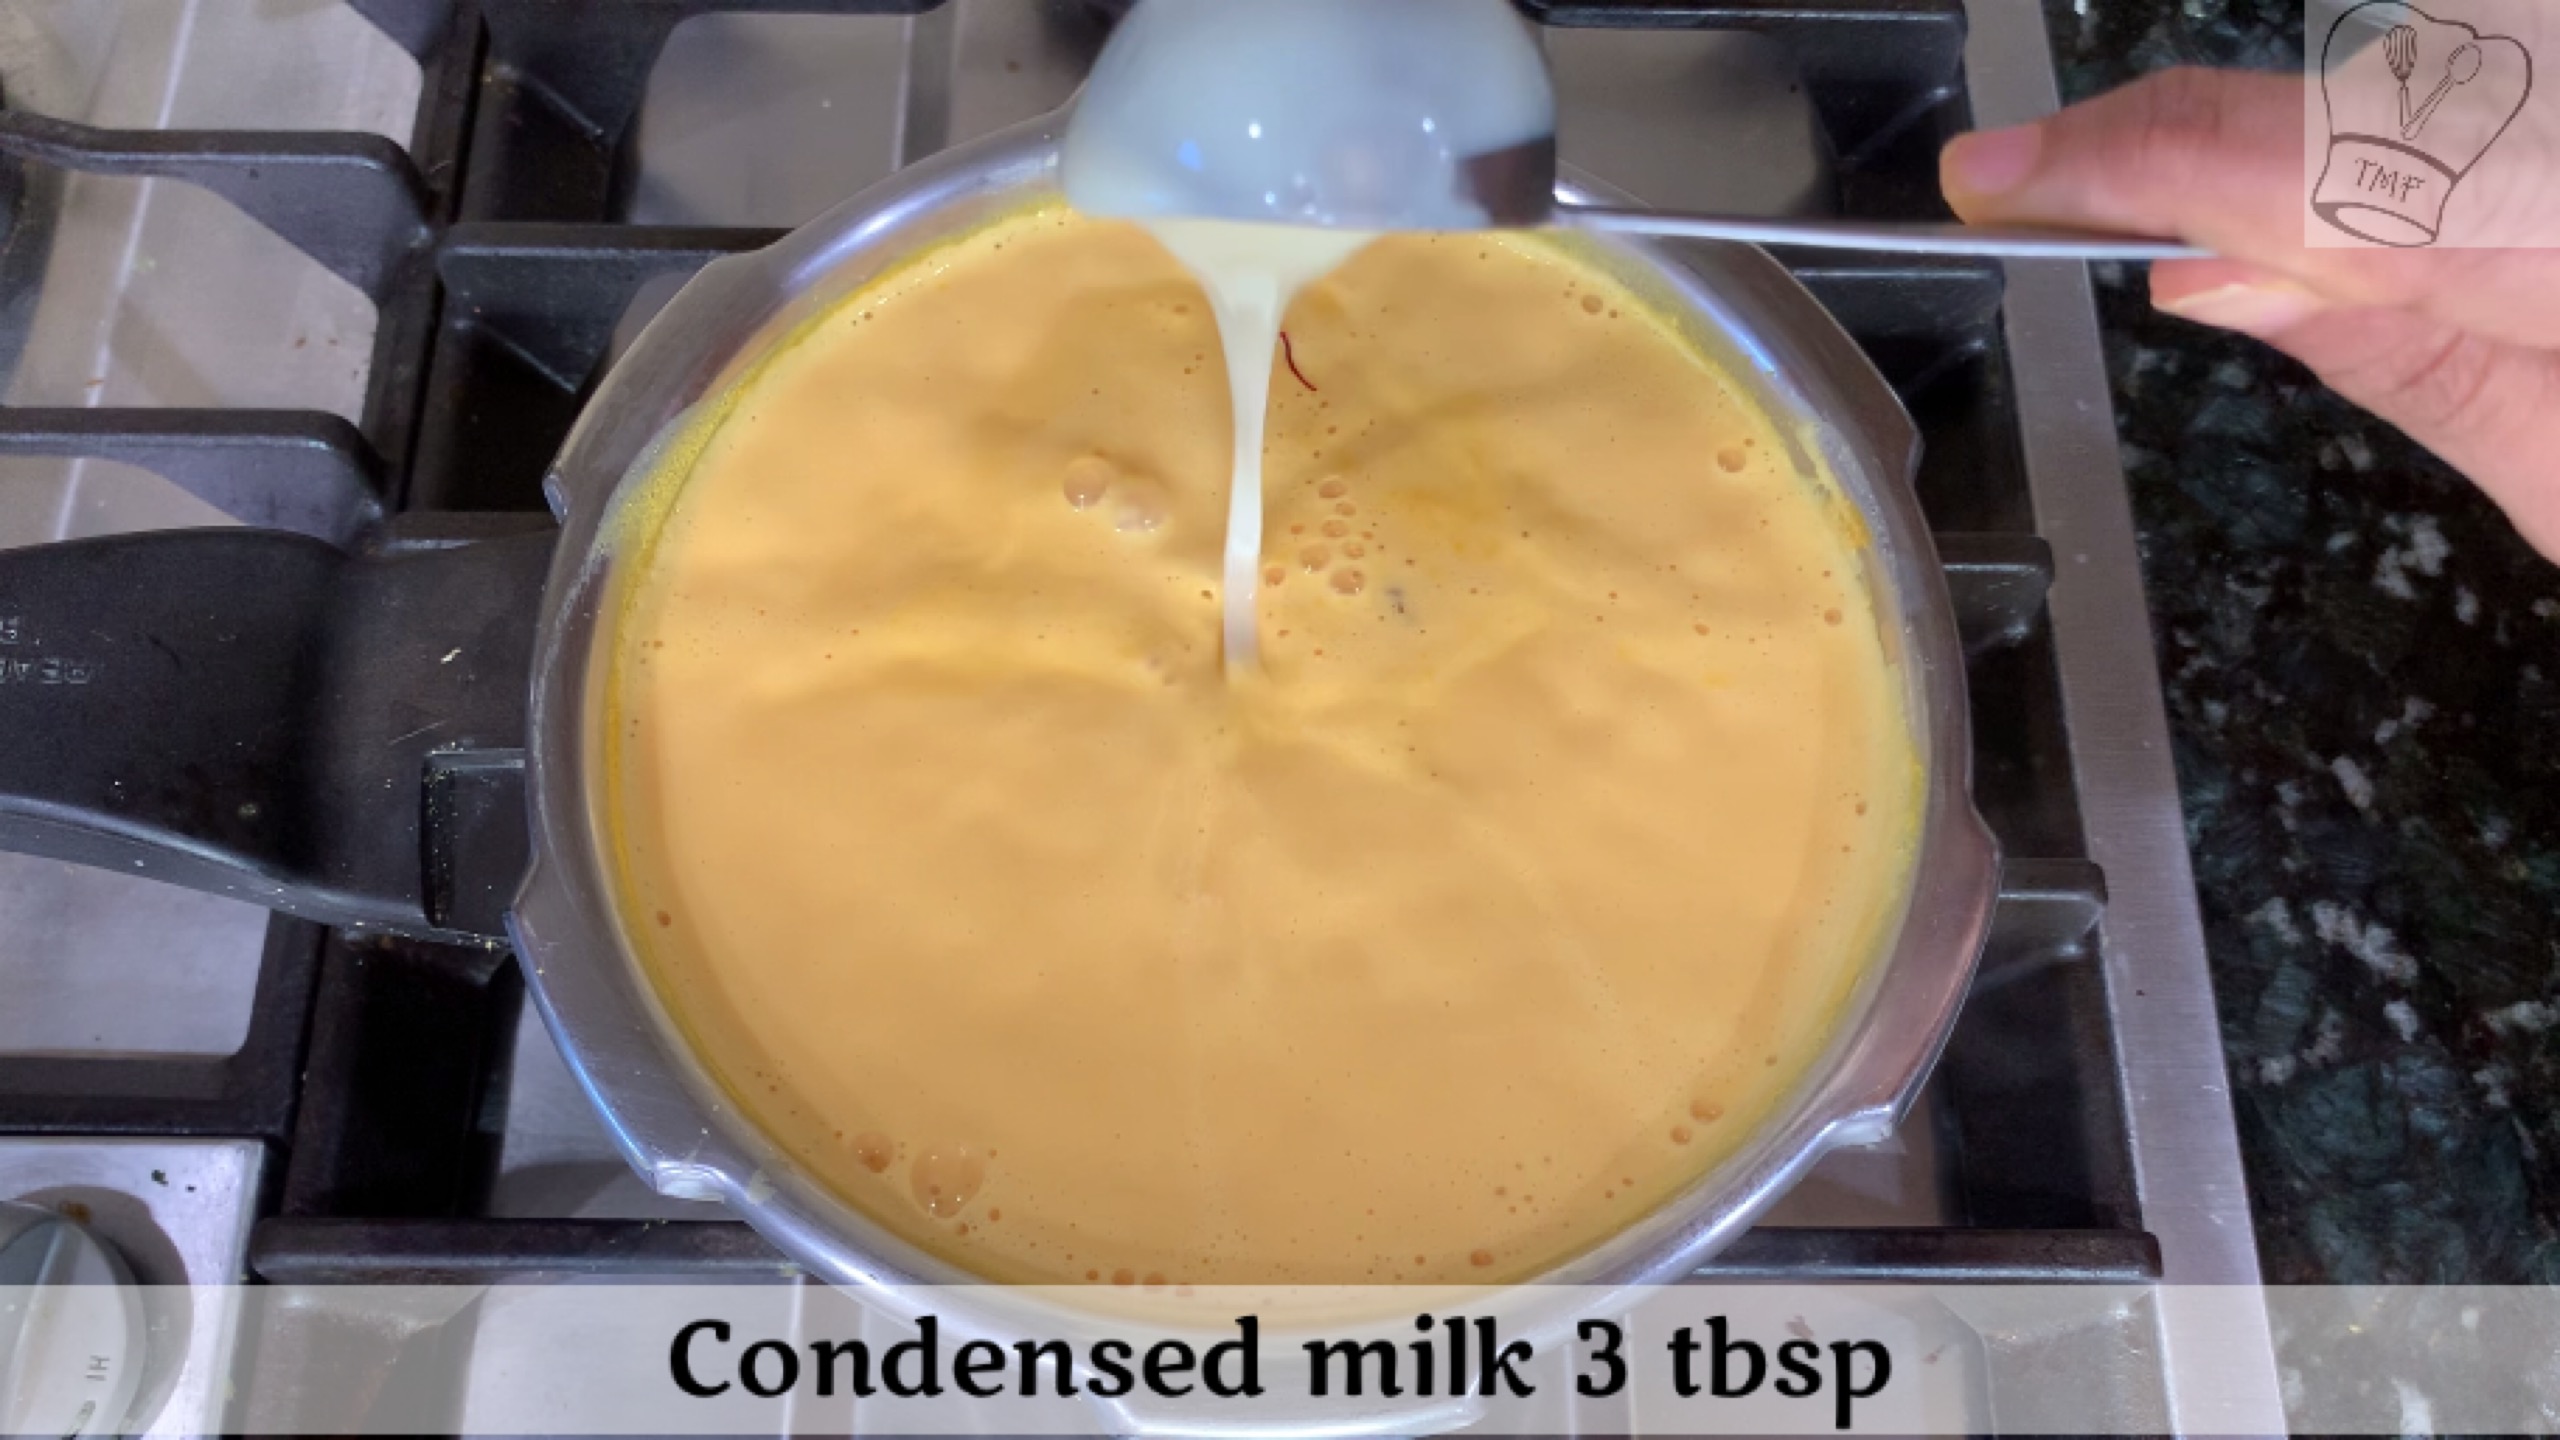
- Condensed milk - 3 tbsp
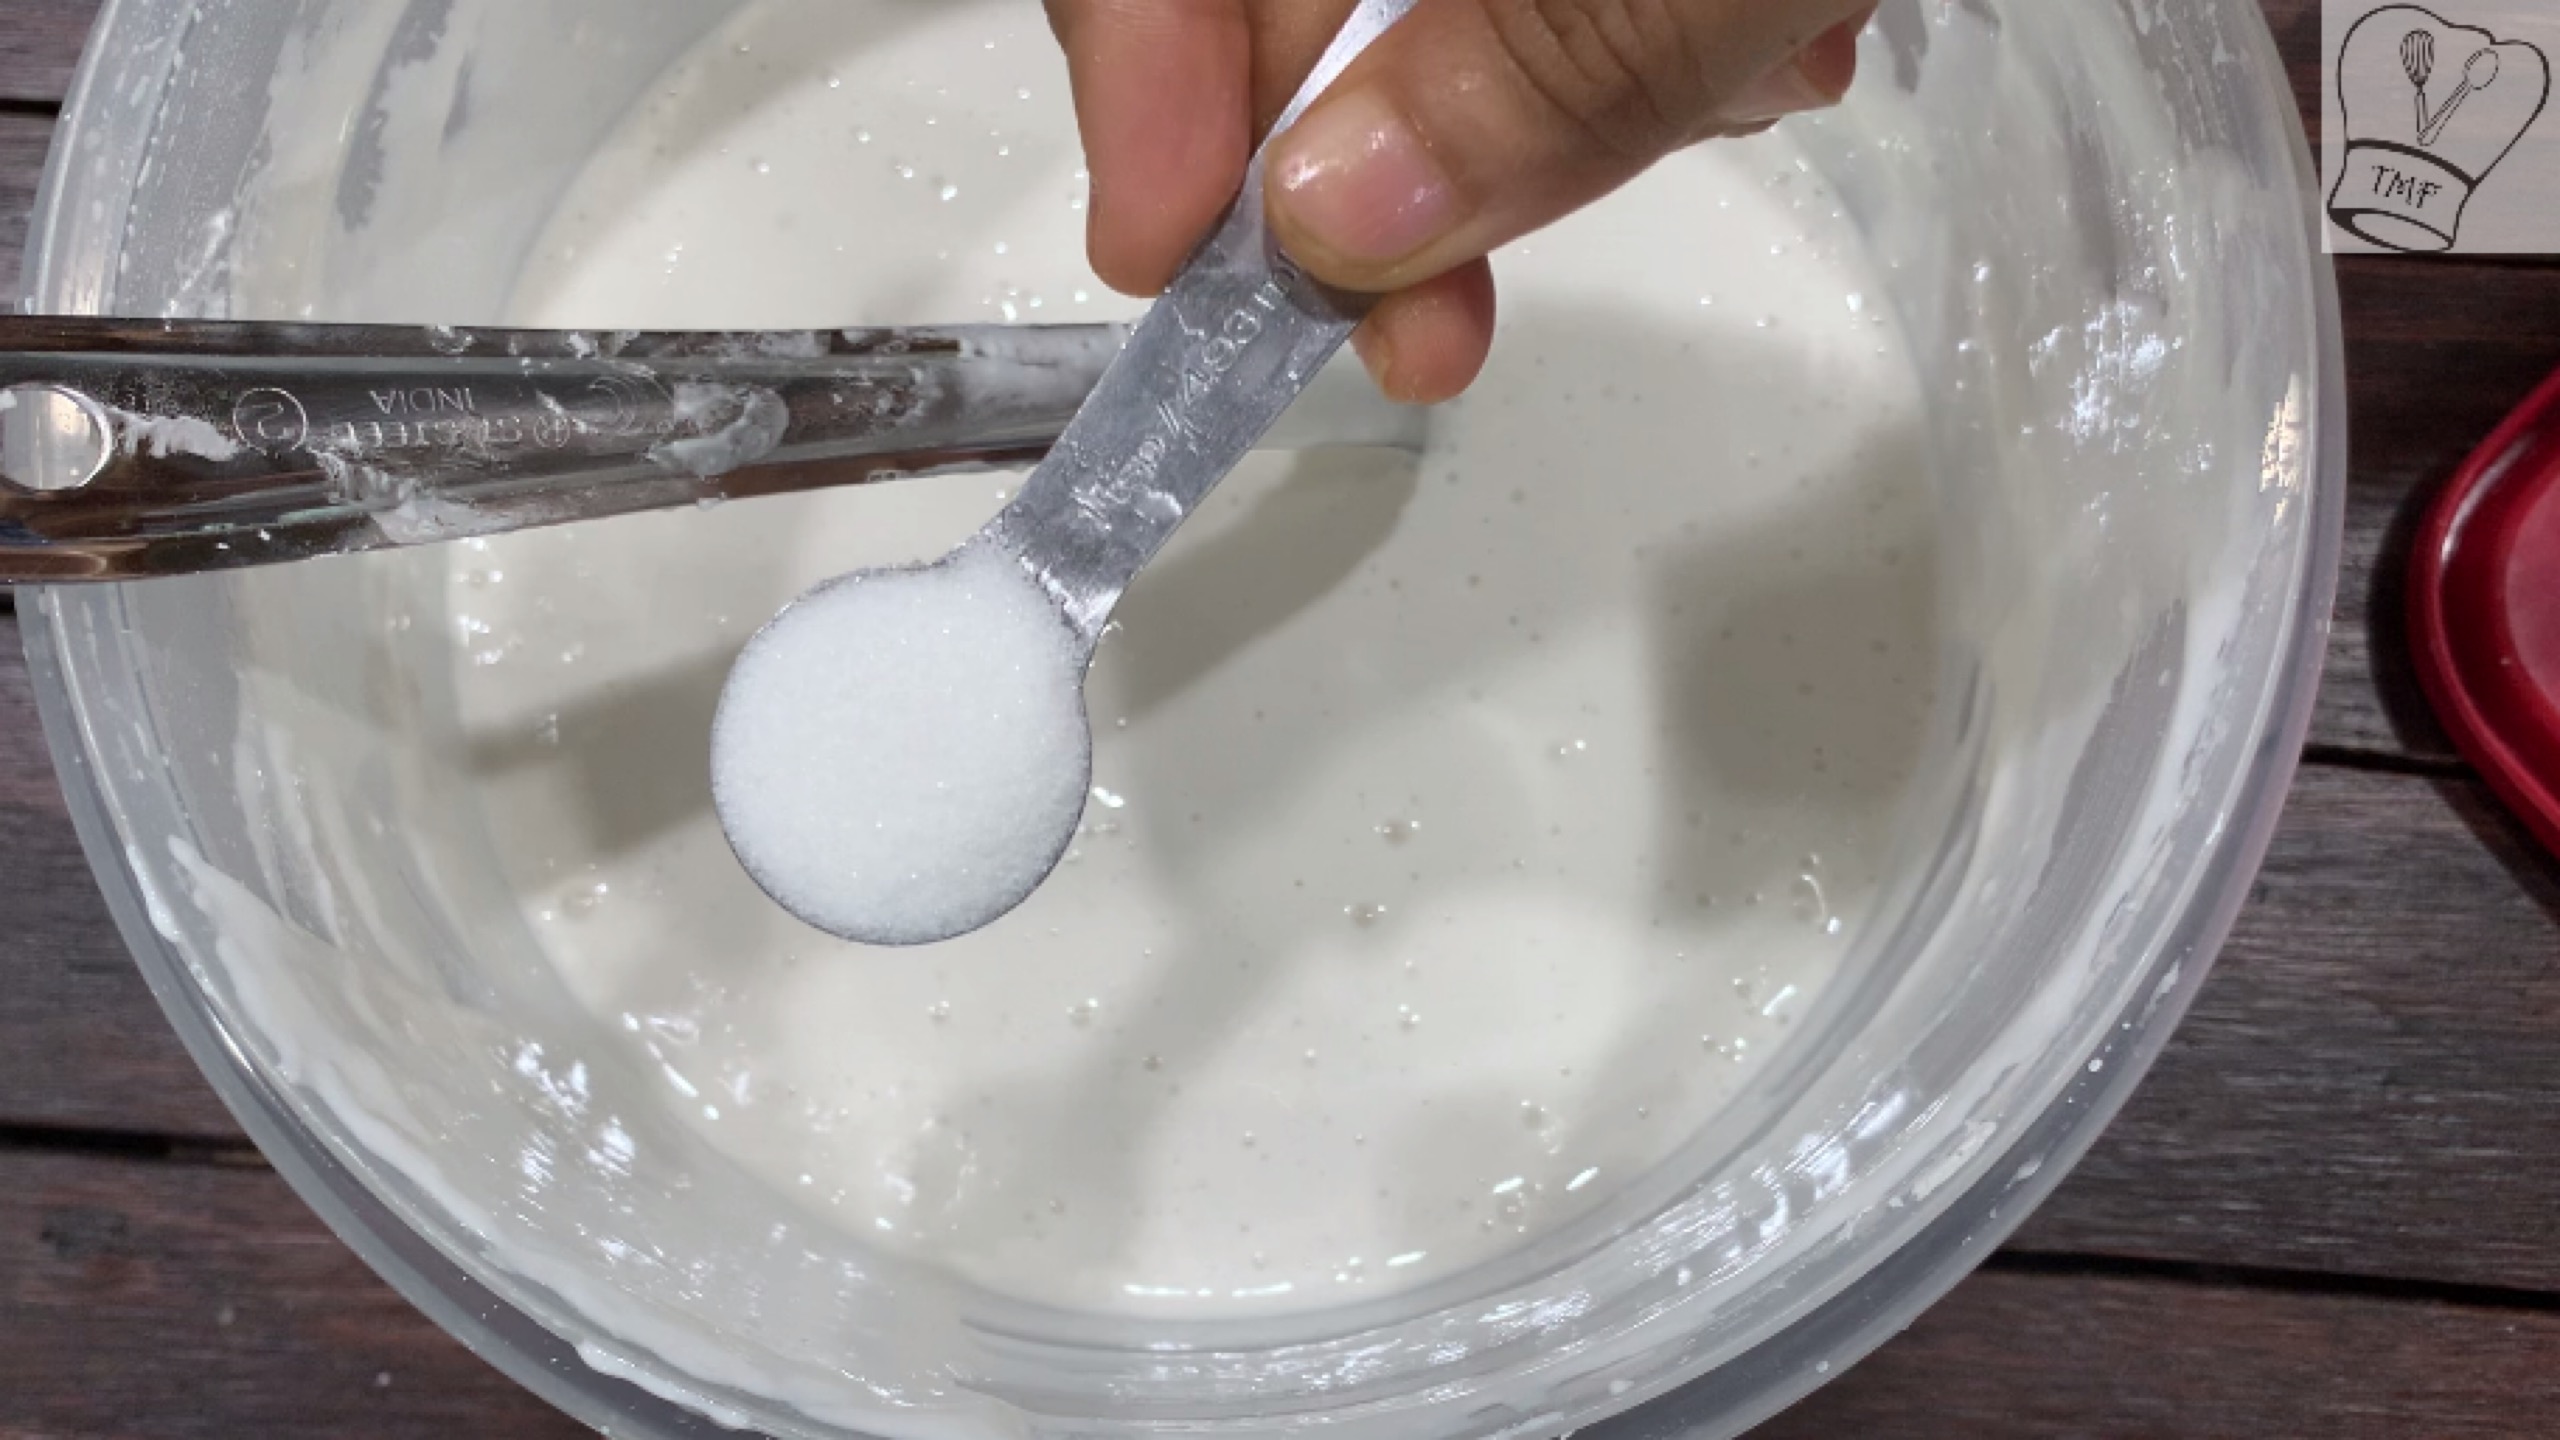
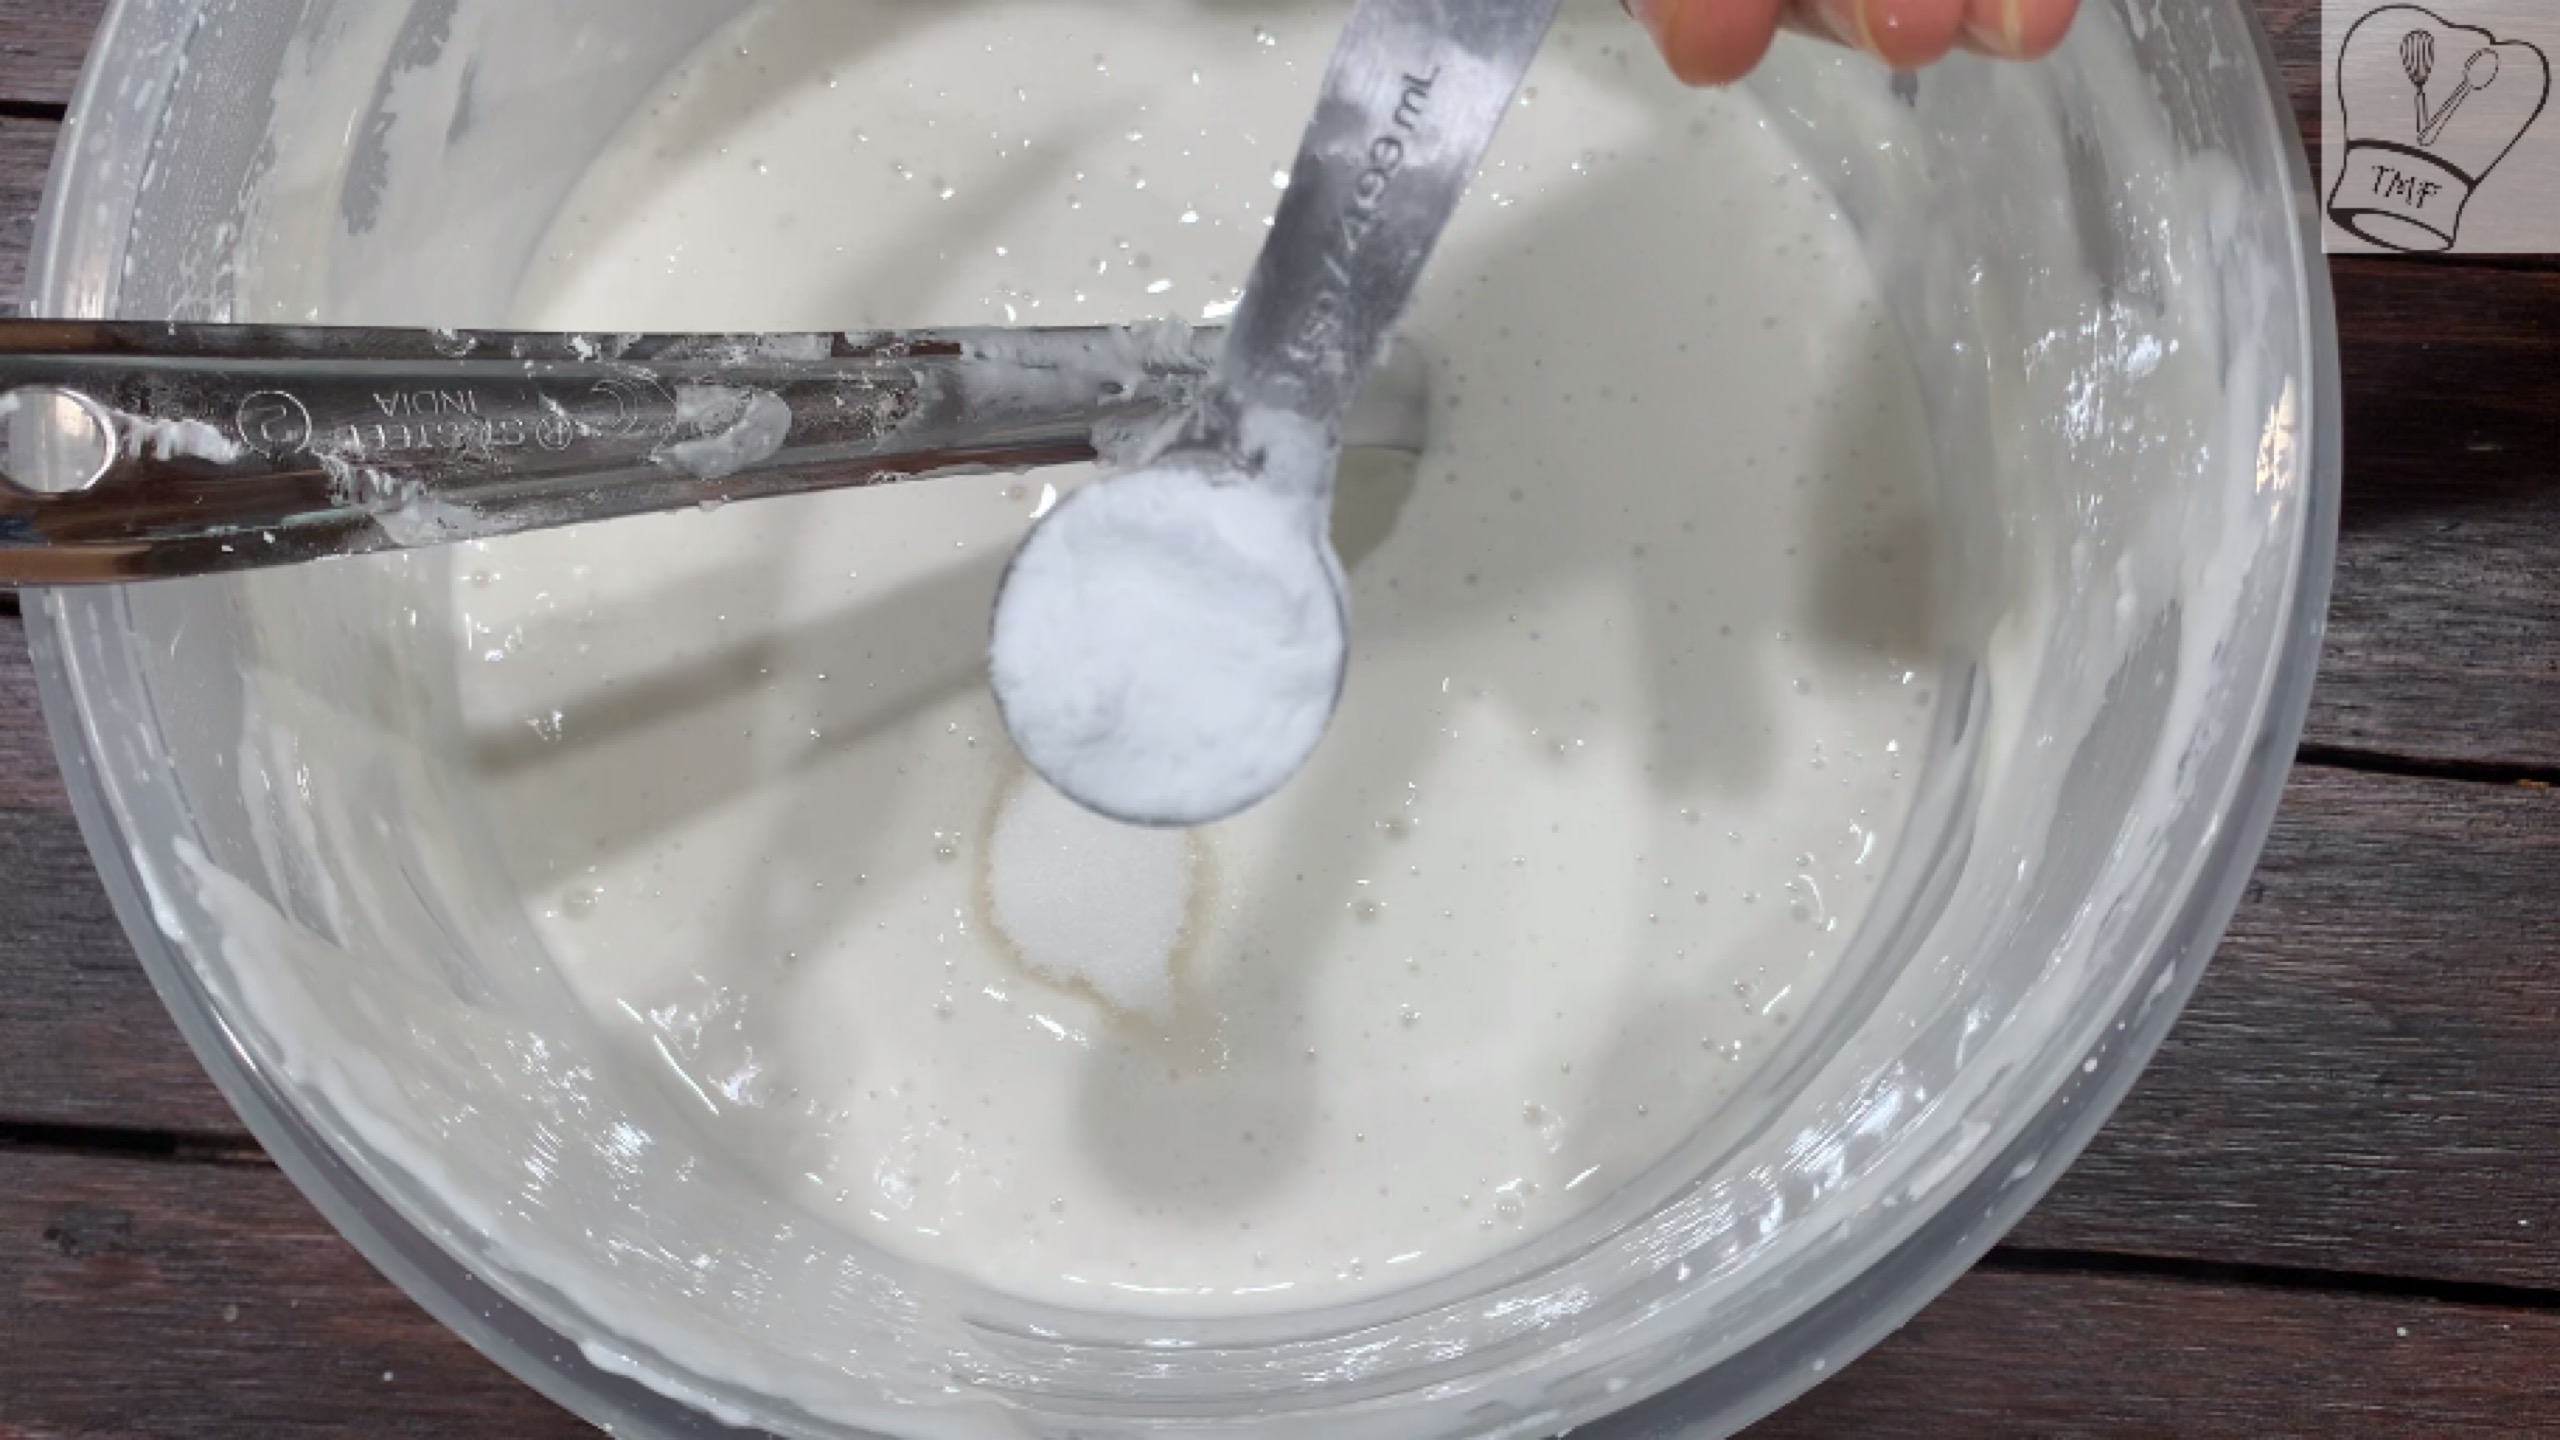
- Sugar - 1/2 cup
- Cardamom powder - 1/4 tsp
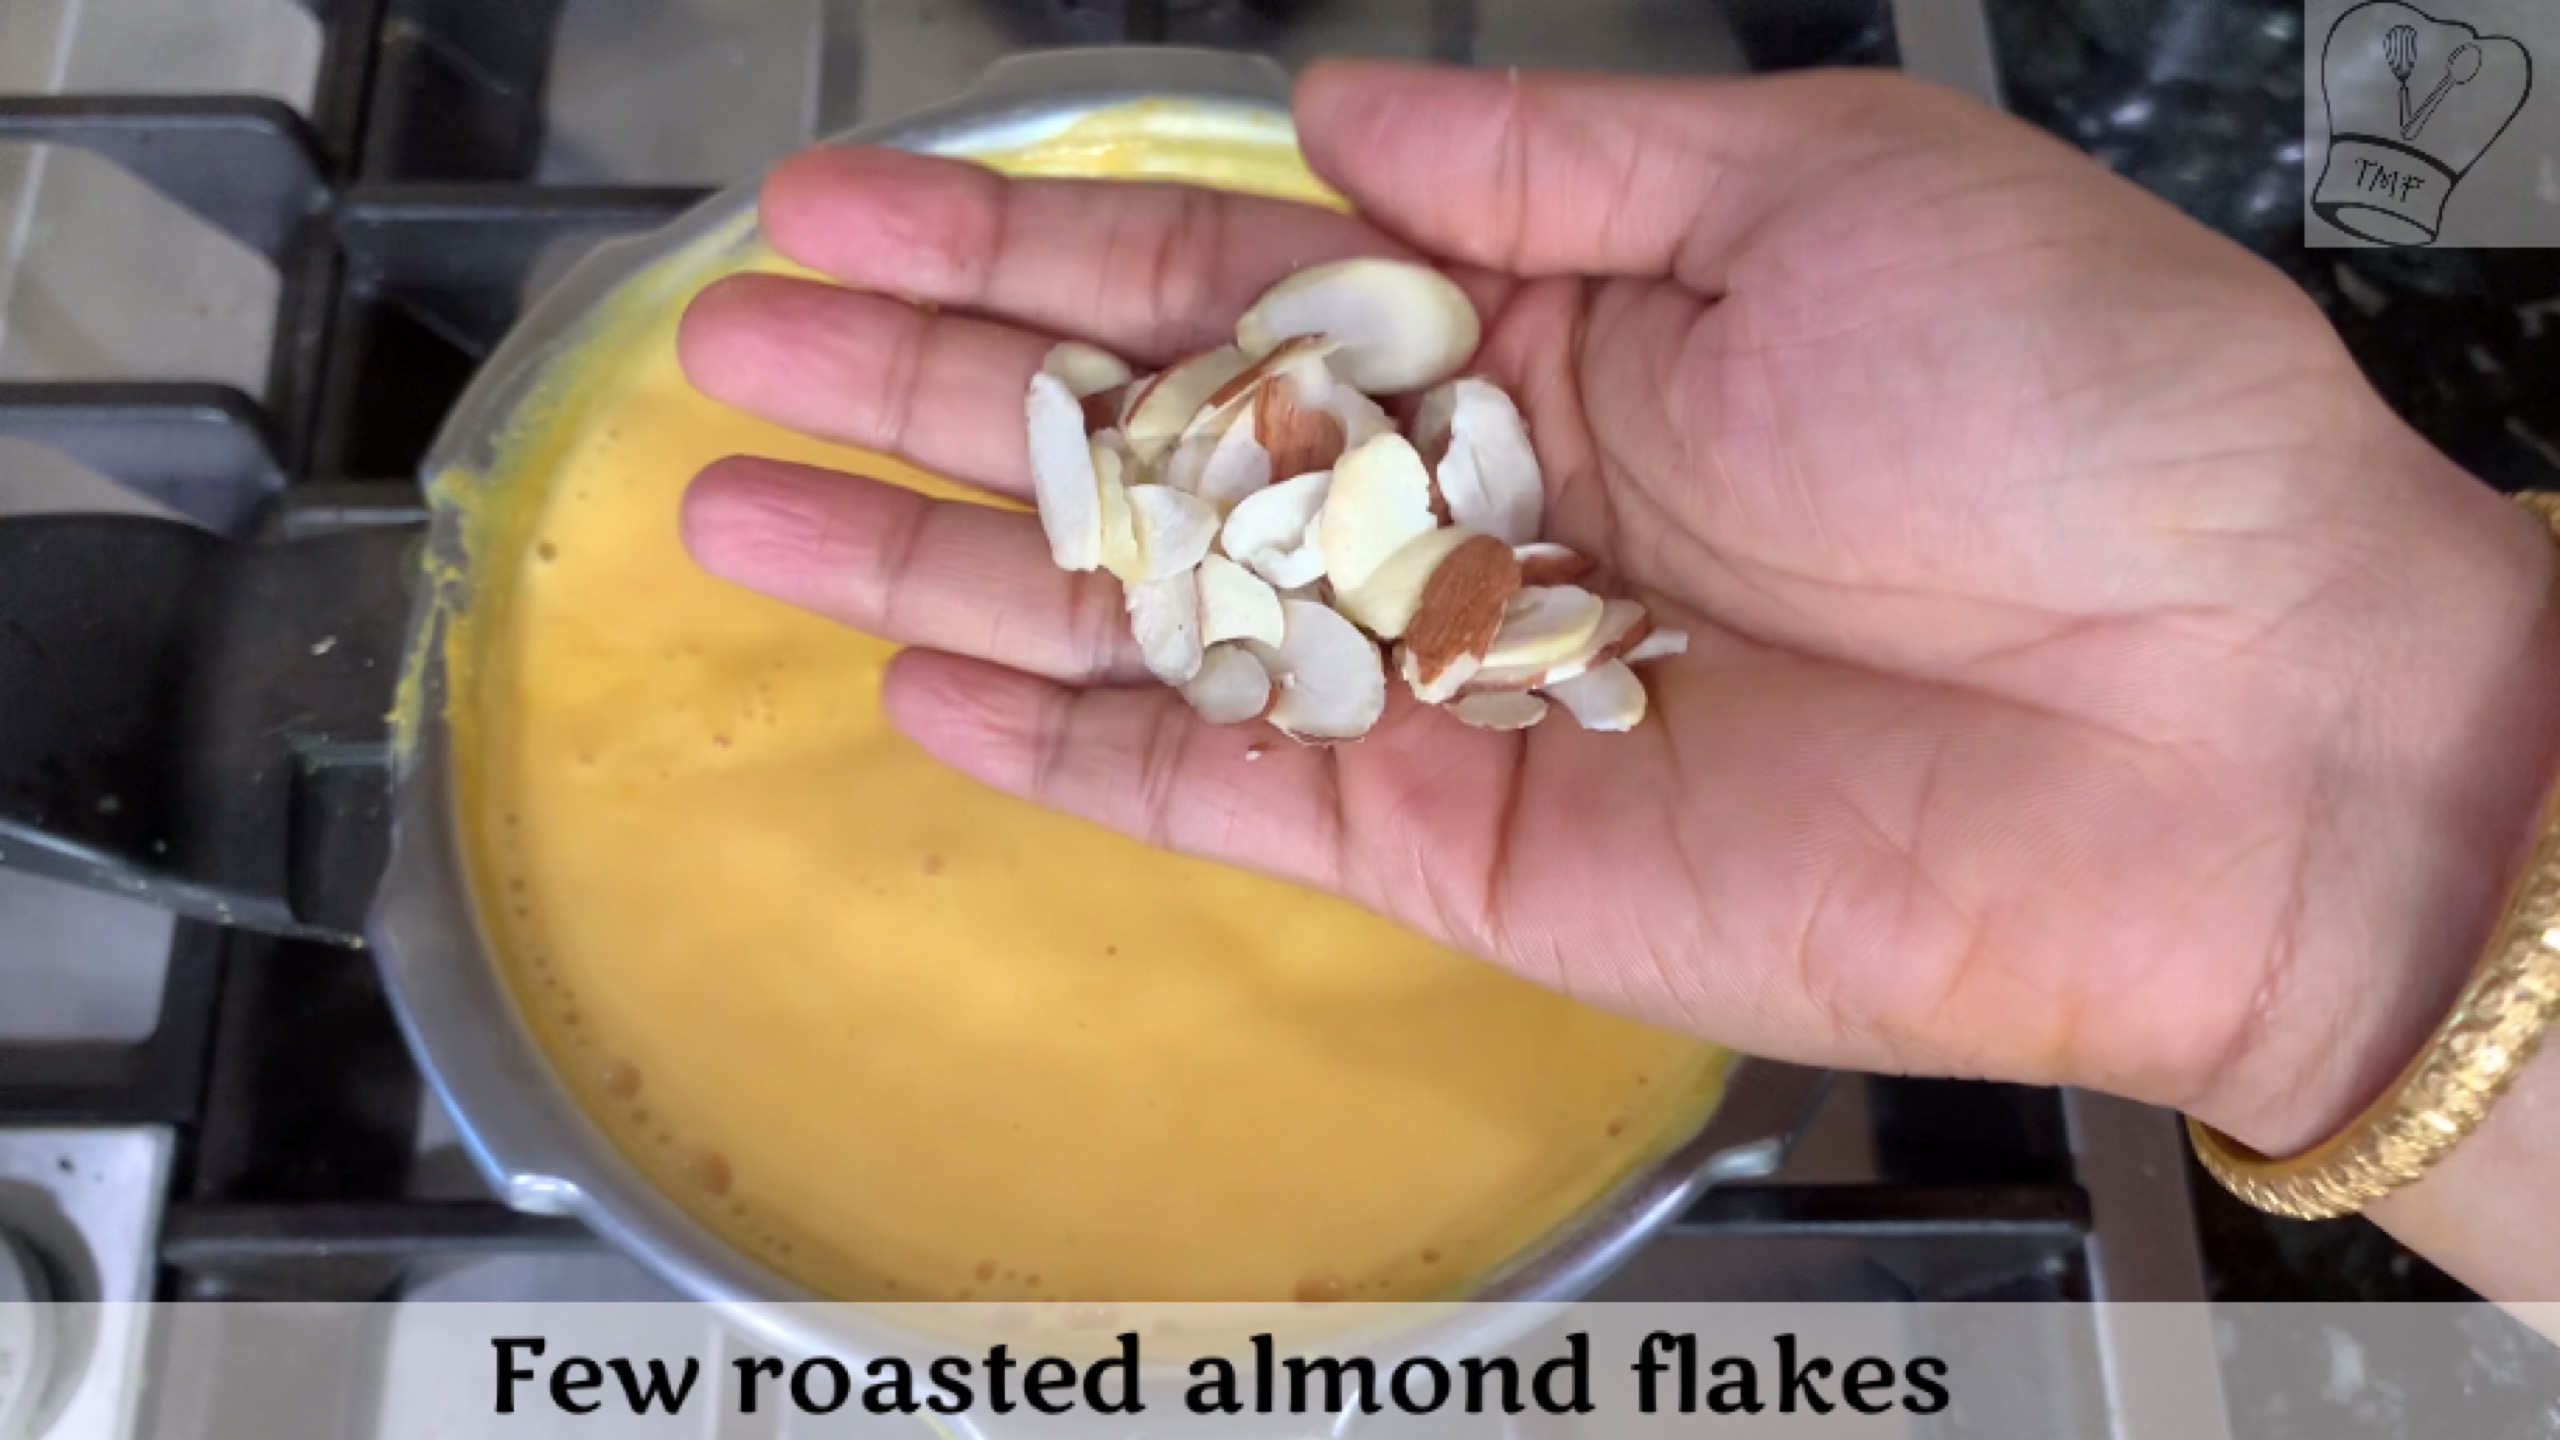
- Sliced Almonds - few for garnish
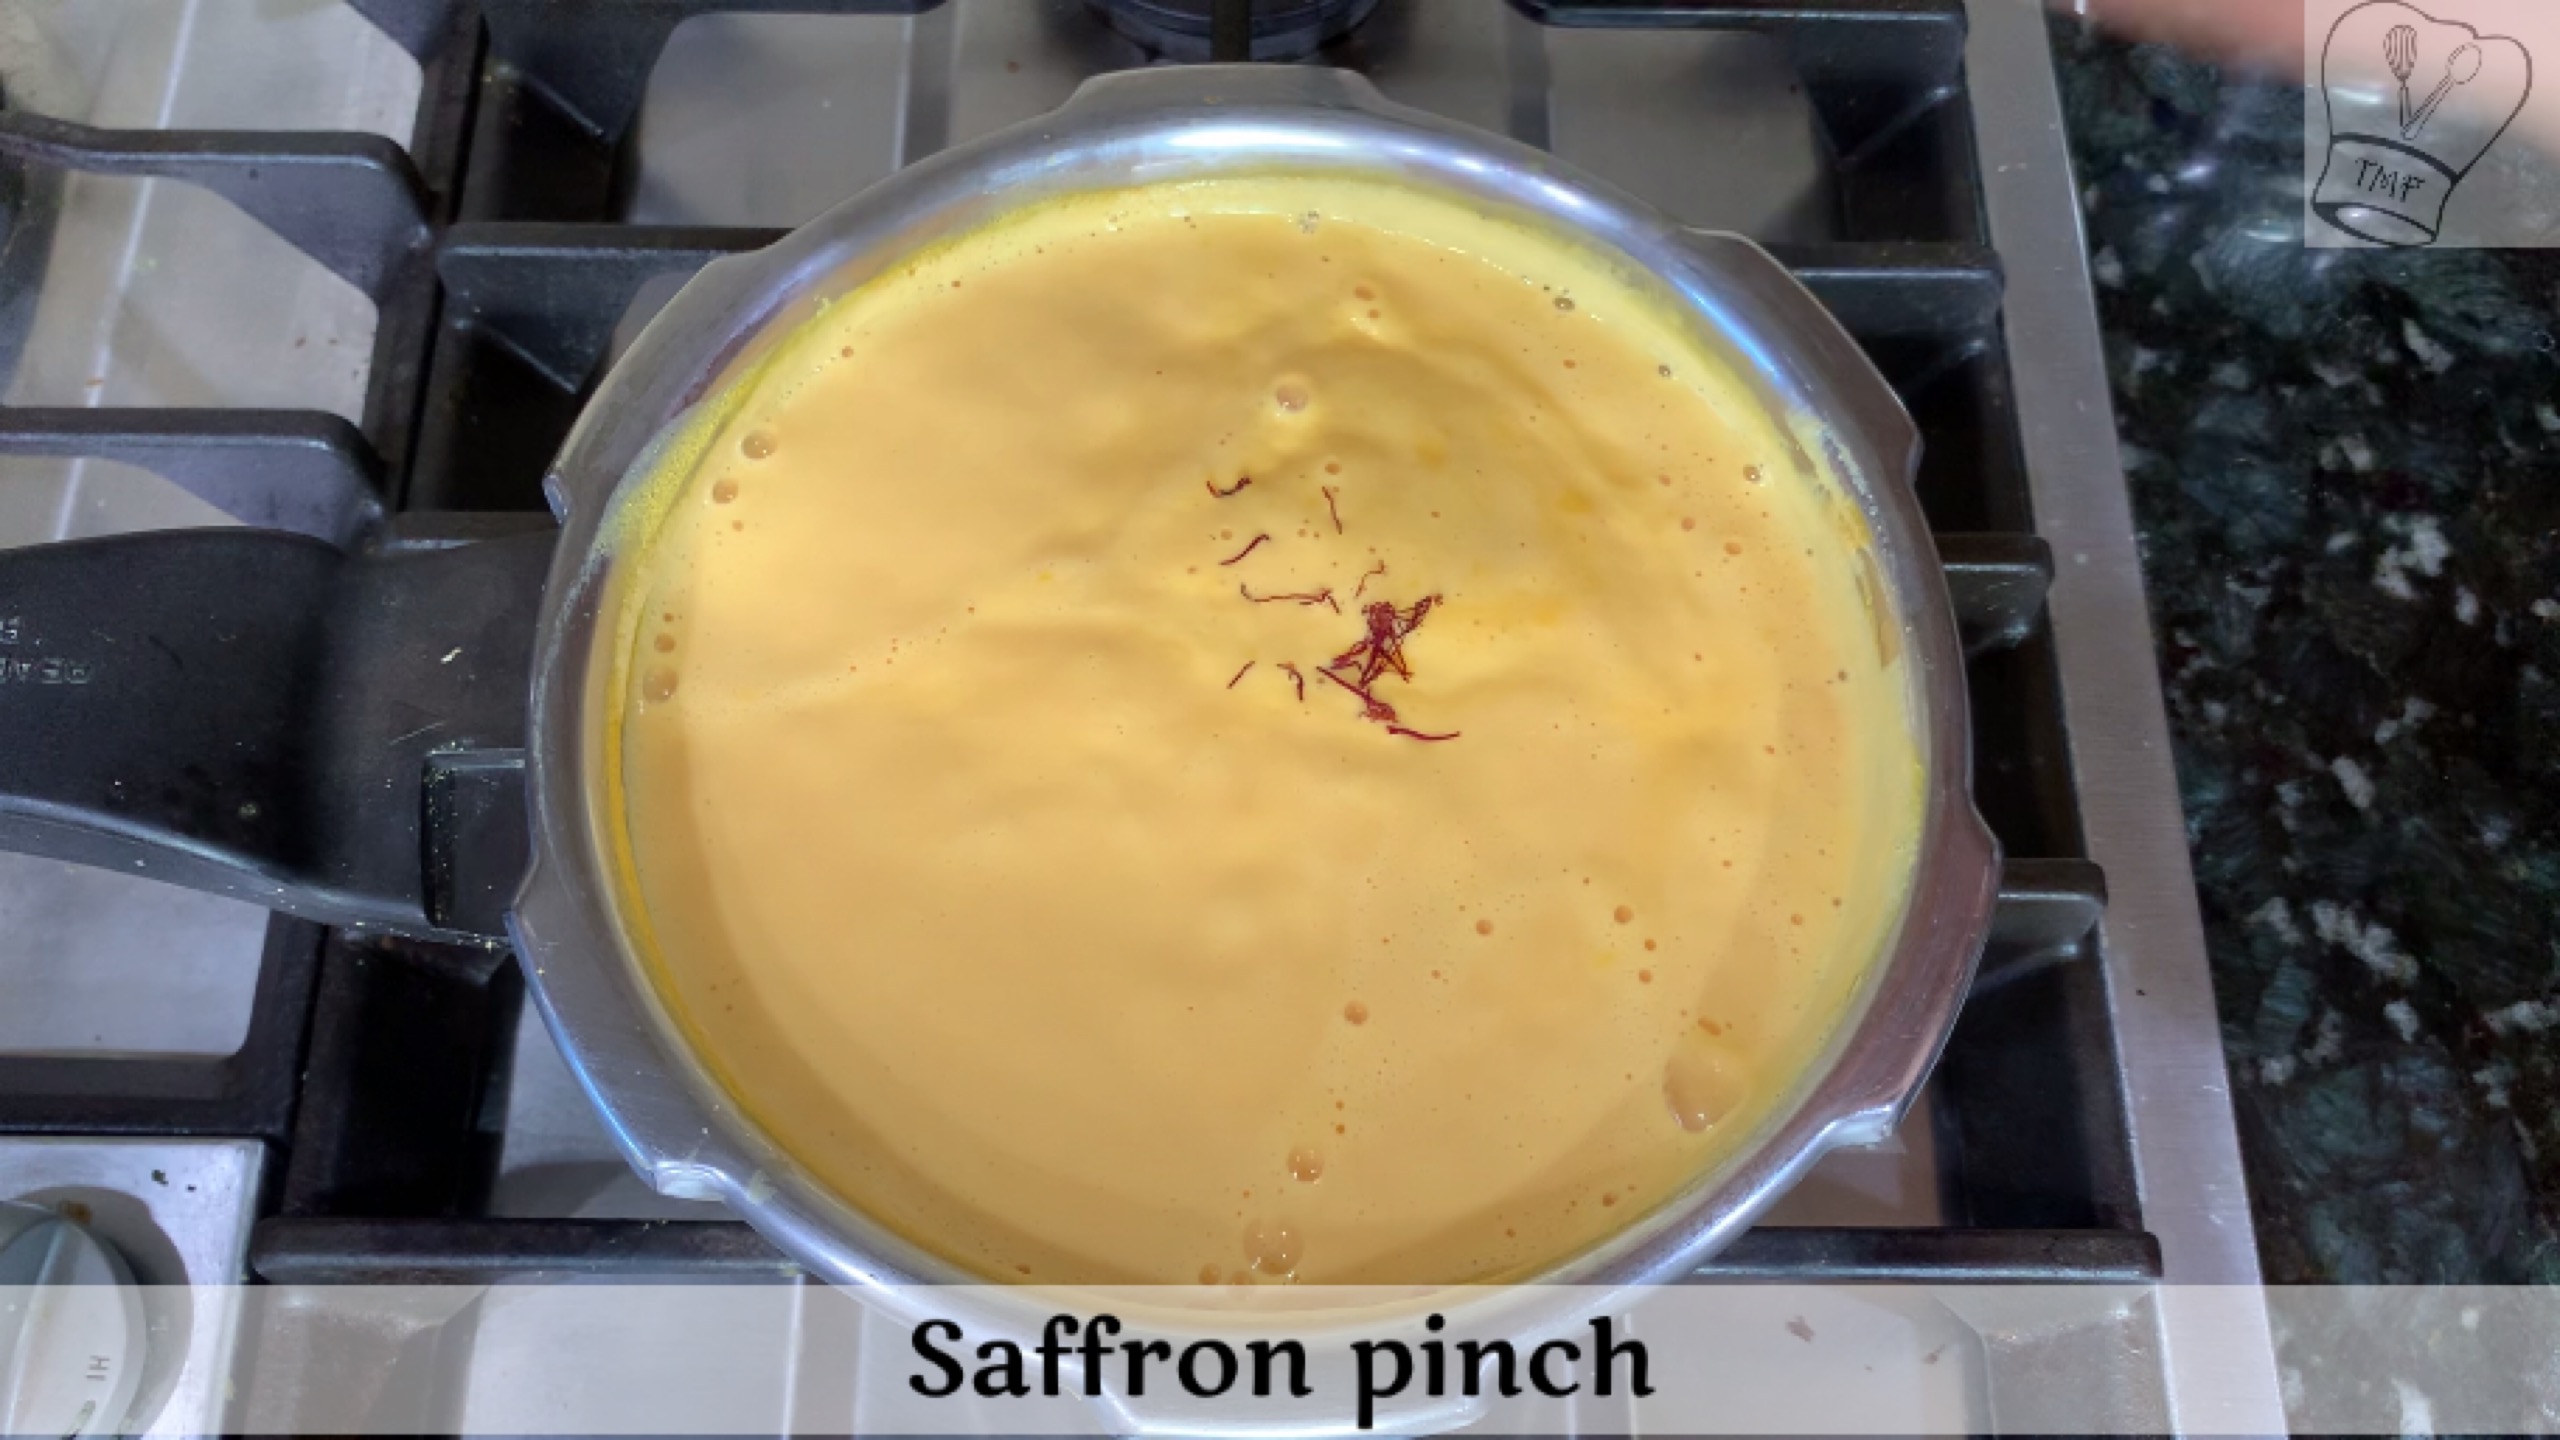
- Saffron - Pinch
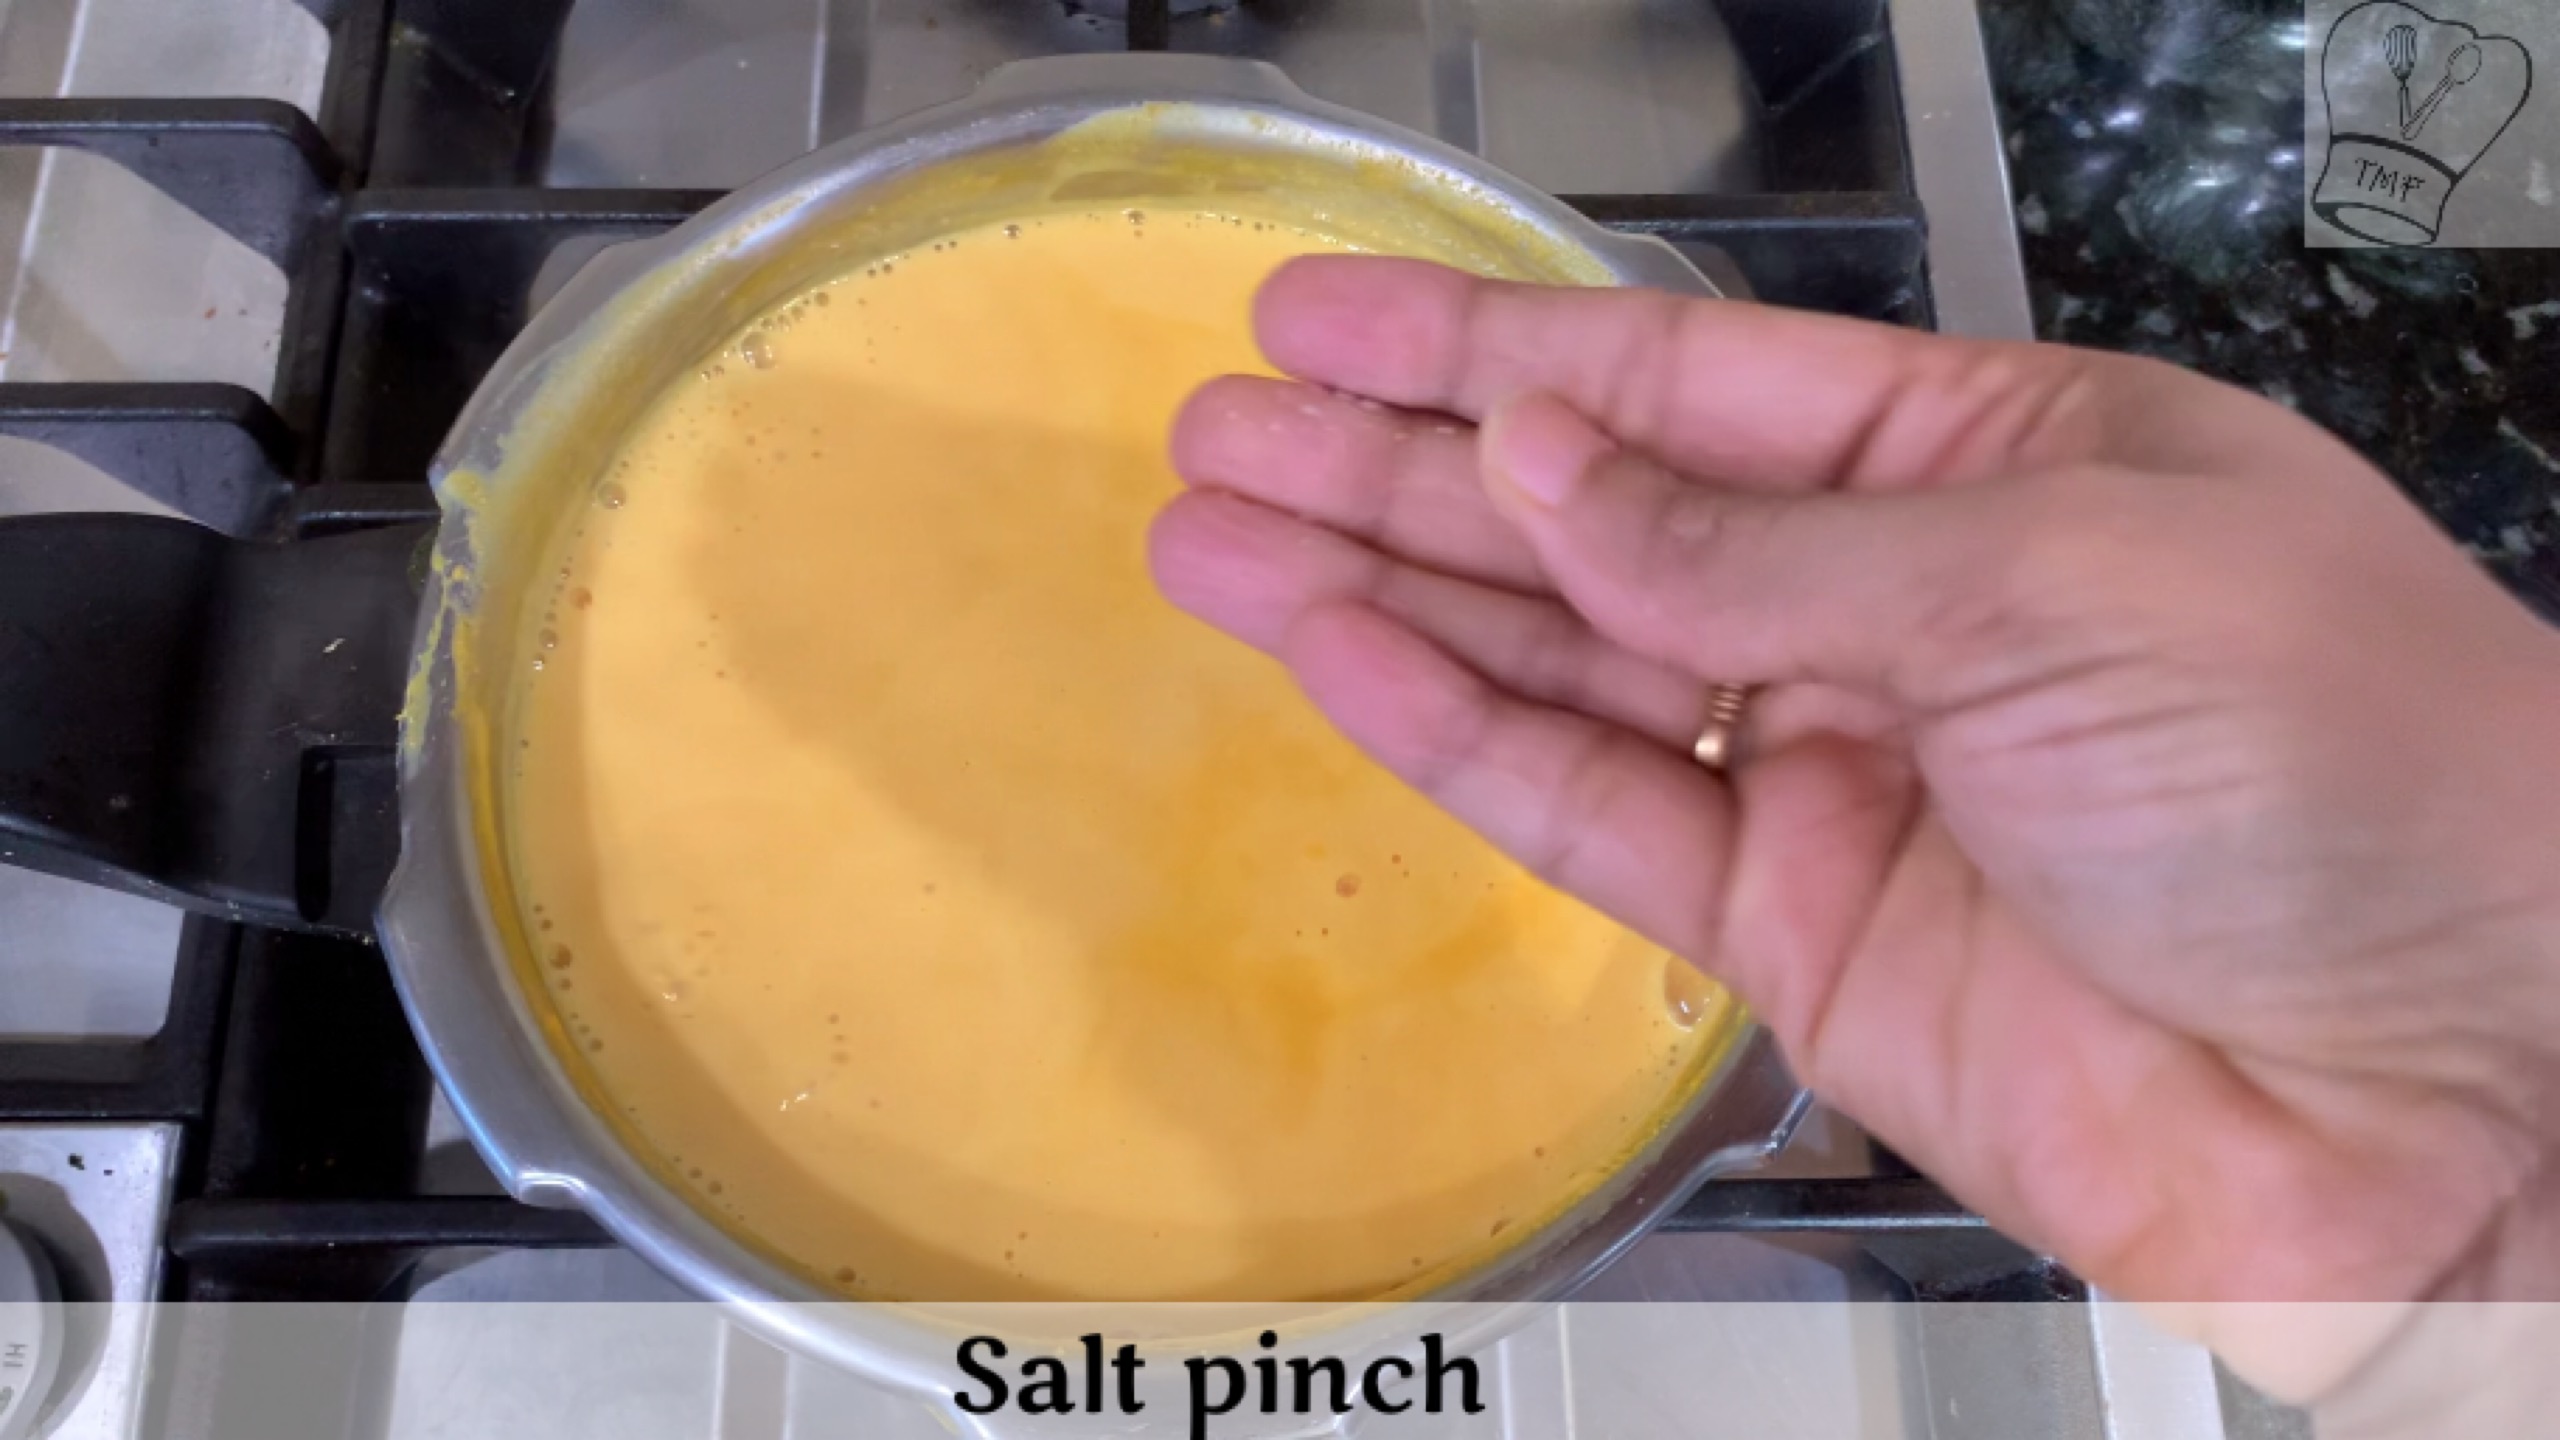
- Salt - pinch
Instructions
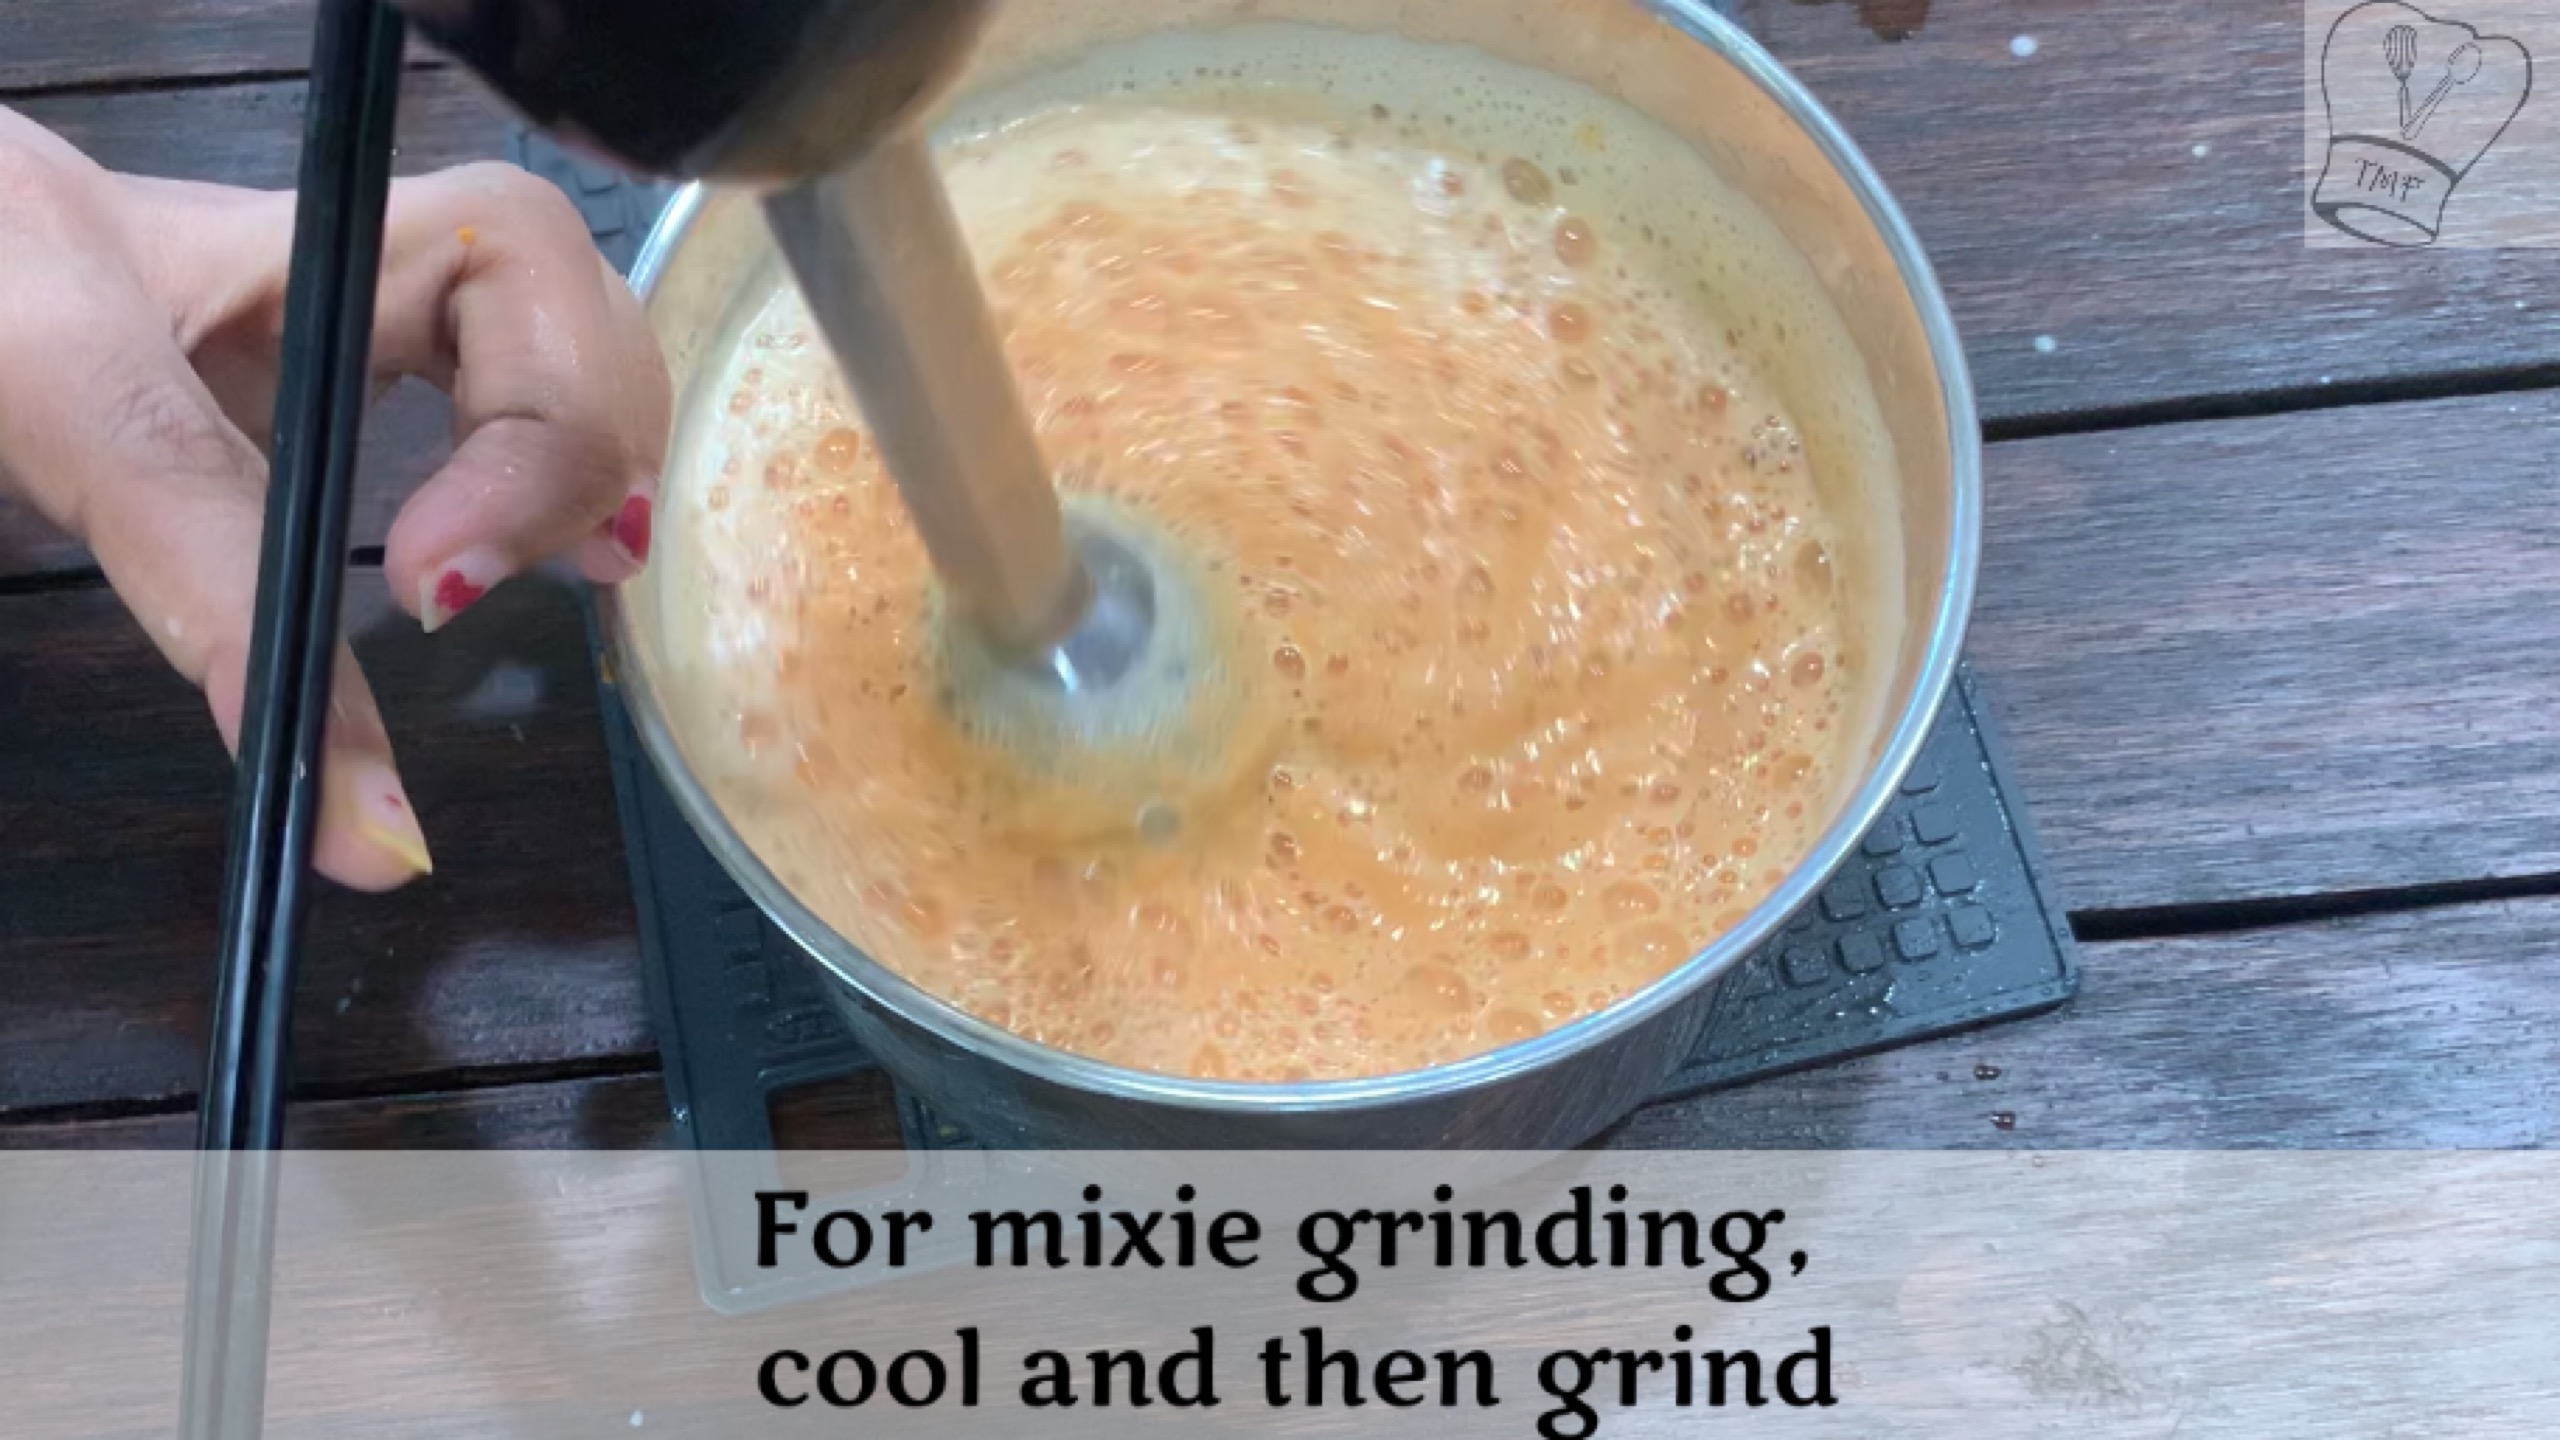
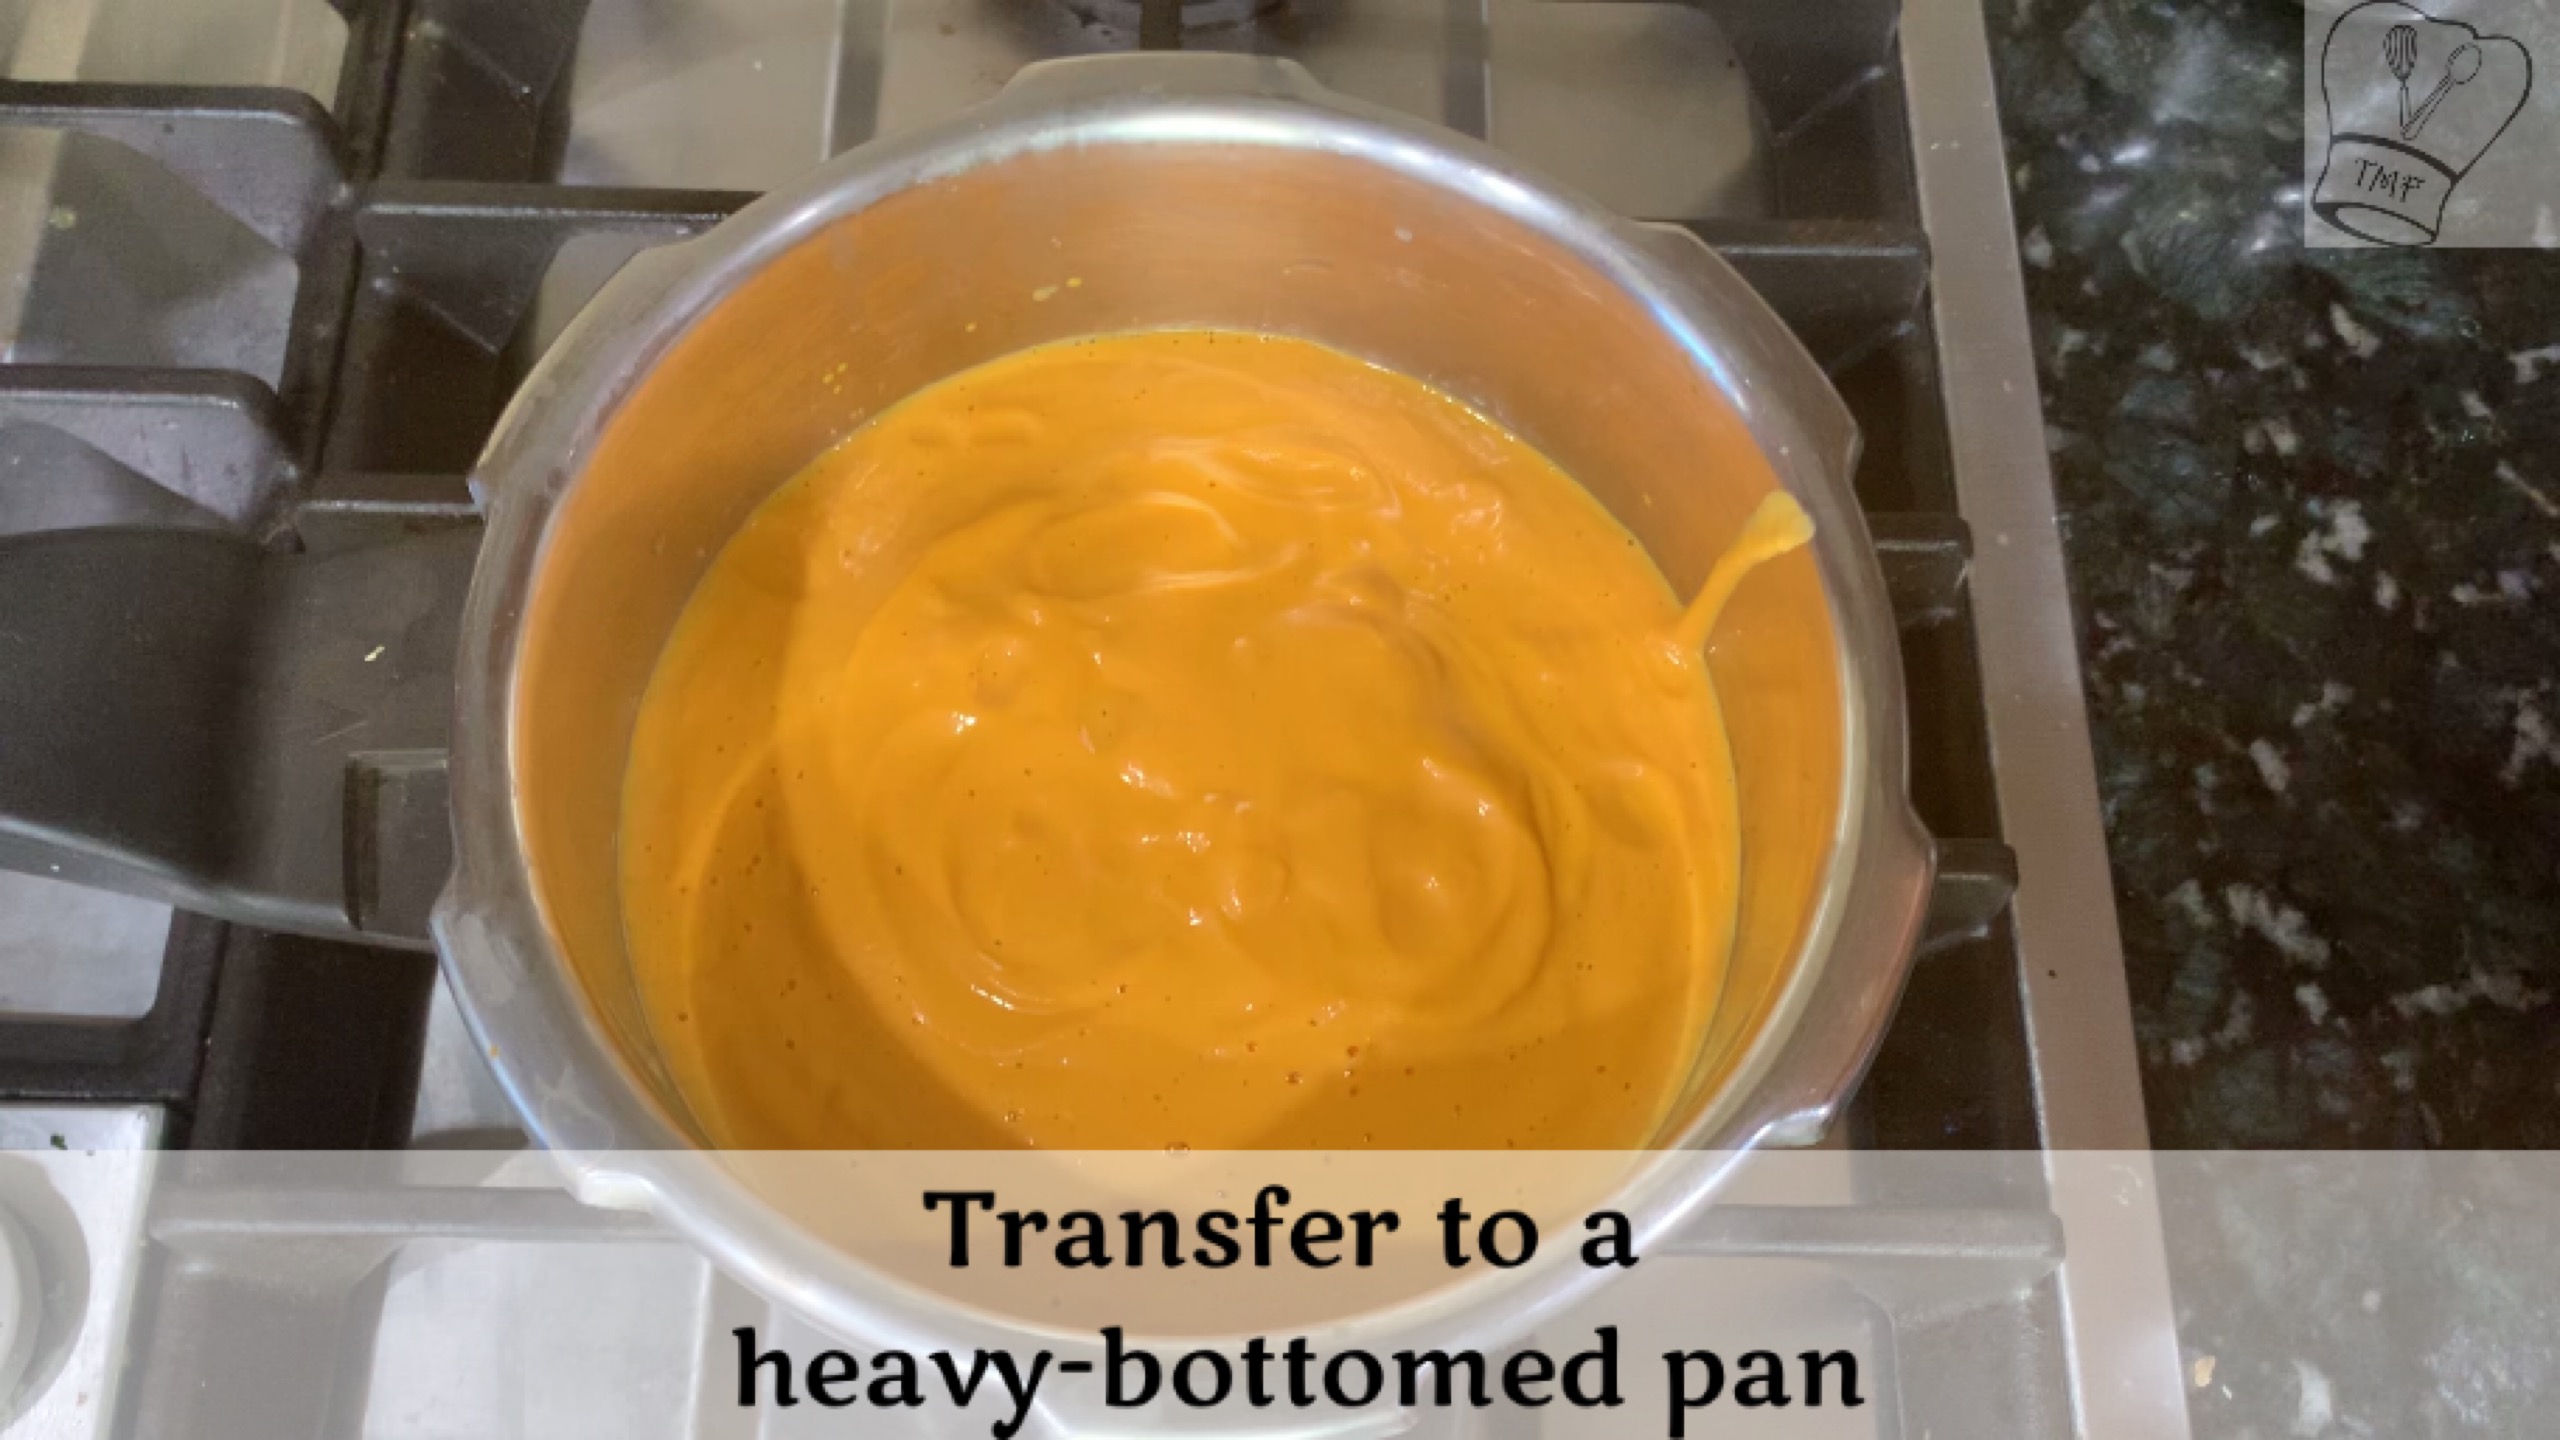
- In a pressure cooker, add carrots, almonds, and 1 cup of milk, cook for 3 whistles and switch off. When it comes to room temperature blend them into a fine puree
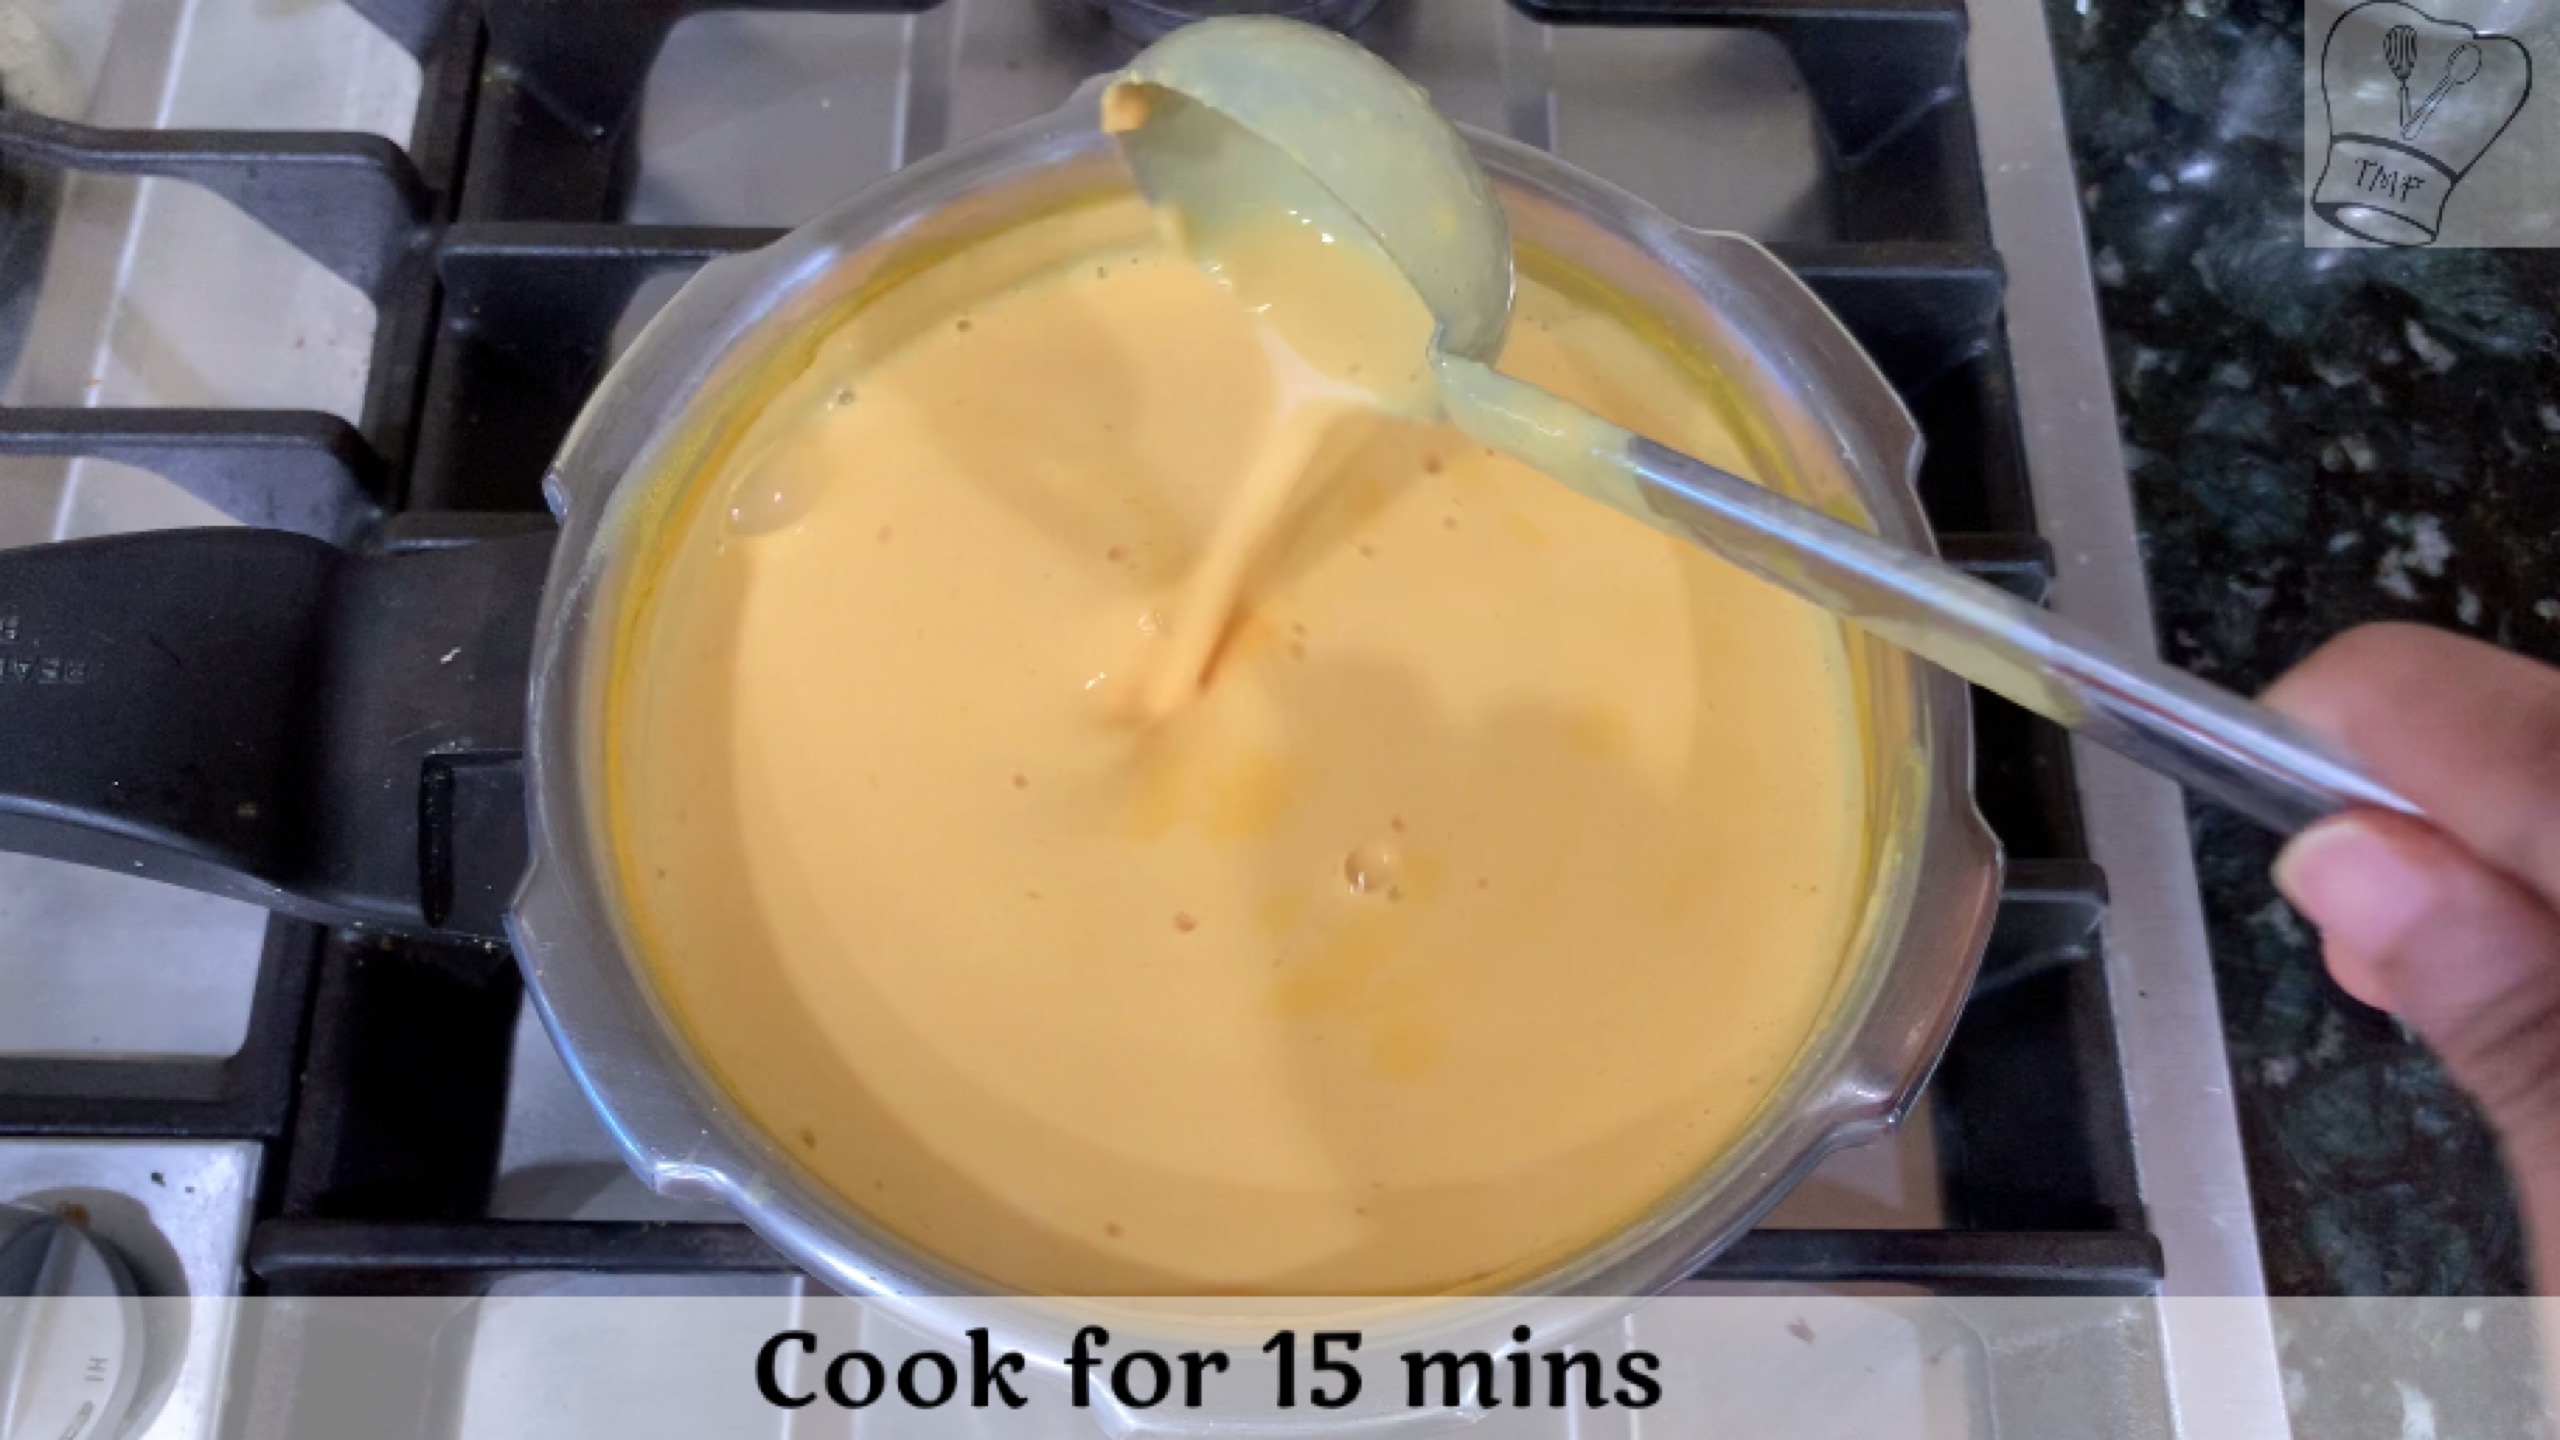
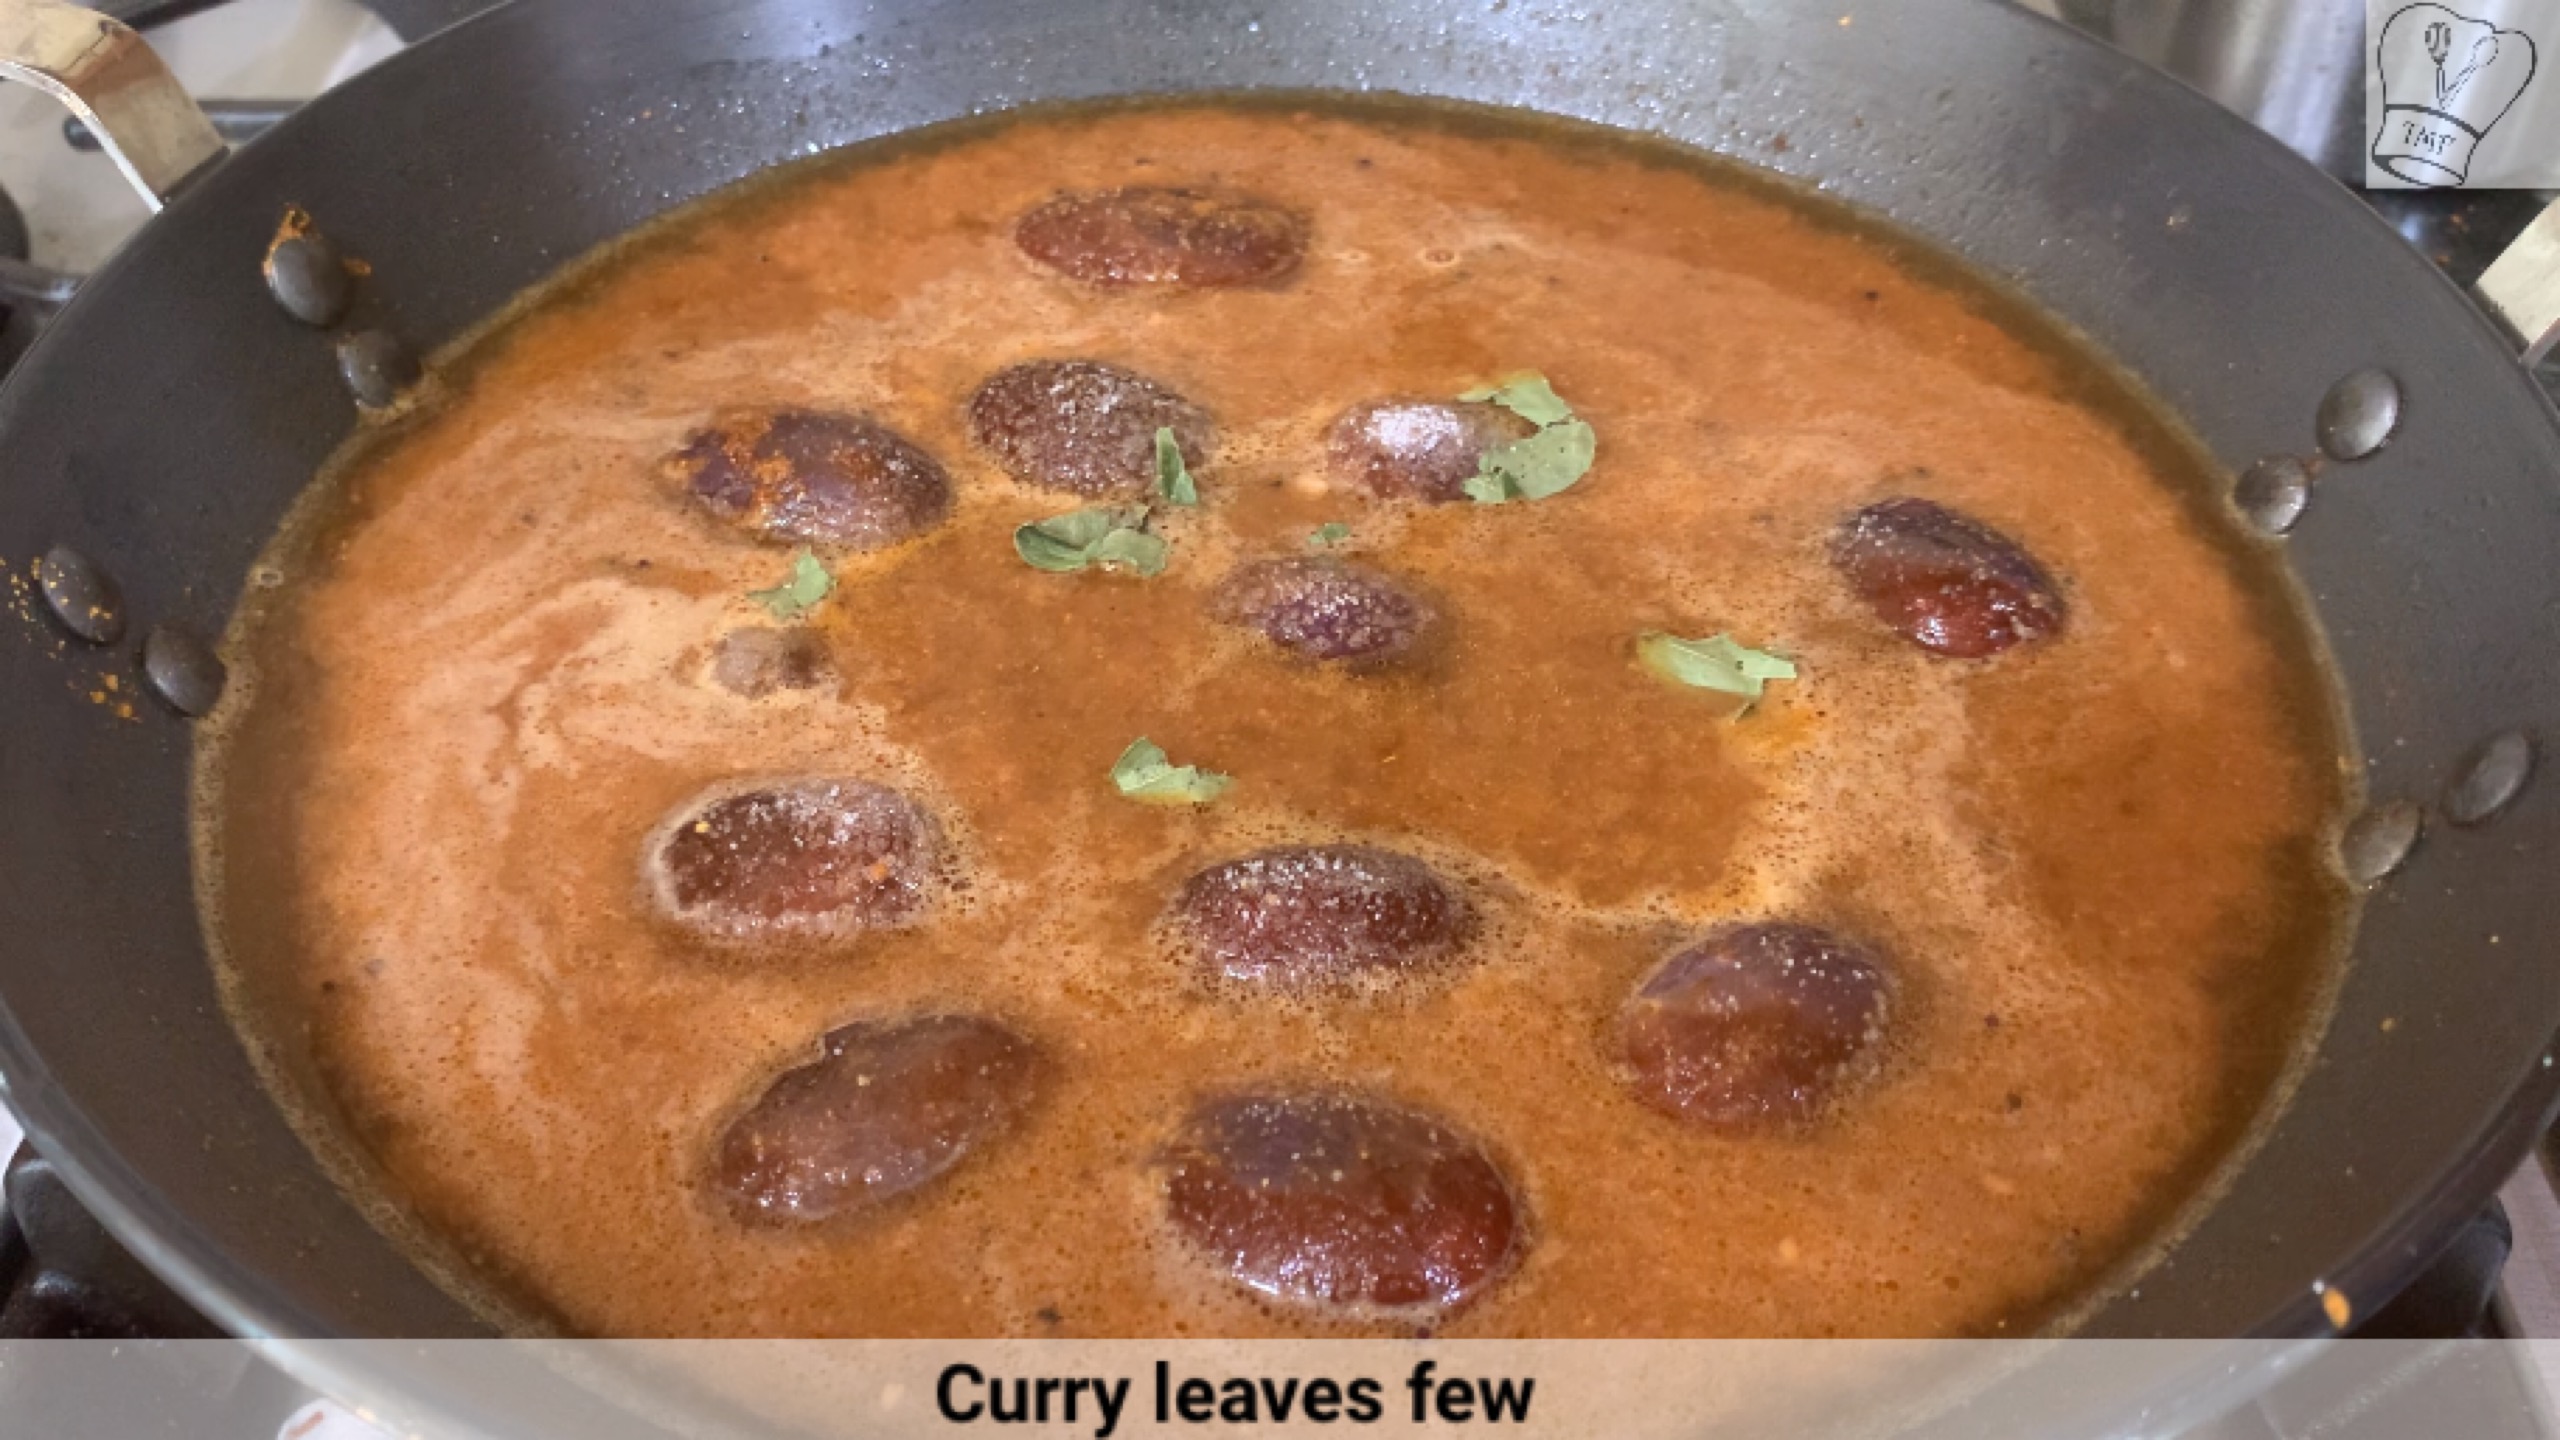
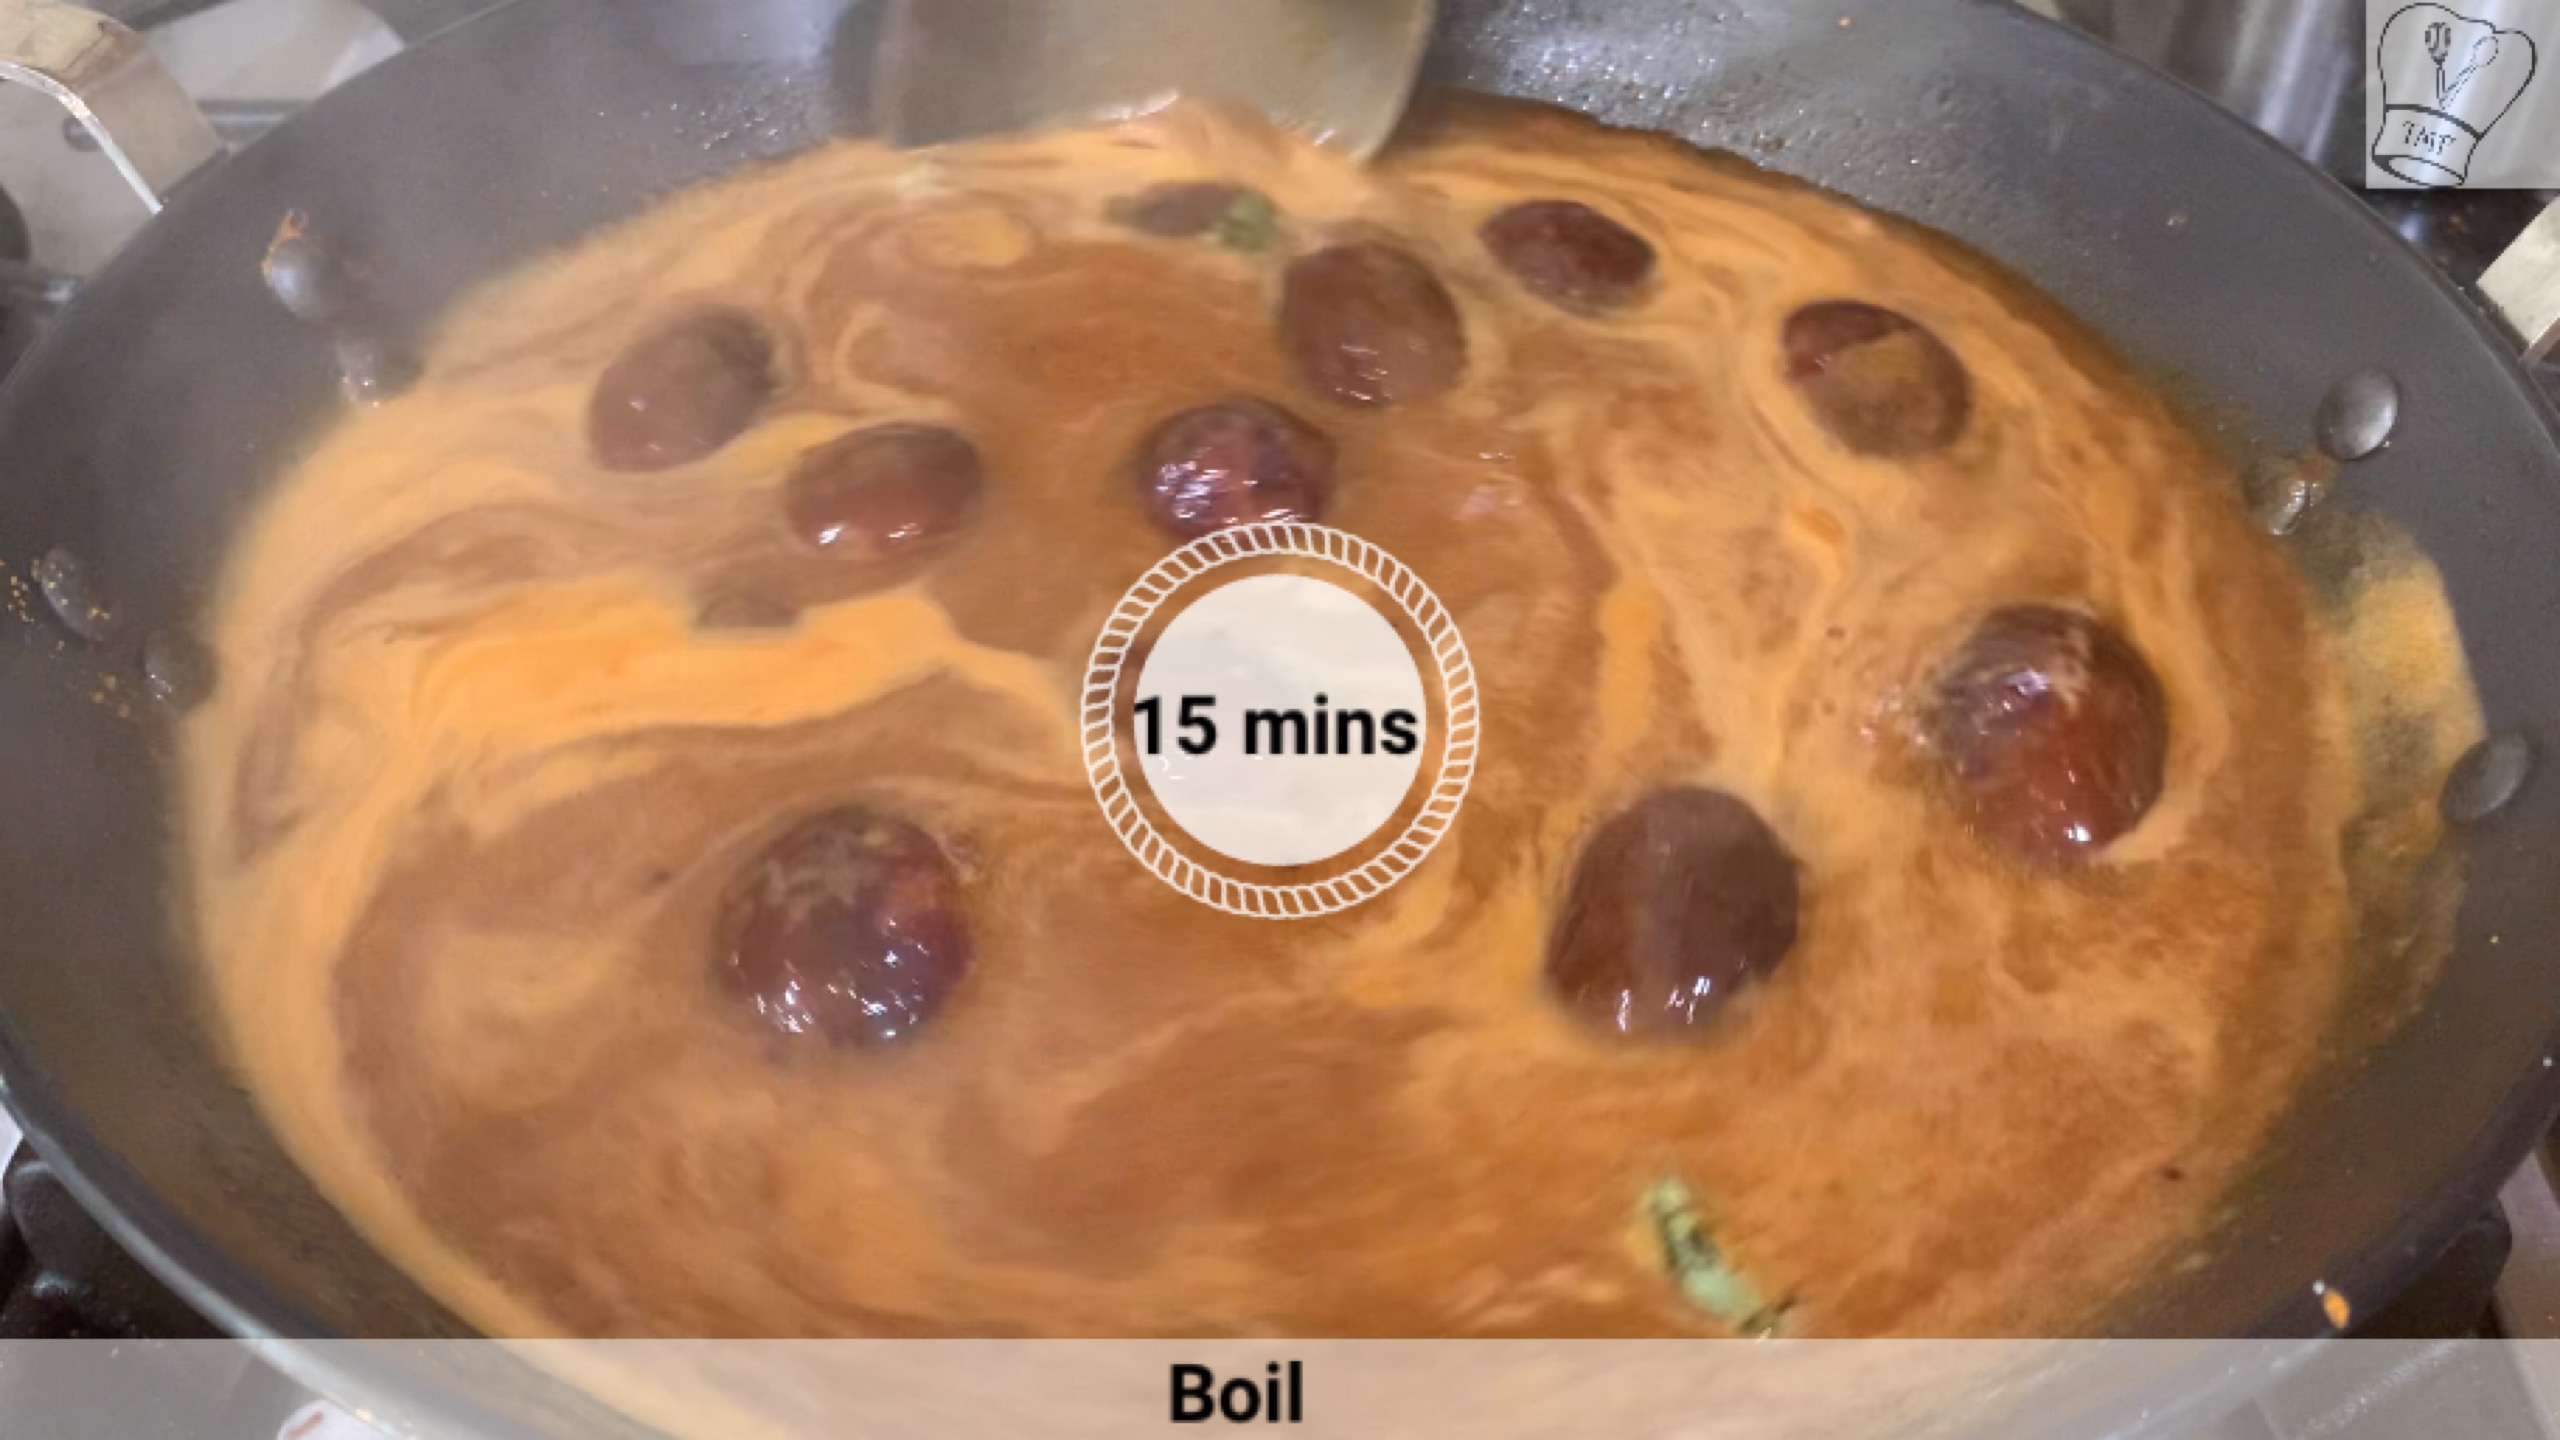
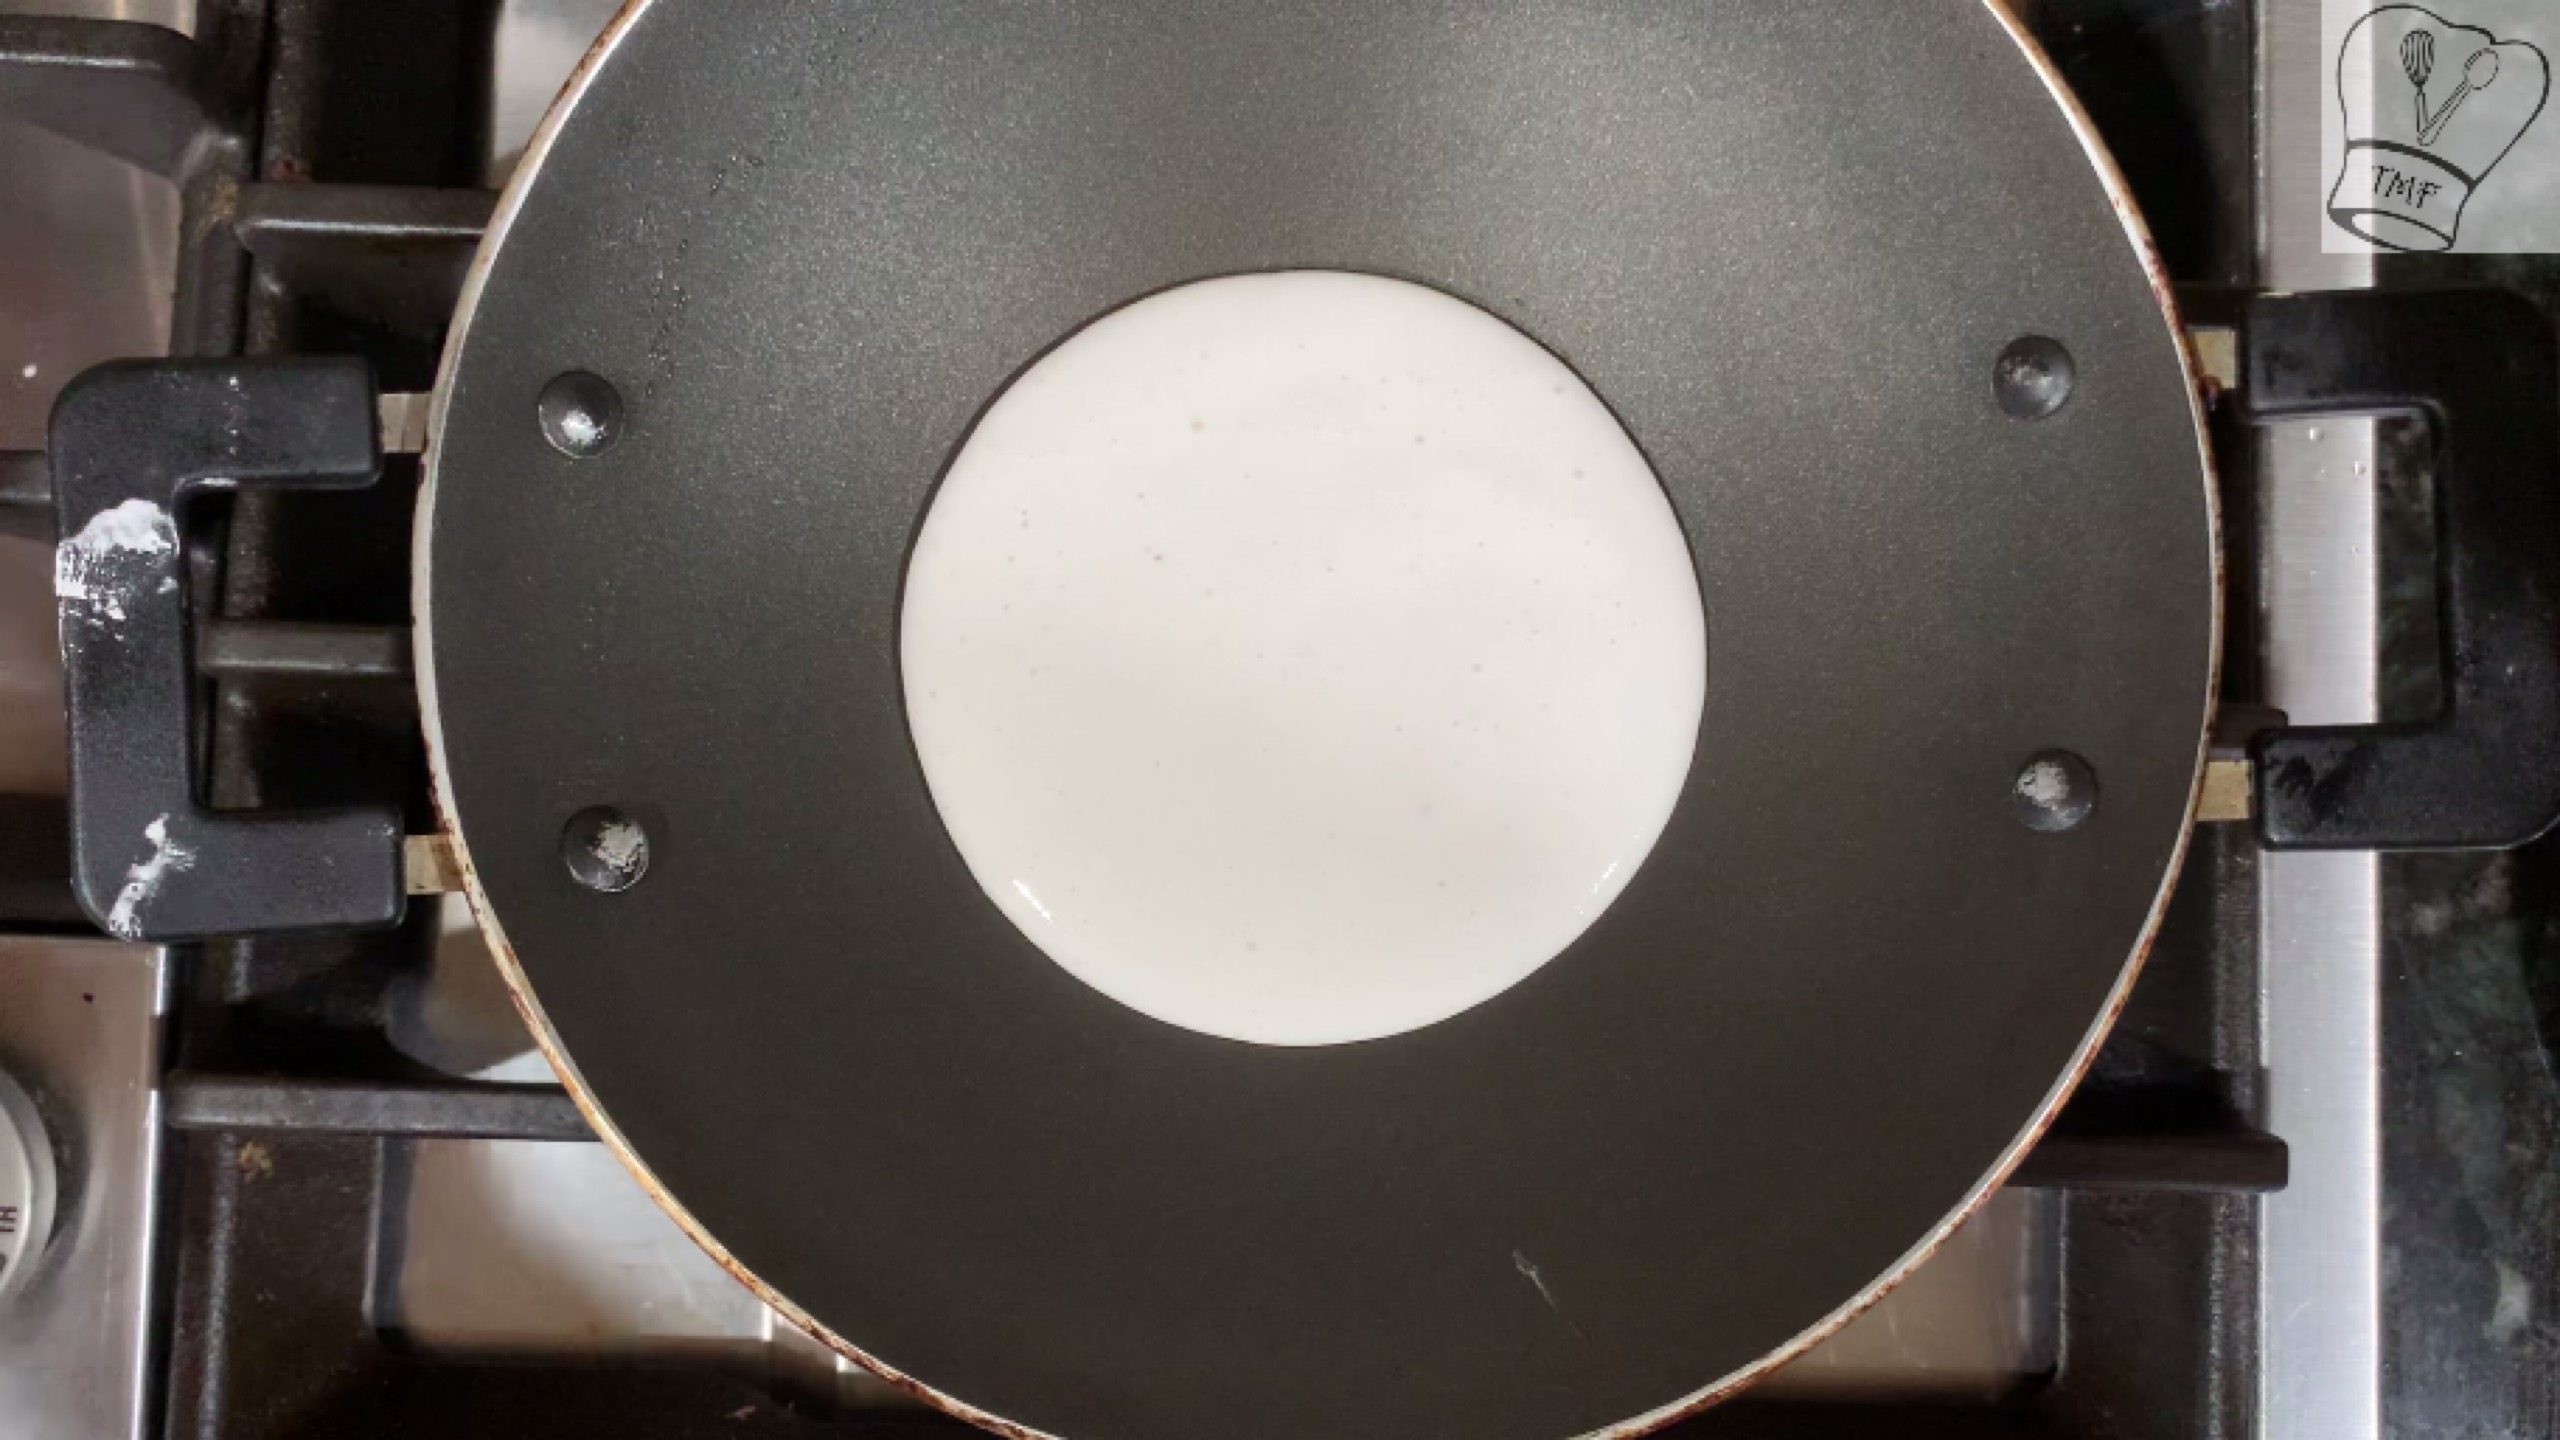
- In a saucepan on medium flame add carrot puree and remaining milk, let them boil for 15 minutes, stir well in between
- Add condensed milk, and saffron; Boil for 5 more minutes, stir well in between
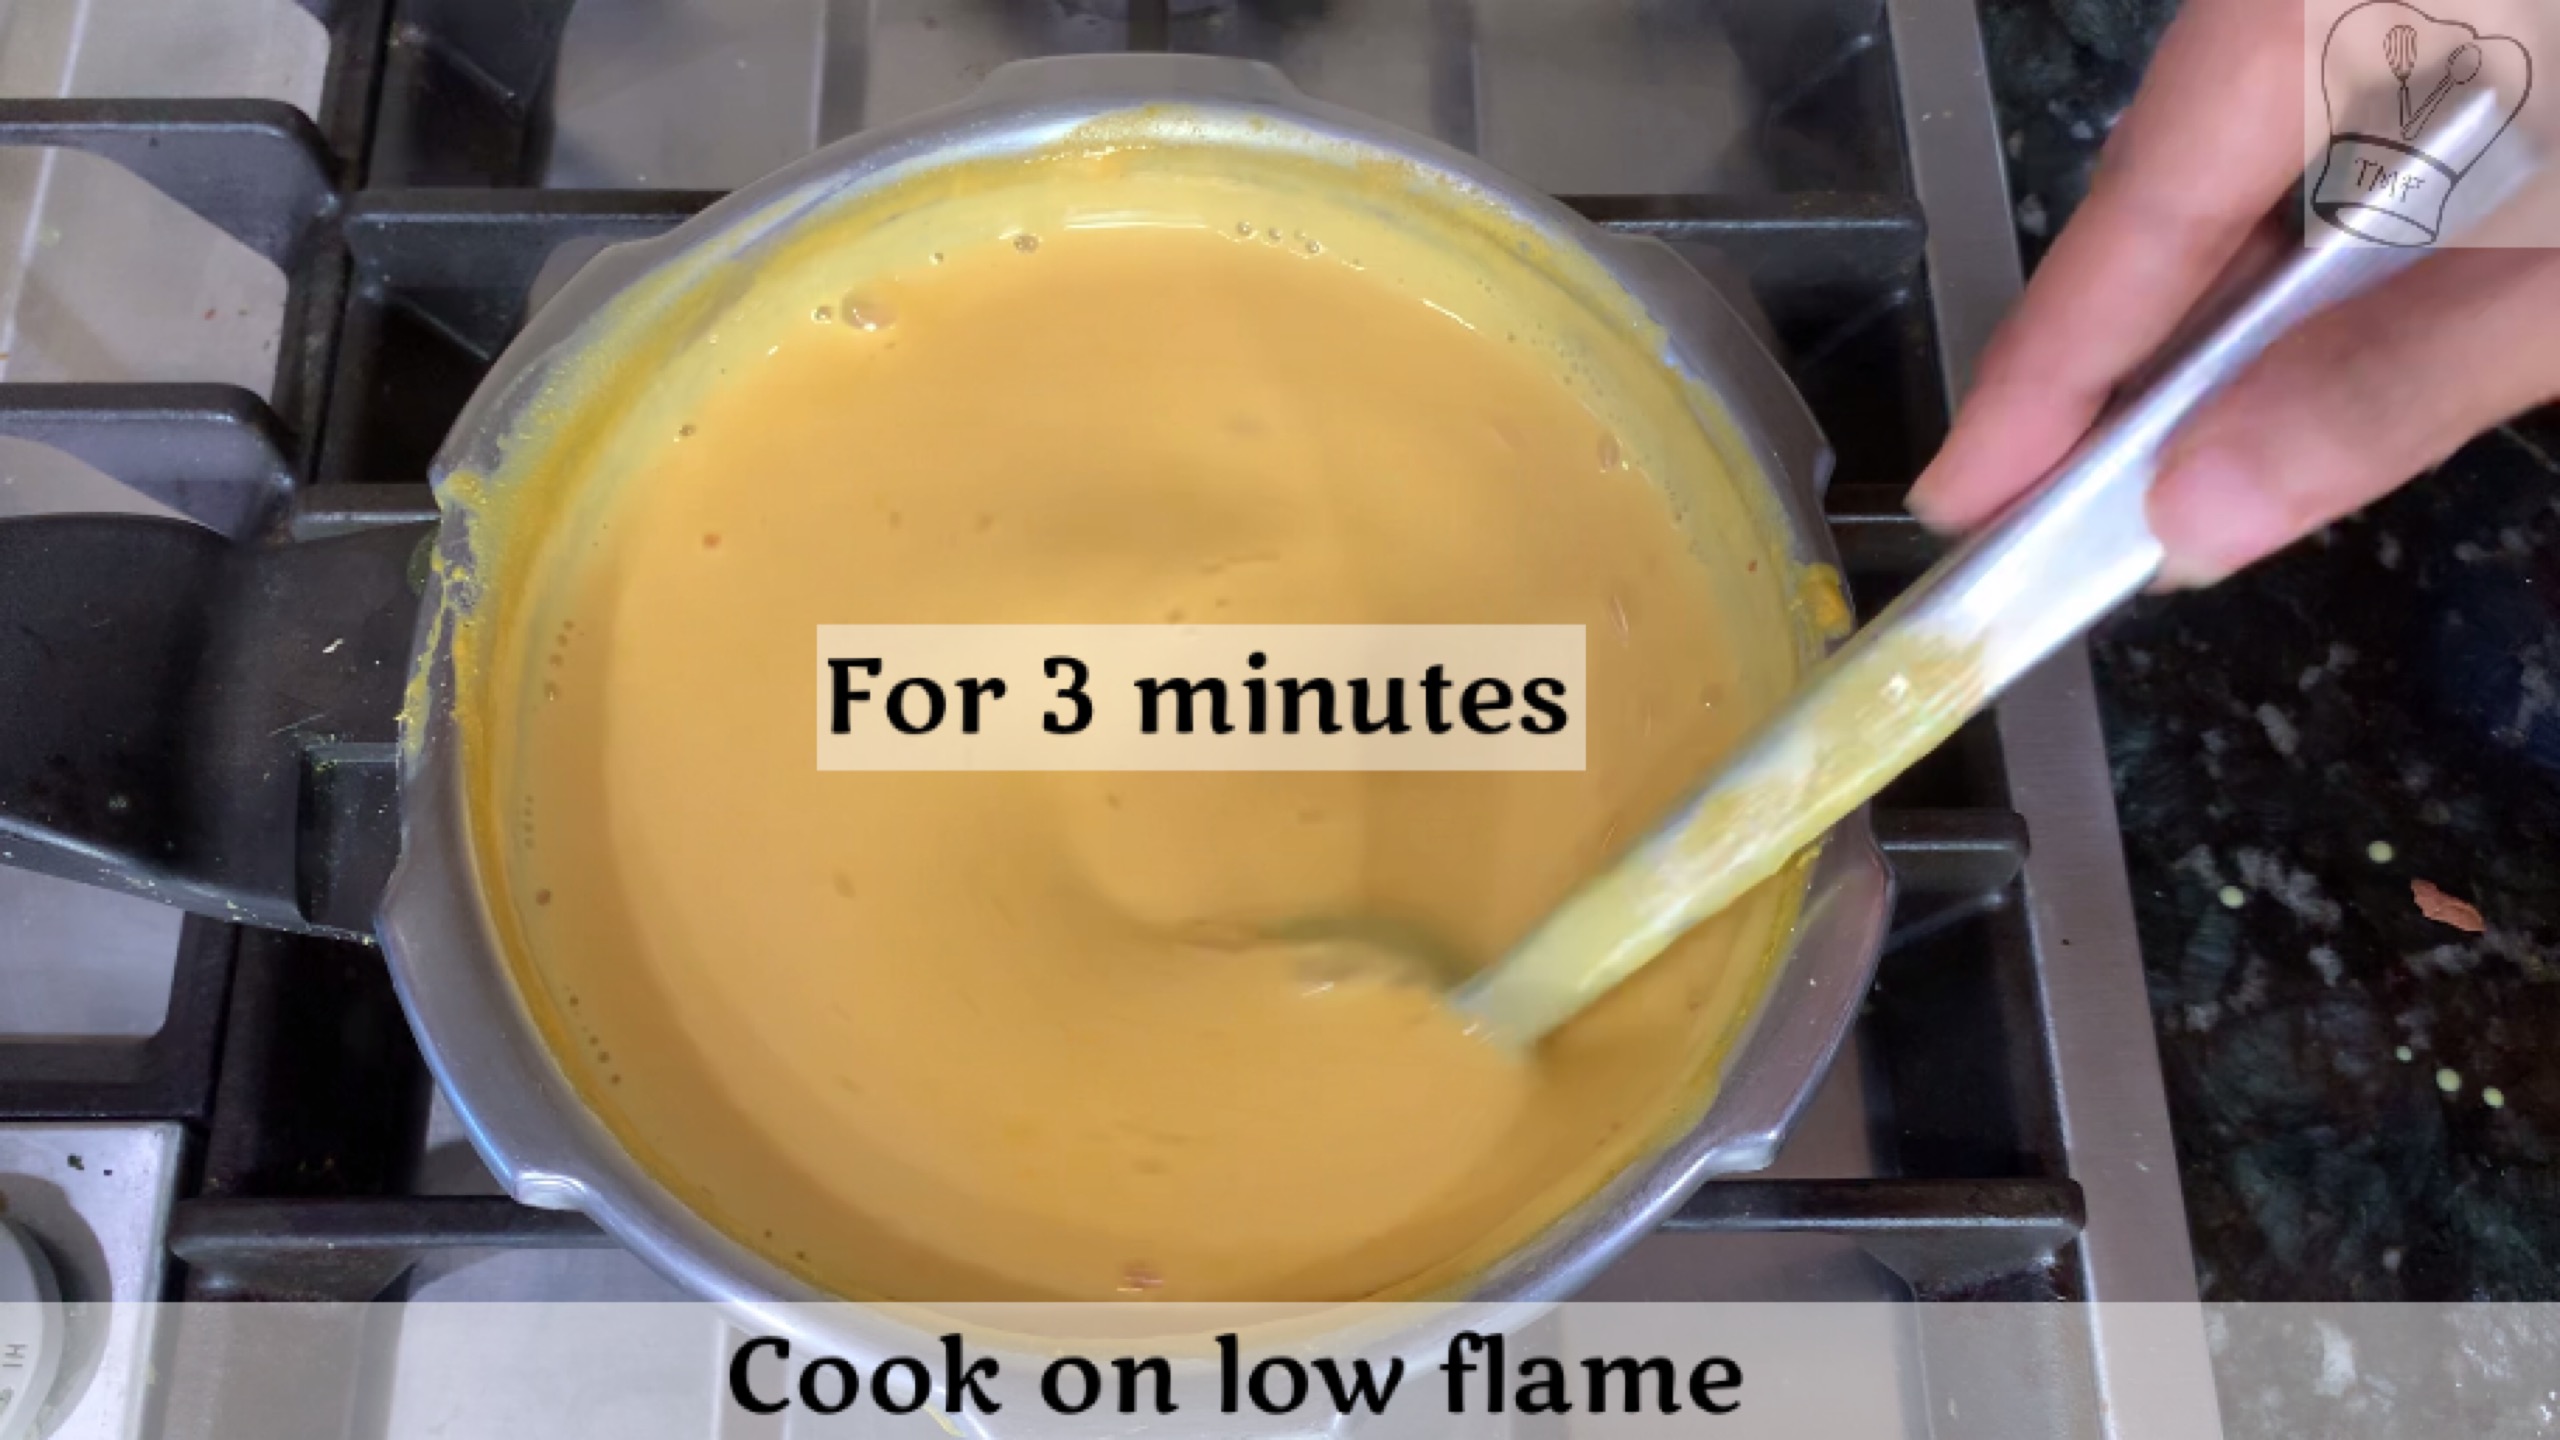
- Furthermore add sugar and salt, cook for 2-3 minutes or till it is dissolved. Garnish with some sliced almonds. Serve hot or cold
Video
Subscribe to my YouTube channelCheck out Traditionally Modern Food!
Notes
- Grinding almonds without the skin are optional
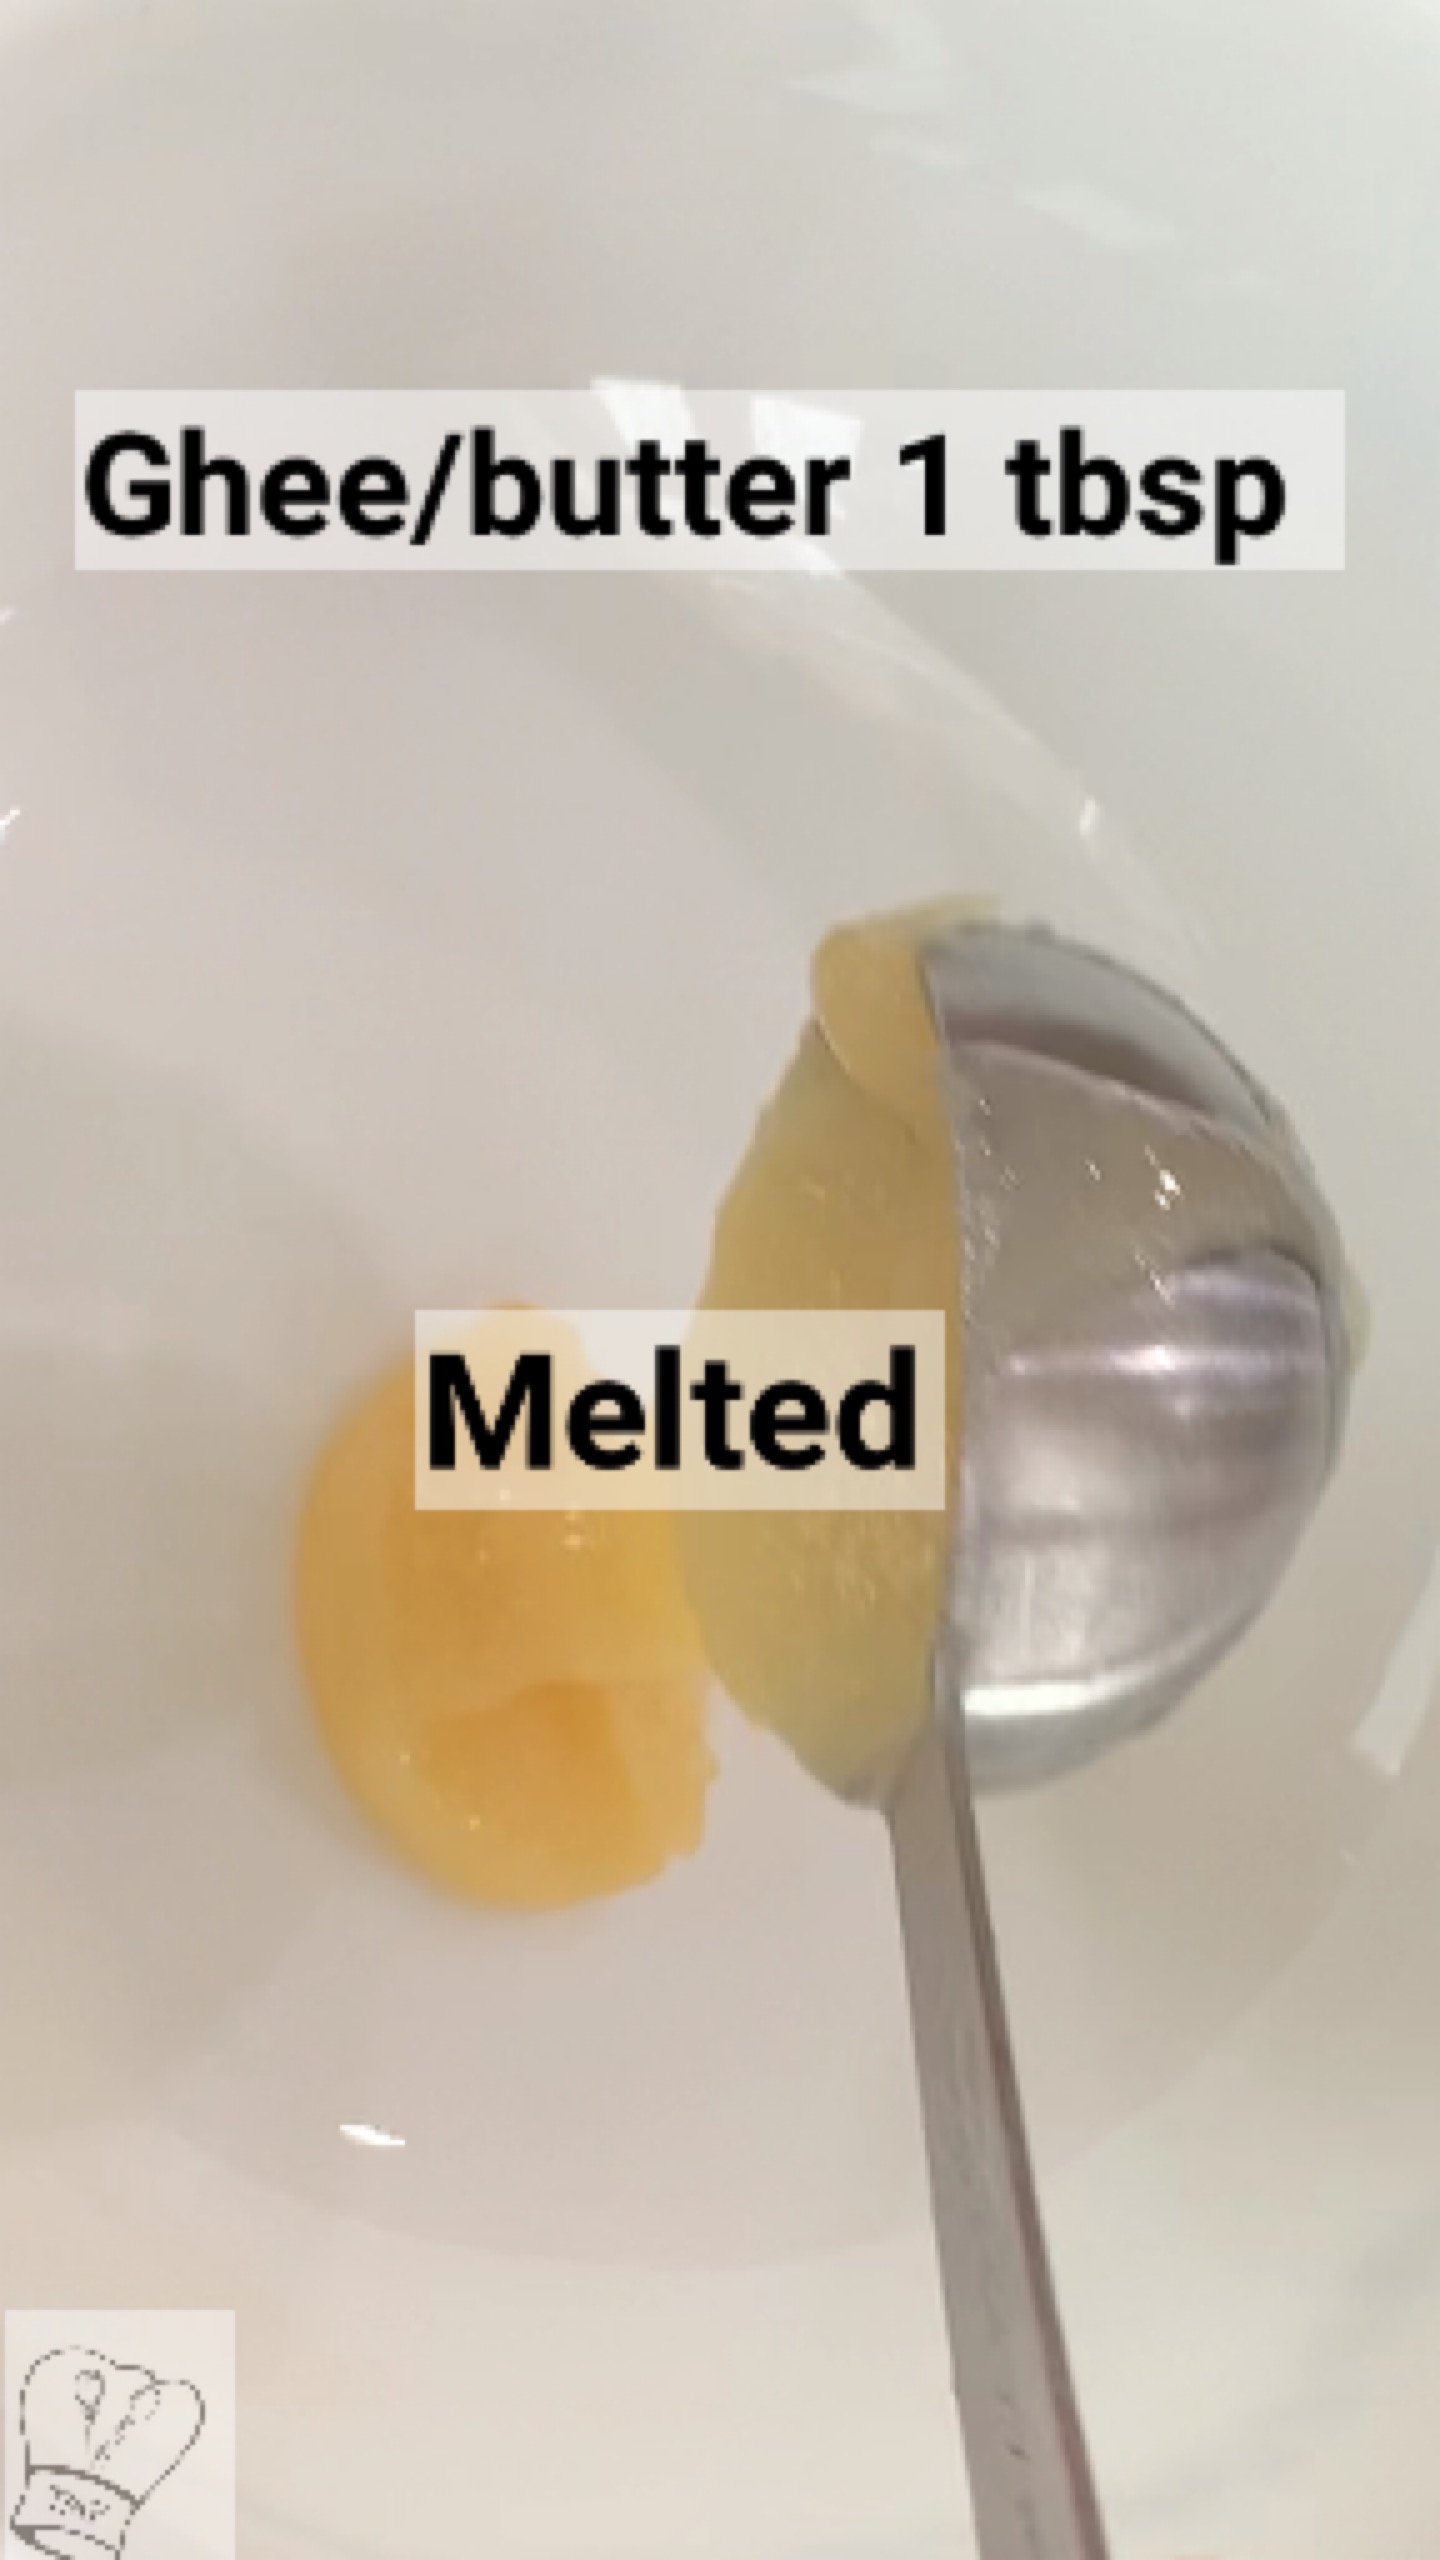
- you can roast cashews and raisins in ghee and add i to the payasam
- Fine chopping is optional. If you are chopping carrots big, go with the gram measurements for accurate ingredients
- A saucepan can also be used instead of the pressure cooker. In a saucepan, take the chopped carrots, almonds (whole or blanched). Pour milk and cover. Boil till carrots are fork tender
- Instead of grinding carrots, you can grate them and use
- If you are vegan, use Almond milk to cook carrot
- Mini carrots can be used instead of regular carrots
- Instead of milk can cook carrot and almonds with water and can add milk while cooking Payasam
- The same procedure can be followed for beetroot payasam
- A pinch of food color can be used
- The same procedure can be followed for any kheer - Walnut, Cashew, Pistachio, etc
- Payasam can also be served as a welcome drink for a get-together, party, etc.
- You can use one can of evaporated milk and skip 1 + 1/2 cup of milk
- cook carrots in the instant pot for 7 minutes and do natural pressure release
Tried this recipe?Mention @traditionallymodernfood or tag #traditionallymodernfood!
- In a pressure cooker, add carrots, almonds, and 1 cup of milk, cook for 3 whistles and switch off. When it comes to room temperature blend them into a fine puree

- In a saucepan on medium flame add carrot puree and remaining milk, let them boil for 15 minutes, stir well in between
- Add condensed milk, and saffron; Boil for 5 more minutes, stir well in between
- Furthermore add sugar and salt, cook for 2-3 minutes or till it is dissolved. Garnish with some sliced almonds. Serve hot or cold


