
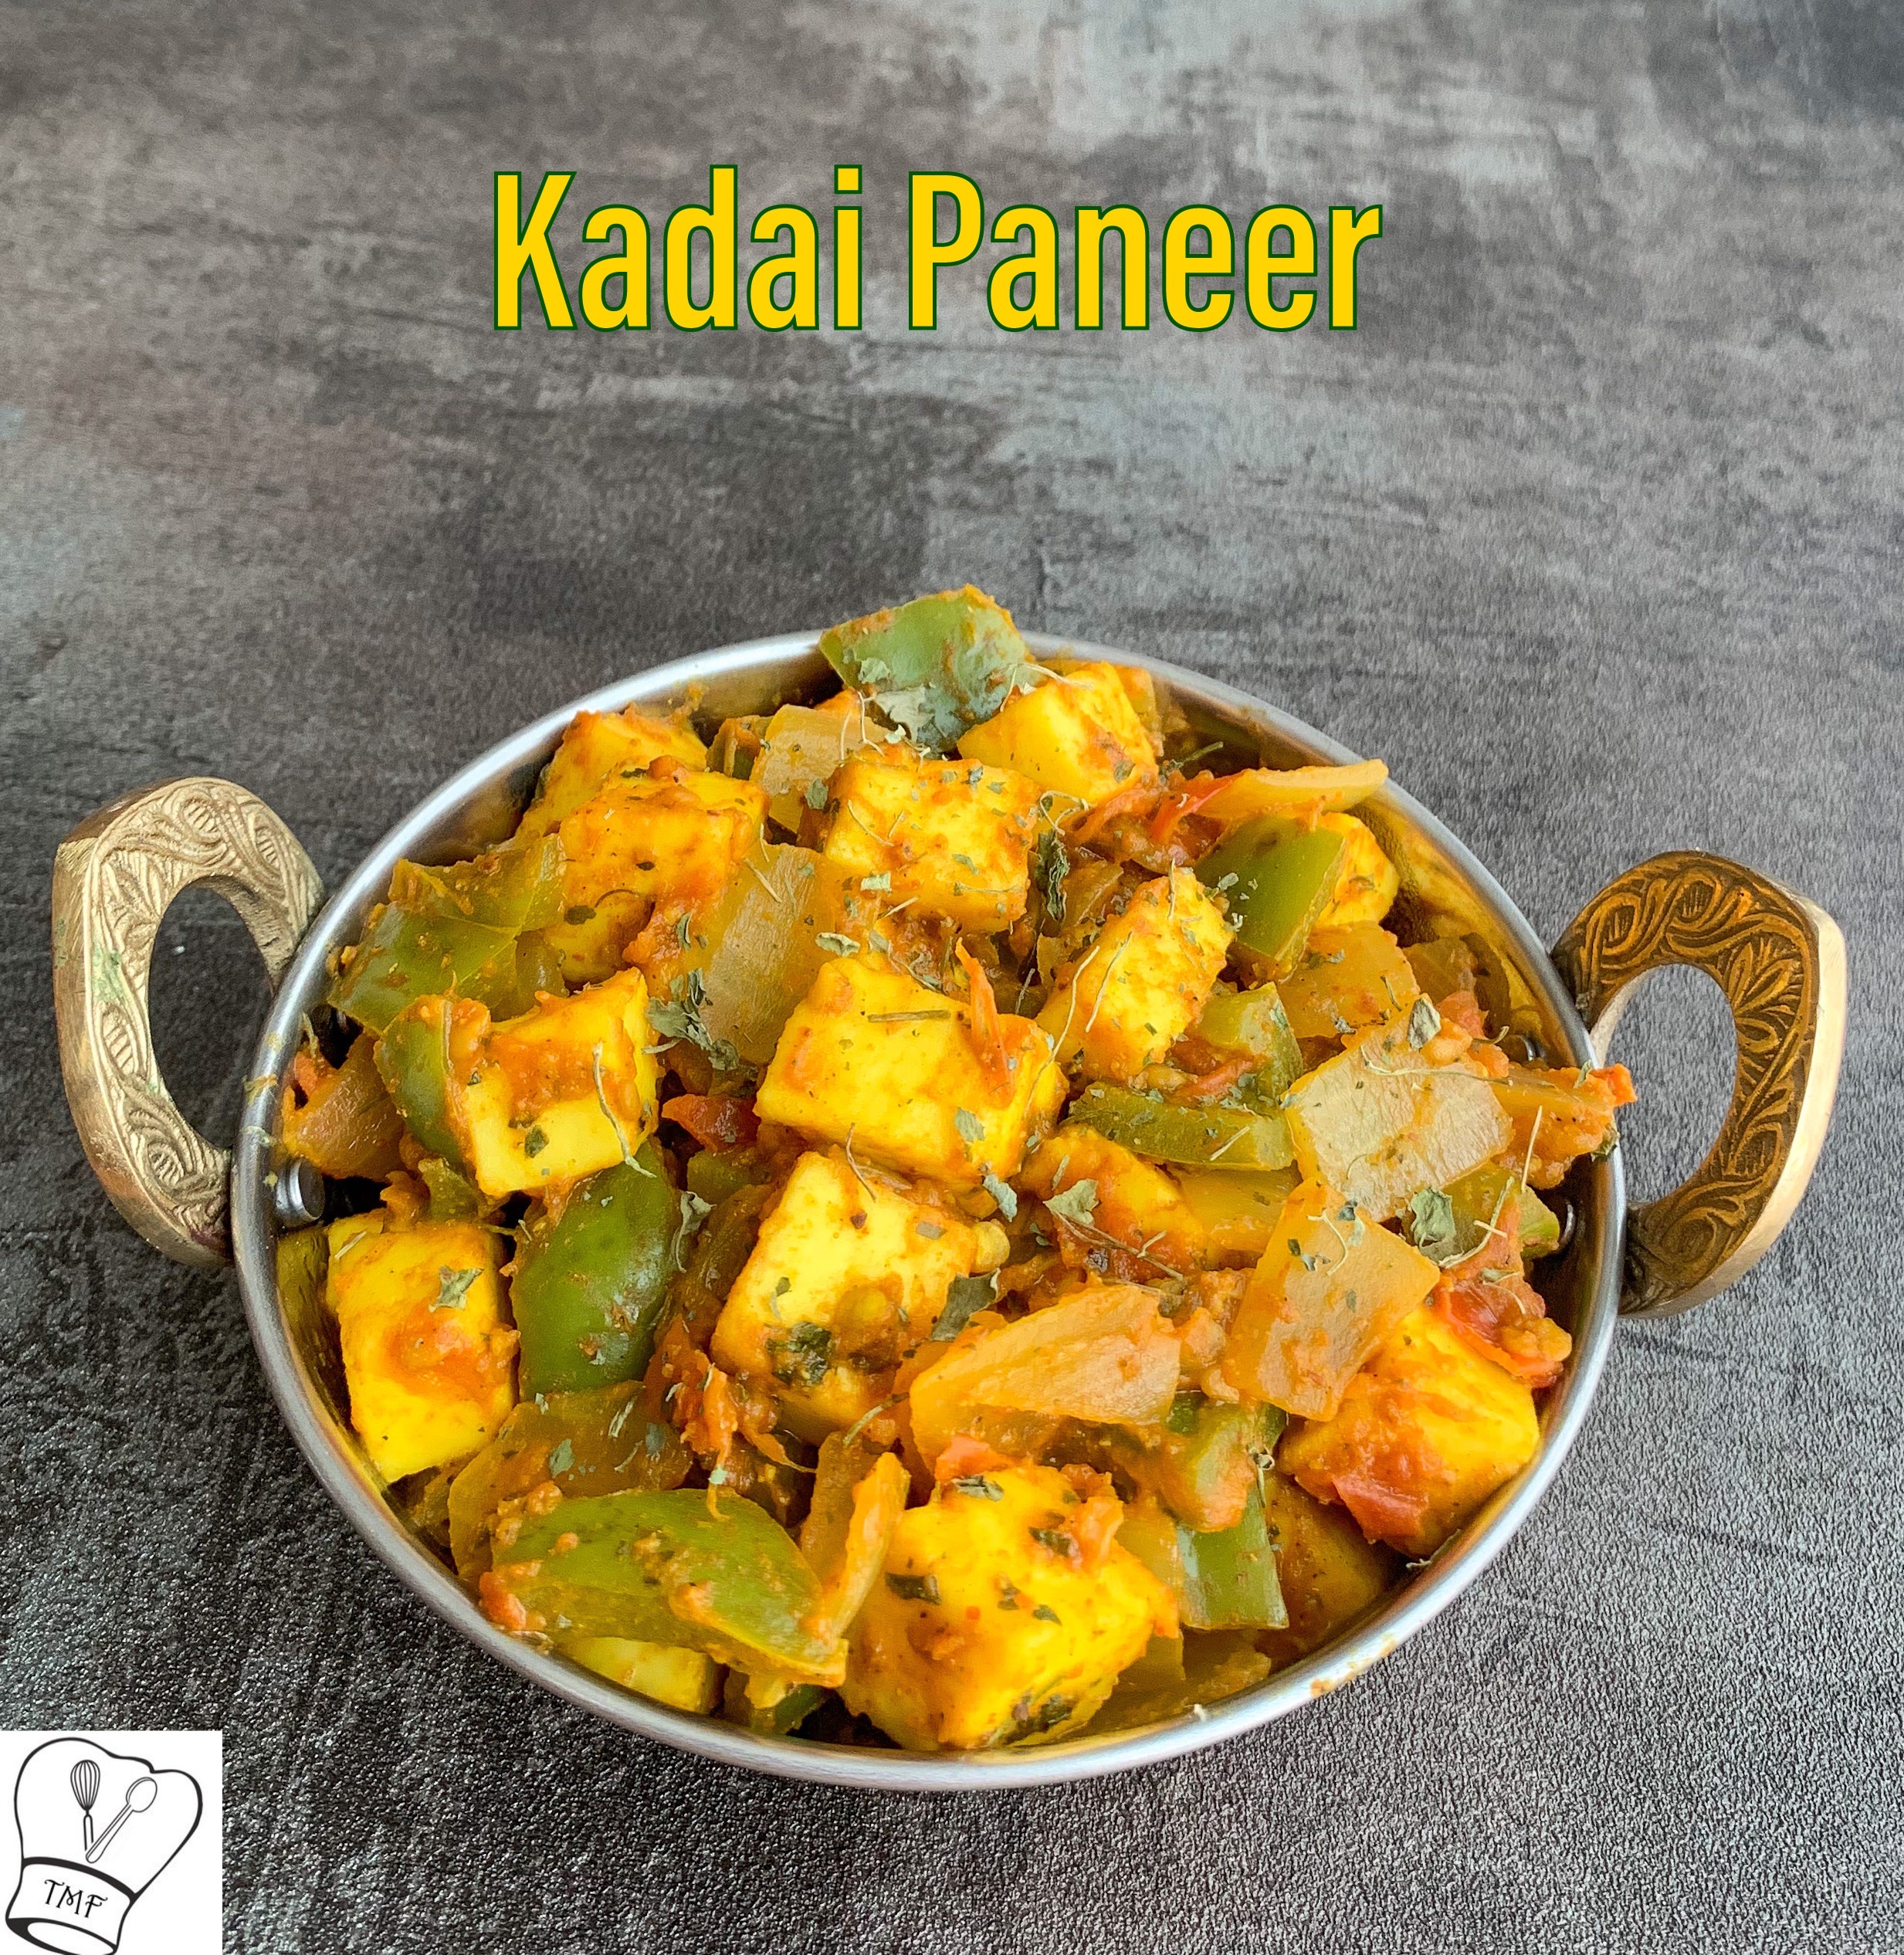
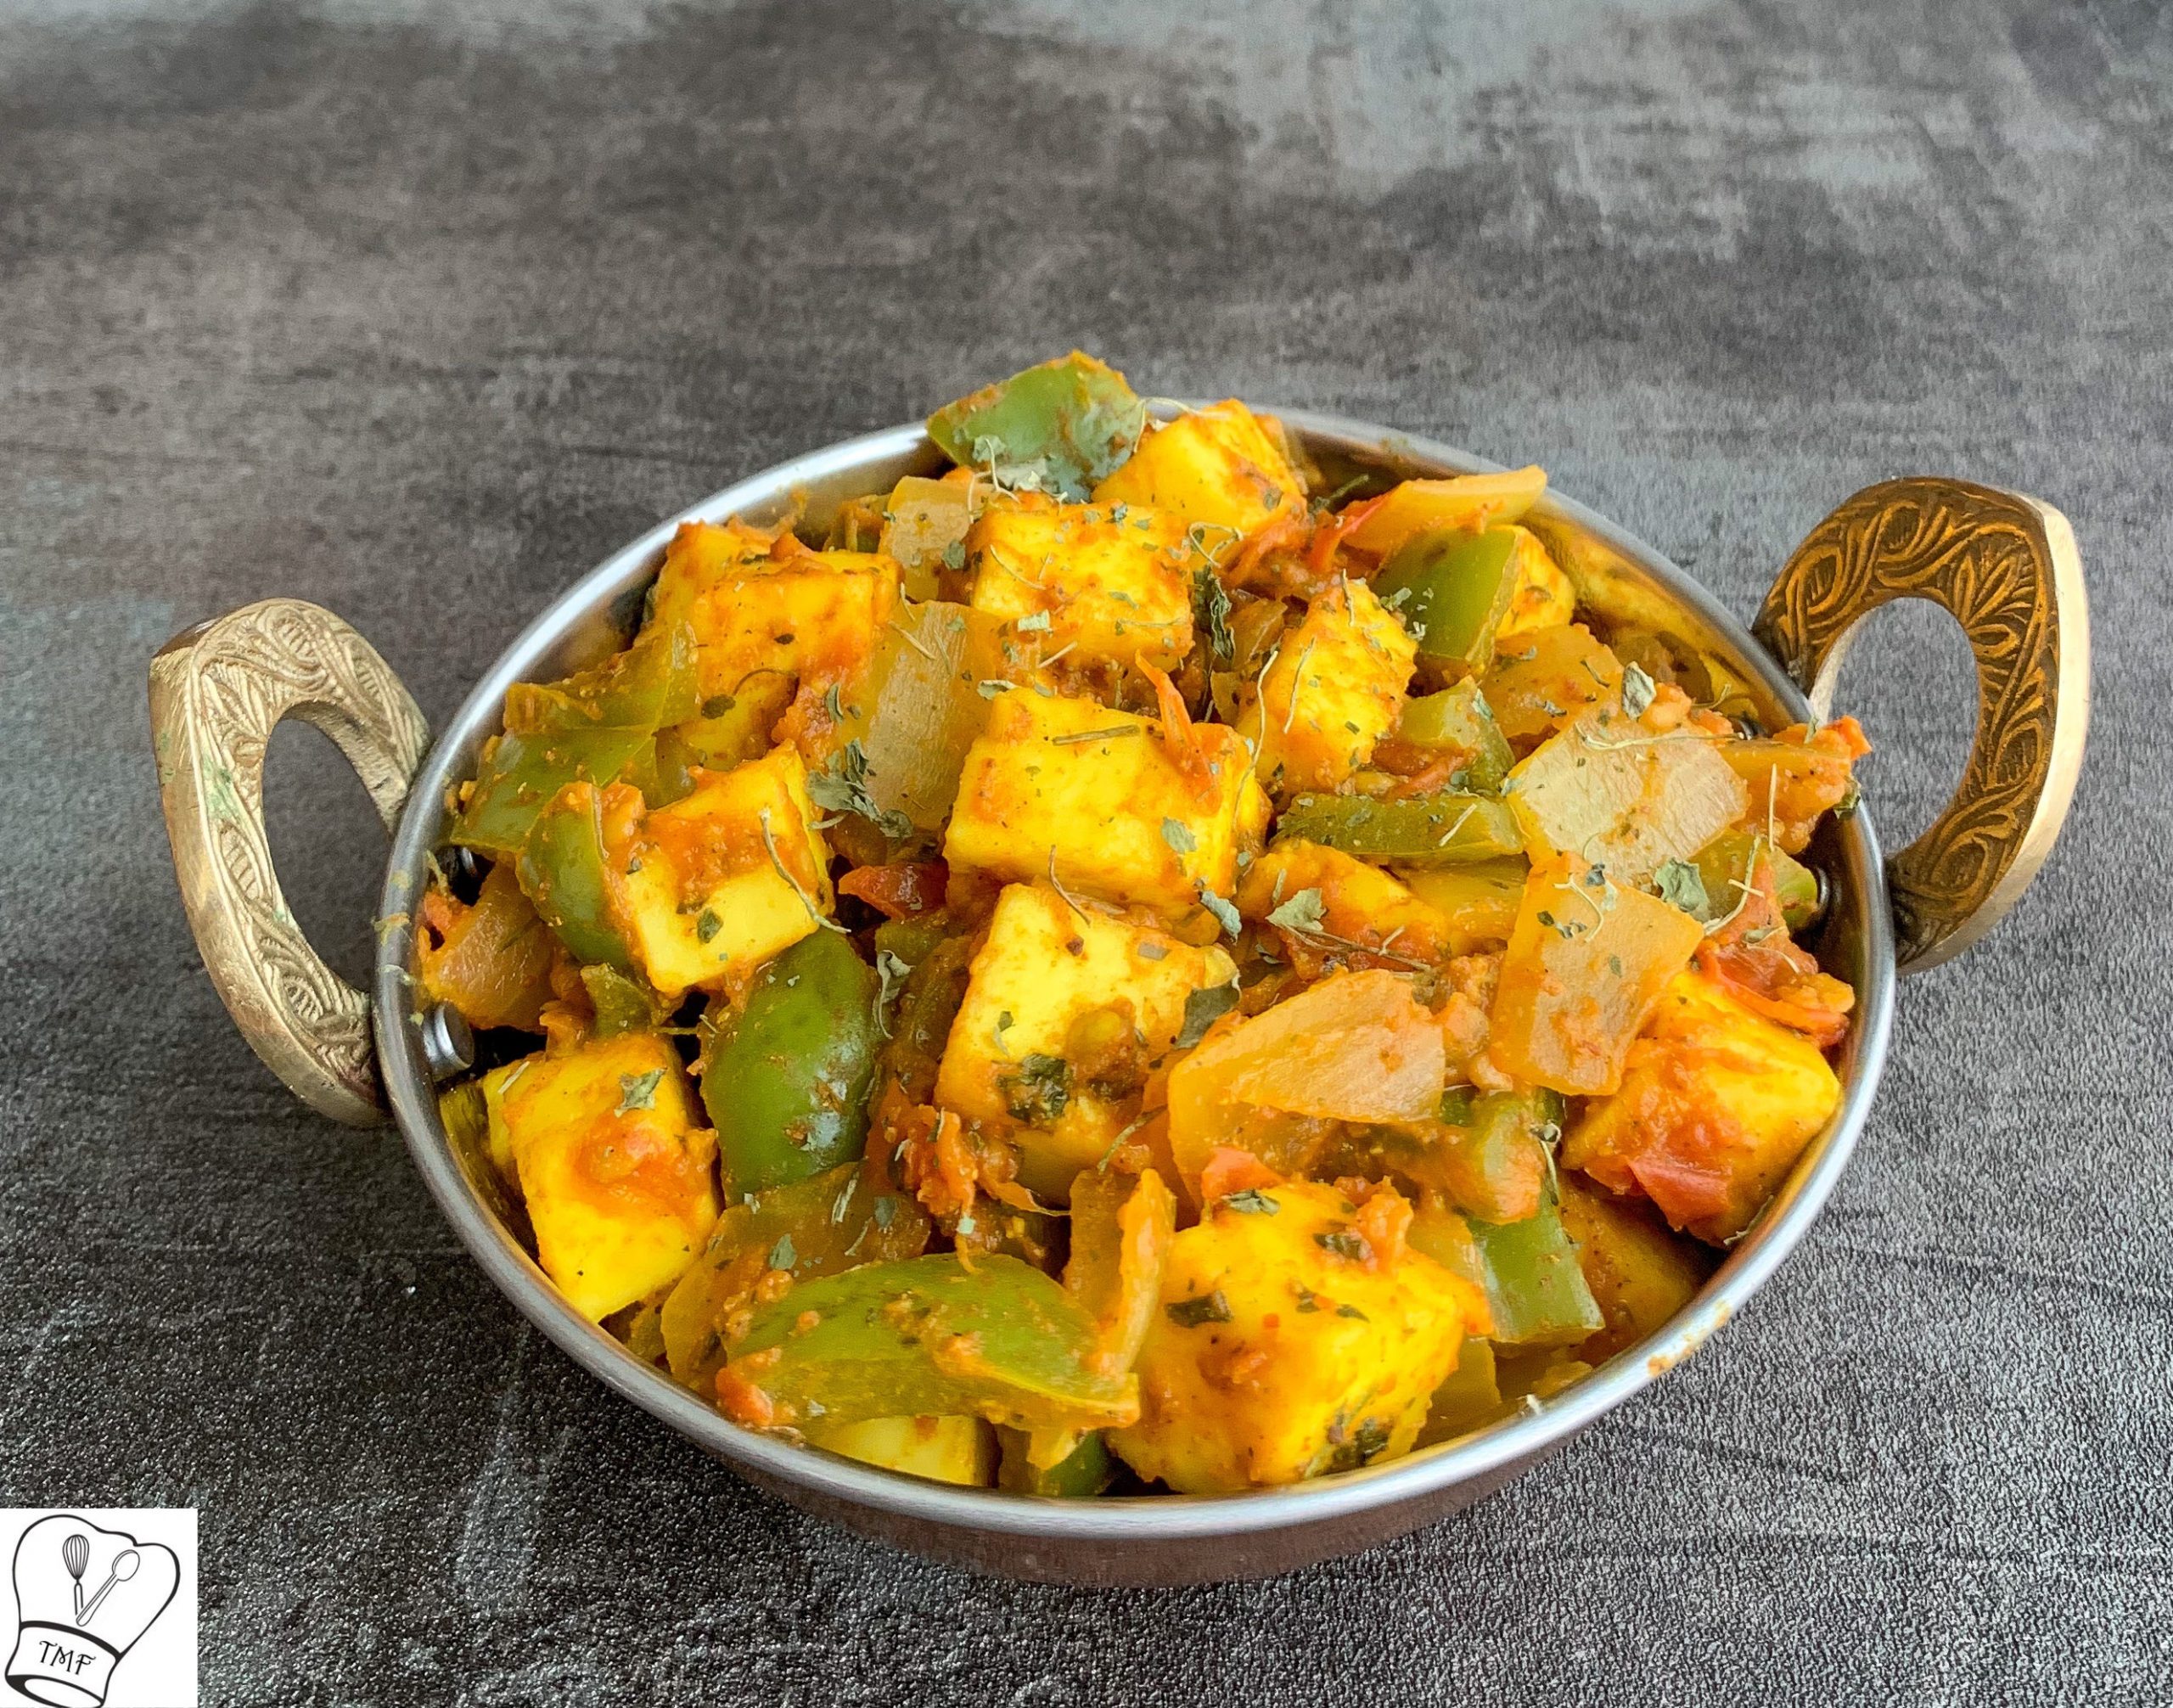
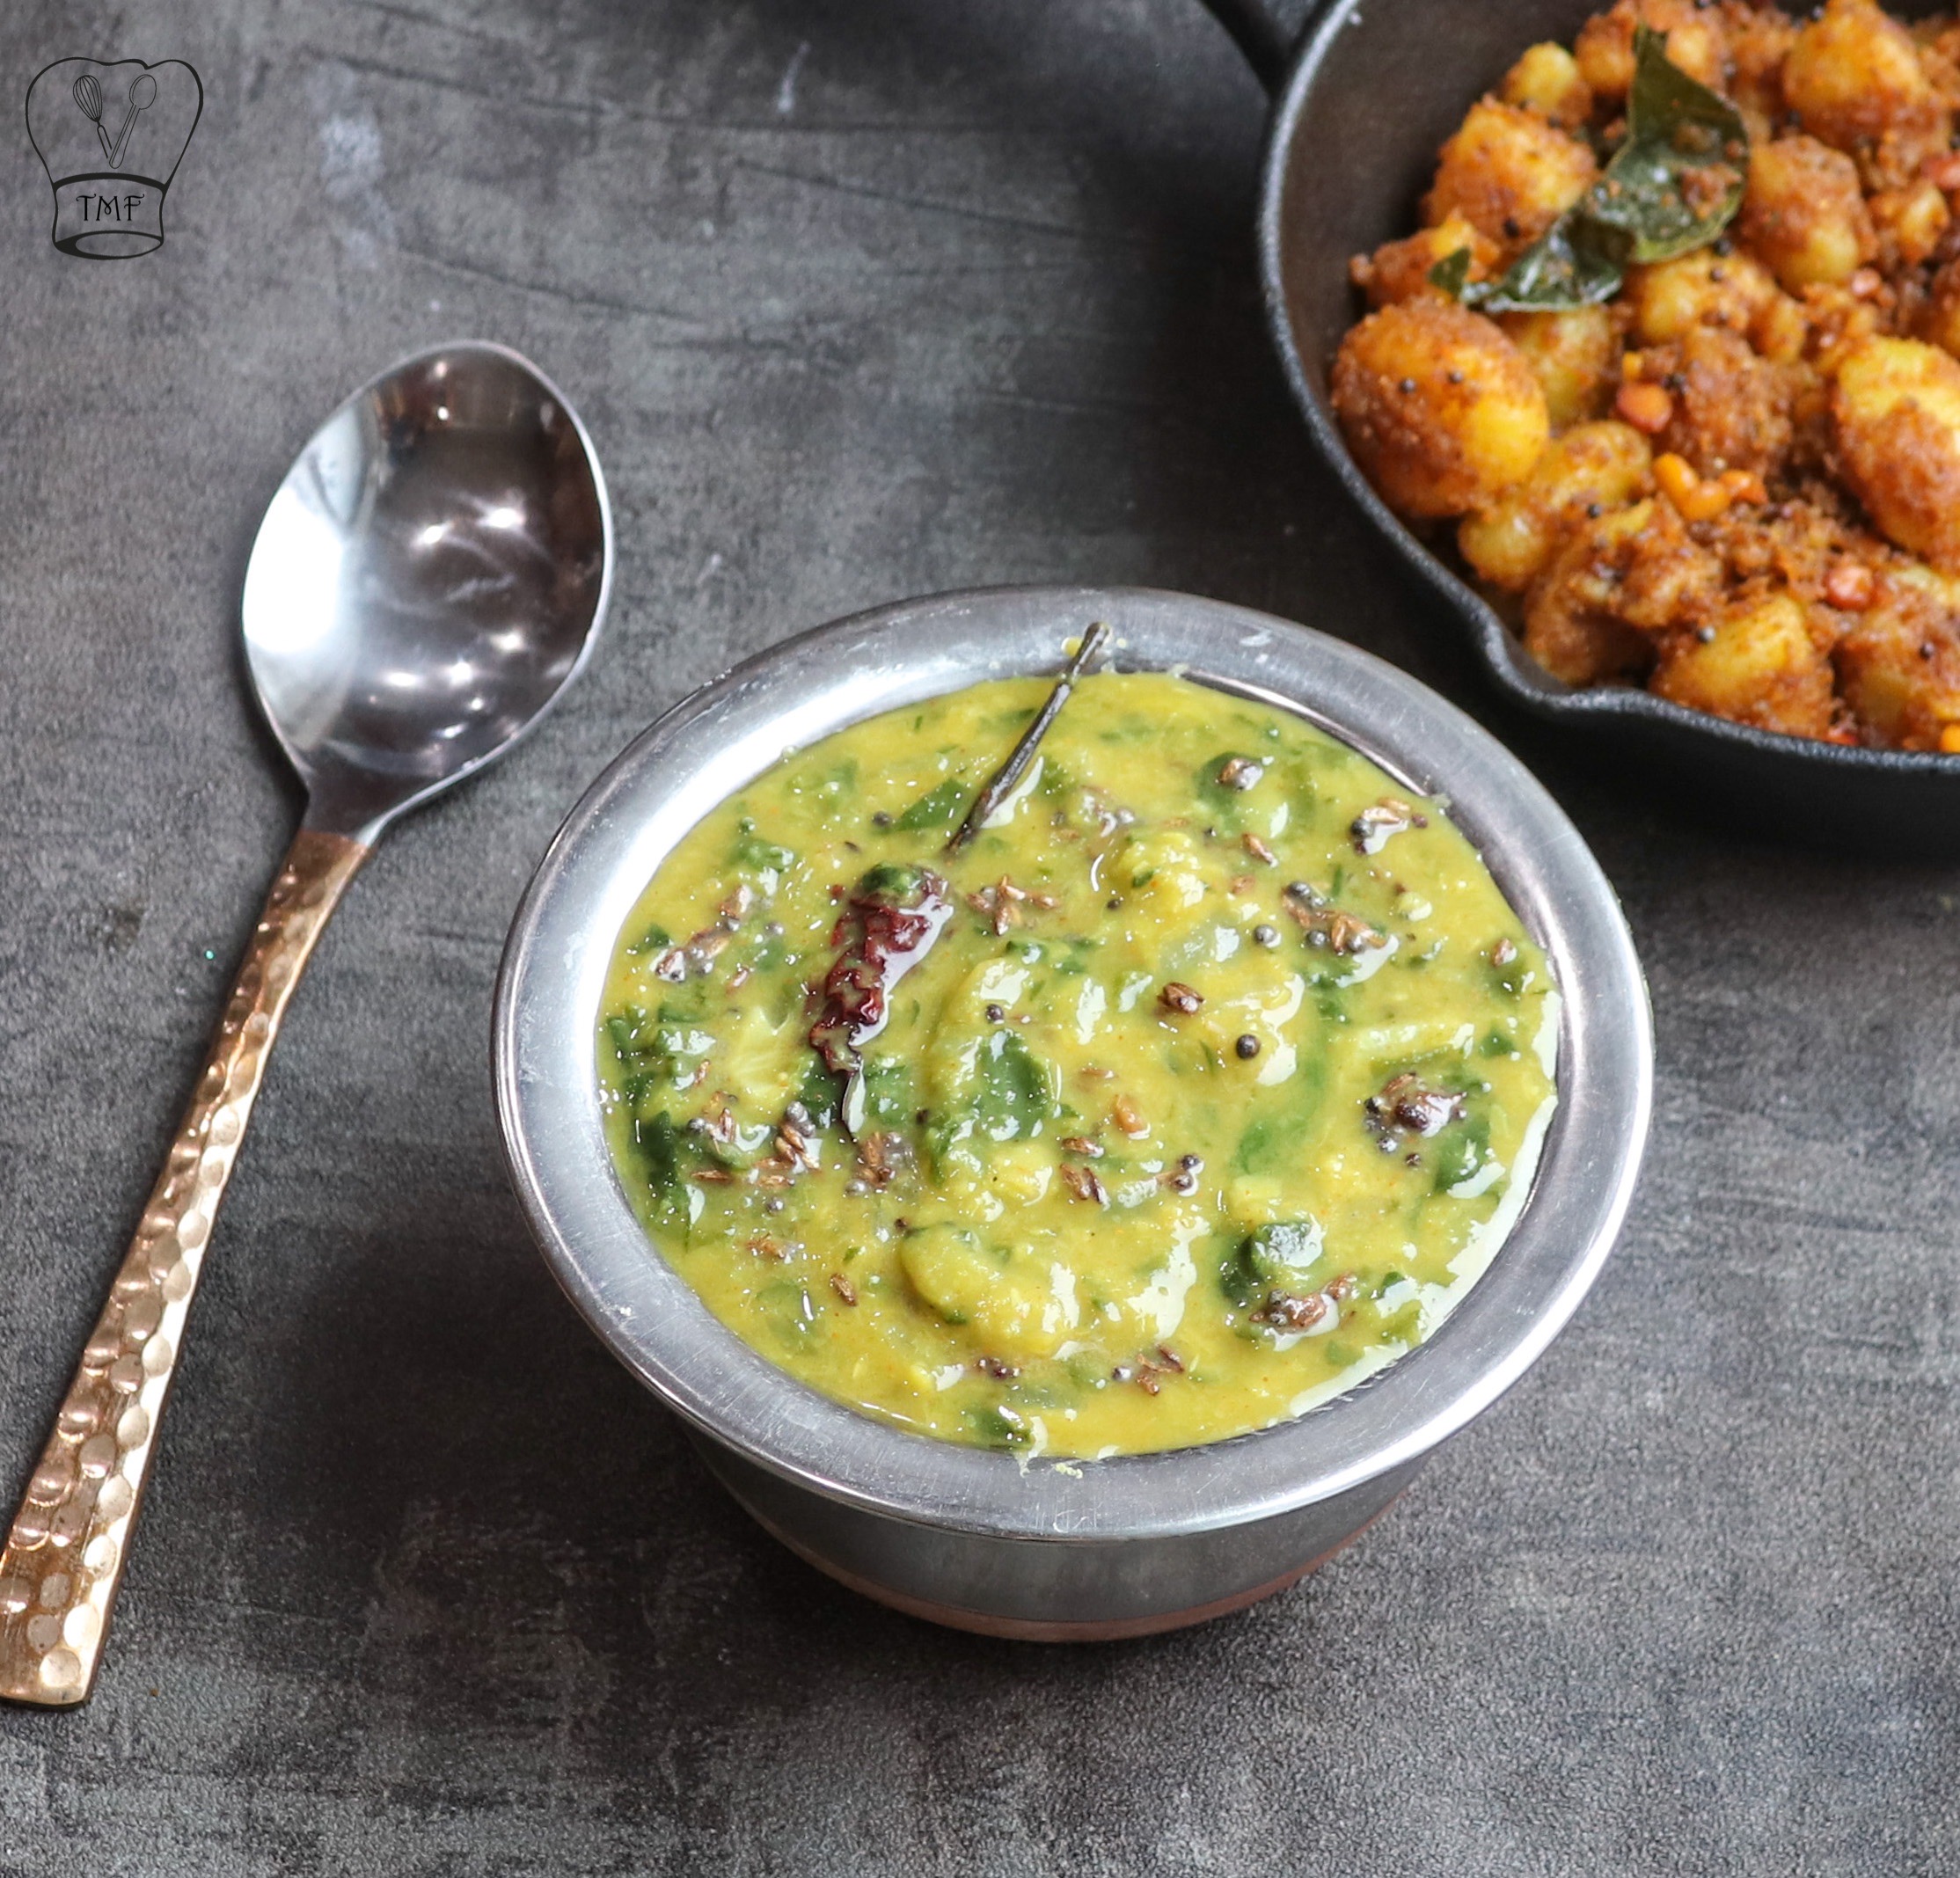
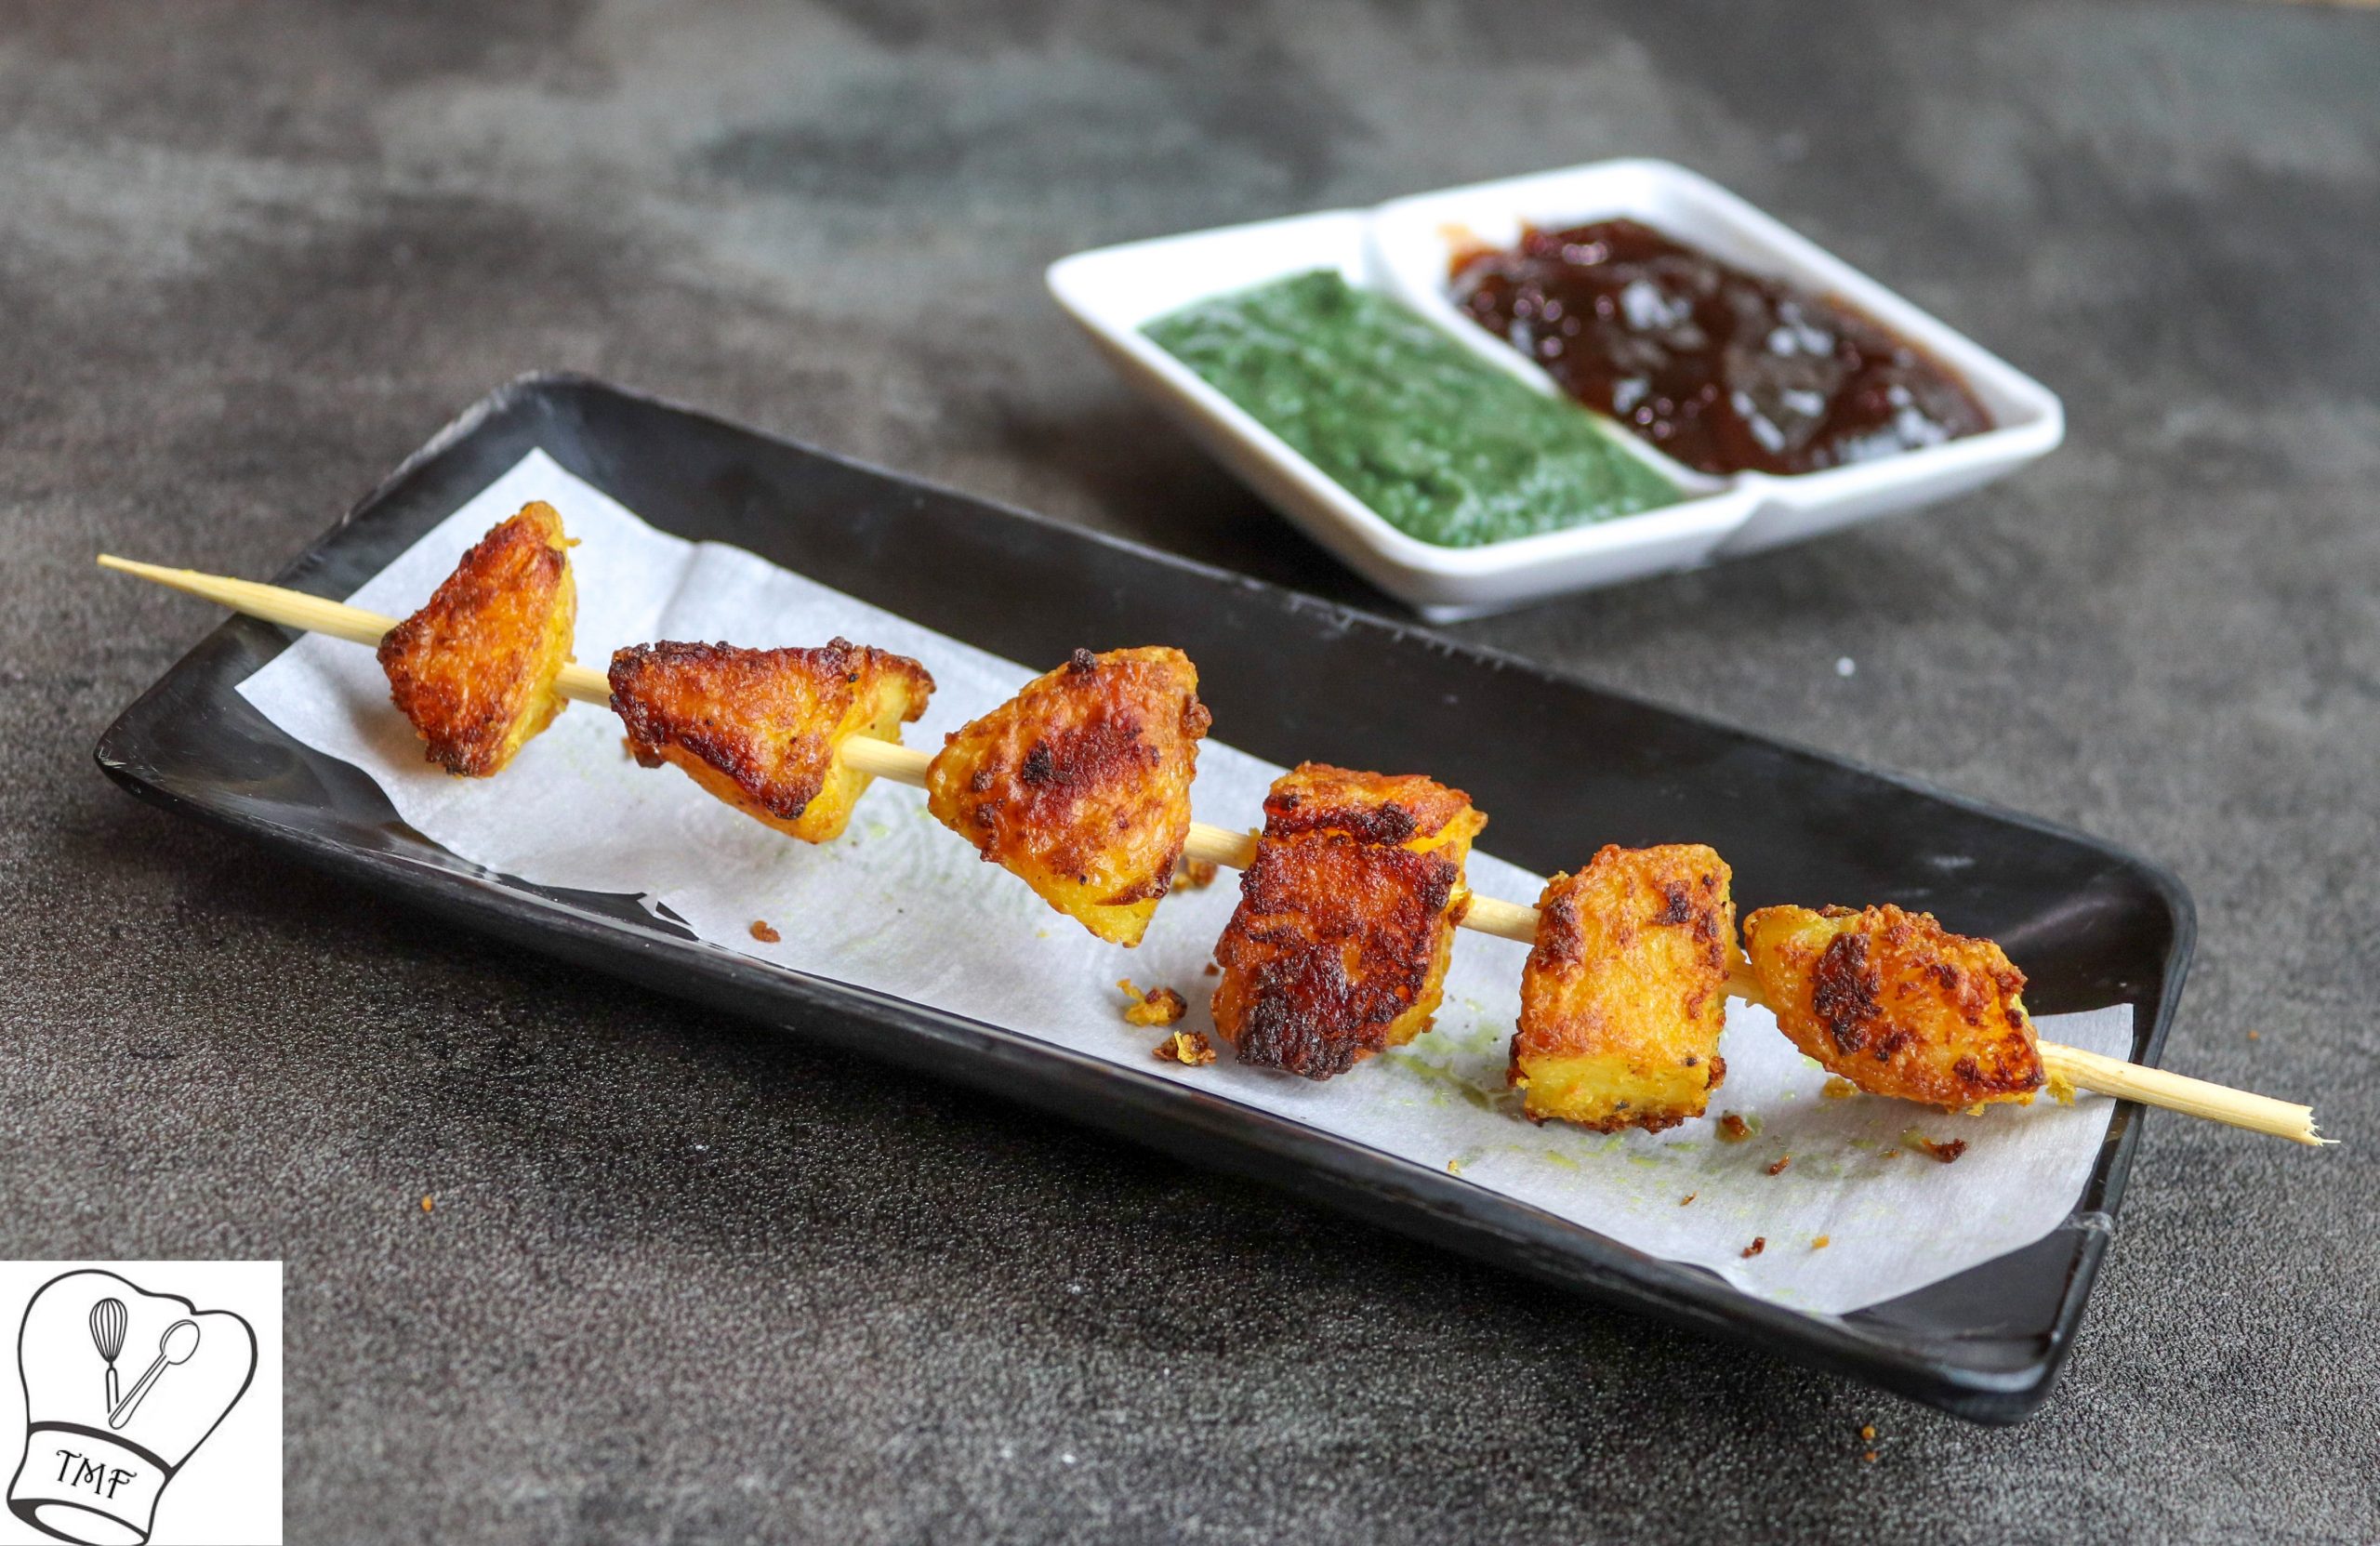
Kadai paneer is a tasty paneer side dish that can be prepared within 30 mins. Semi dry kadai paneer goes well variety rice, naan, Chappati roti etc.
Paneer is one of favorite ingredients. It just make any dish extra tasty. Be it a restaurant dish or homemade paneer is our family’s favorite. Usually paneer use to be restaurant dish but thanks to upstairs neighbor I got to learn lot of paneer recipes from her.
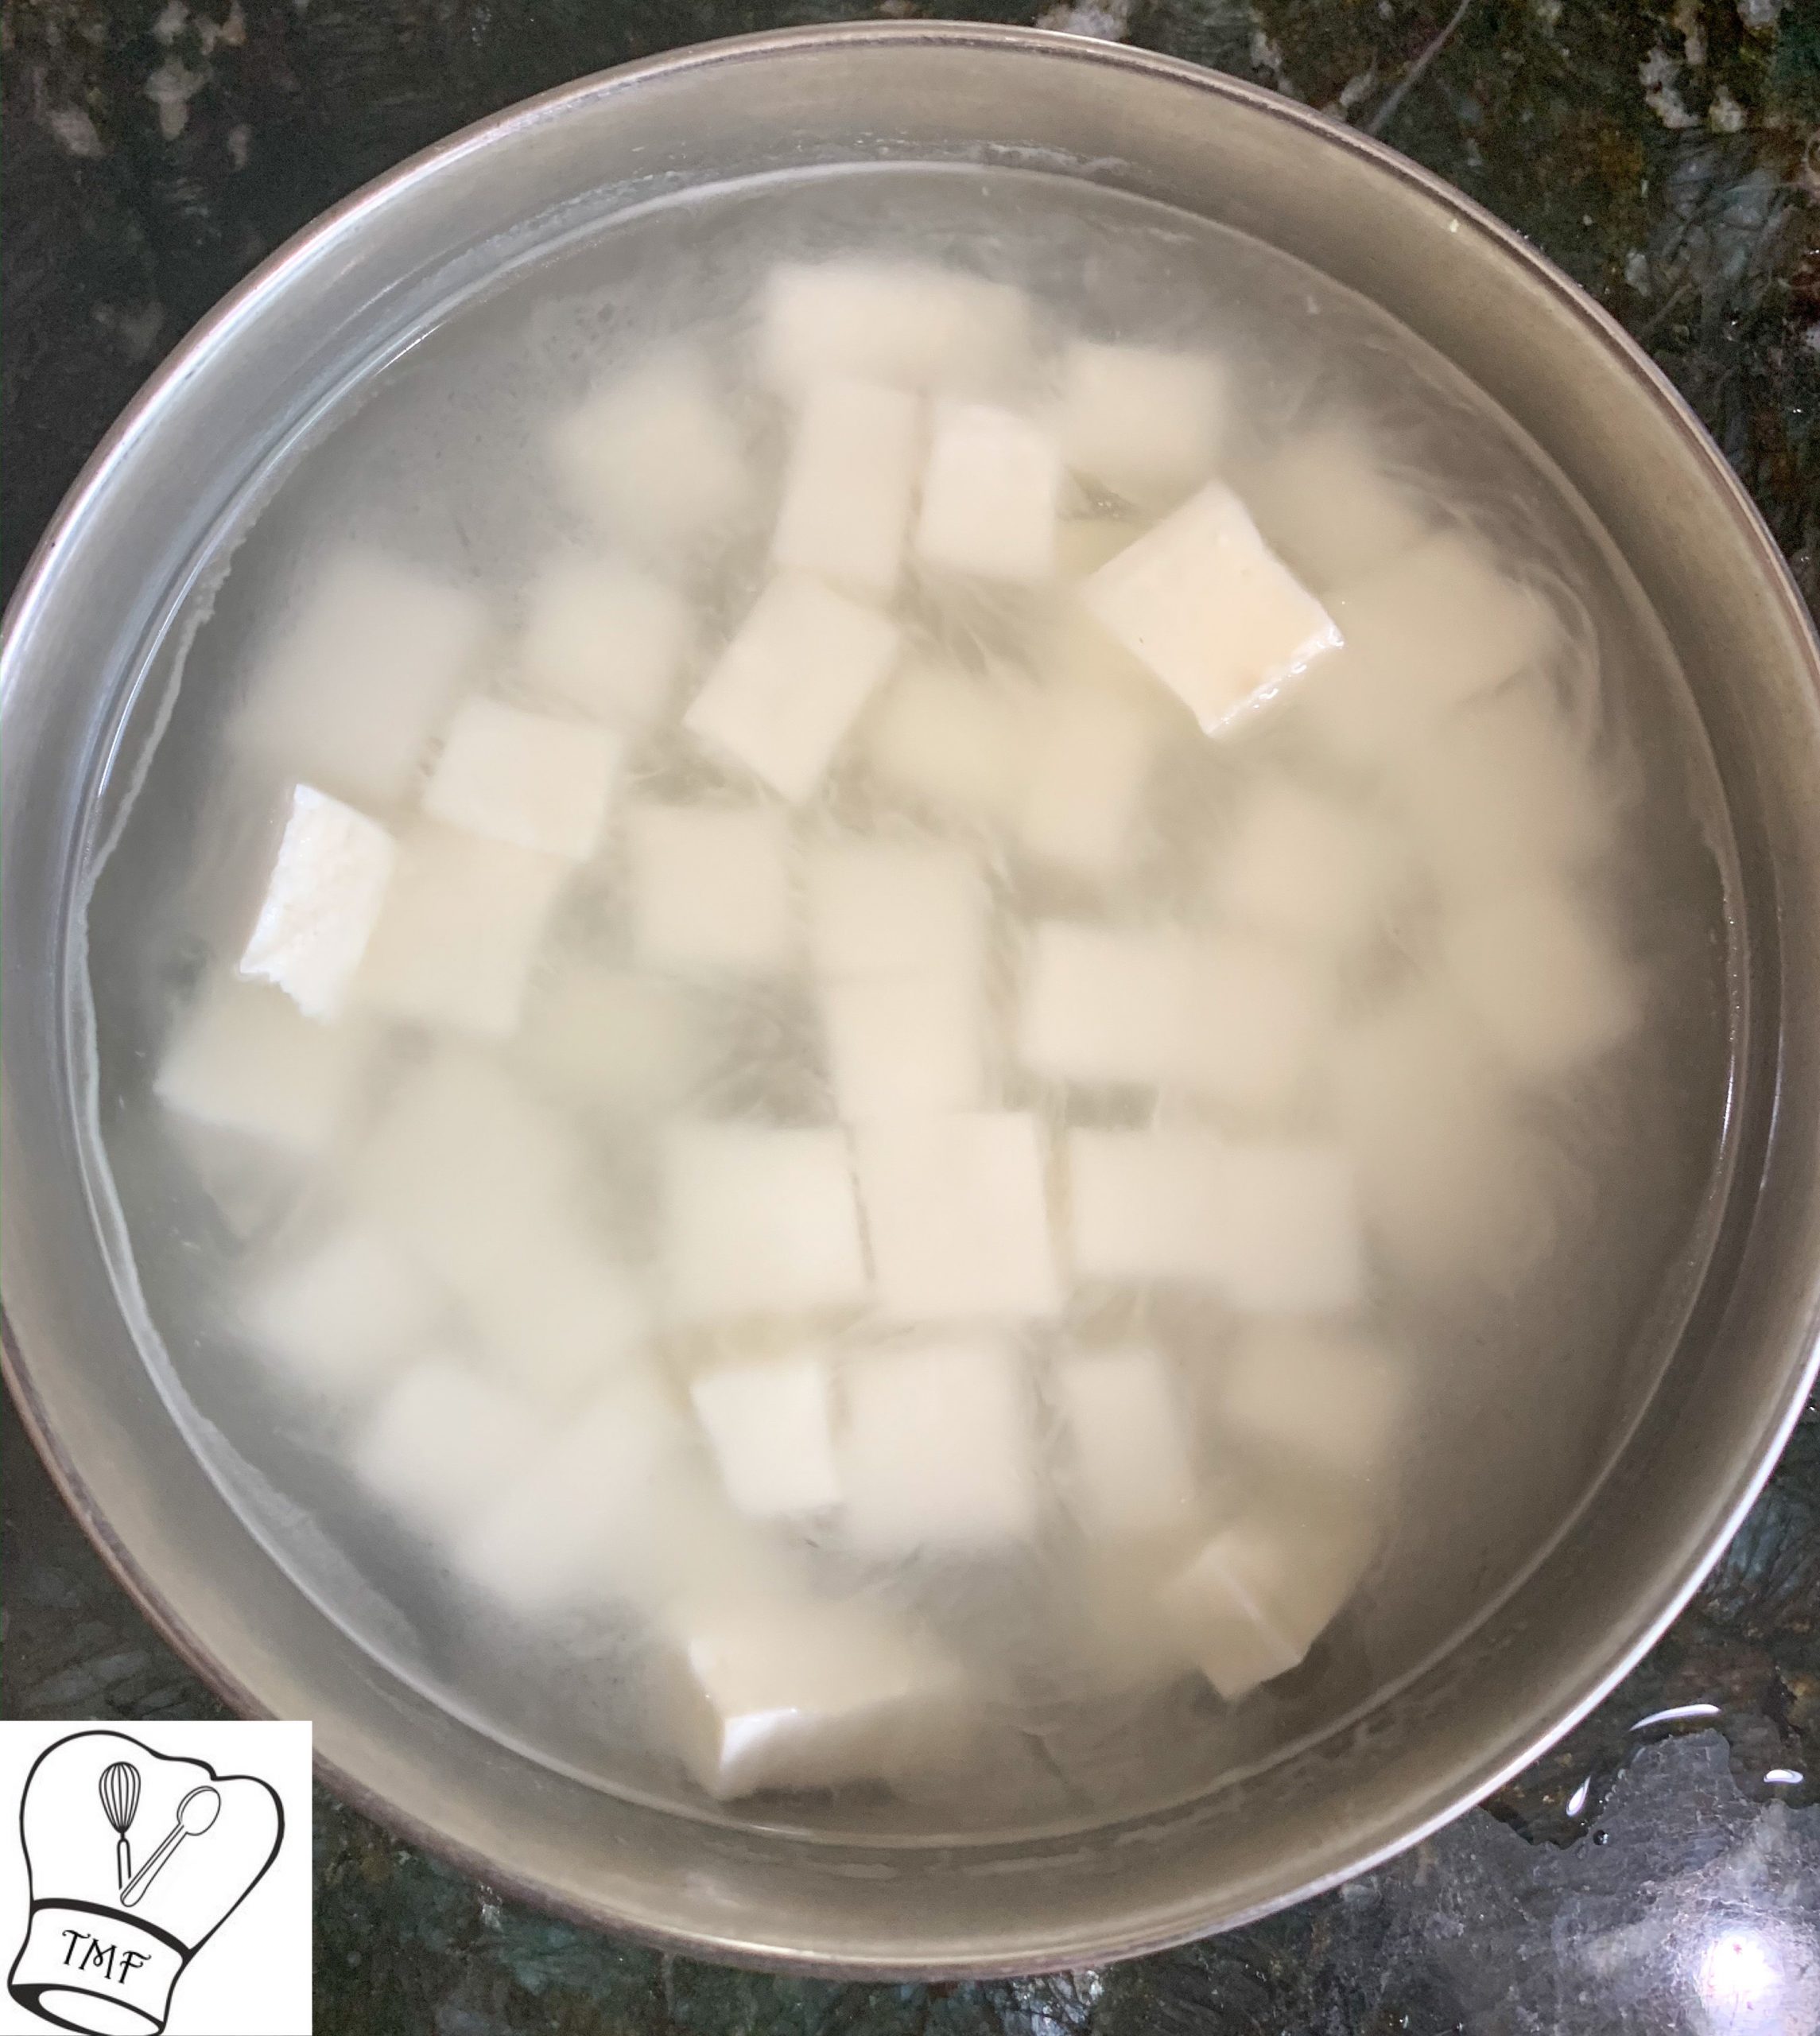
I have tried kadai paneer before but my paneer turns hard after few minutes. I learnt the trick for soft paneer. Soaking the store brought paneer in warm water makes it perfect.
Orginally I posted this recipe with tofu but recently updated it with paneer. Same recipe works well for kadai tofu/kadai paneer. My son has become a huge fan for paneer hence recentlybwhen I made kadai paneer I updated the recipe.

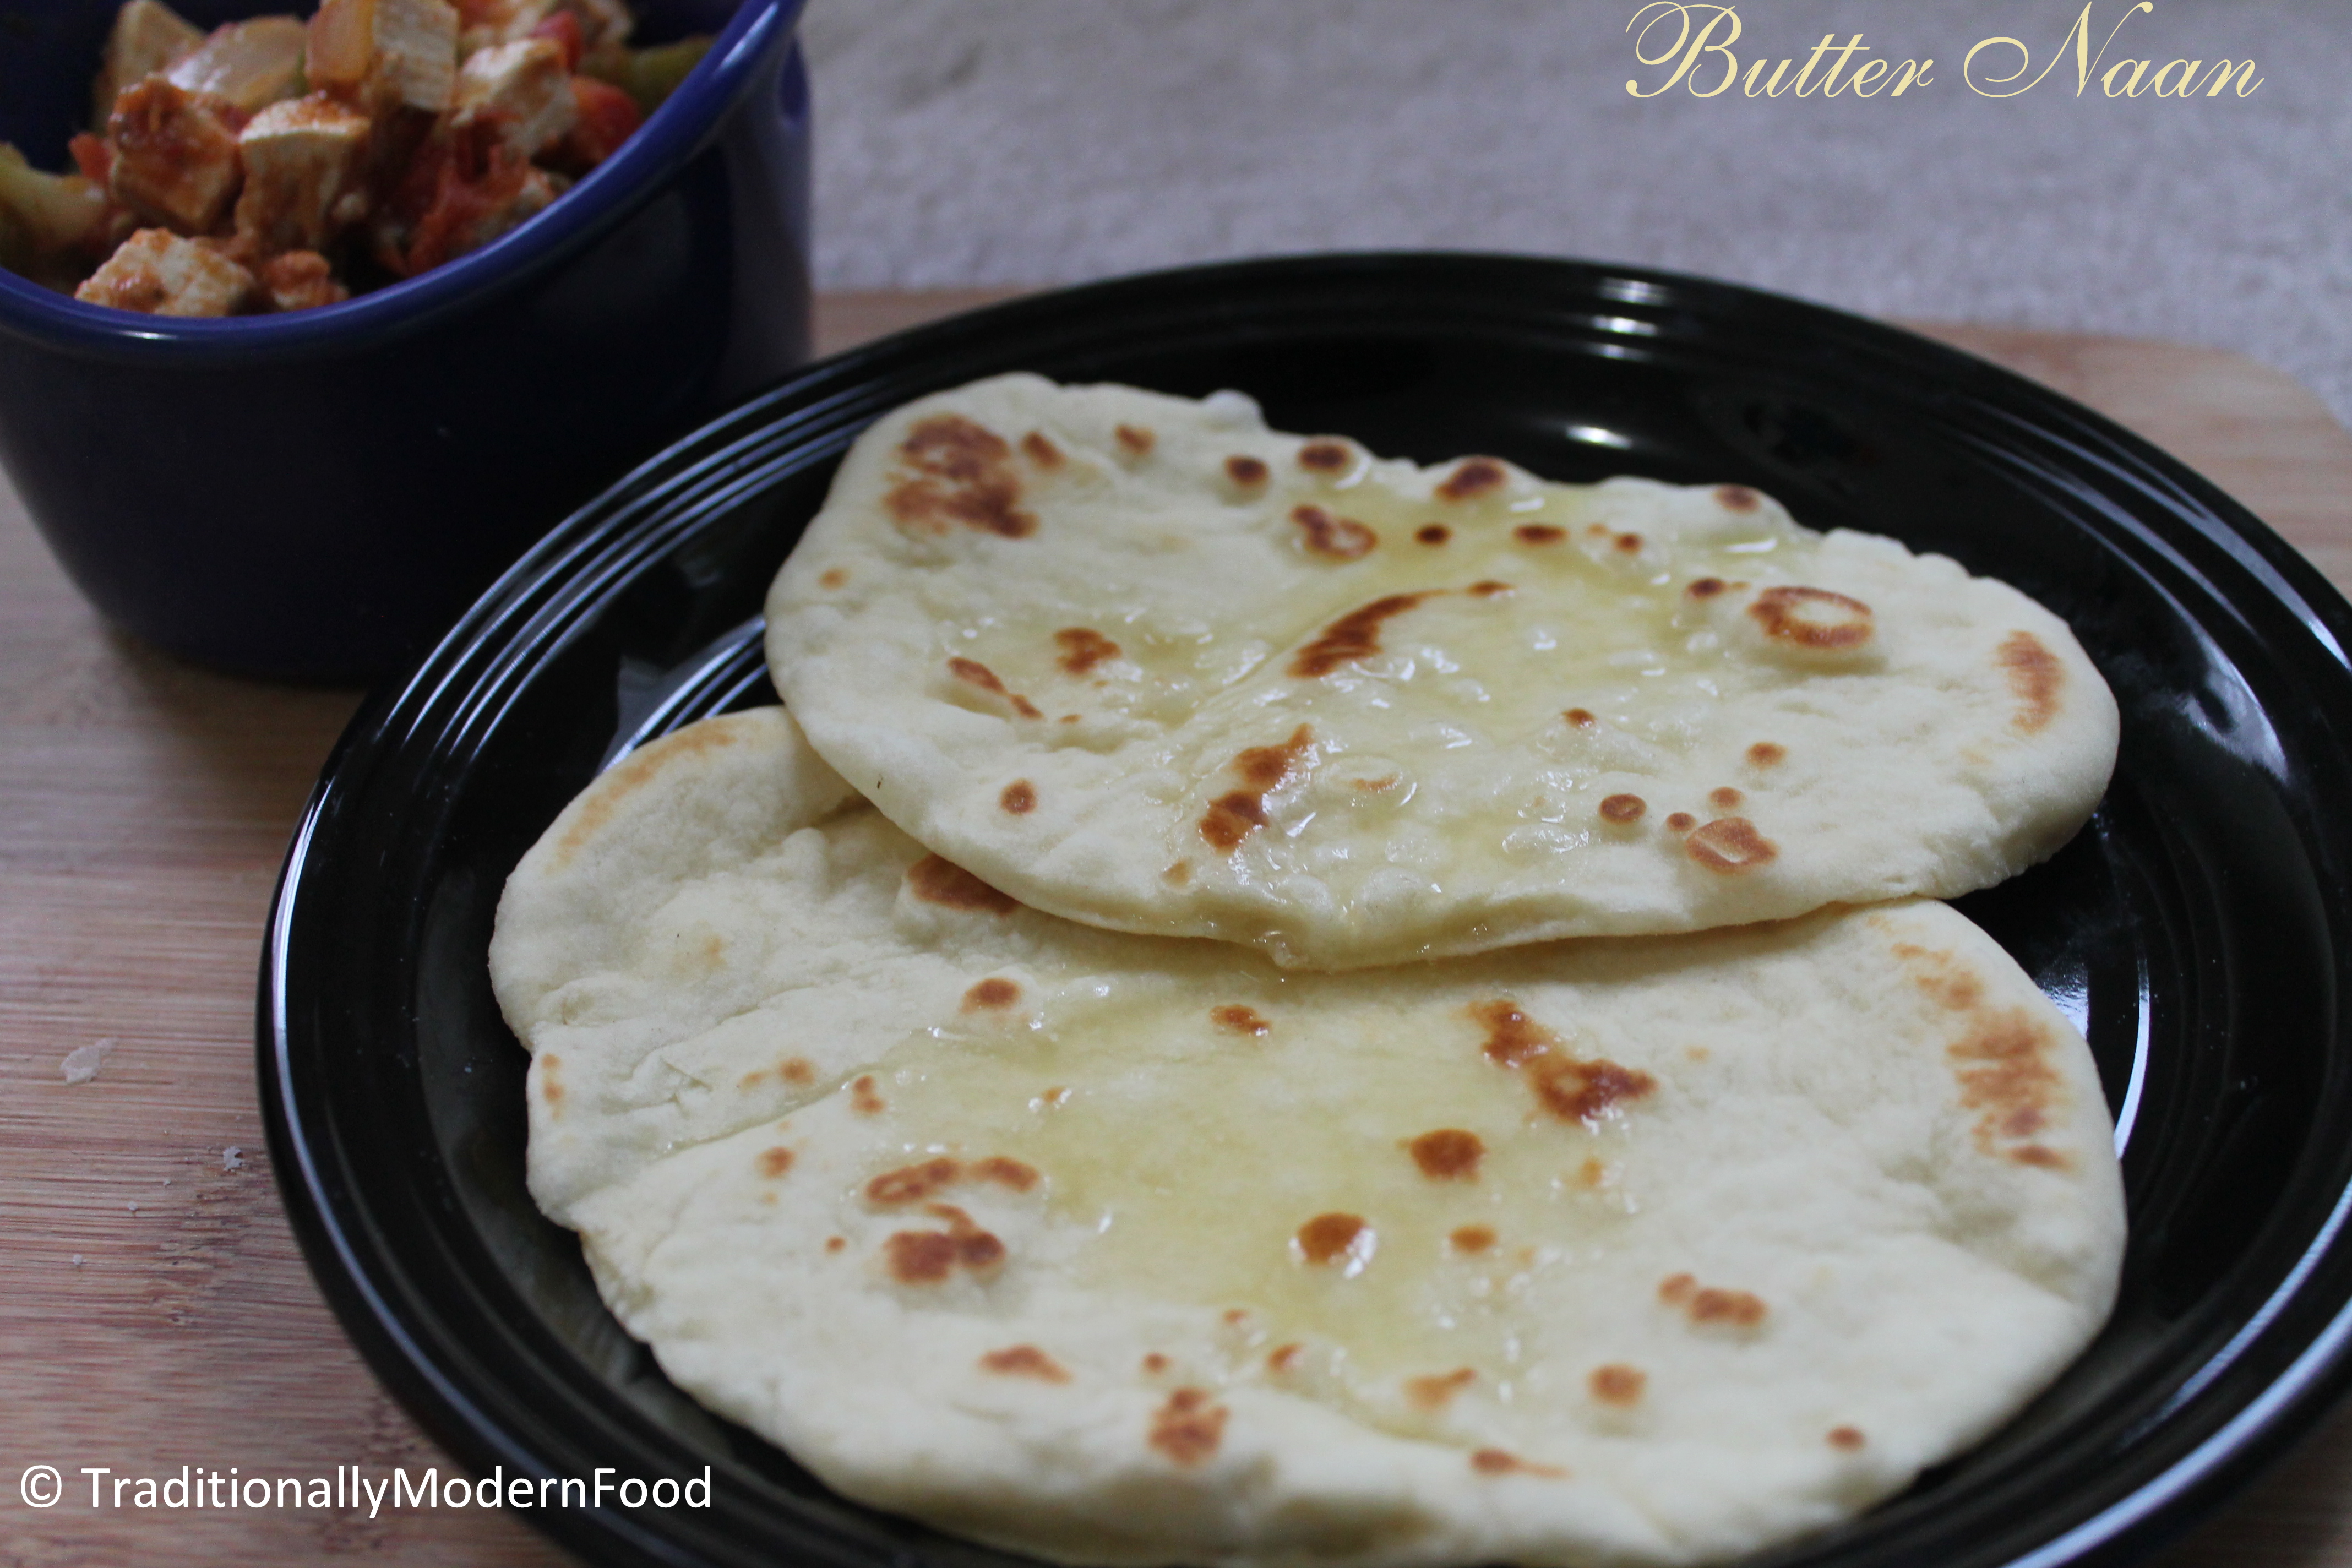
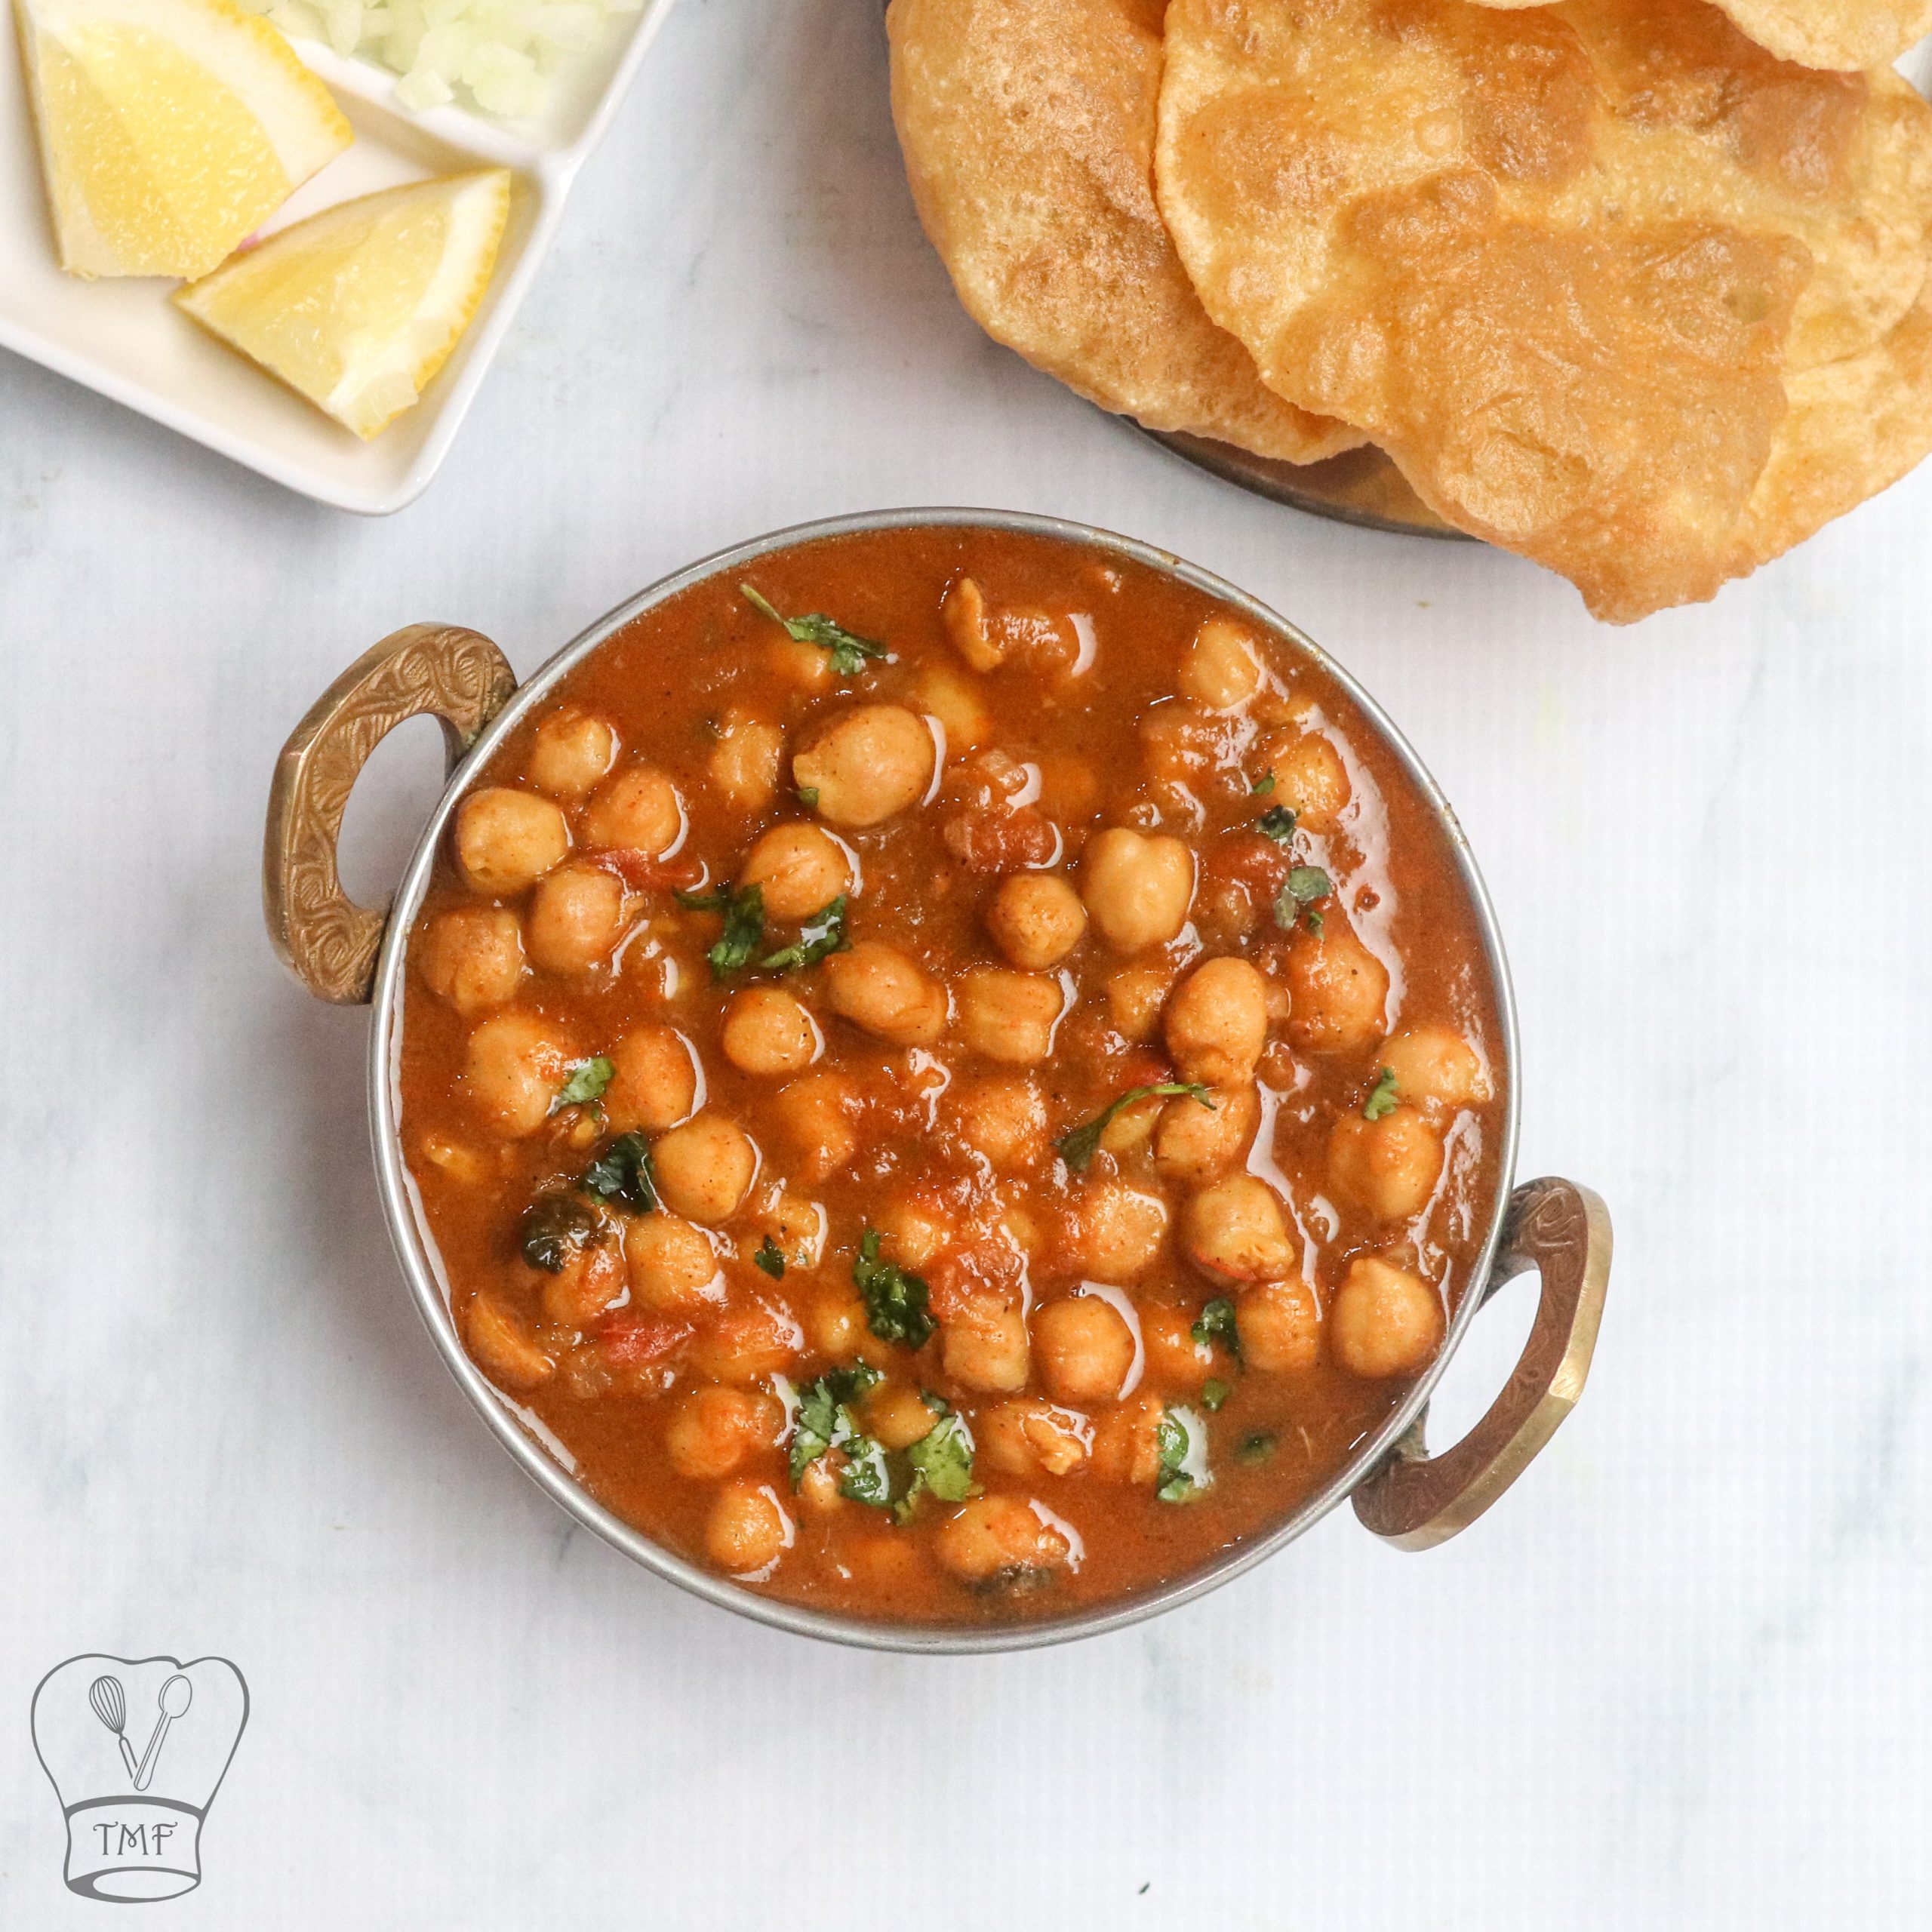
We had kadai paneer with butter naan. Kadai paneer also tastes yum with variety rice like channa pulav, ghee rice, vegetable rice, sweet corn pulav, peas pulav etc.
Check our other tasty paneer + tofu based dishes in TMF,

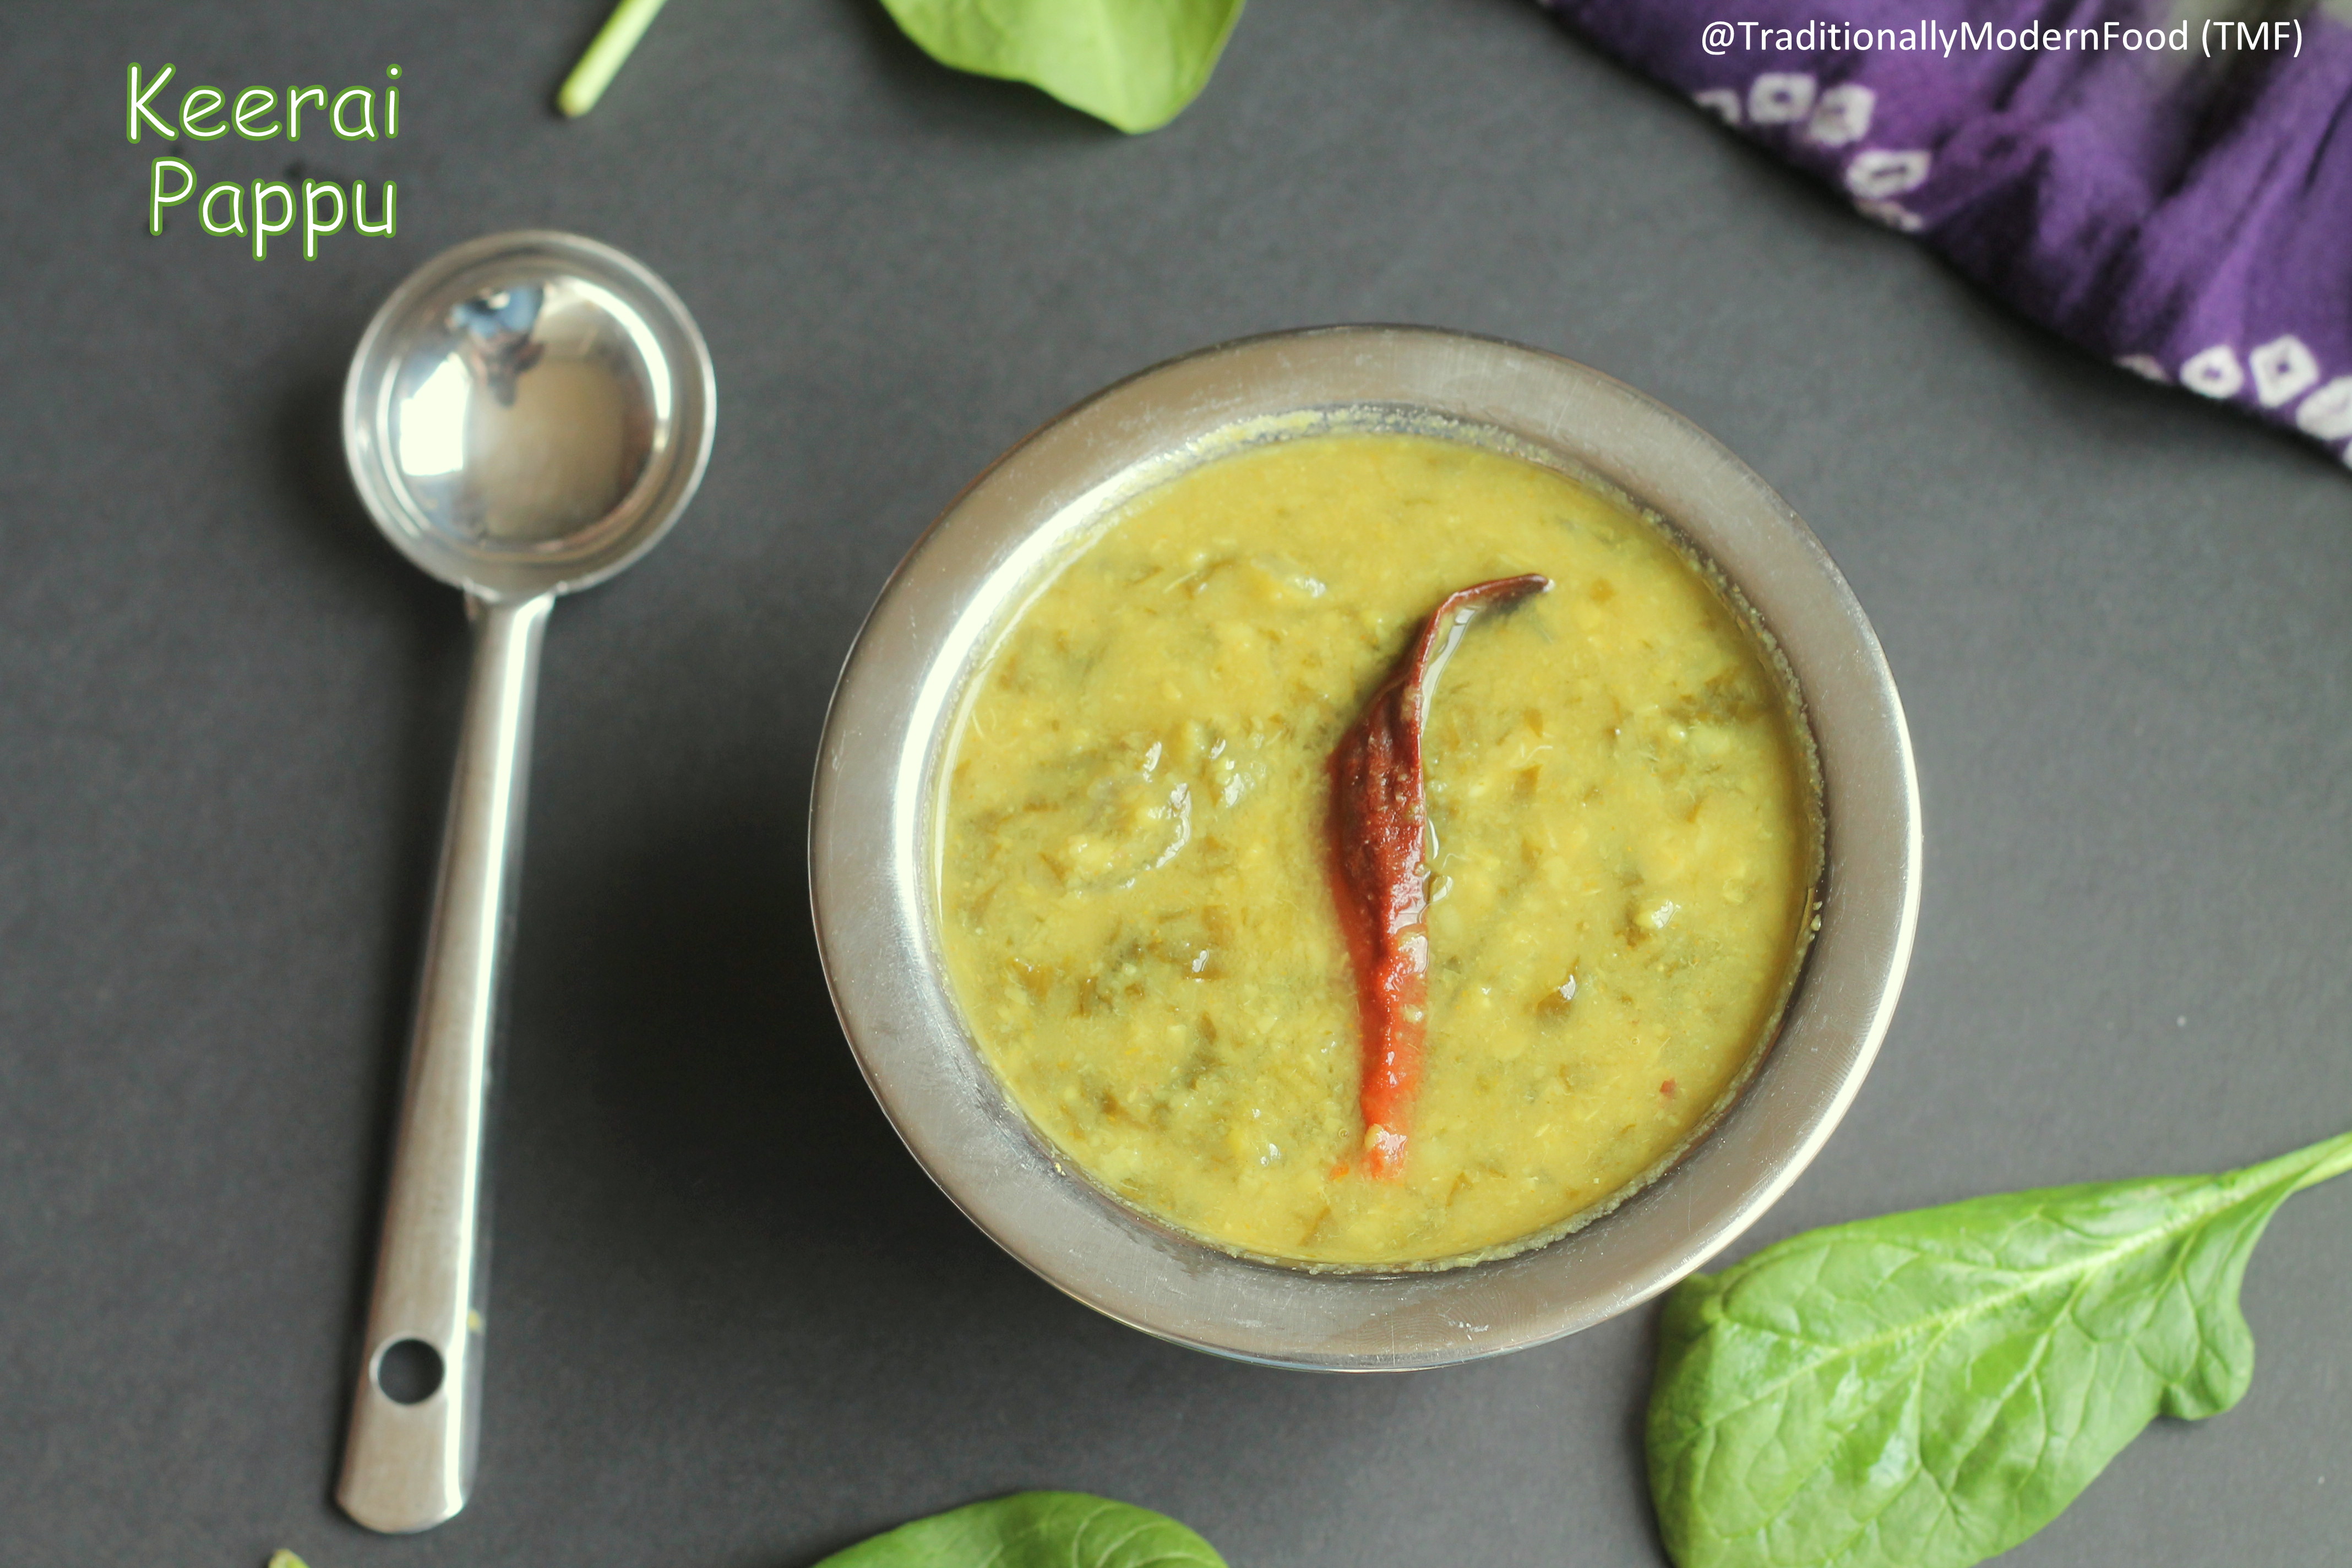
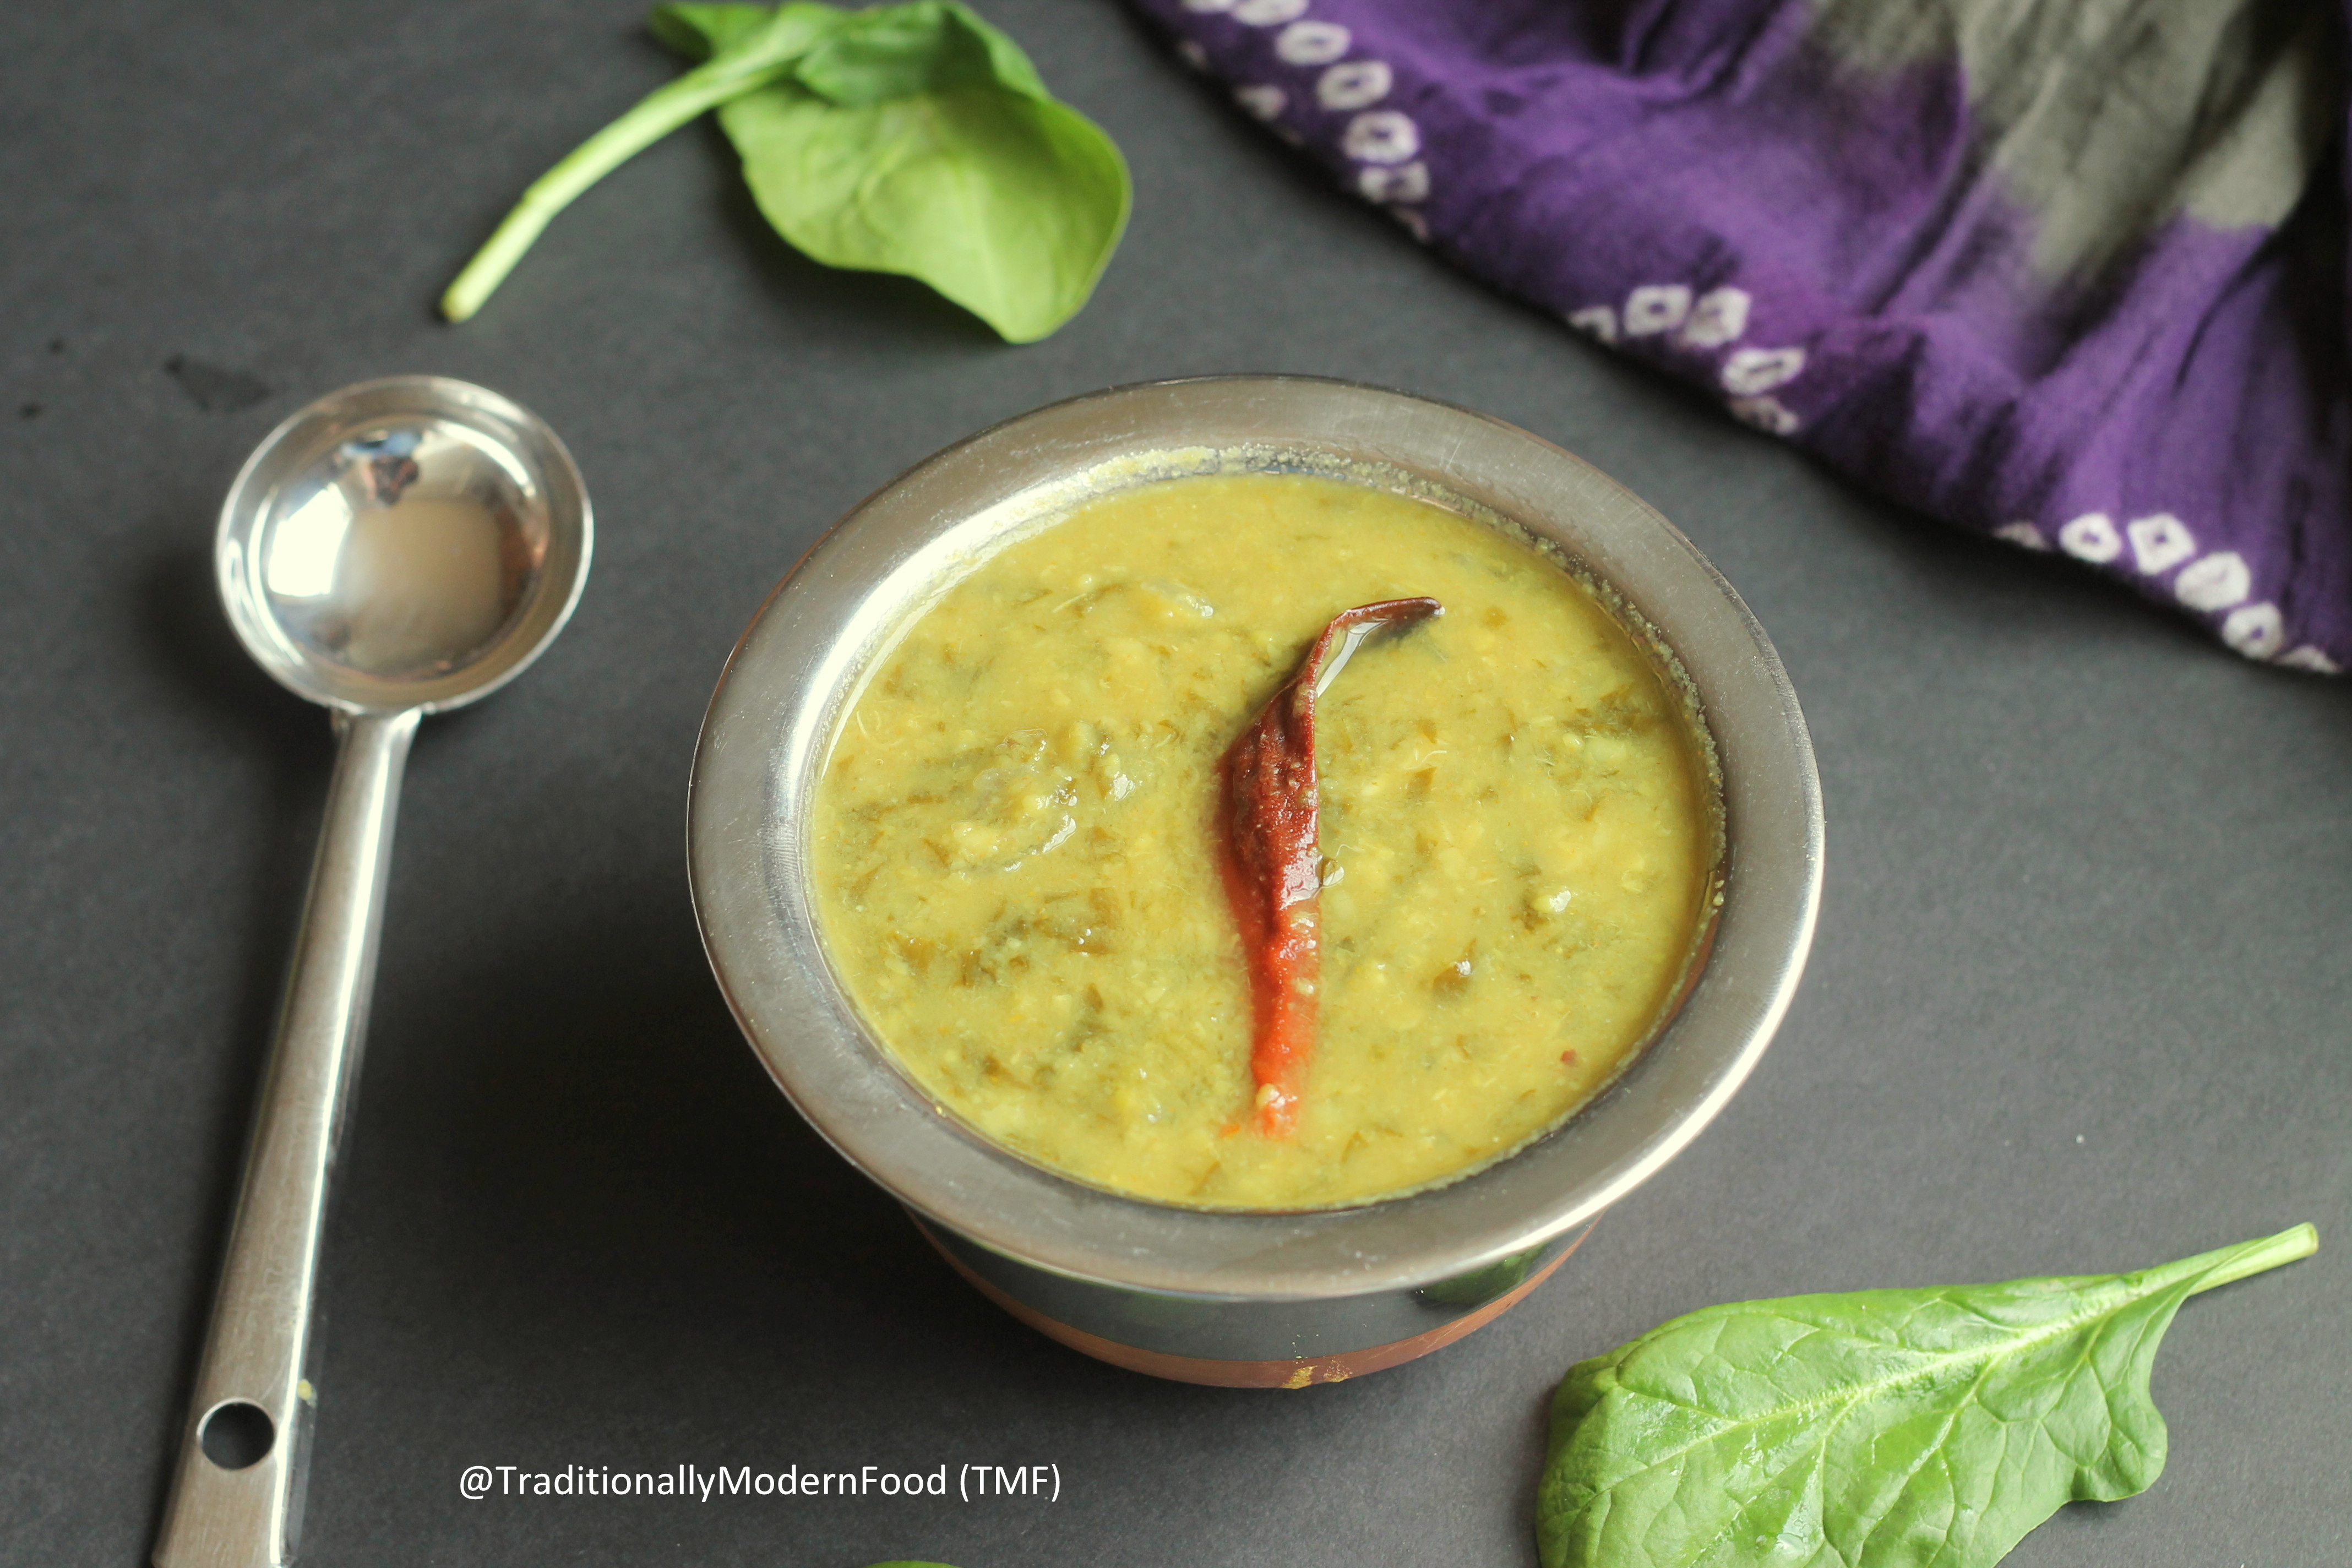
Kadai Paneer
Ingredients
- Paneer - 150 grams
- Green Bell Pepper - 1 medium size diced
- Big Onion-1/2 diced
- coriander powder - 1 tsp
- cumin seeds - 1/4 tsp
- kashmiri Chilli powder - 1/2 tsp
- Tomatoes - 2 finely chopped
- Ginger garlic paste - 1/2 tsp
- Garam masala - 1/4 tsp
- kitchen king masala - 1/2 tsp
- Ghee - 6 grams
- Dried methi leaves - few
- Salt as needed
- Fennel seed - 1/2 tsp
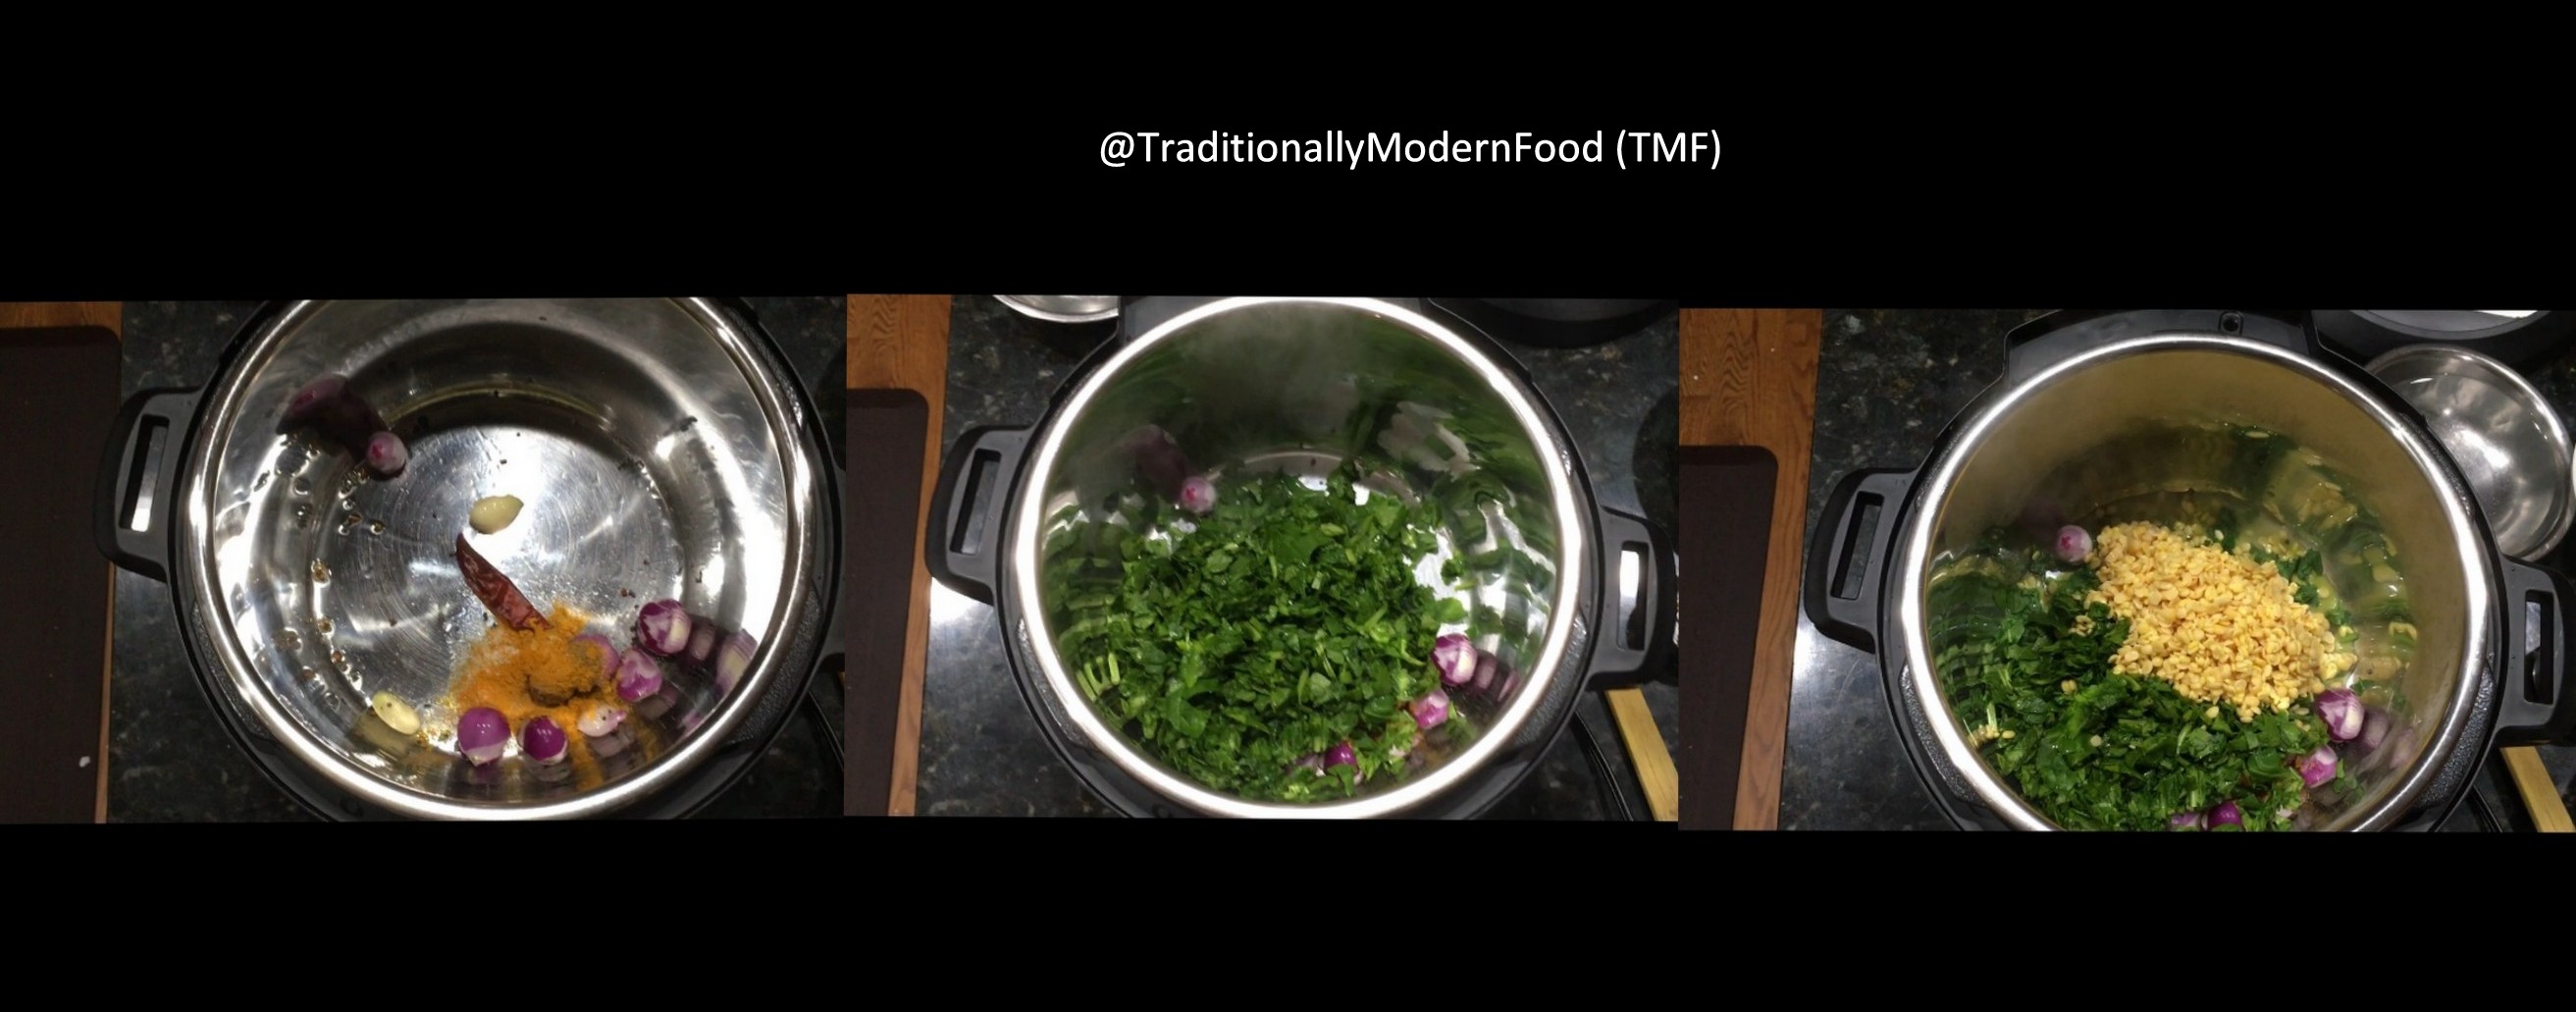
Instructions
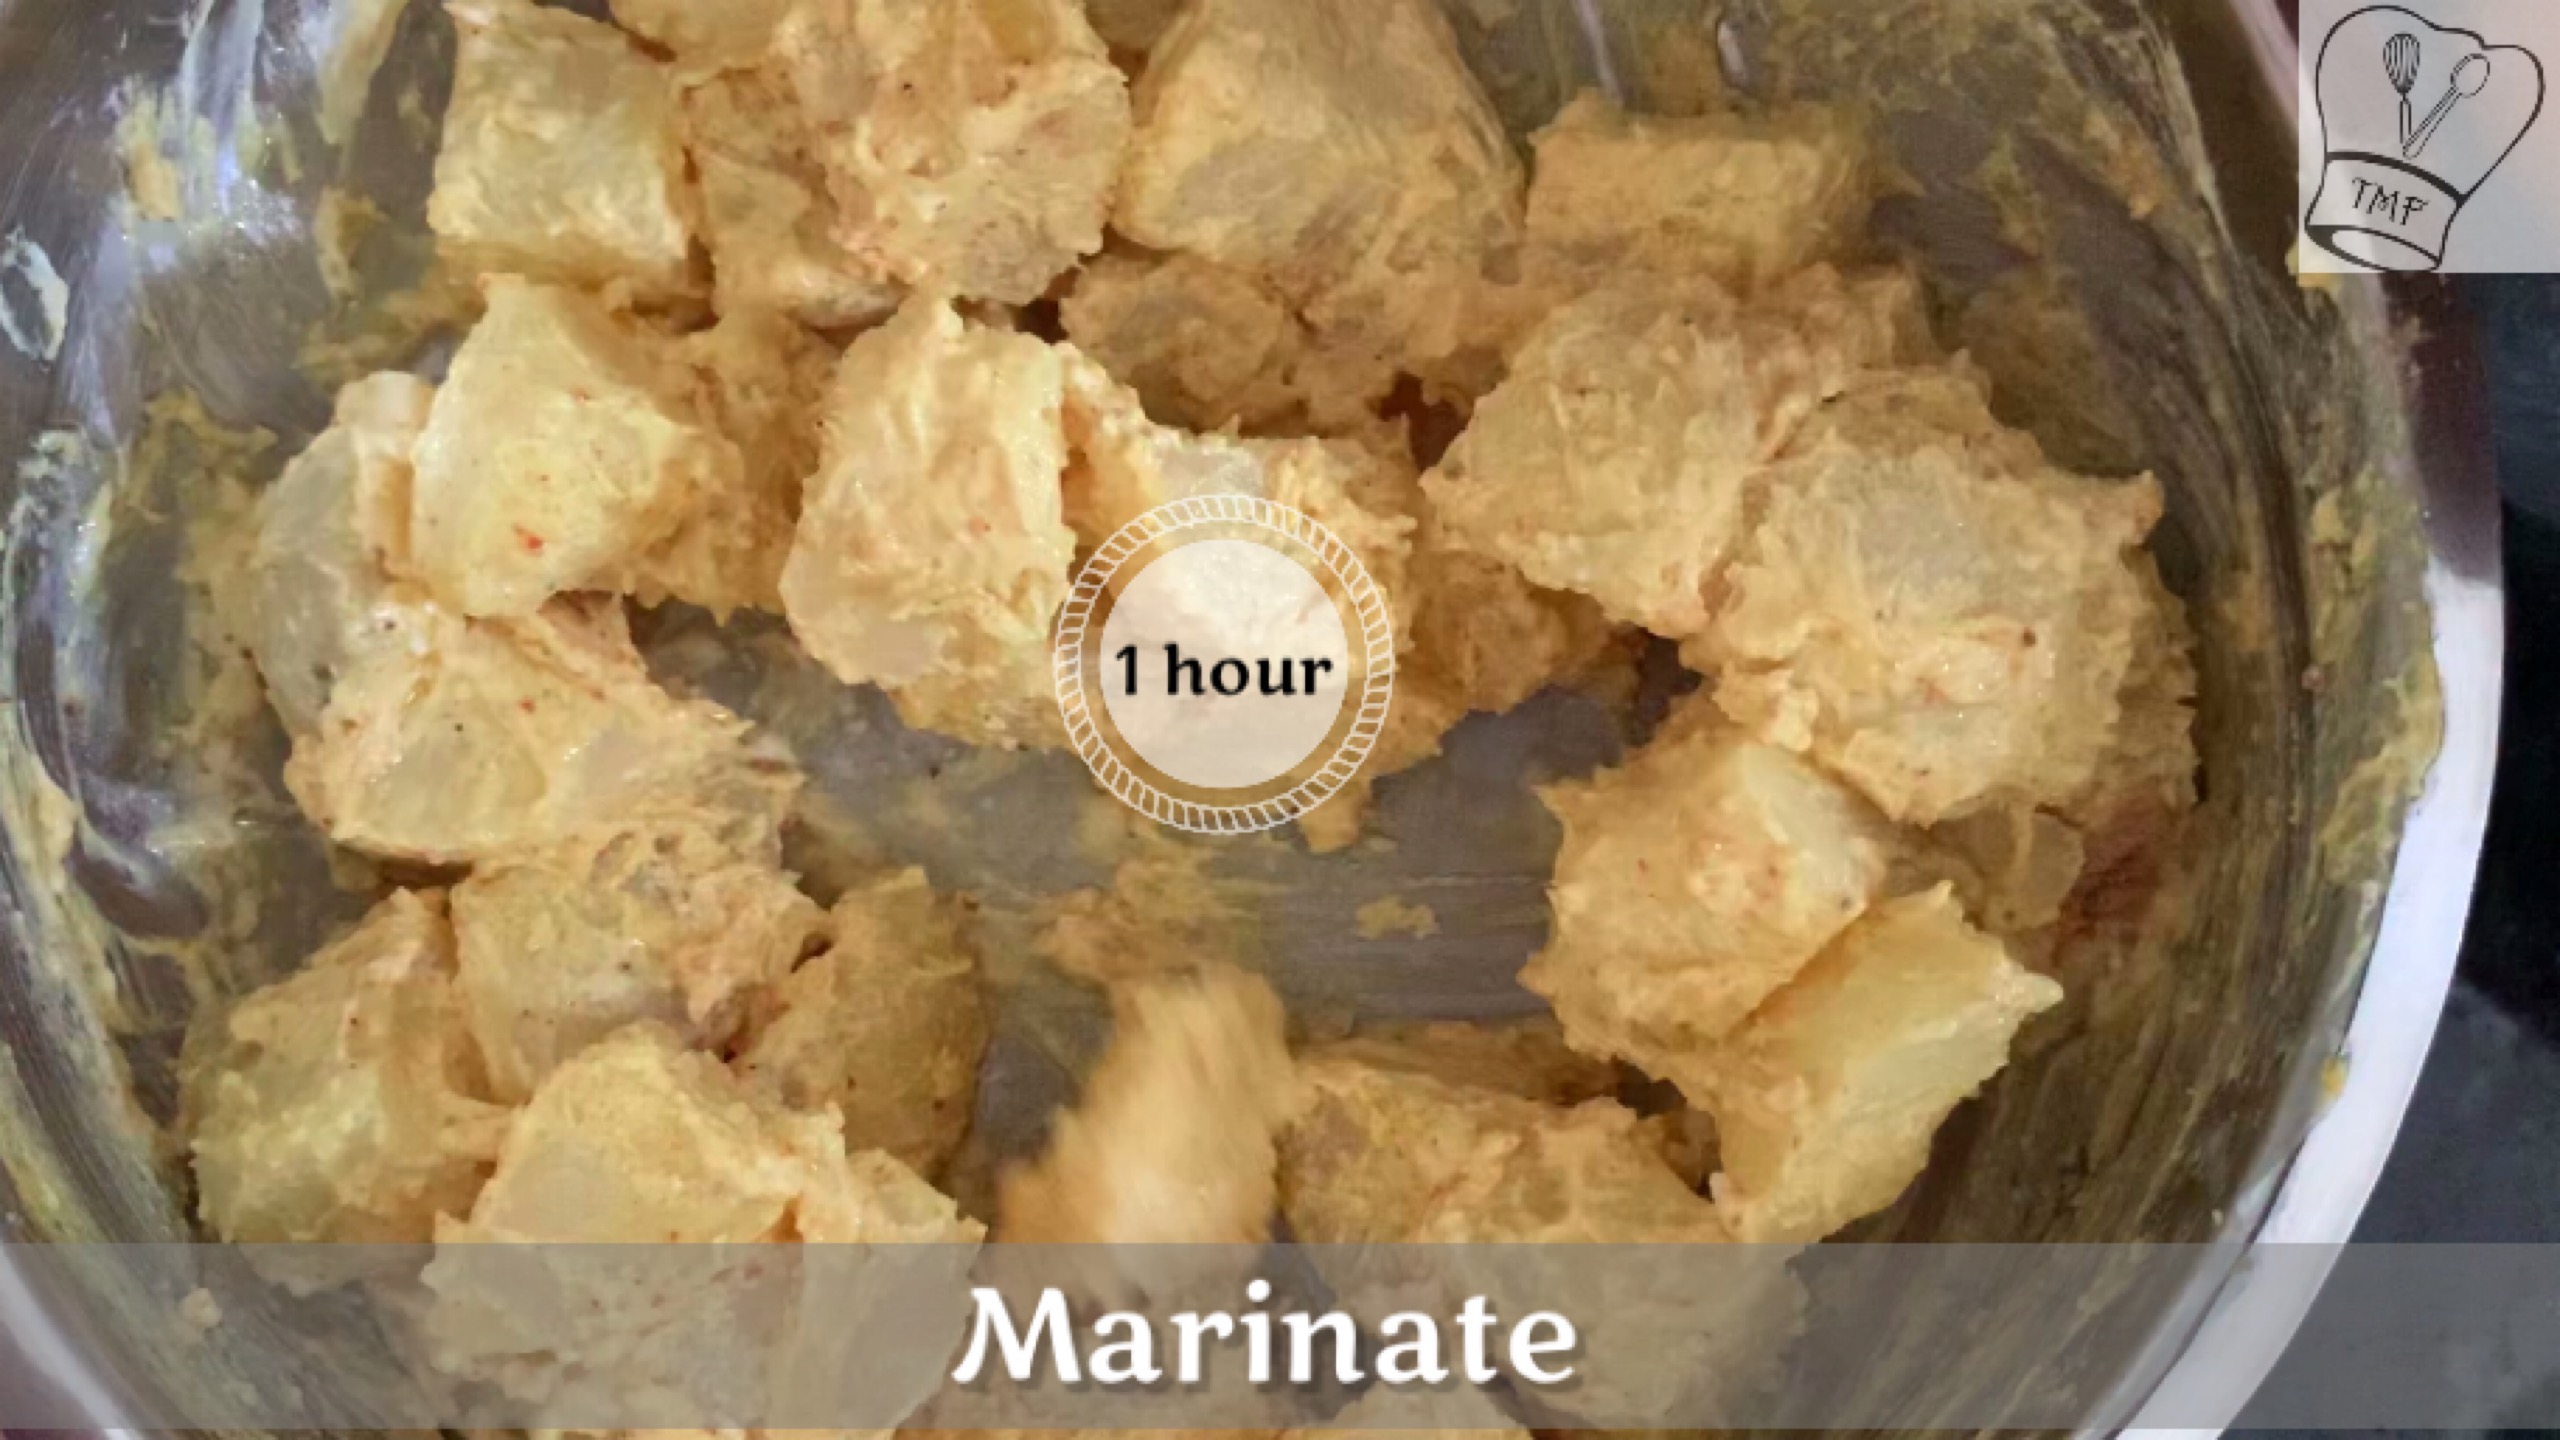
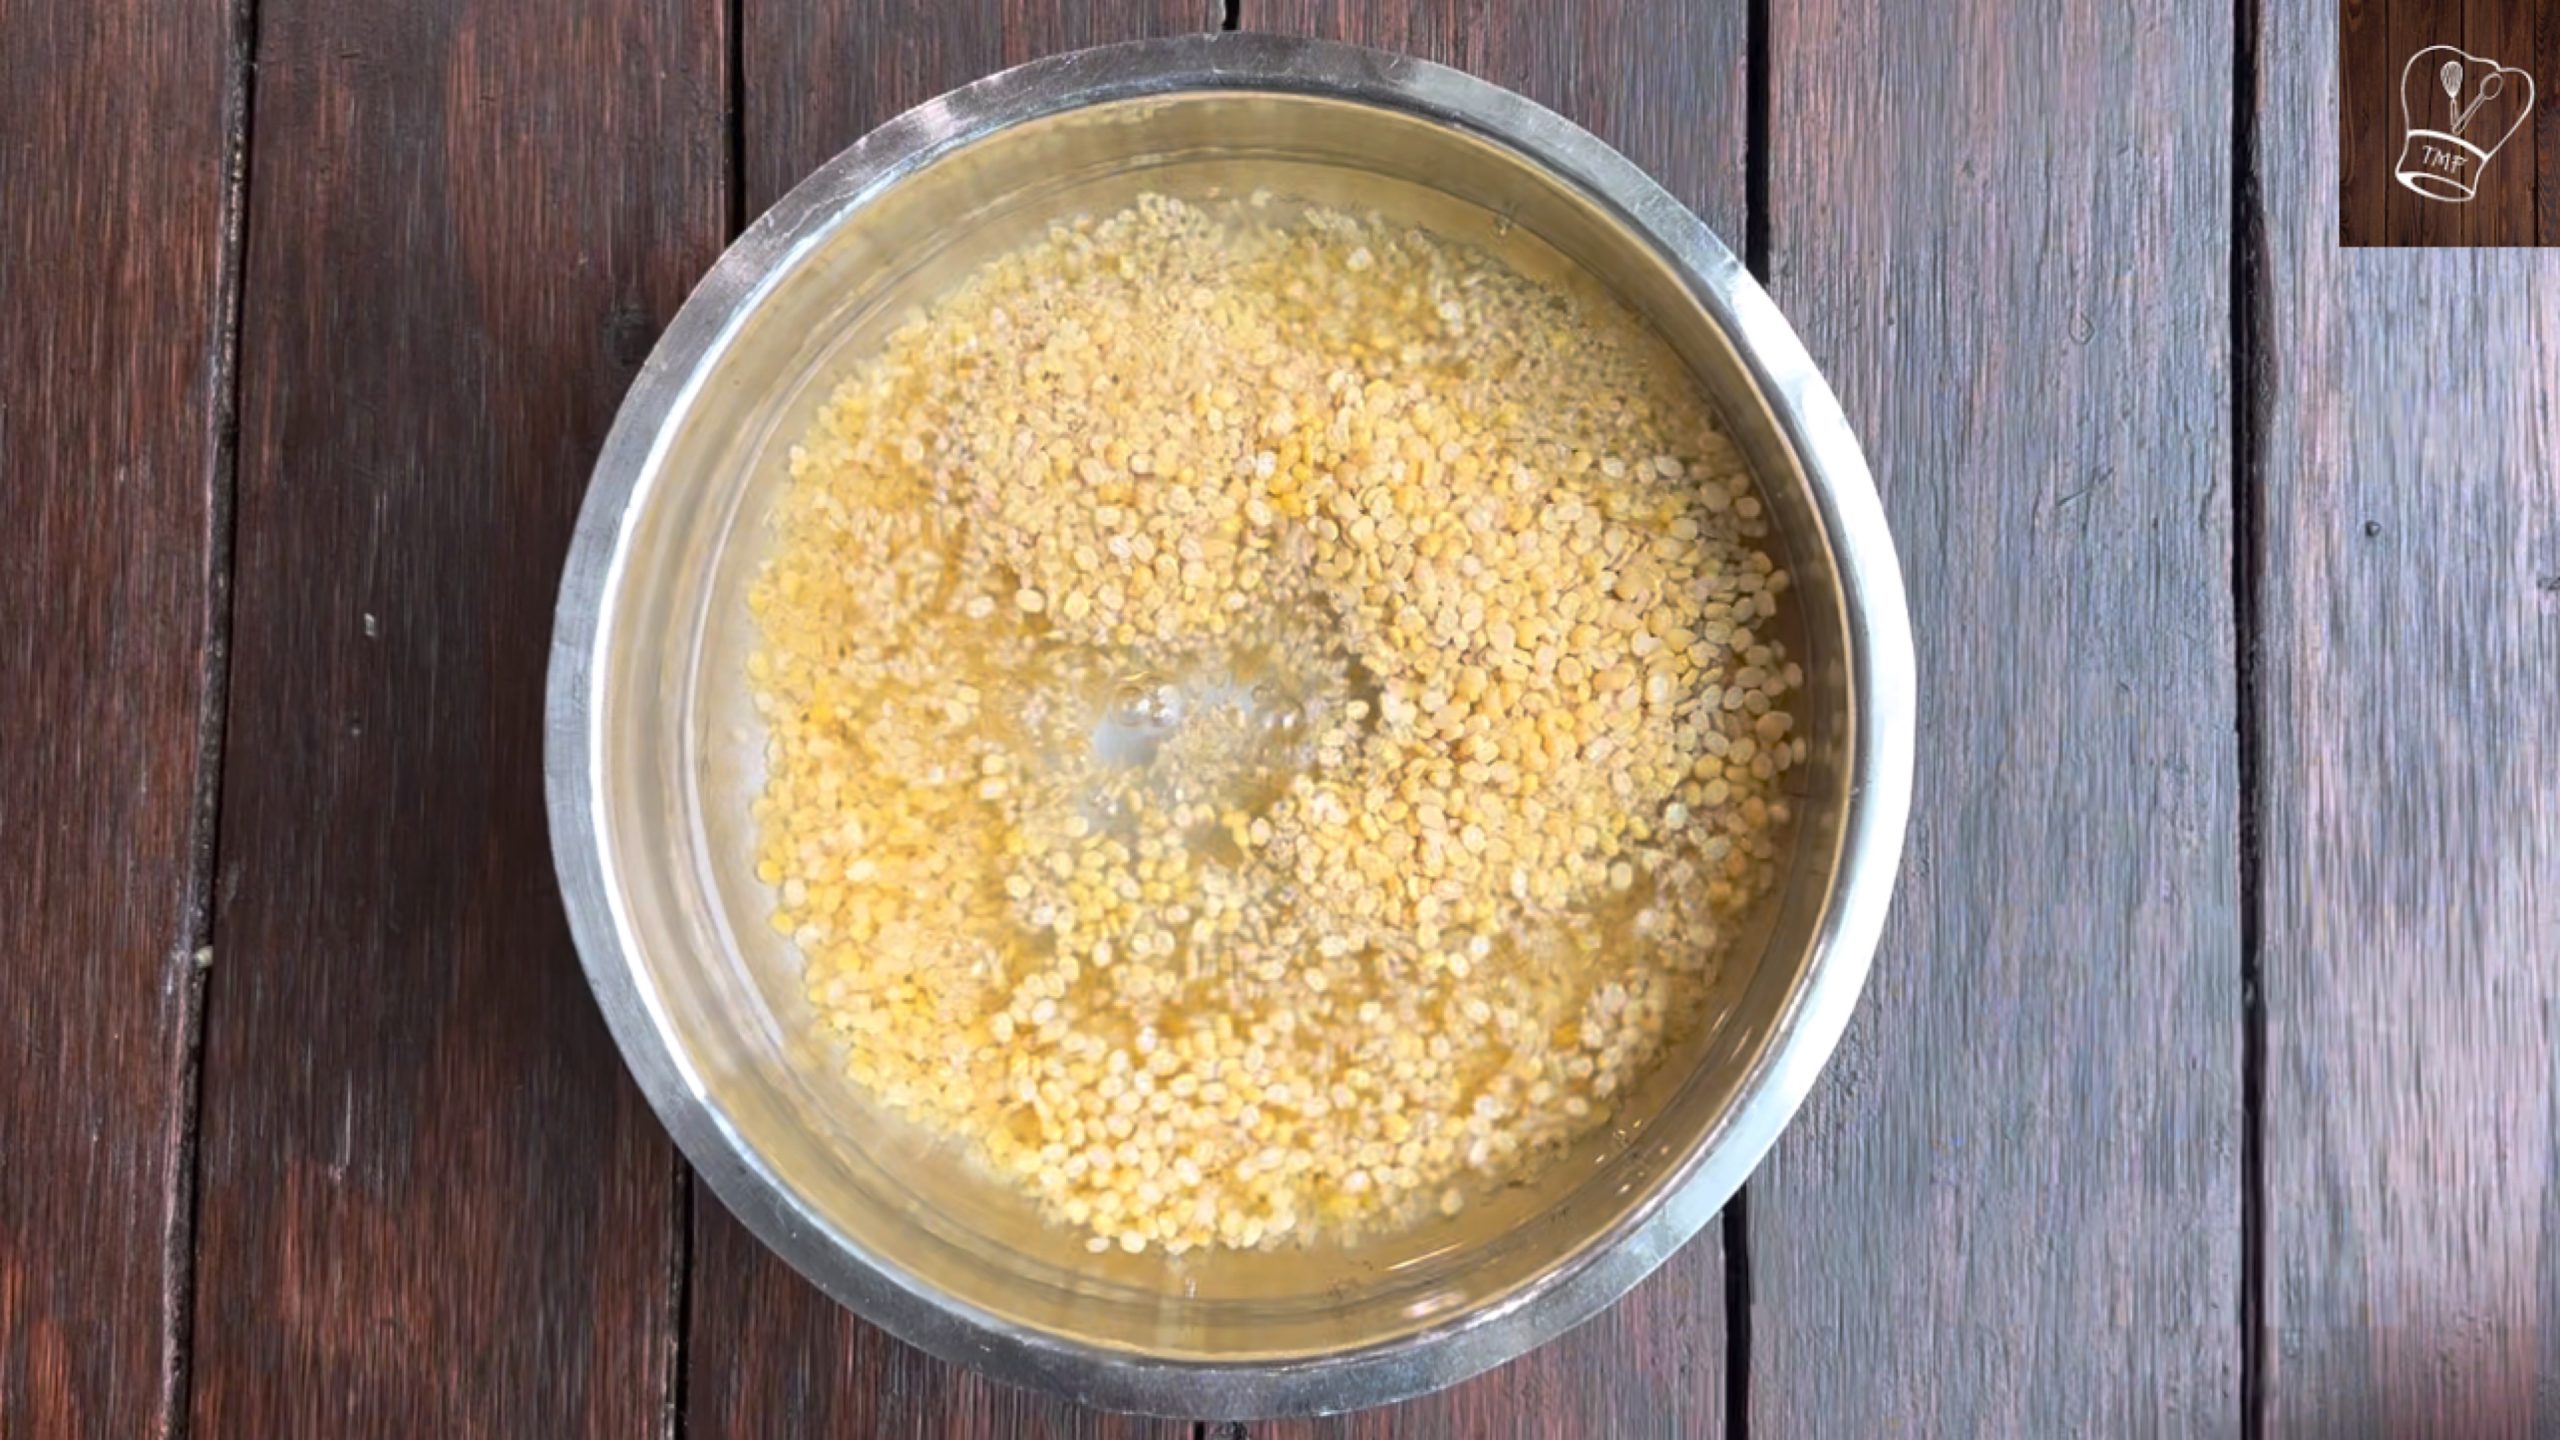
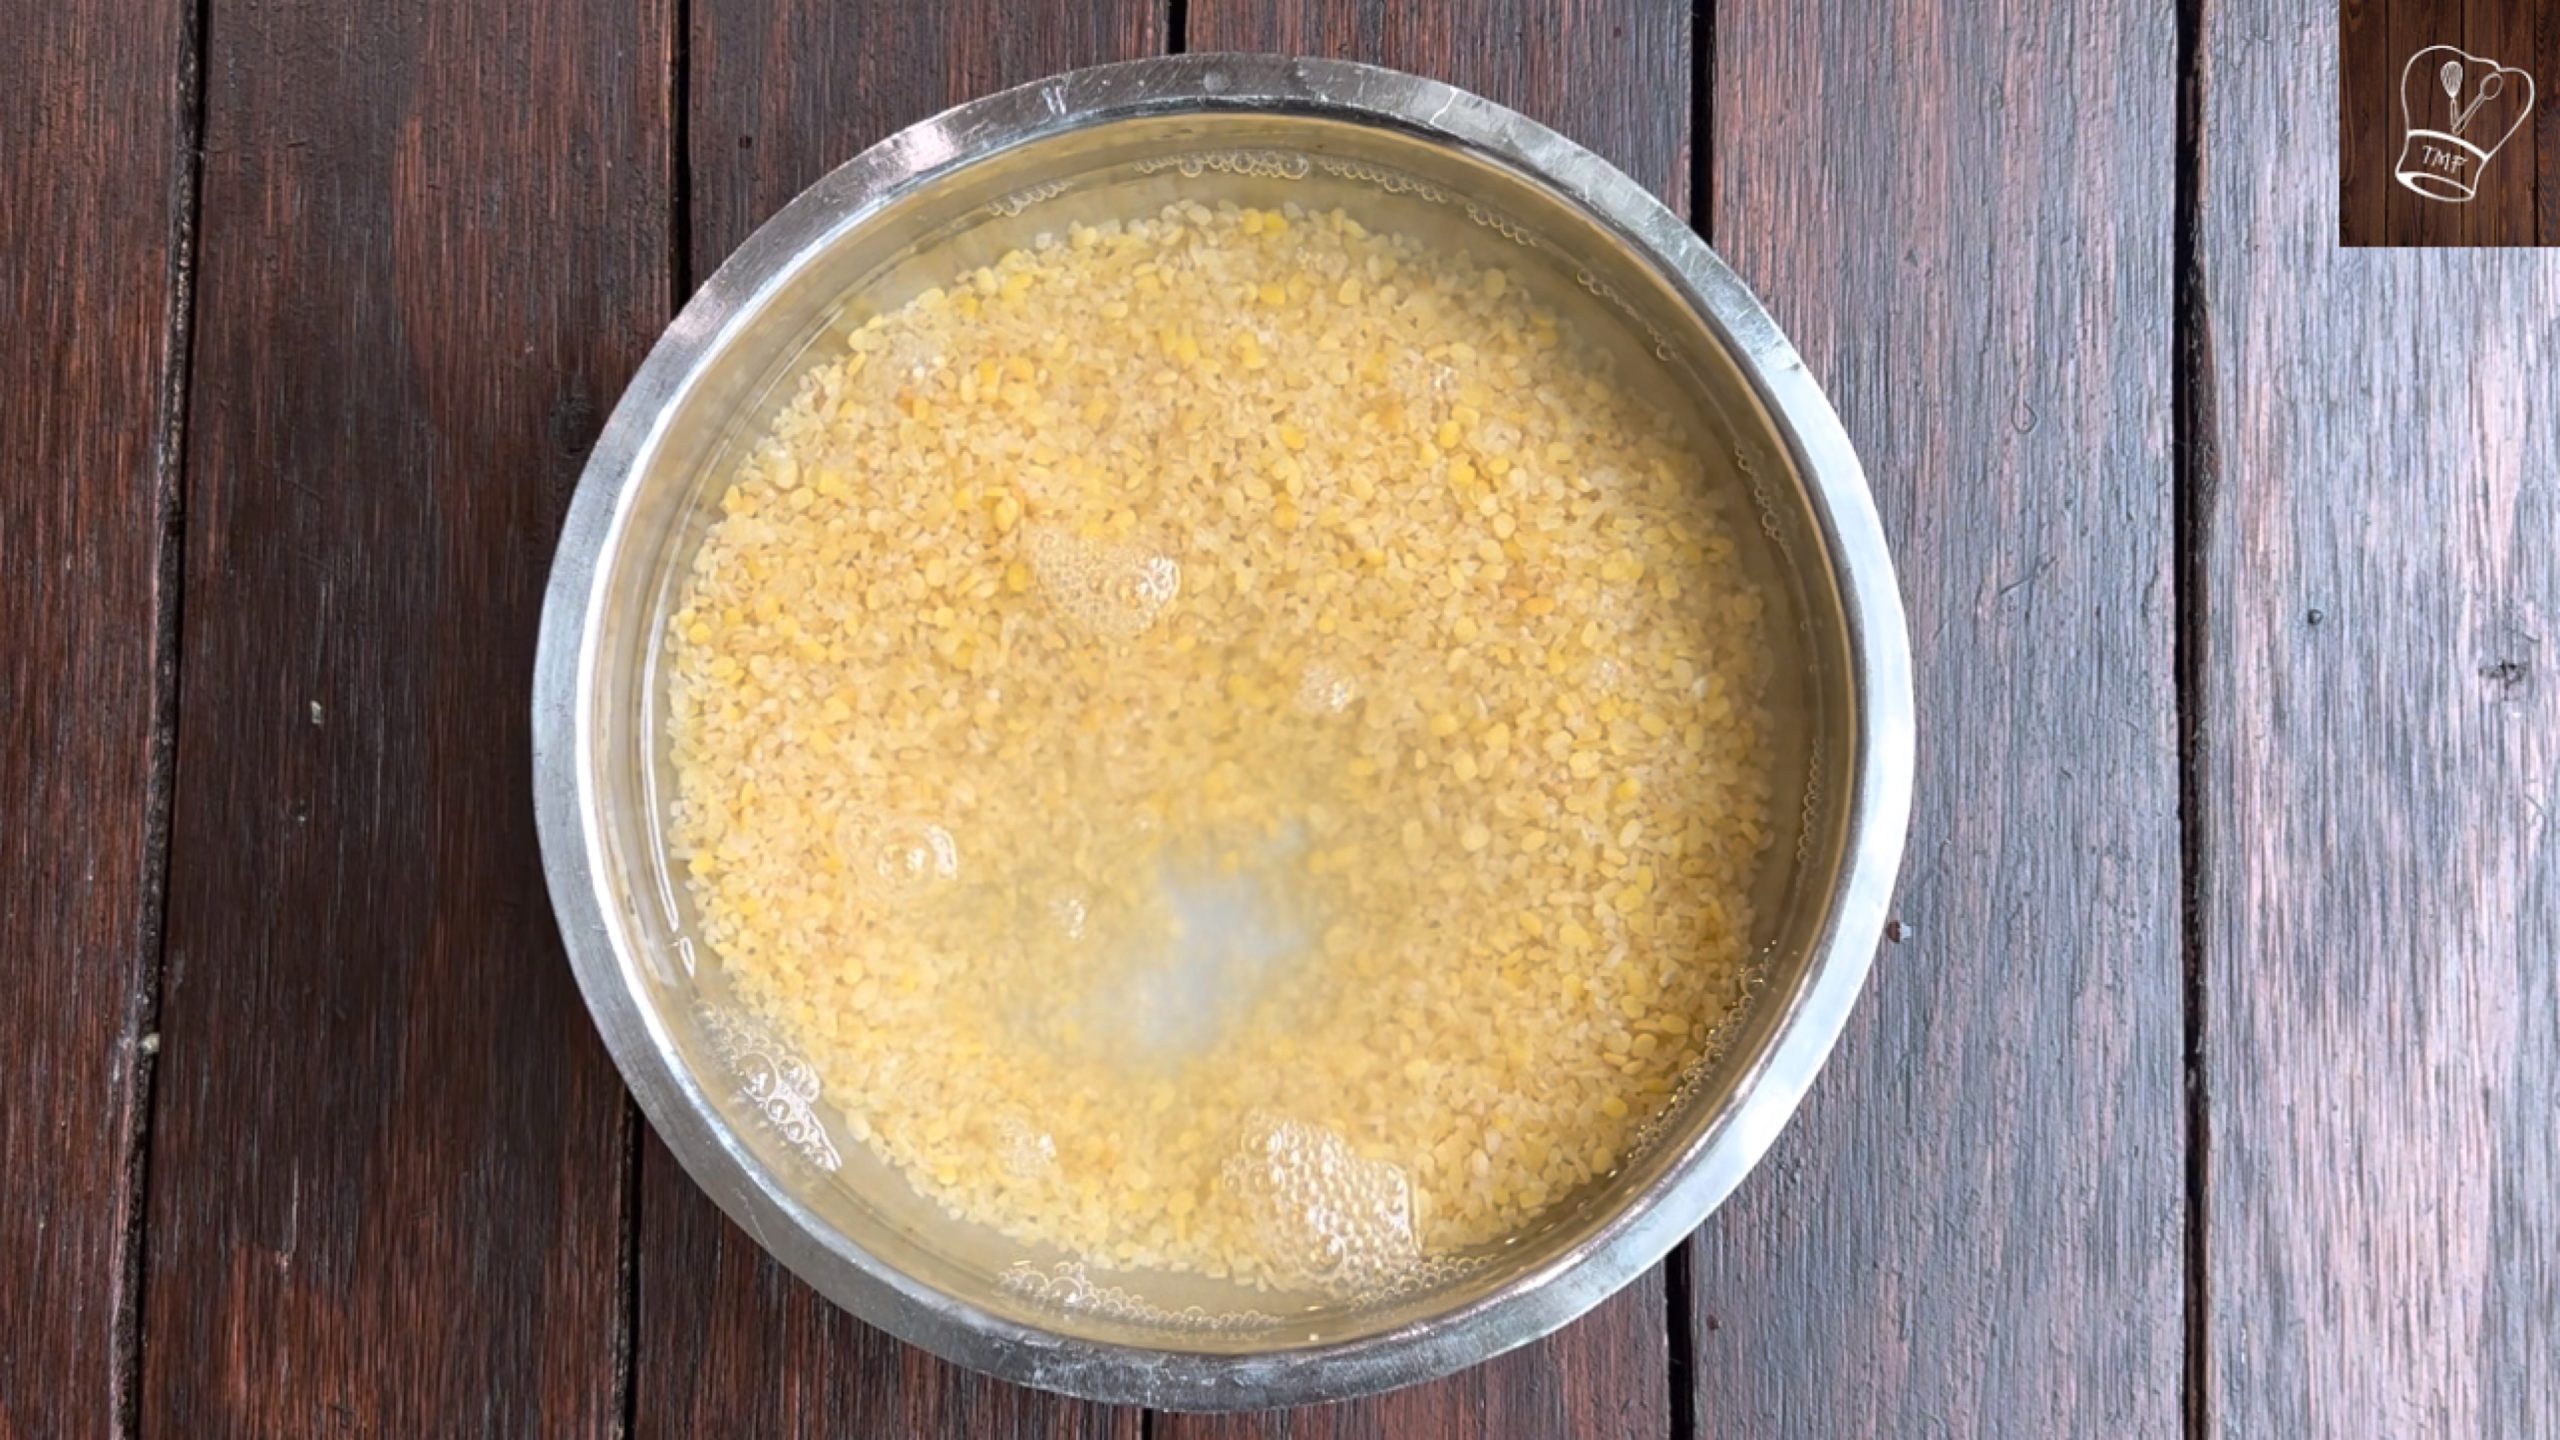
- Soak paneer in hot water for atleast 30 minutes
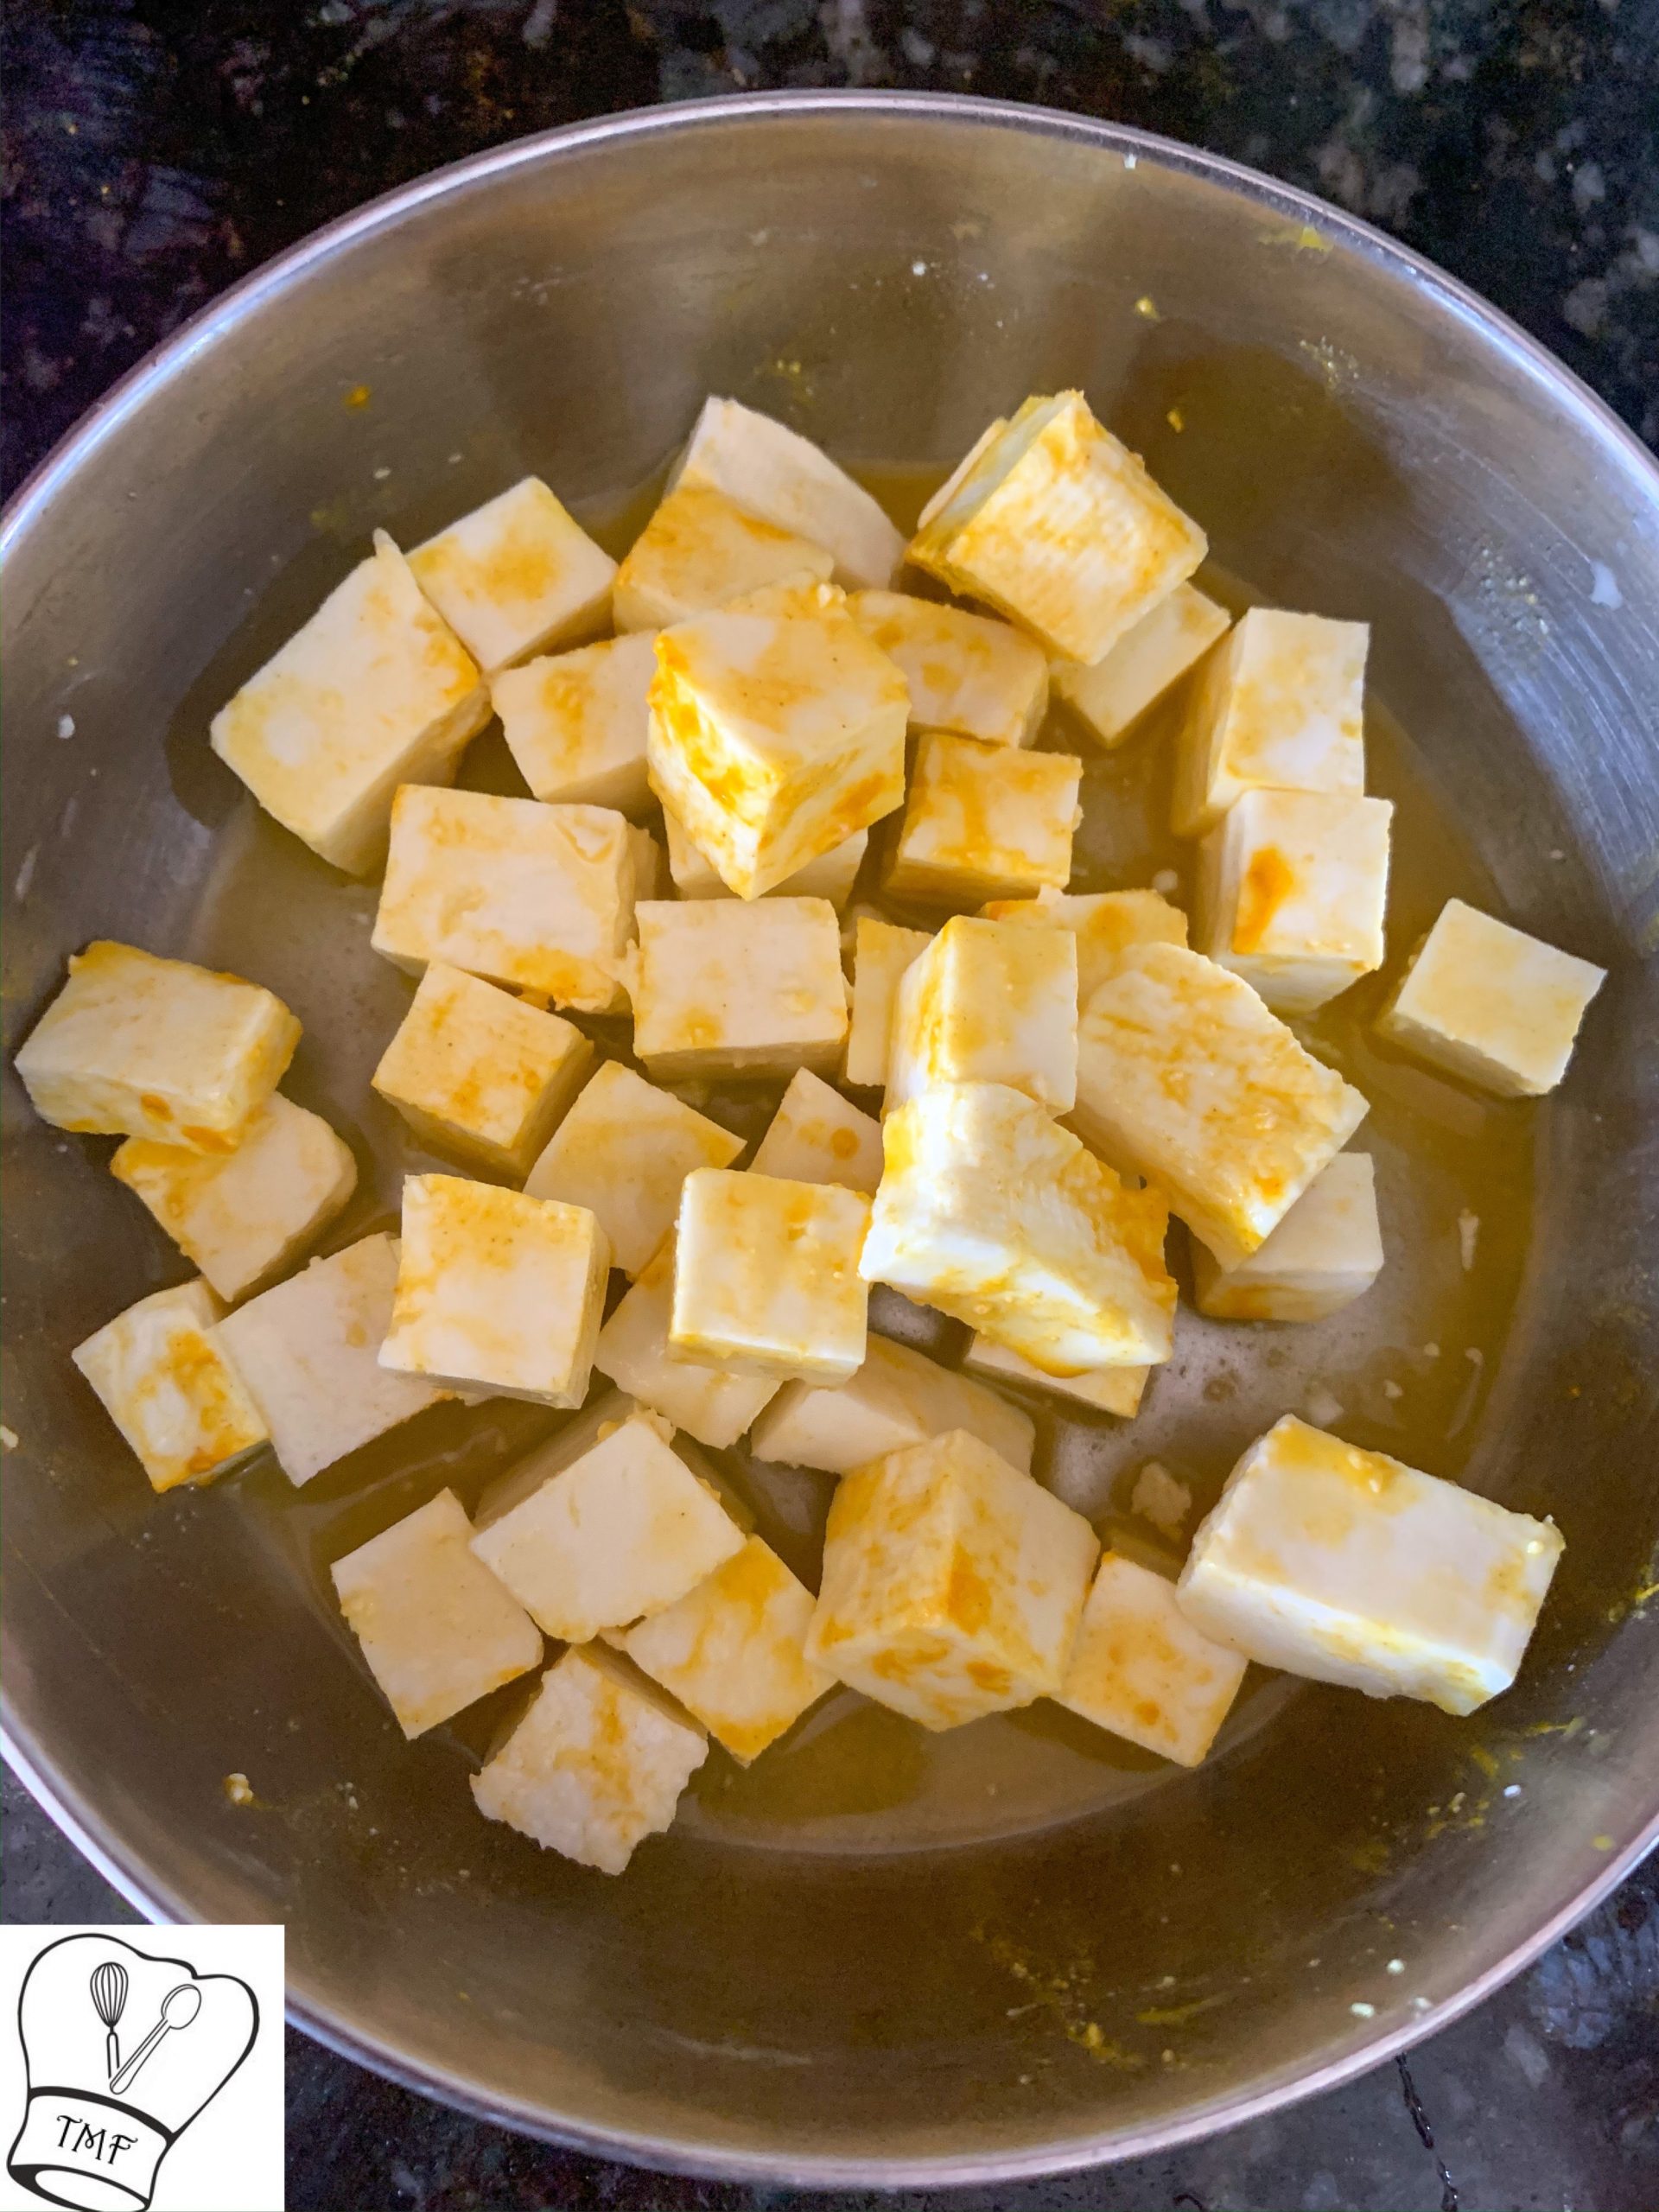
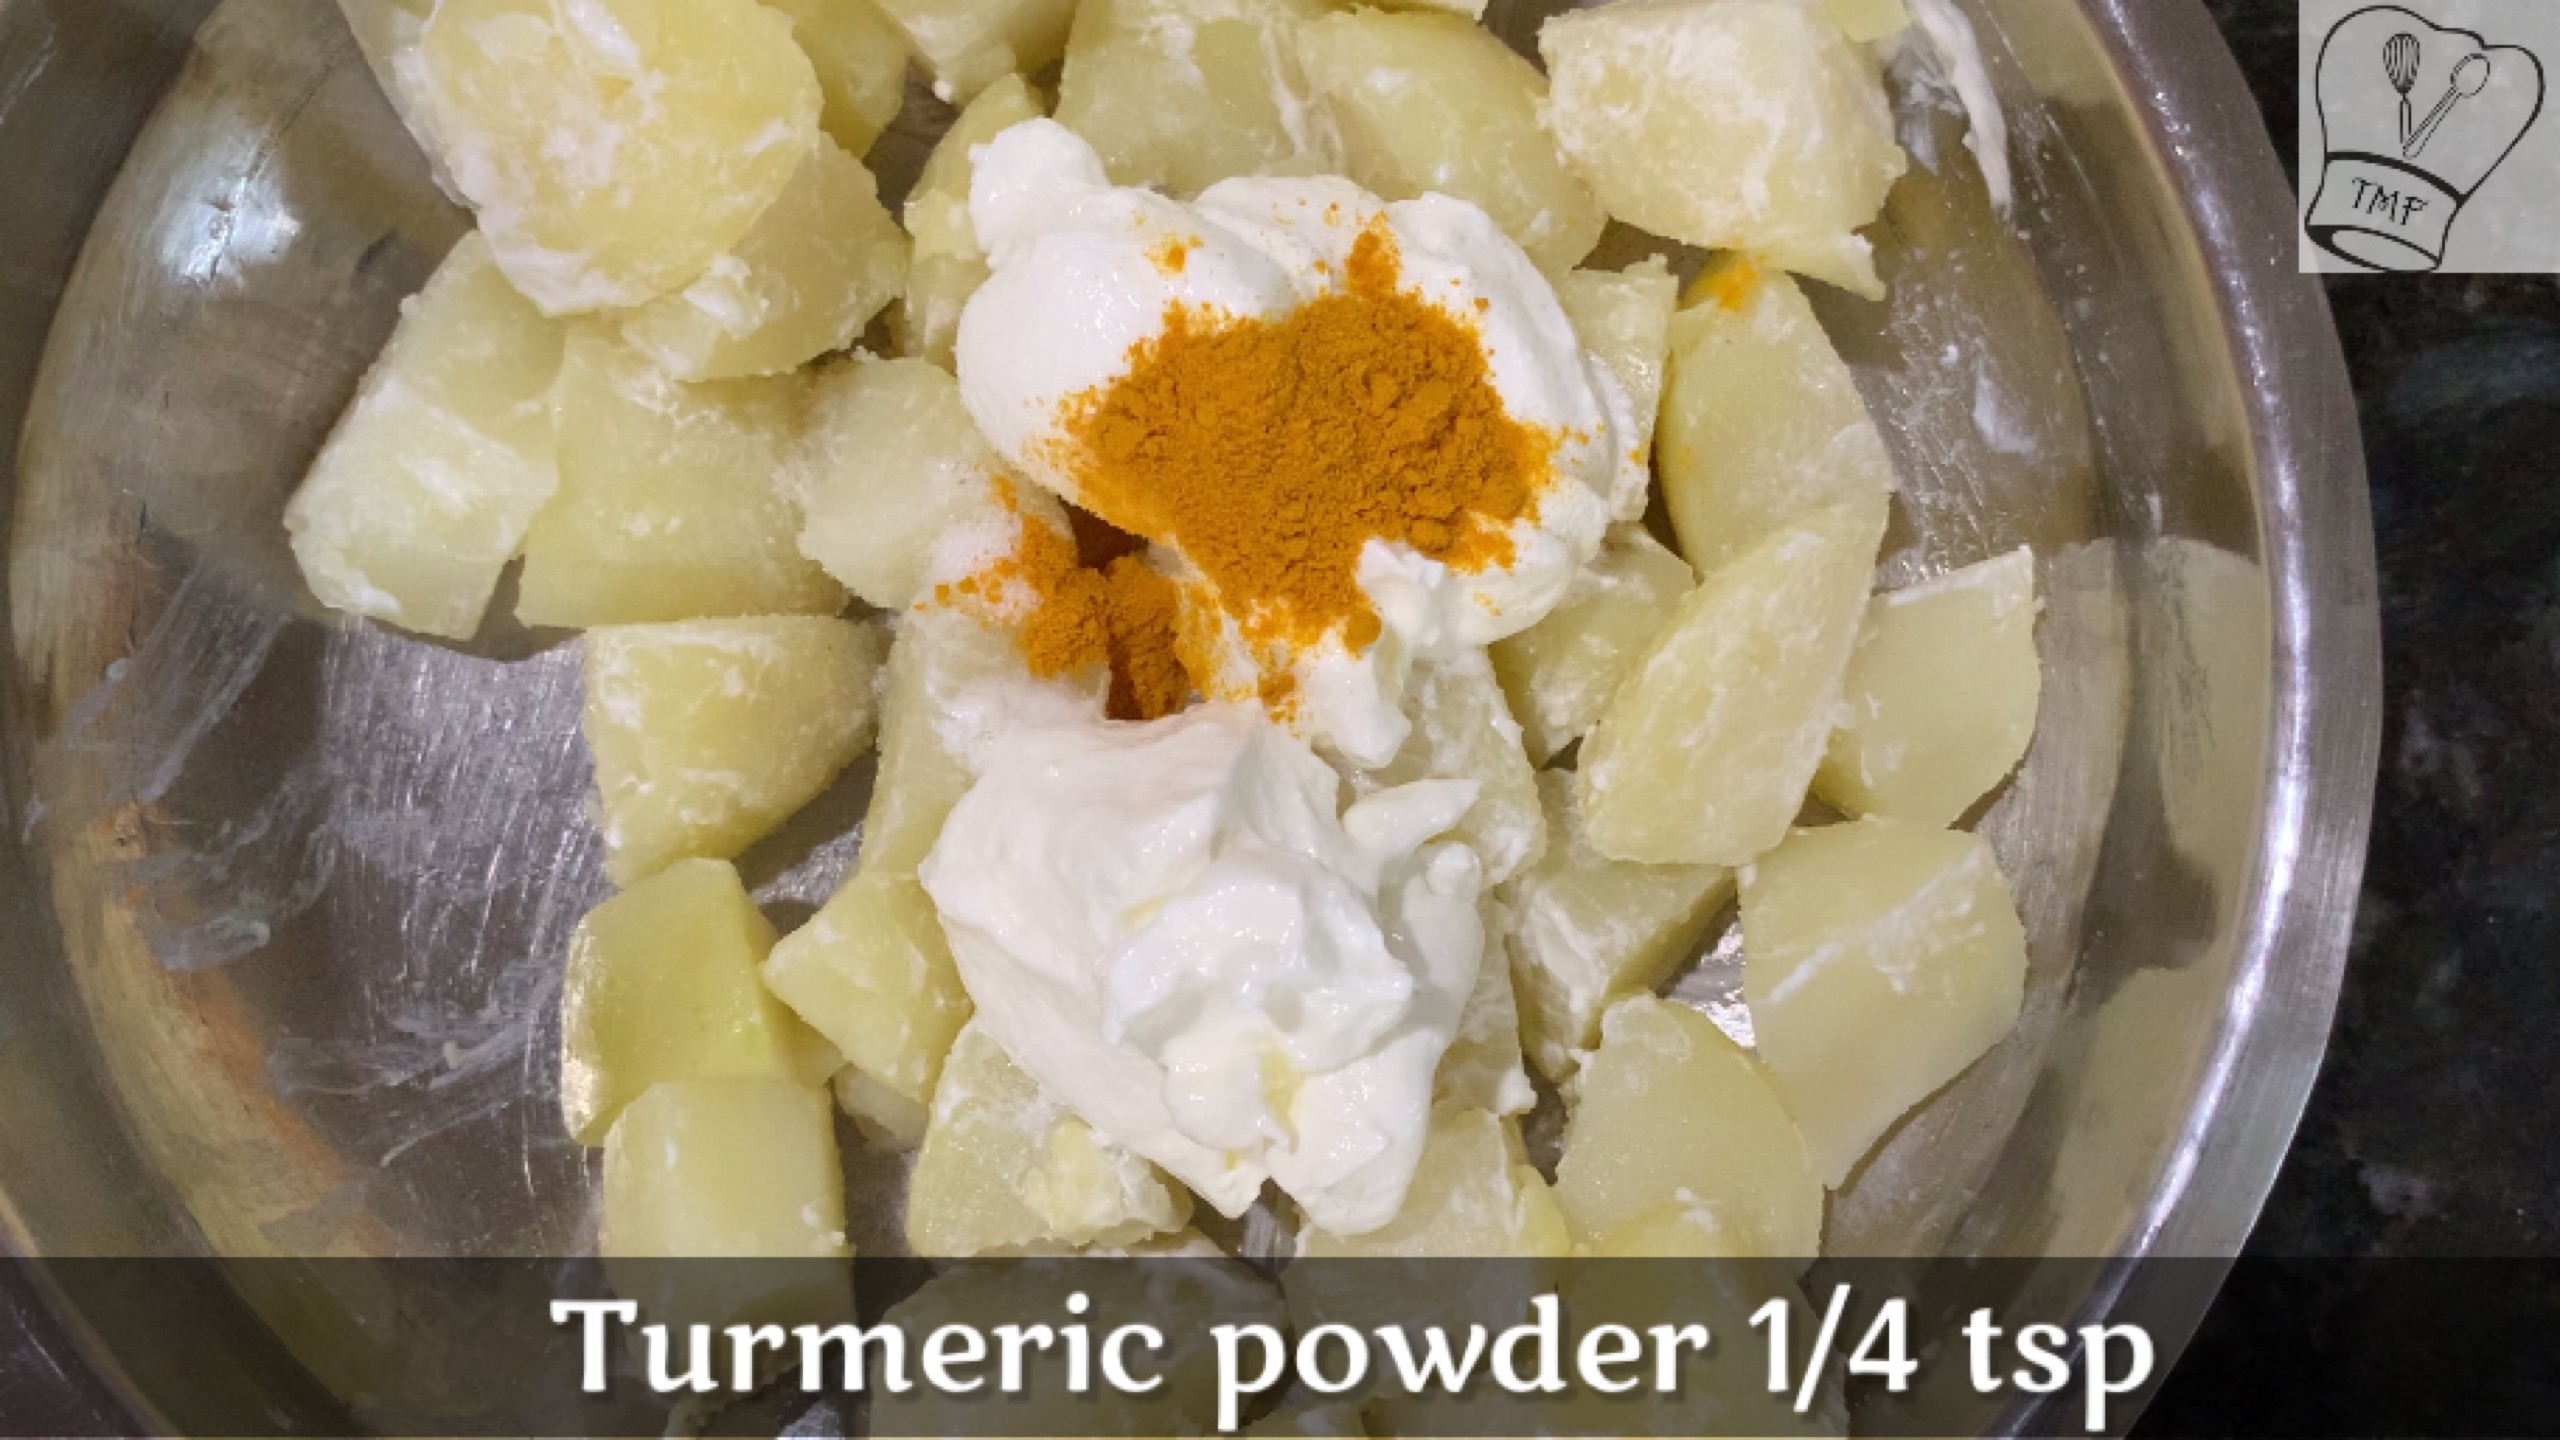
- Drain the water. Add turmeric powder to the paneer and mix well
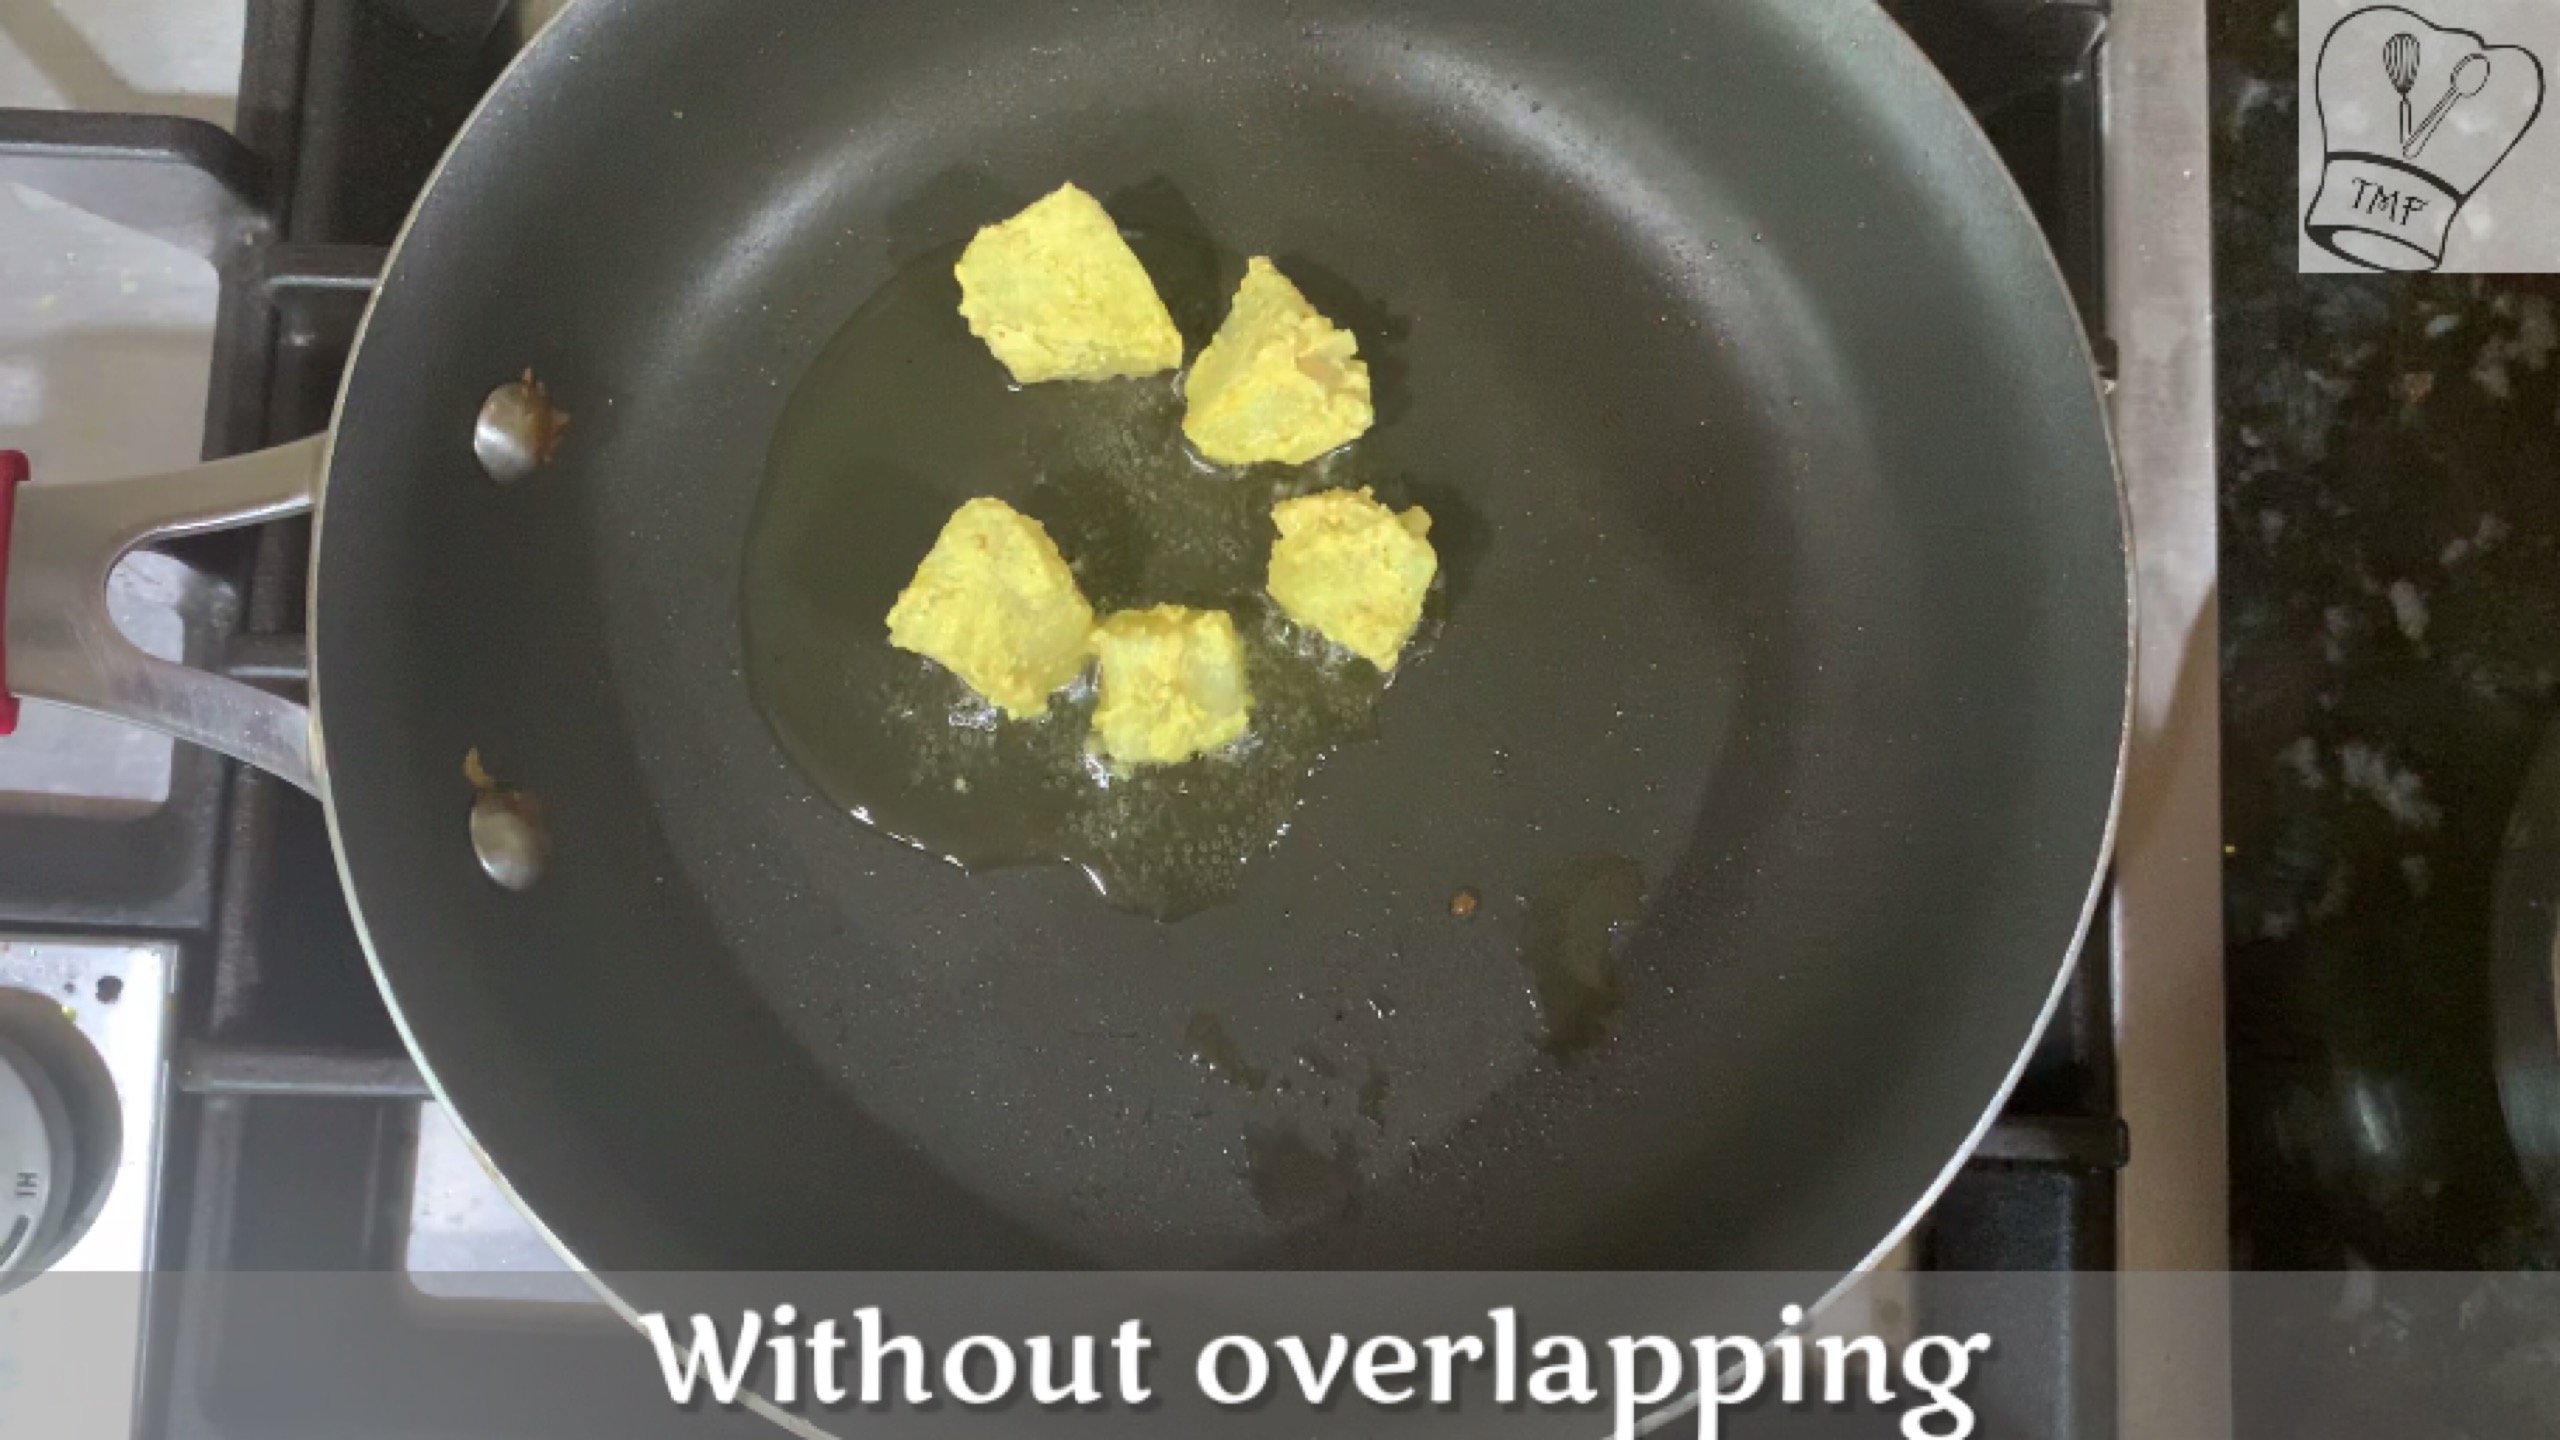
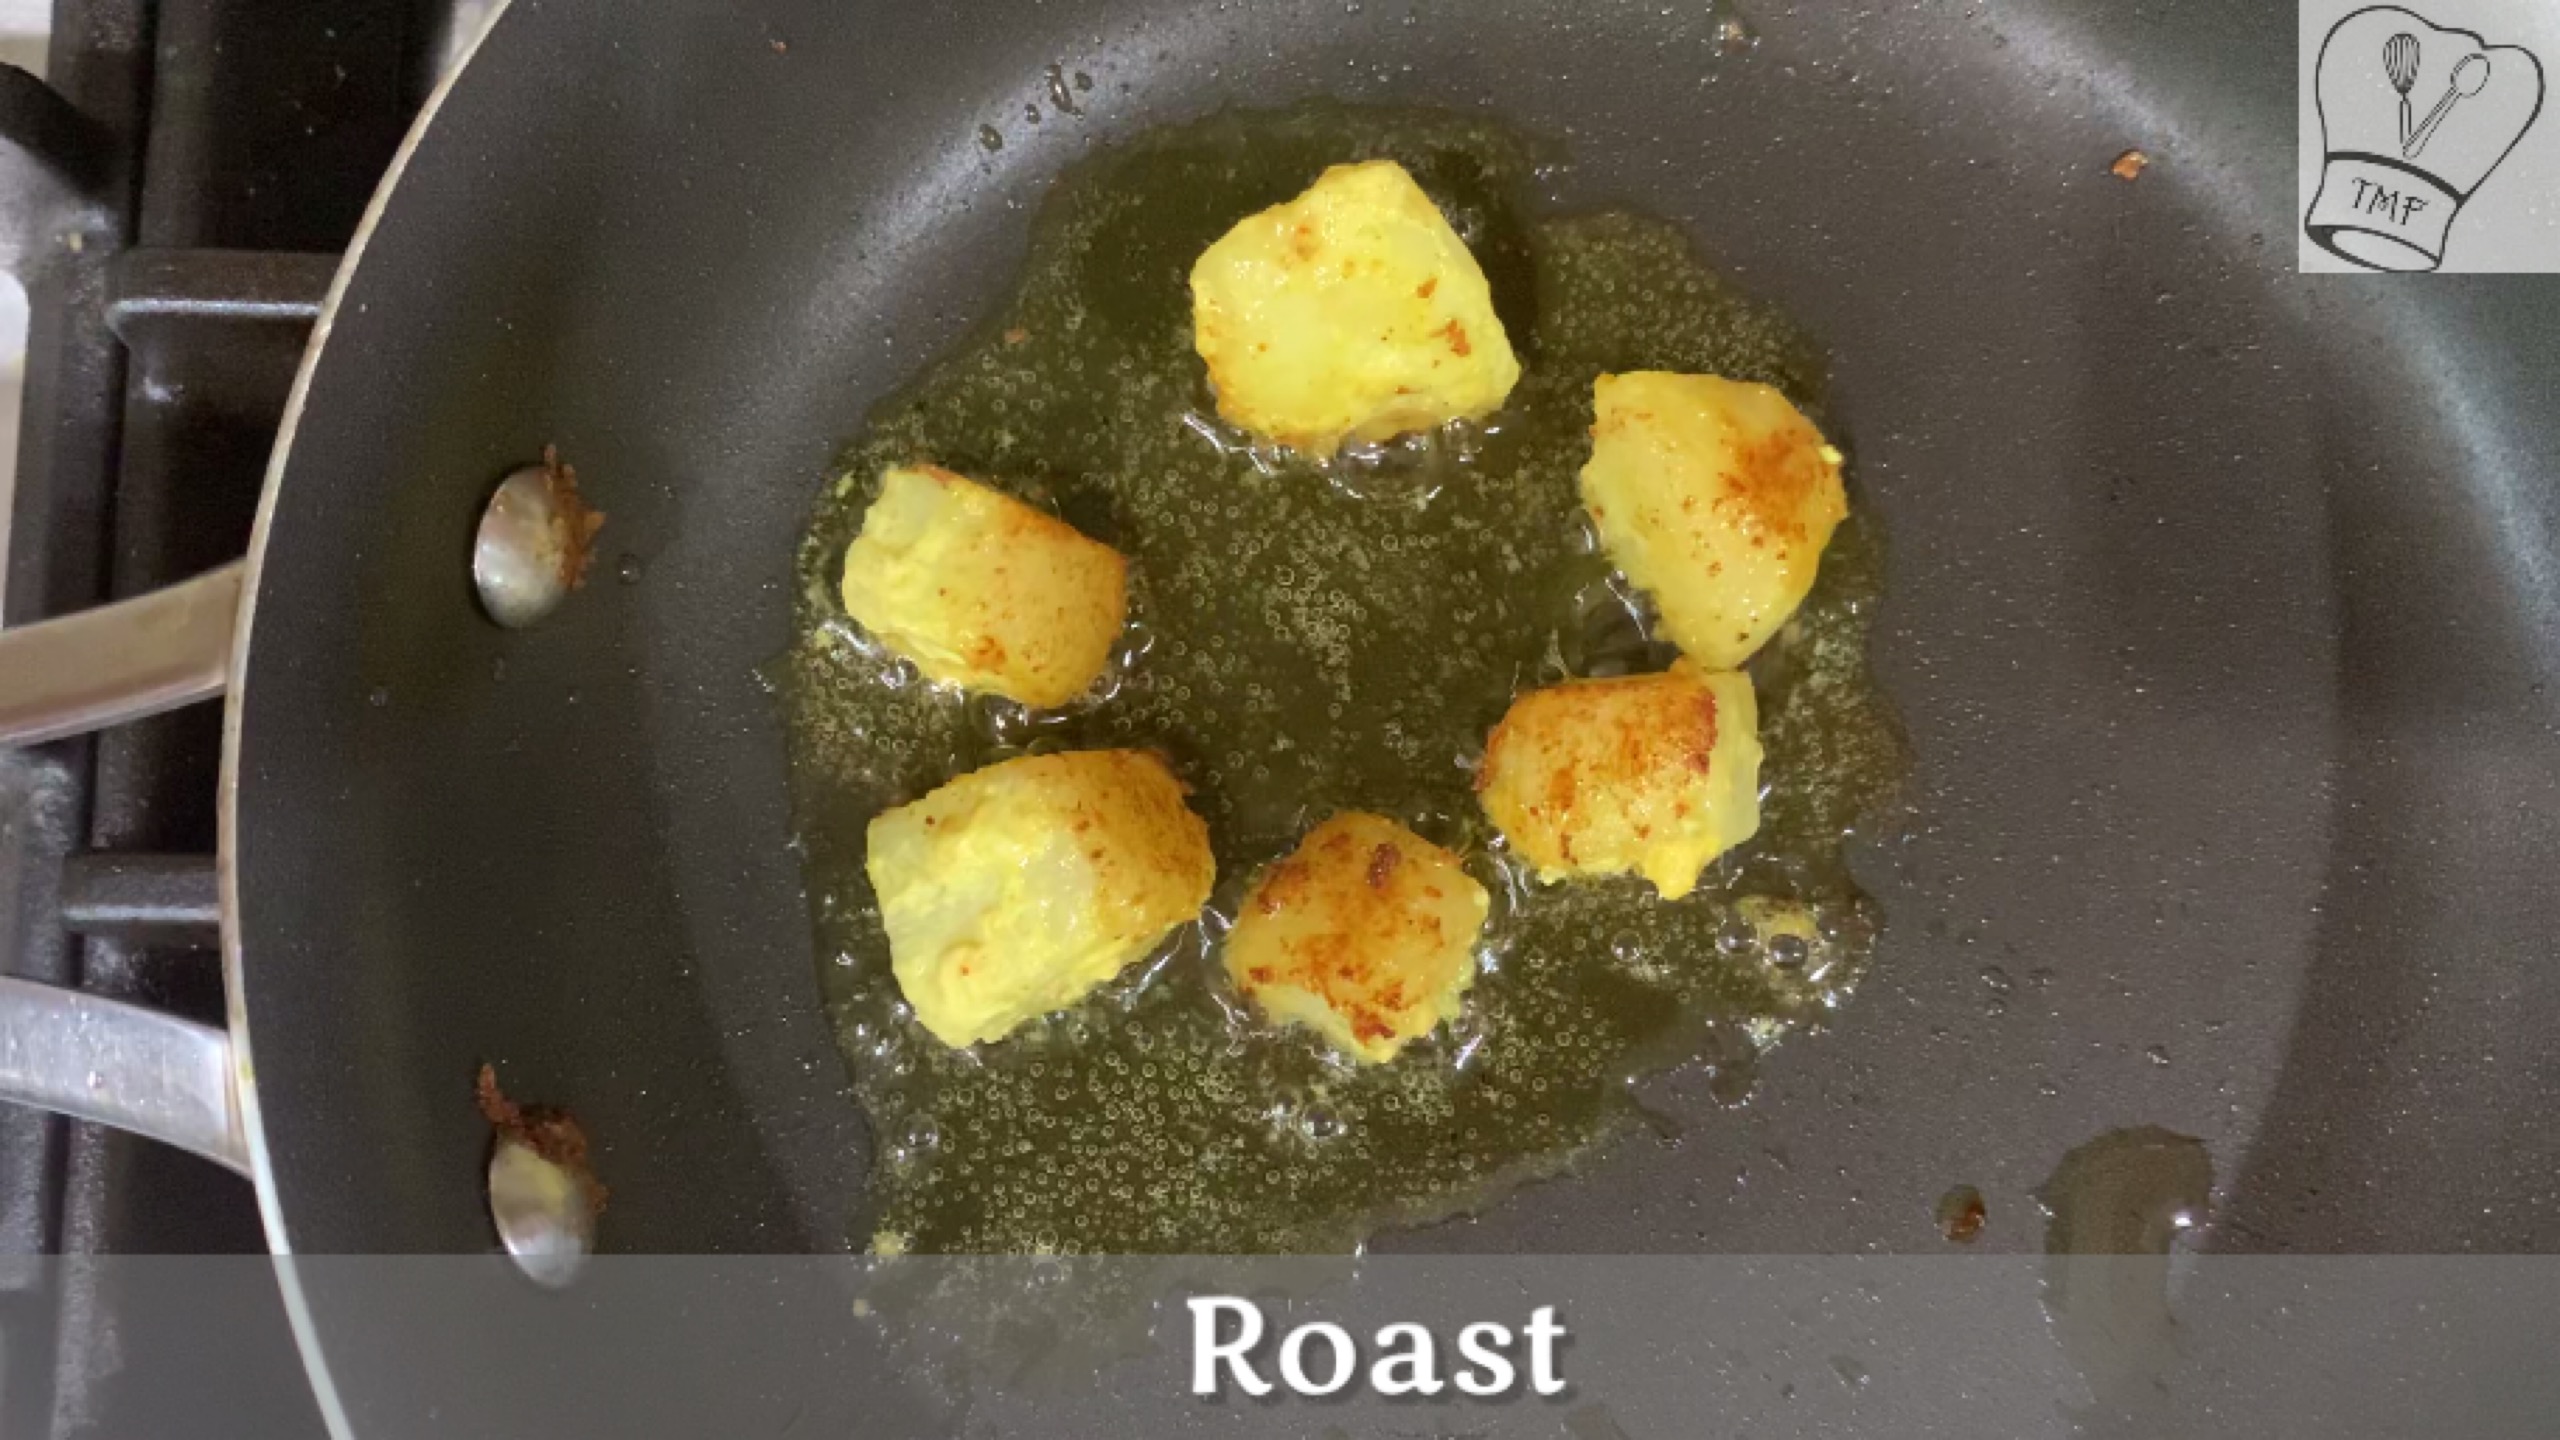
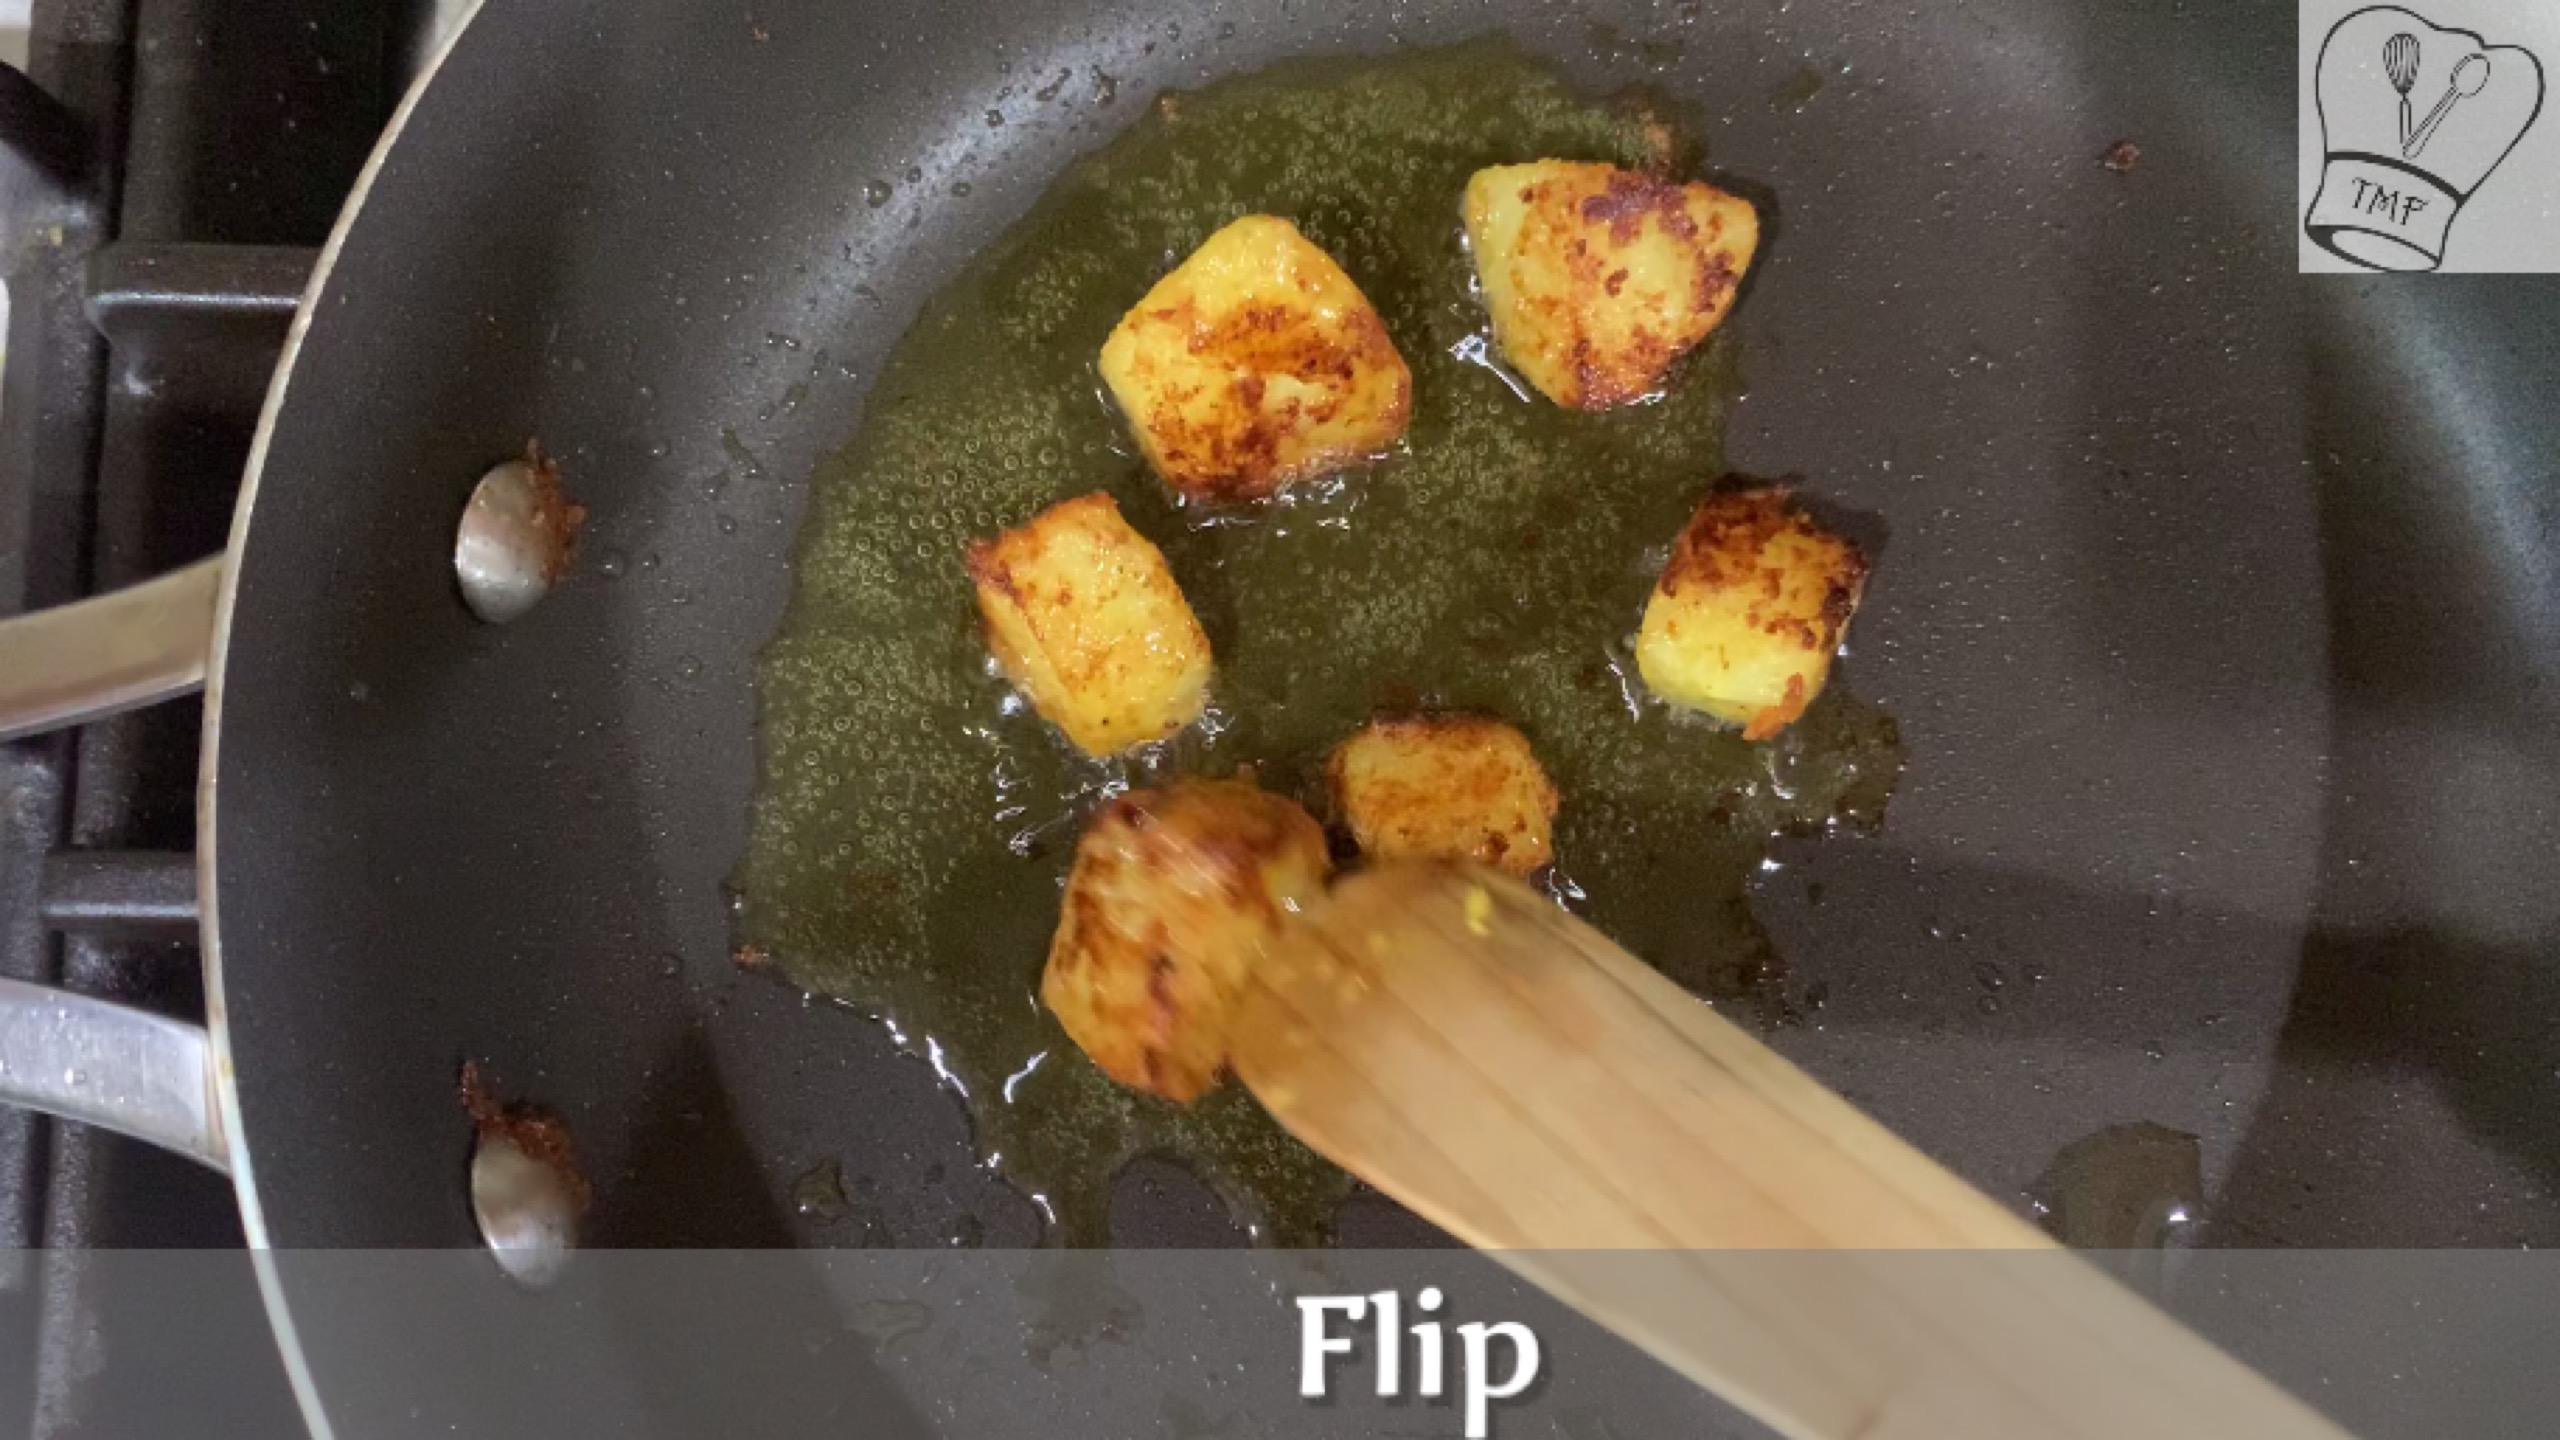
- Add 2 grams of ghee and sauté onion and capsicum with little salt for 2/3 minutes
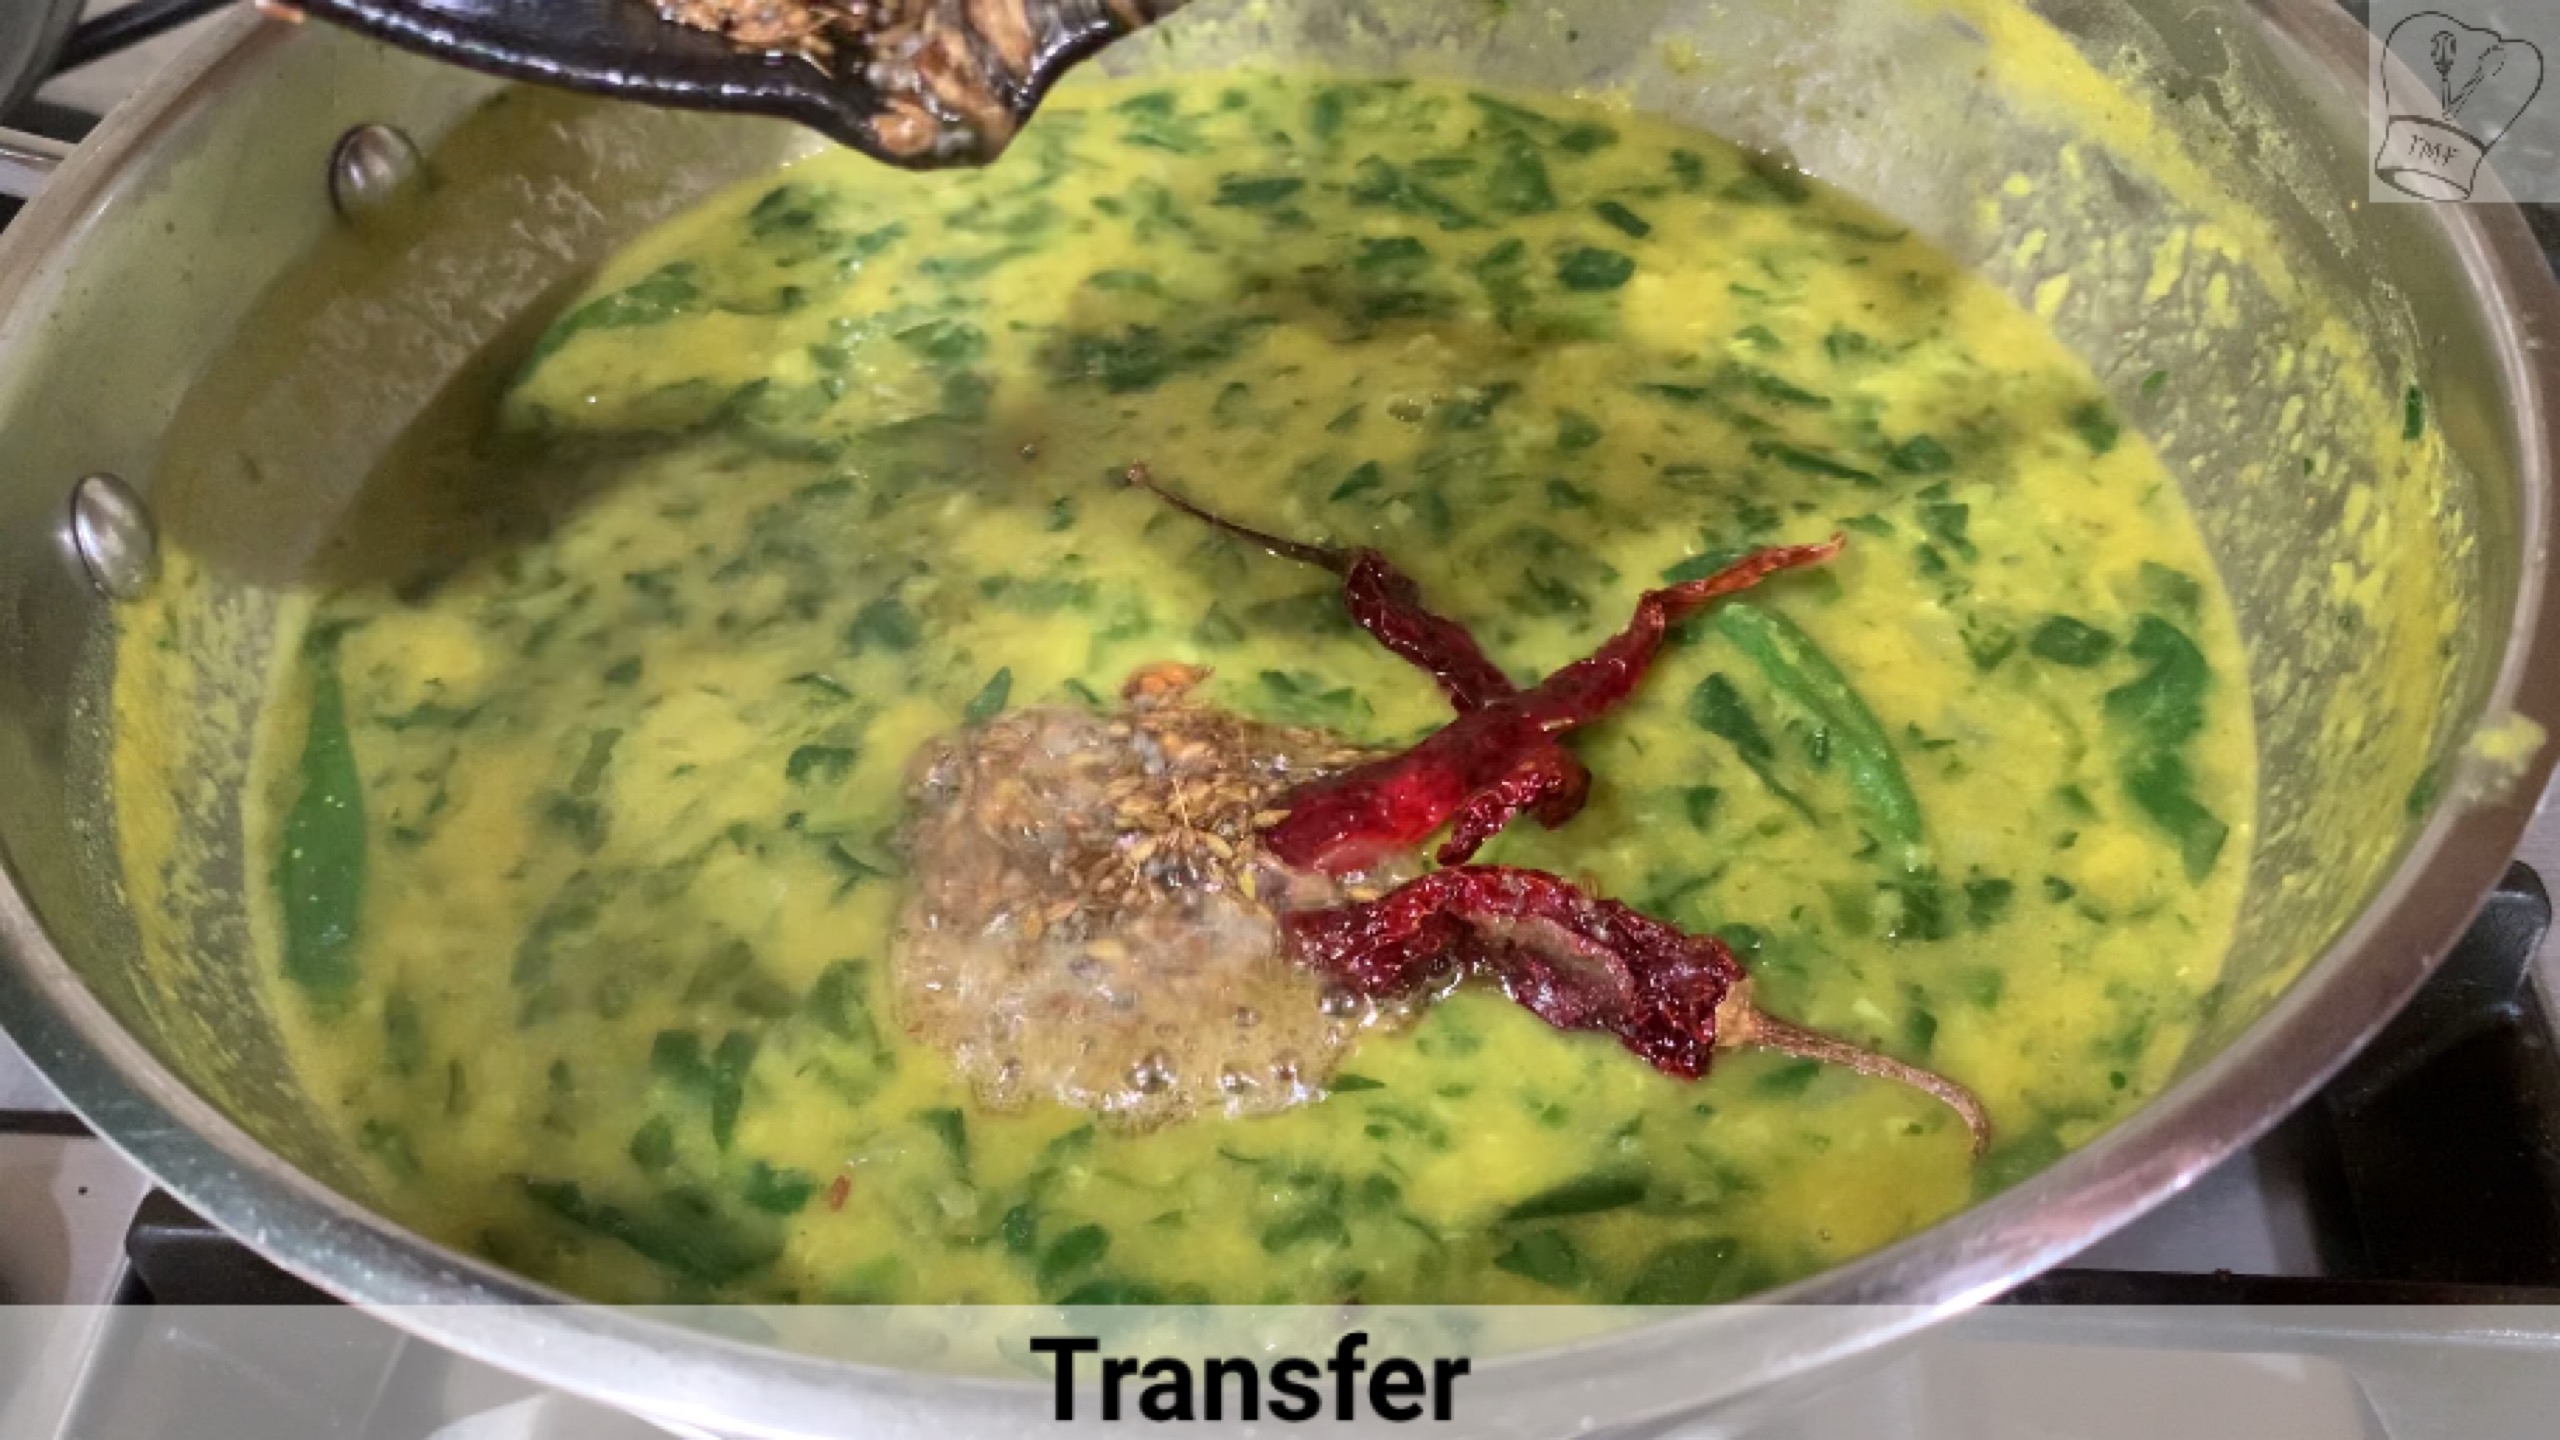
- Switch off and transfer into a plate
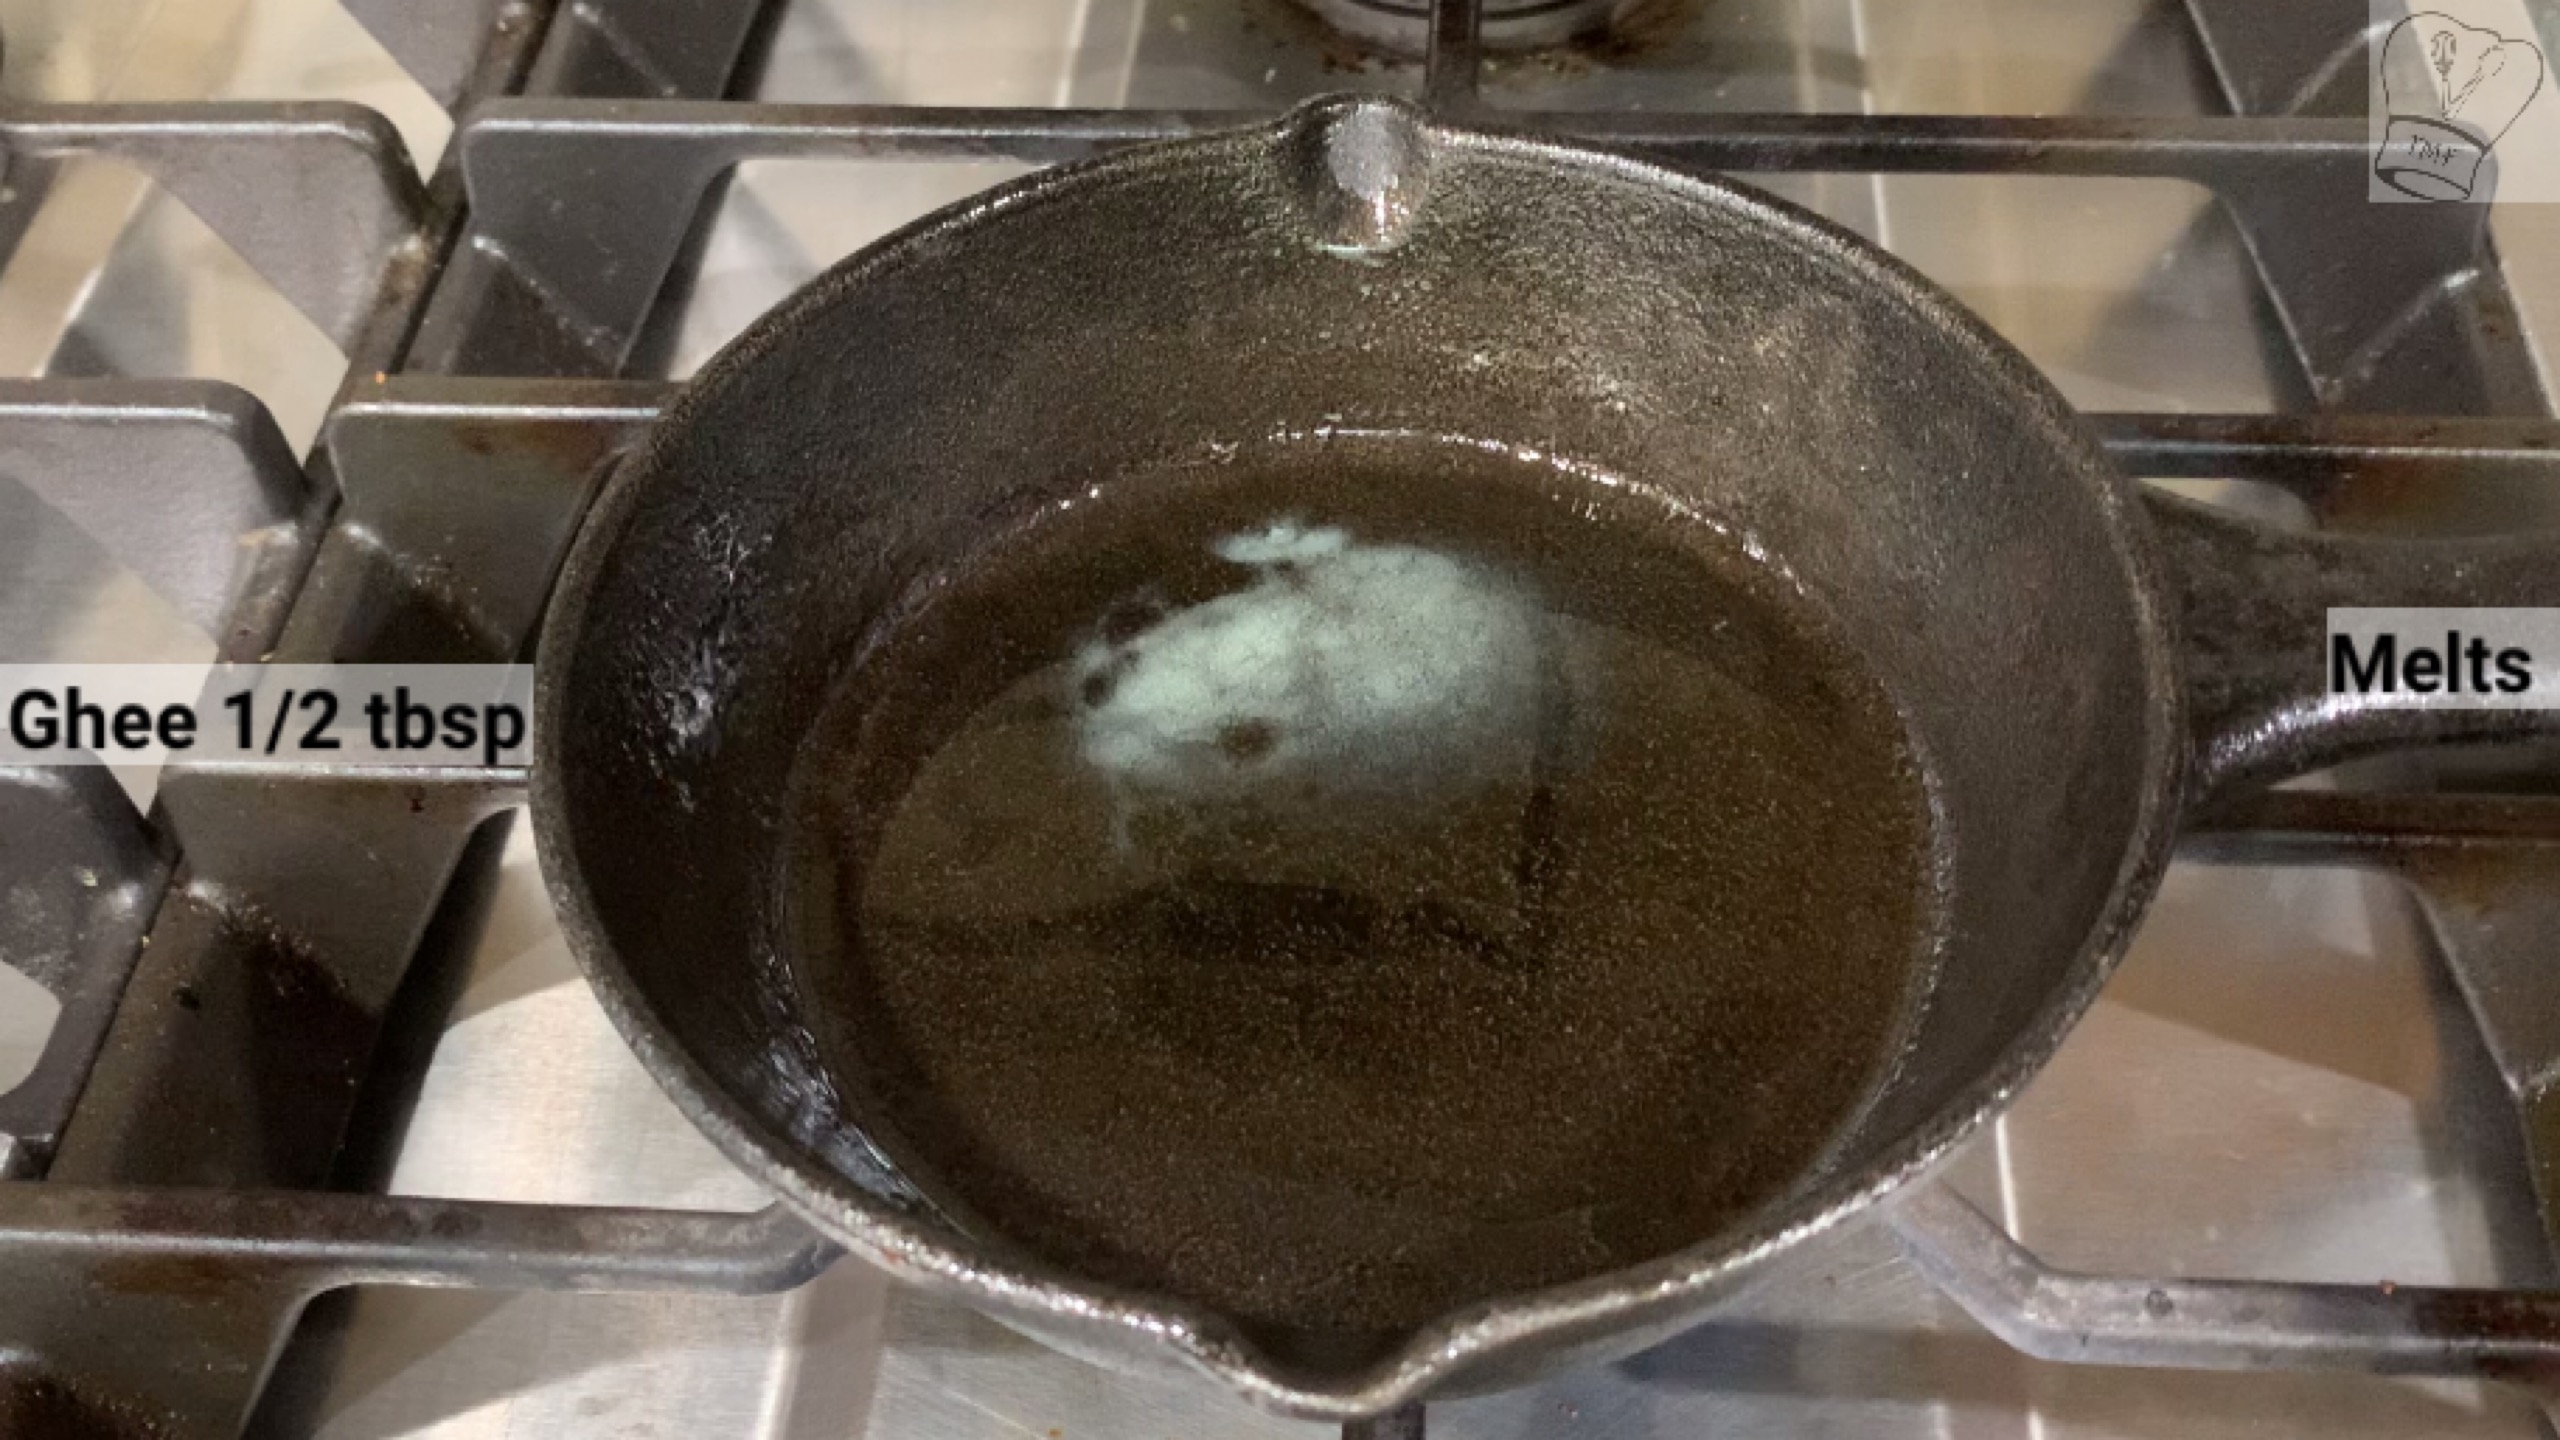
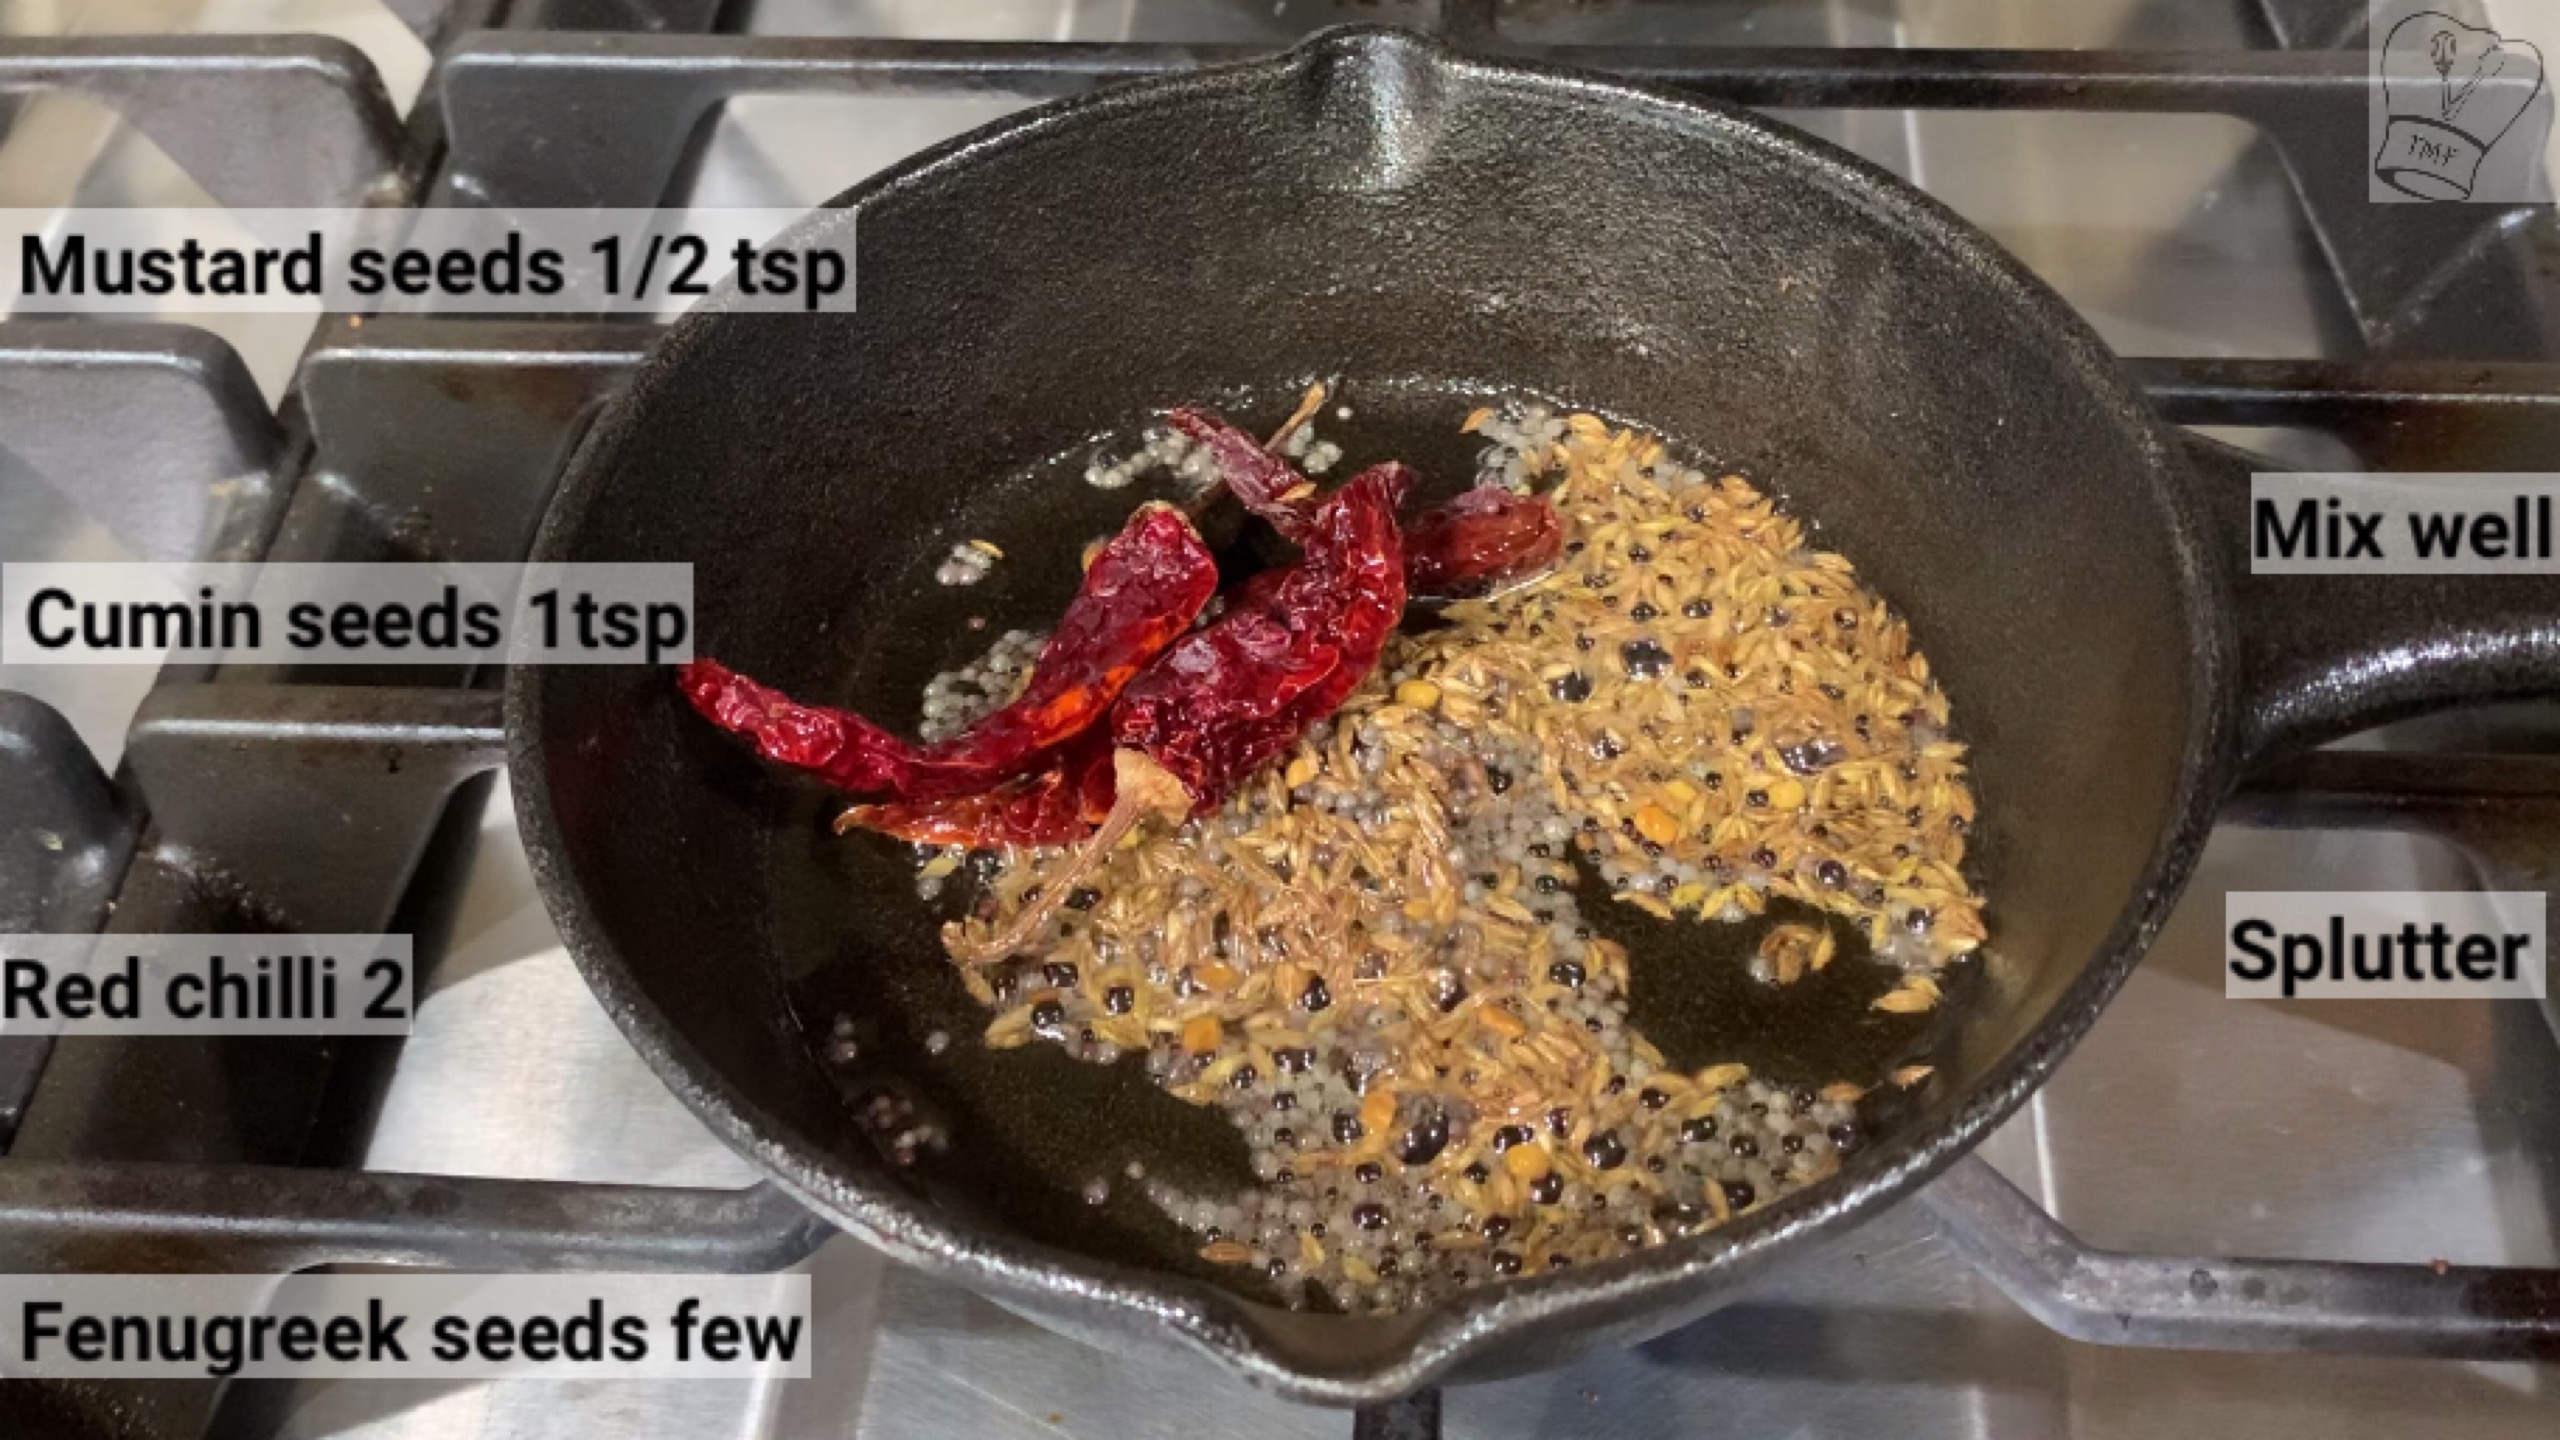
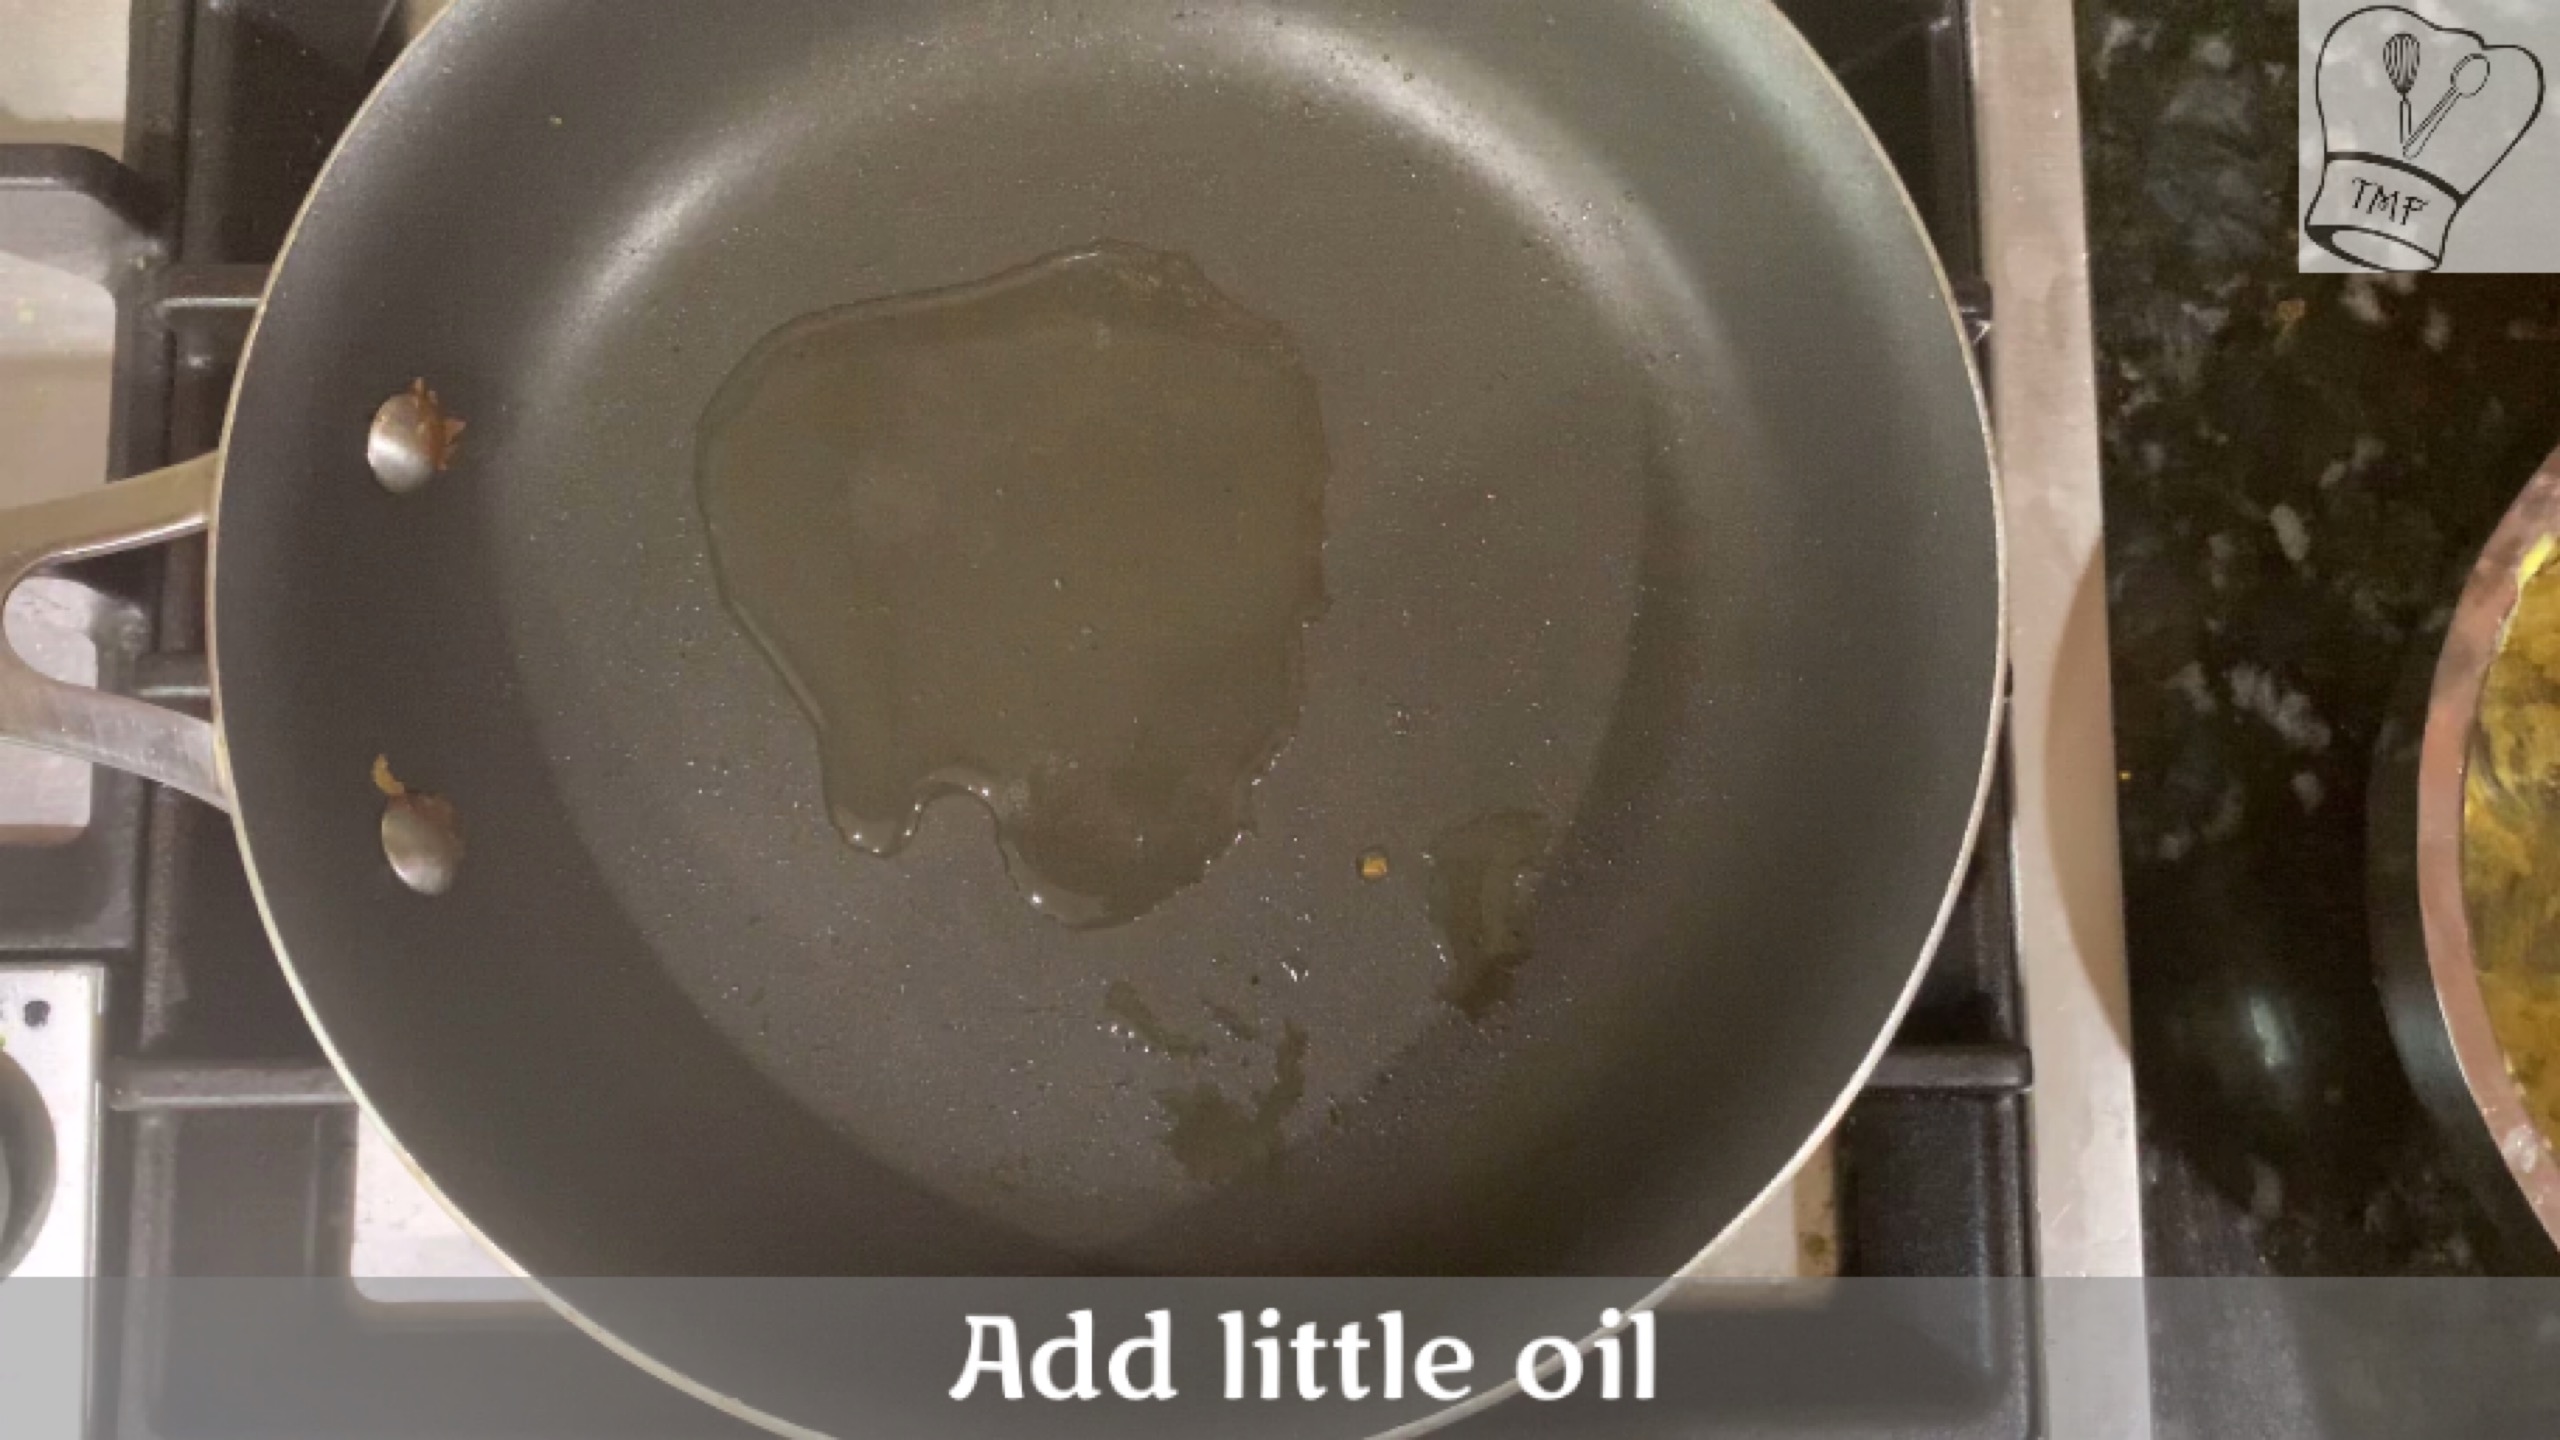
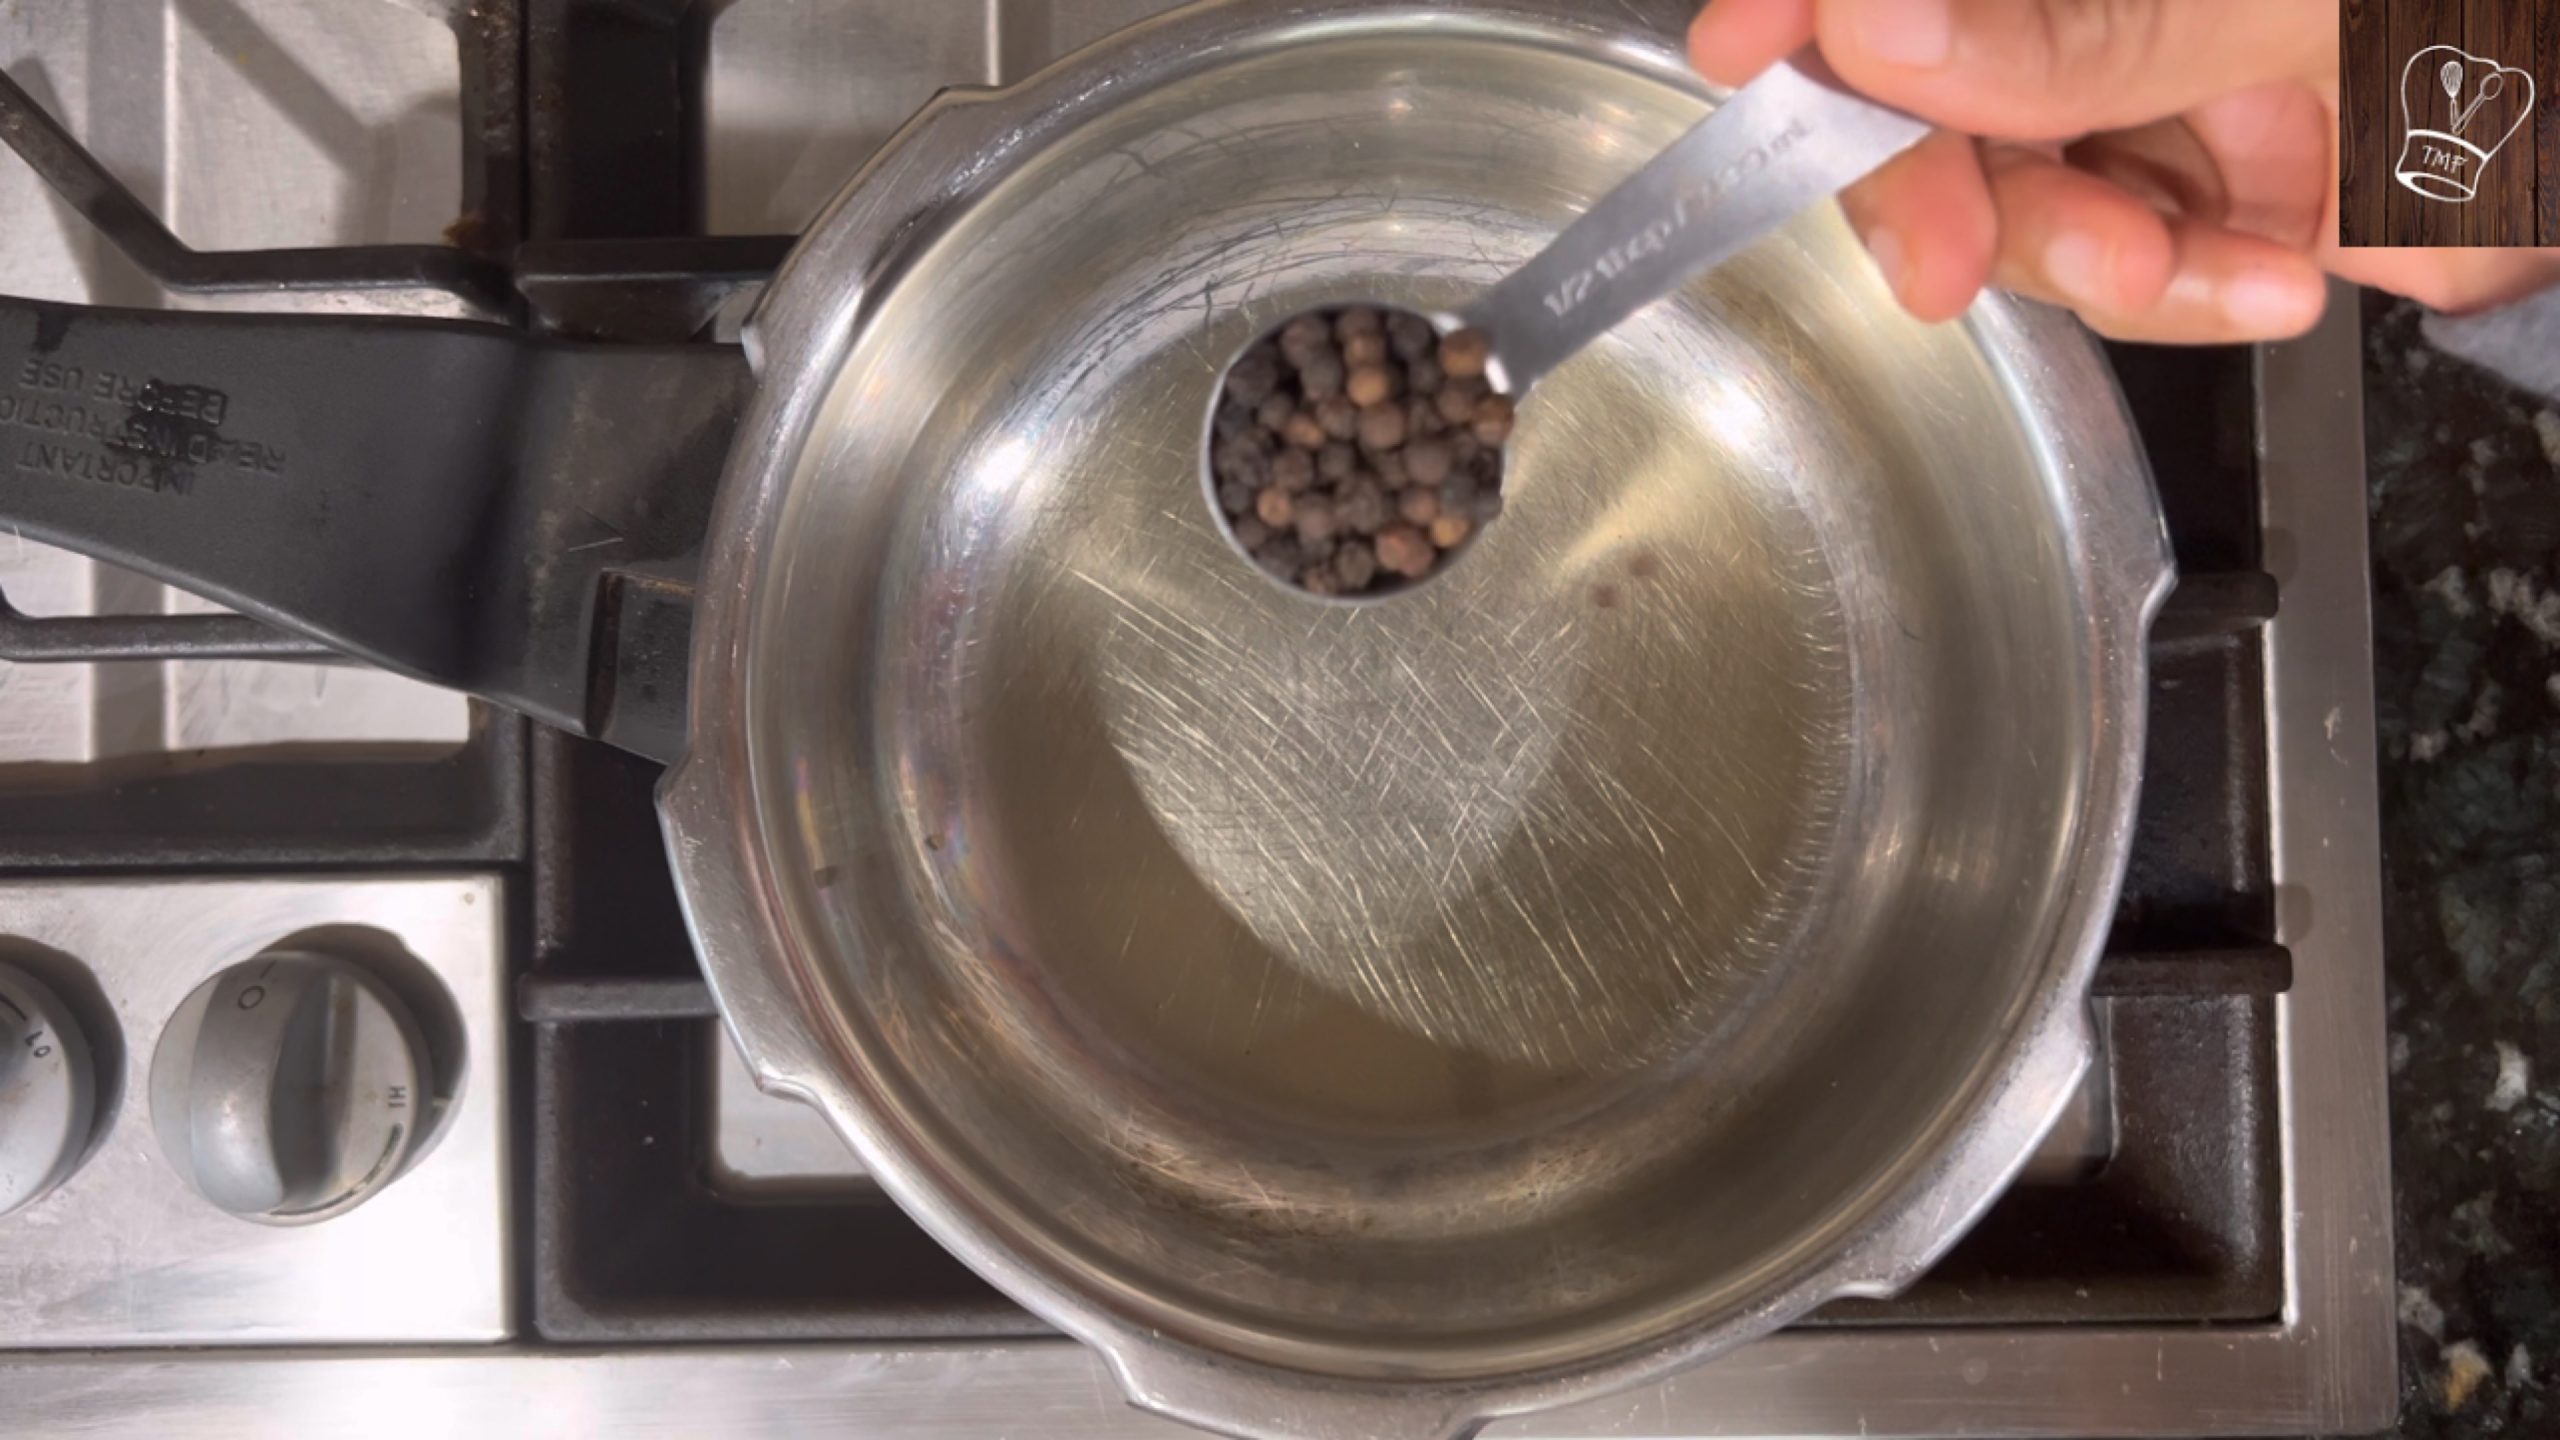
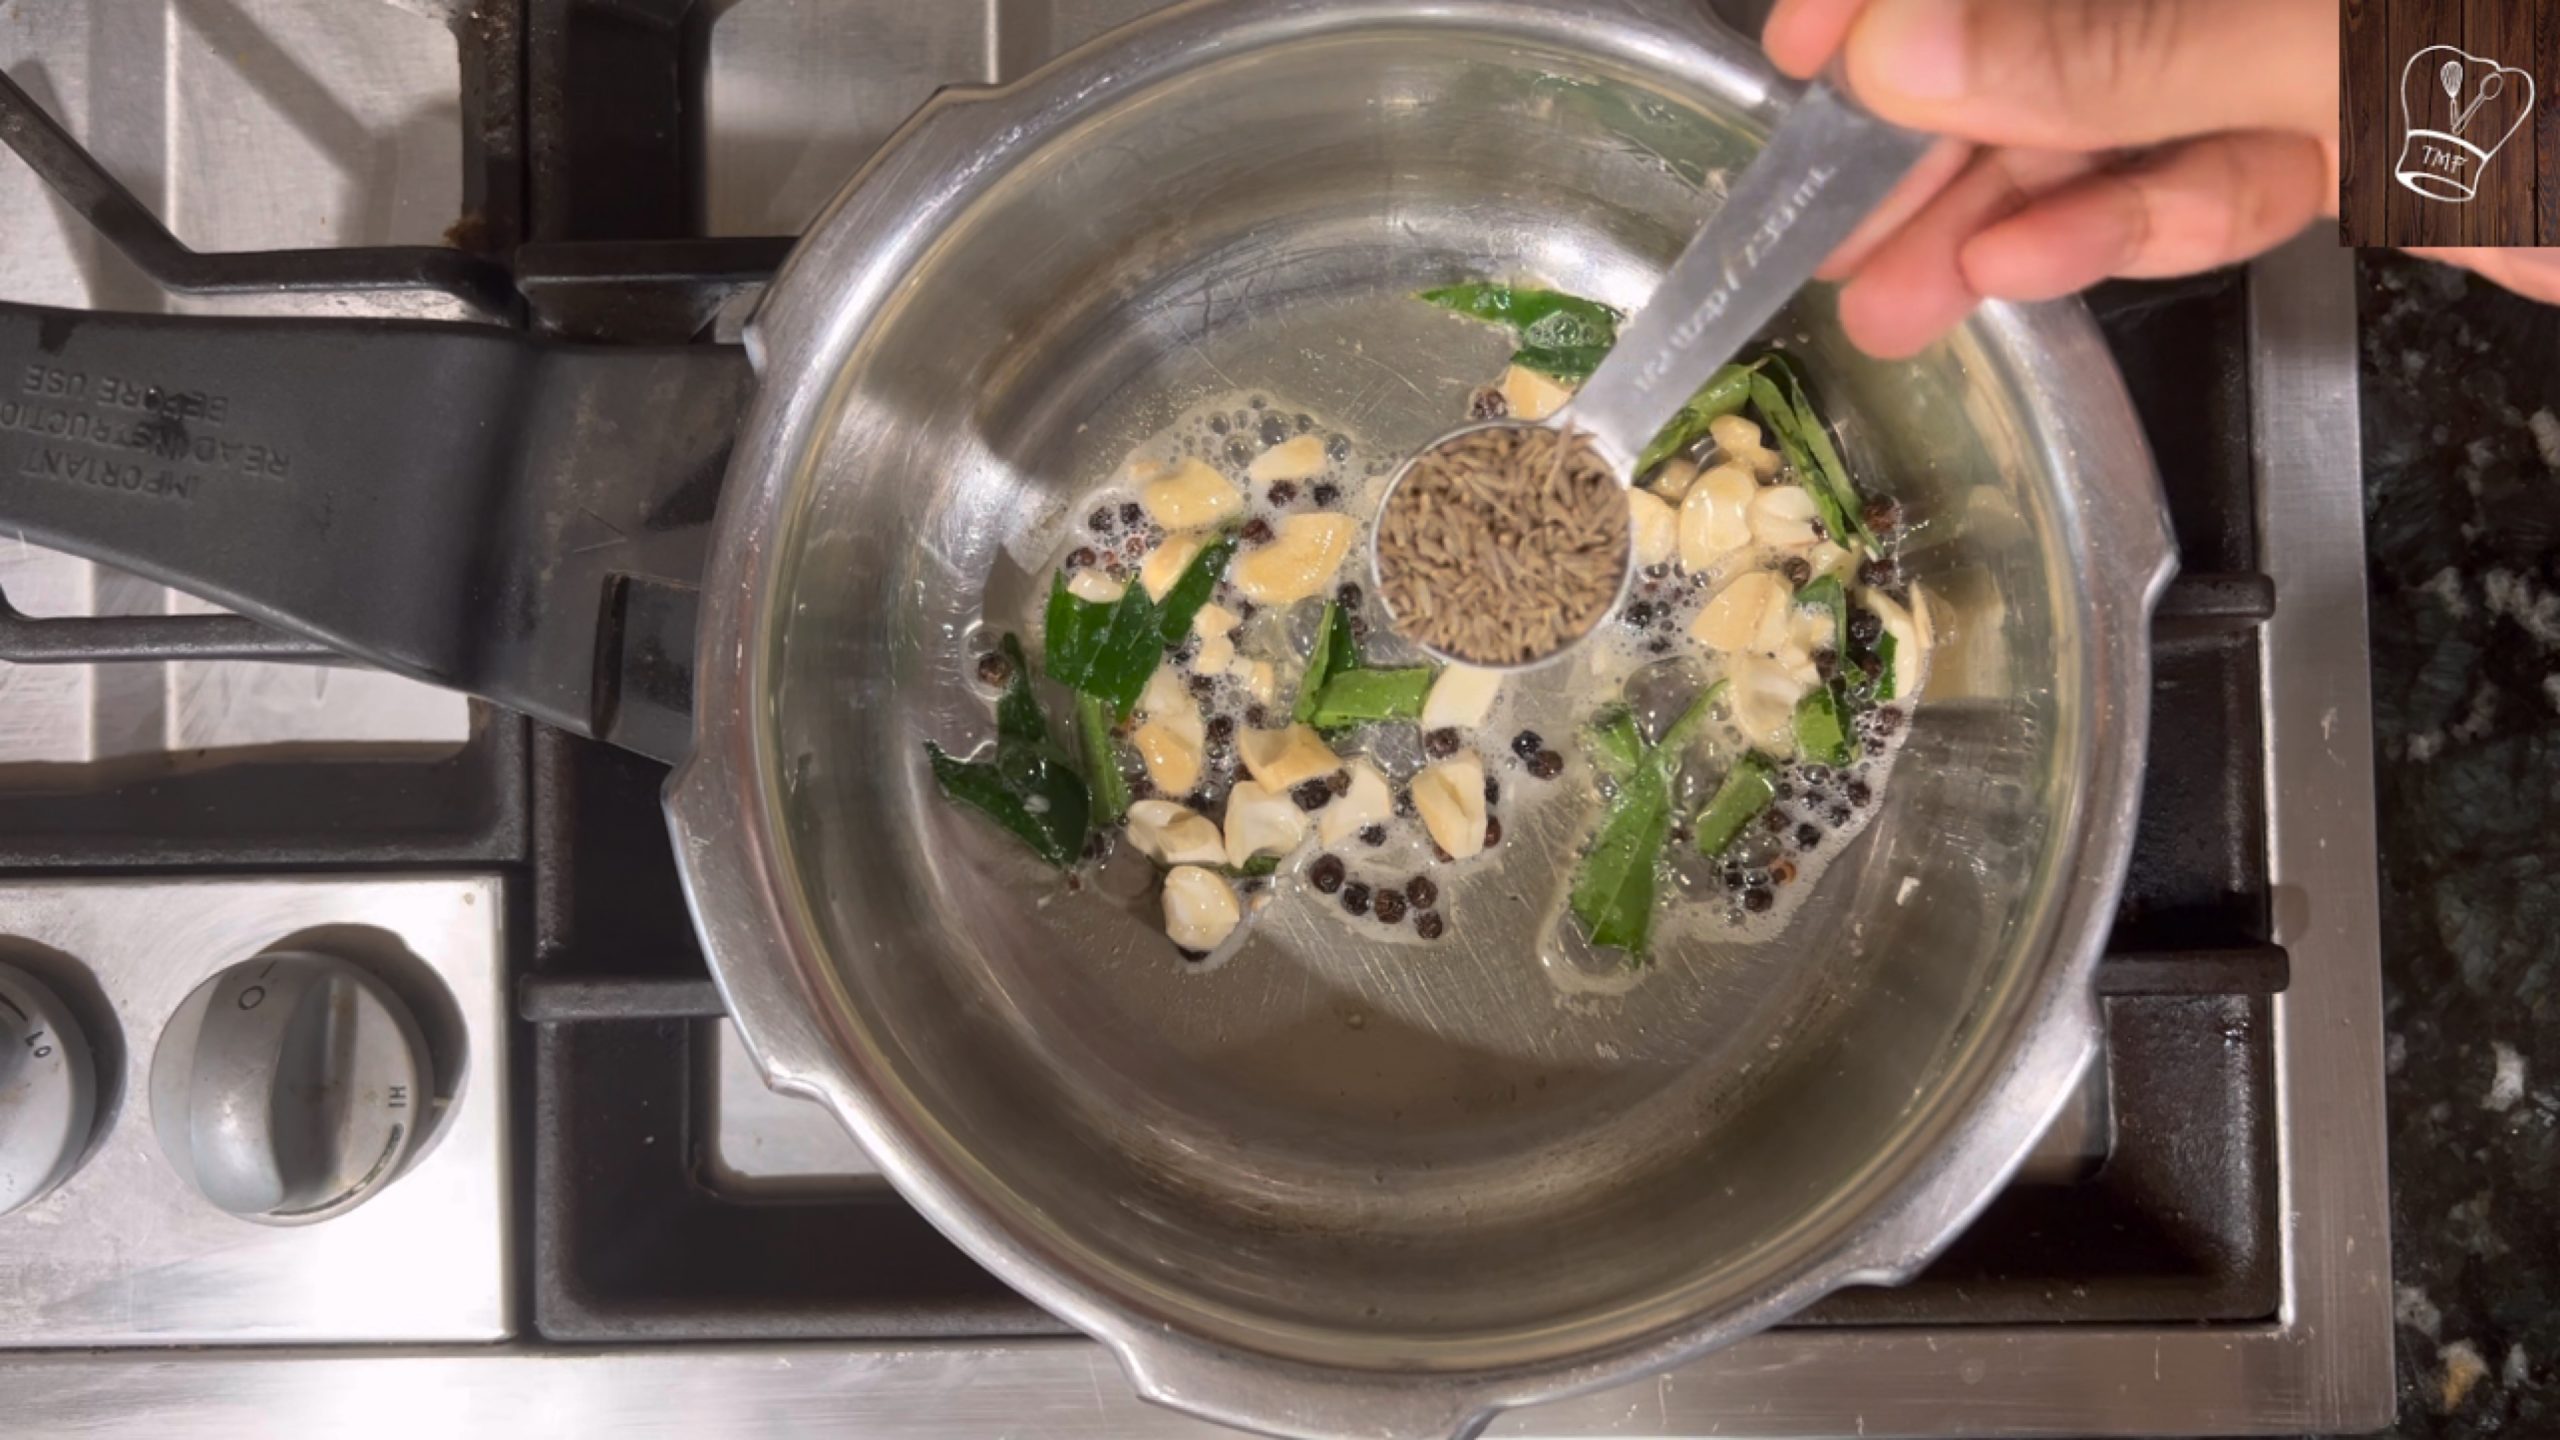
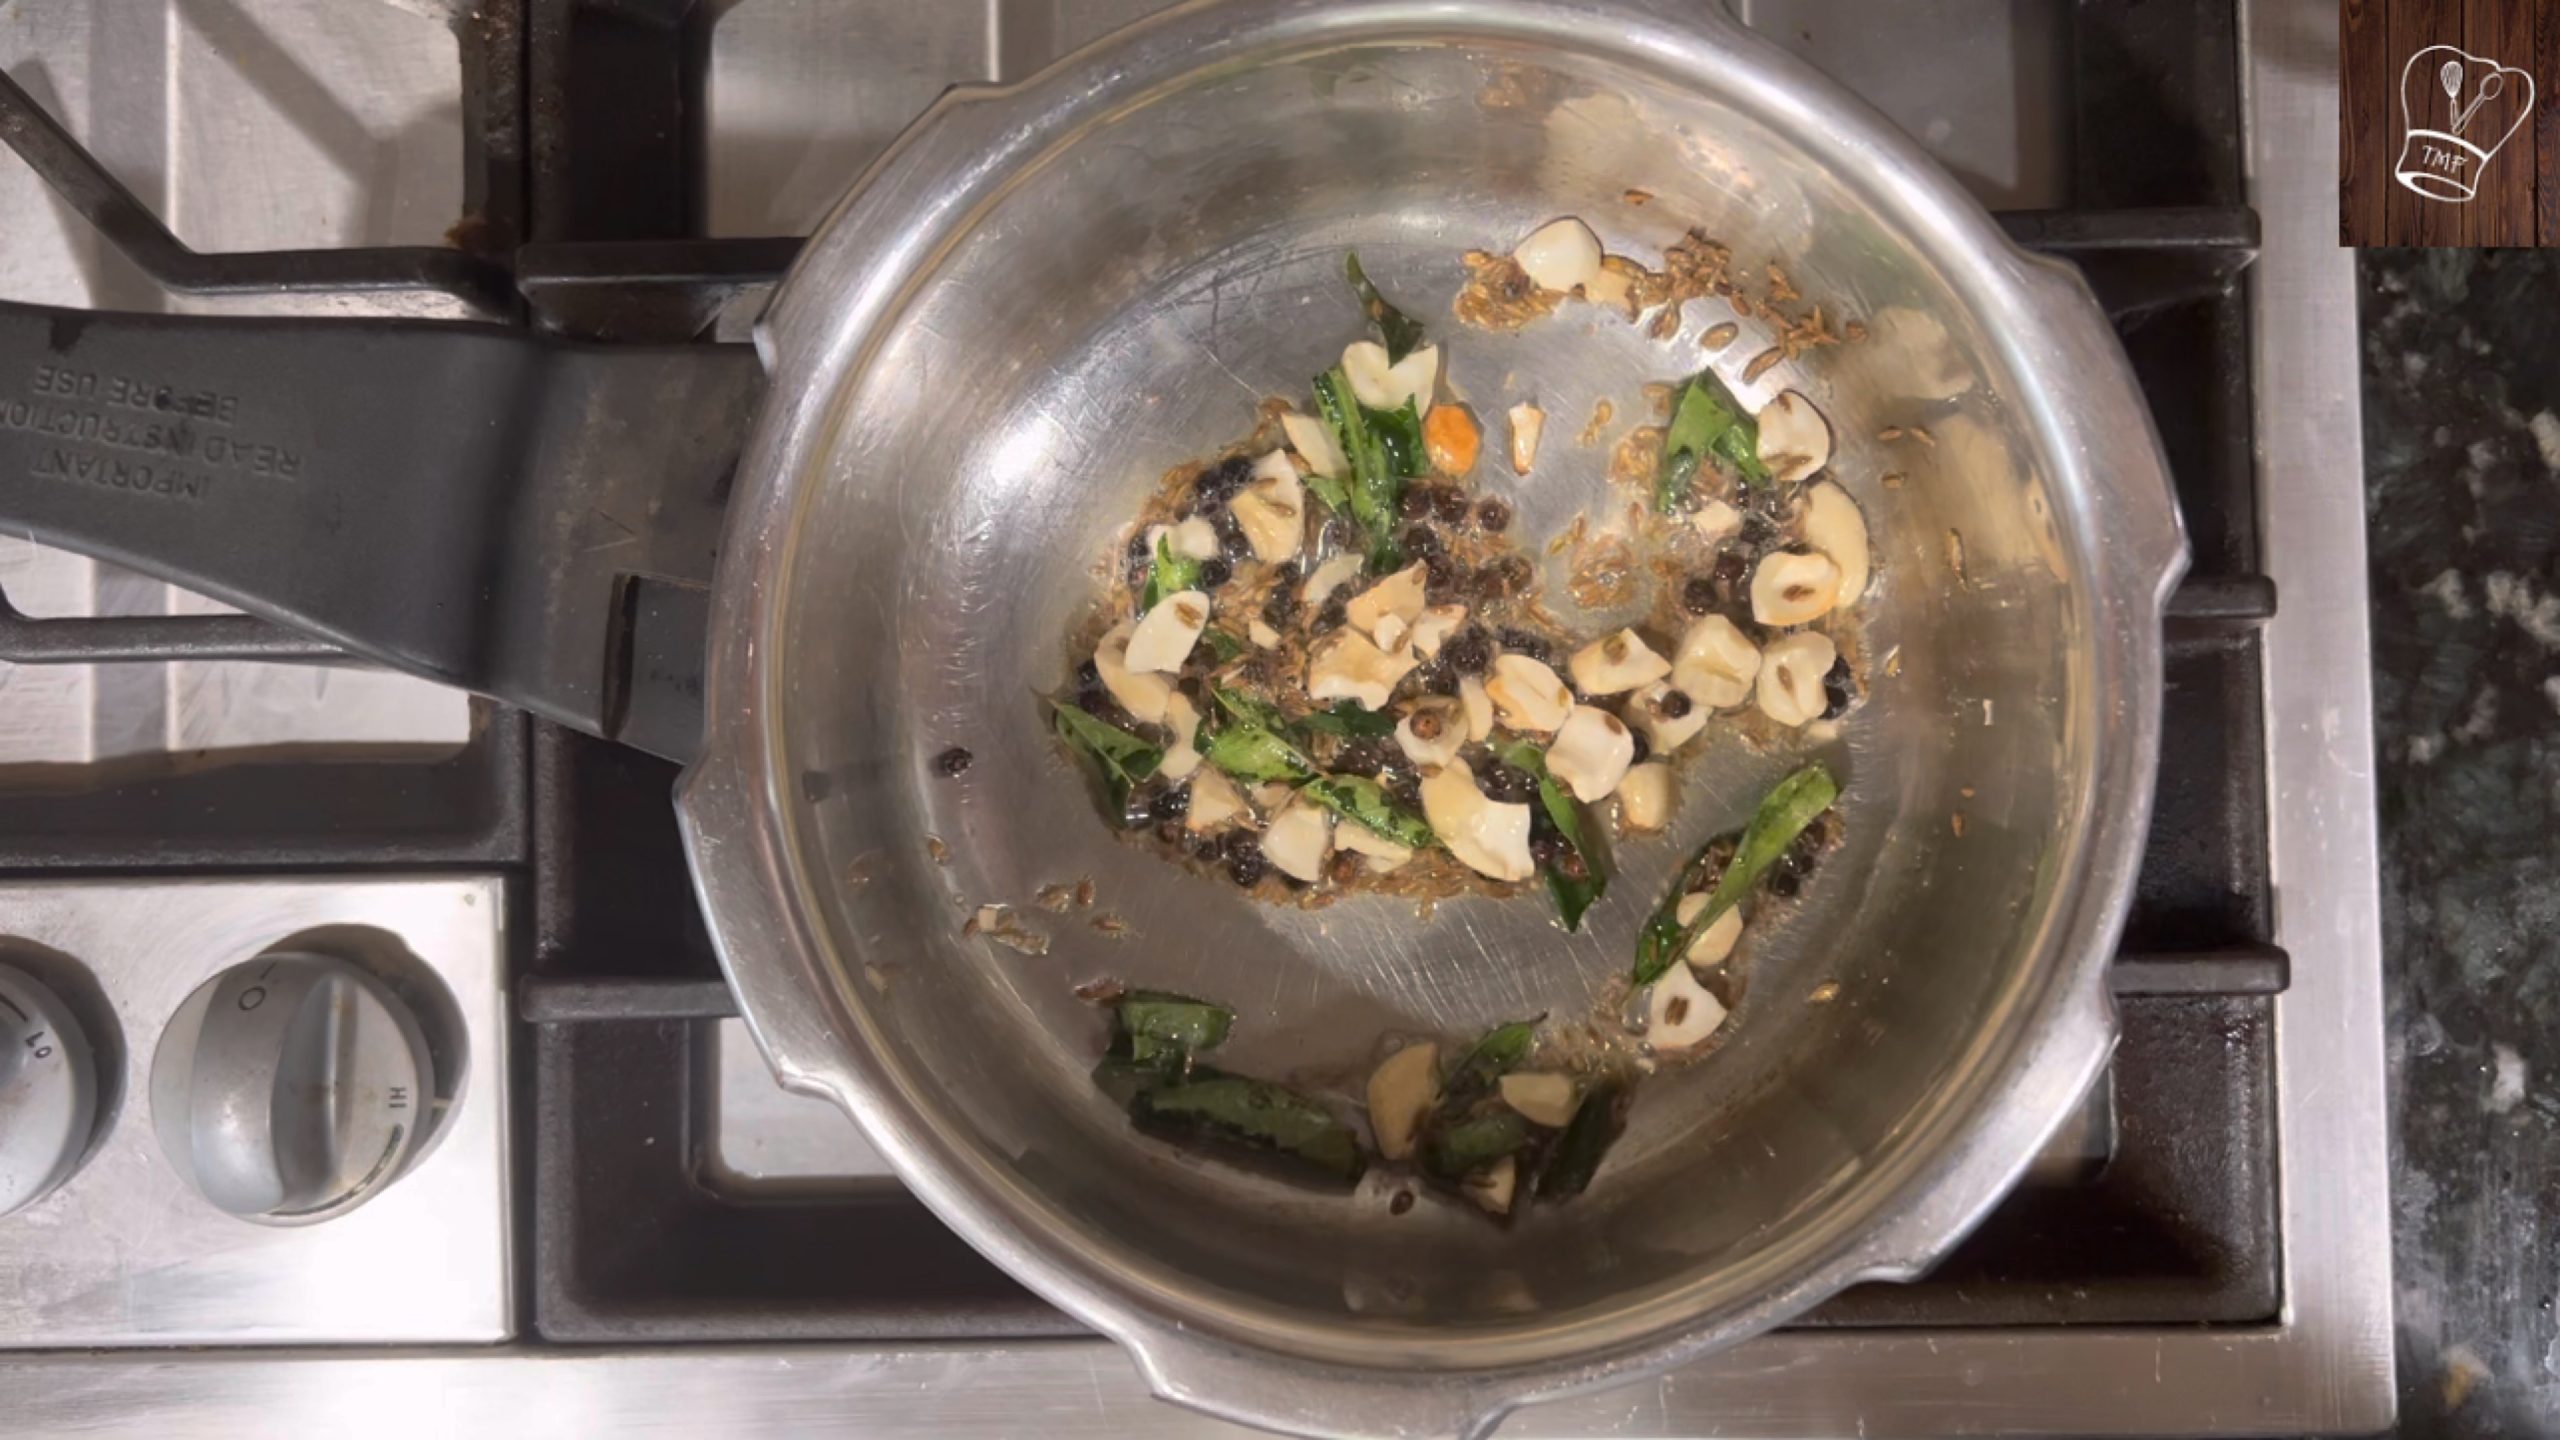
- In the same pan add remaining ghee and add fennel seeds
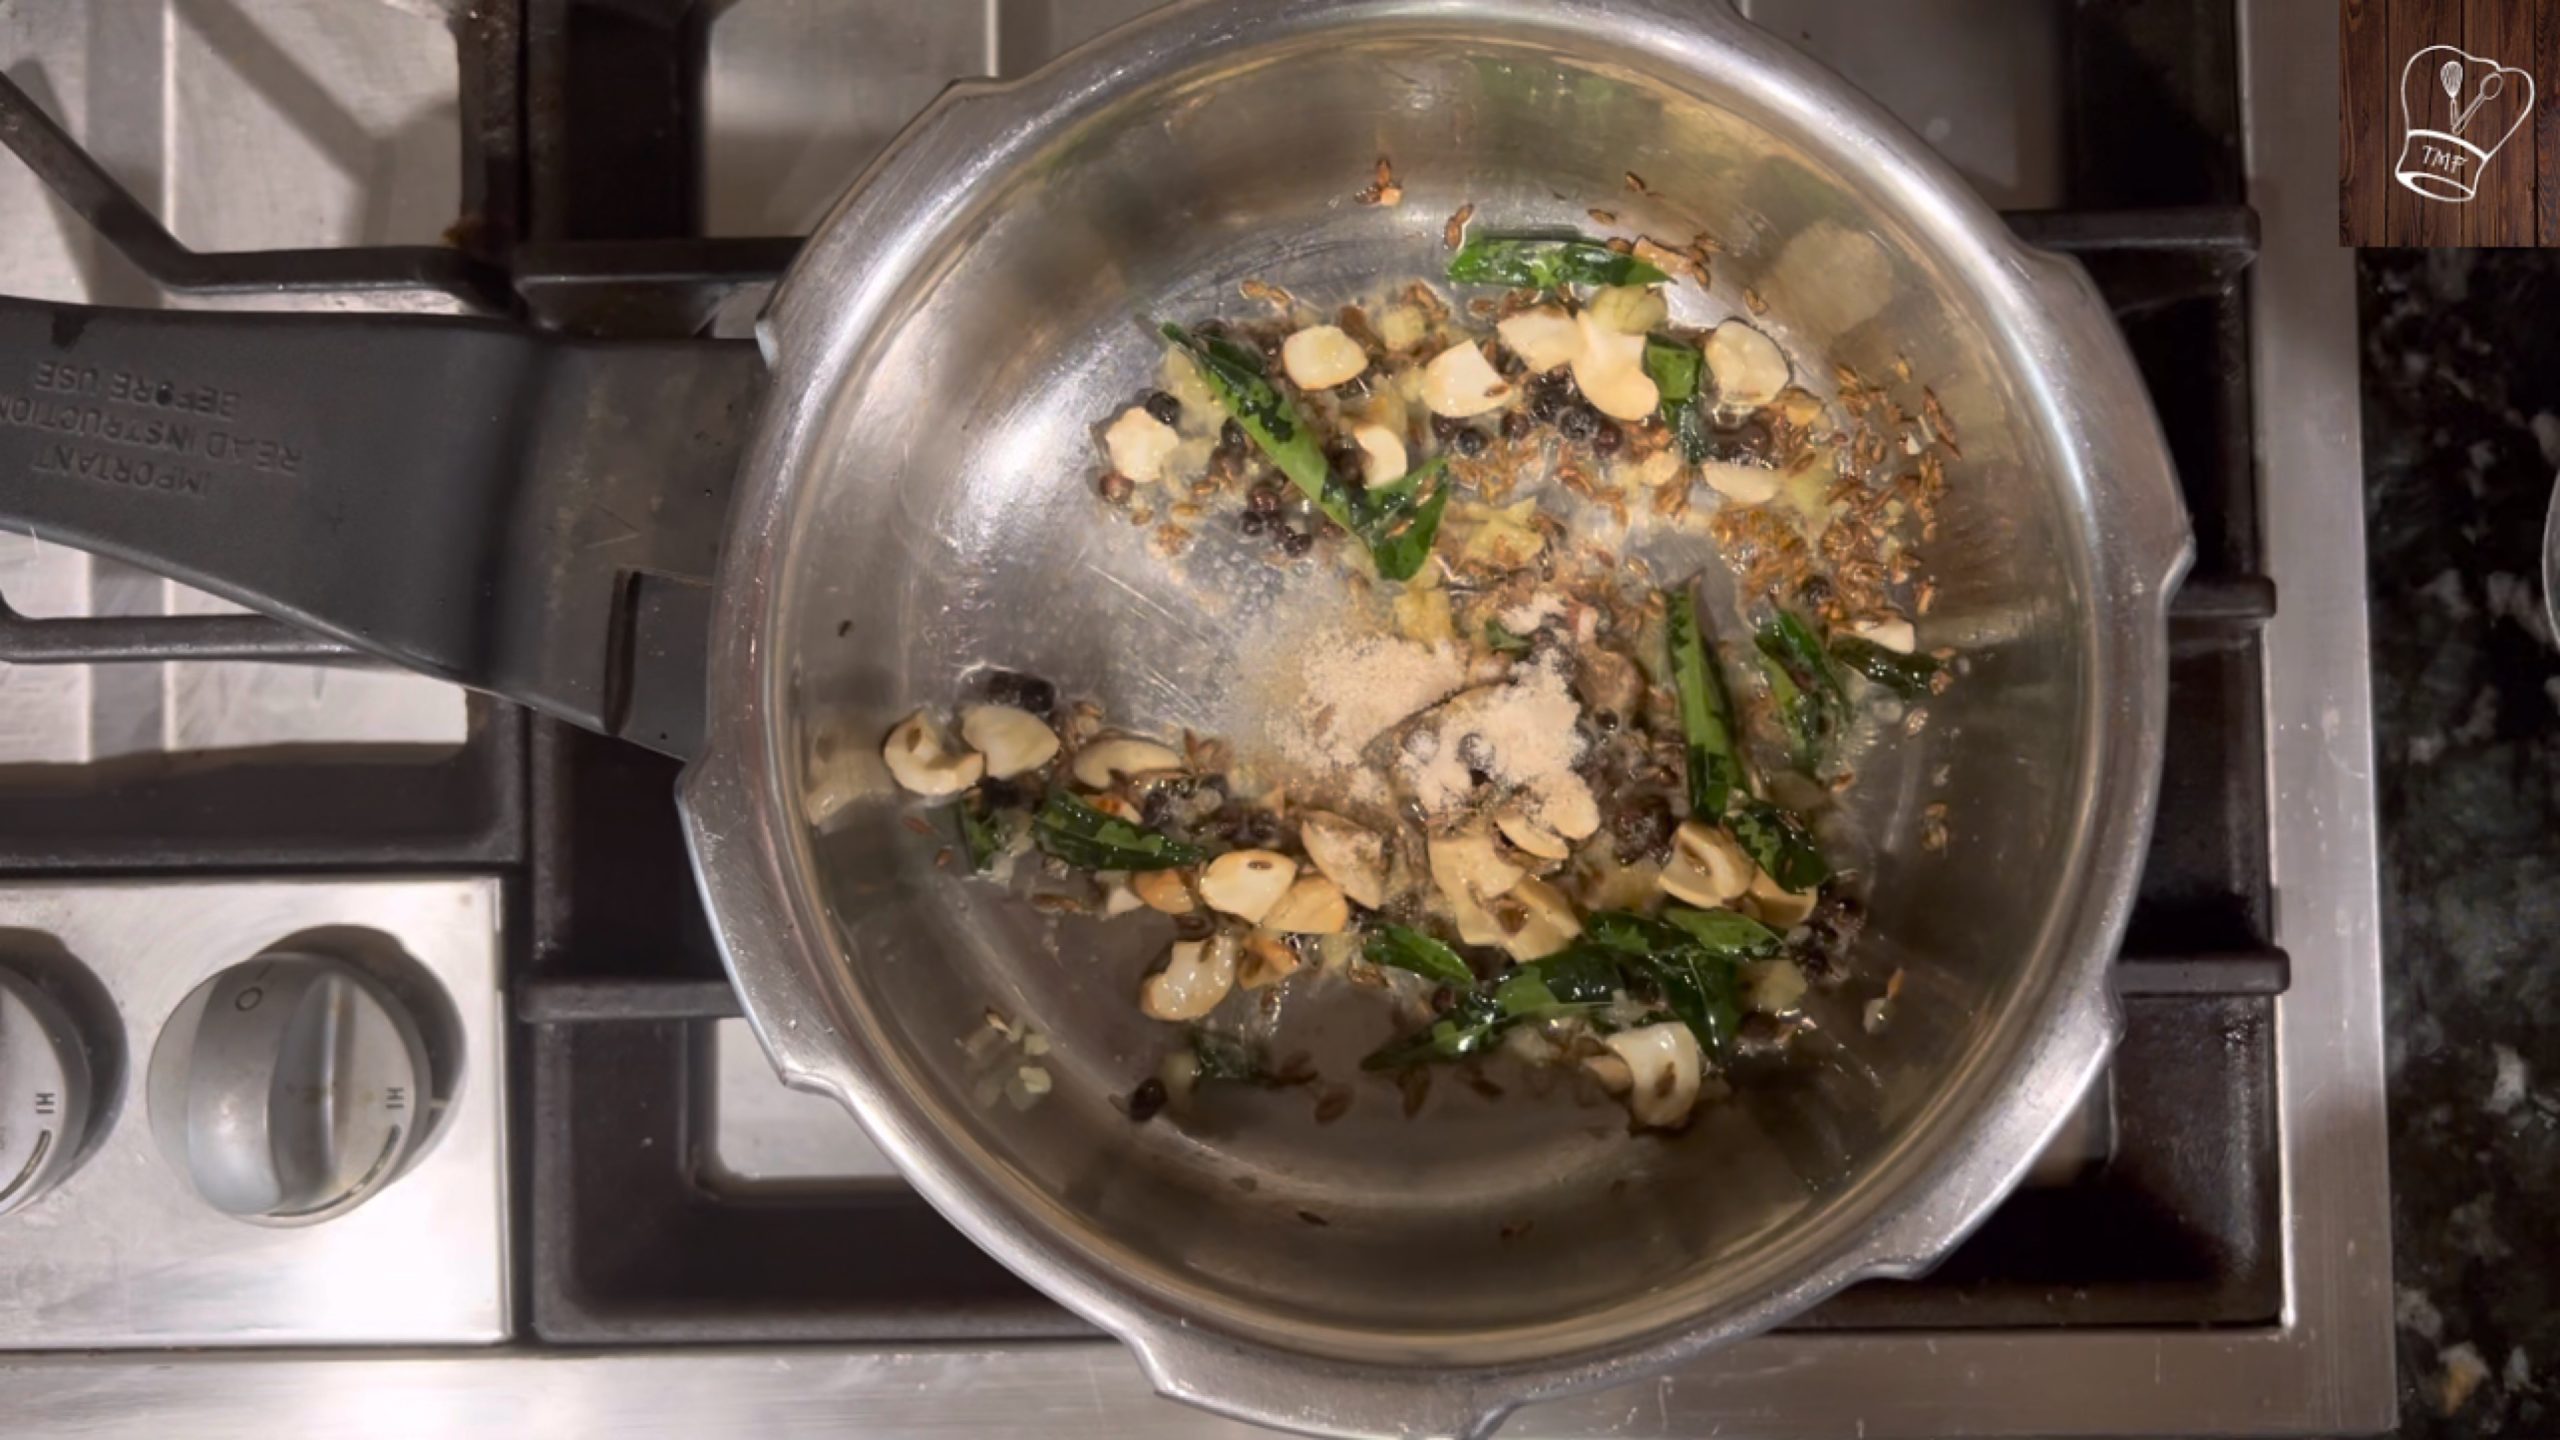
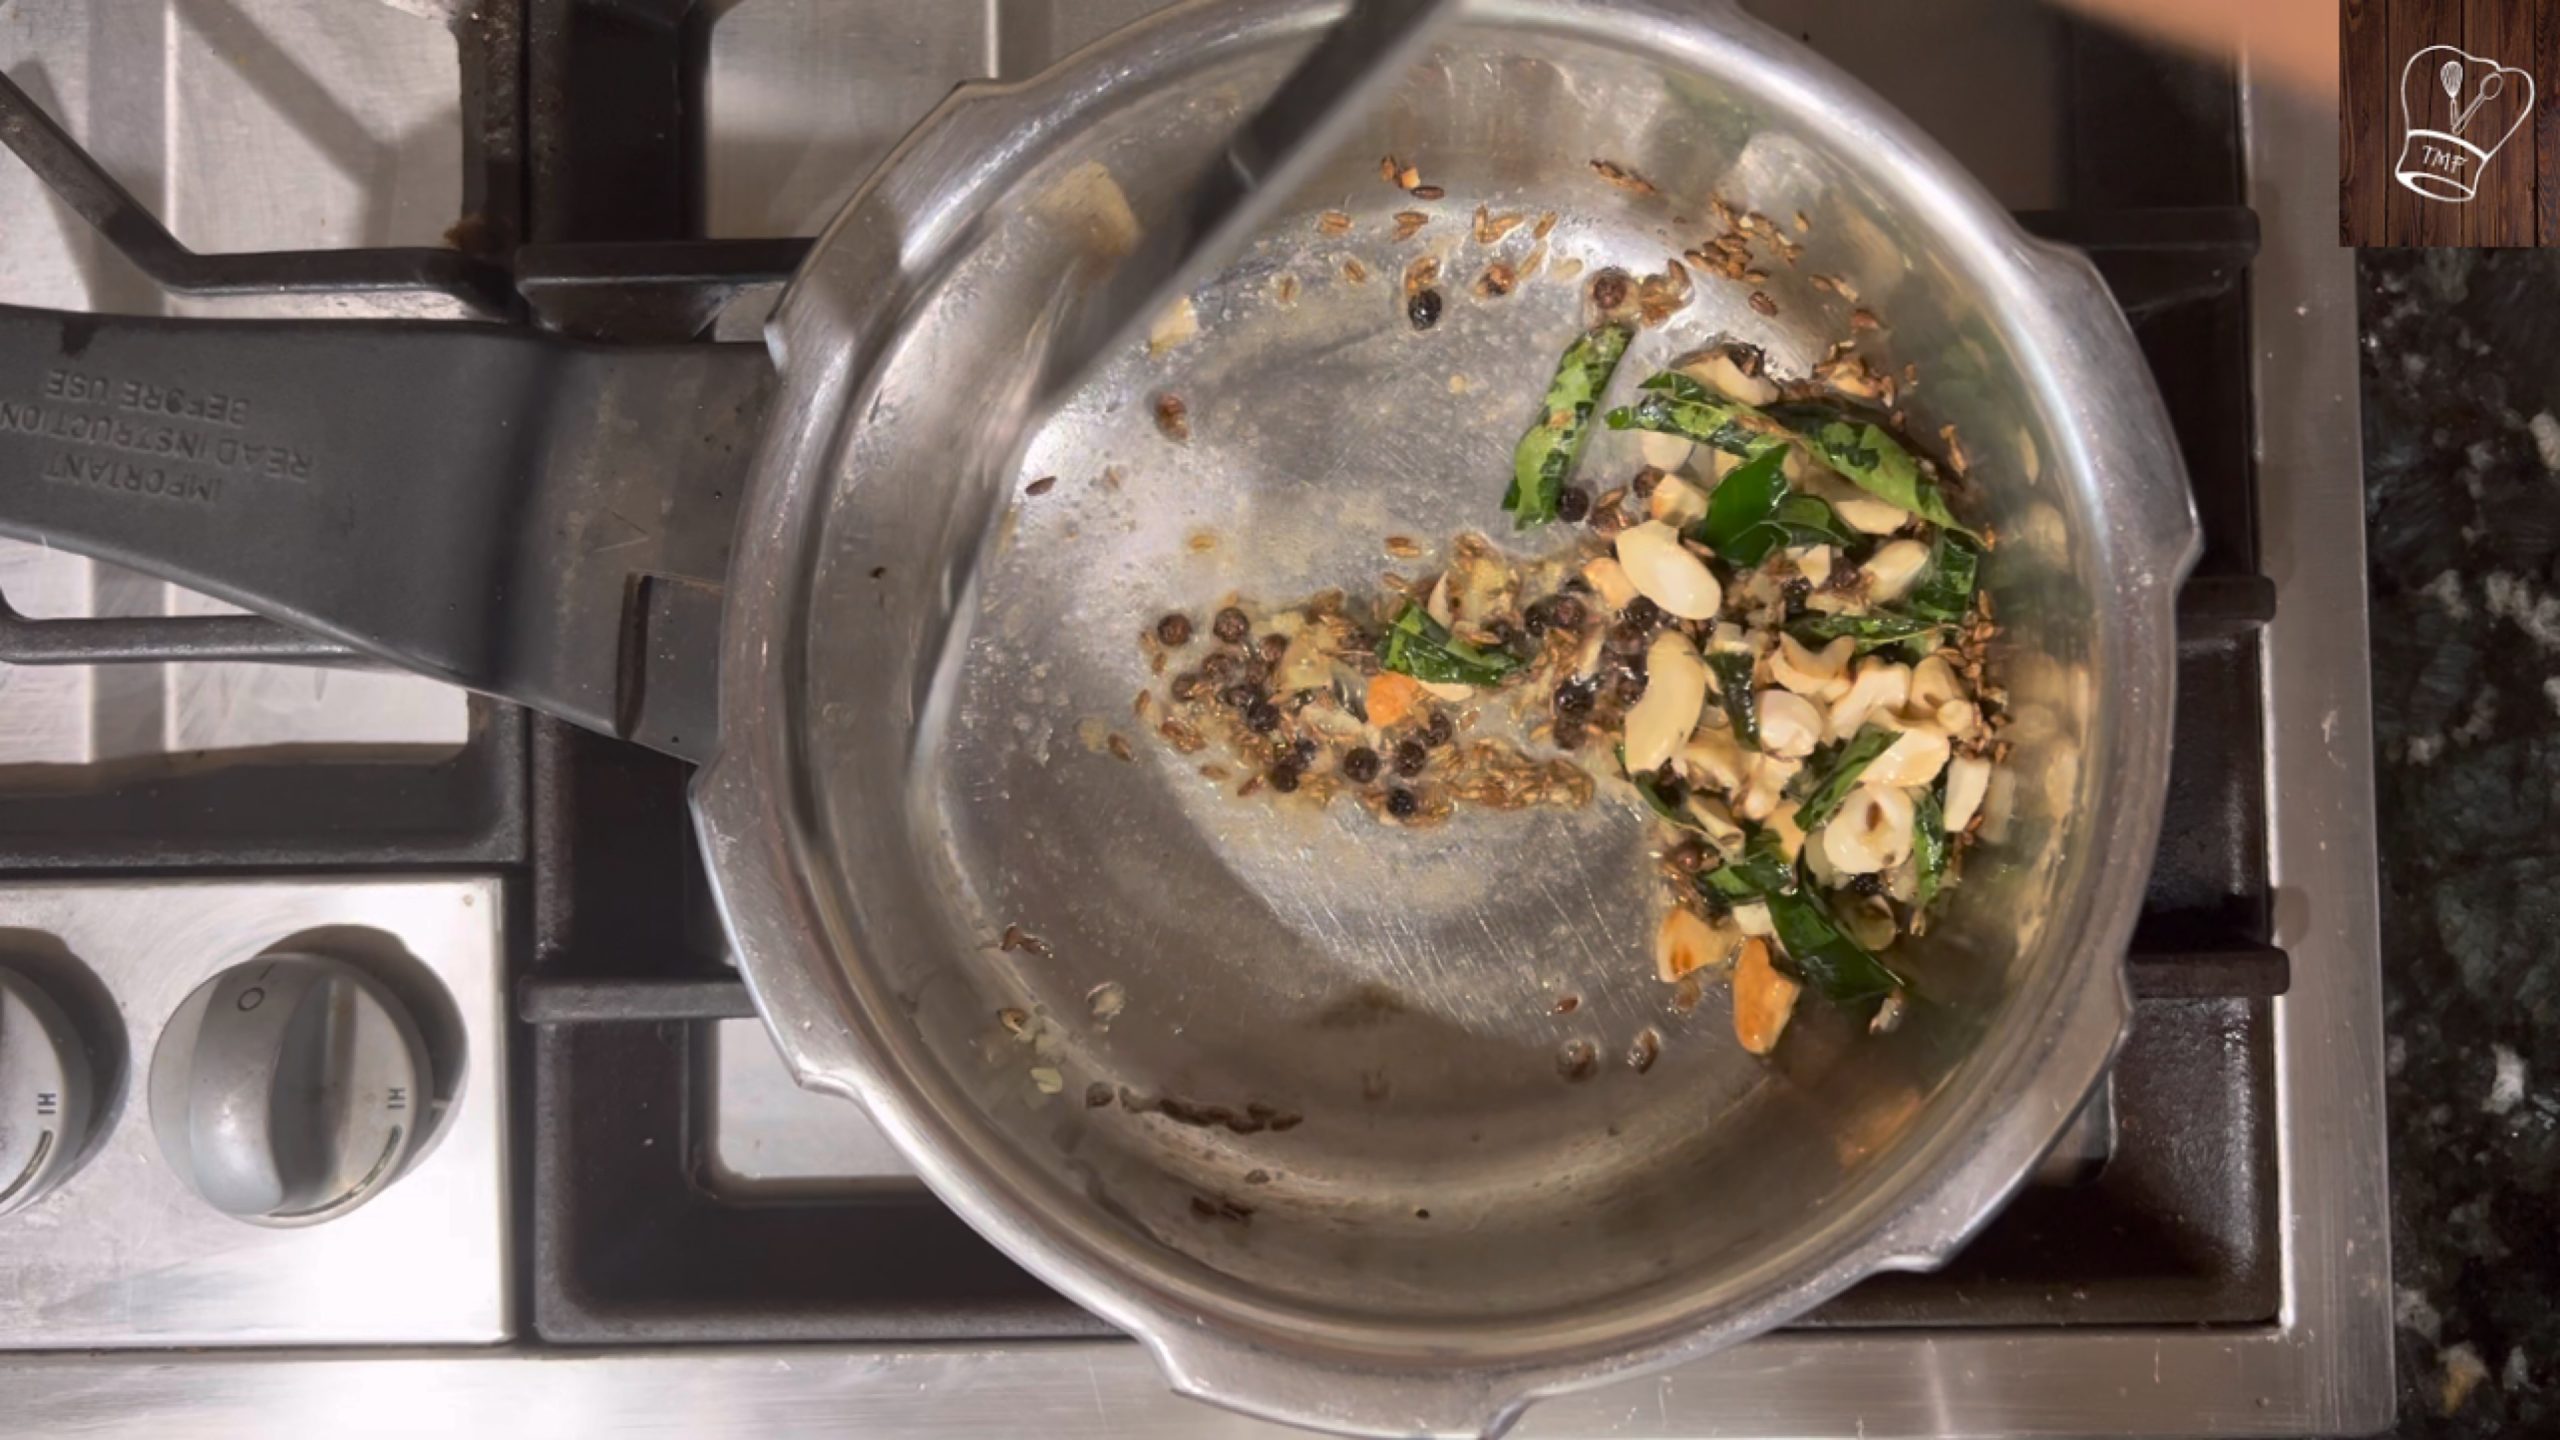
- after it splutter add ginger garlic paste and sauté for 2 minutes
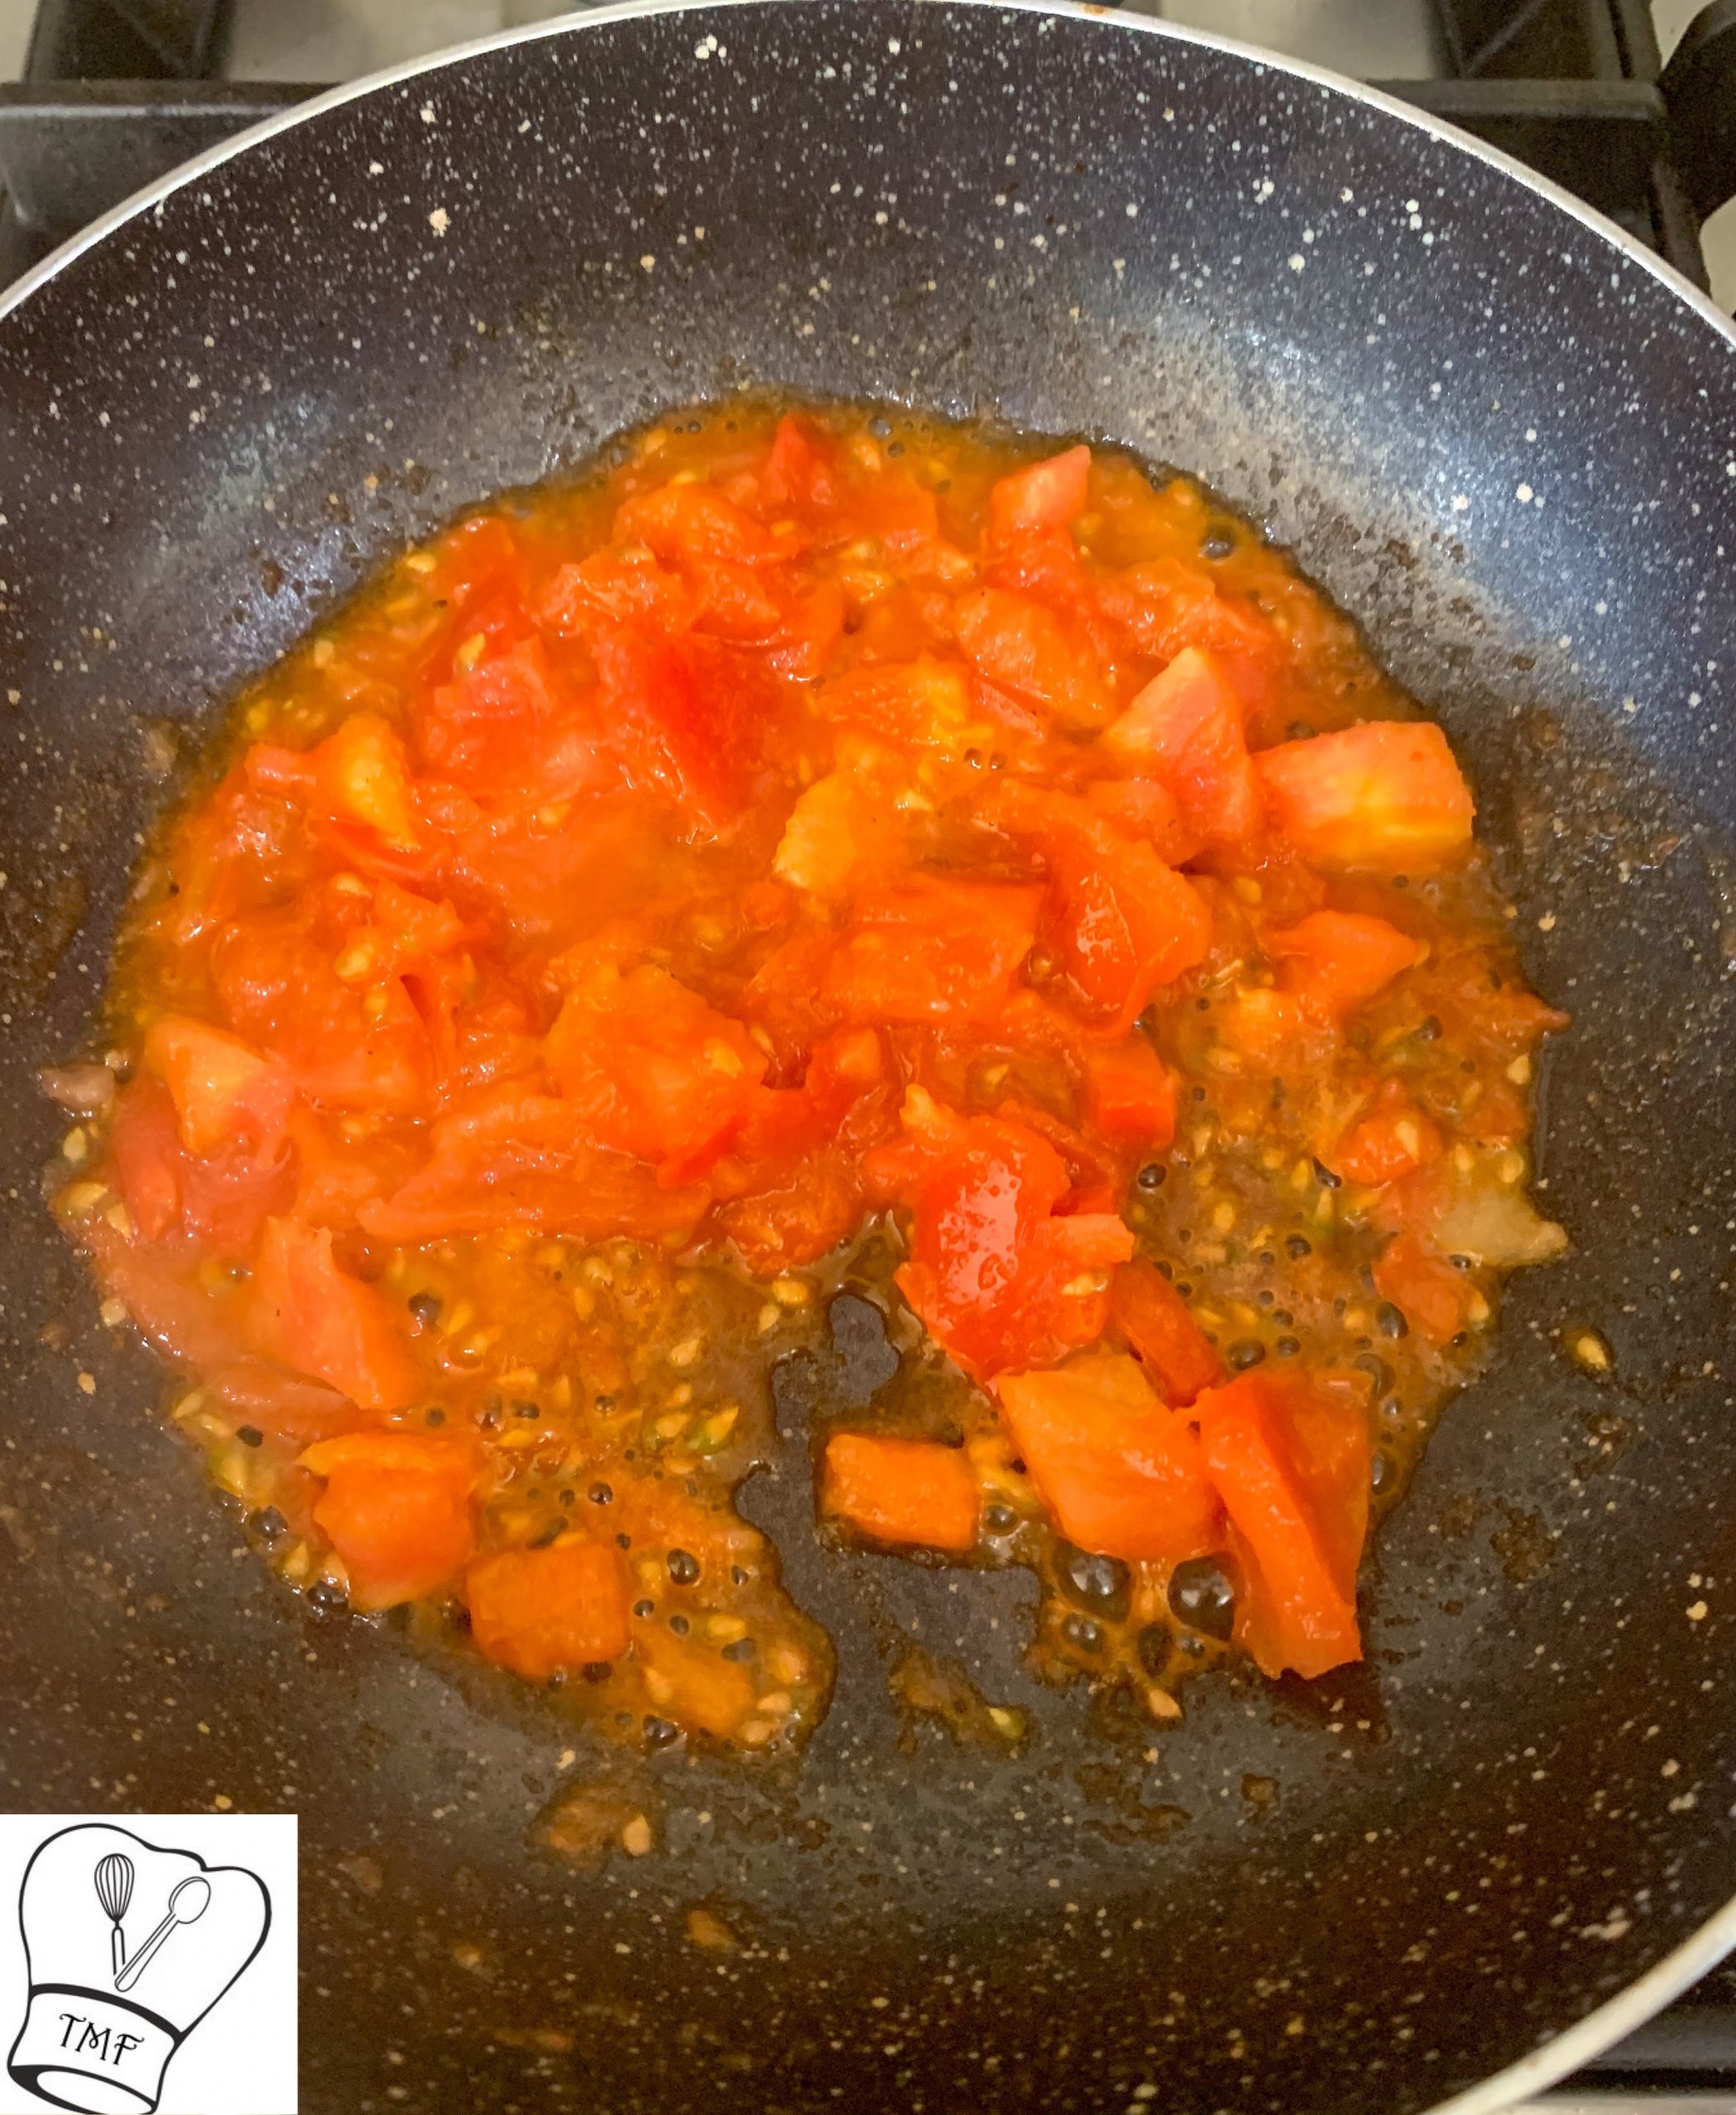
- Add tomatoes and little salt; sauté add tomatoes and little salt; sauté
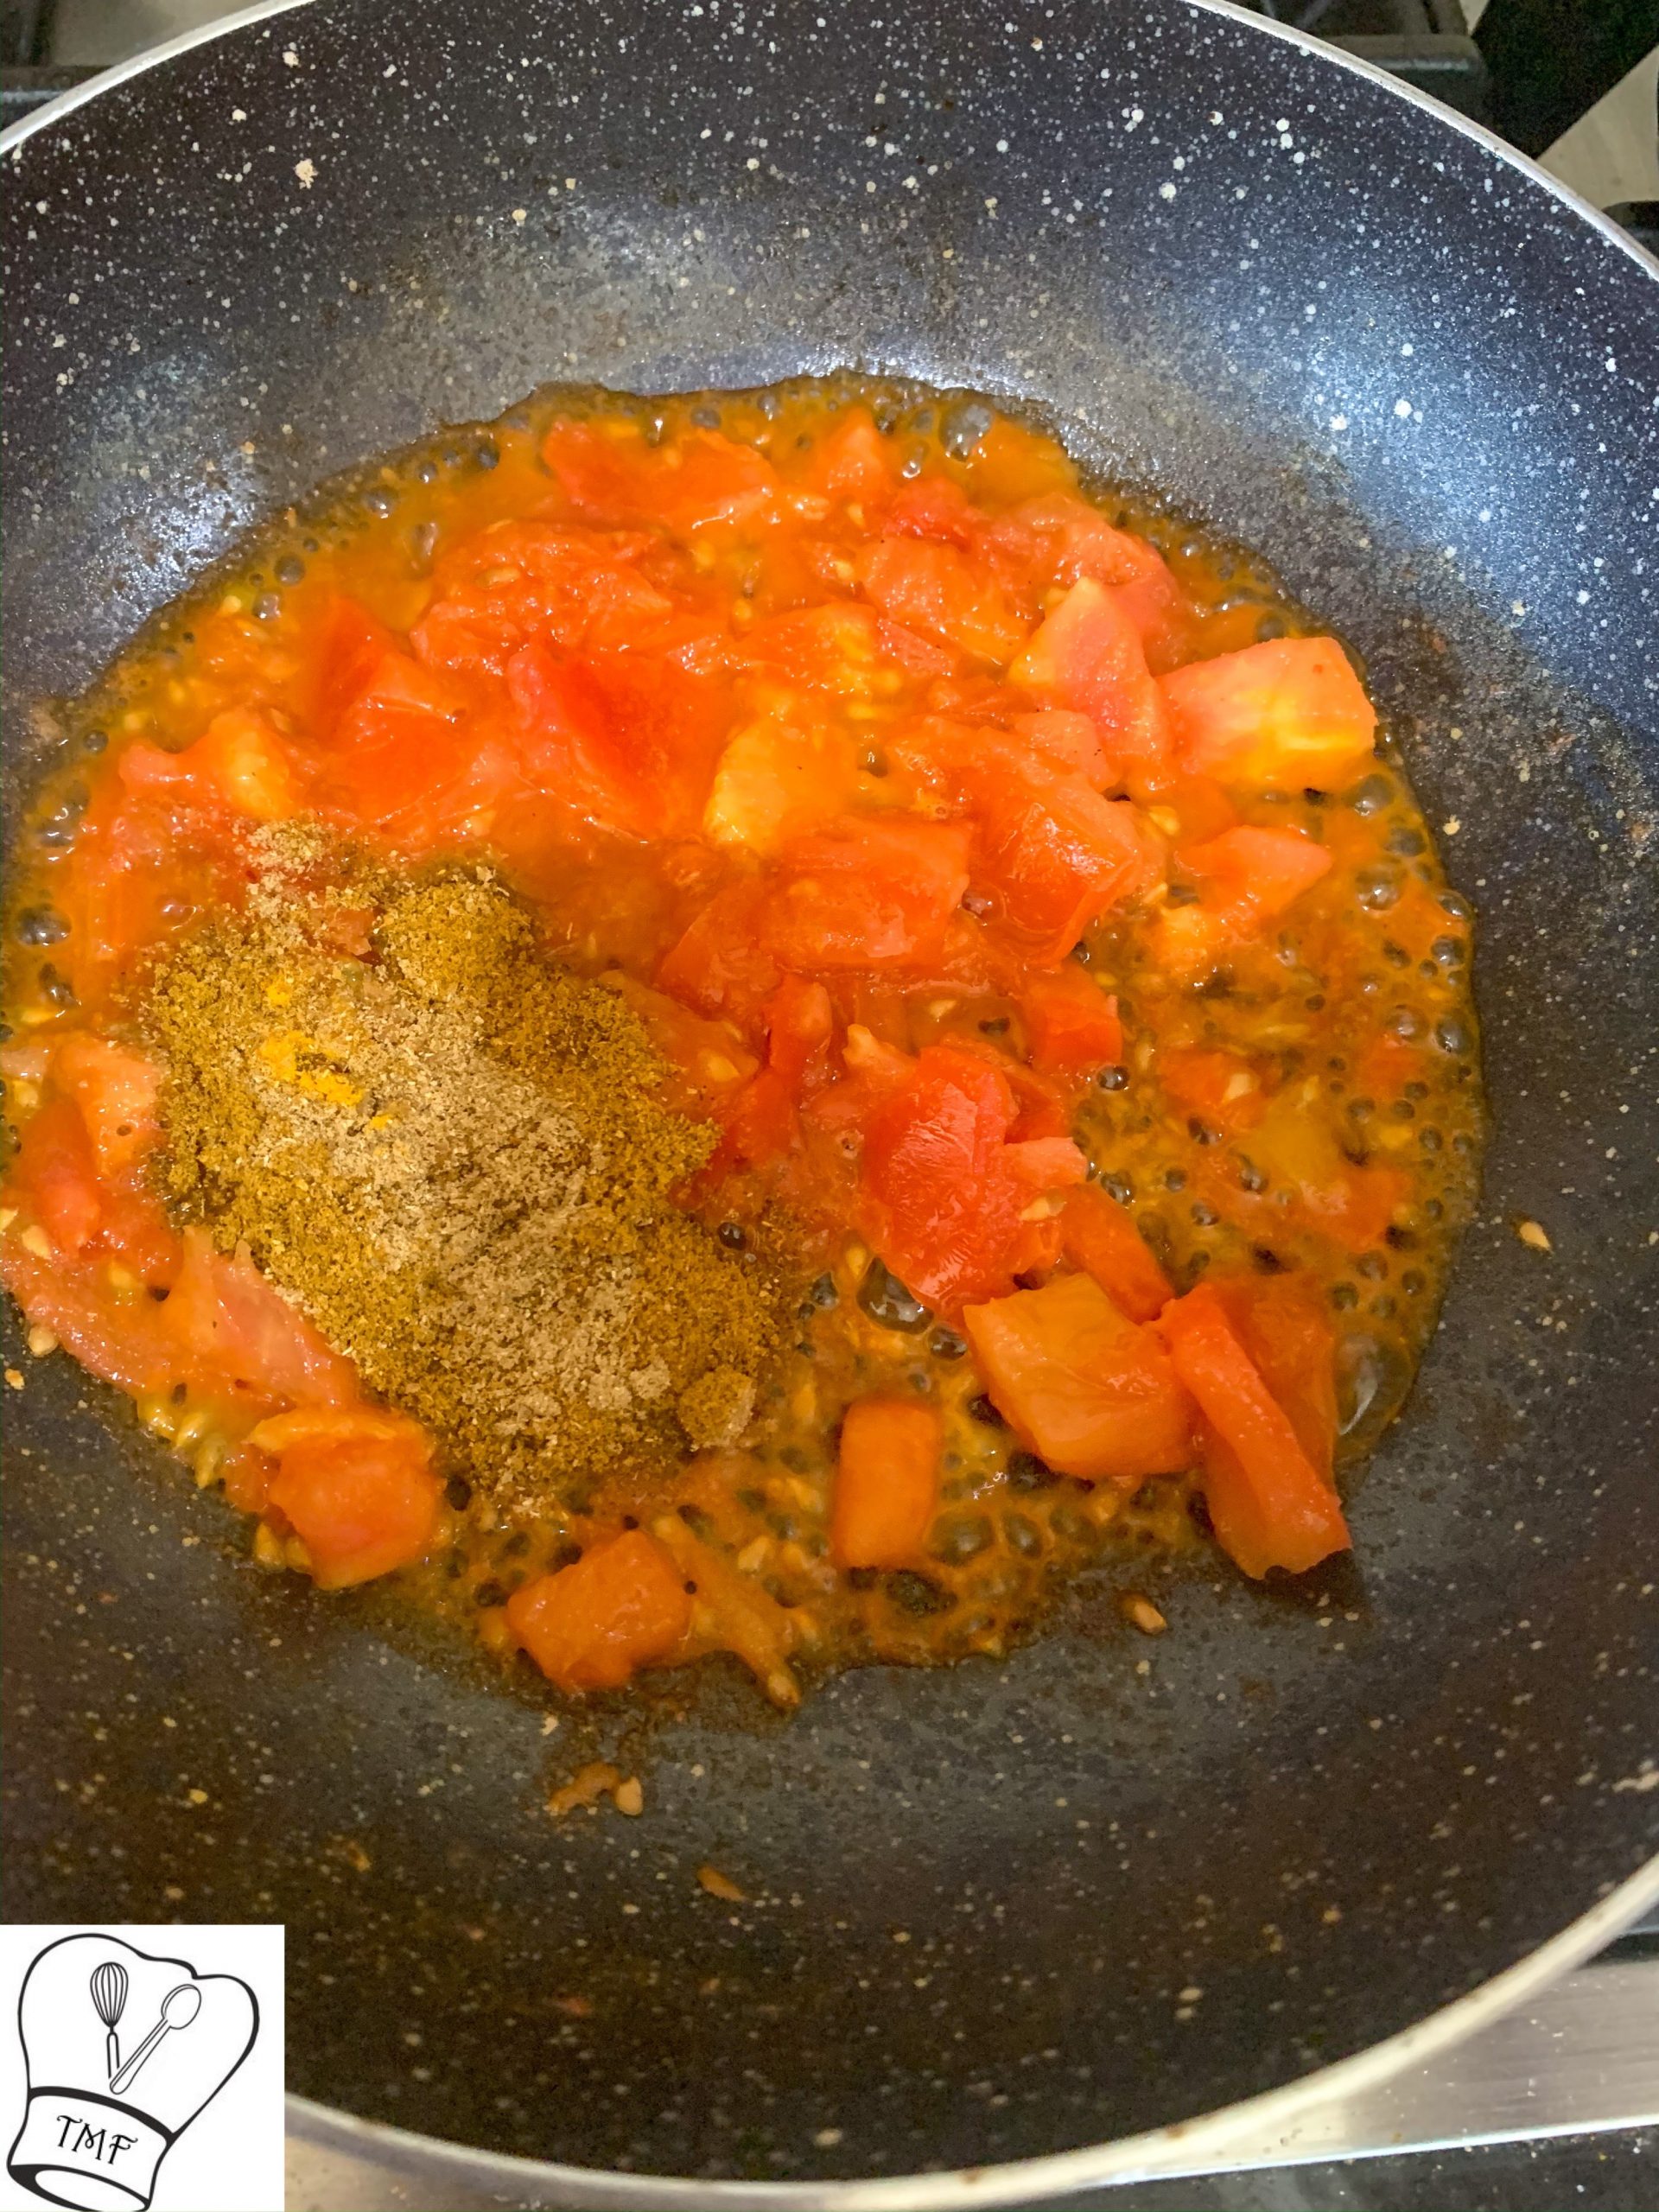
- After the tomatoes is almost cooked (3/4th mushy)
- Add coriander powder, cumin powder, kitchen king masala, garam masala and kashmiri chili powder and salt; sauté for 3/4 minutes till the tomatoes turns mushy and the raw masala smell goes off
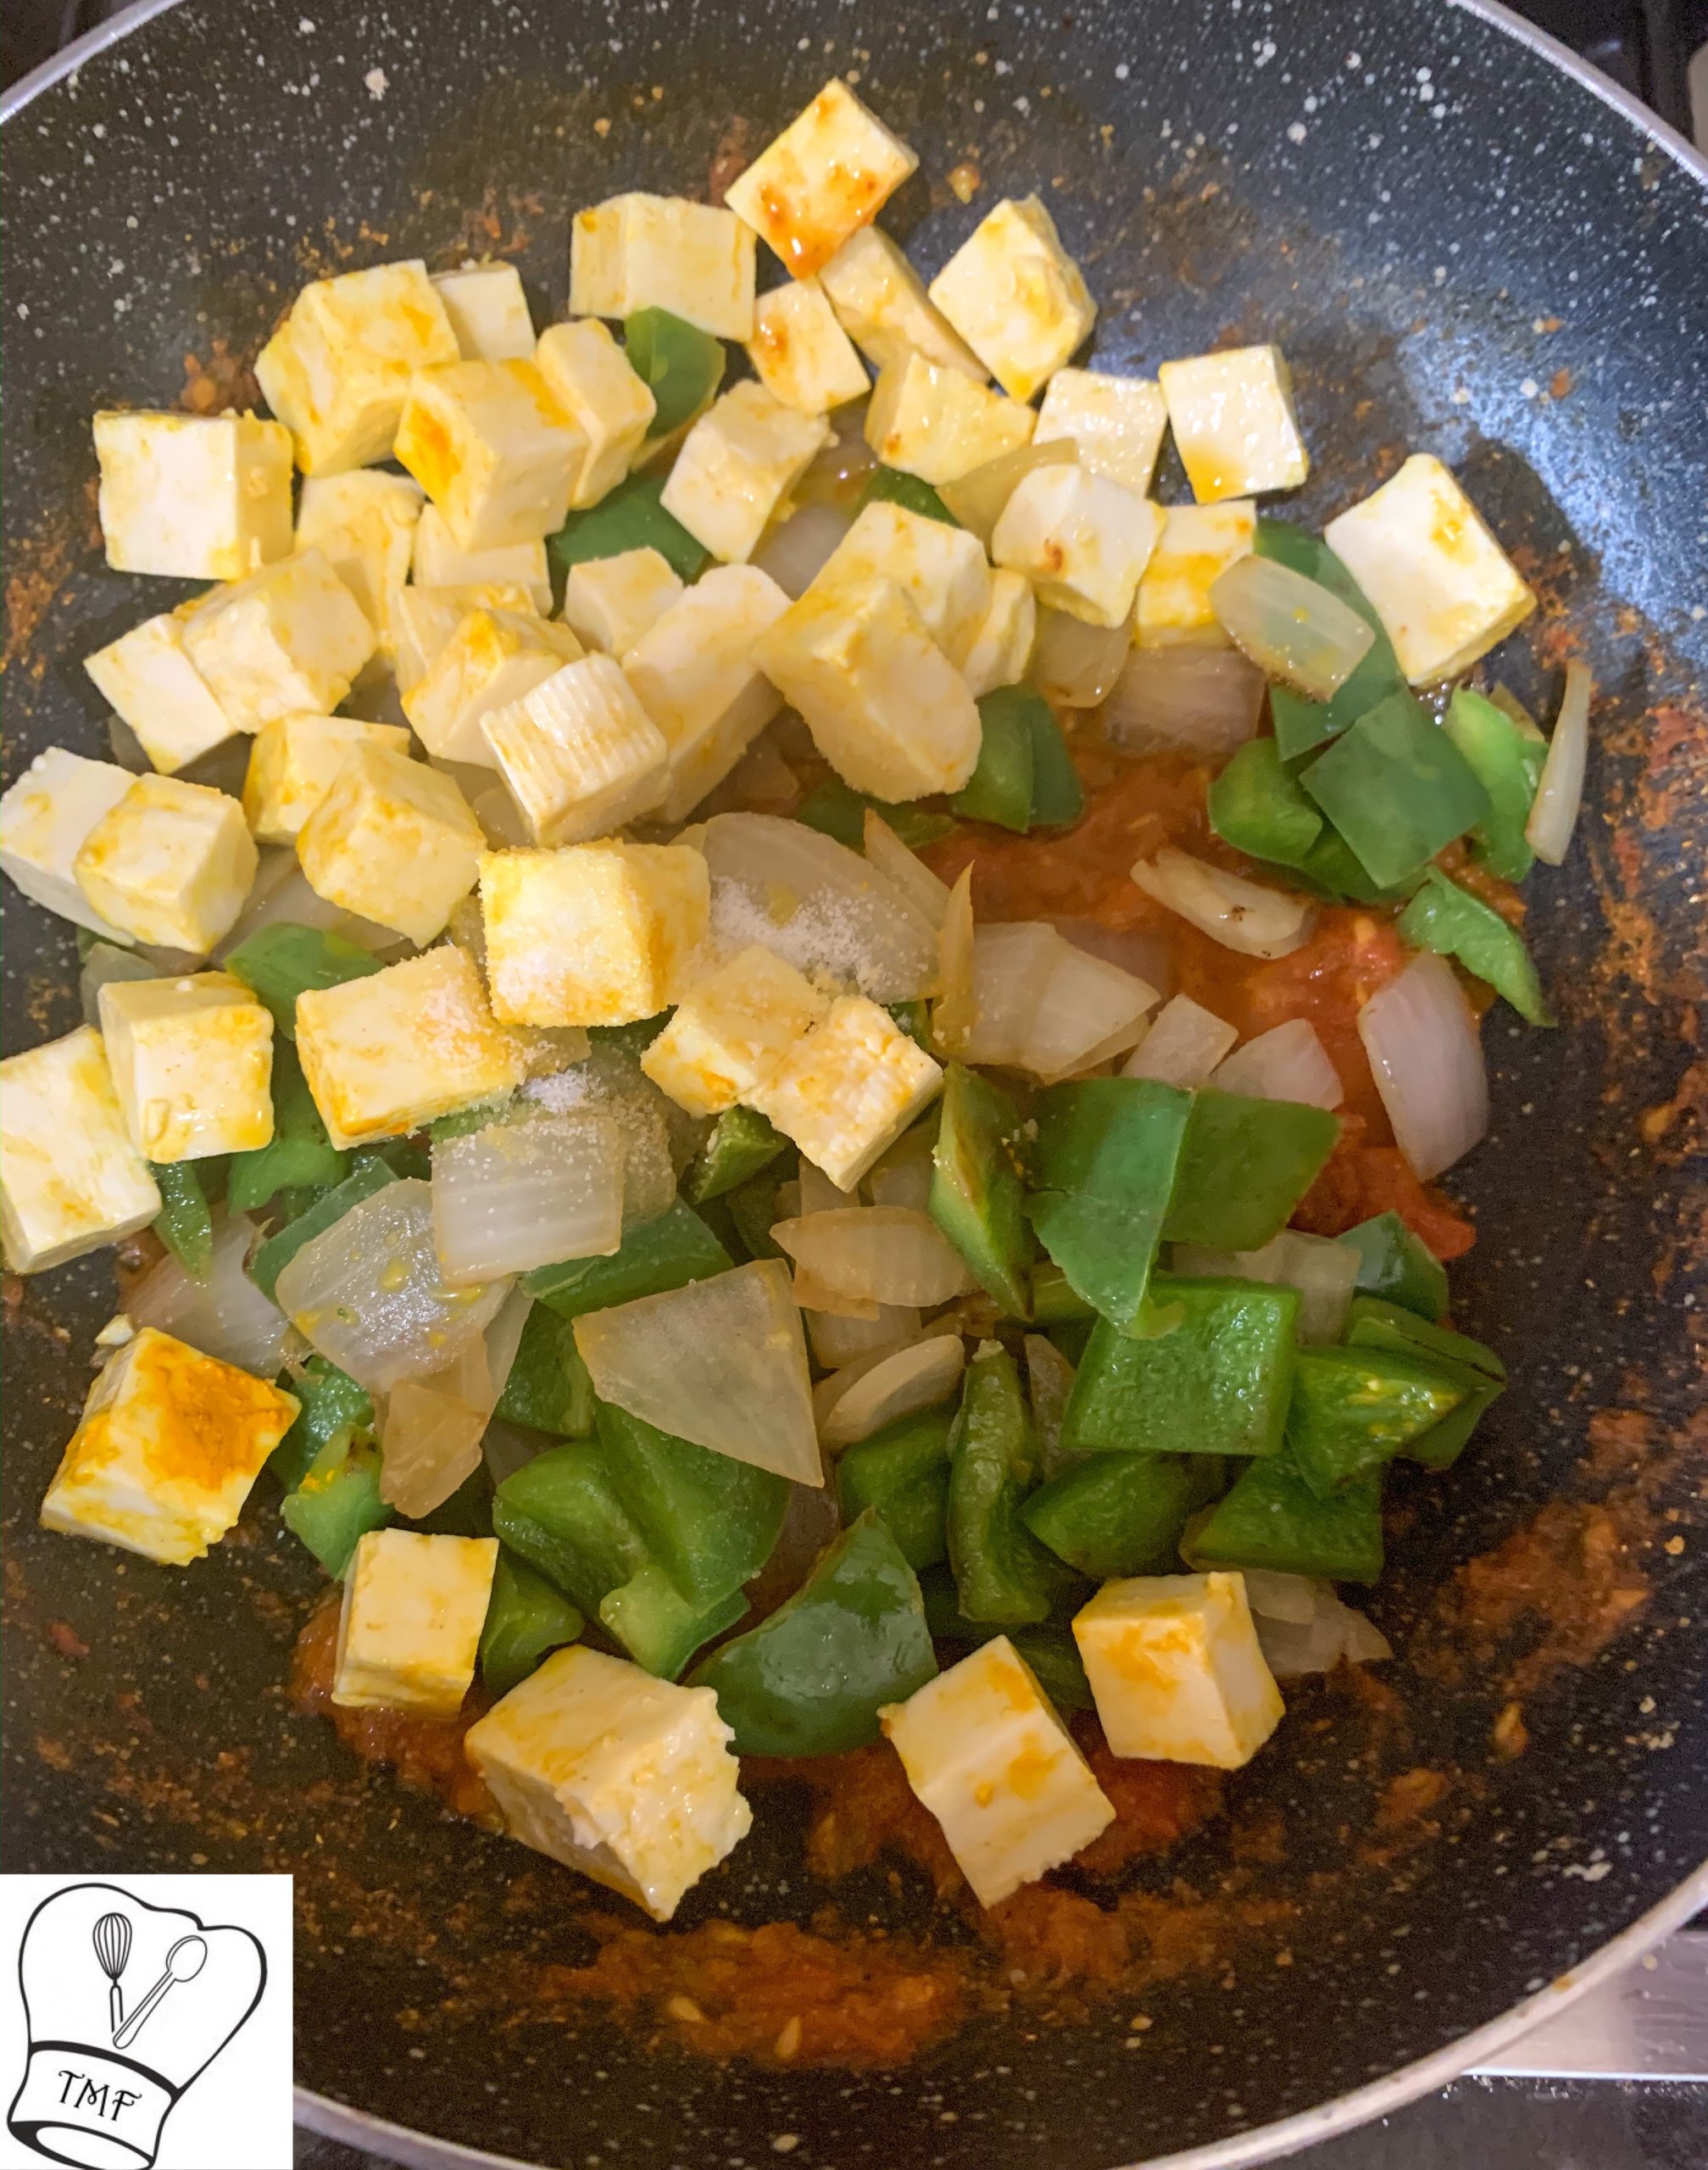
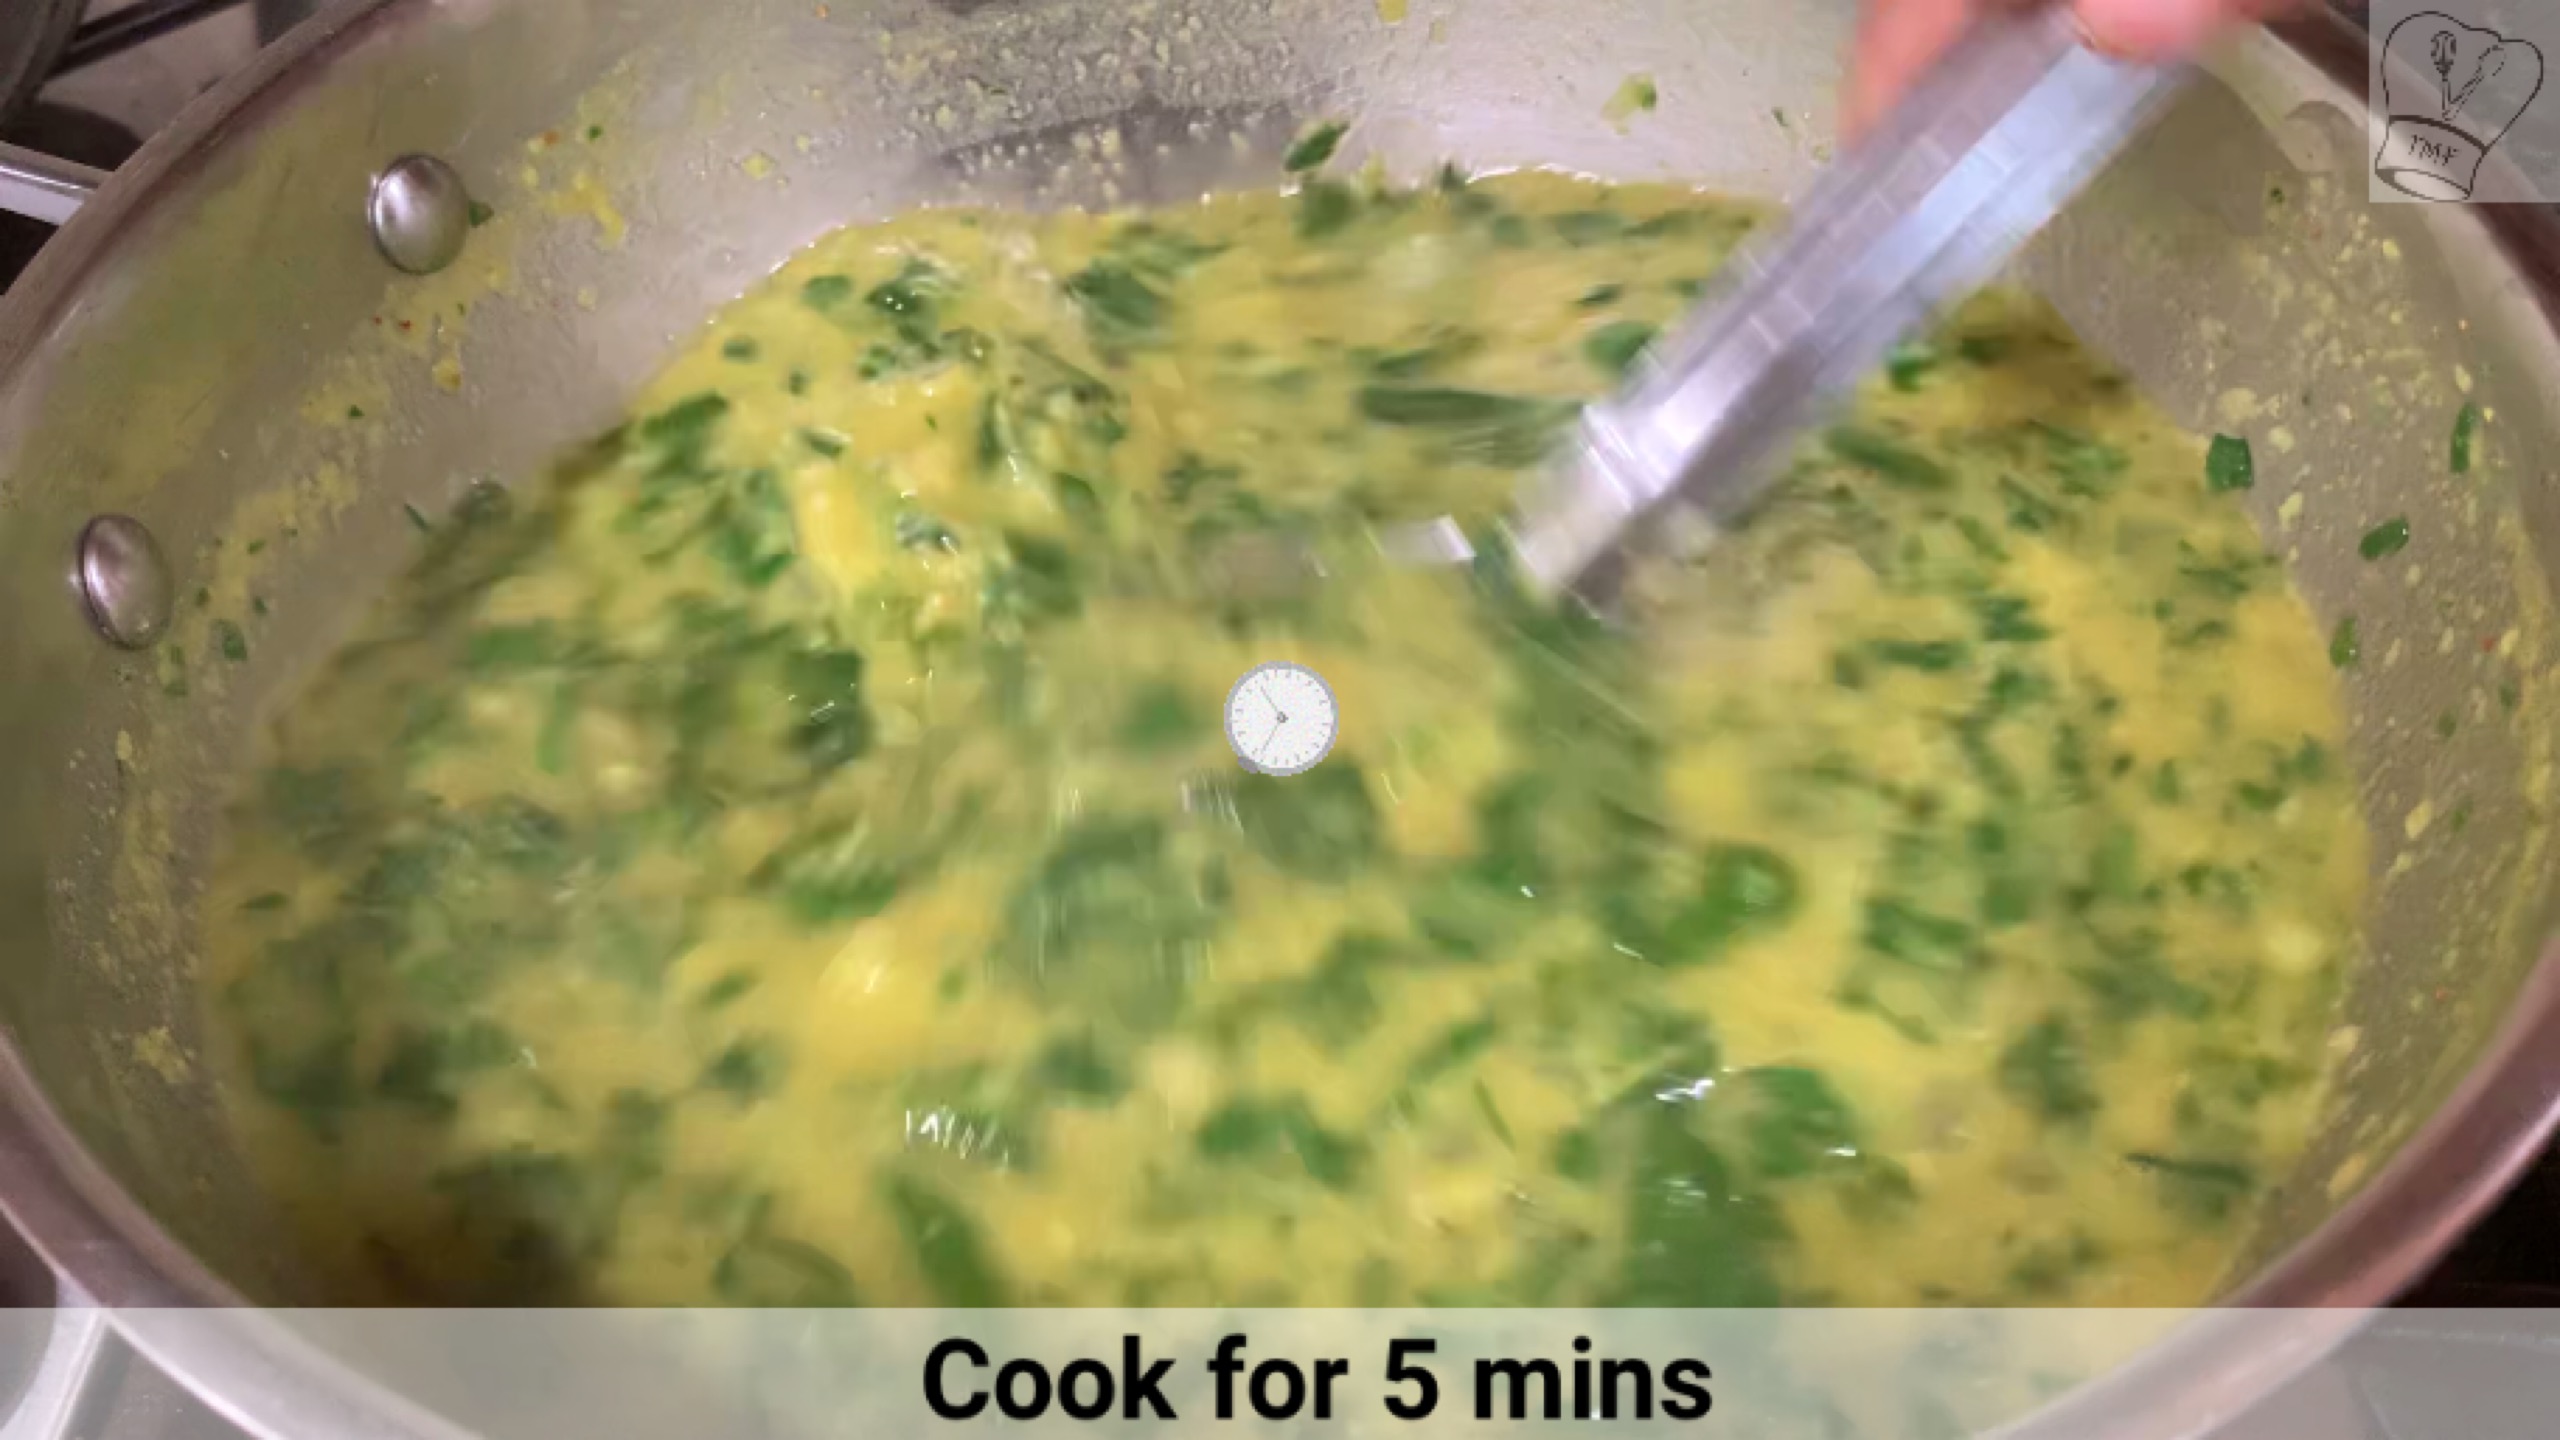
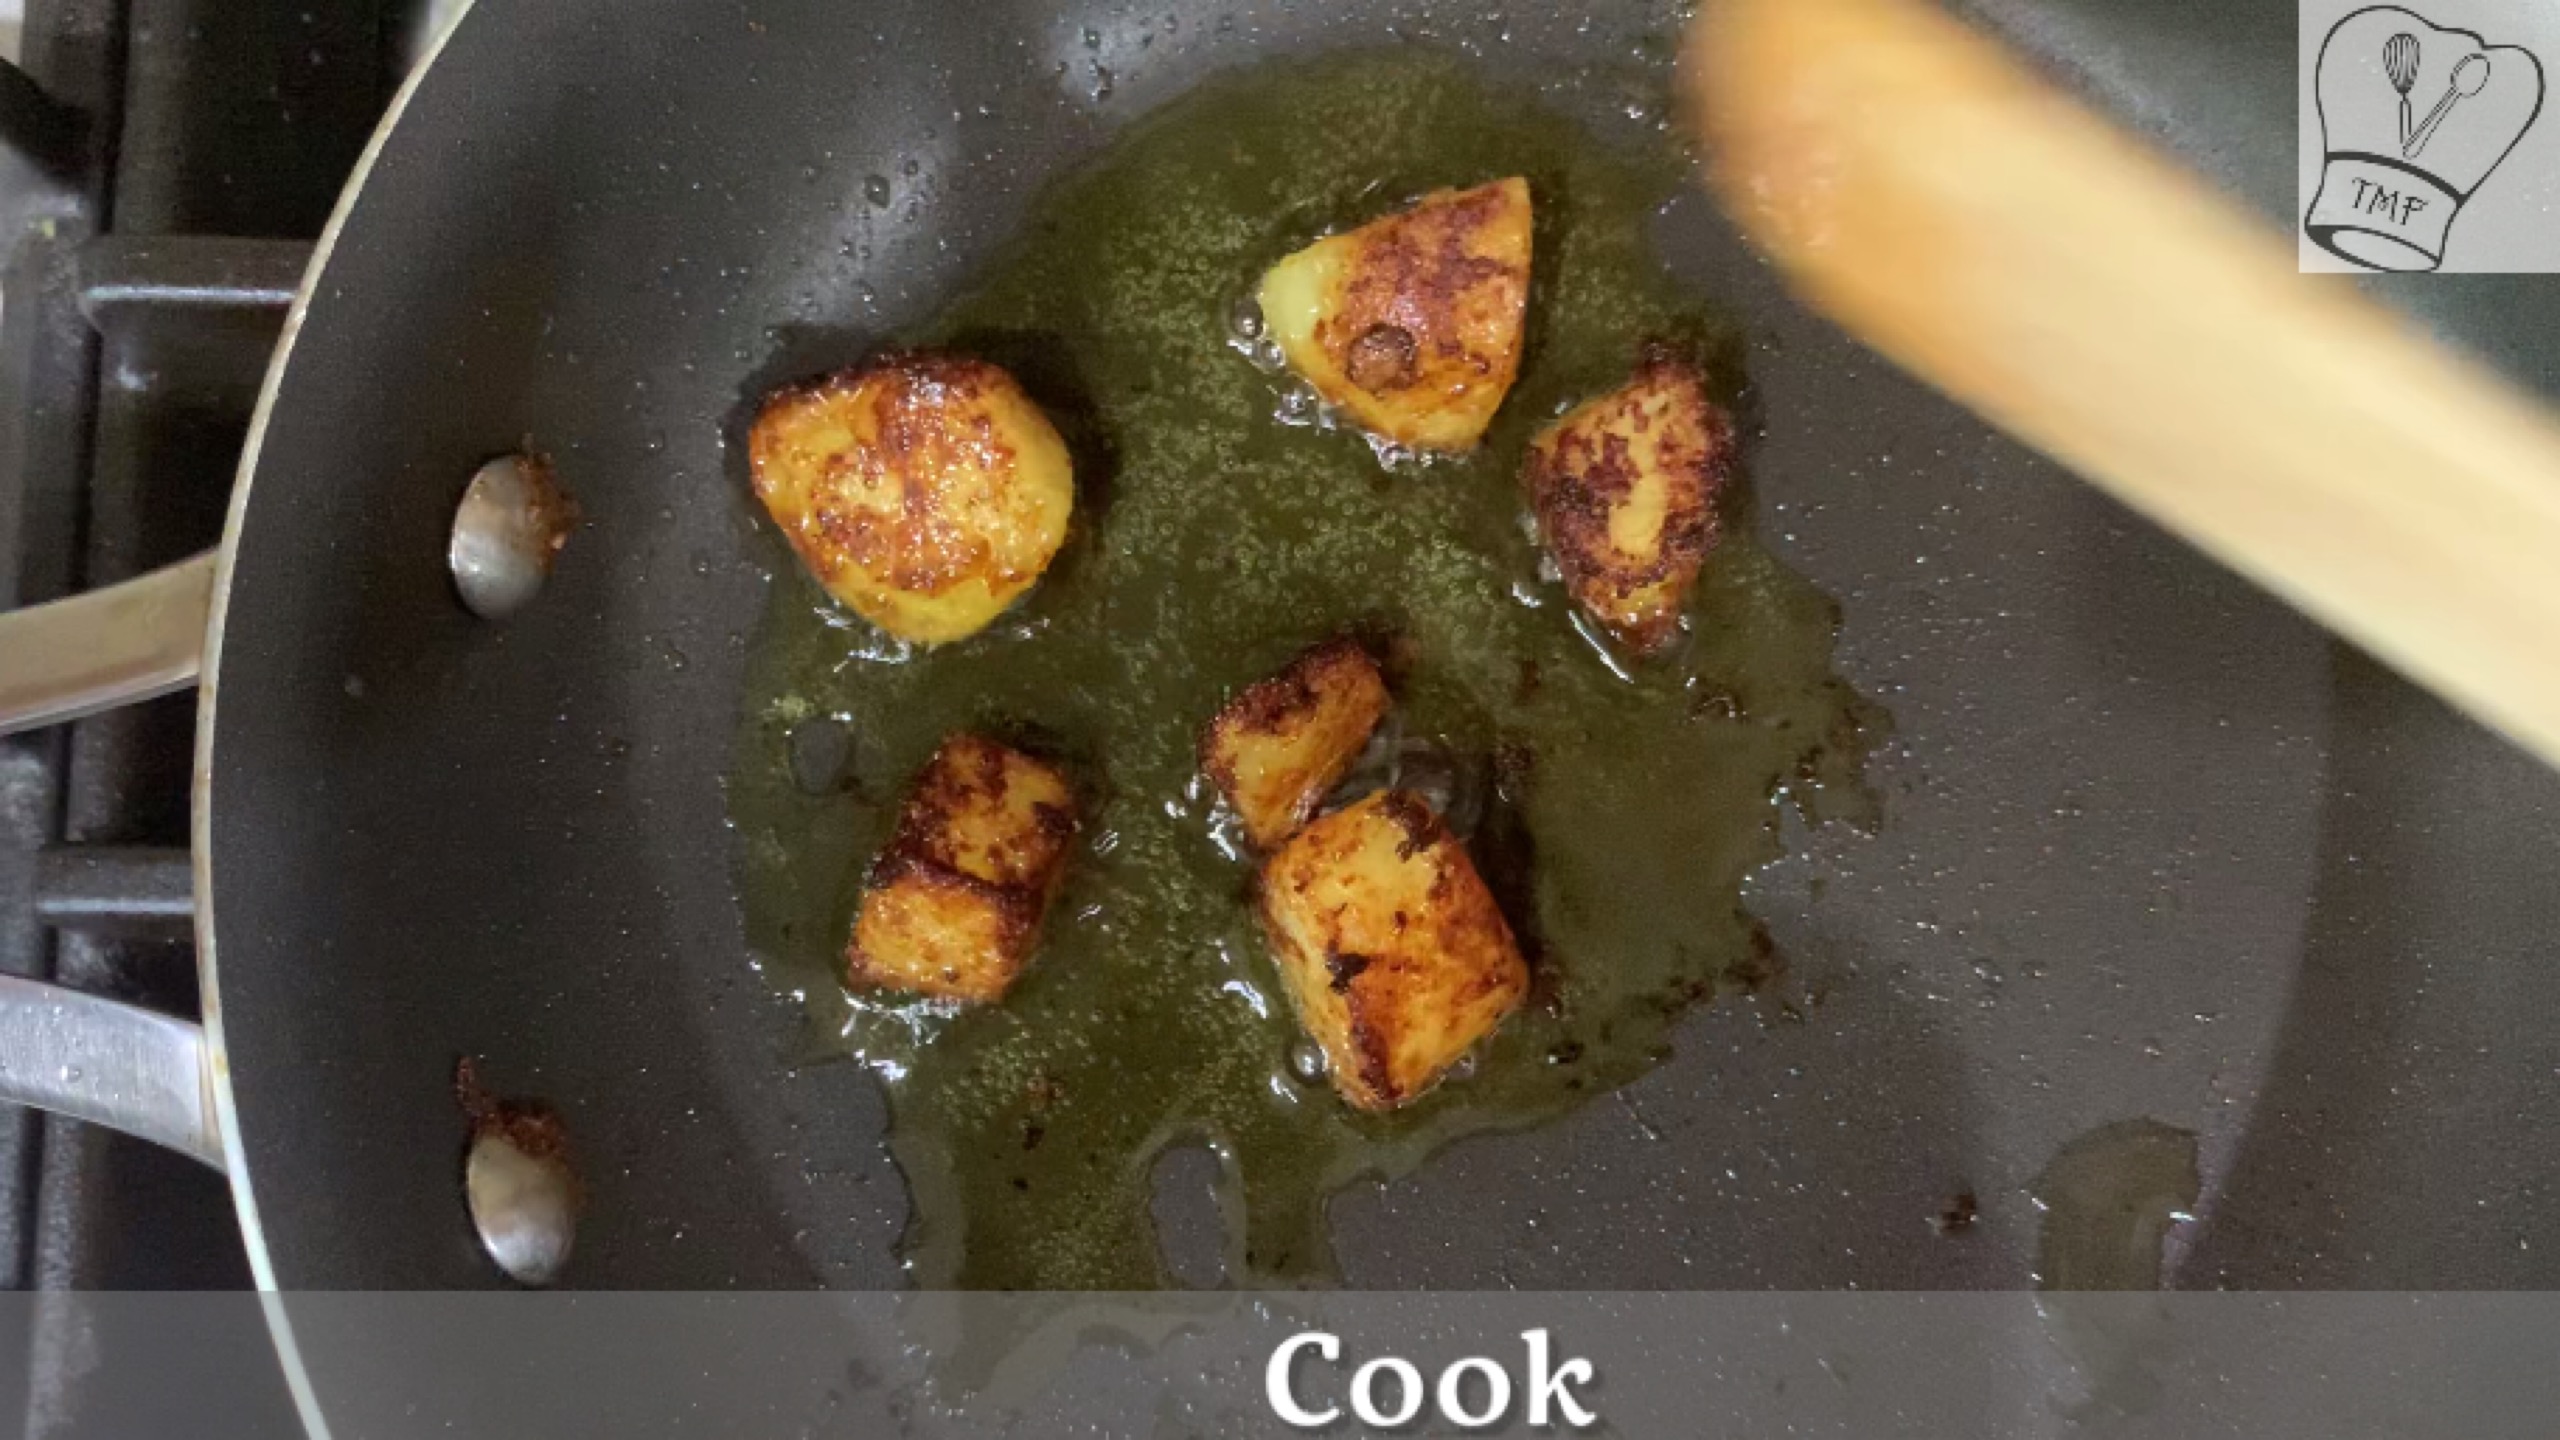
- Add paneer, capsicum, onion, water and salt if needed. Cover and cook for 2-3 minutes
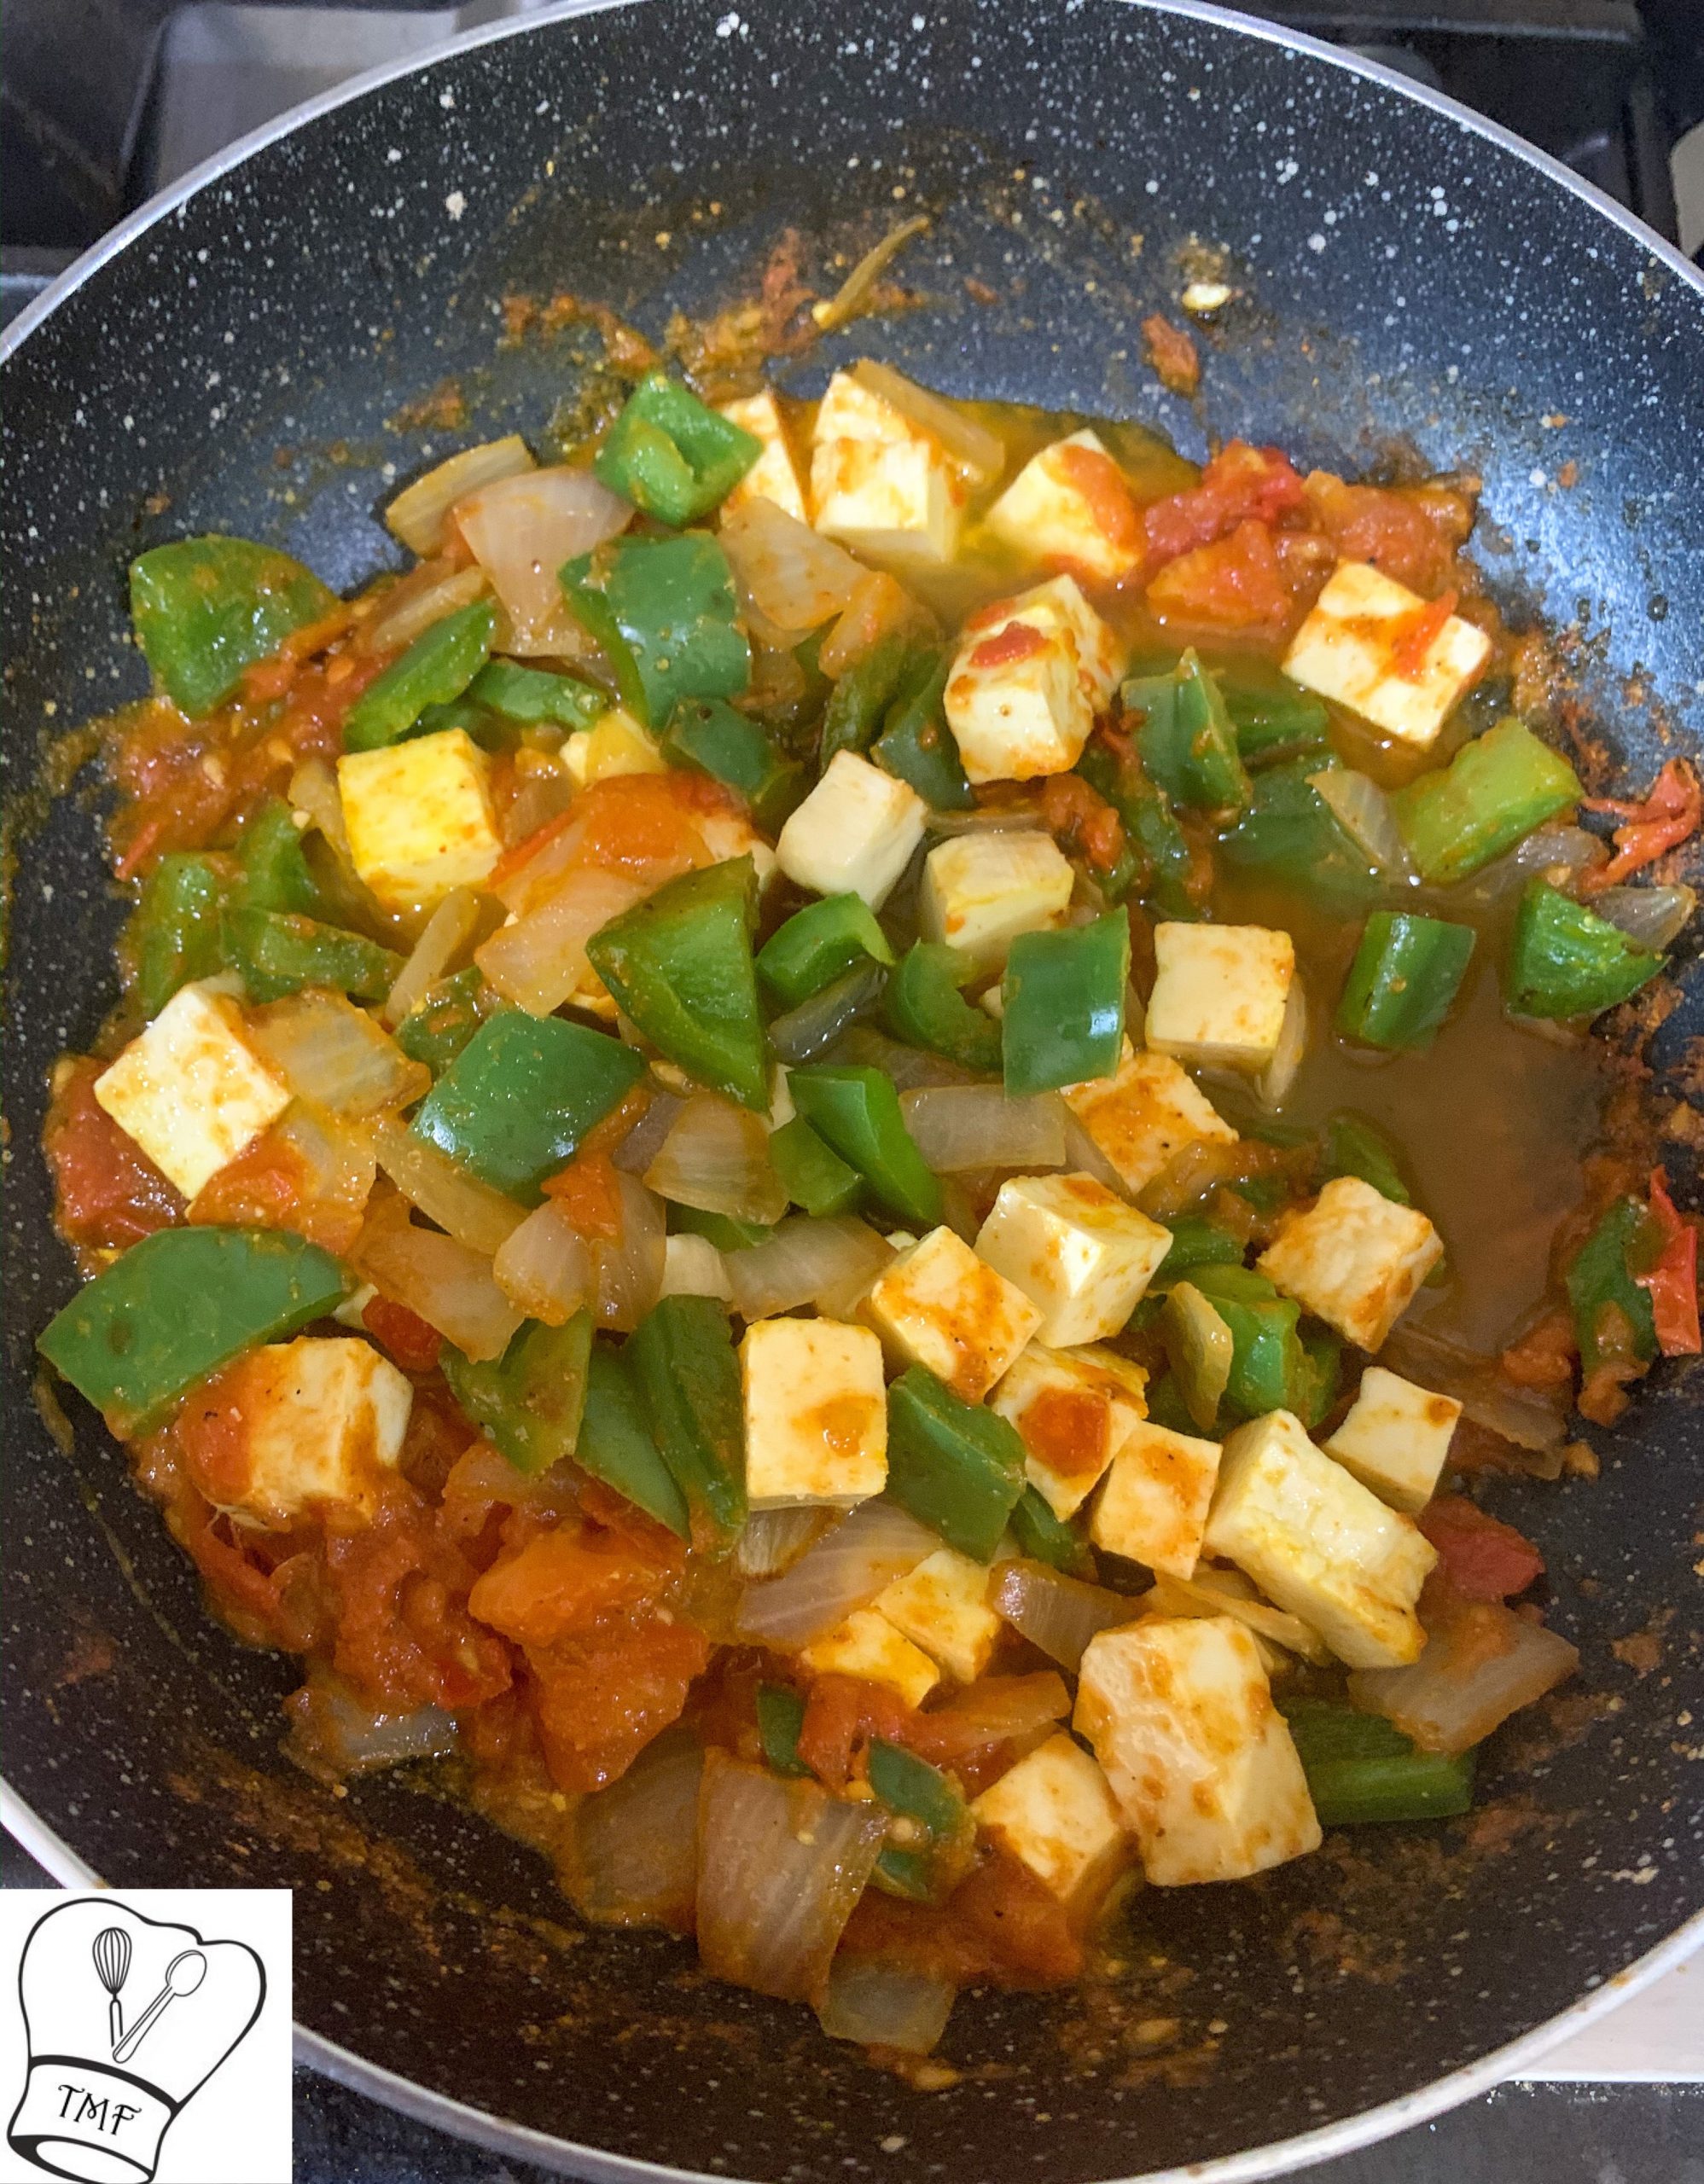
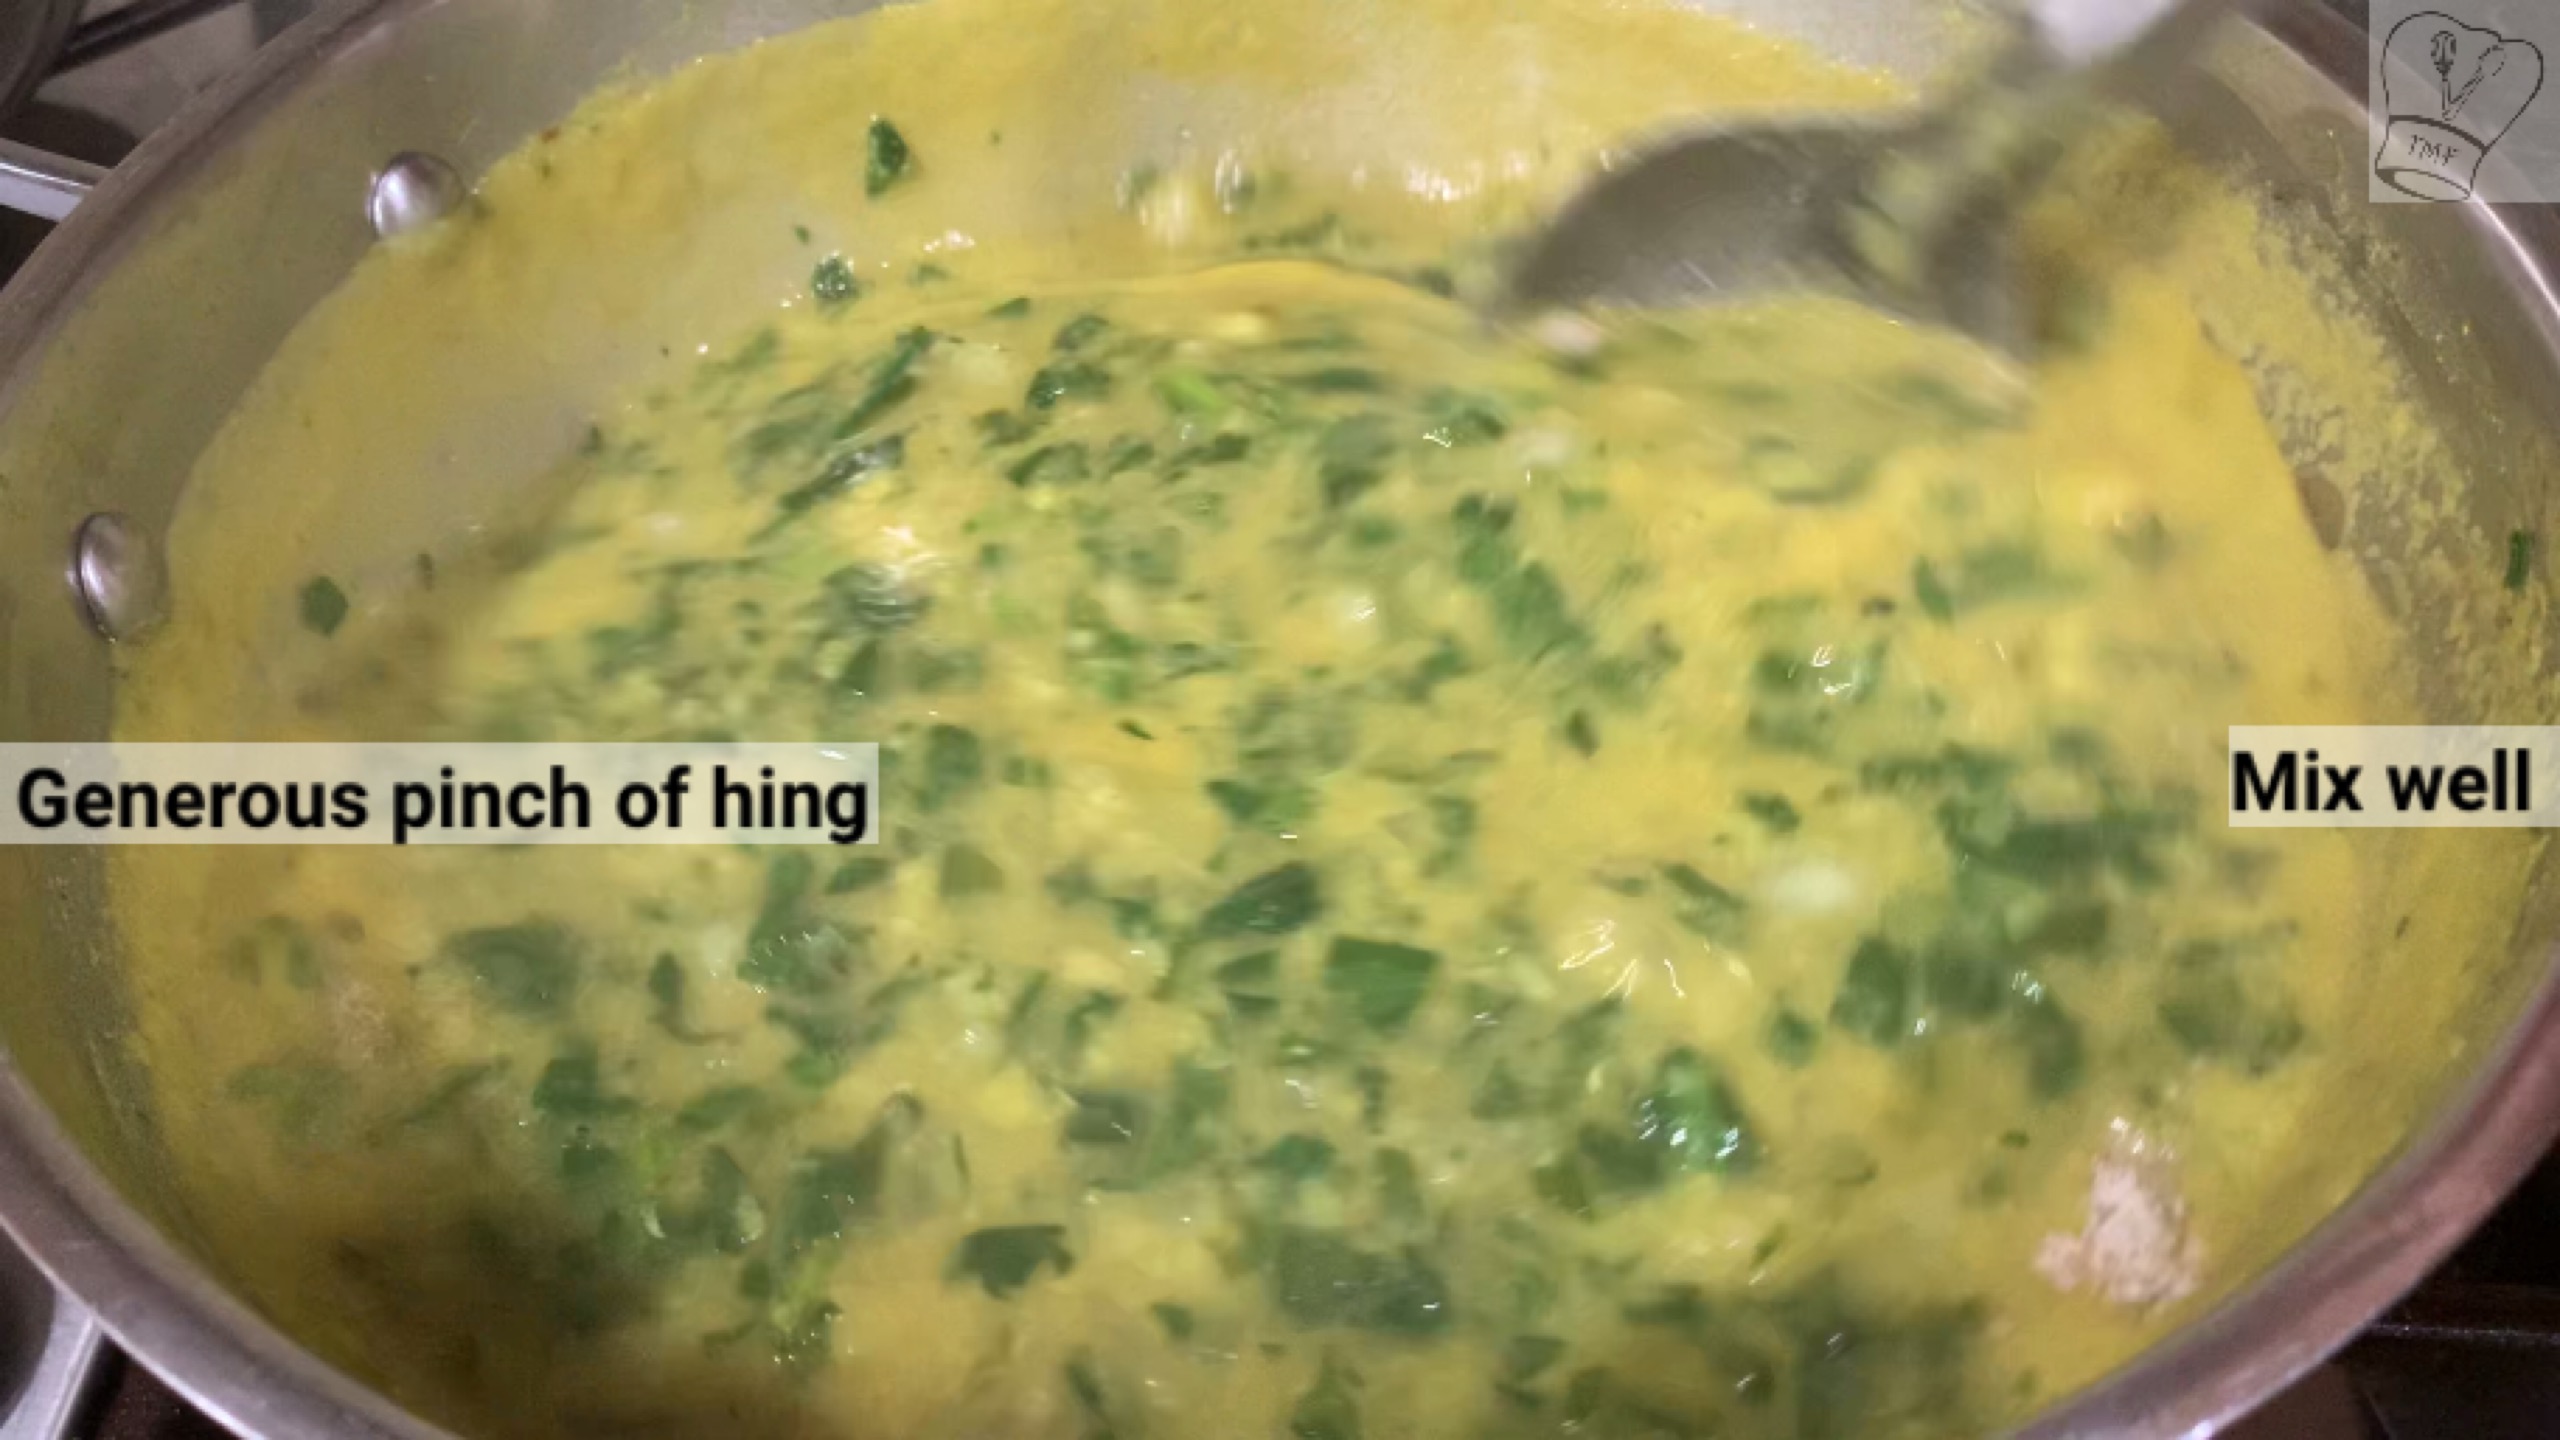
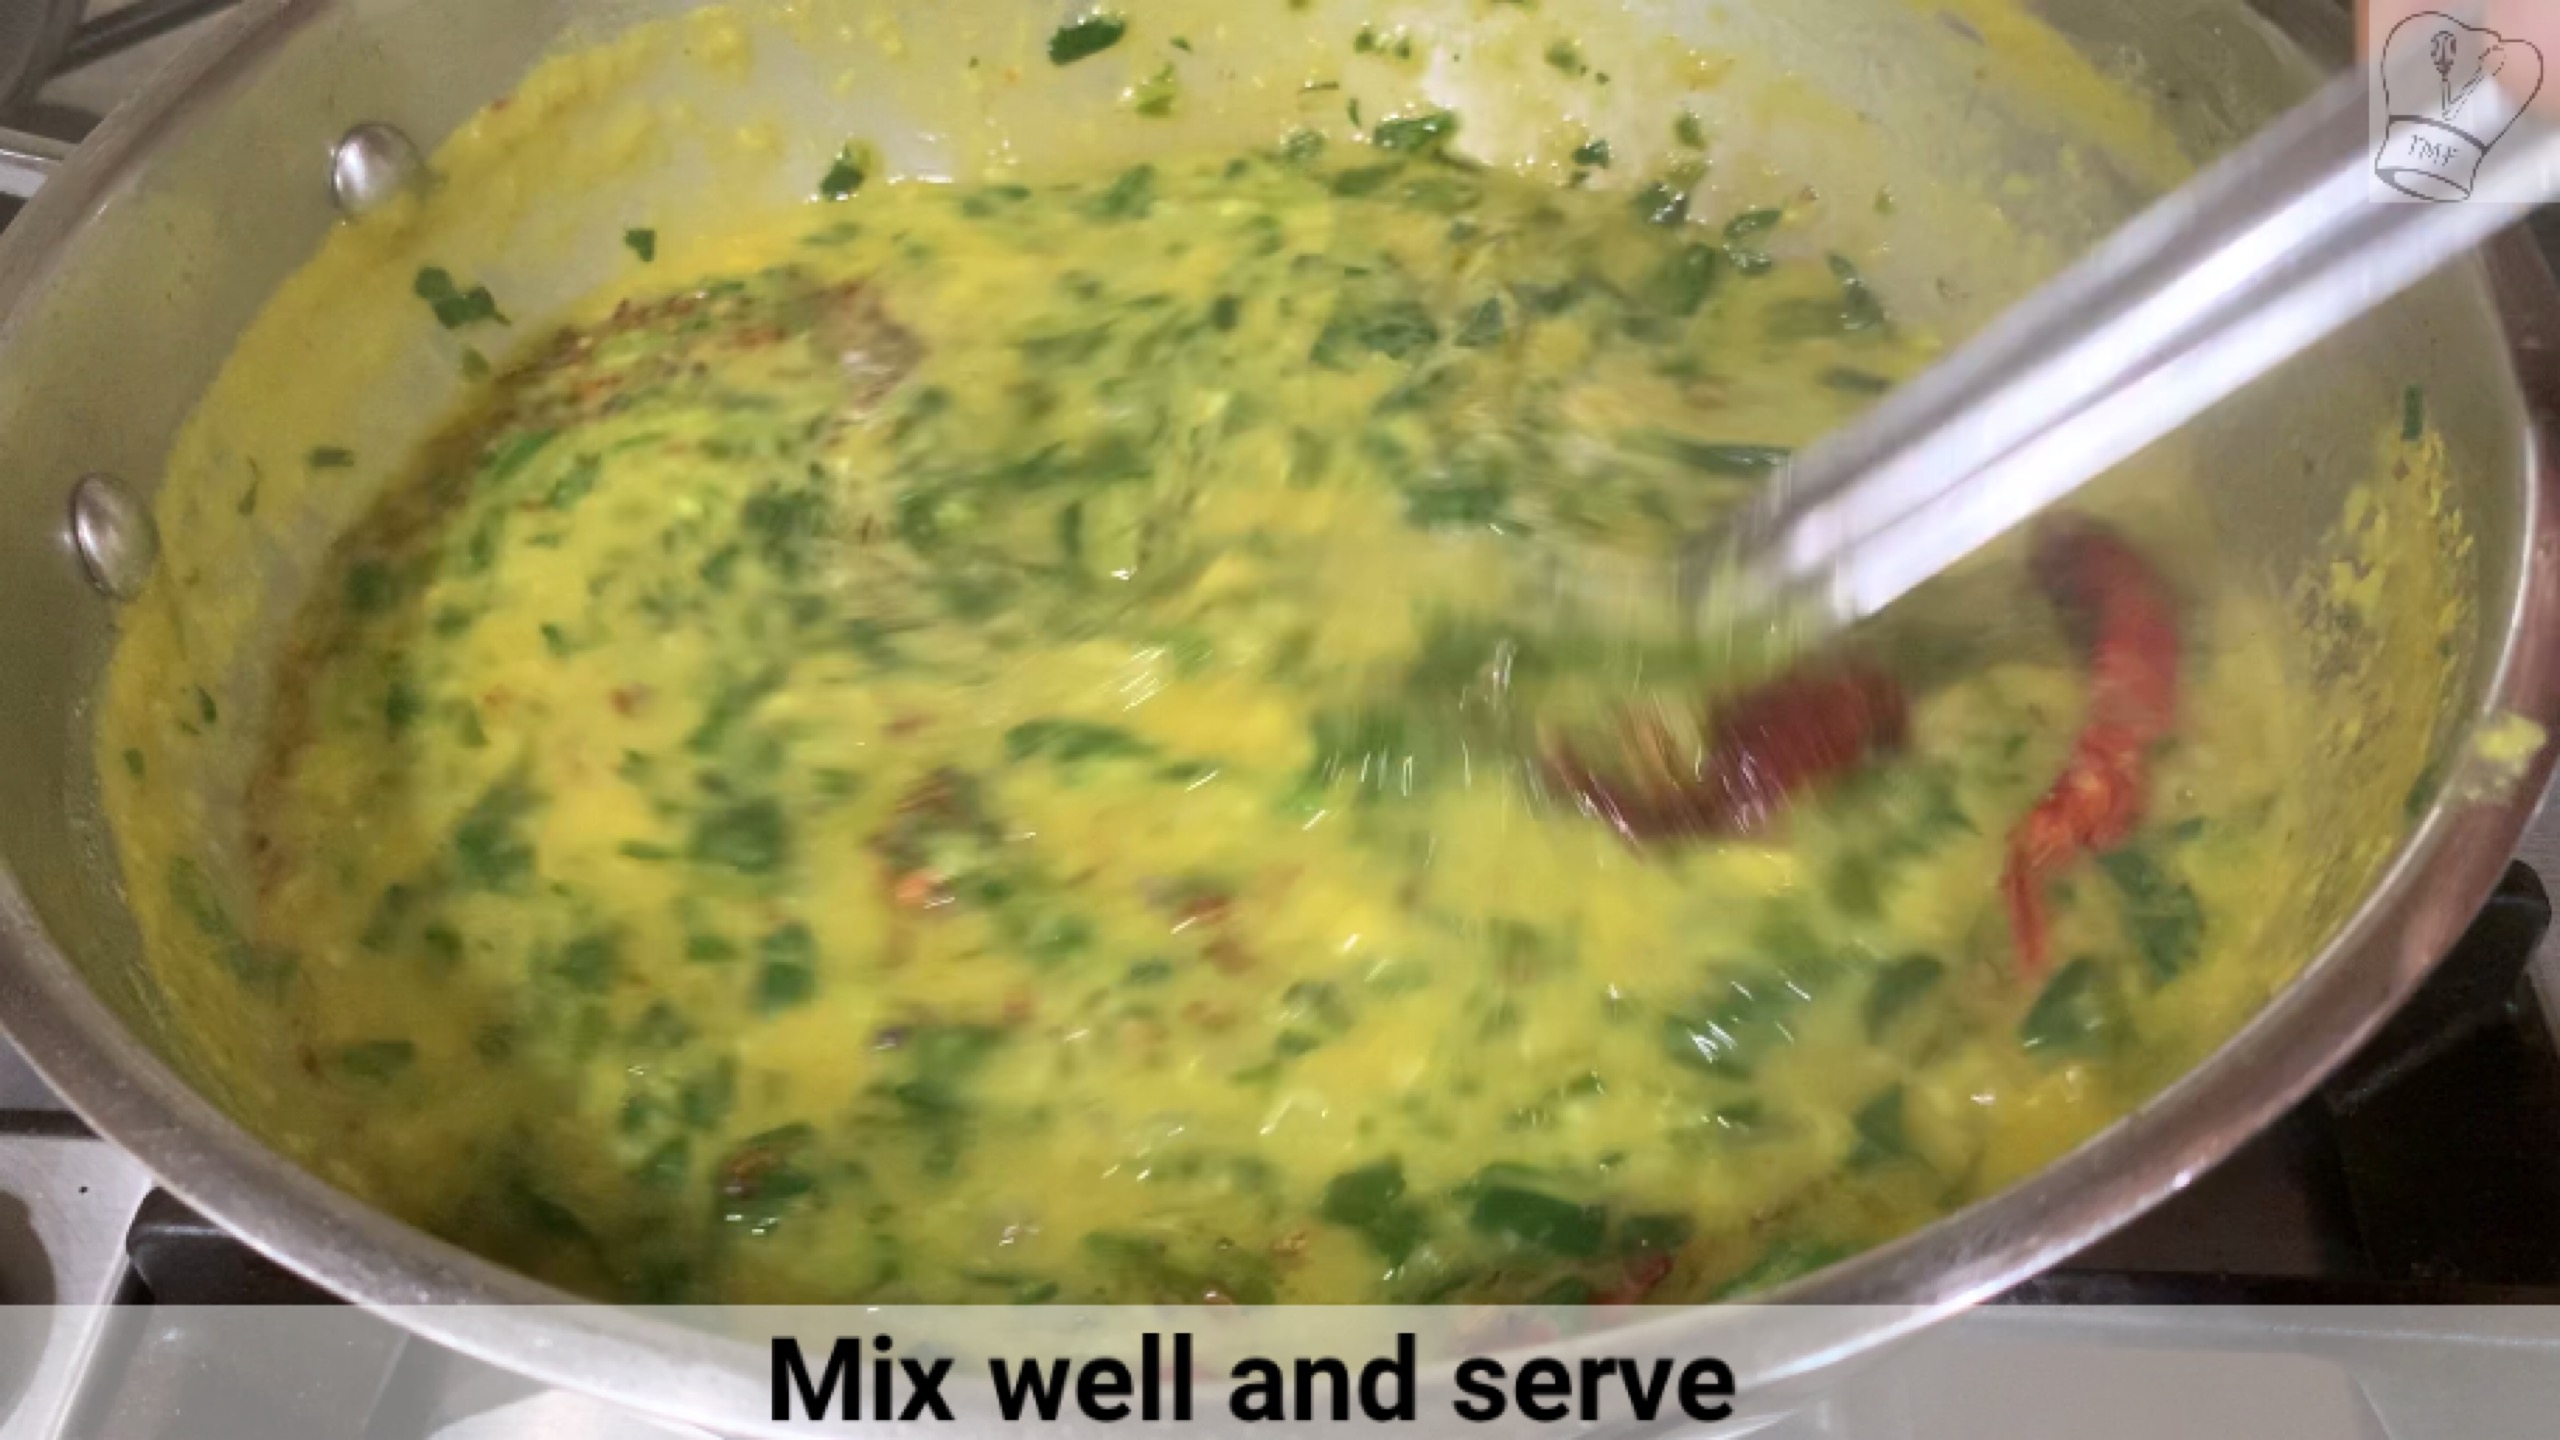
- Open the lid and cook till the excess liquid evaporates. Add dried methi leaves and mix well. Switch off
- Instead of using store brought masala powder. Masala can be made in home, Dry roast coriander seeds, fennel seeds and red chilli till the aroma comes. Blend into coarse powder
Notes
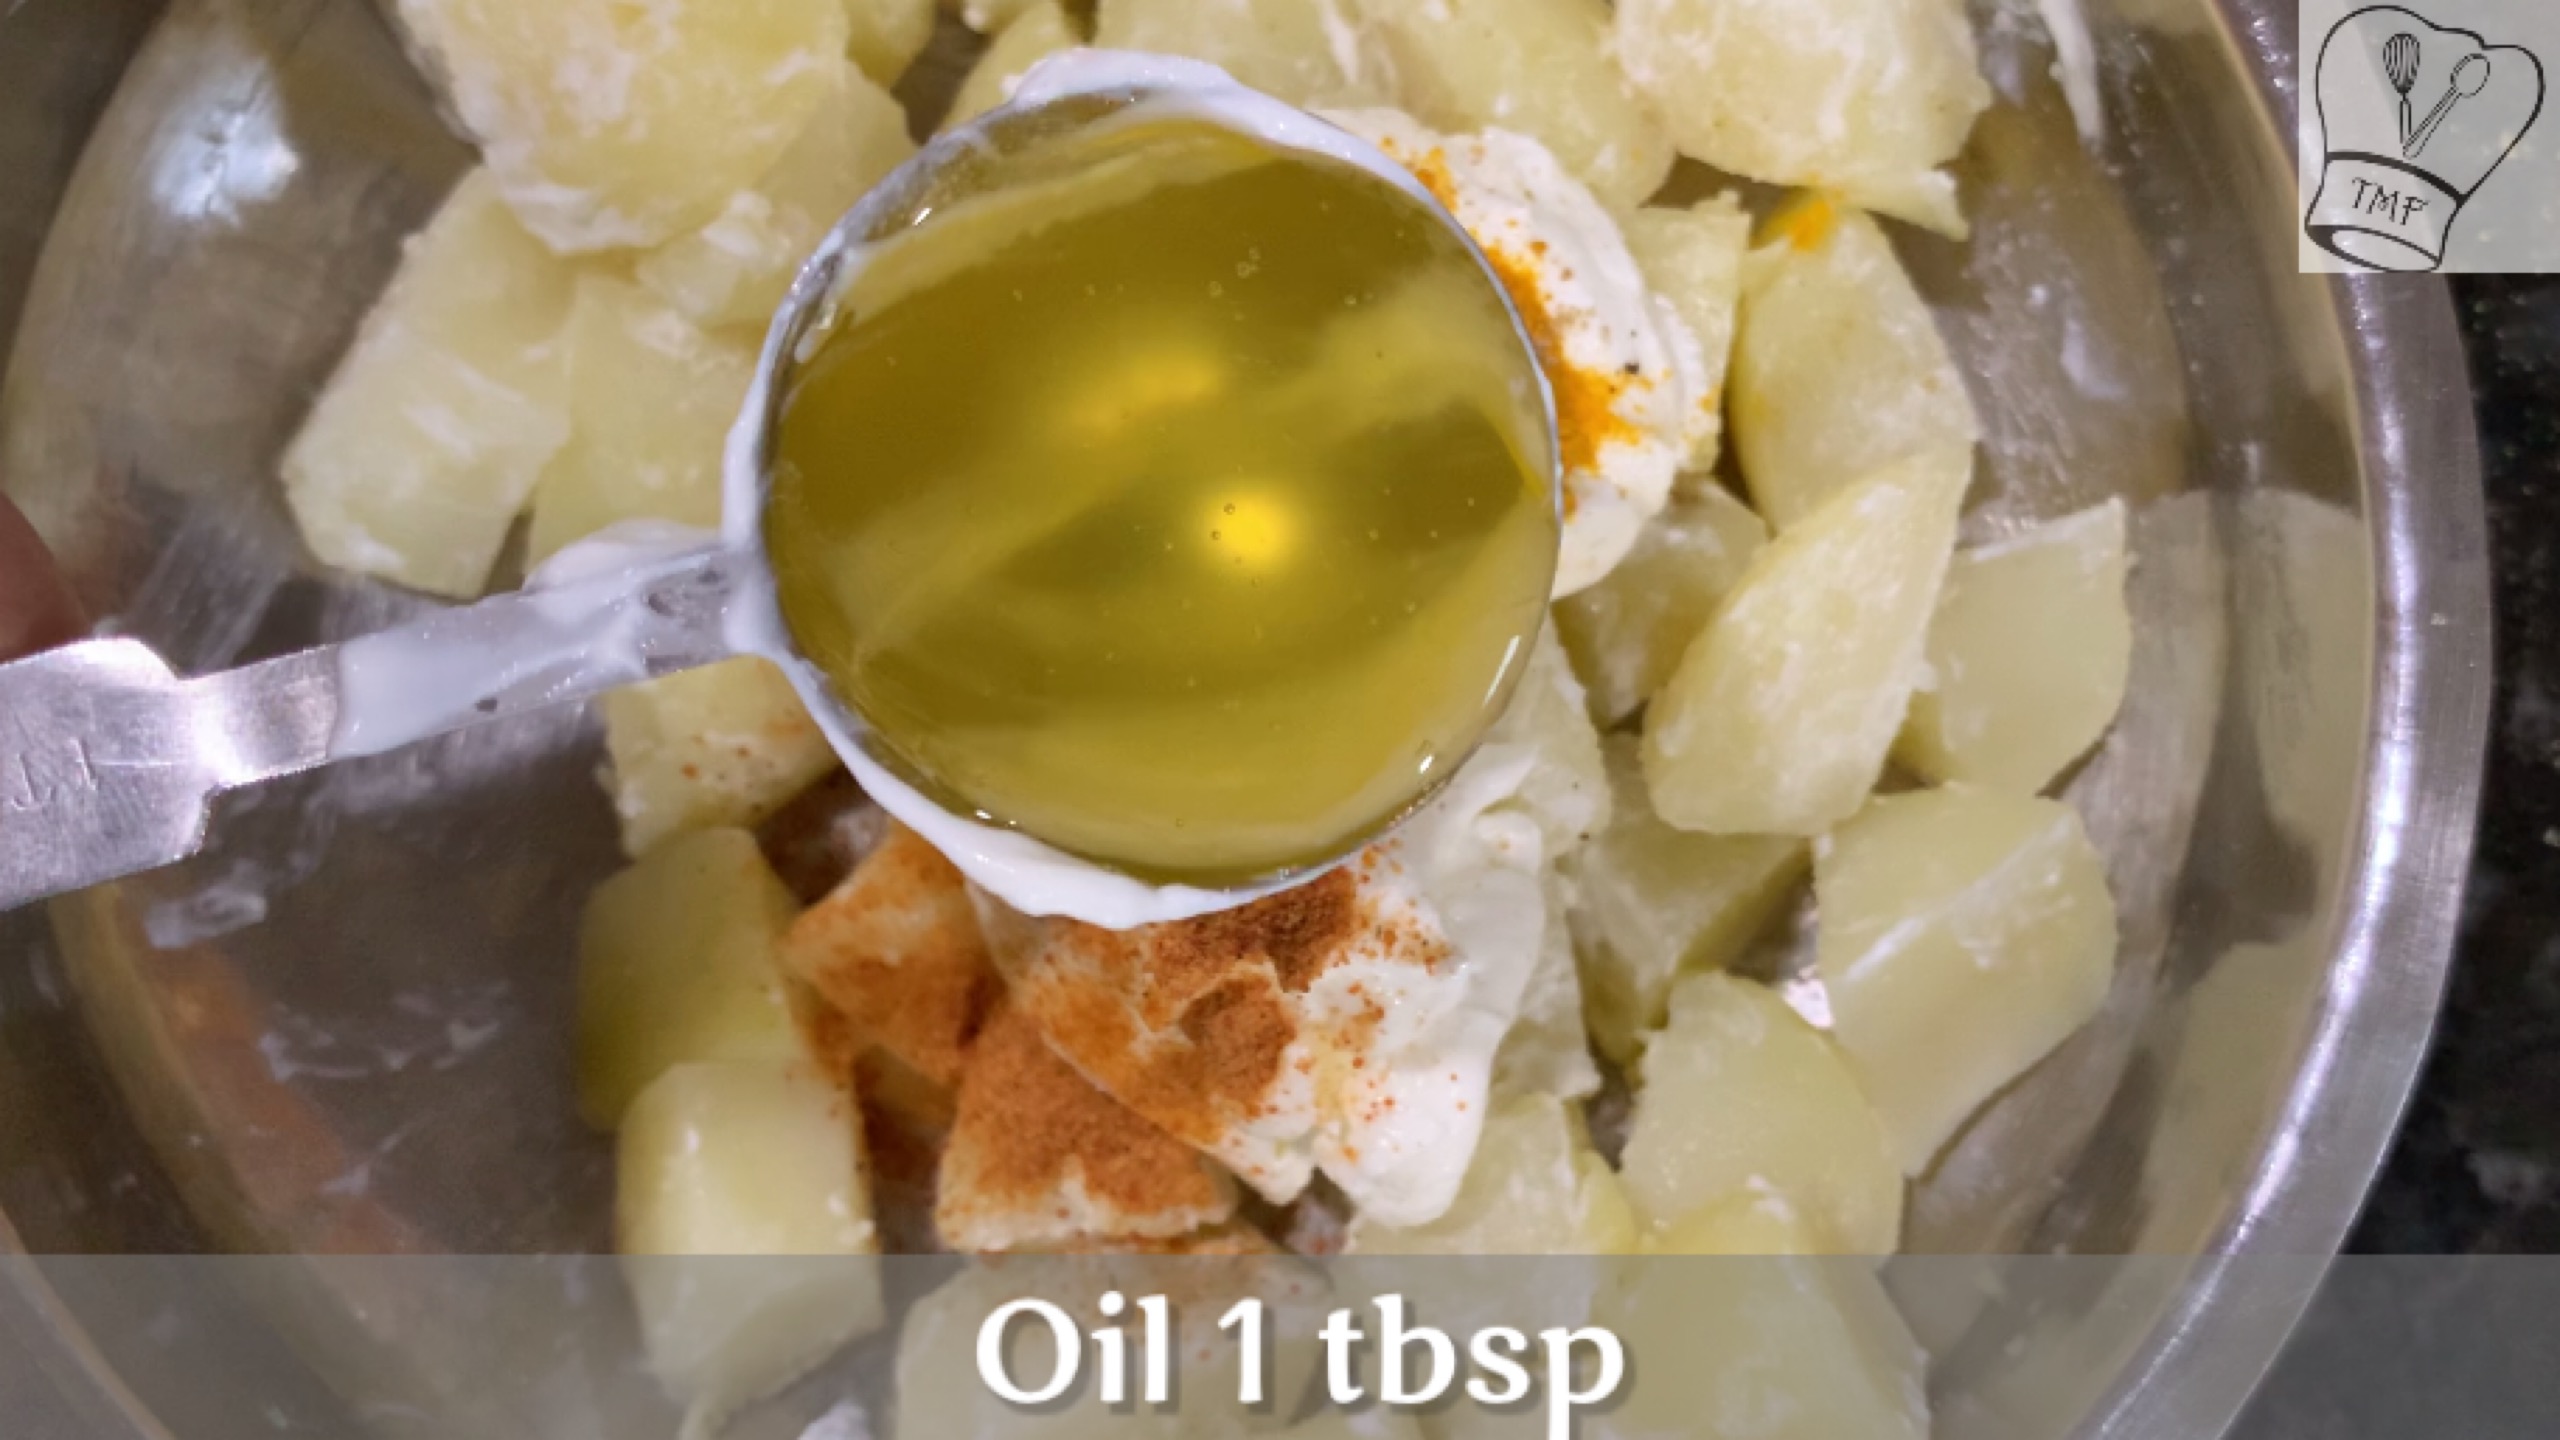
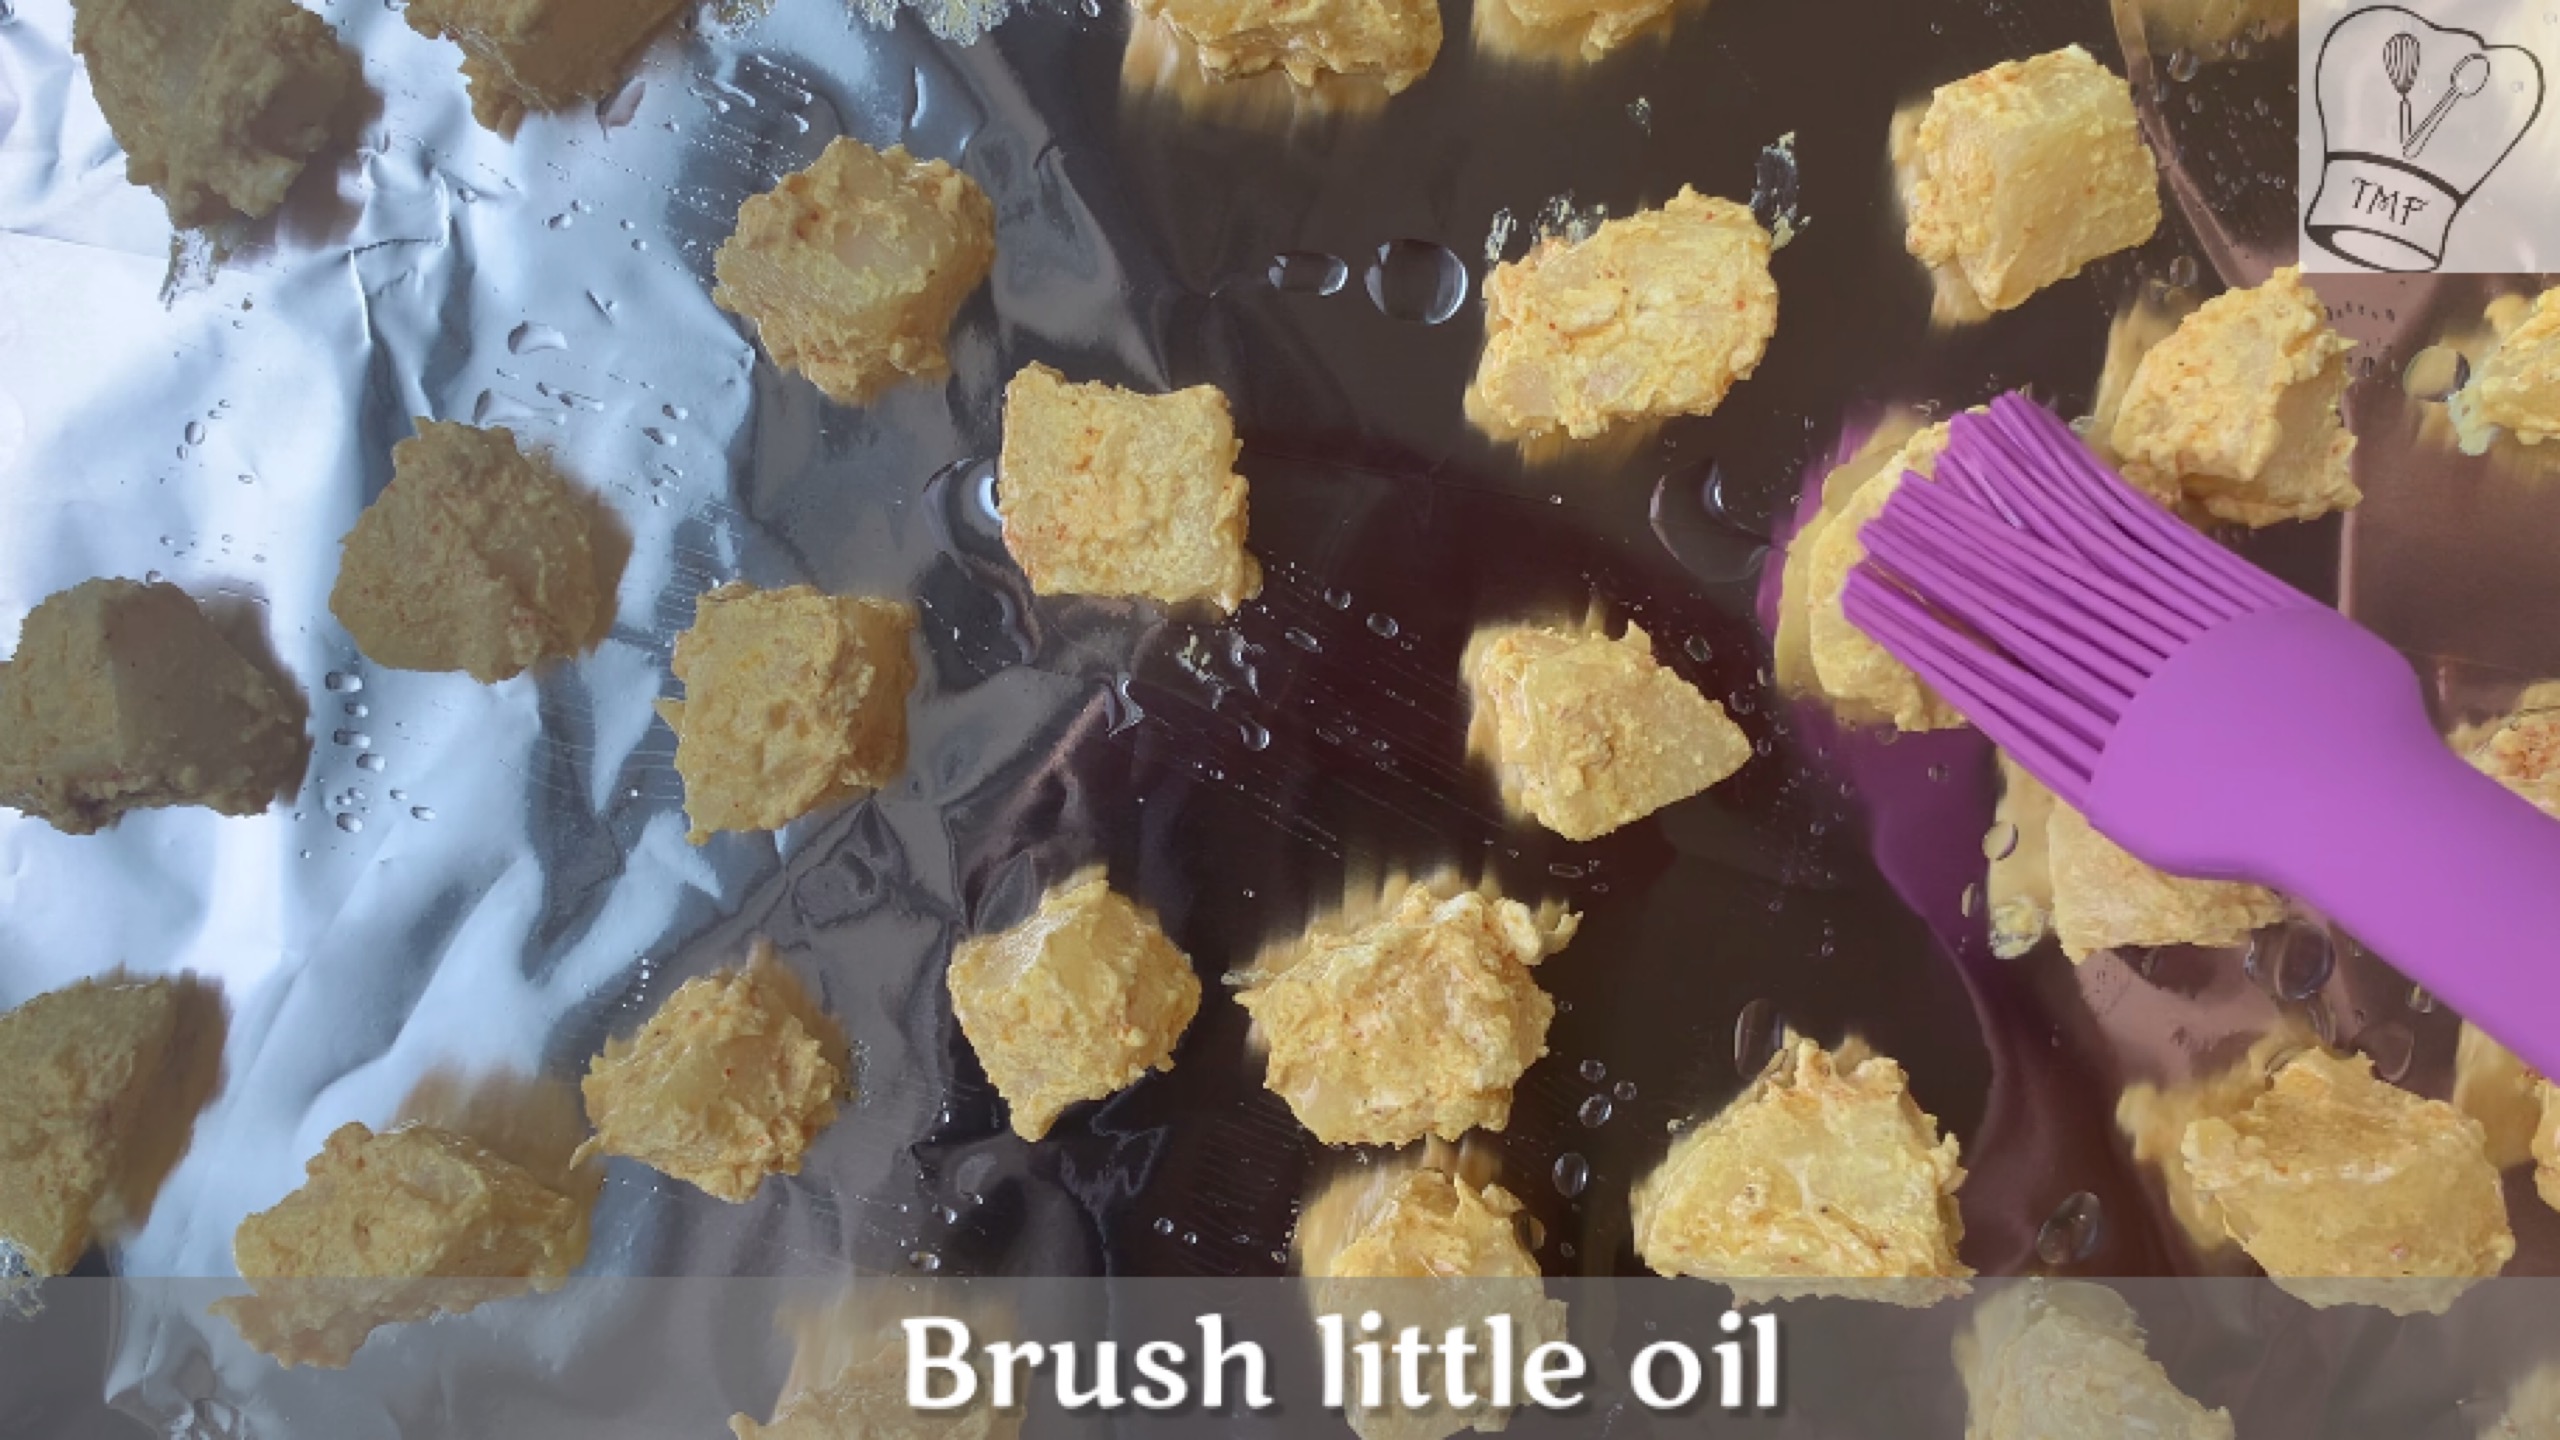
- Oil can be used instead of ghee
Veggies like Mushroom, carrot etc can be be used - If you prefer gravy. Ground the tomatoes after adding masala. Add extra water and cook capsicum, paneer and onion in the base
- Adjust the spice according to your taste
If you use homemade paneer skip soaking them in water
Kadai Paneer:
Preparation Time : 10 min | Cooking Time : 20 mins | Serves : 2
Recipe Category: Side dish
Ingredients:
Paneer - 150 grams
Green Bell Pepper - 1 medium size, diced
Big Onion-1/2 diced
coriander powder - 1 tsp
cumin seeds - 1/4 tsp
kashmiri Chilli powder - 1/2 tsp
Tomatoes - 2 finely chopped
Ginger garlic paste - 1/2 tsp
Garam masala - 1/4 tsp
kitchen king masala - 1/2 tsp
Ghee - 6 grams
Dried methi leaves - few
Salt as needed
Fennel seed - 1/2 tsp
Method:
- Soak paneer in hot water for atleast 30 minutes
- Drain the water. Add turmeric powder to the paneer and mix well
- Add 2 grams of ghee and sauté onion and capsicum with little salt for 2/3 minutes

- Switch off and transfer into a plate
- In the same pan add remaining ghee and add fennel seeds and after it splutter add ginger garlic paste and sauté for 2 minutes
- Add tomatoes and little salt; sauté
- After the tomatoes is almost cooked (3/4th mushy)
- Add coriander powder, cumin powder, kitchen king masala, garam masala and kashmiri chili powder and salt; sauté for 3/4 minutes till the tomatoes turns mushy and the raw masala smell goes off
- Add paneer, capsicum, onion, water and salt if needed. Cover and cook for 2-3 minutes

- Open the lid and cook till the excess liquid evaporates. Add dried methi leaves and mix well. Switch off
Instead of using store brought masala powder. Masala can be made in home, Dry roast coriander seeds, fennel seeds and red chilli till the aroma comes. Blend into coarse powder


