
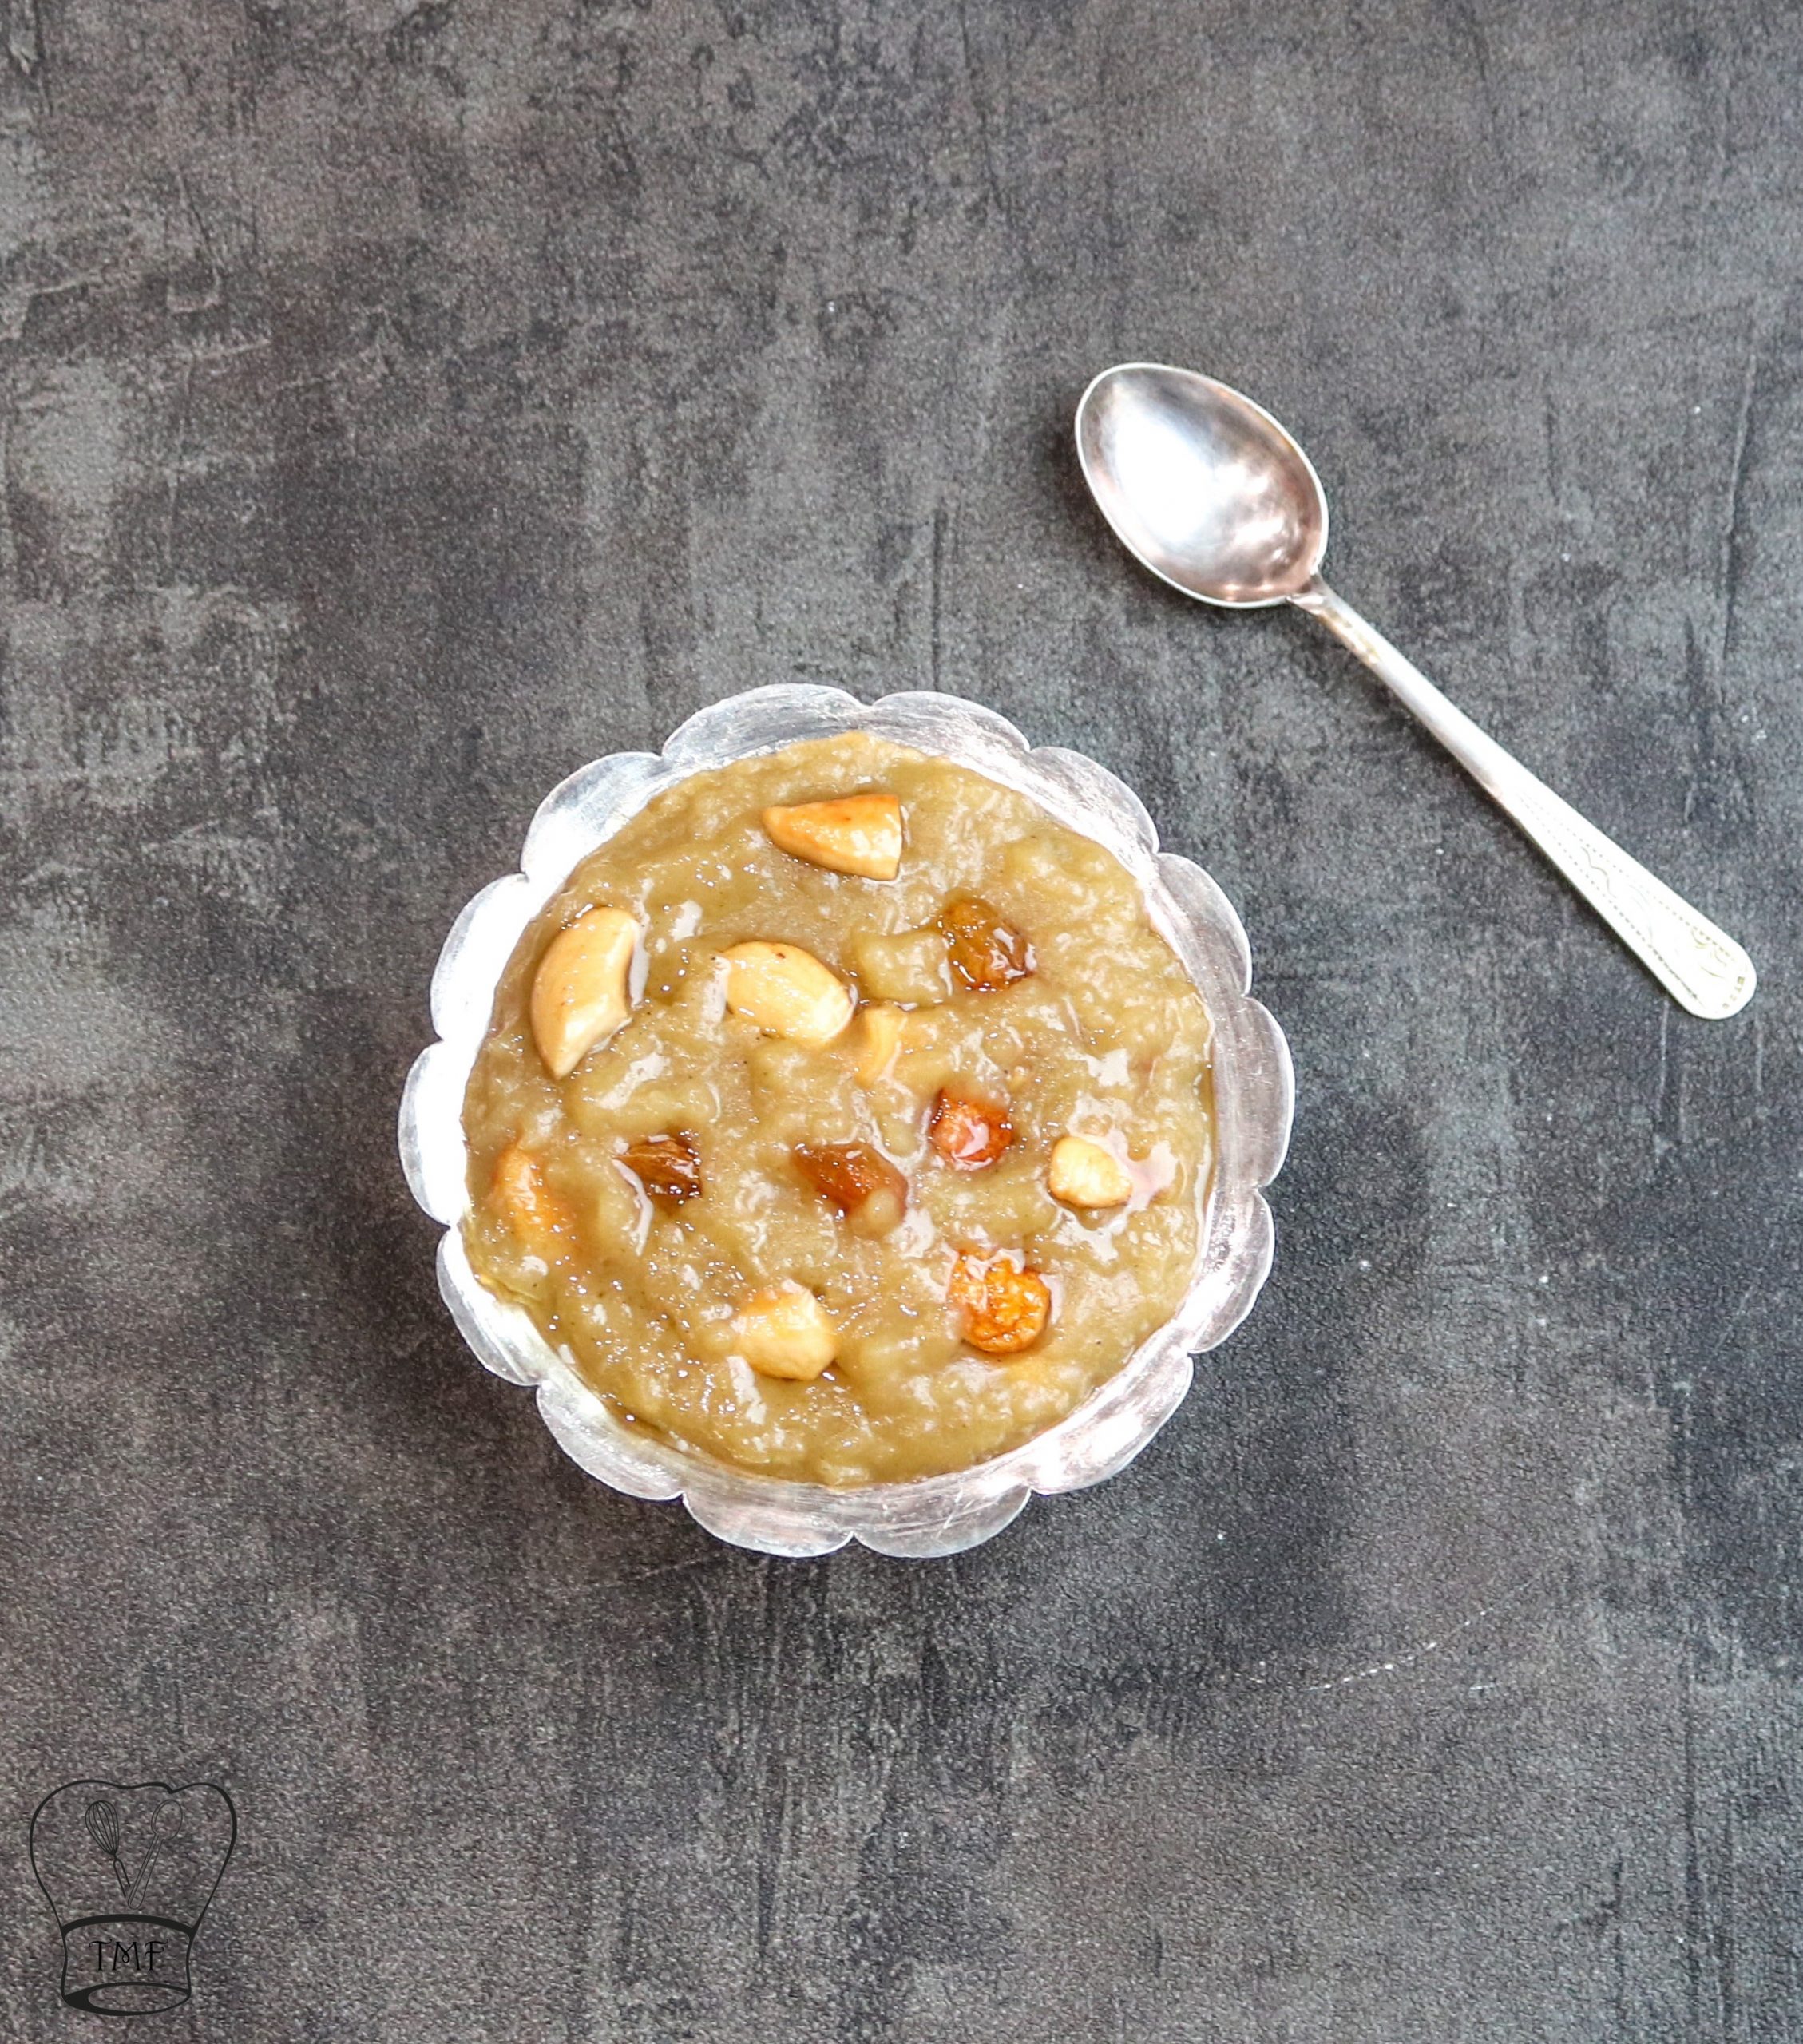
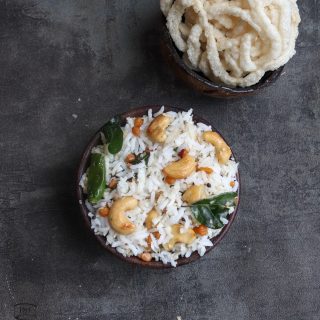
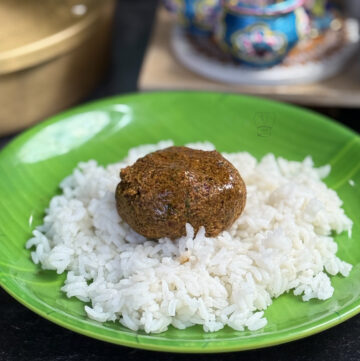
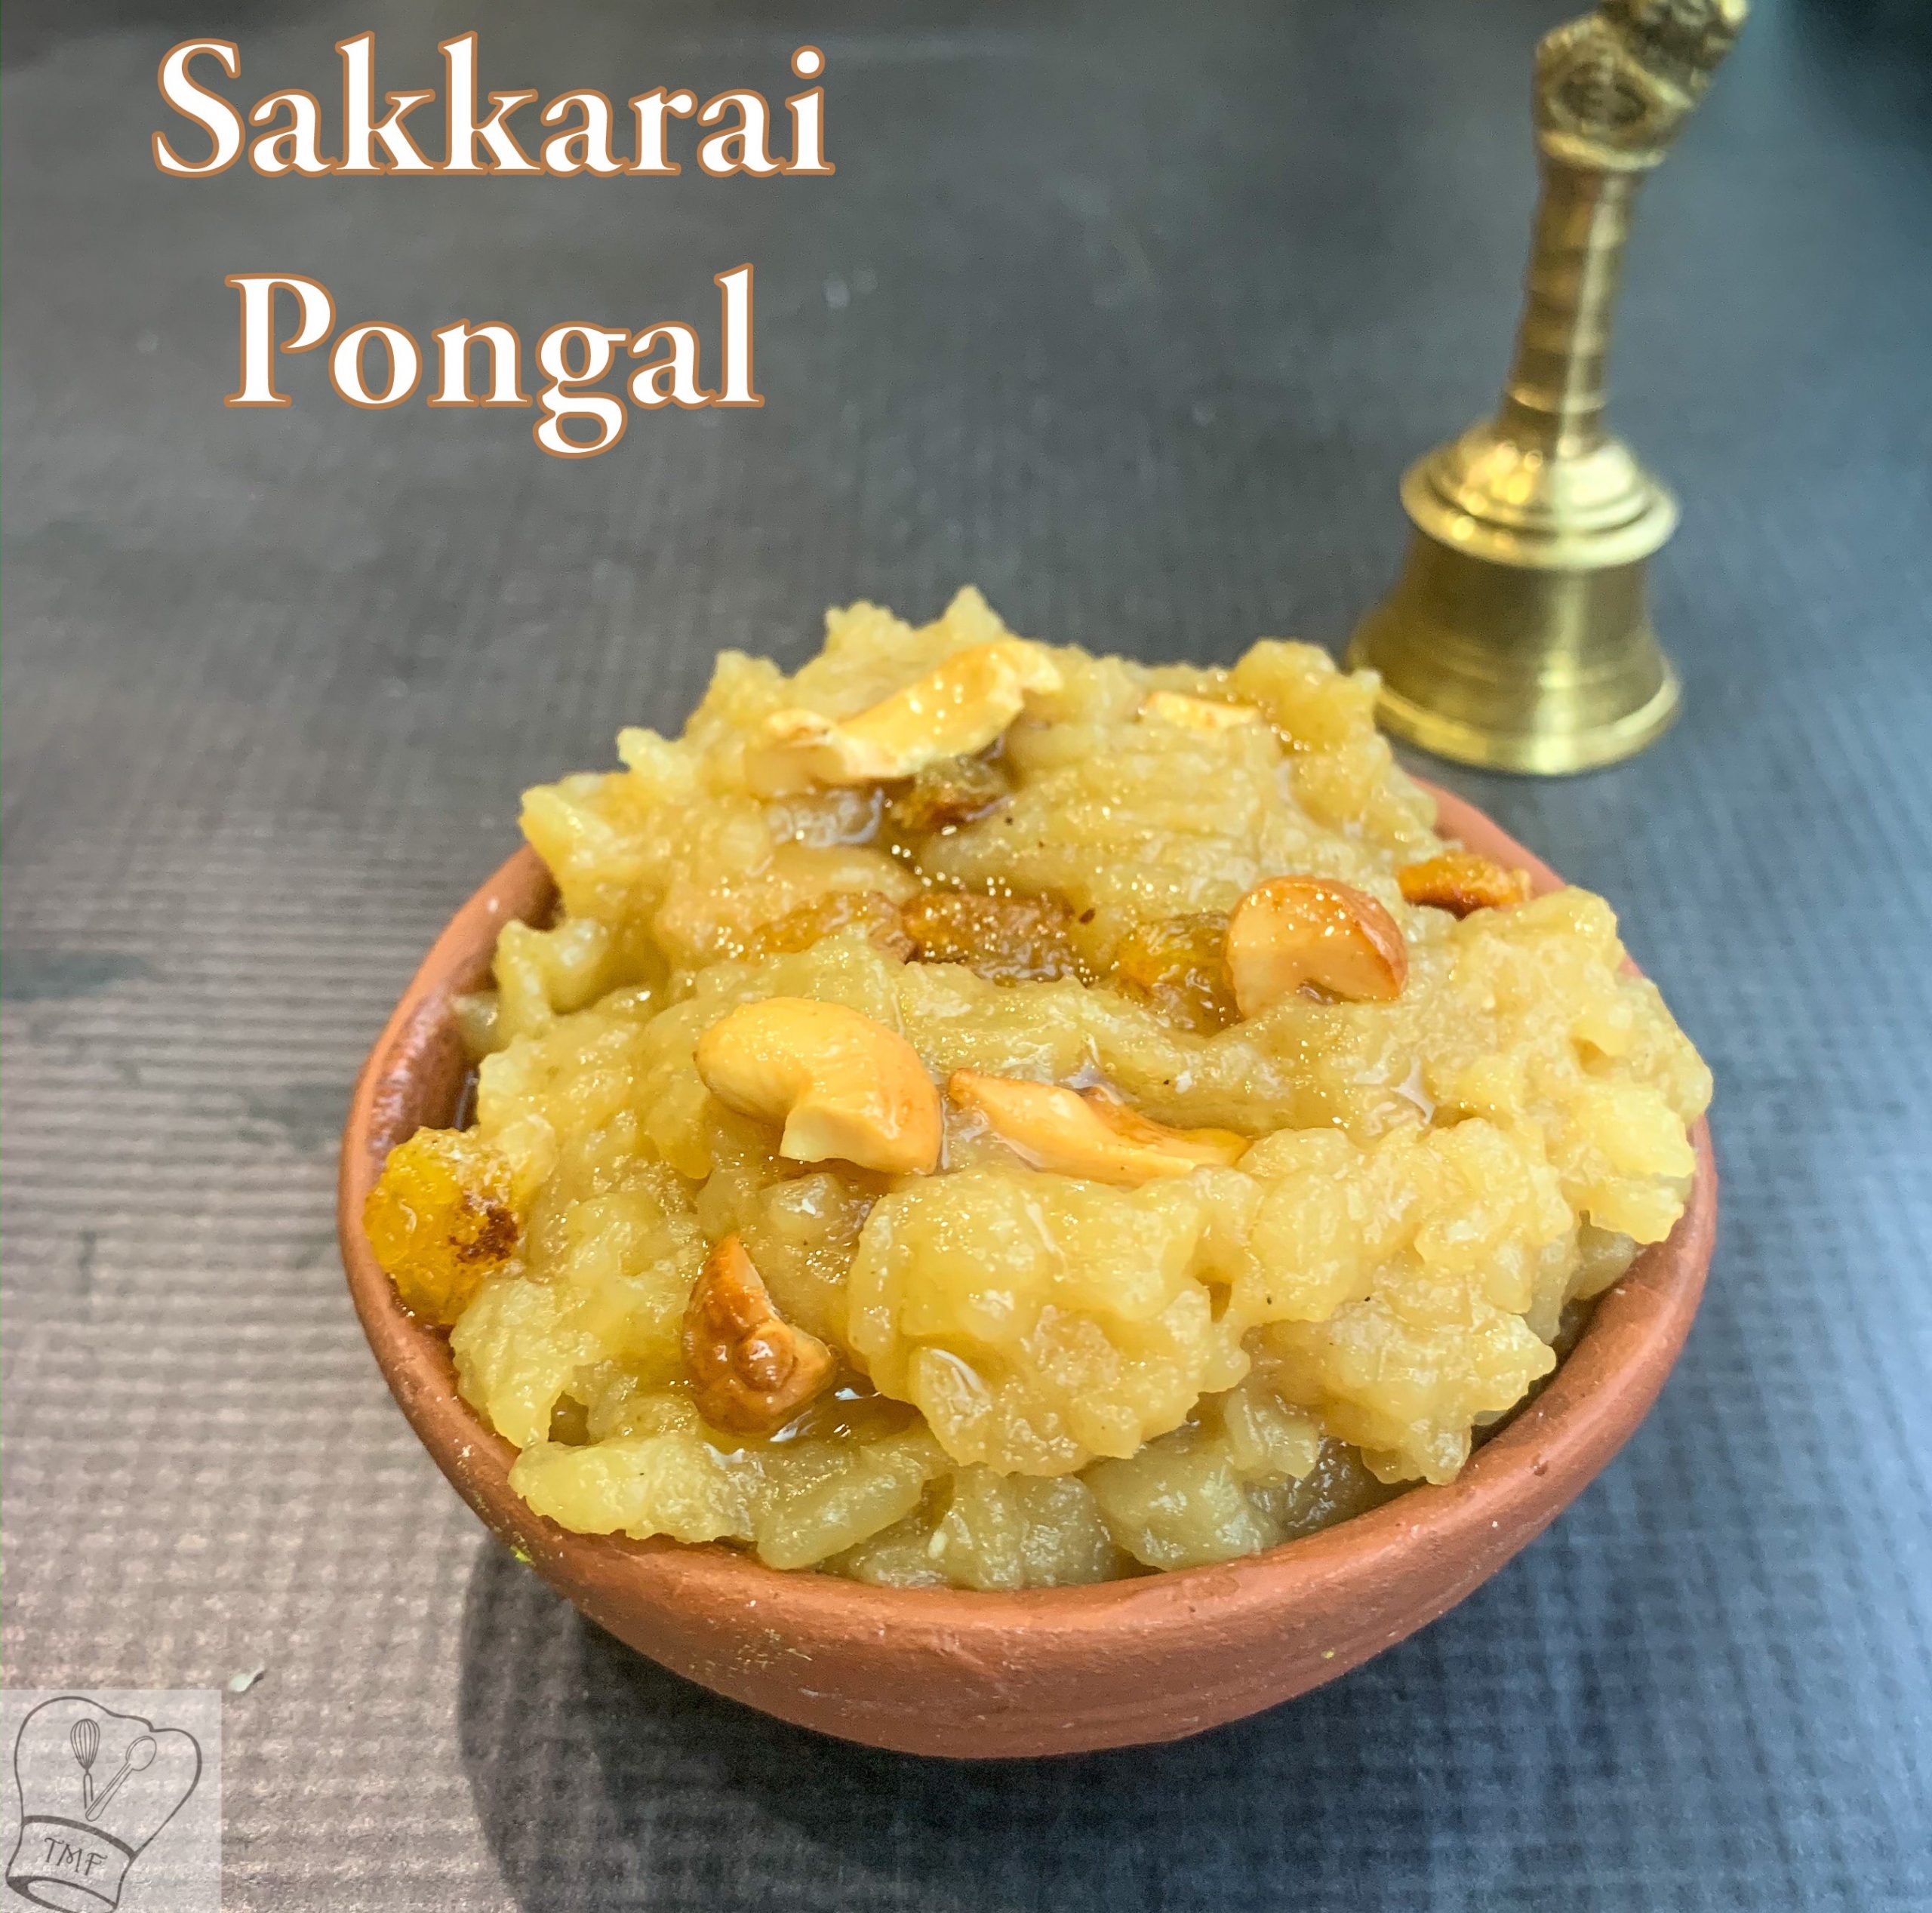
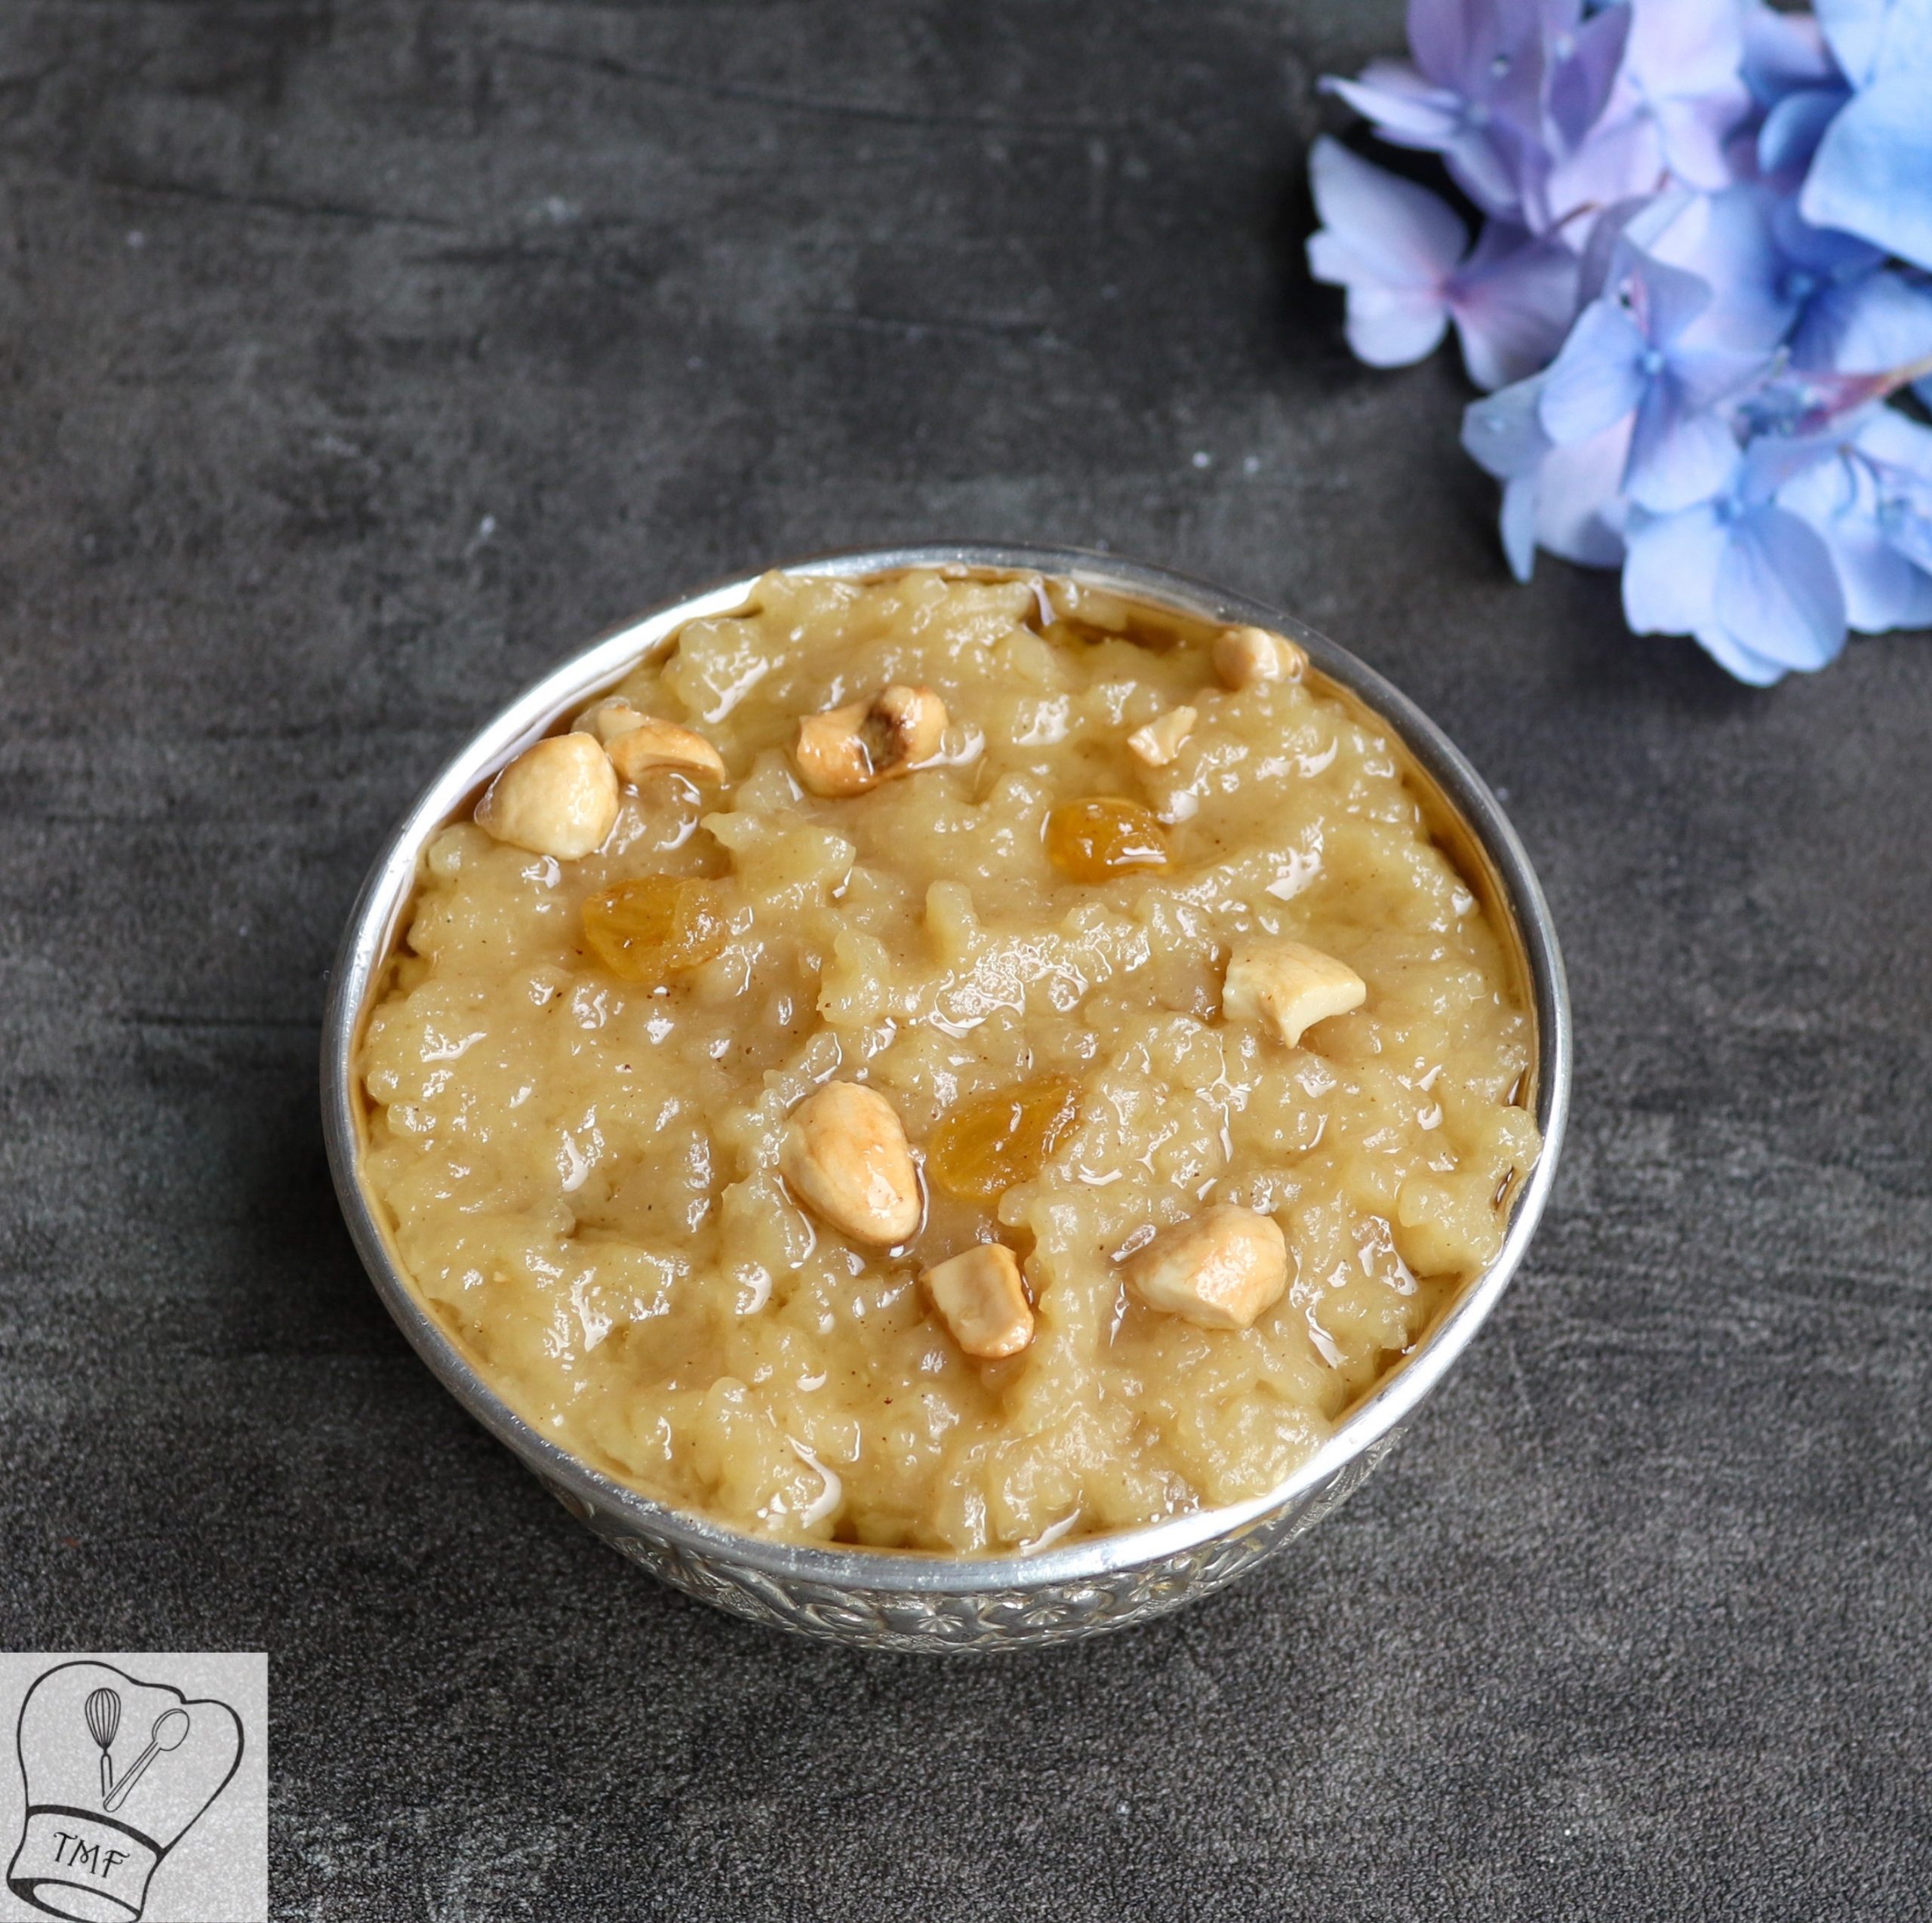
Sweet Pongal | Chakkarai Pongal | Sakkarai Pongal | Pongal recipe | inipu Pongal | sweet Pongal recipe | pressure cooker sweet Pongal | Pongal recipe with step by step pictures and video recipe. Check out the Sakkarai Pongal. If you like the video pls SUBSCRIBE to my channel.
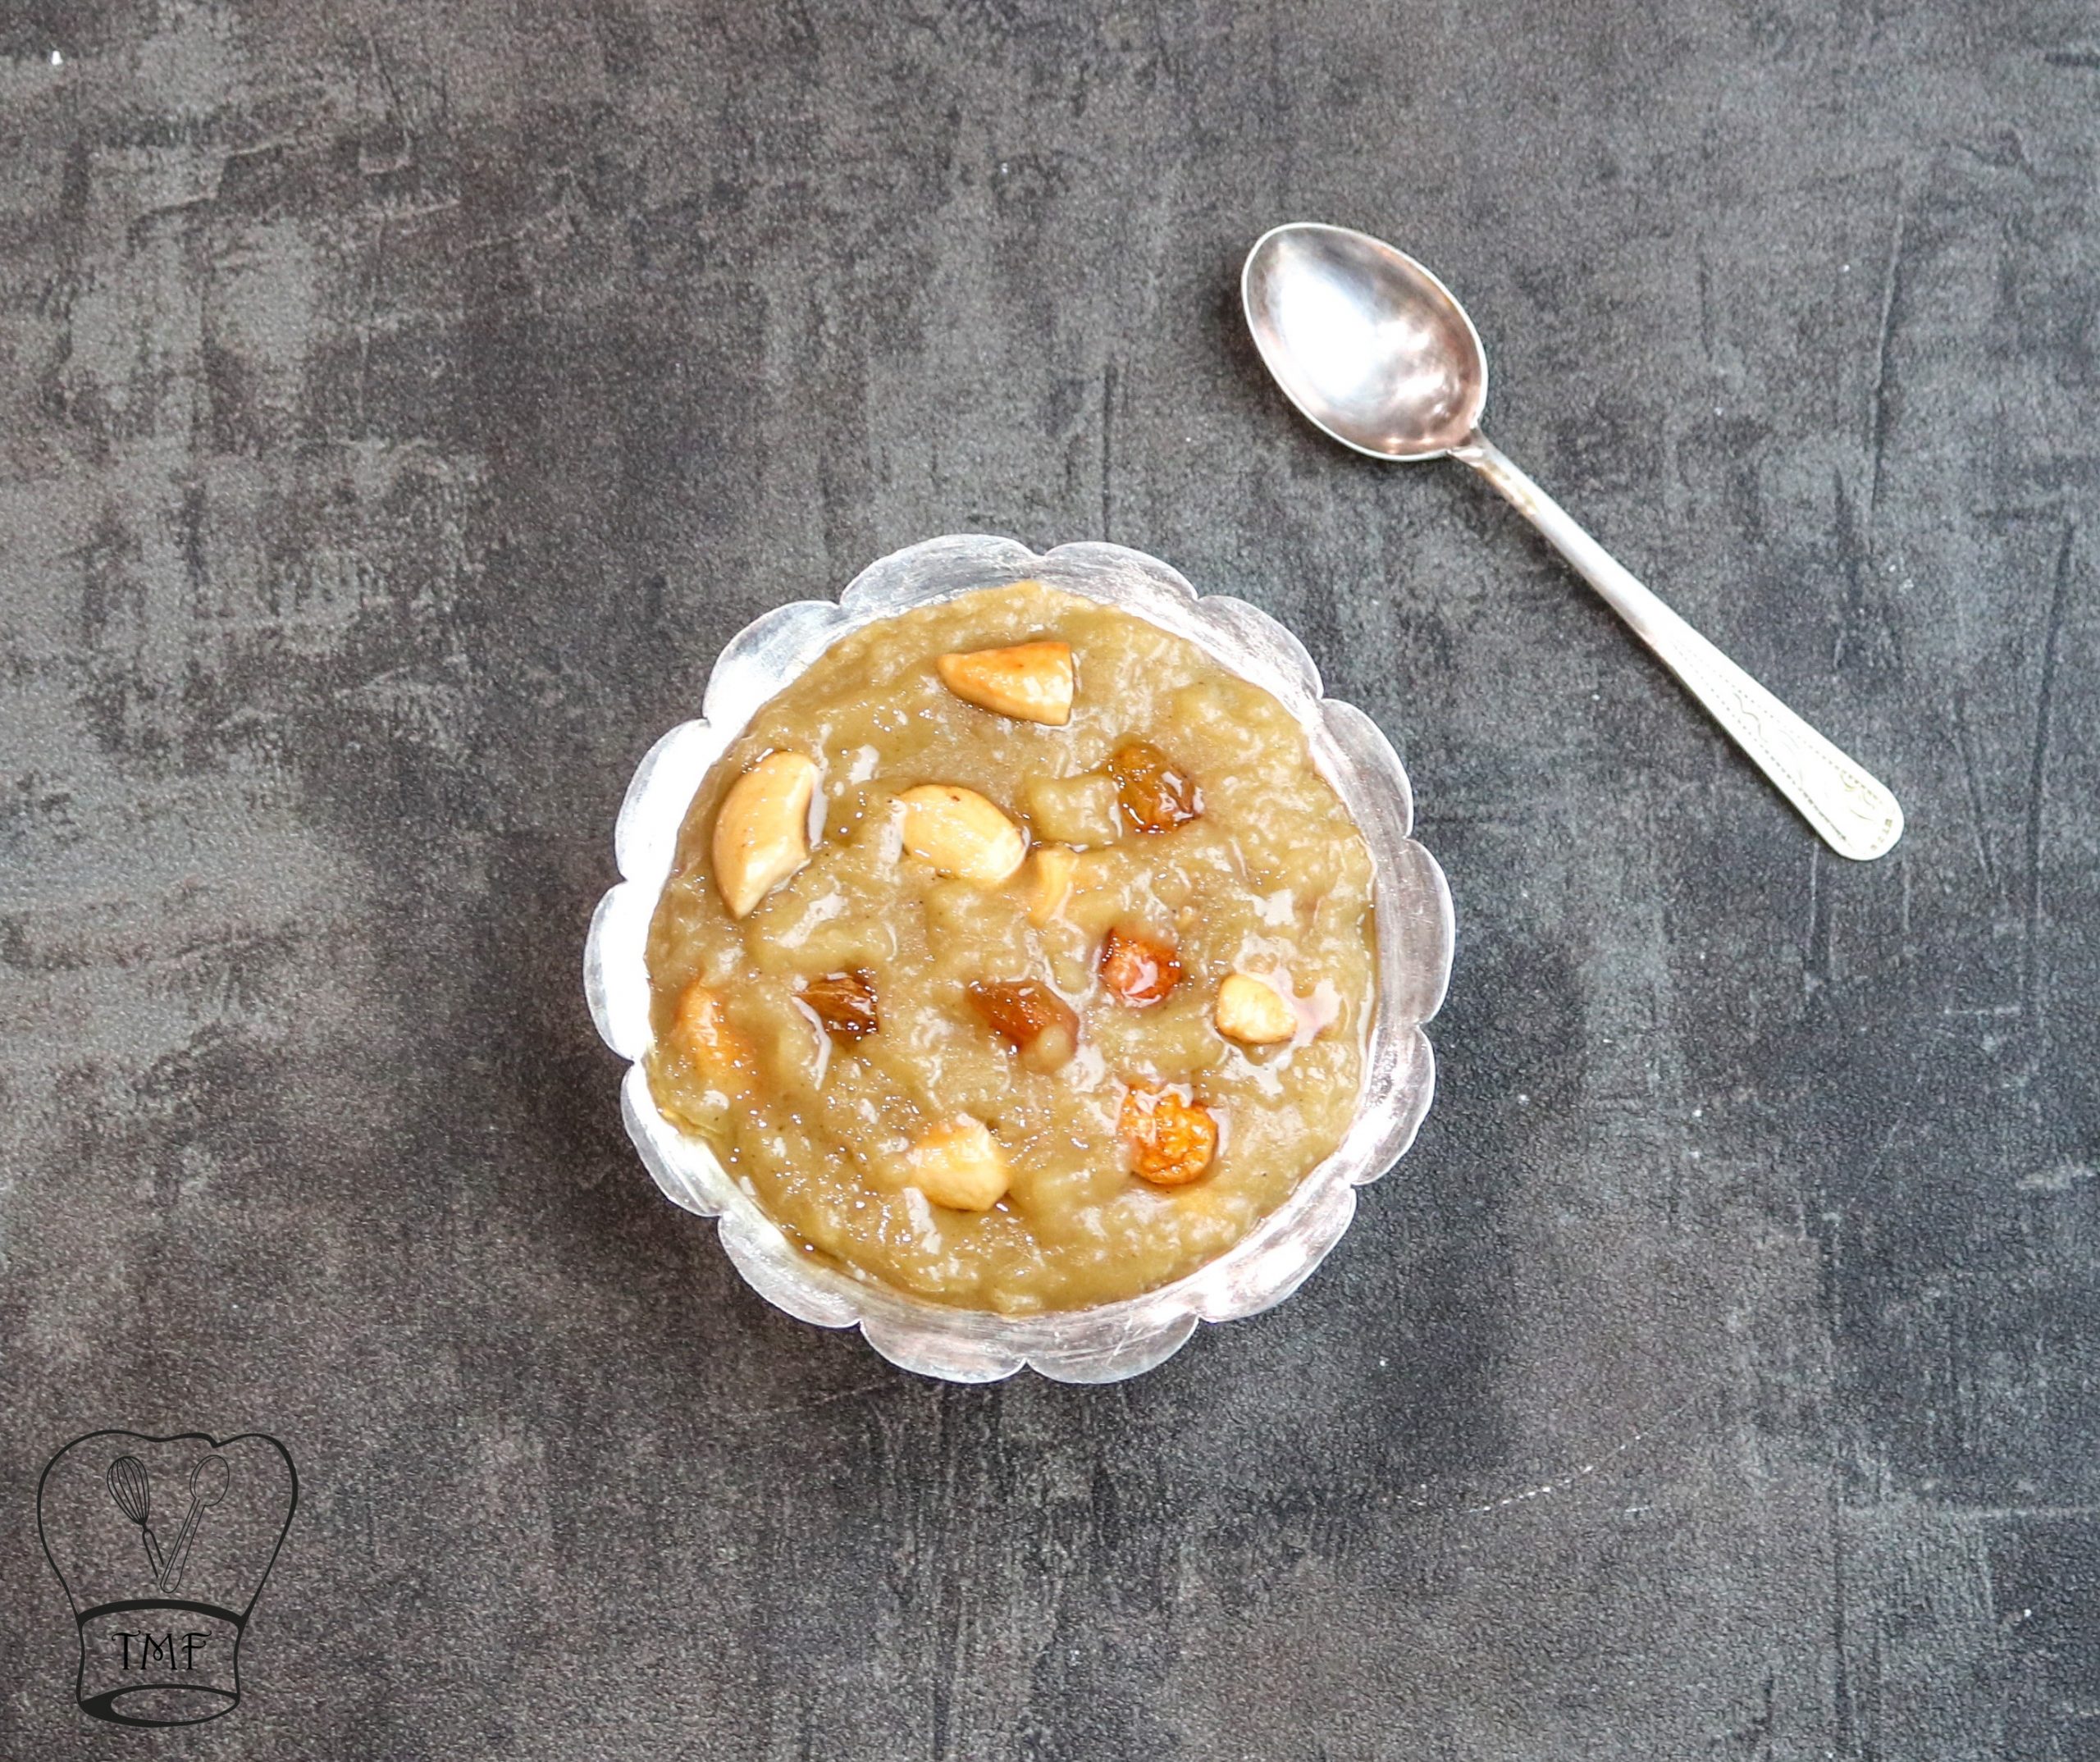
Sweet Pongal | Chakkarai Pongal | Sakkarai Pongal | Pongal recipe | inipu Pongal | sweet Pongal recipe | pressure cooker sweet Pongal | Pongal recipe is a traditional sweet prepared with rice, moong dal, and jaggery. Healthy sweet is a great after-school snack for kids. Sweet Pongal is widely prepared during Pongal festival/ Sankranti festival, aadi perukku, aadi velli, and for many other Indian festivals,
For me, sweet Pongal is not only a festive sweet but a sweet which I love to eat frequently. There is one rule in our home (well its imposed by me;-)) whenever my Amma cooks Ven Pongal, Sakkarai Pongal should be on the dining table, then only I will eat millet Pongal/ Ven Pongal:-p till date my sister pranks at me, telling this.
Nowadays my son also likes Sakkarai Pongal and it has become one of the frequent sweets at the home. Not only at home, even in the temple I love Sakkarai Pongal. Whenever my Amma goes to any temple she brings prasadam like Sakkarai Pongal home.

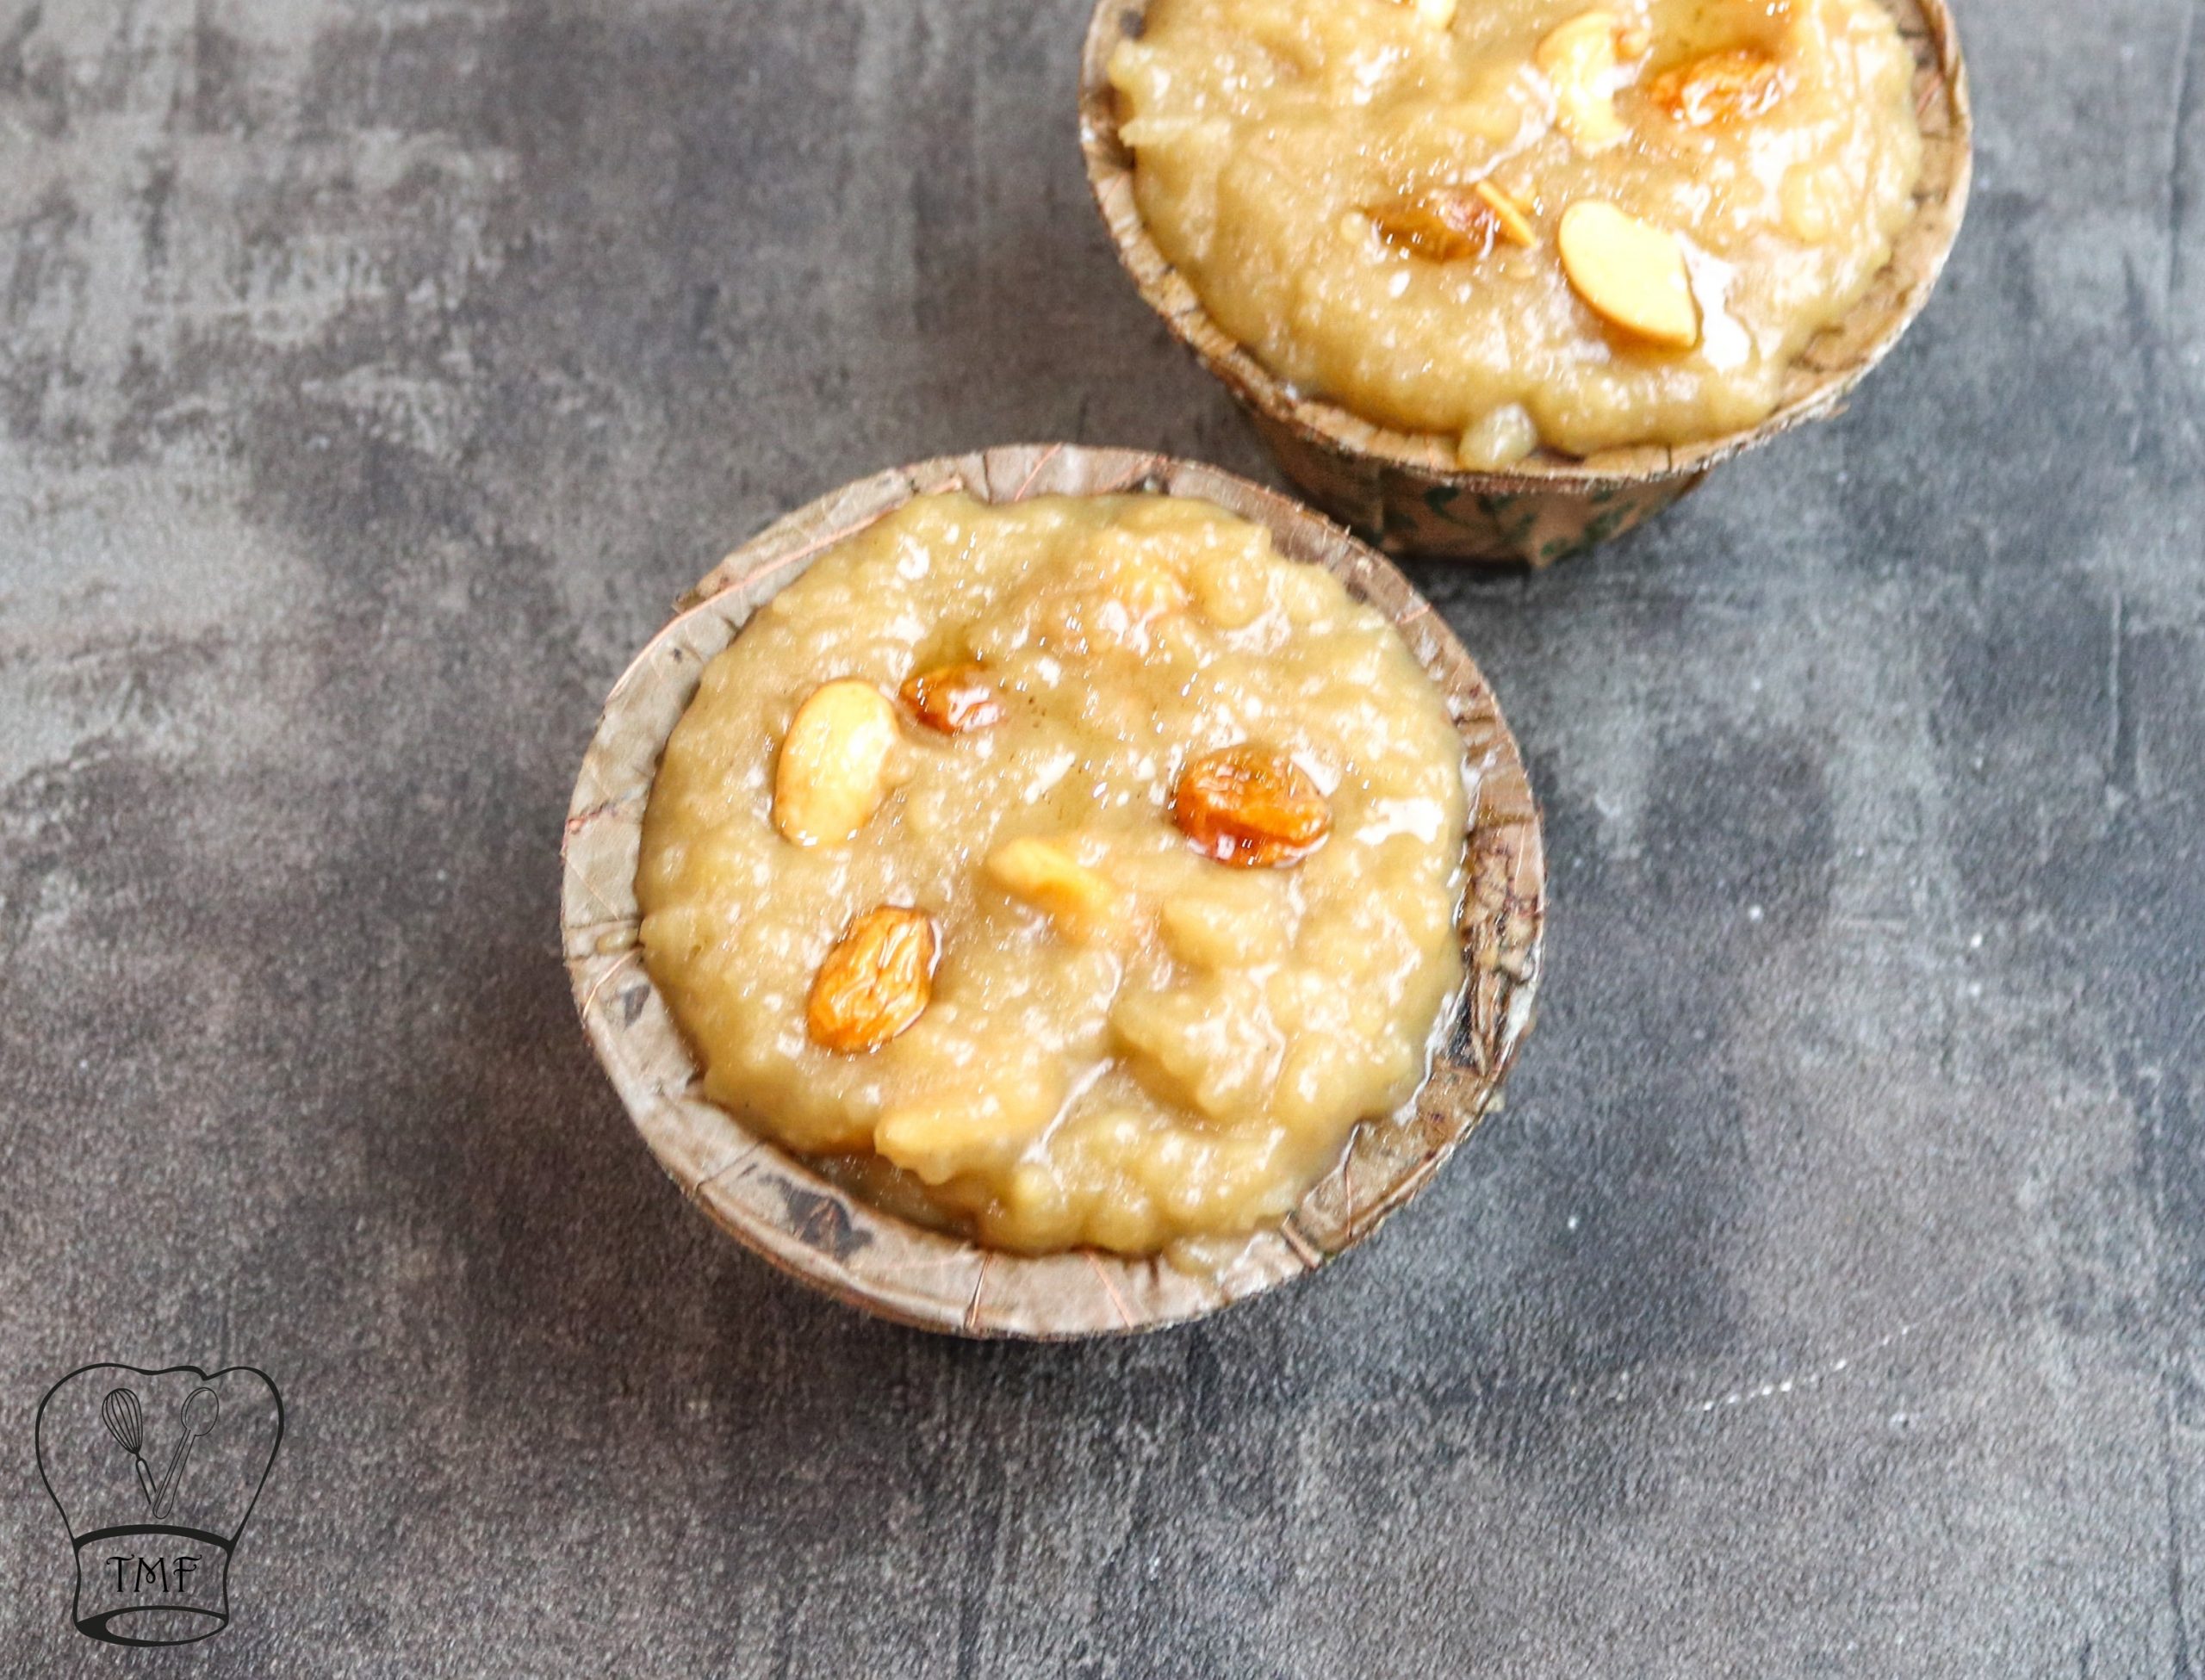
My Amma adds little milk to the Pongal, which is my favorite part of Sakkarai Pongal.
Yesterday I was in dilemma whether to cook Pongal with rice/cracked wheat/oats/Quinoa but hubby was suggesting to go traditional (may be he wants to taste rice Pongal:-)) and I also felt the same
Pongal recipes | bhogi recipes | kannum Pongal recipes
Ingredients
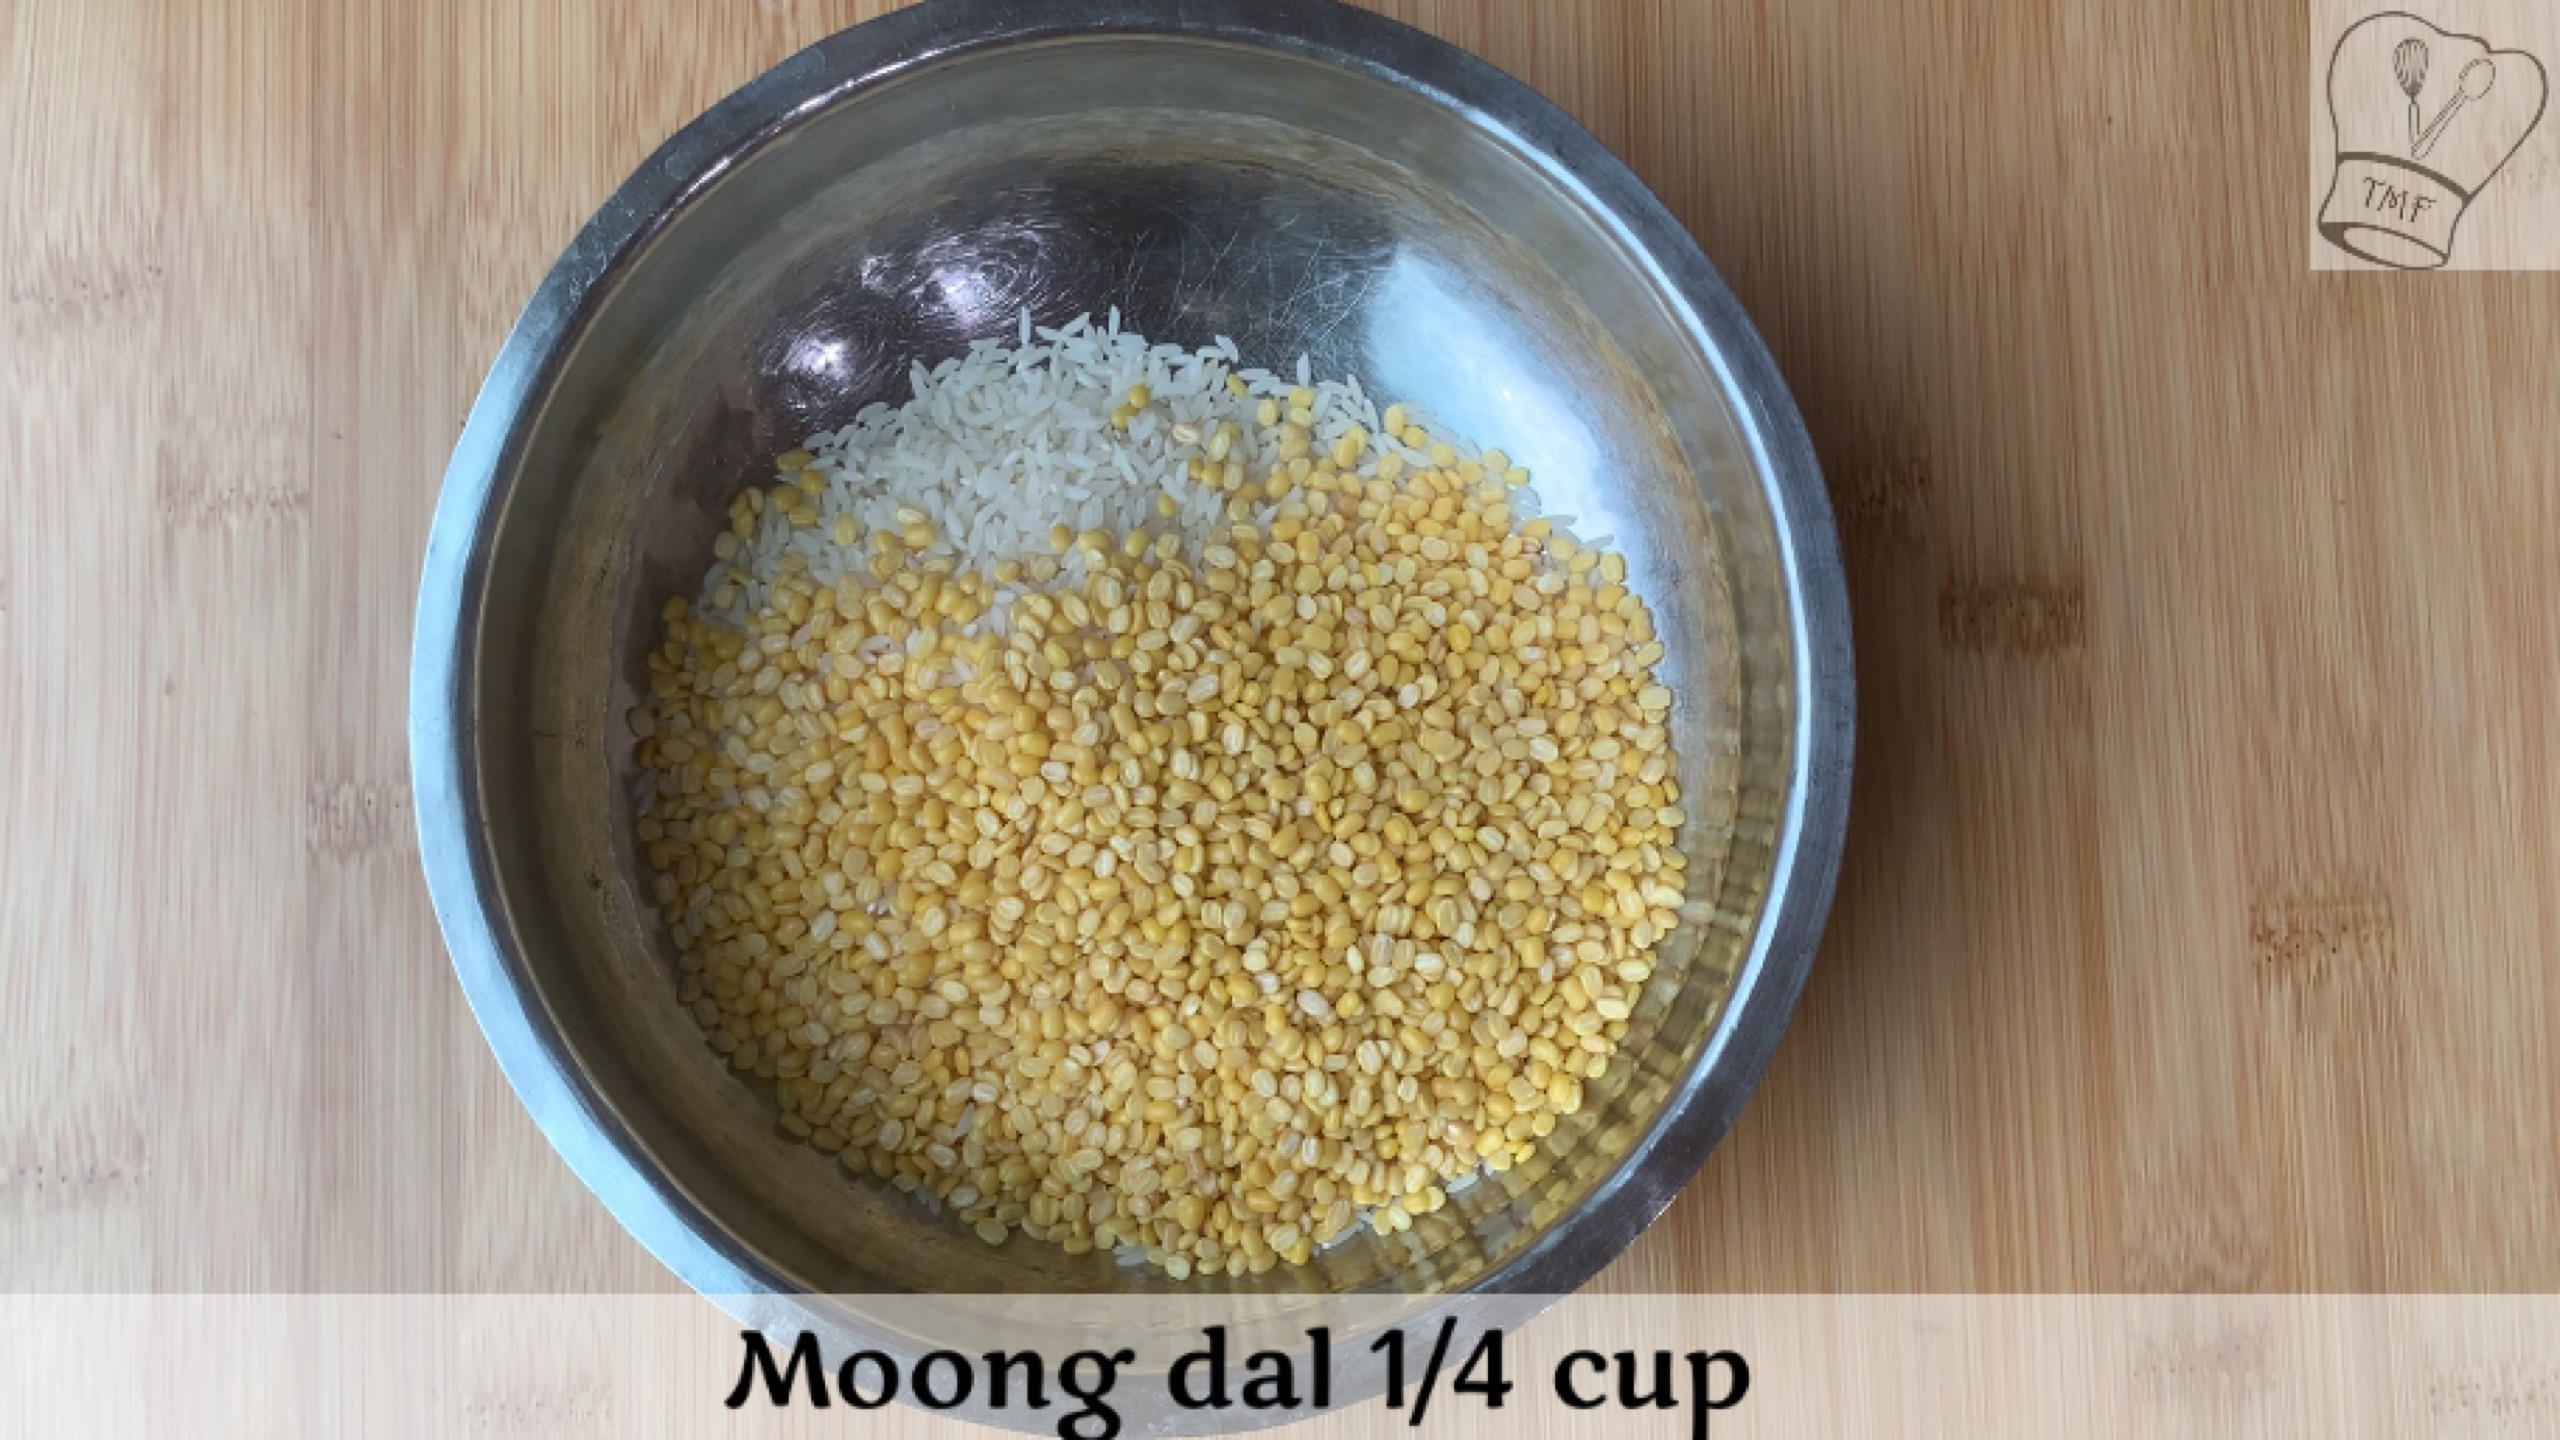
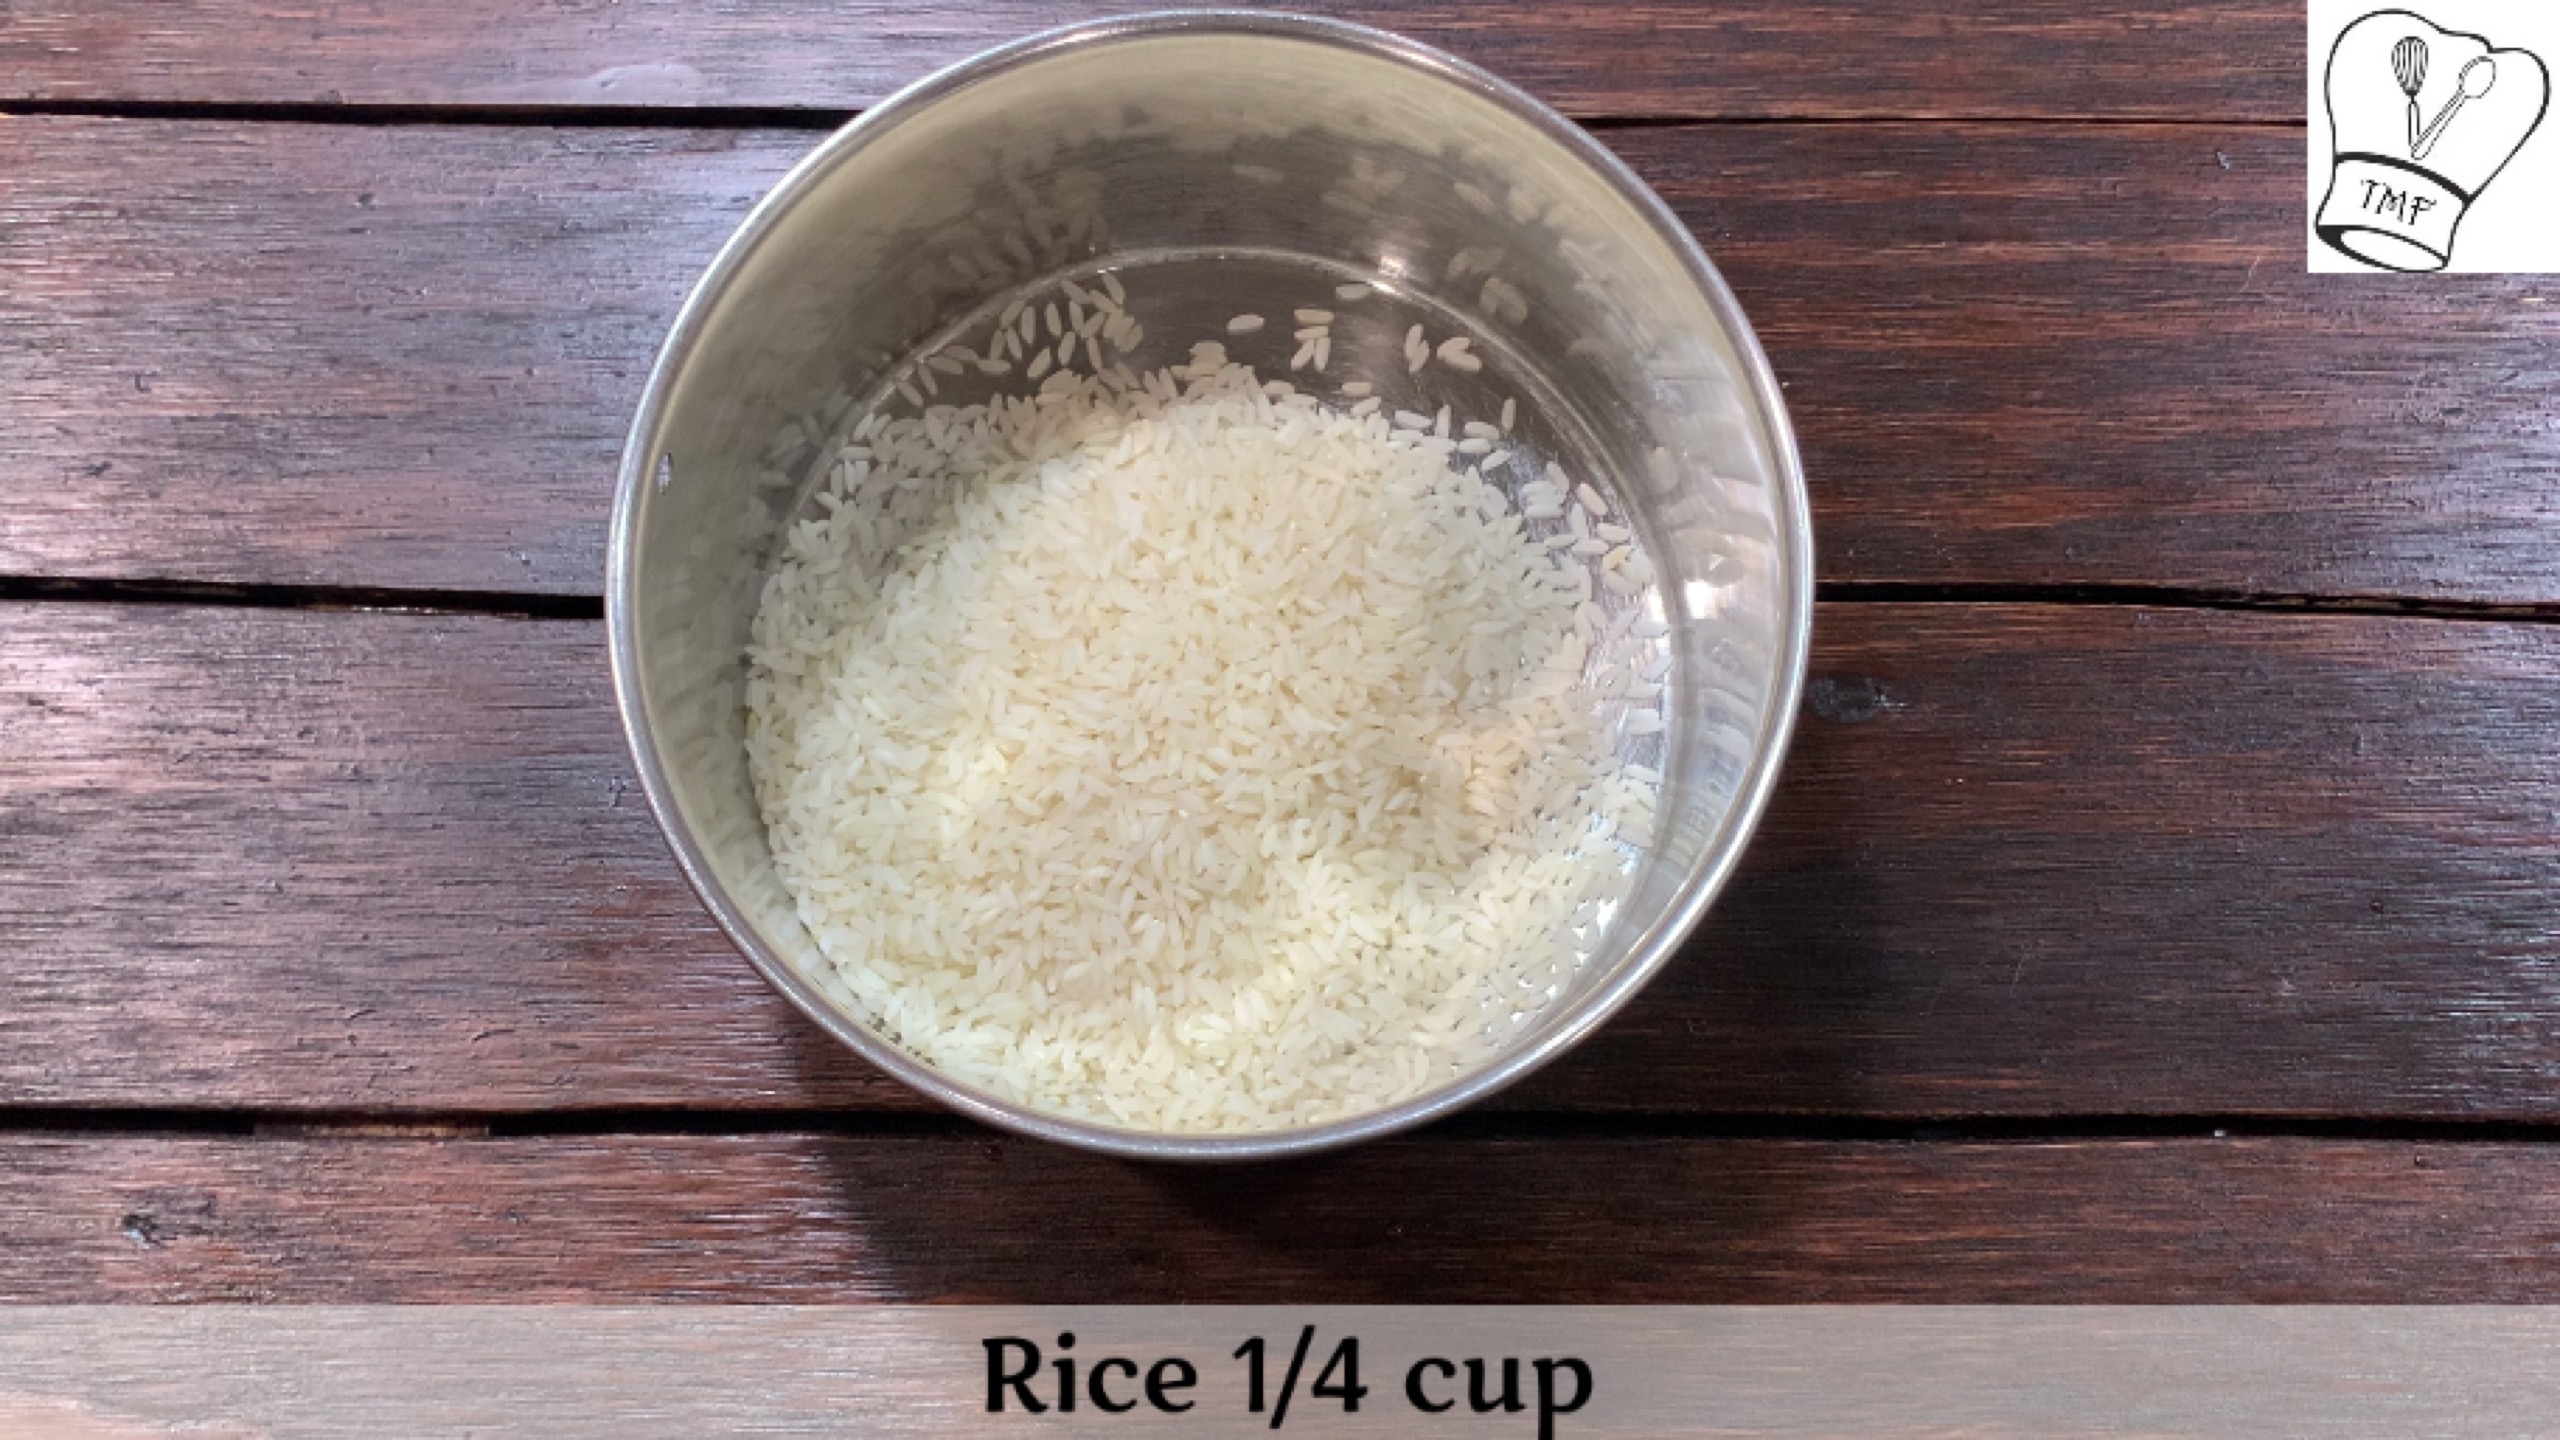
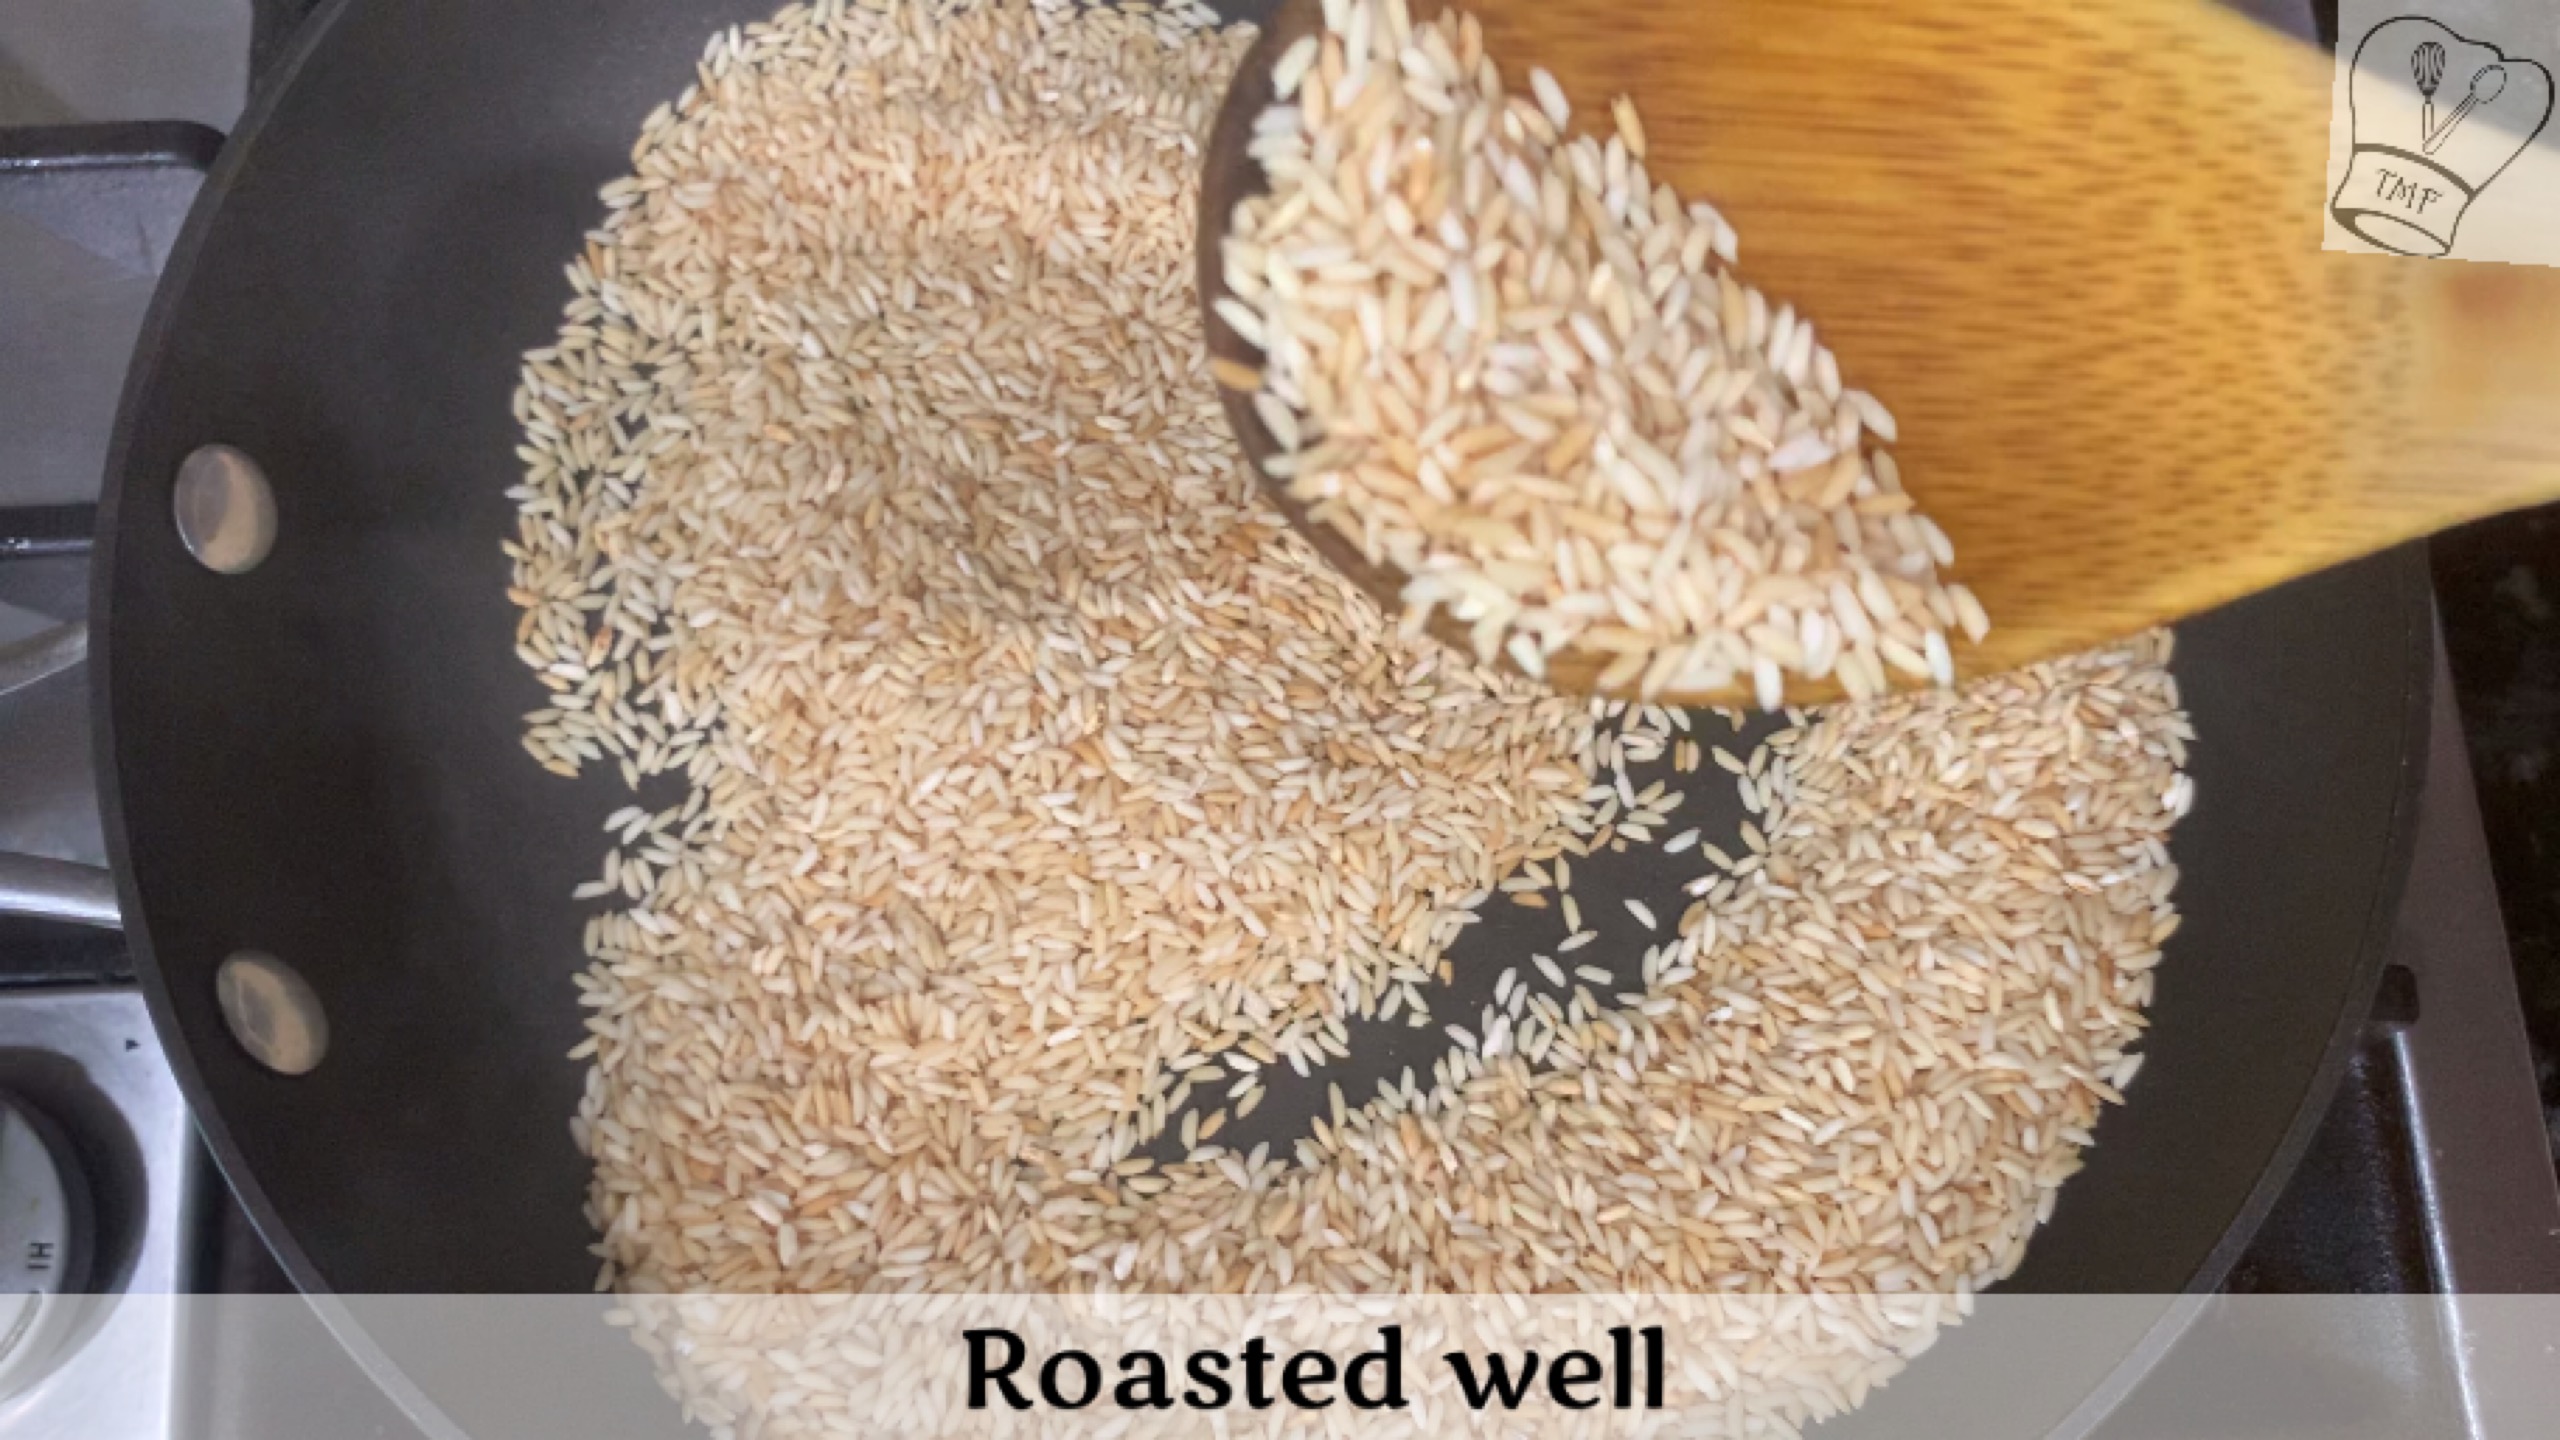
- Raw Rice - 1/2 cup
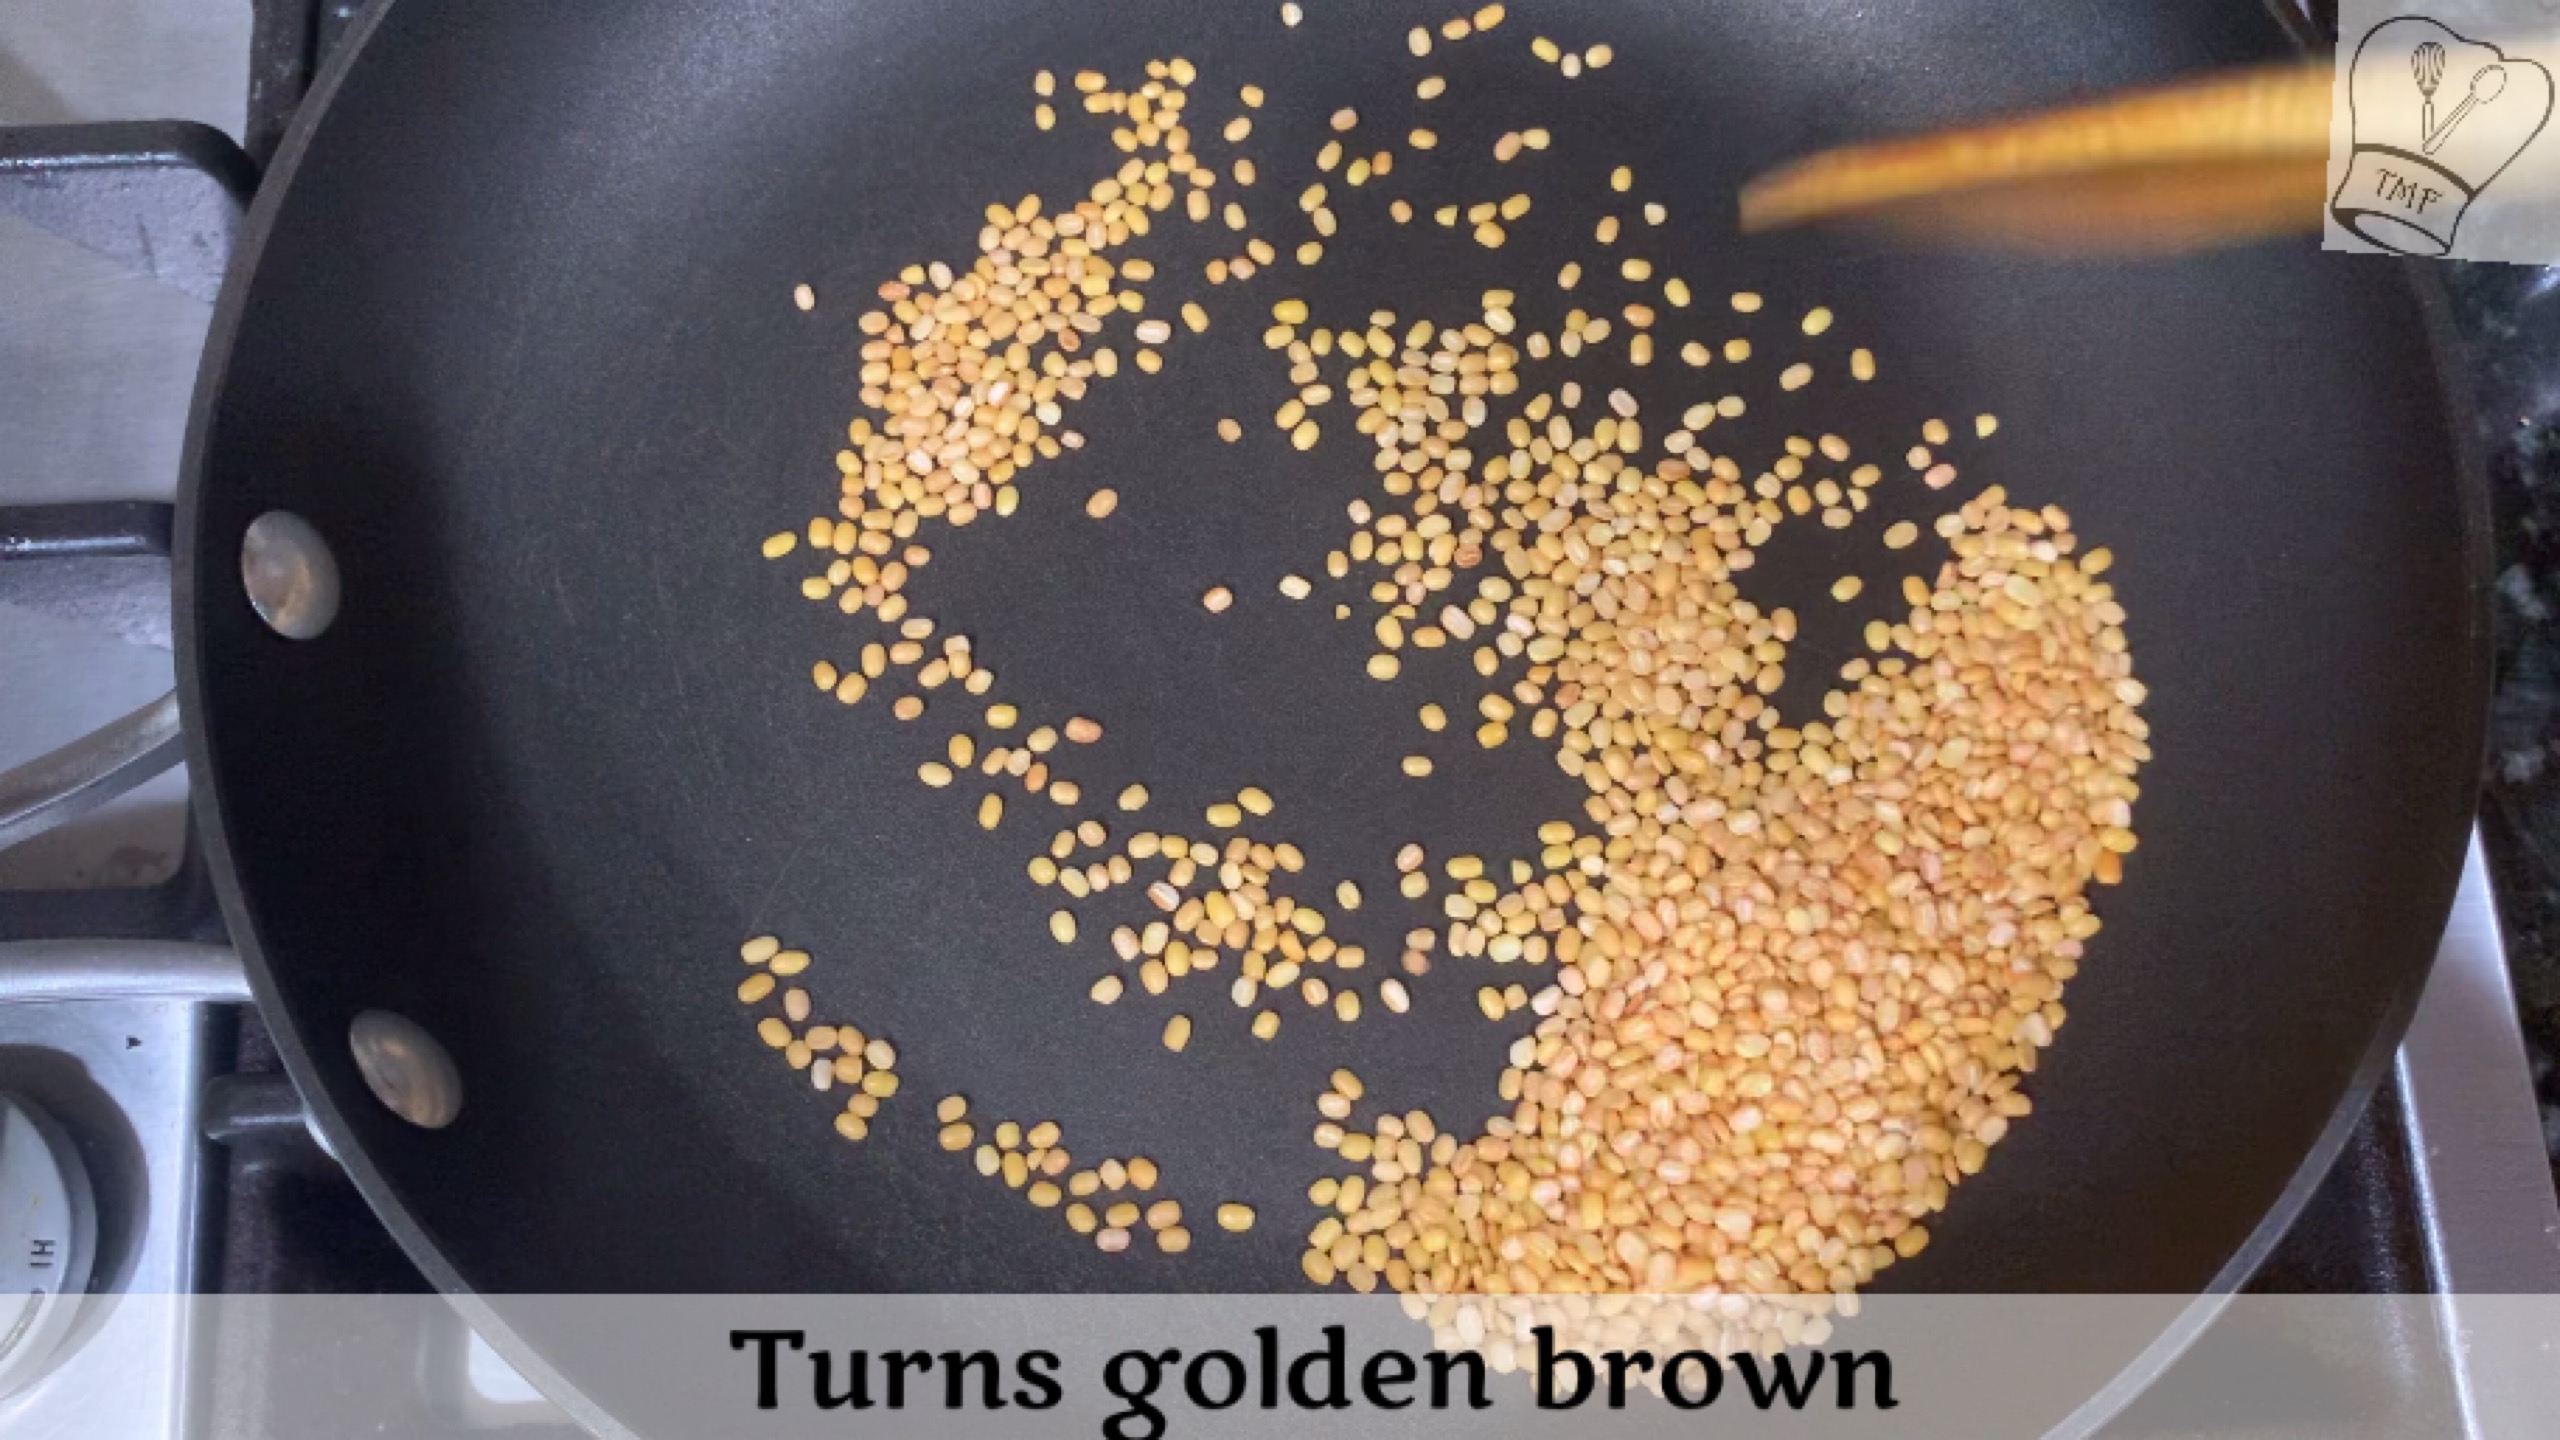
- Moong Dal - 1/4 cup
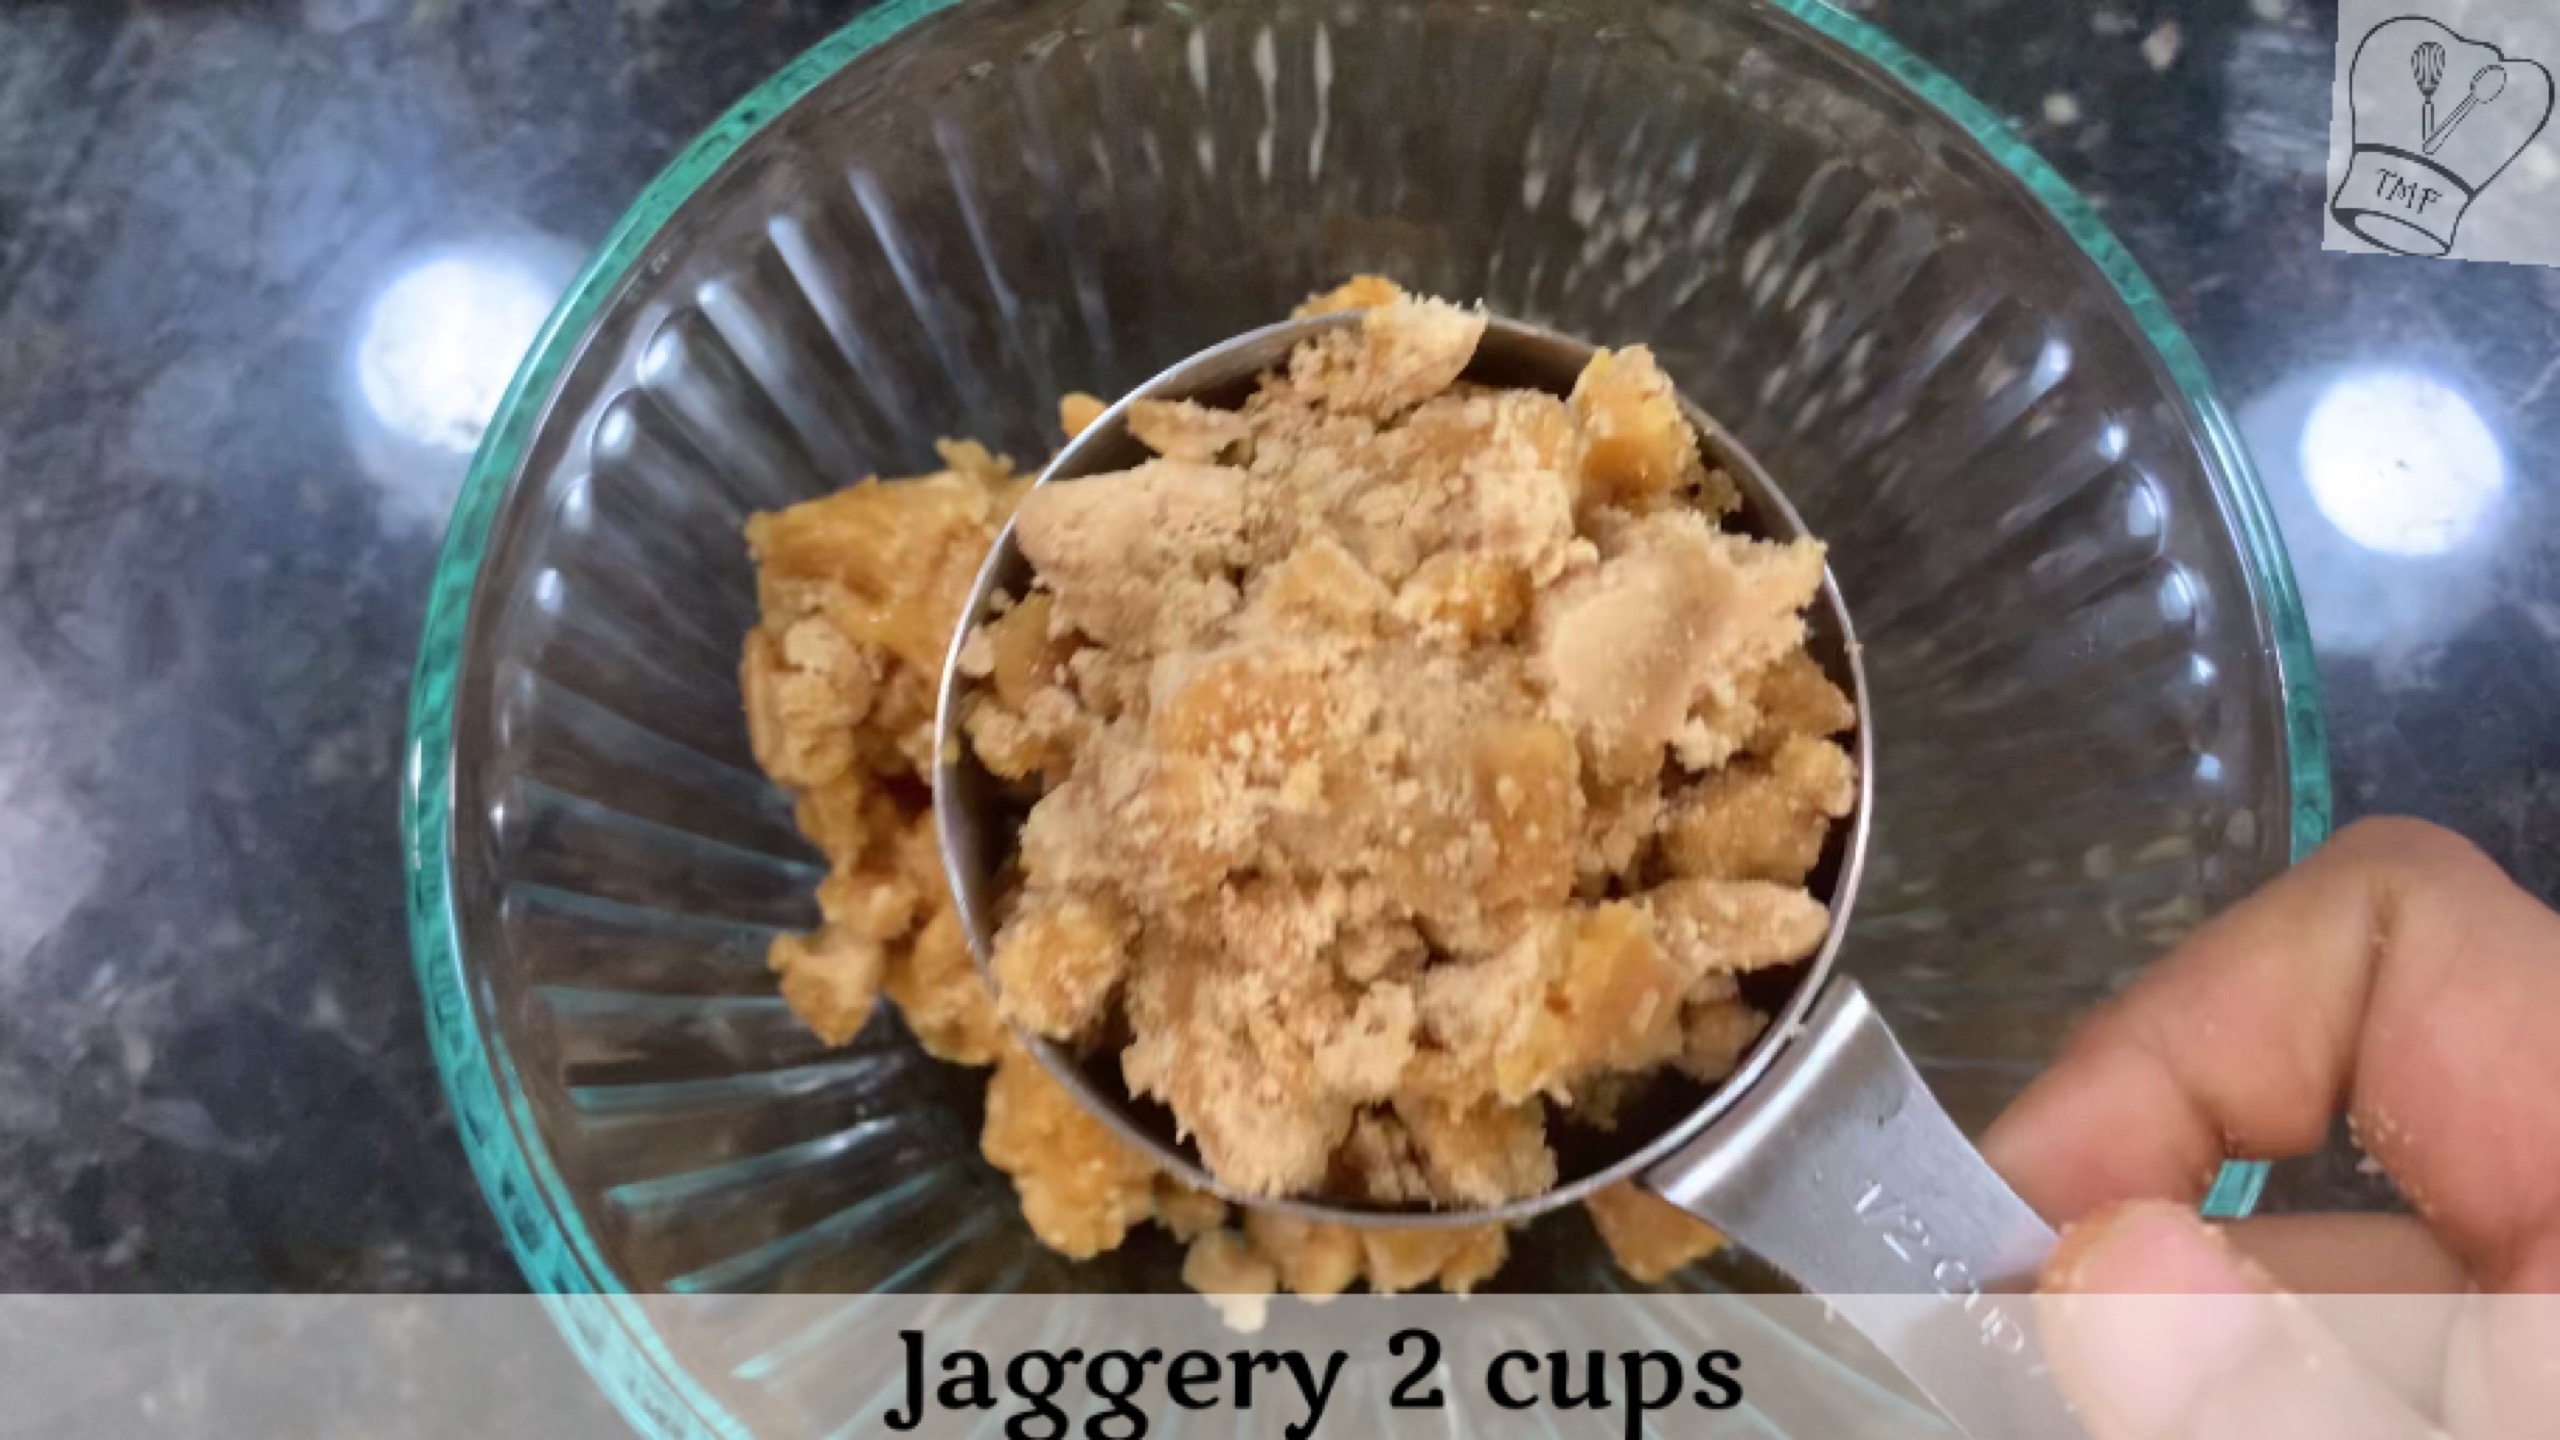
- Jaggery - 1 + 1/2 cup tightly pressed (Adjust sweetness according to your taste)
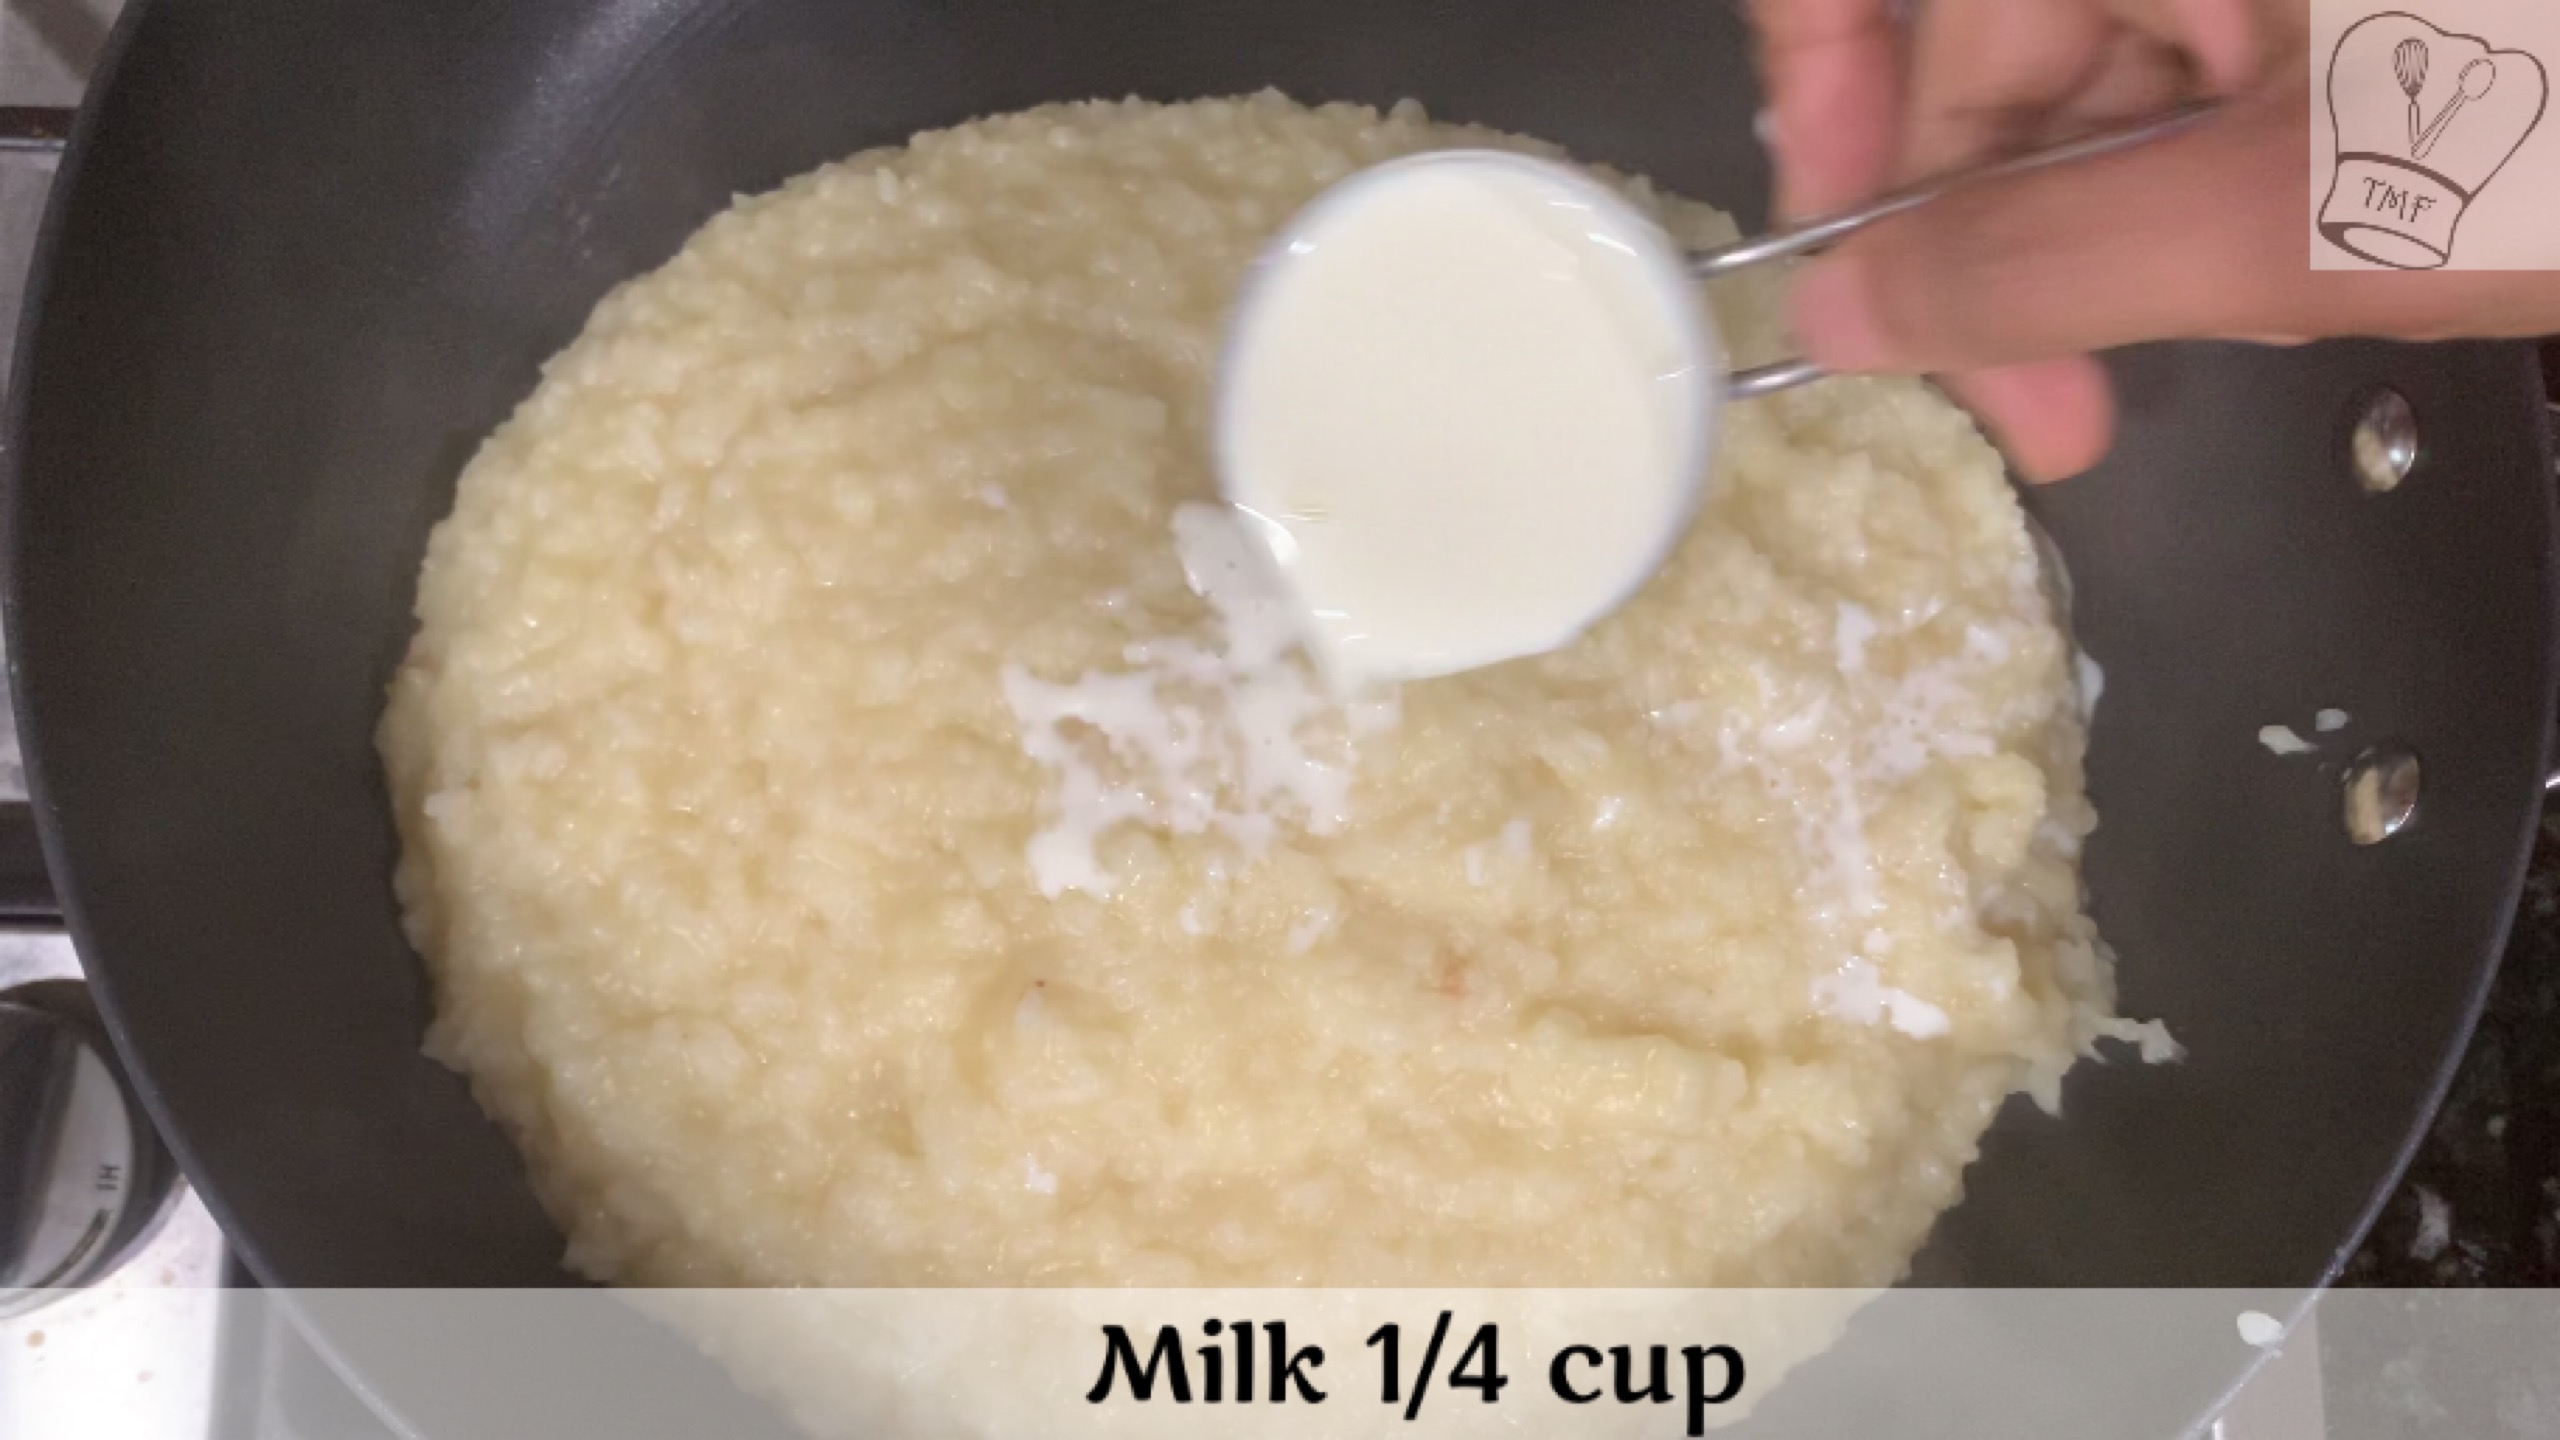
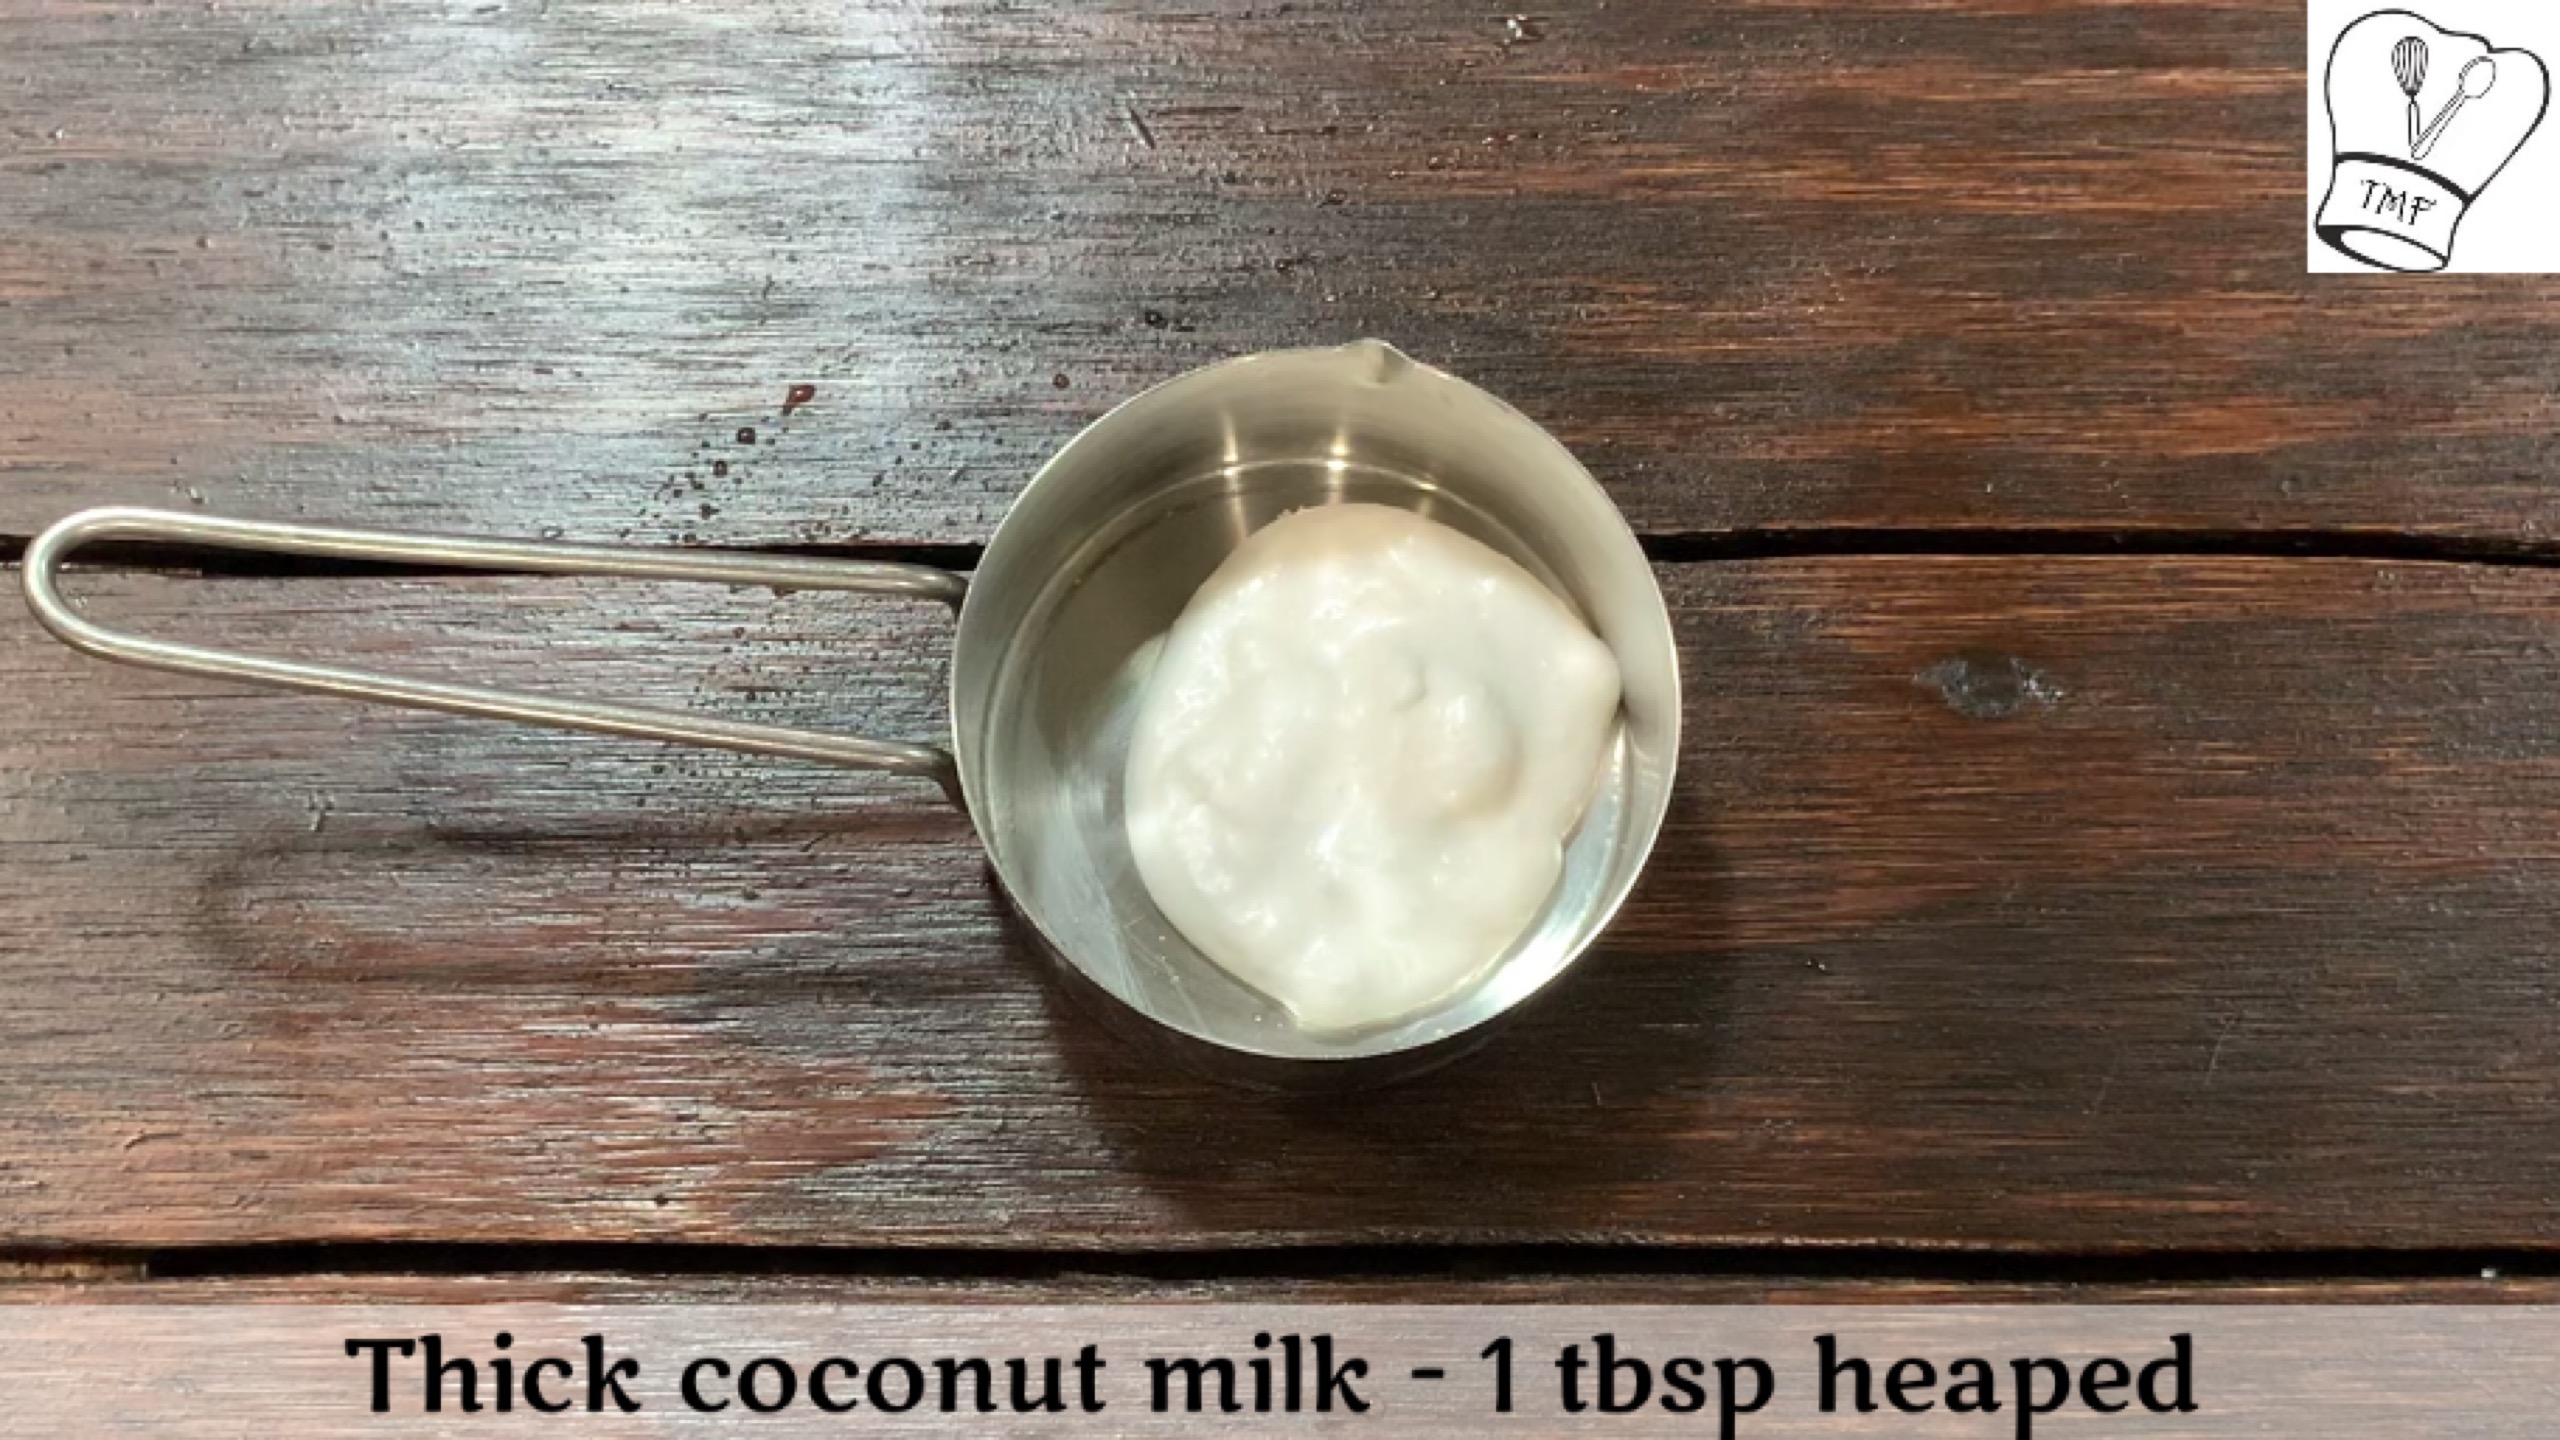
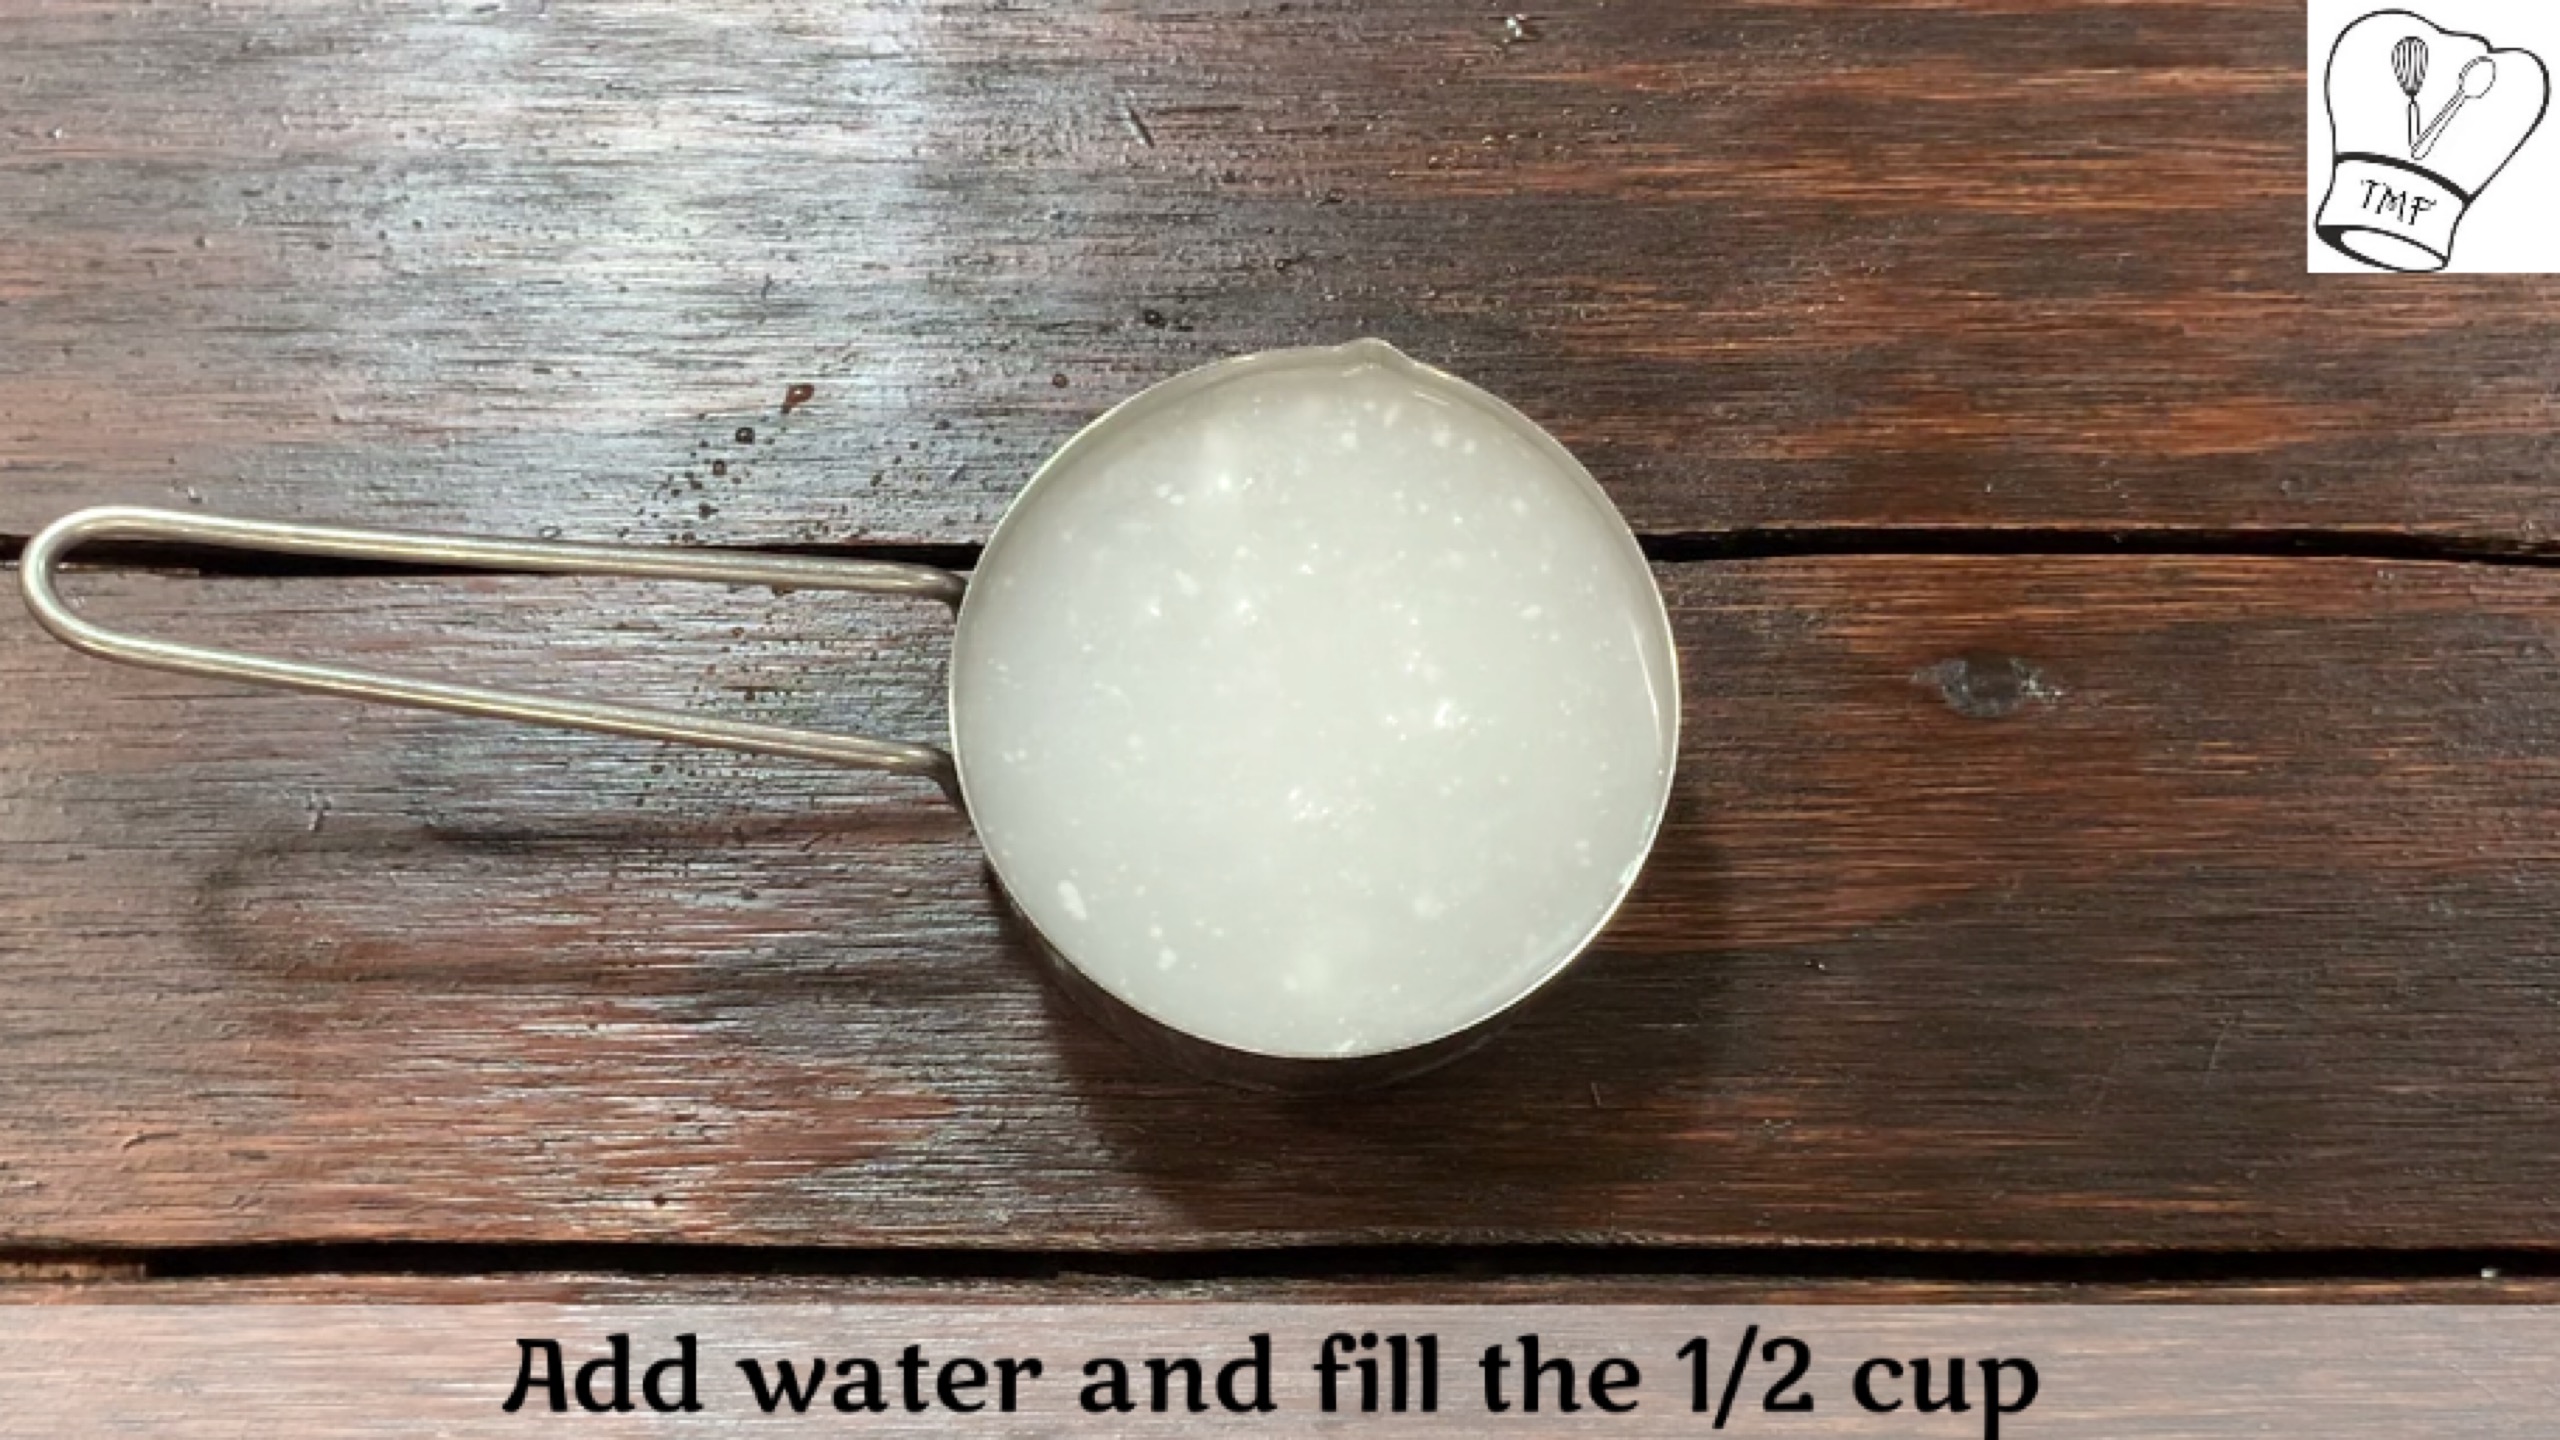
- Milk - 1/4 cup
- Water - 3 cups
- Cardamom powder - 1/4 tsp
- Ghee - 5 tbsp
- Cashews and raisin - for taste
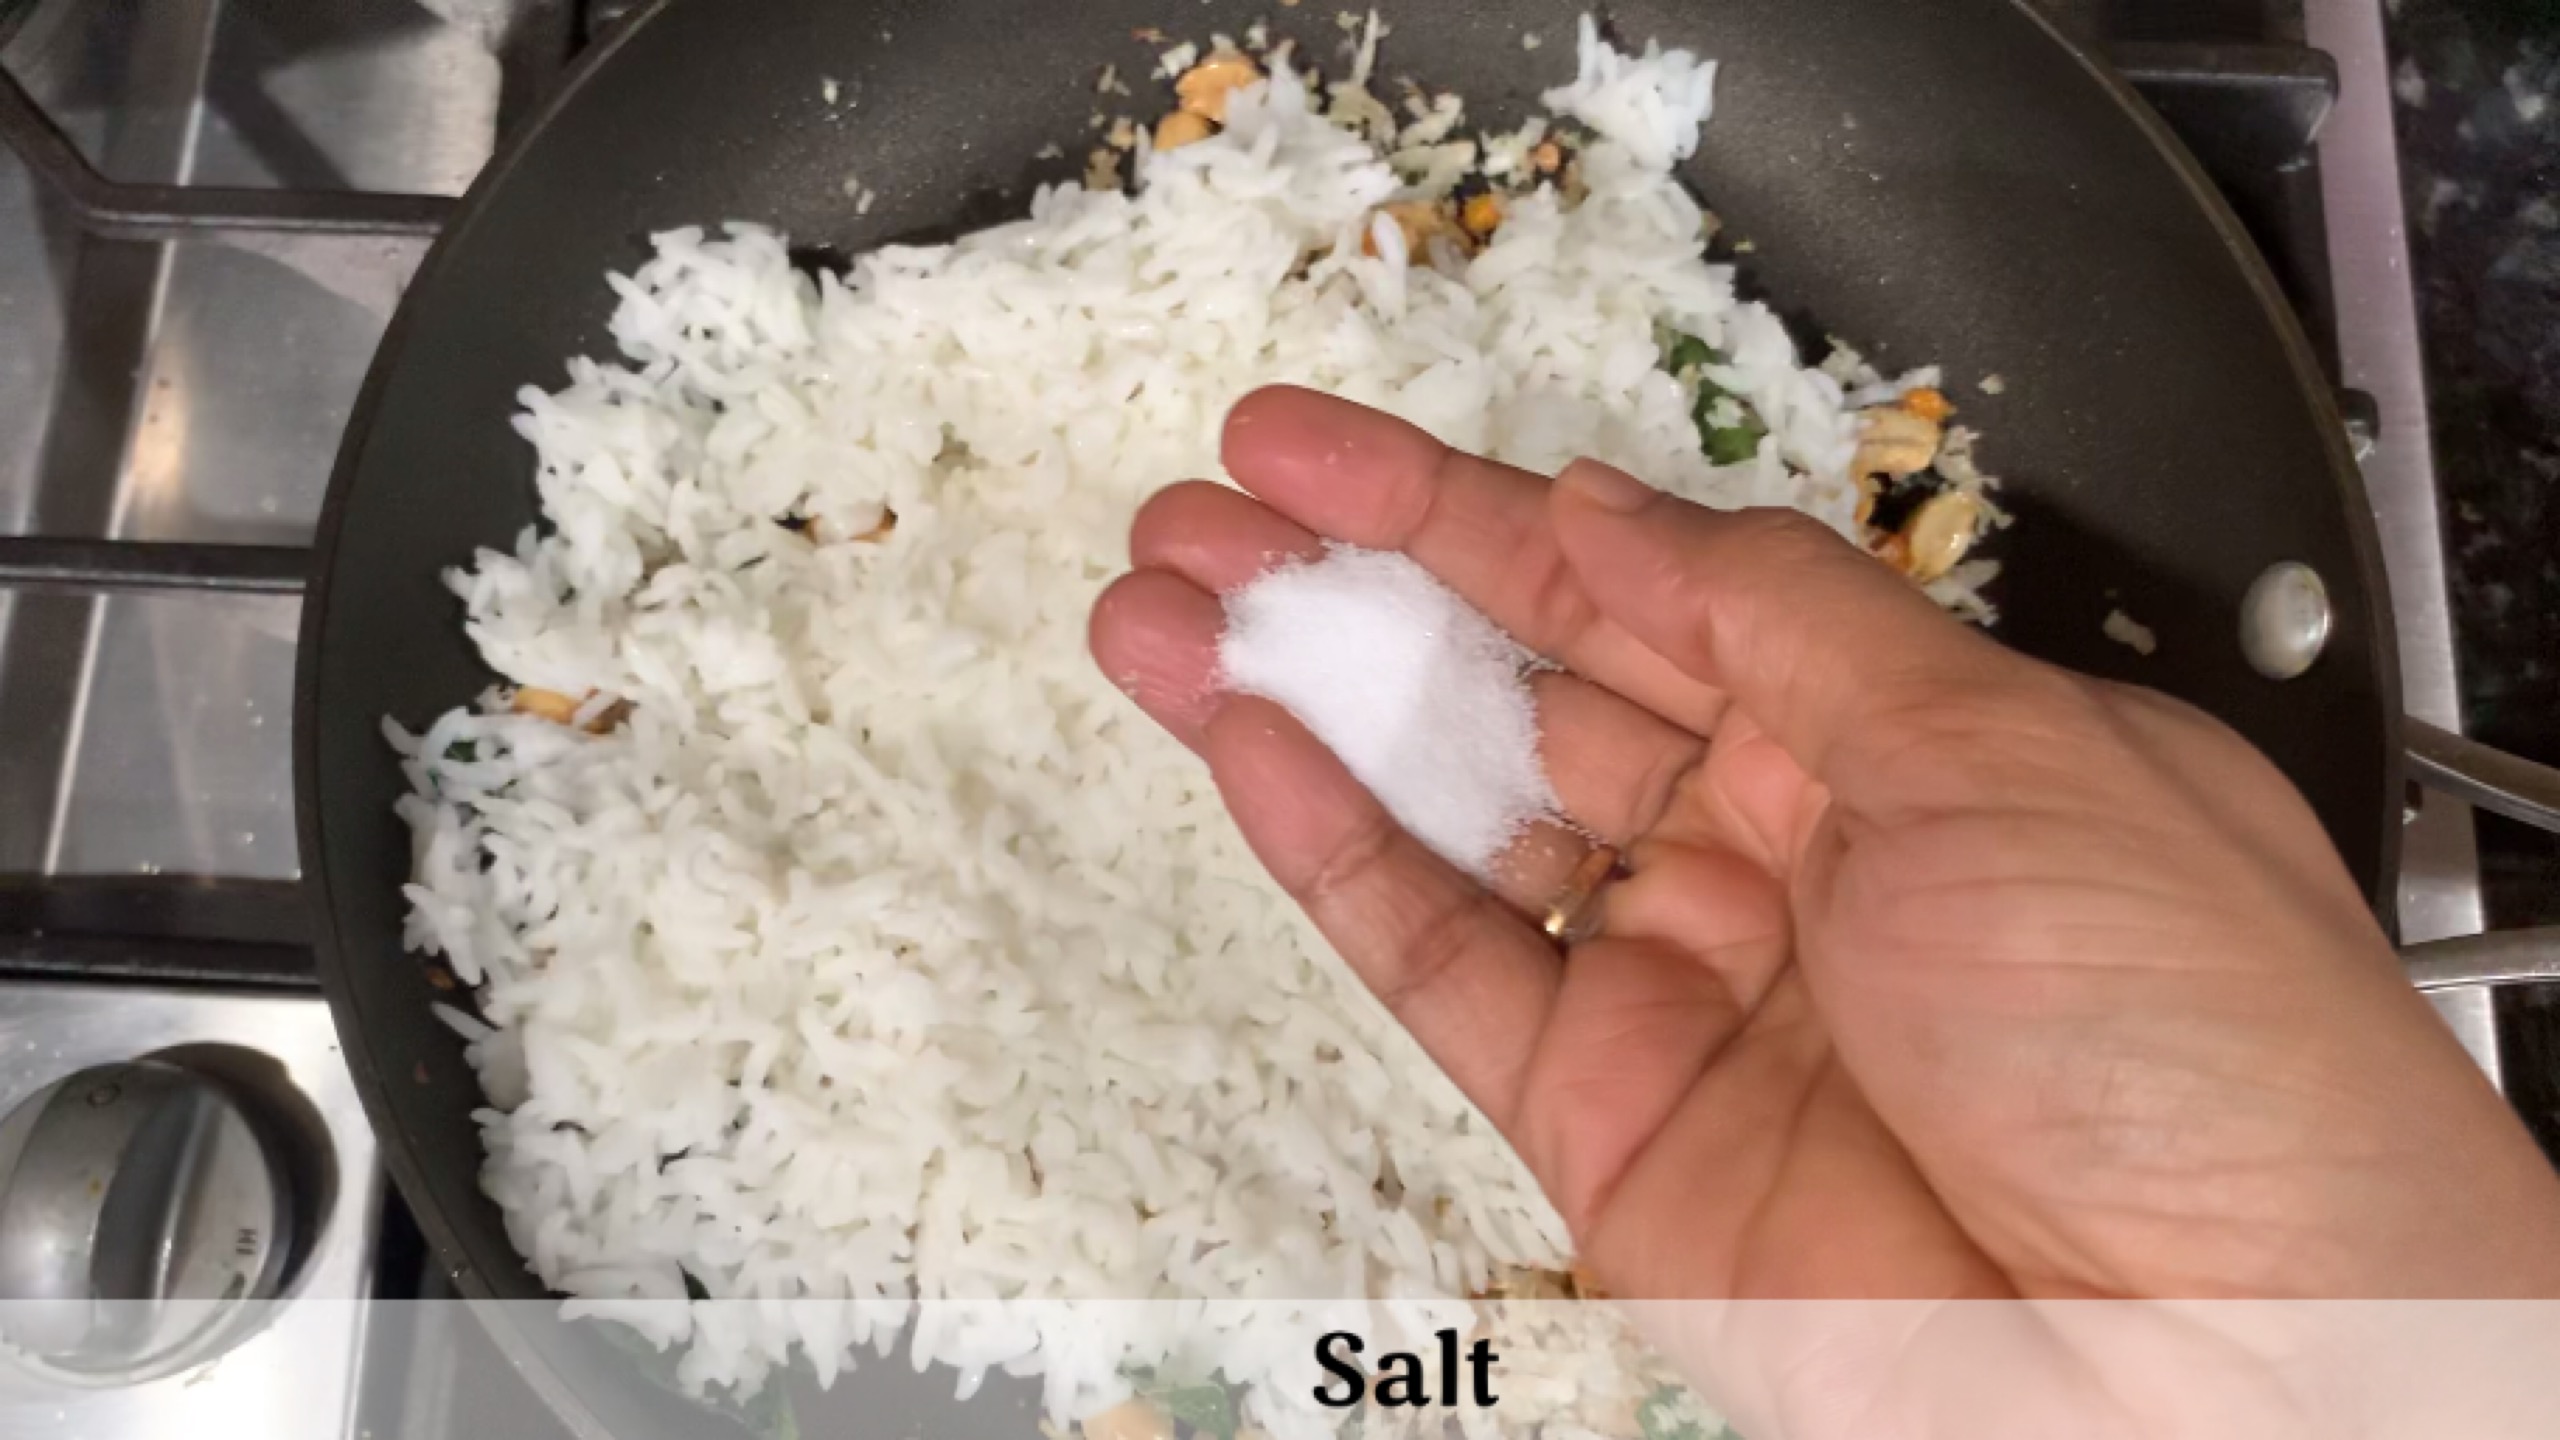
- Salt - a pinch
Instructions
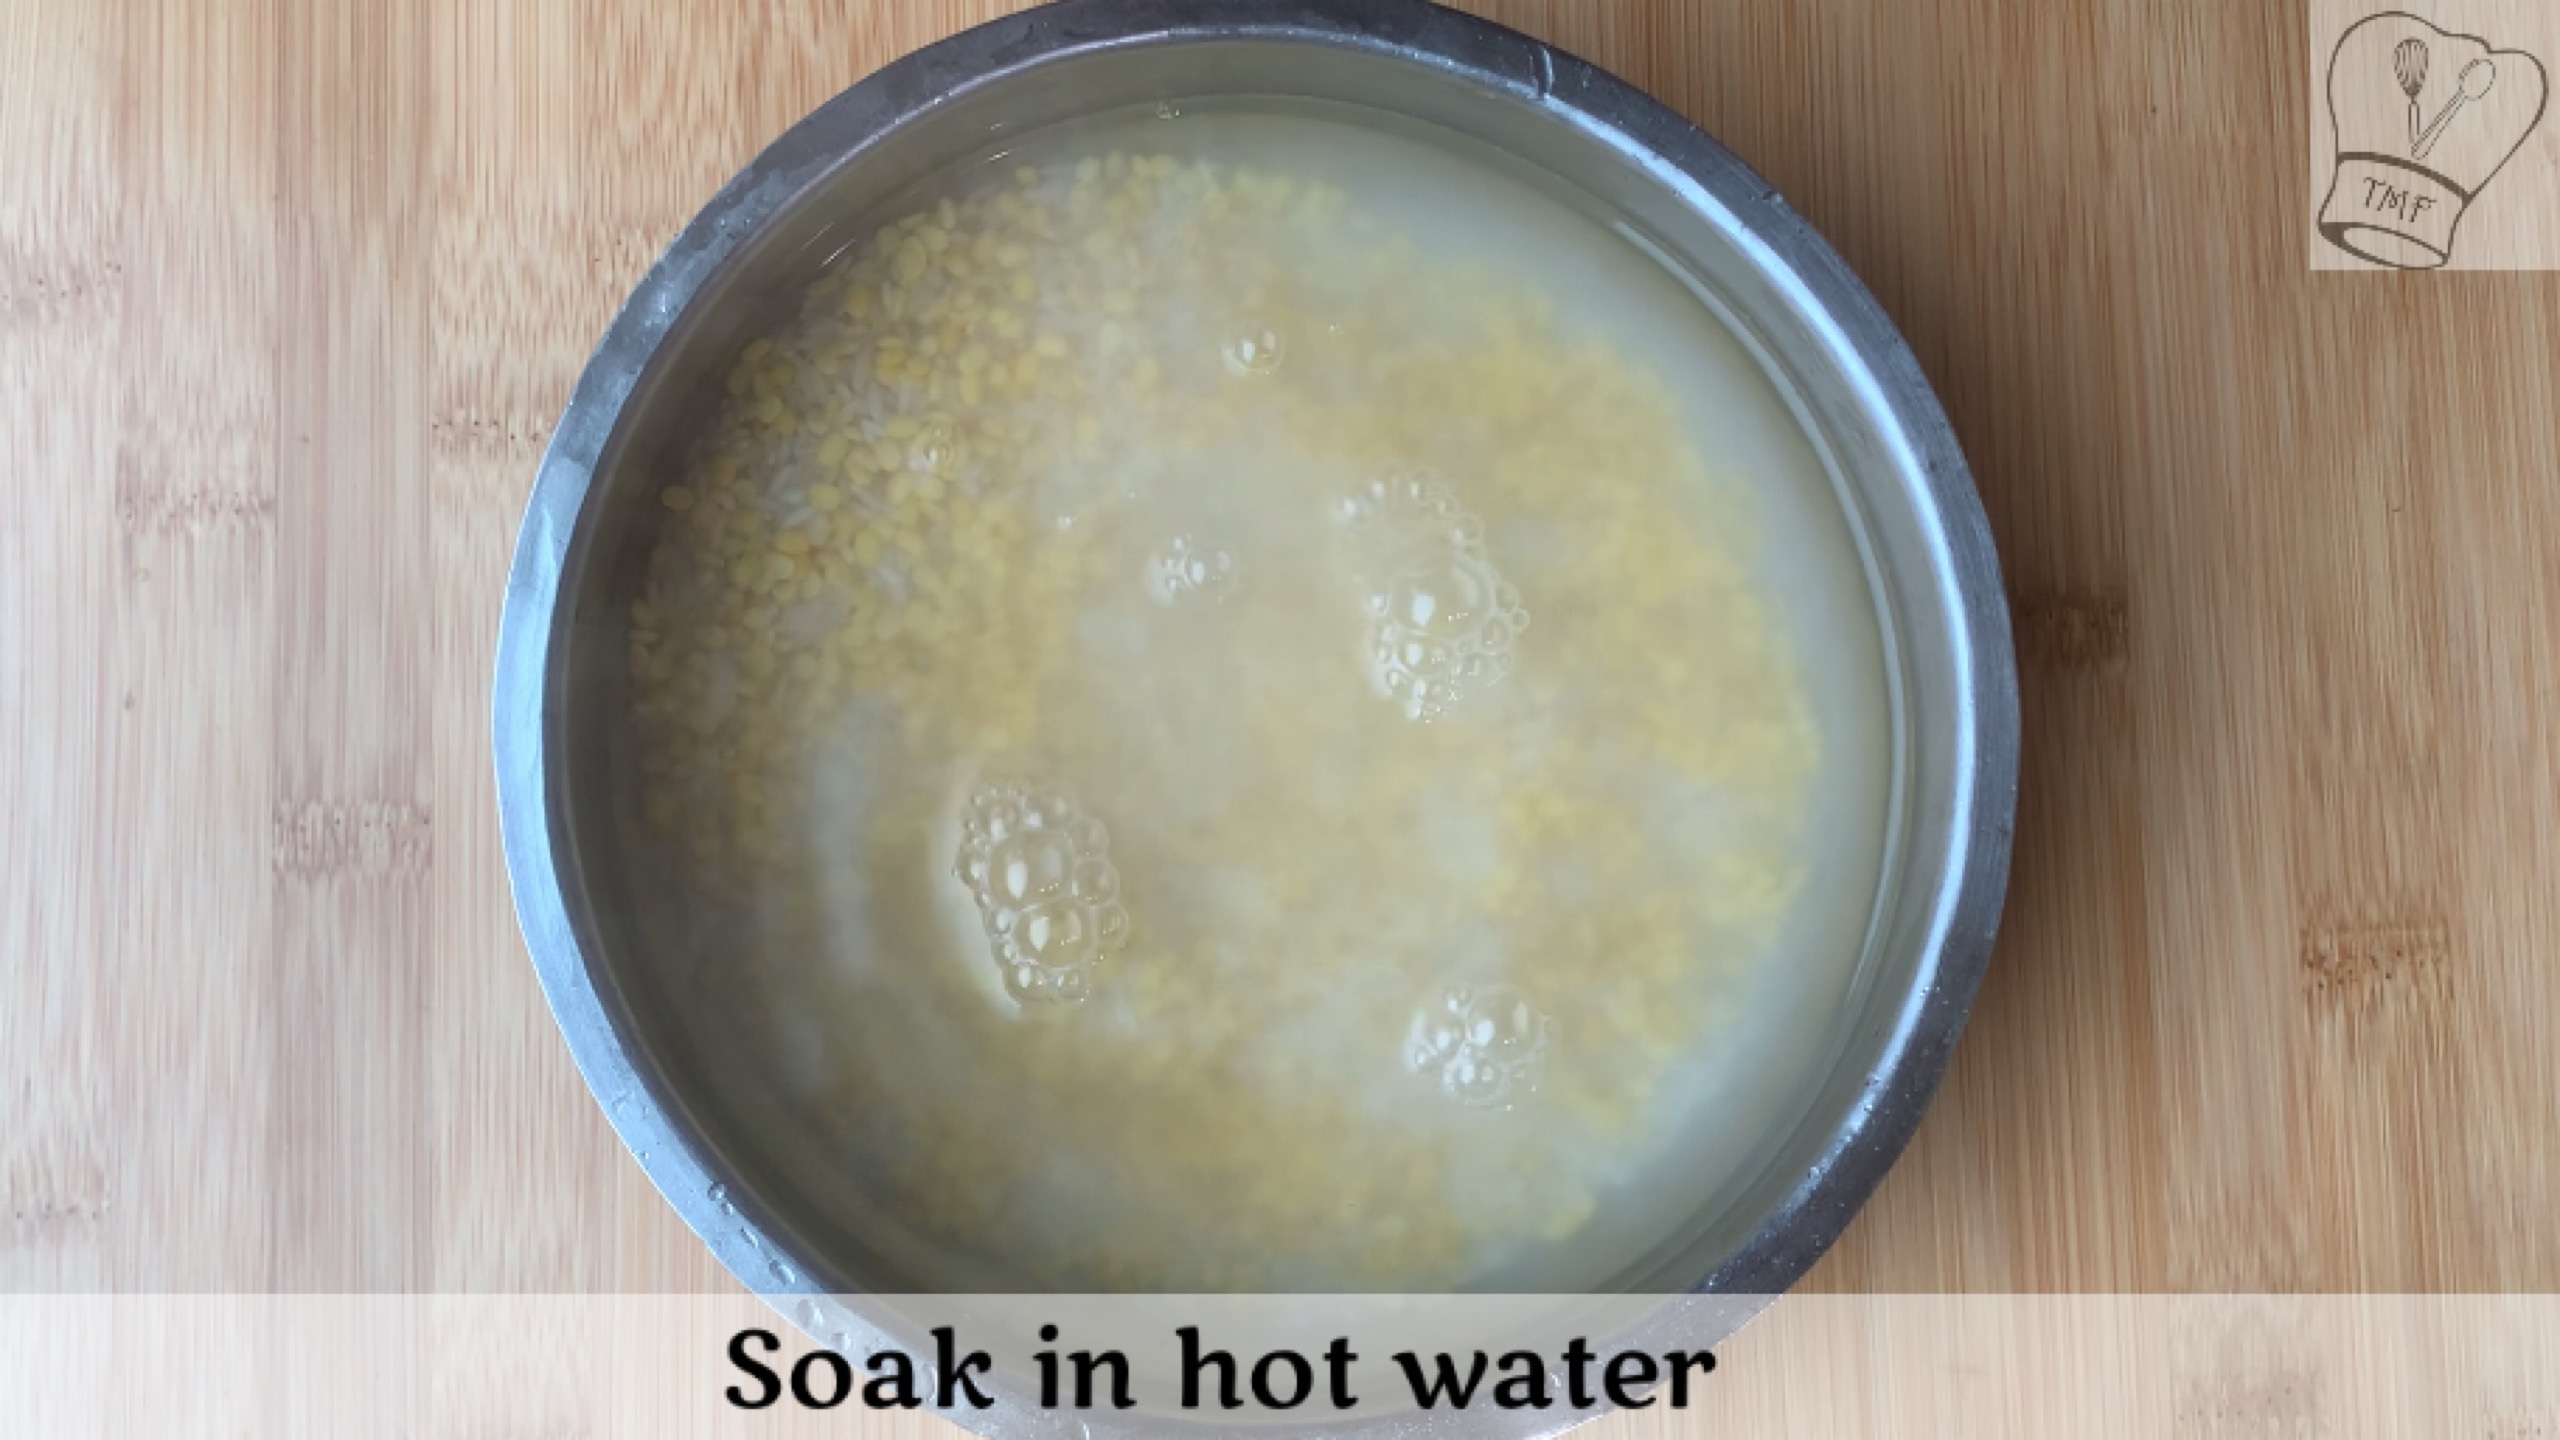
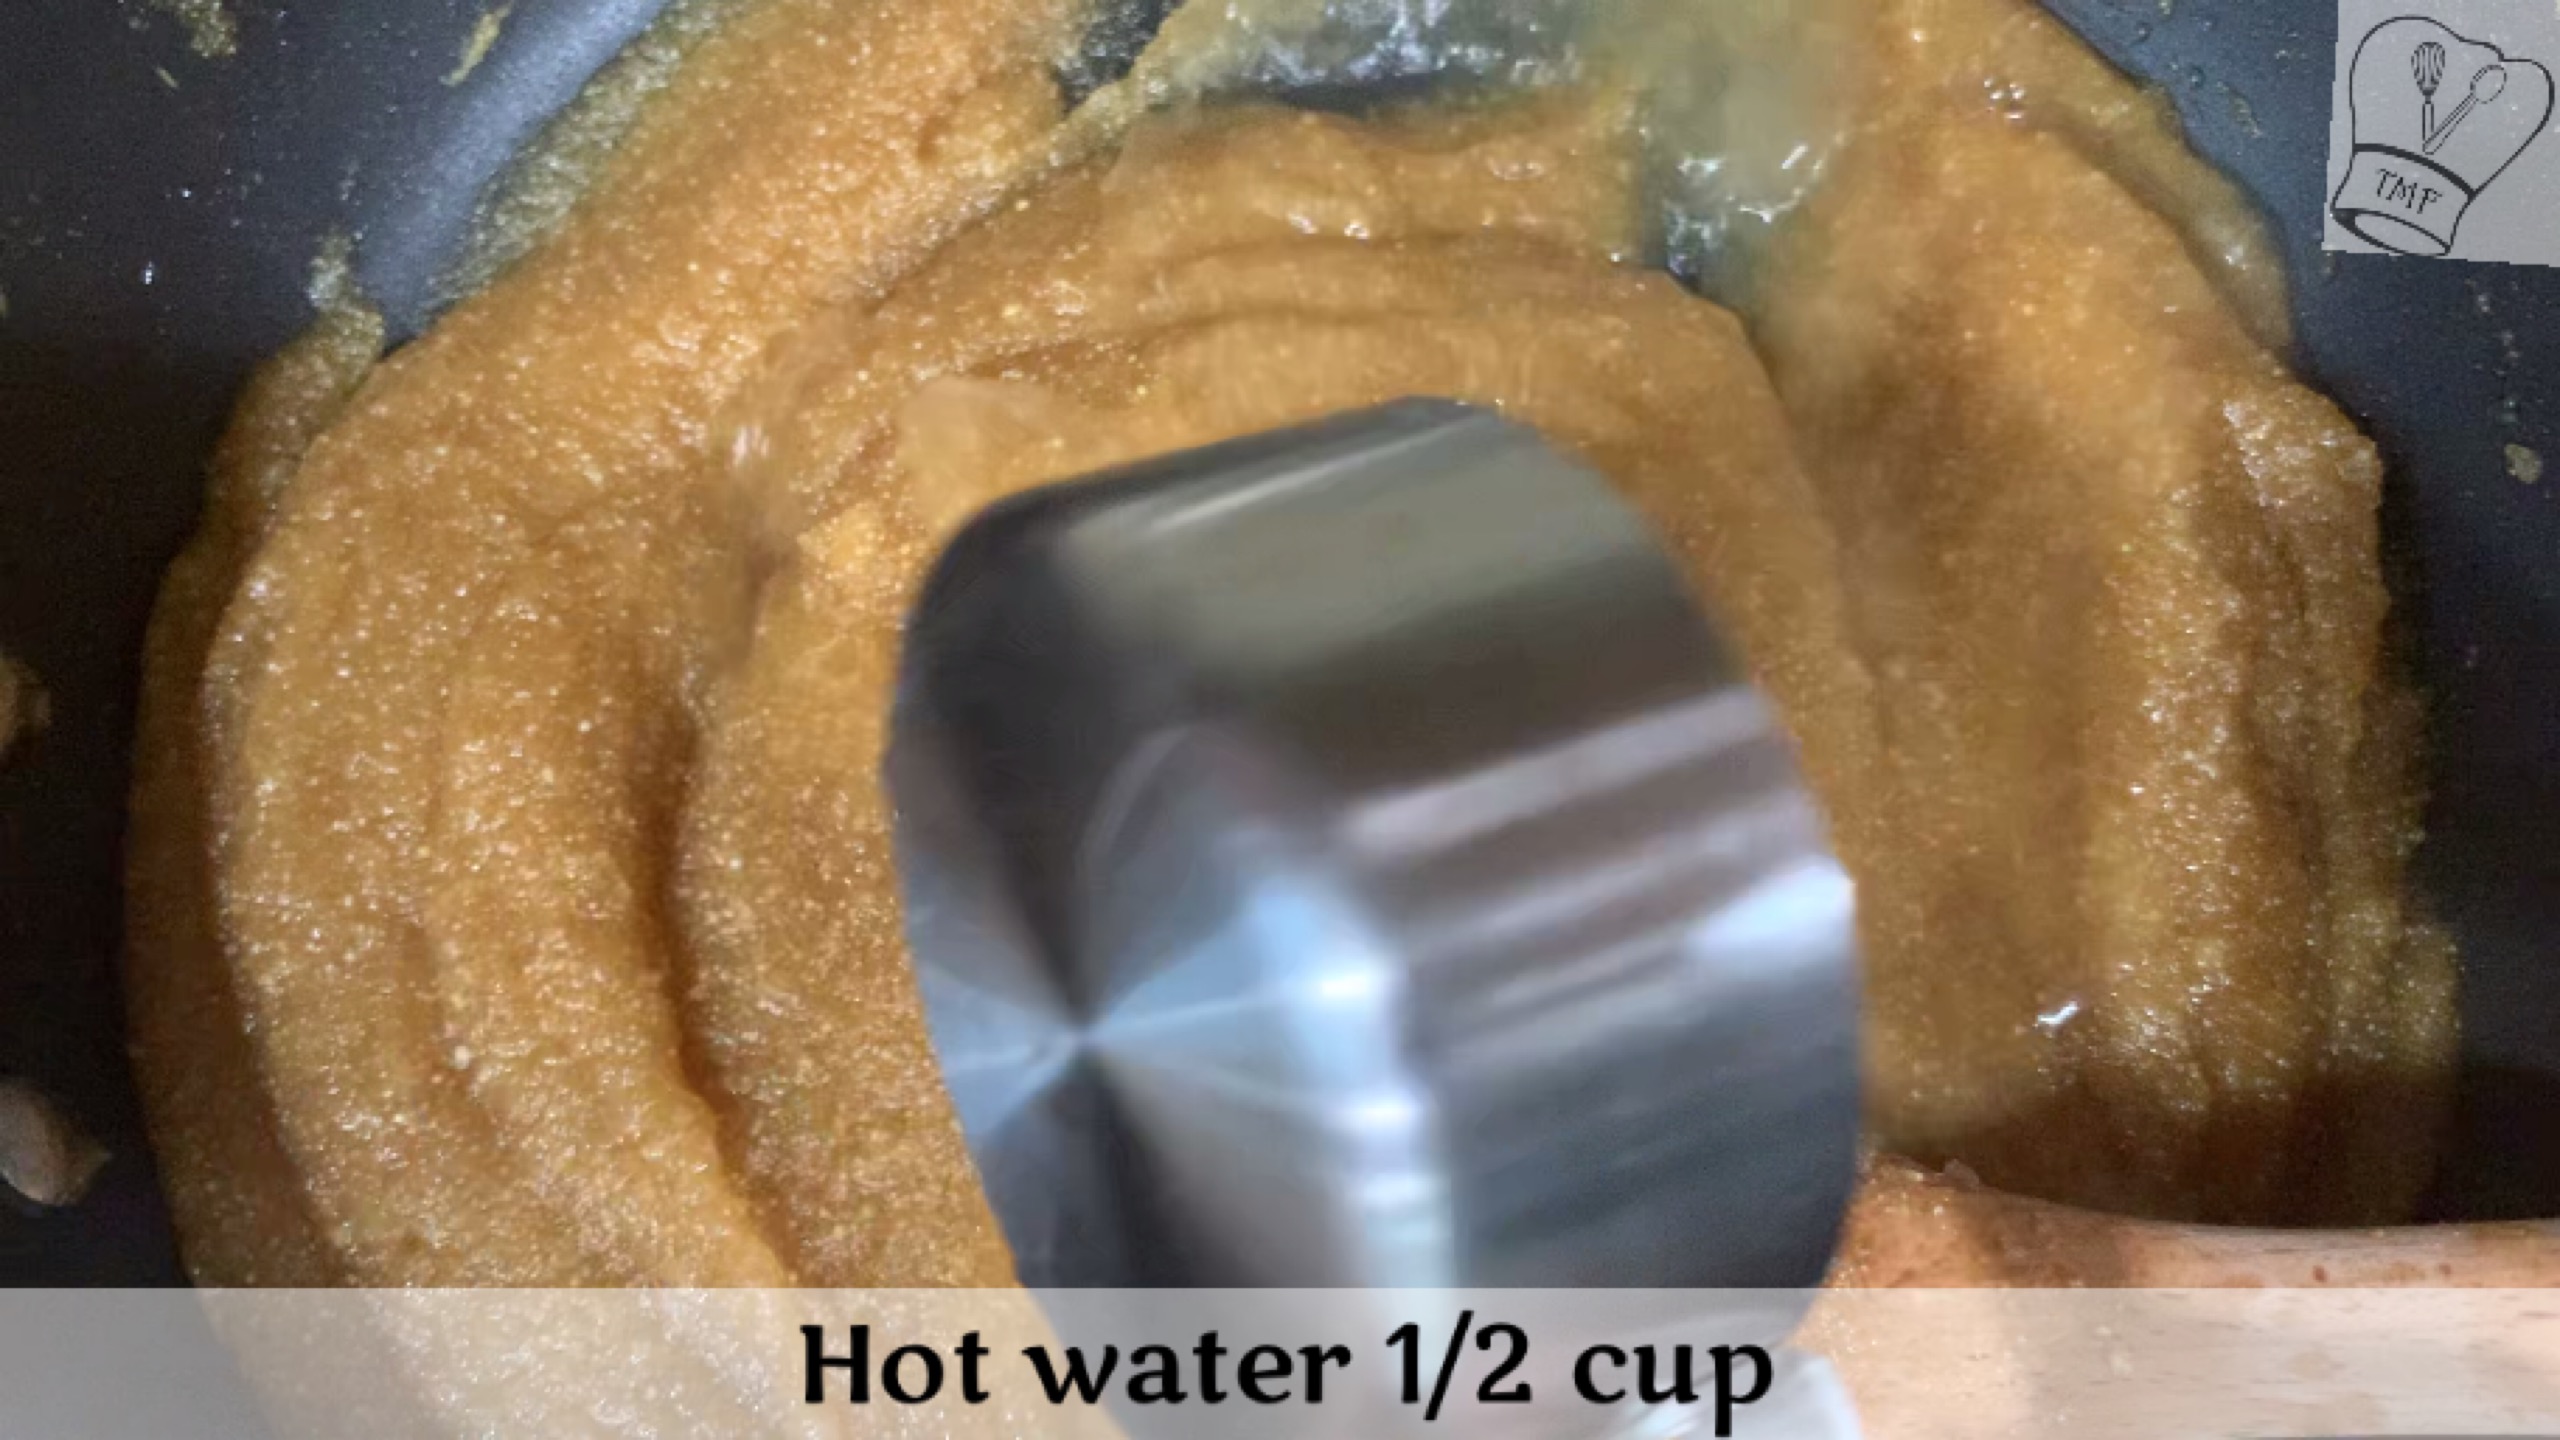
- Wash rice and dal and soak for at least 30 mins in hot water
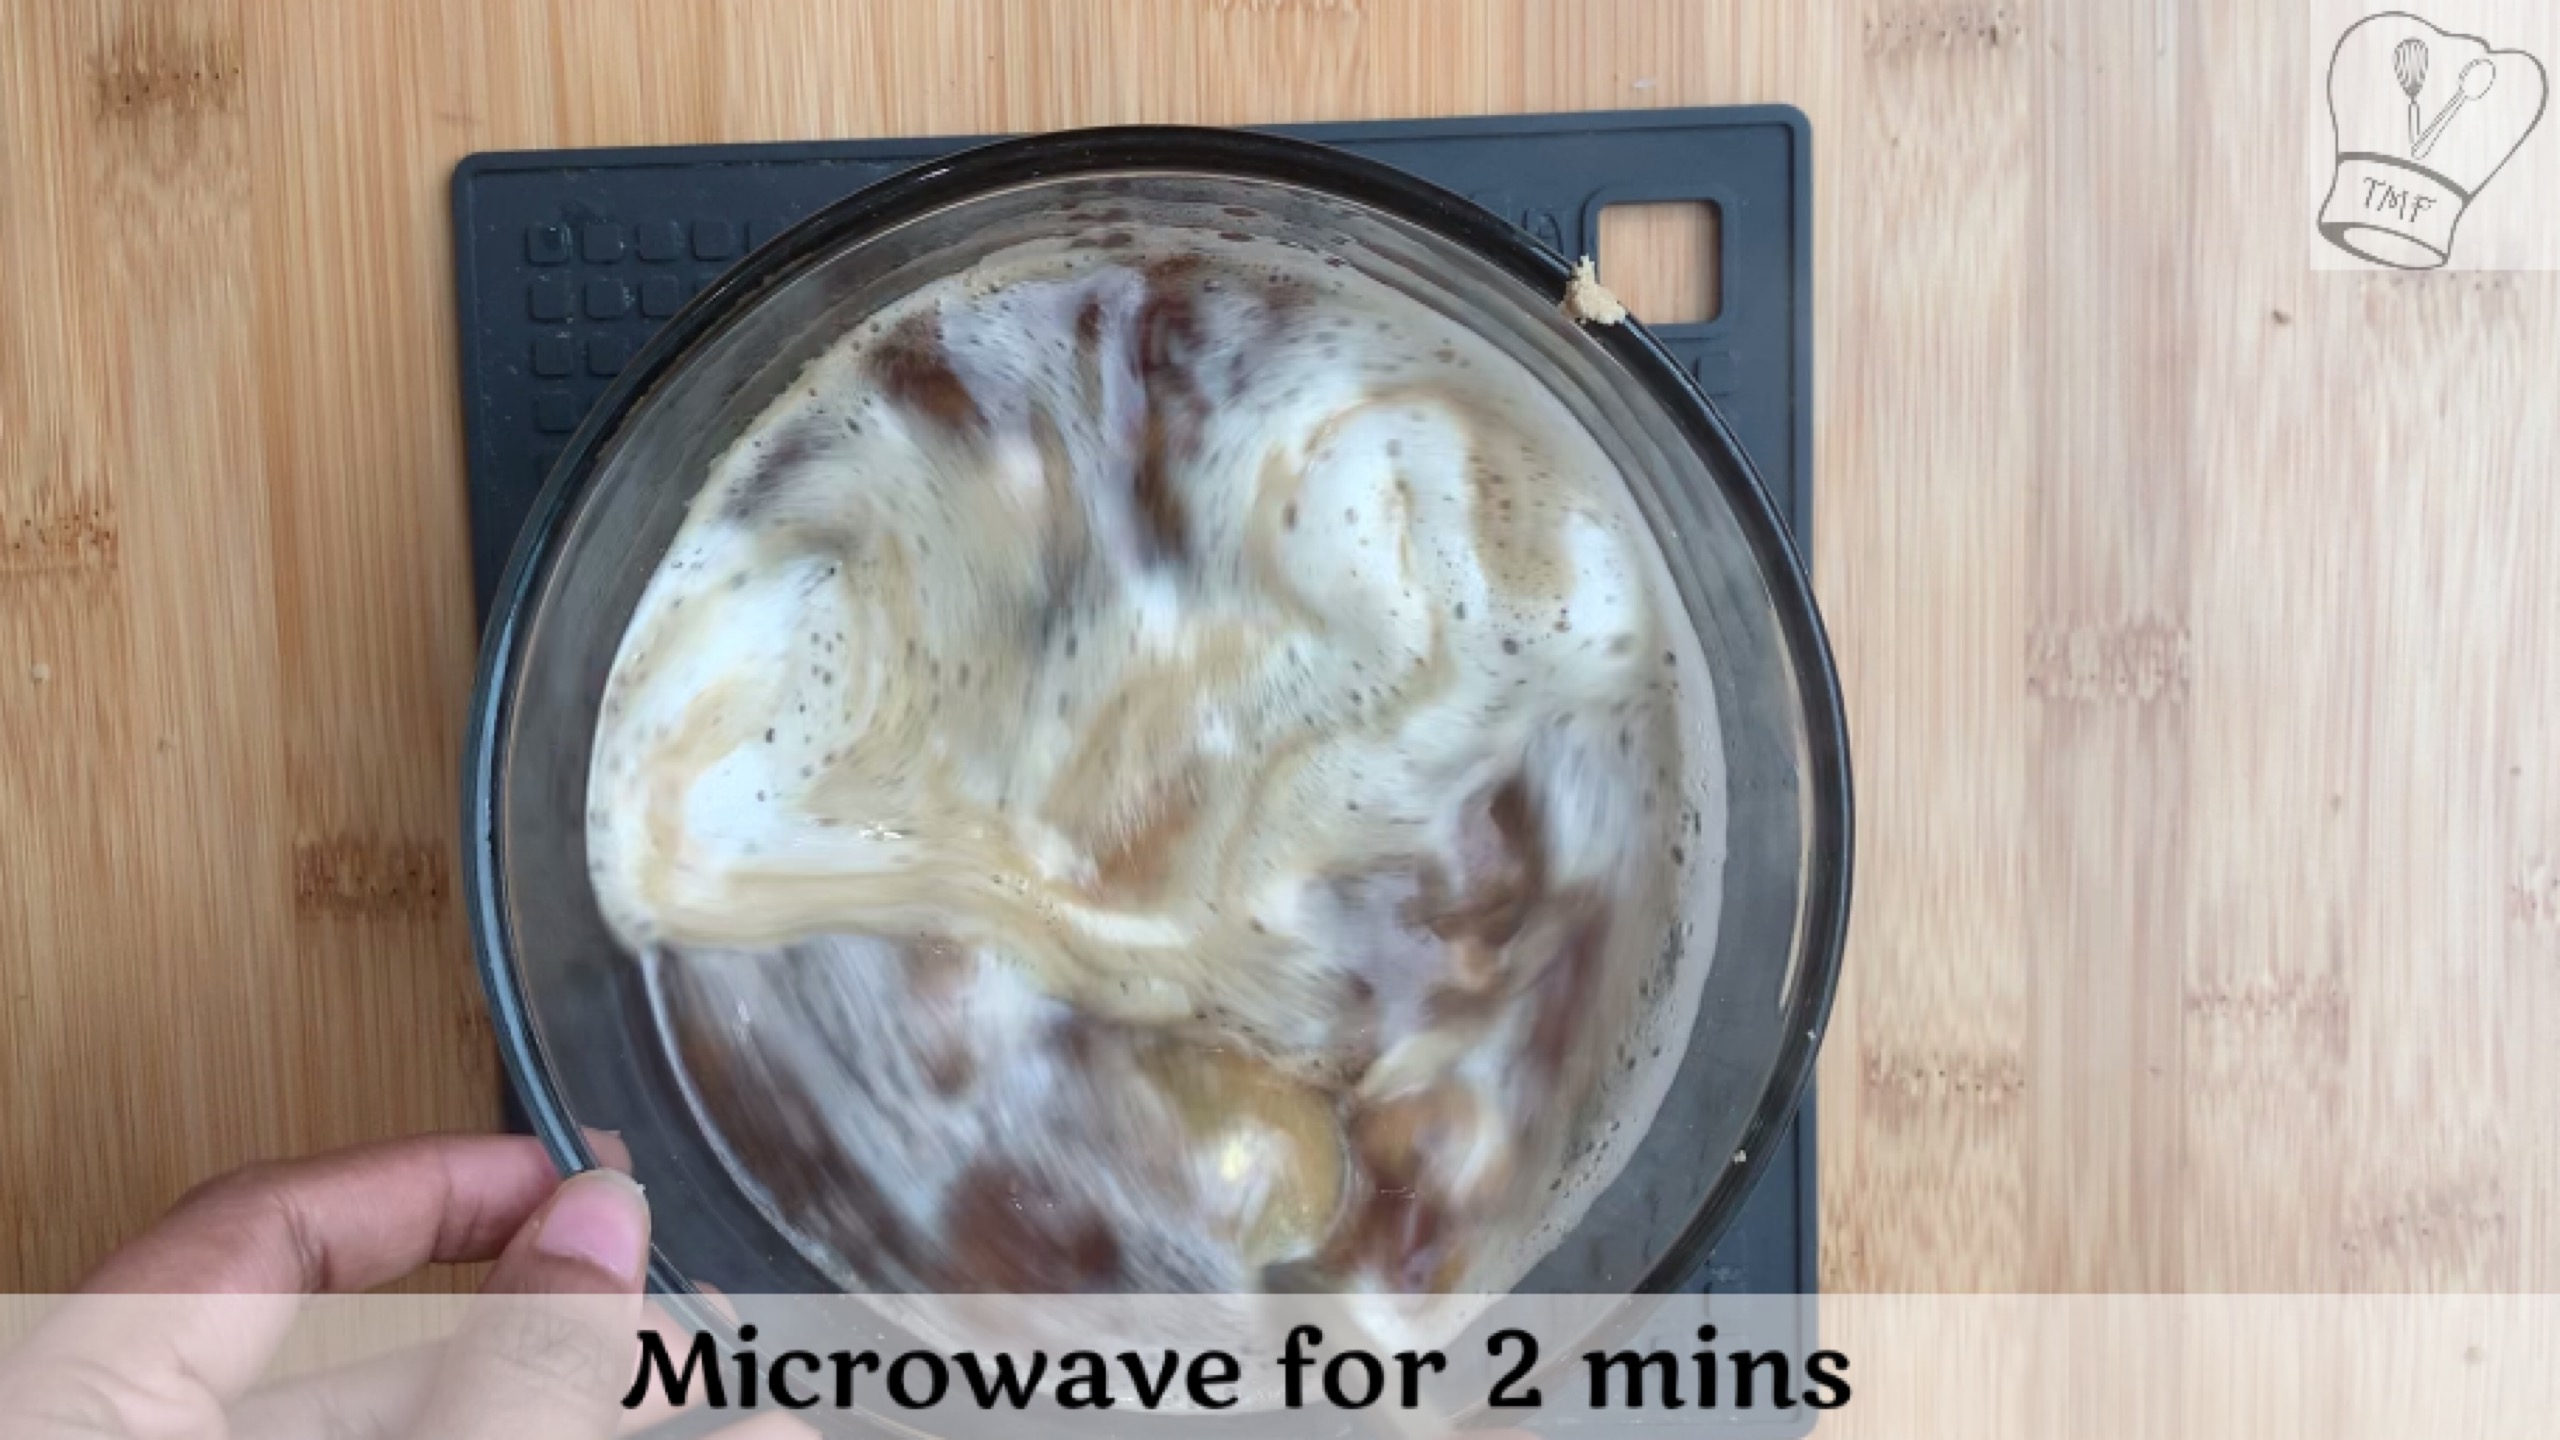
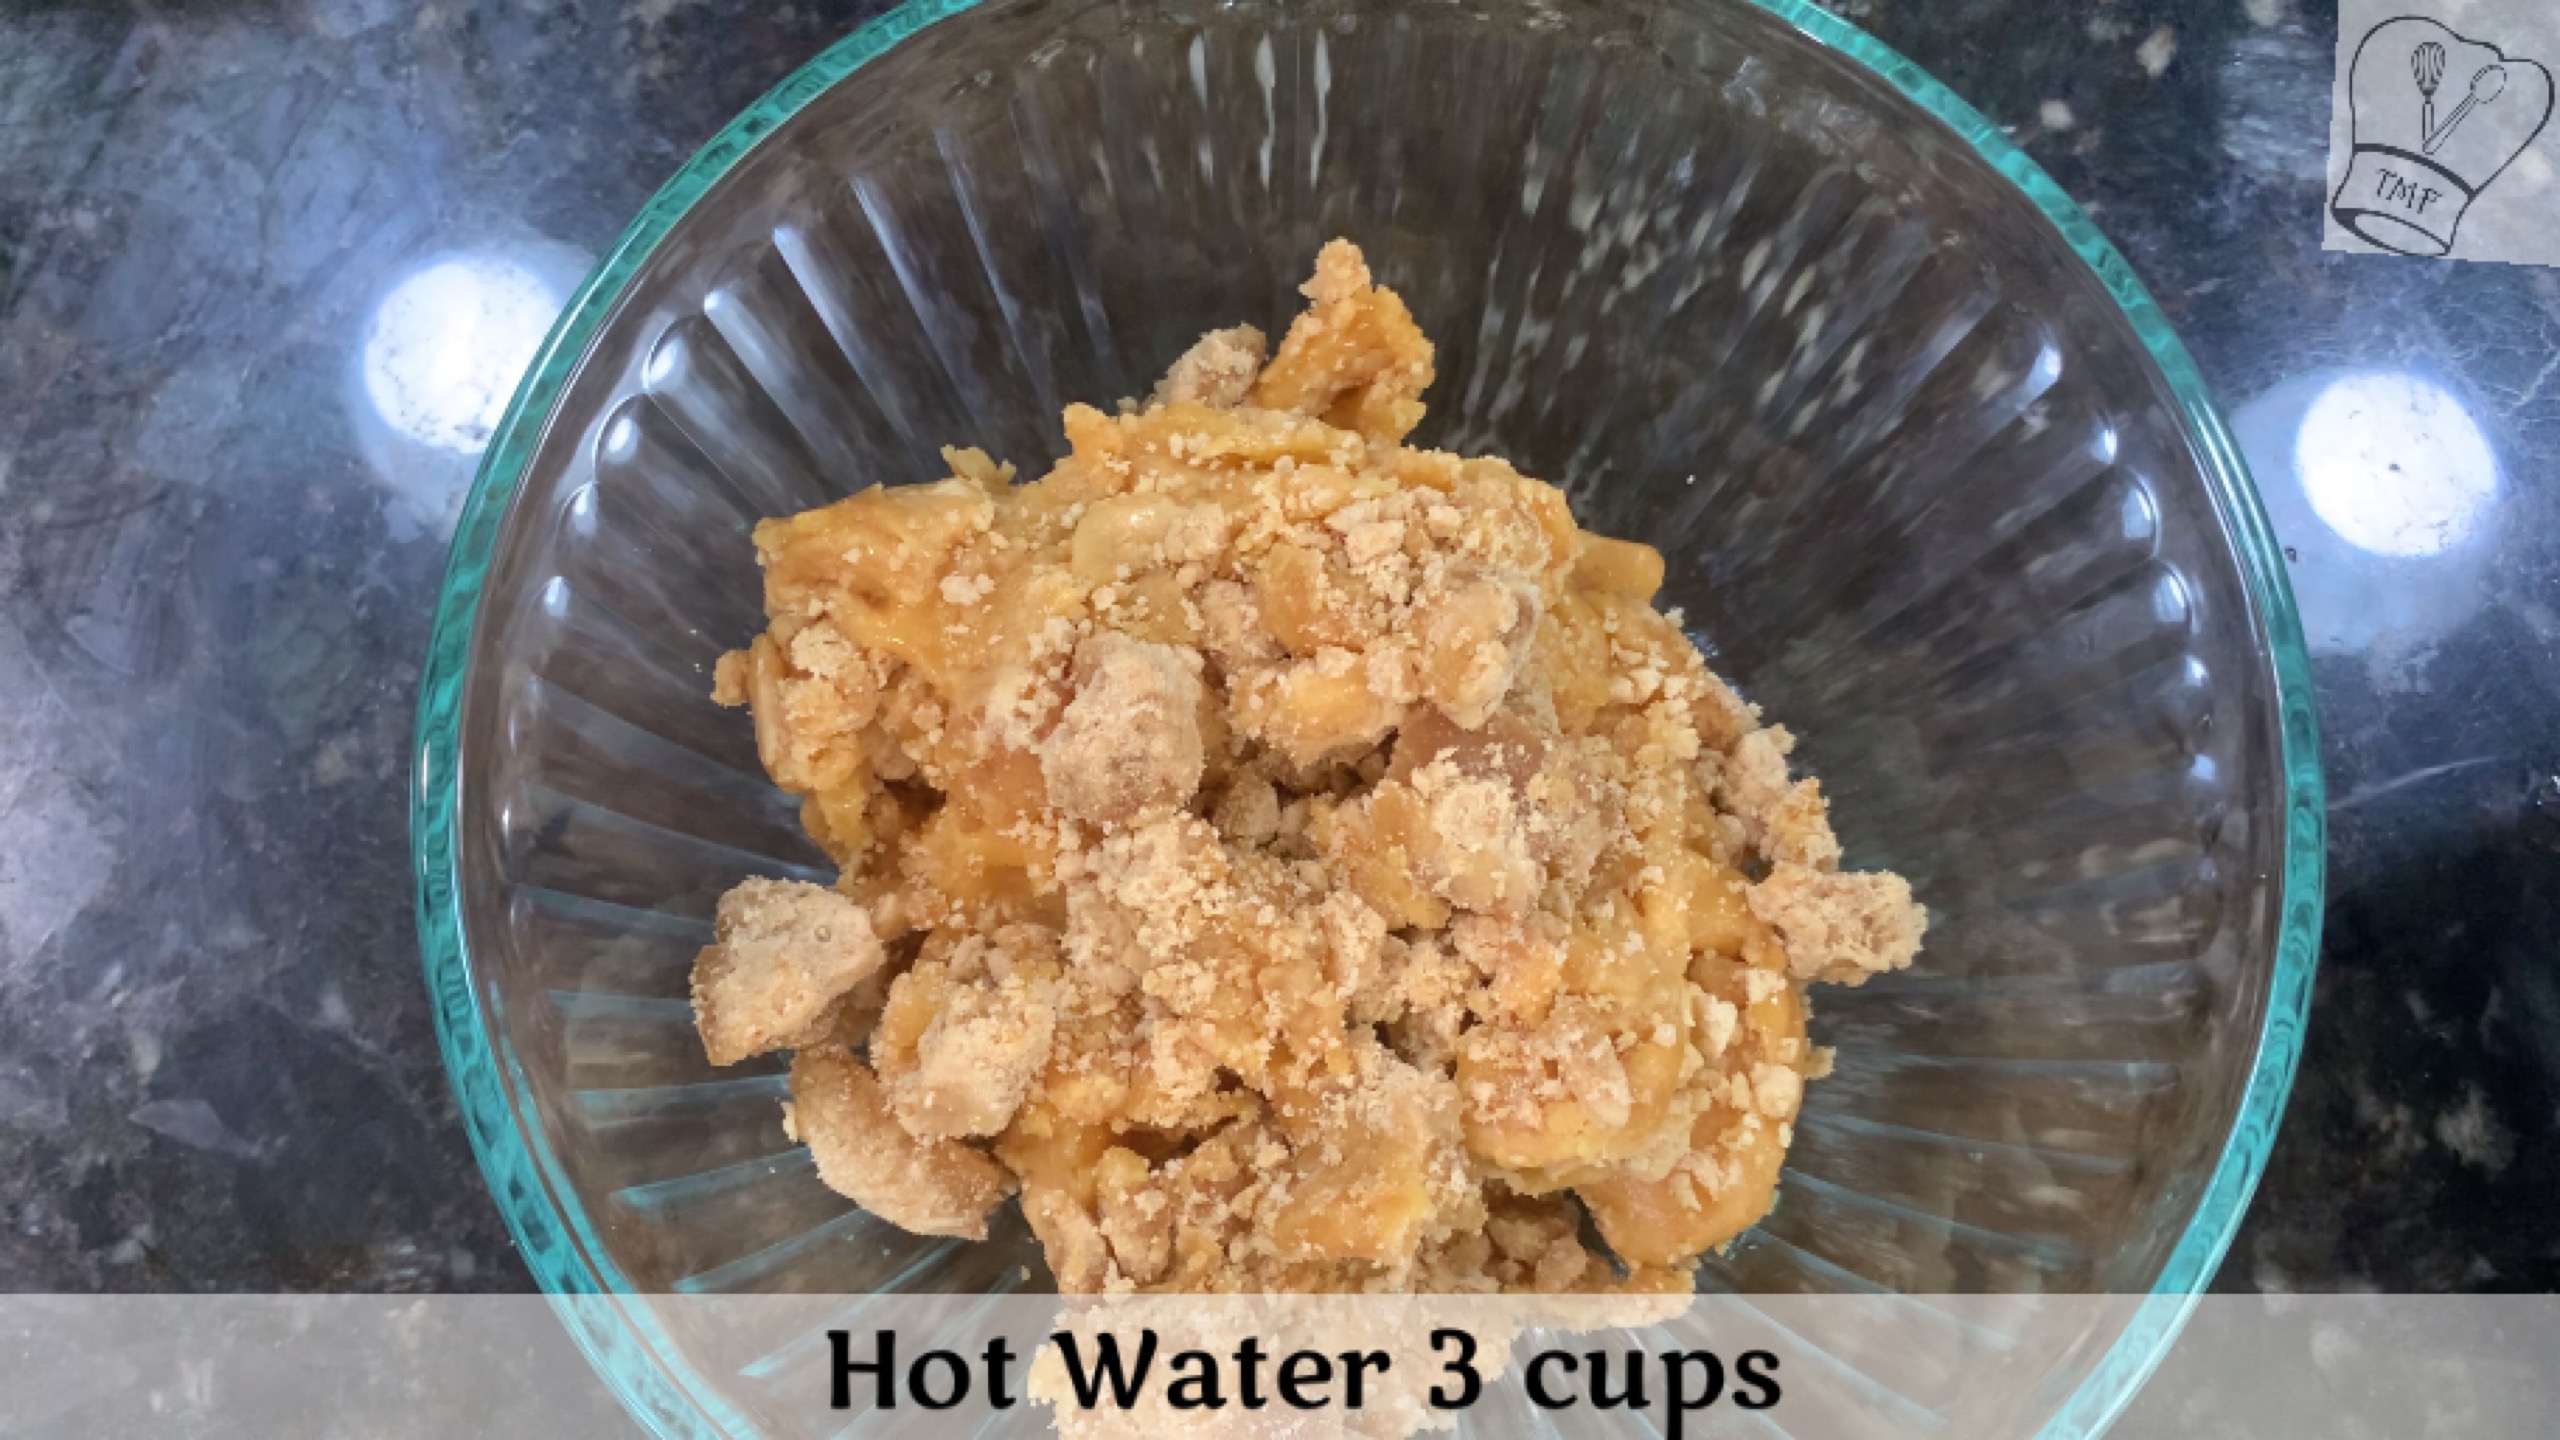
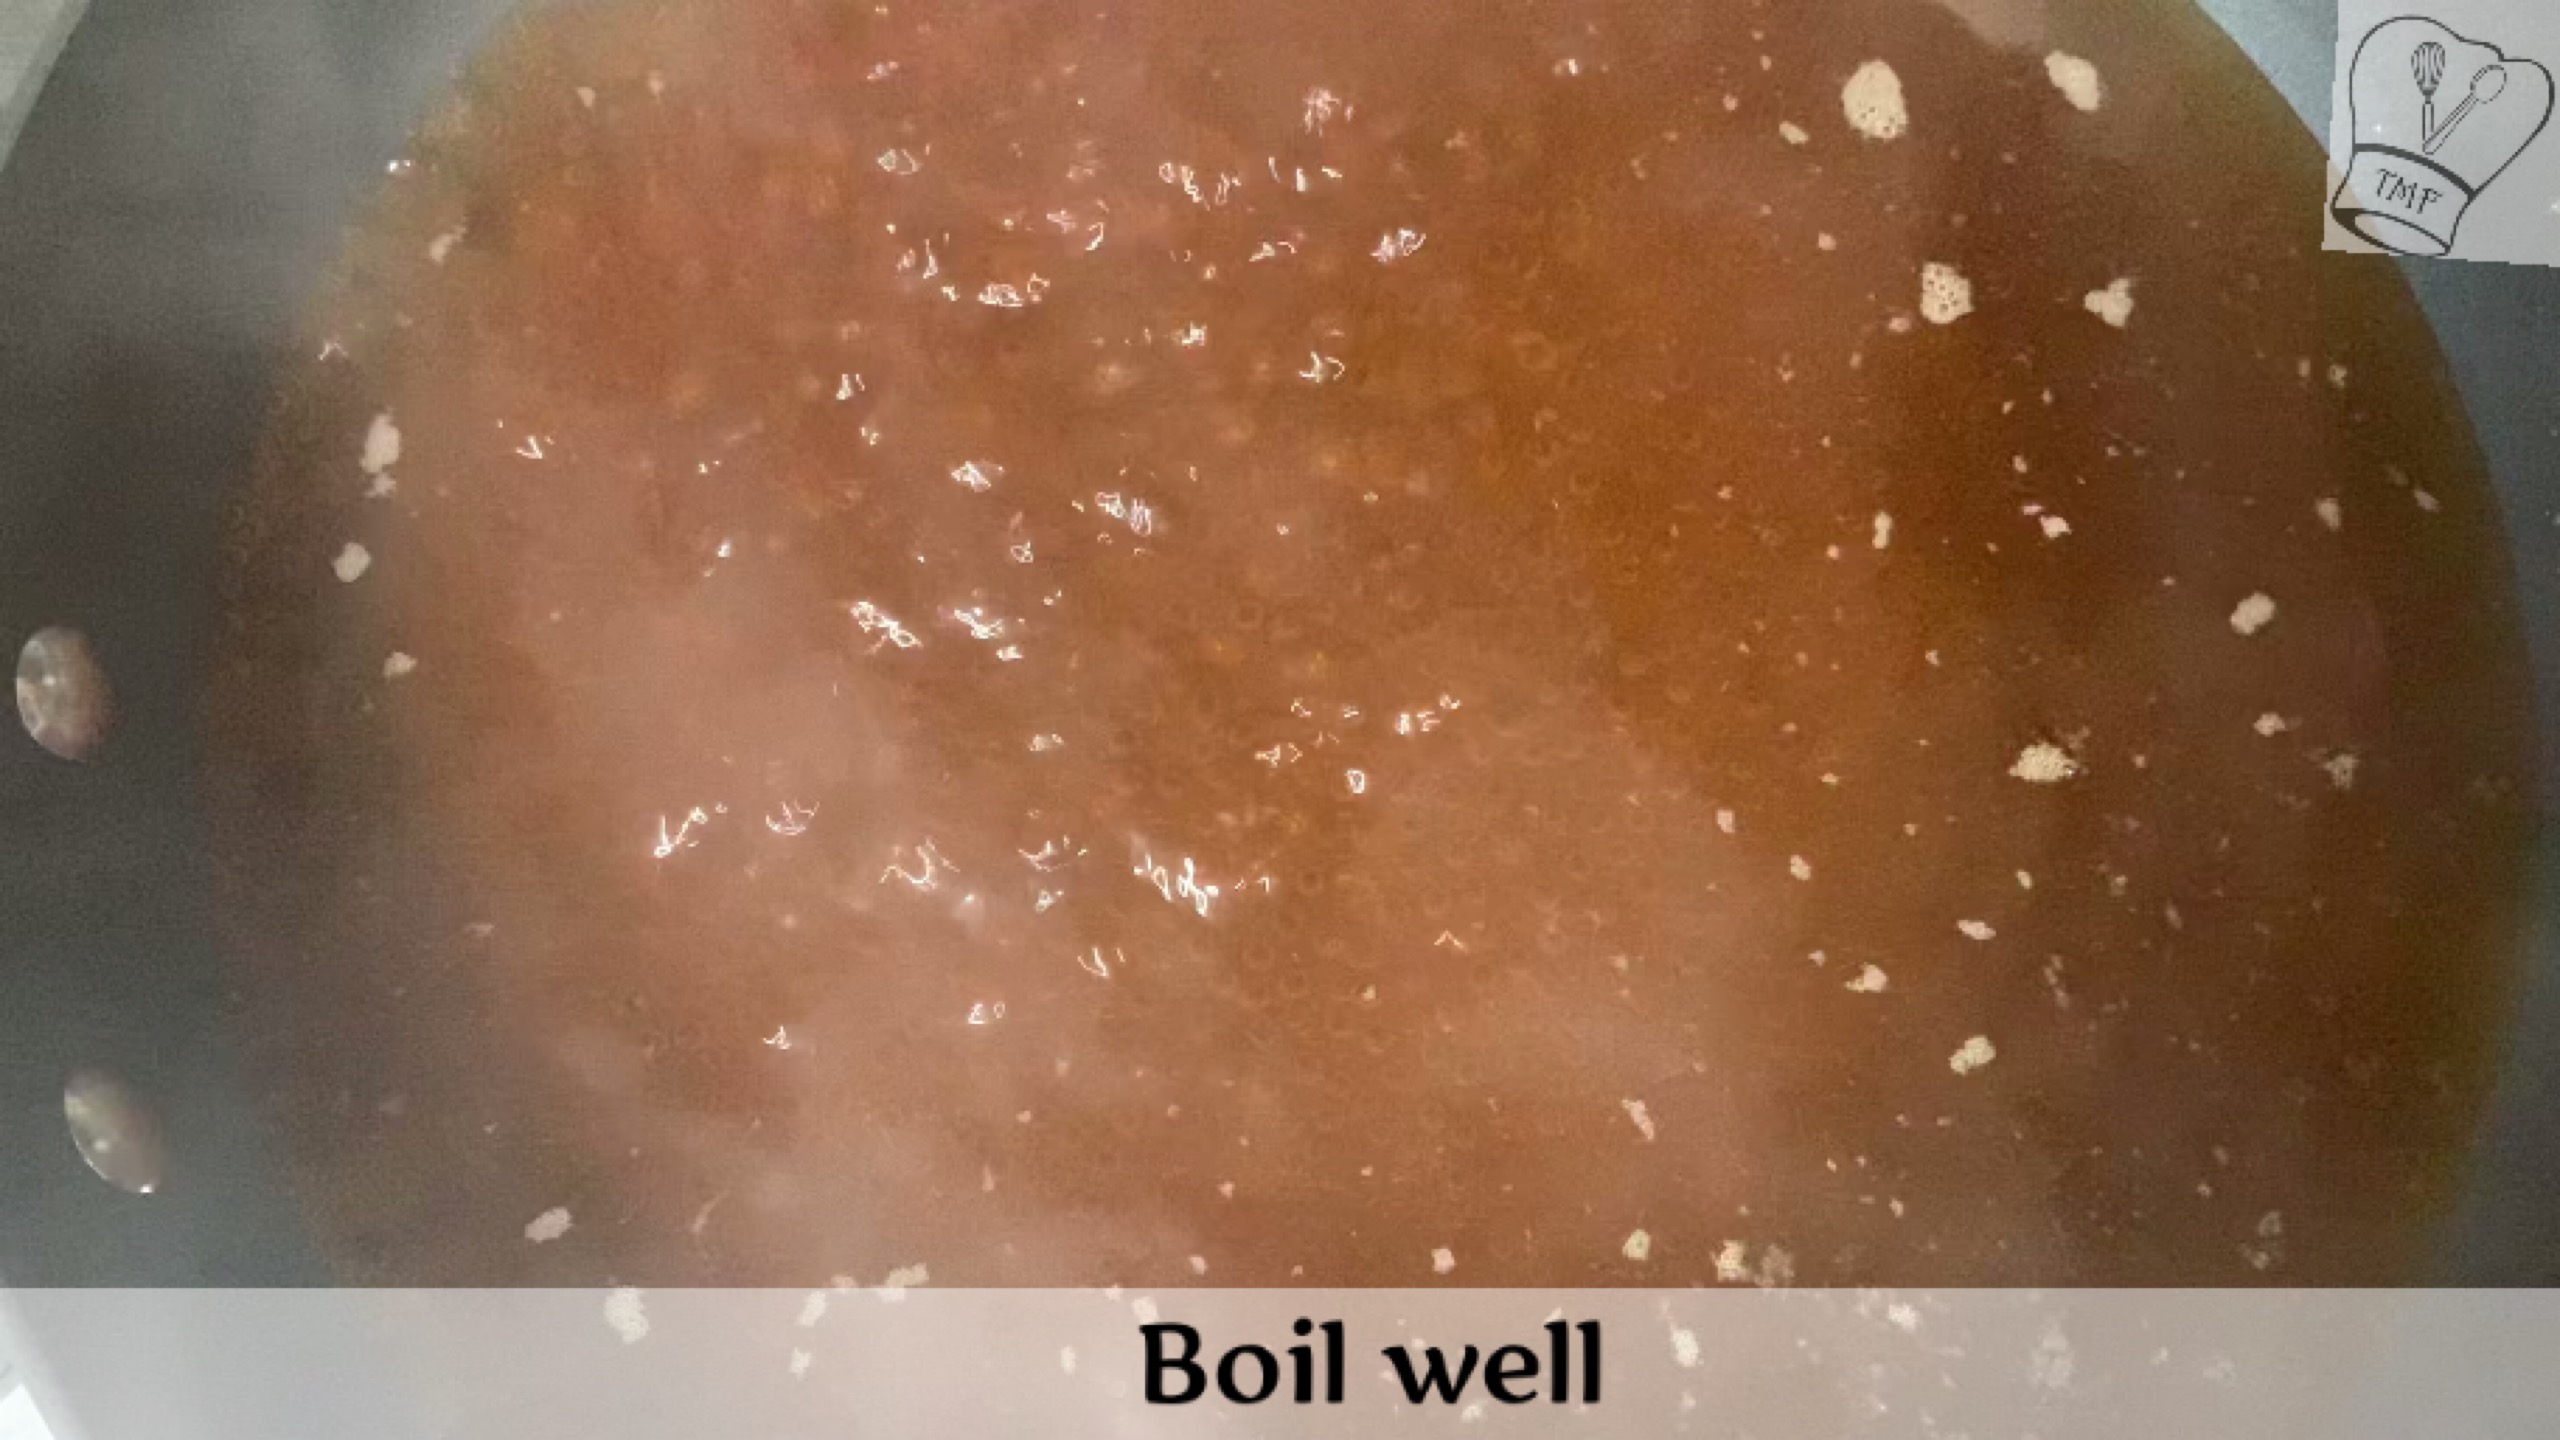
- In a microwave-safe bowl take jaggery and water; microwave for 2 minutes or until the jaggery is melted in water. Let it cool
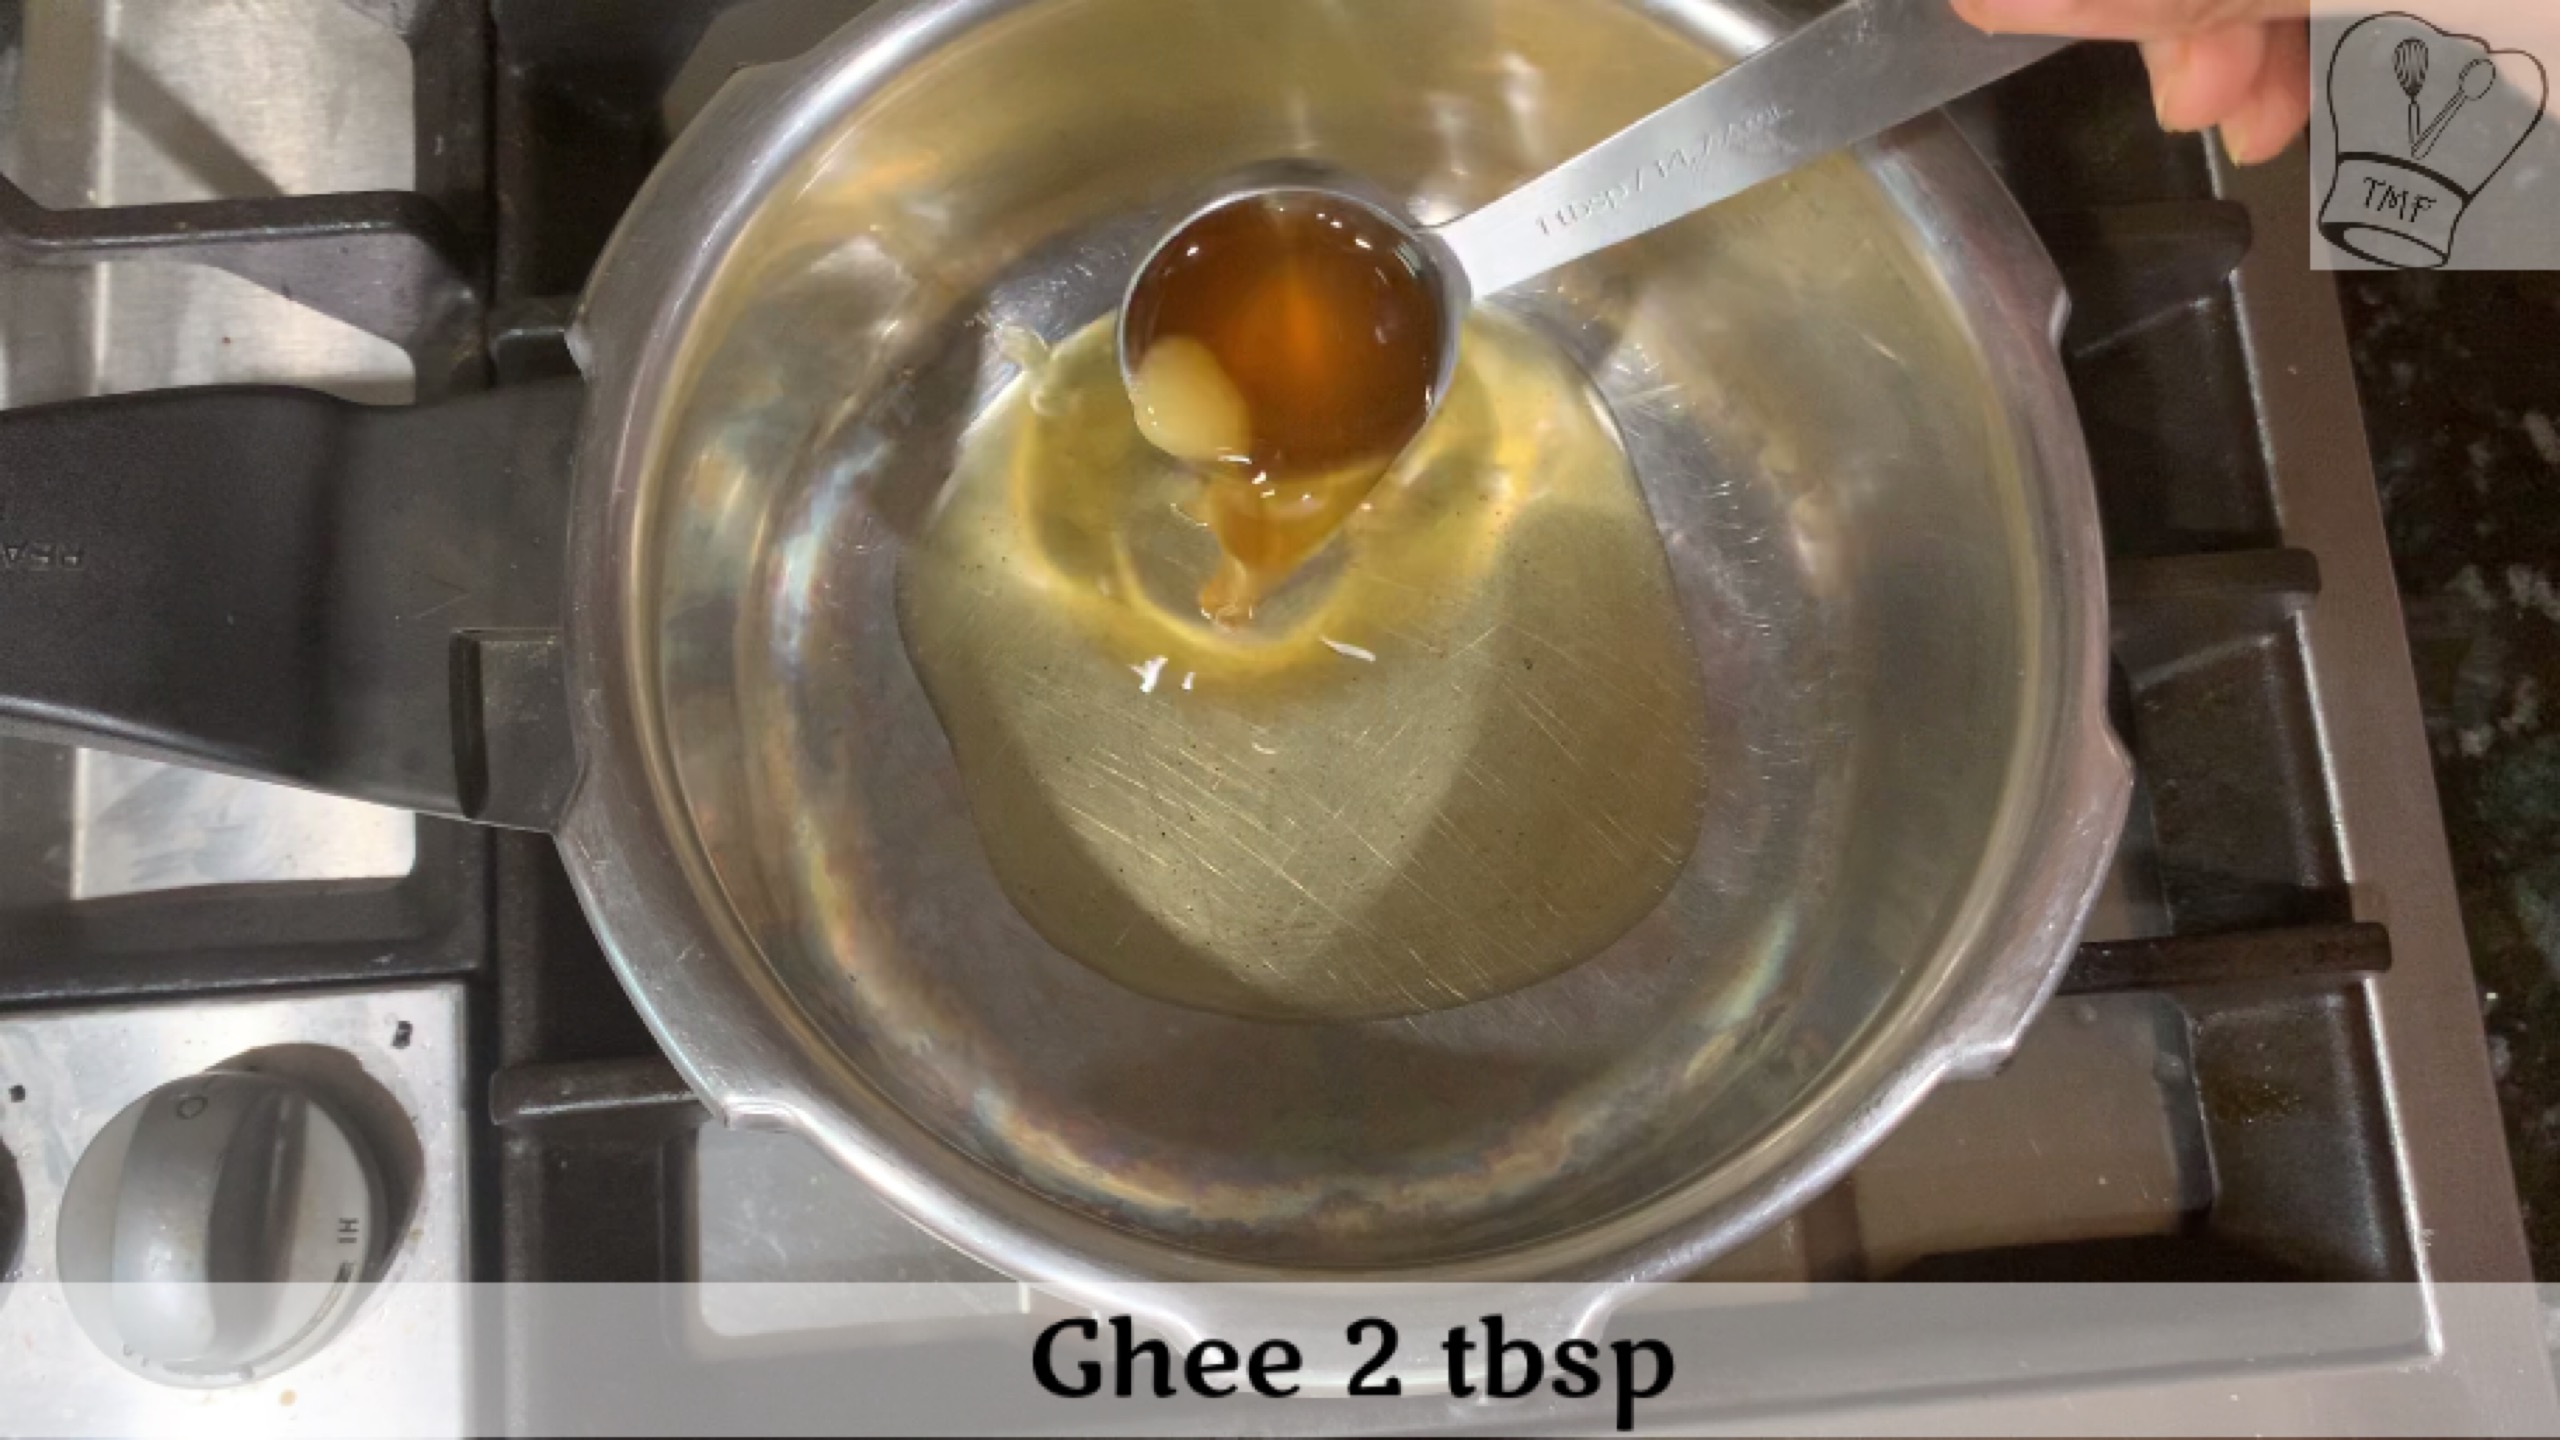
- In a pressure cooker take 2 tablespoon of ghee and let it gets warm
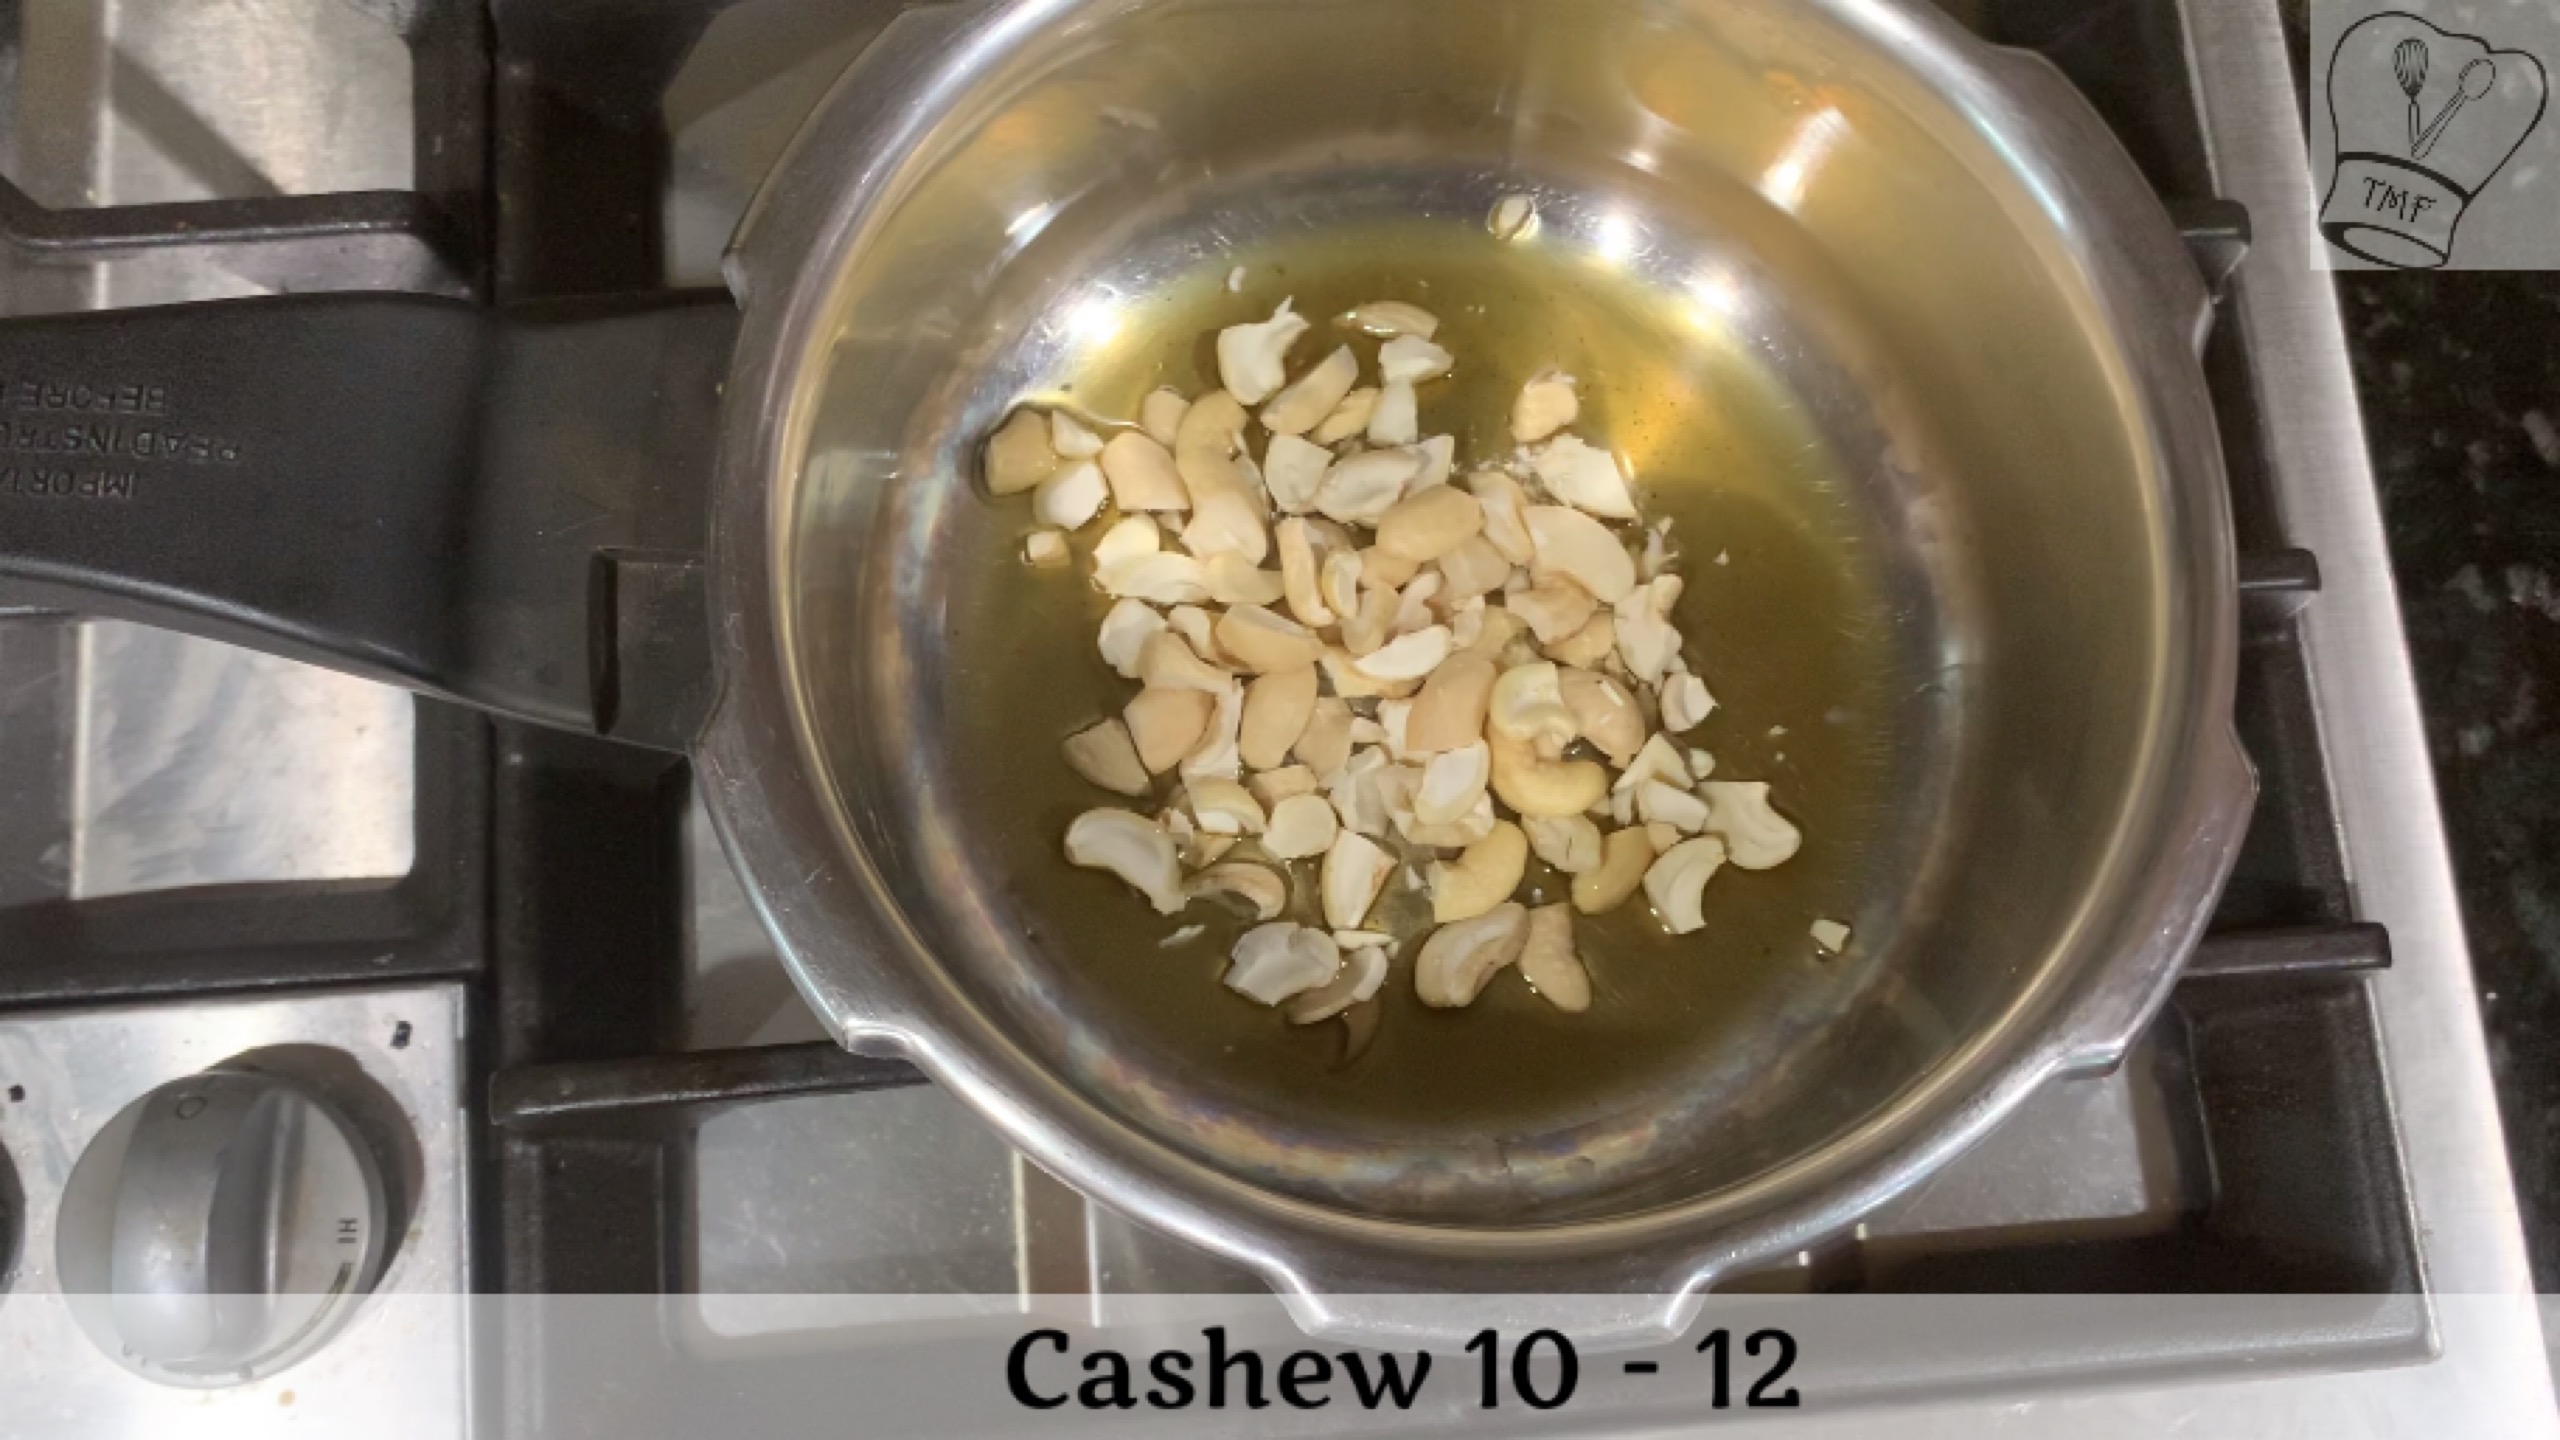
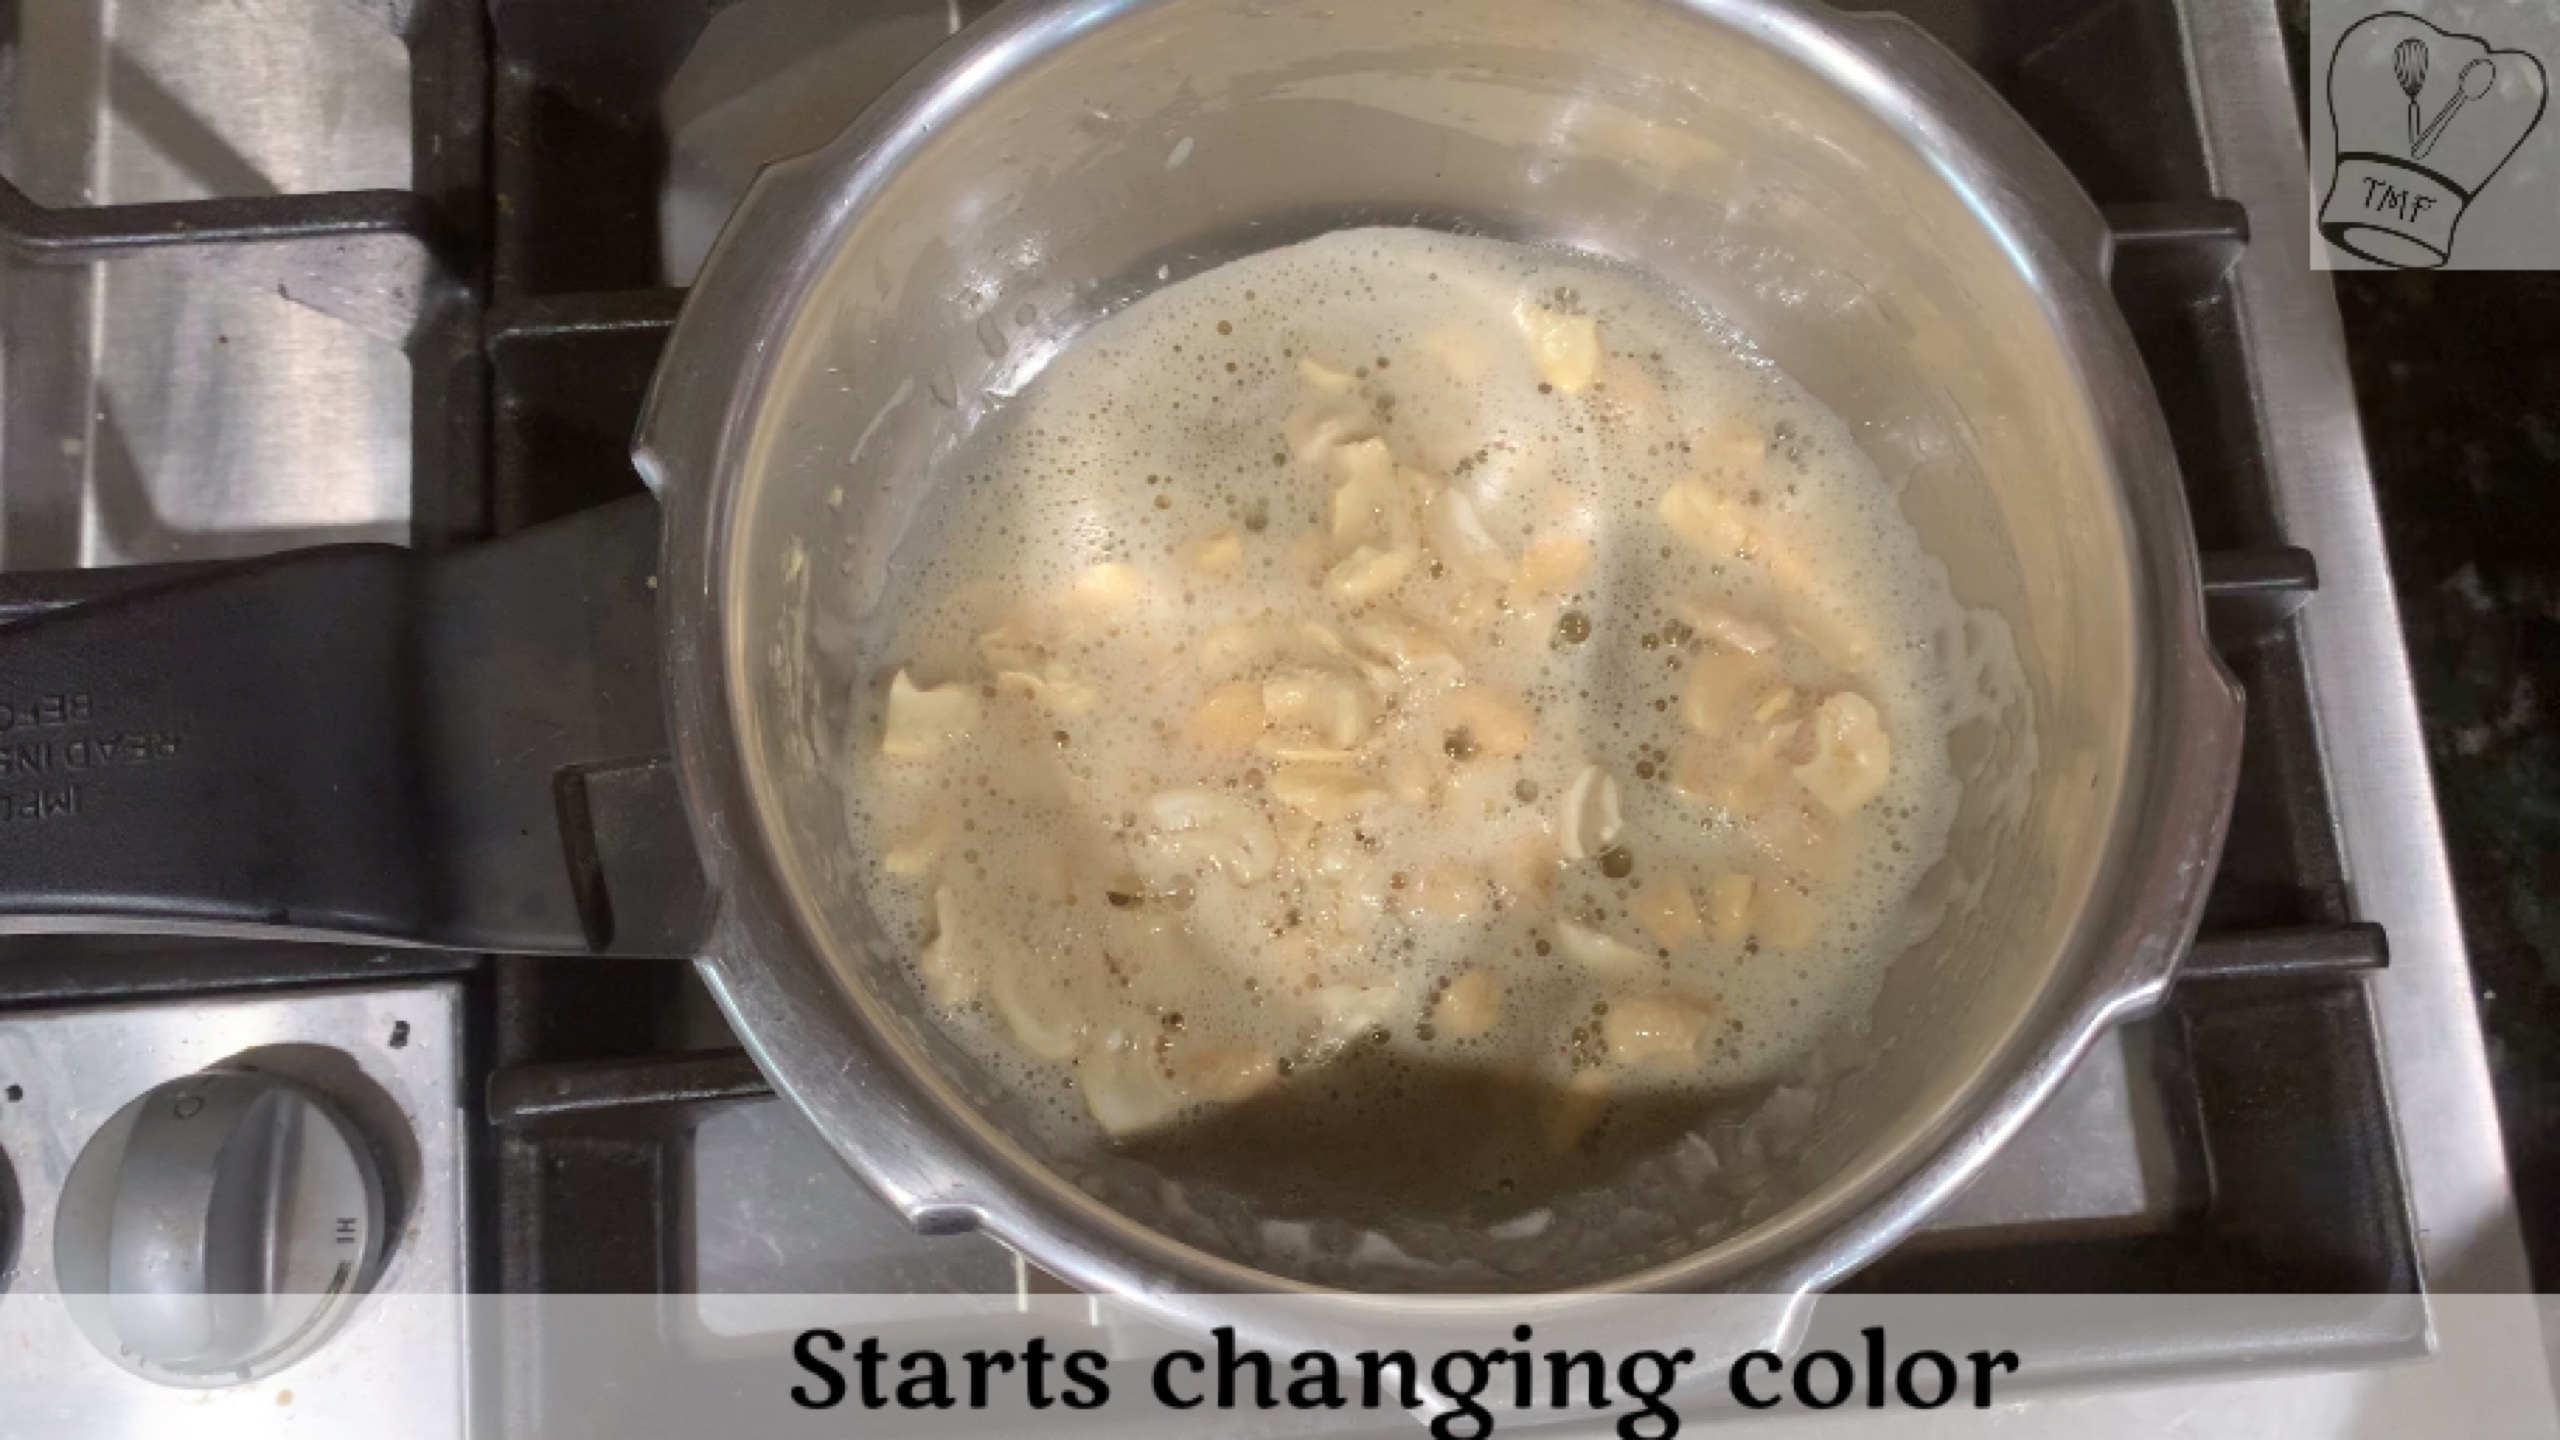
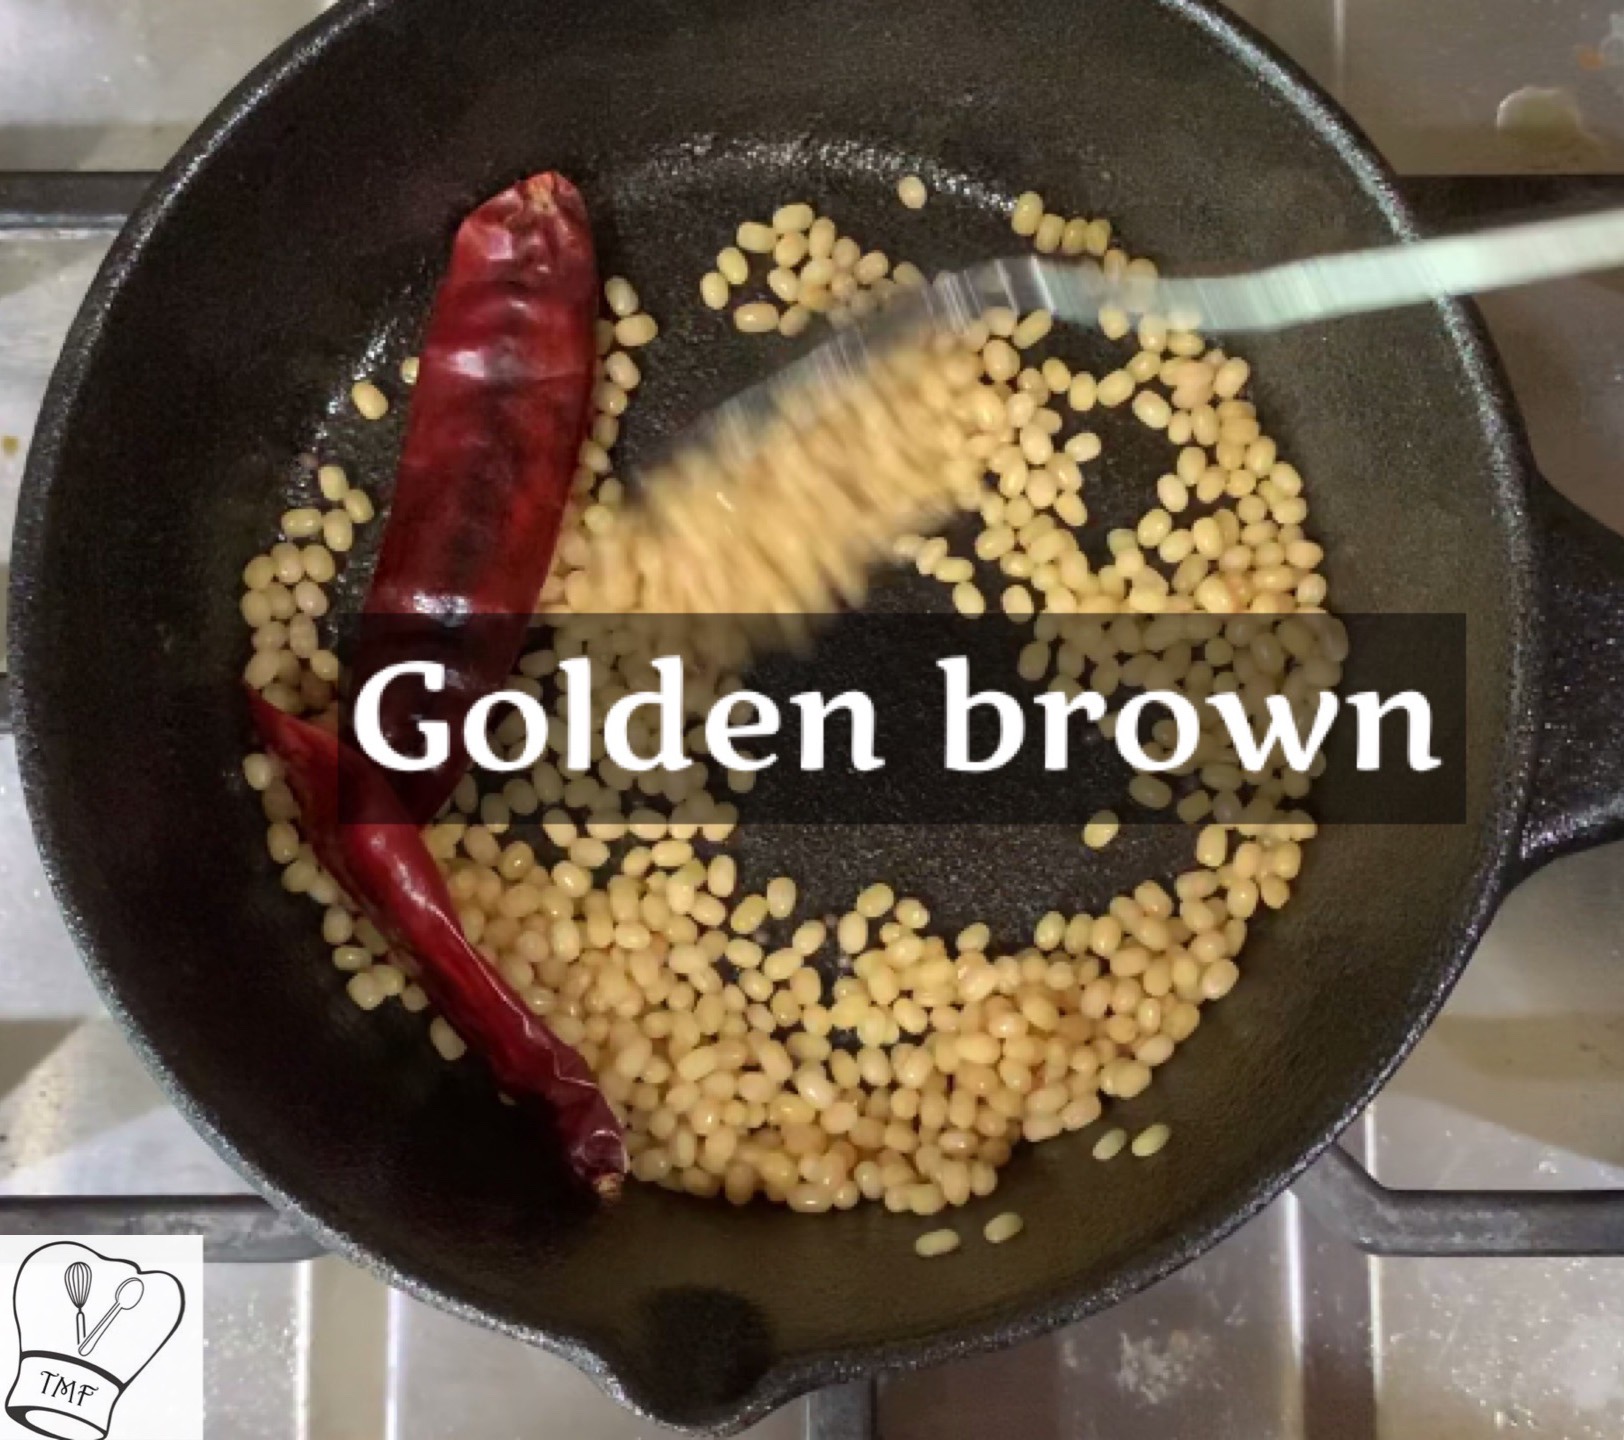
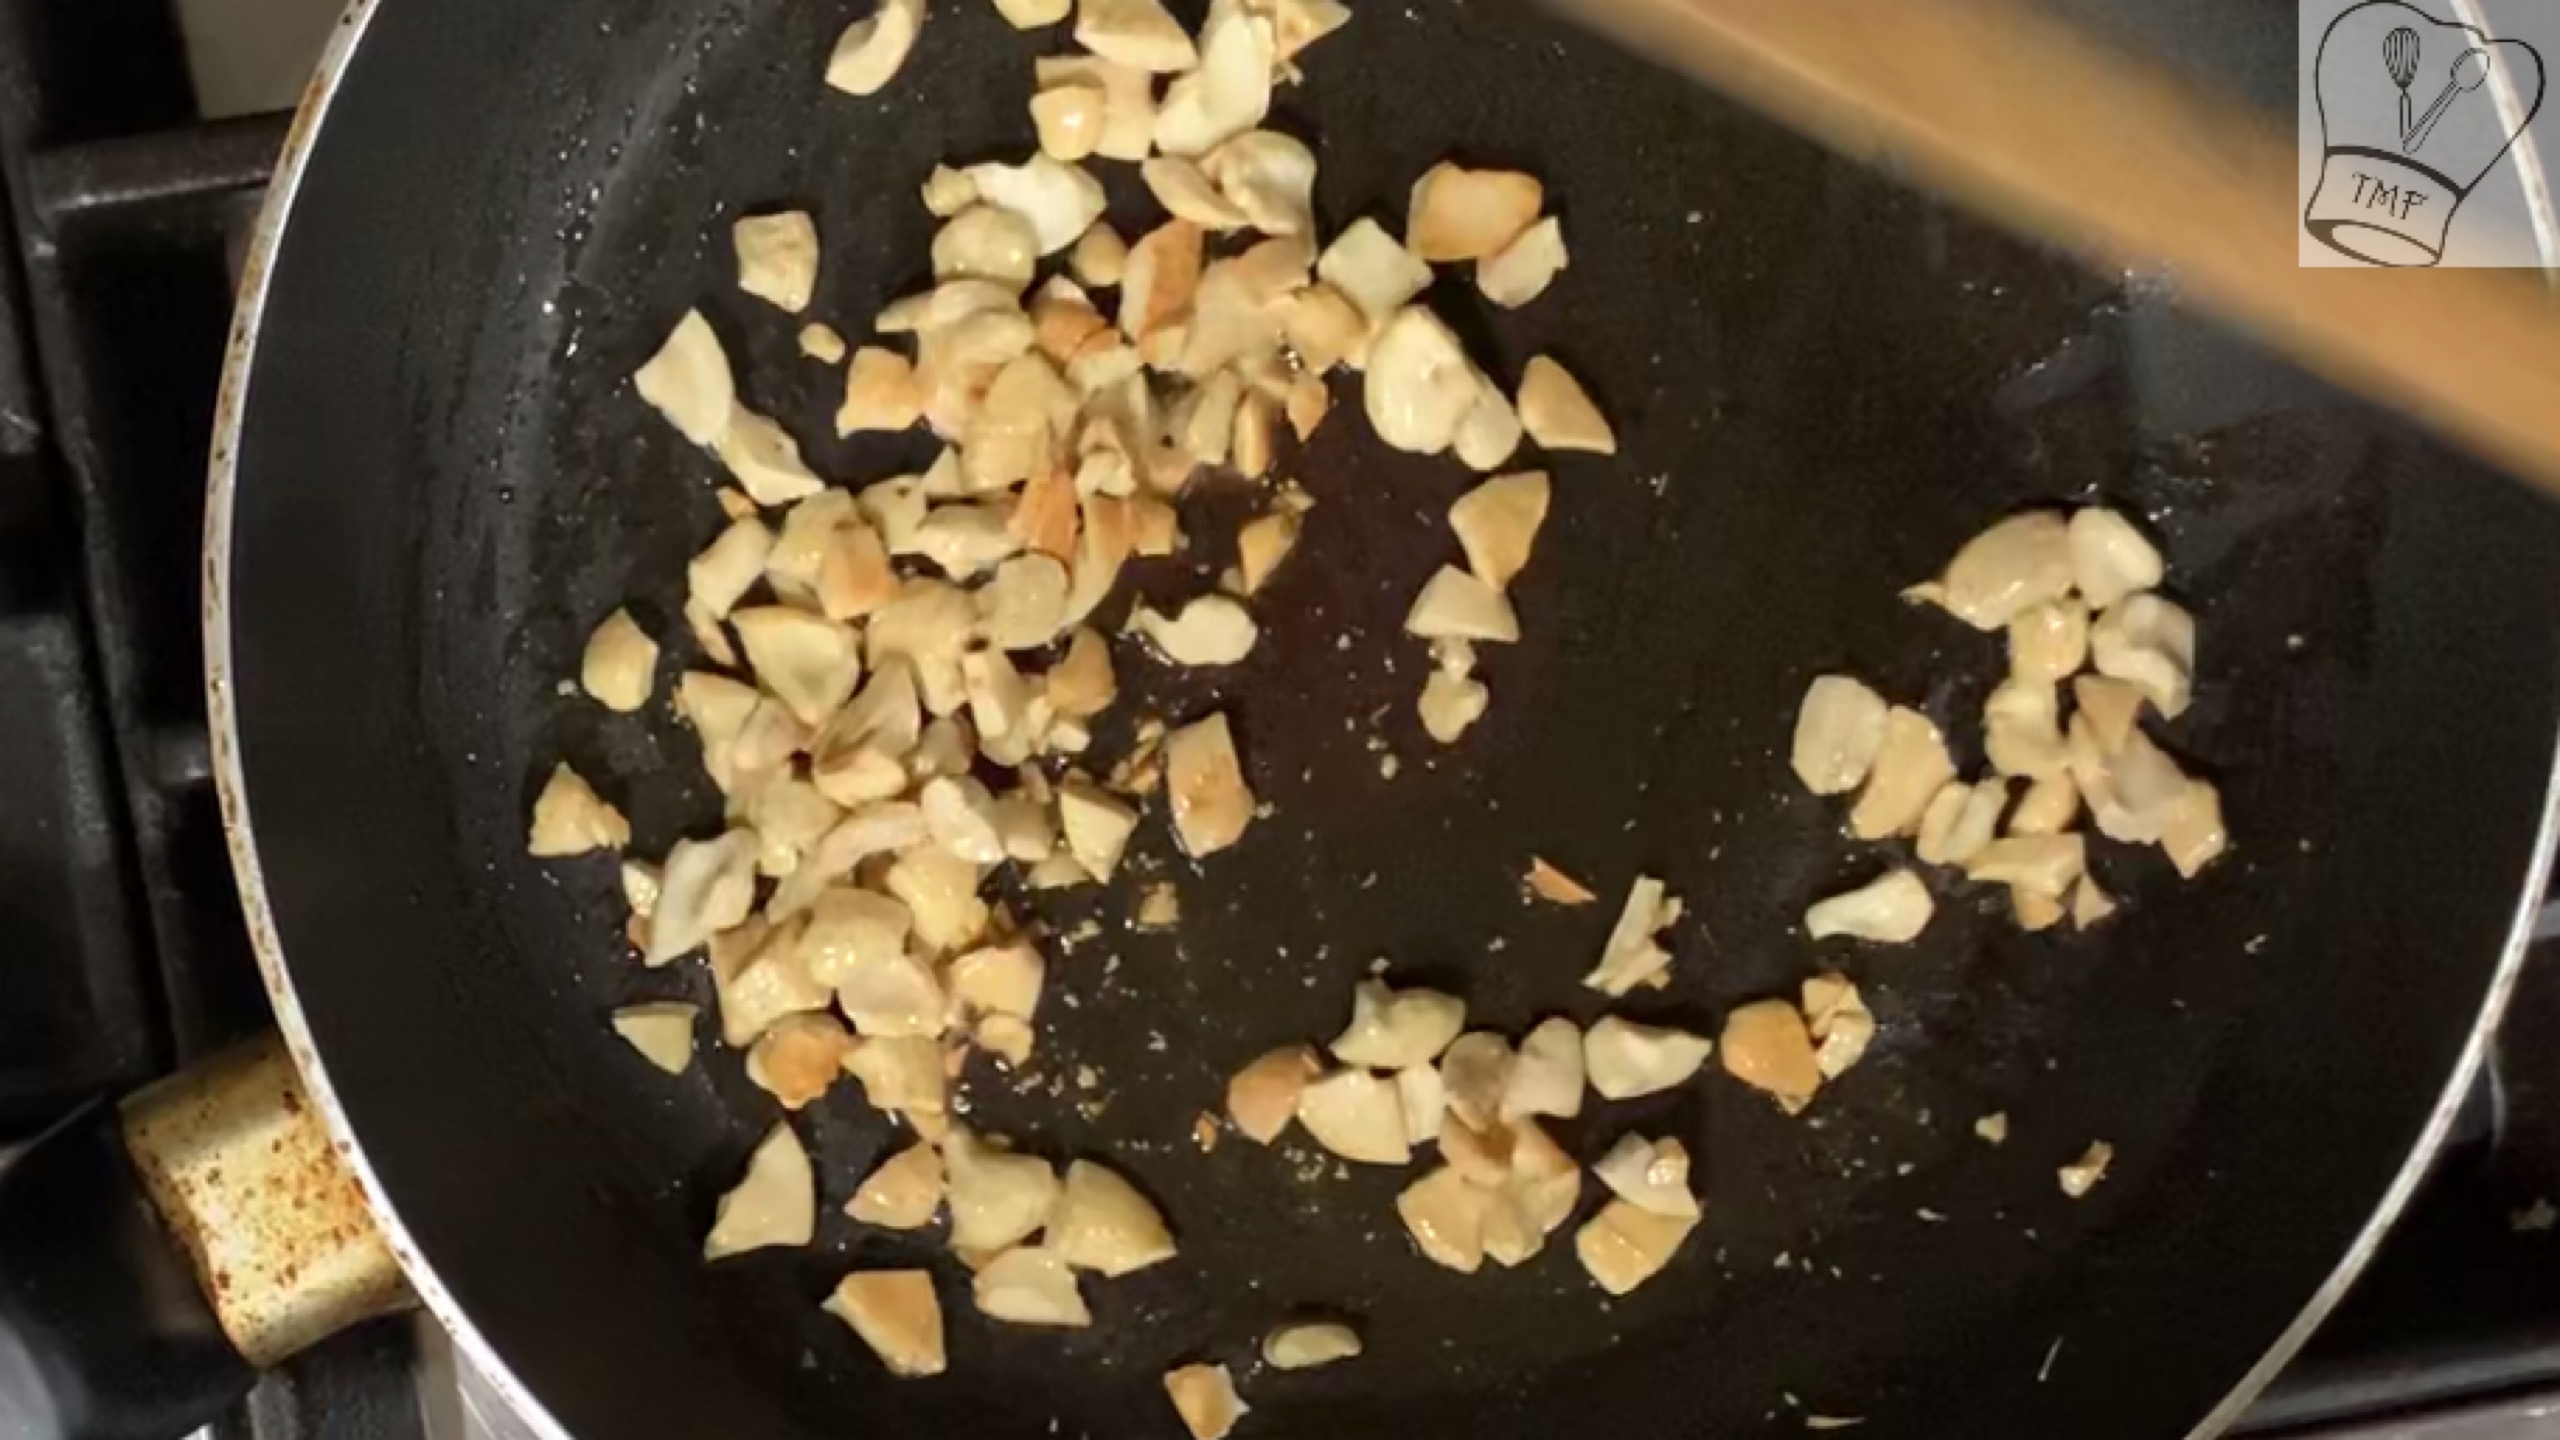
- Add cashews and roast them, once when they start changing color
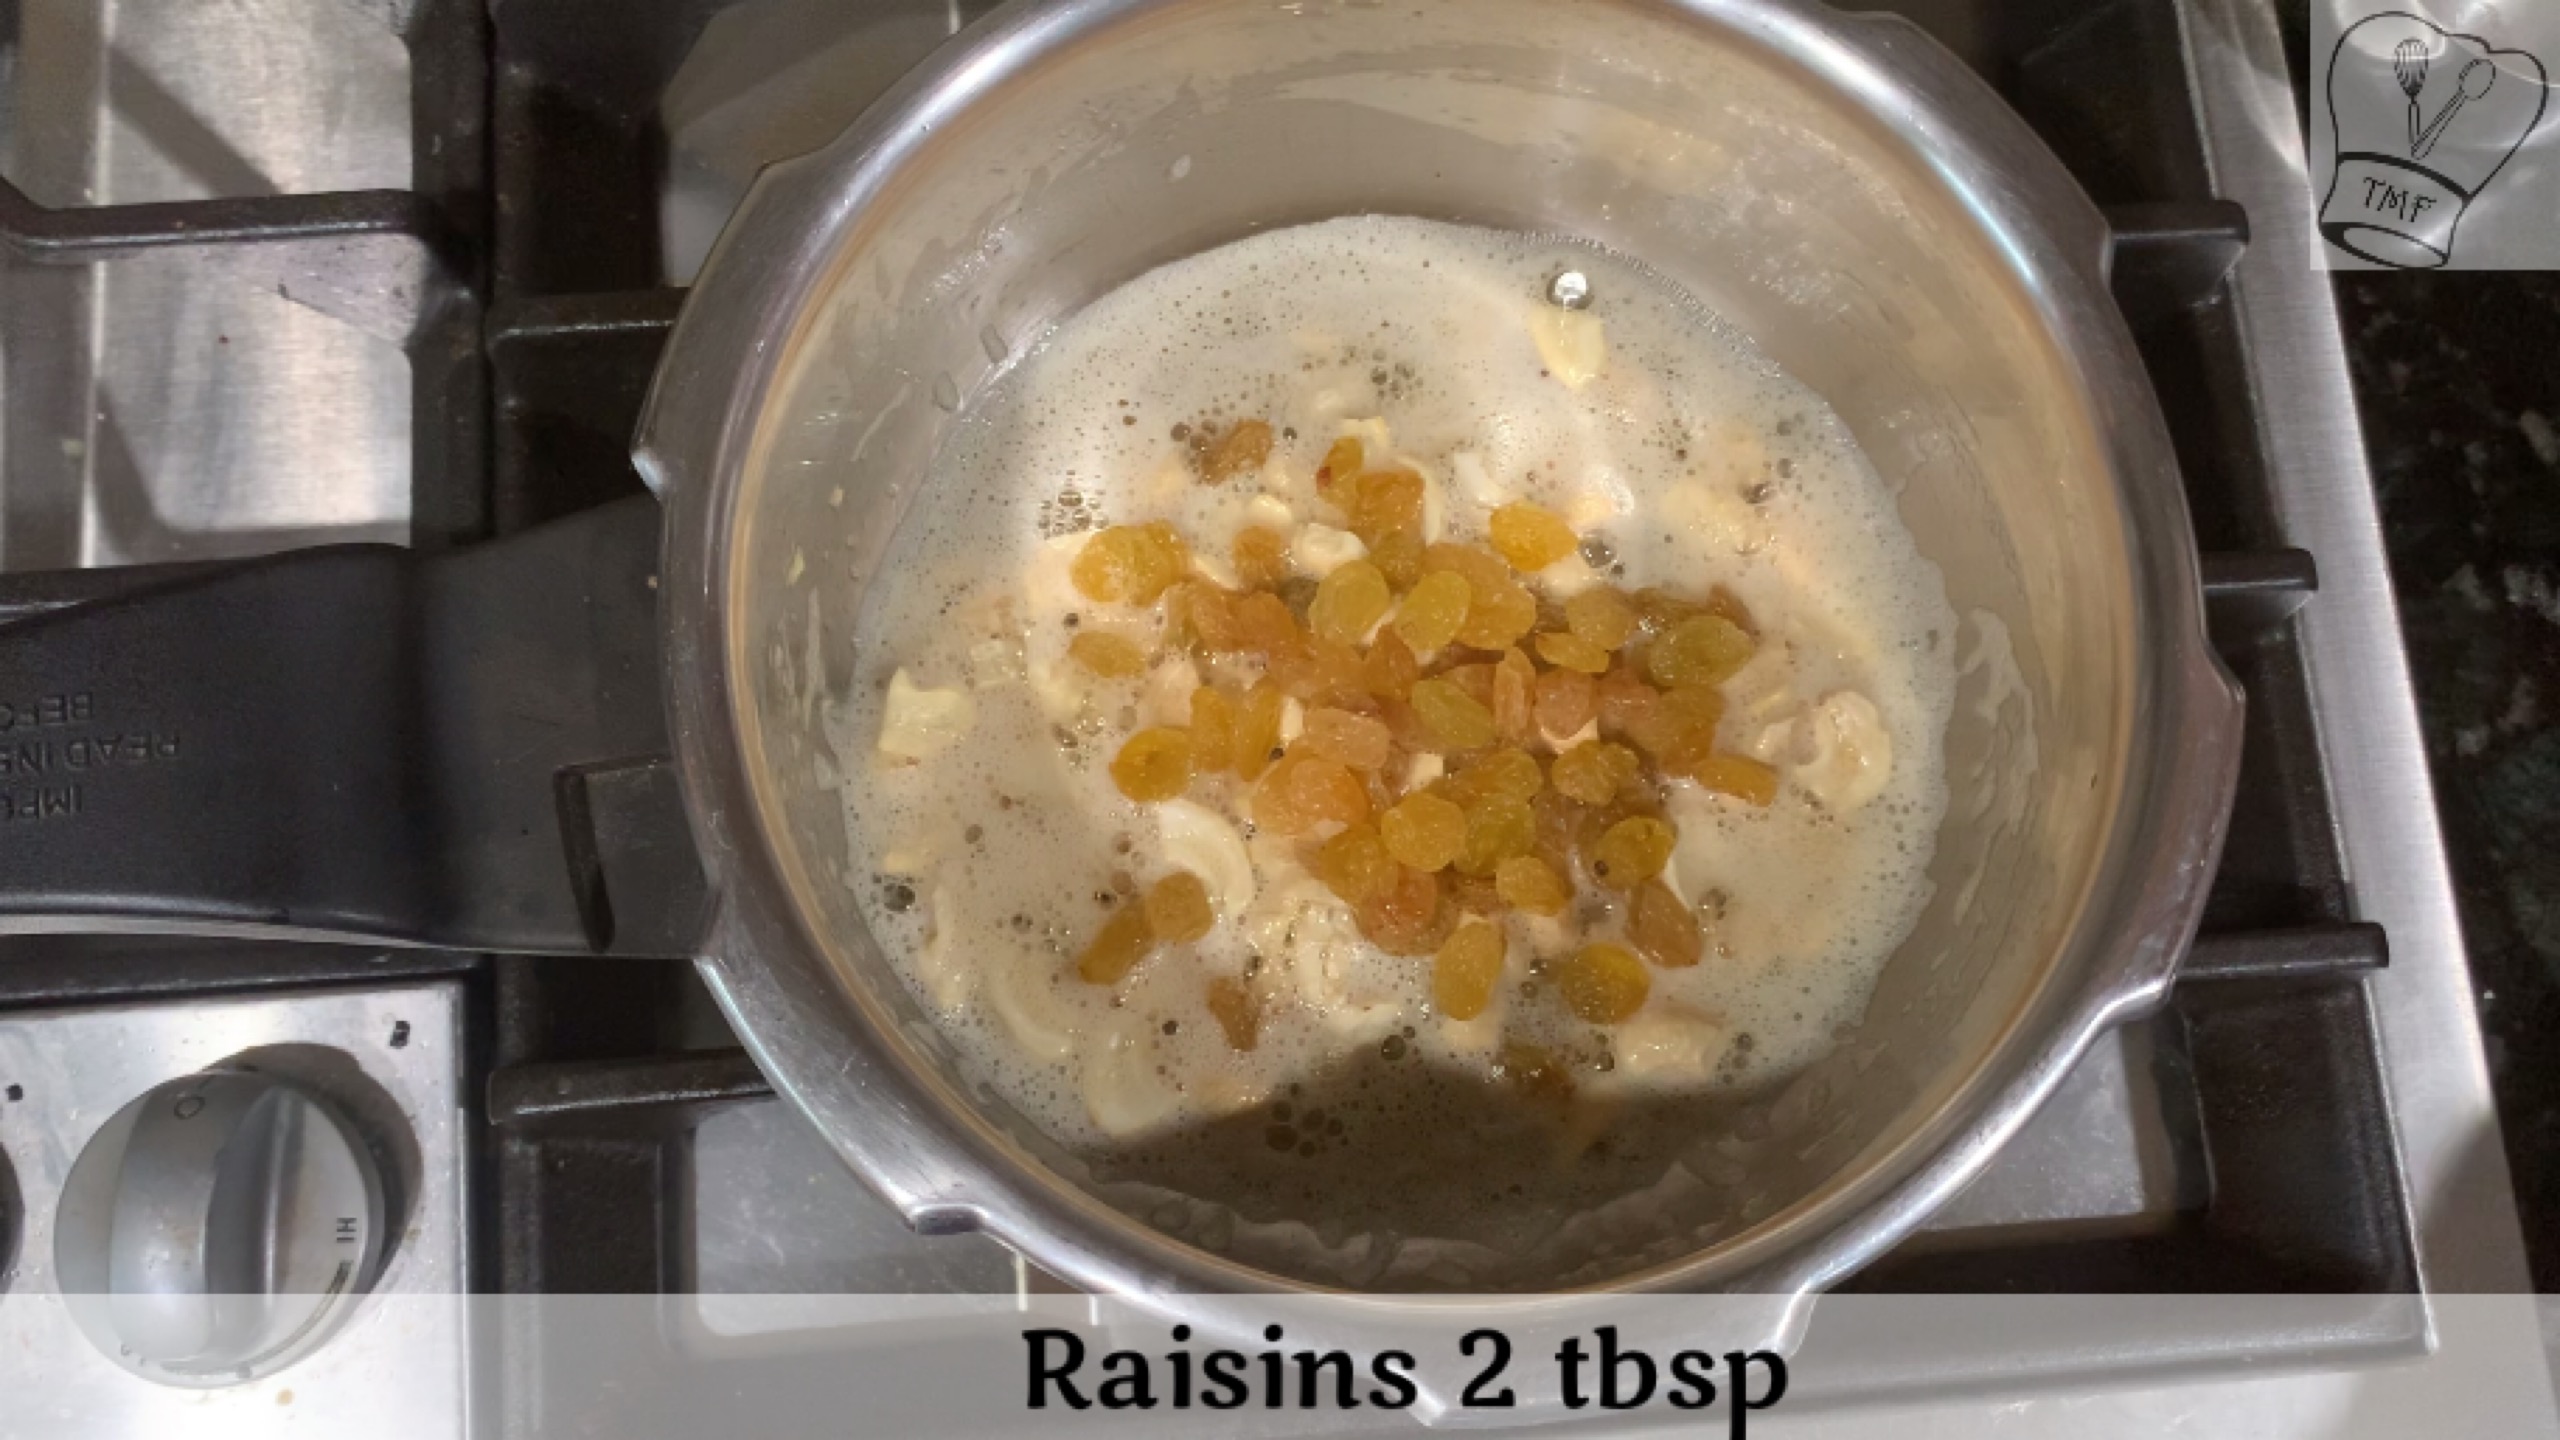
- furthermore, add raisin and roast both, Transfer it to a small bowl
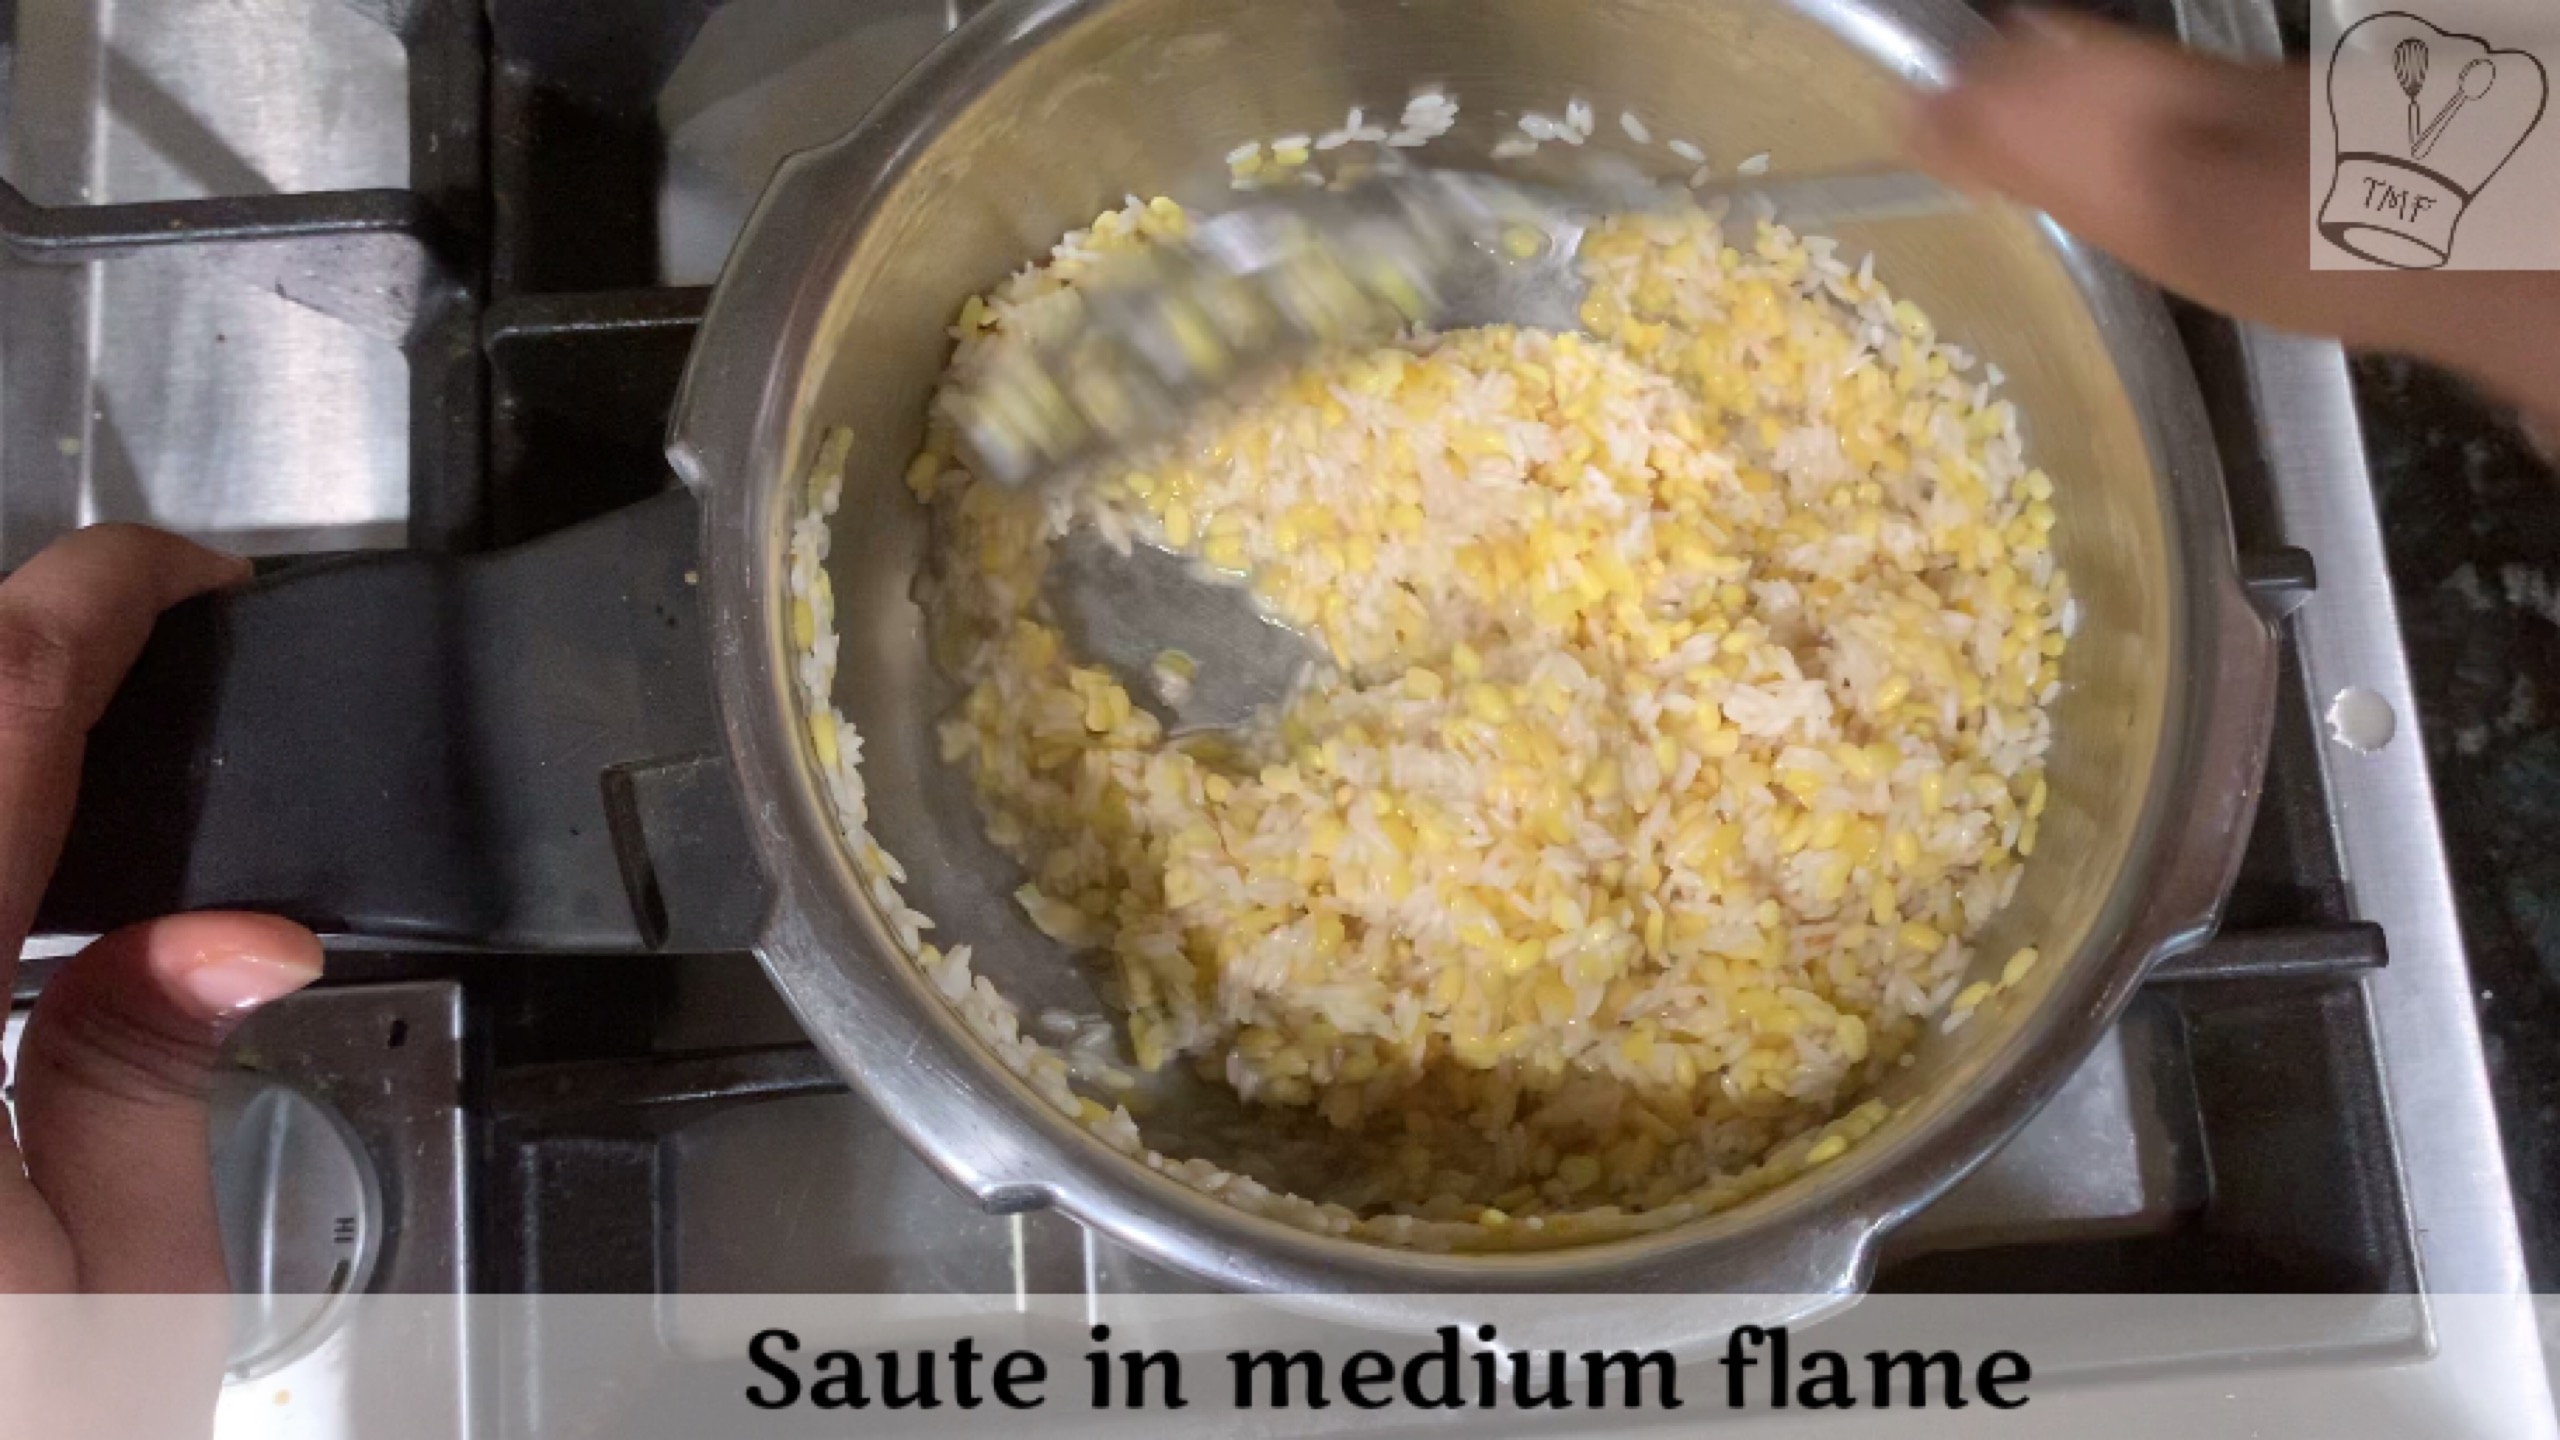
- Add soaked dal and rice and sauté in the remaining ghee for a minute
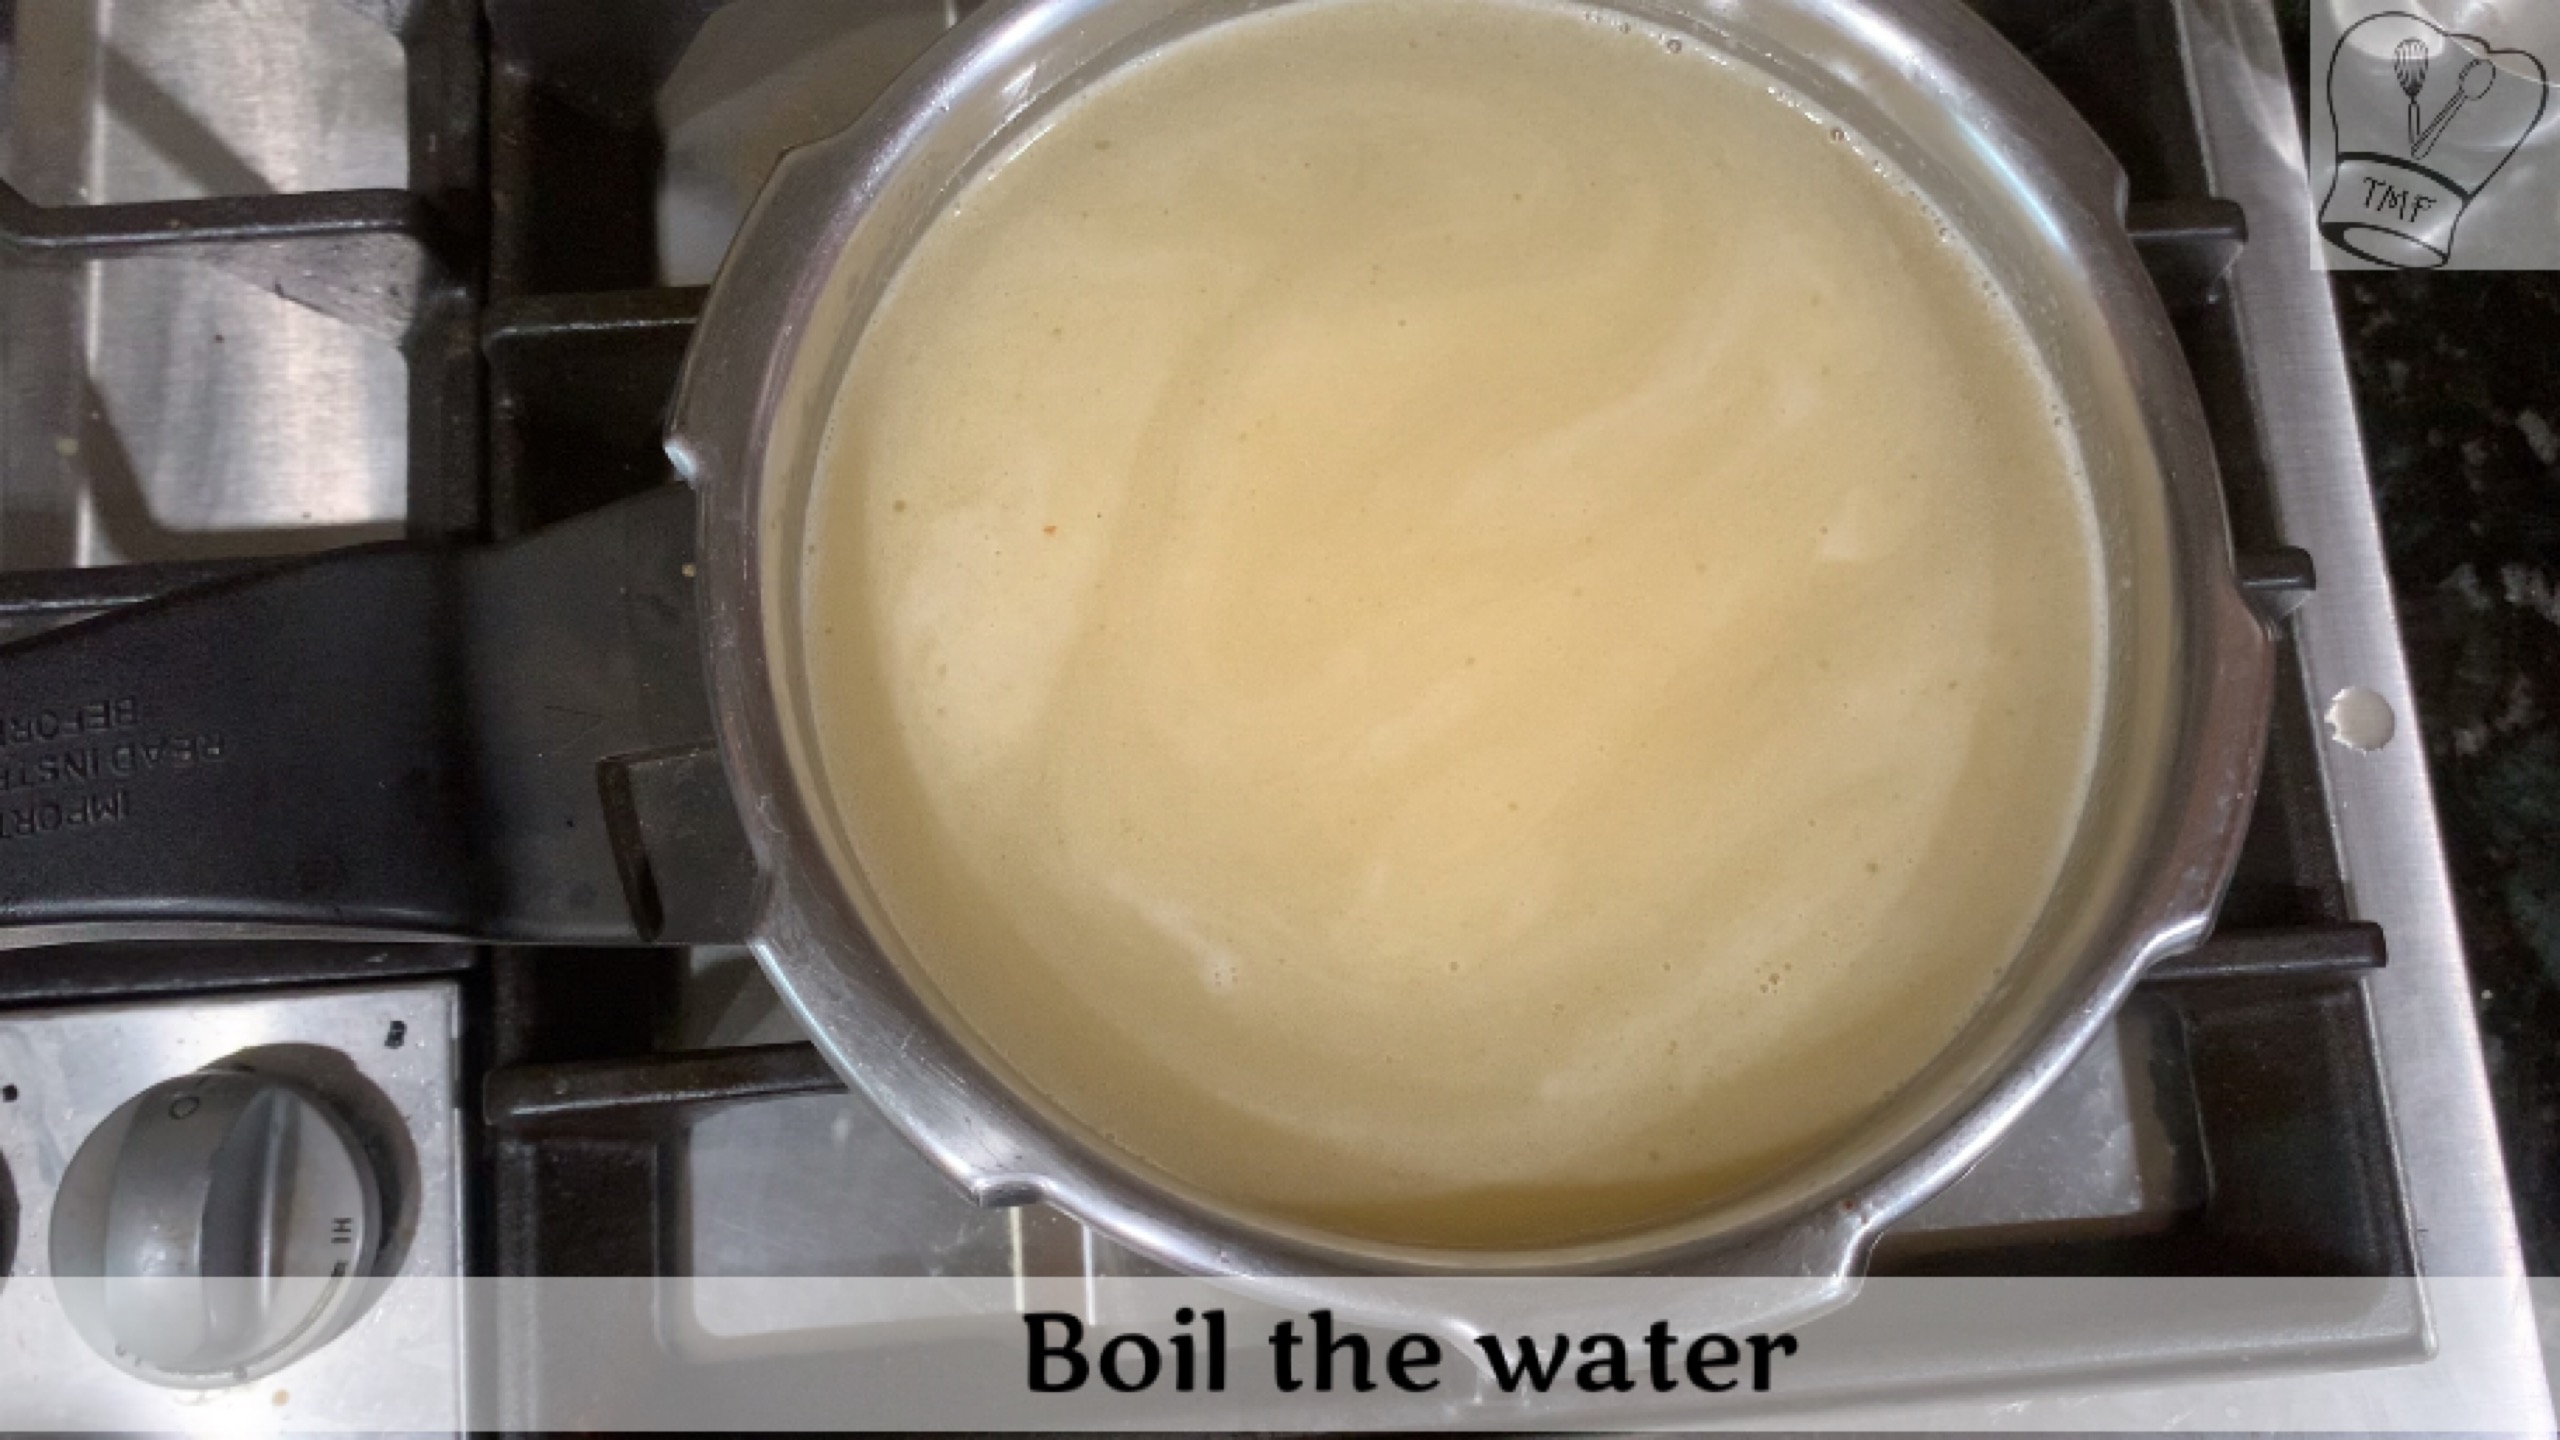
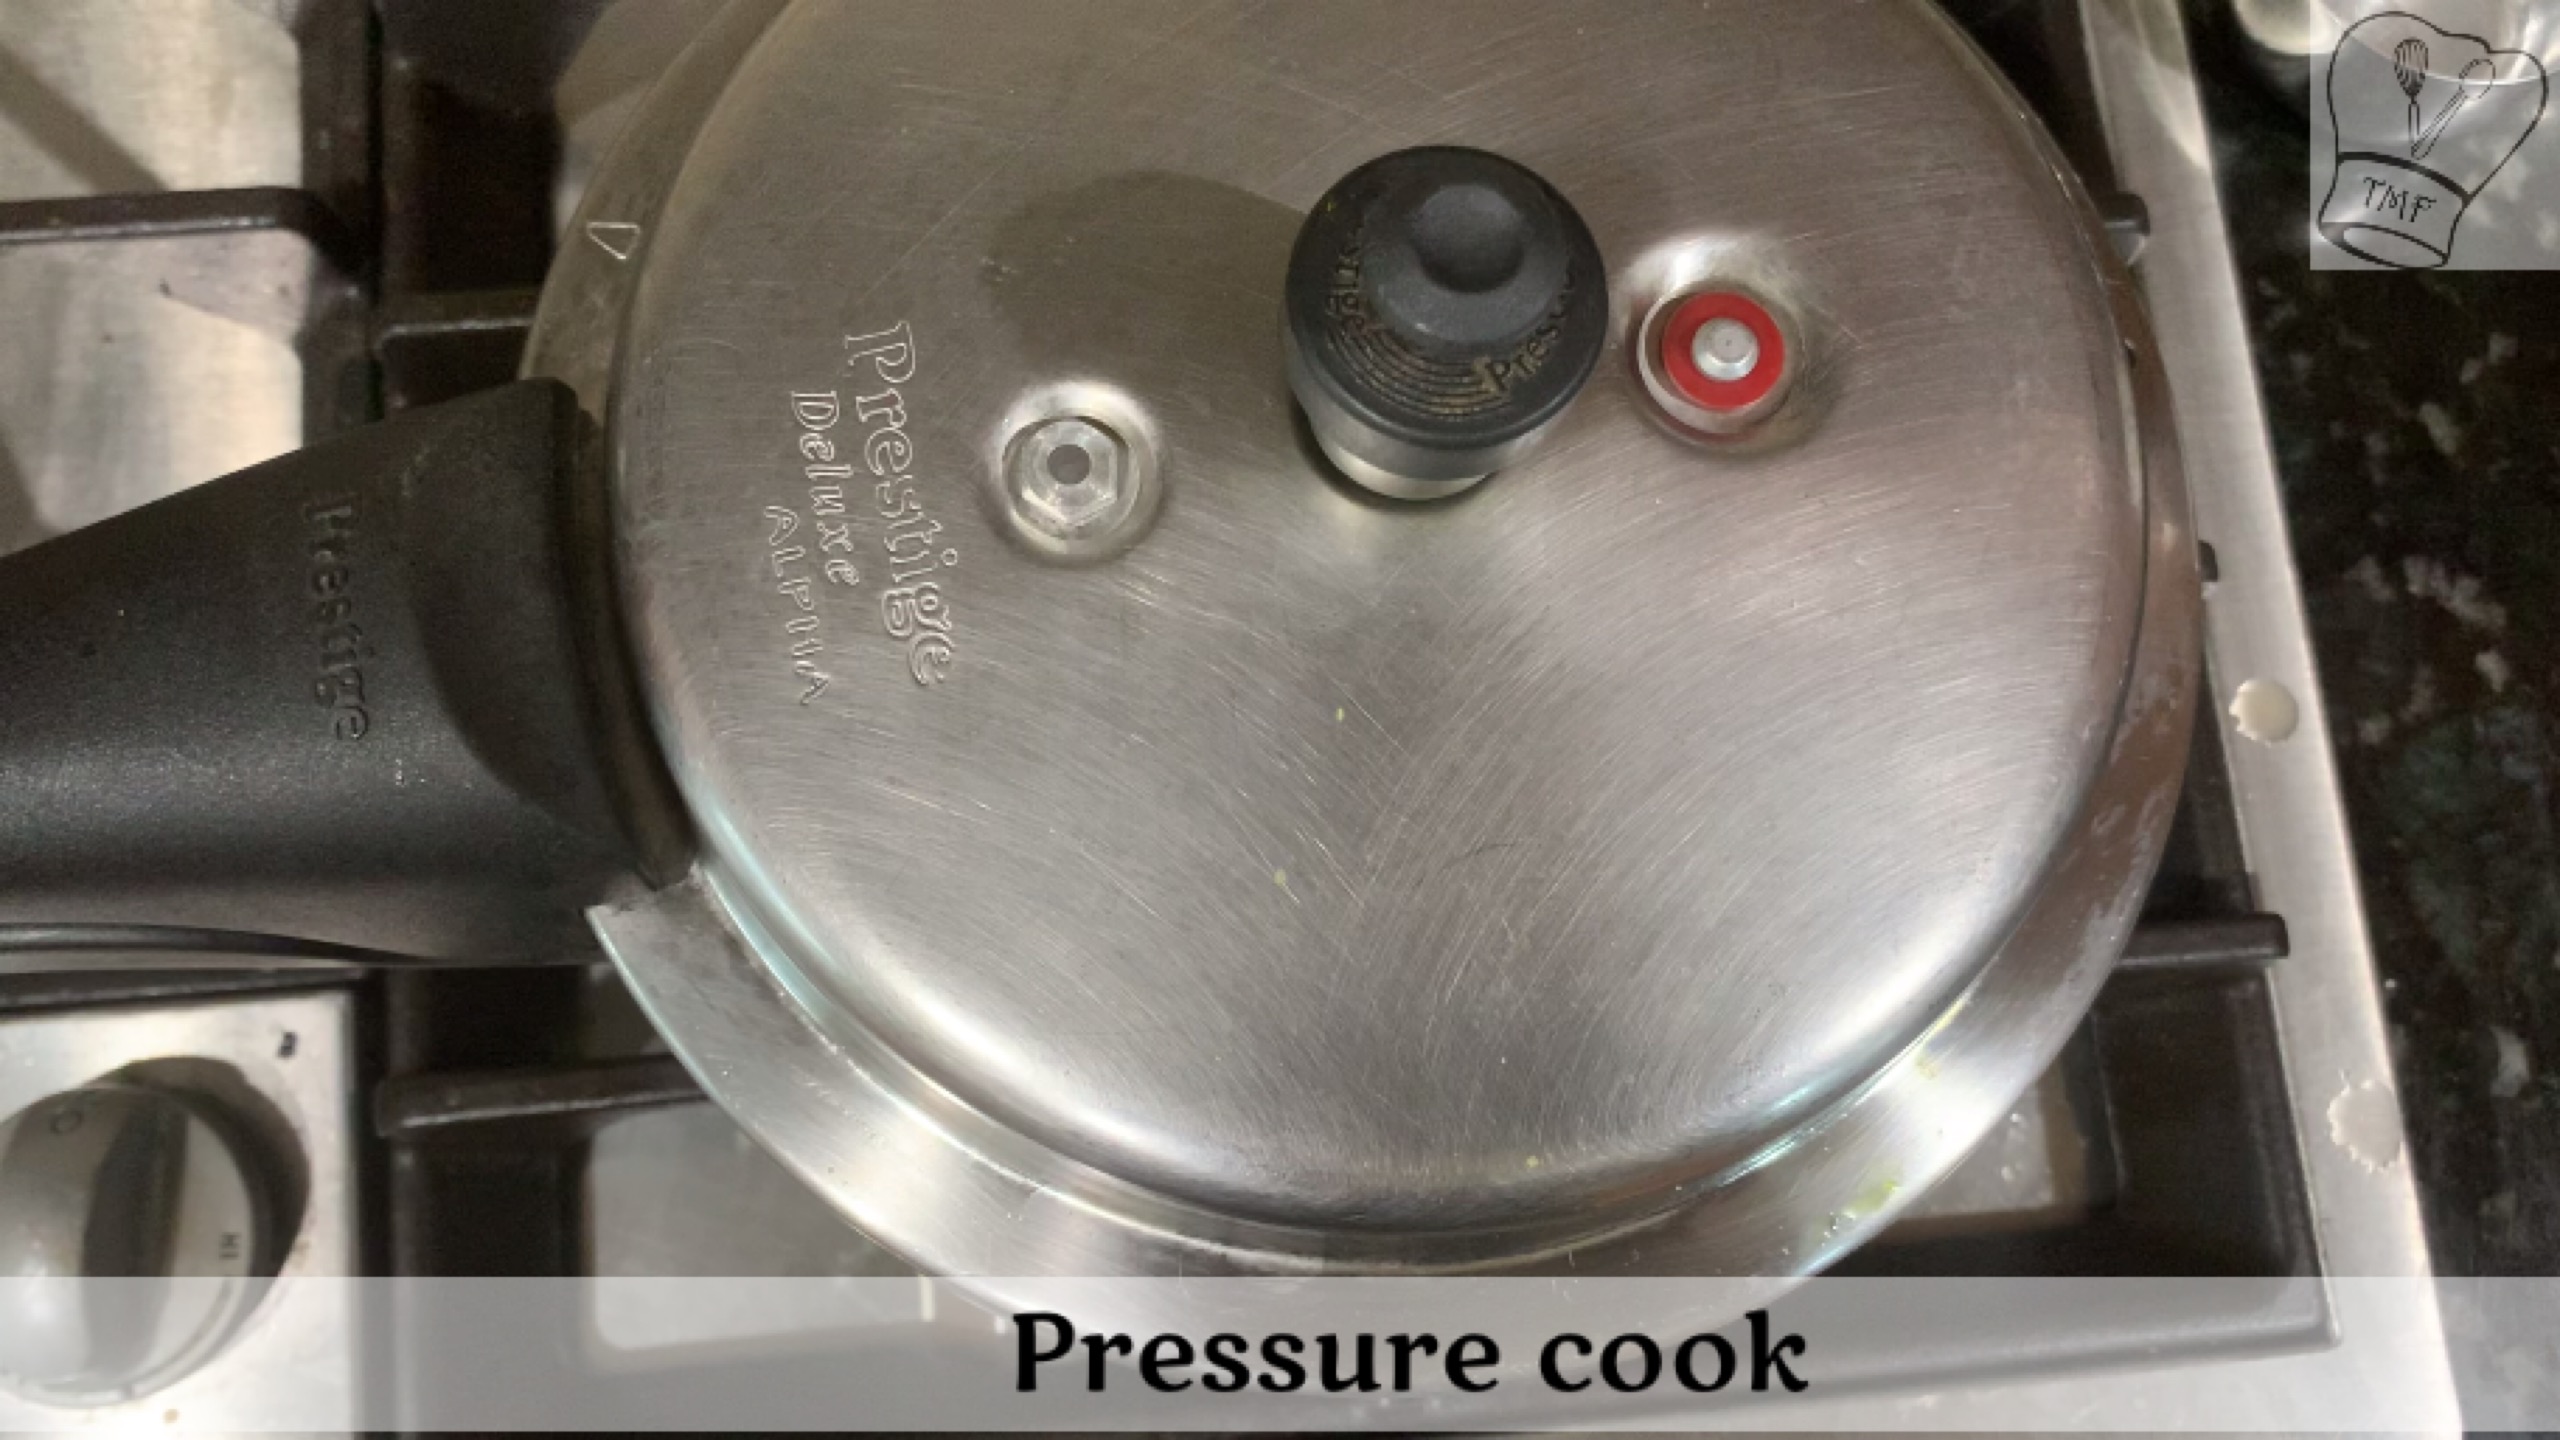
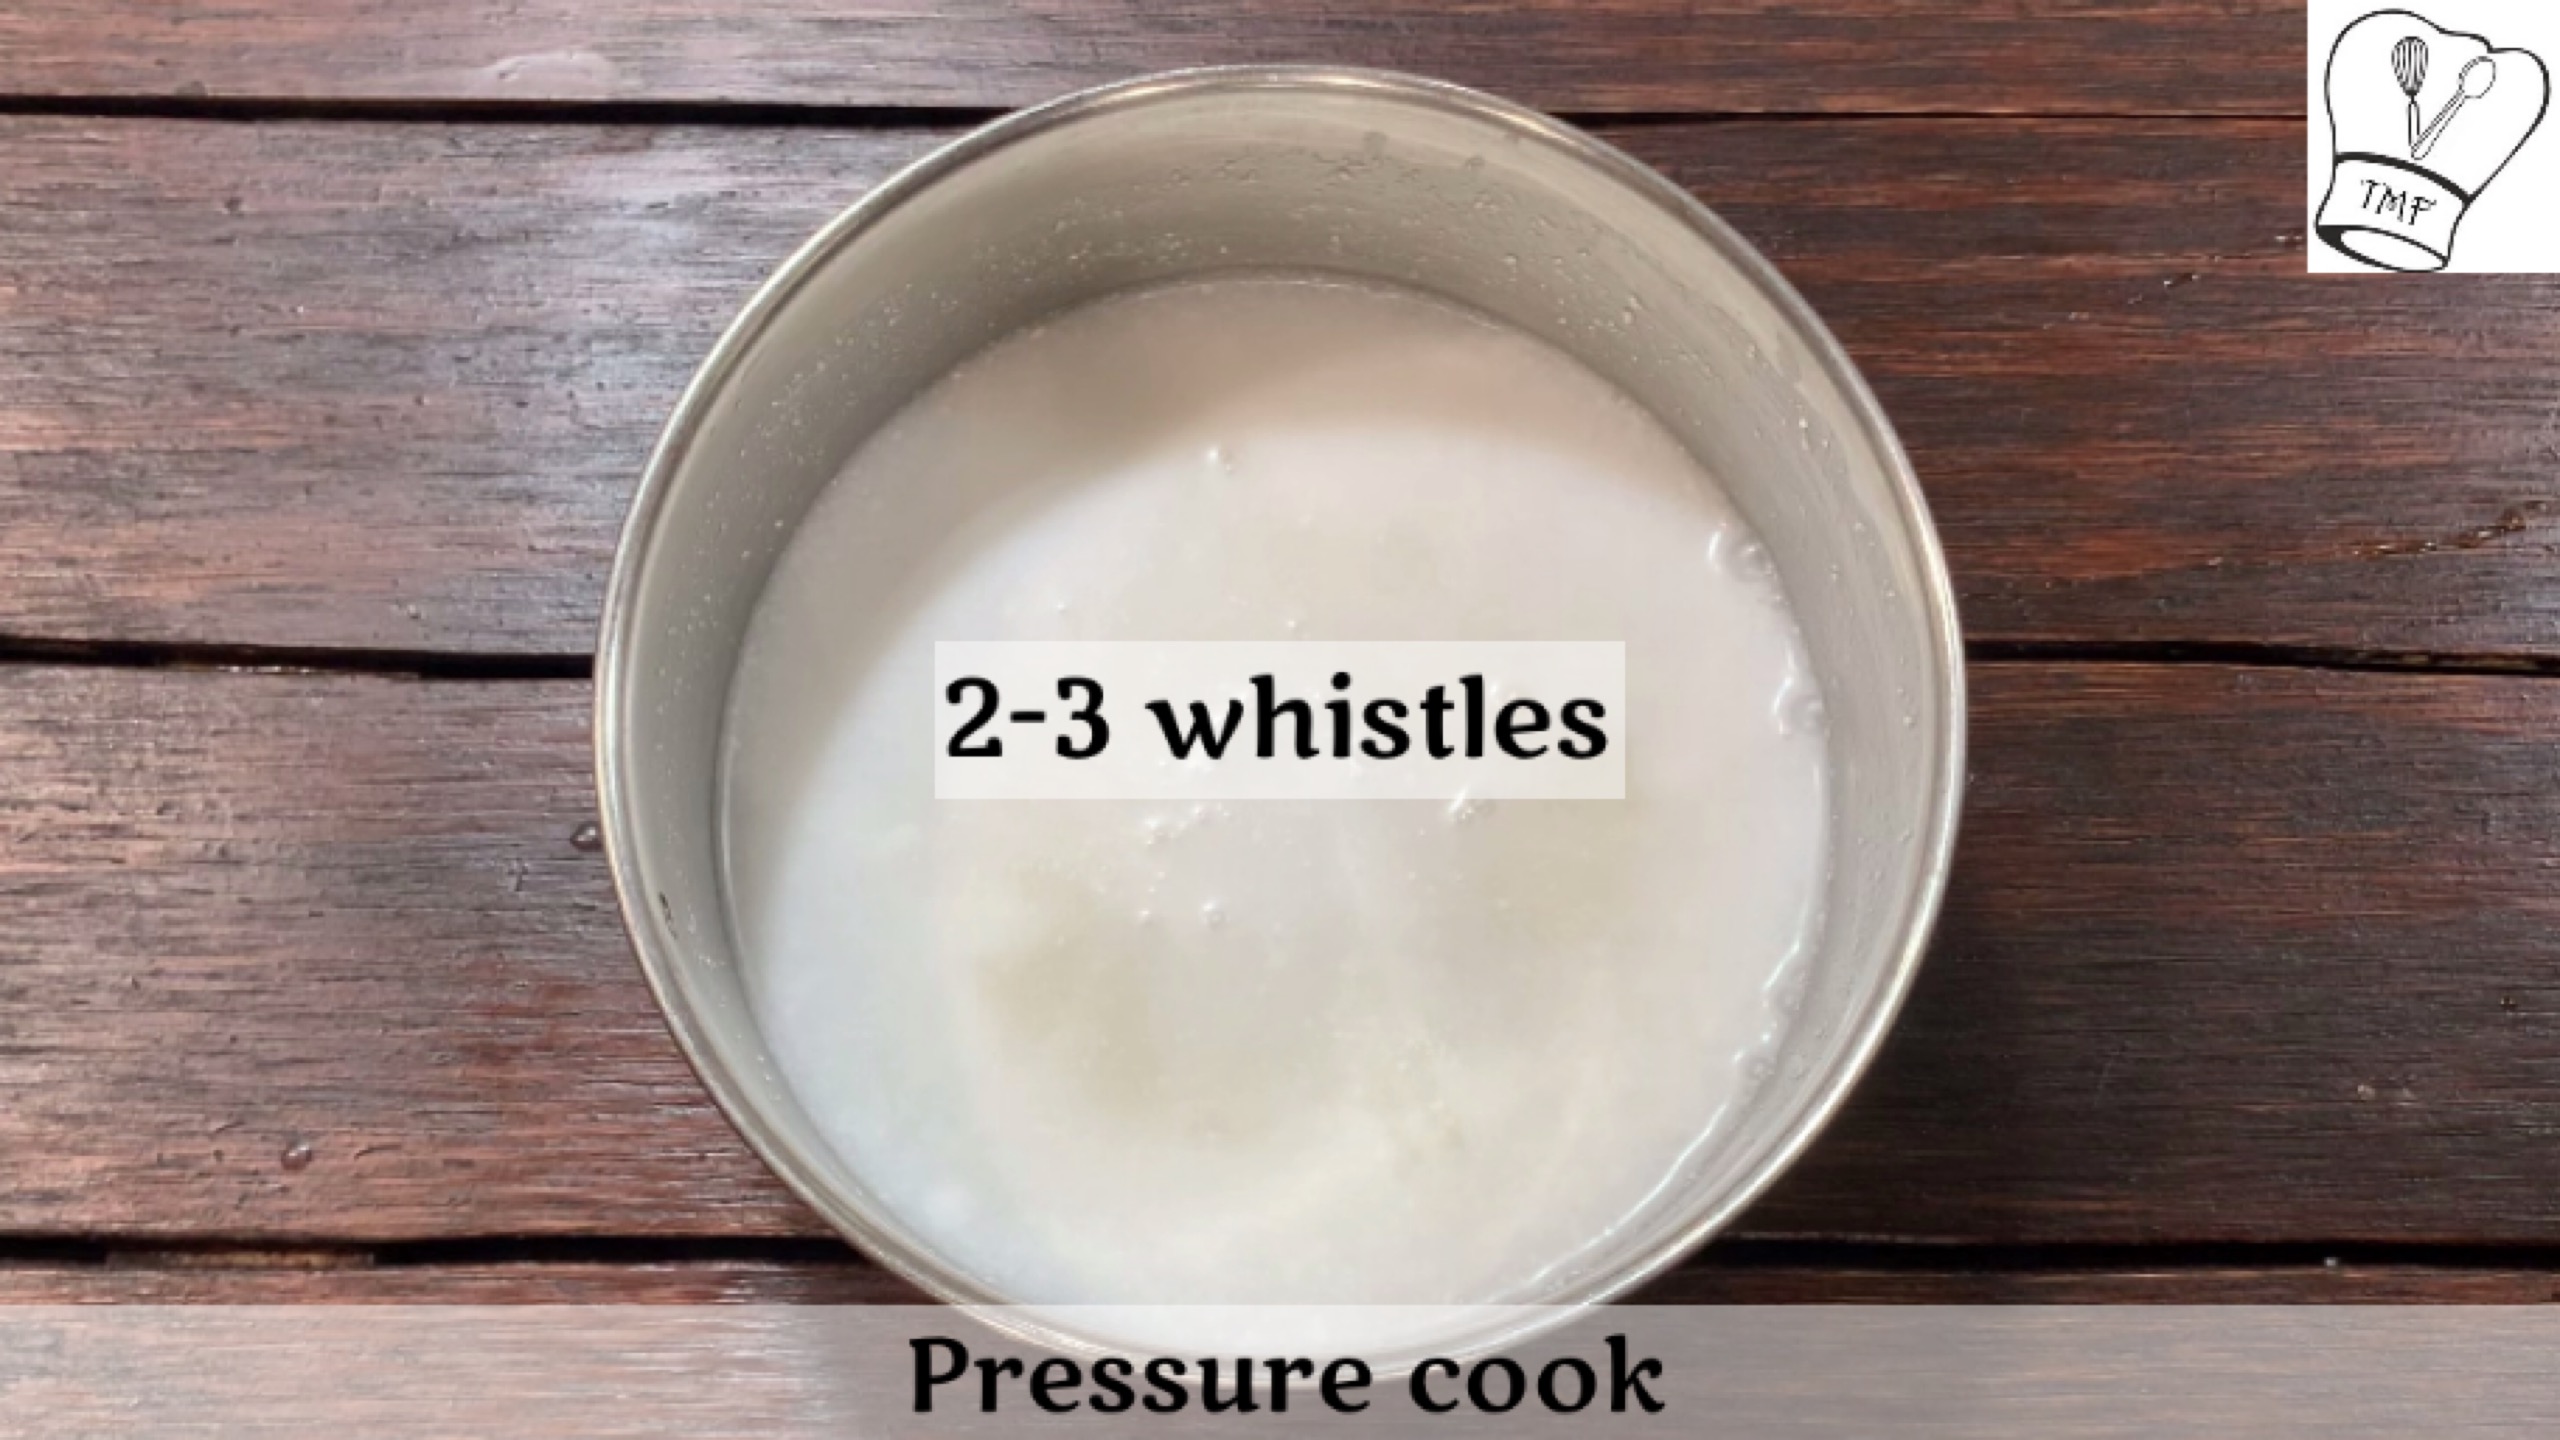
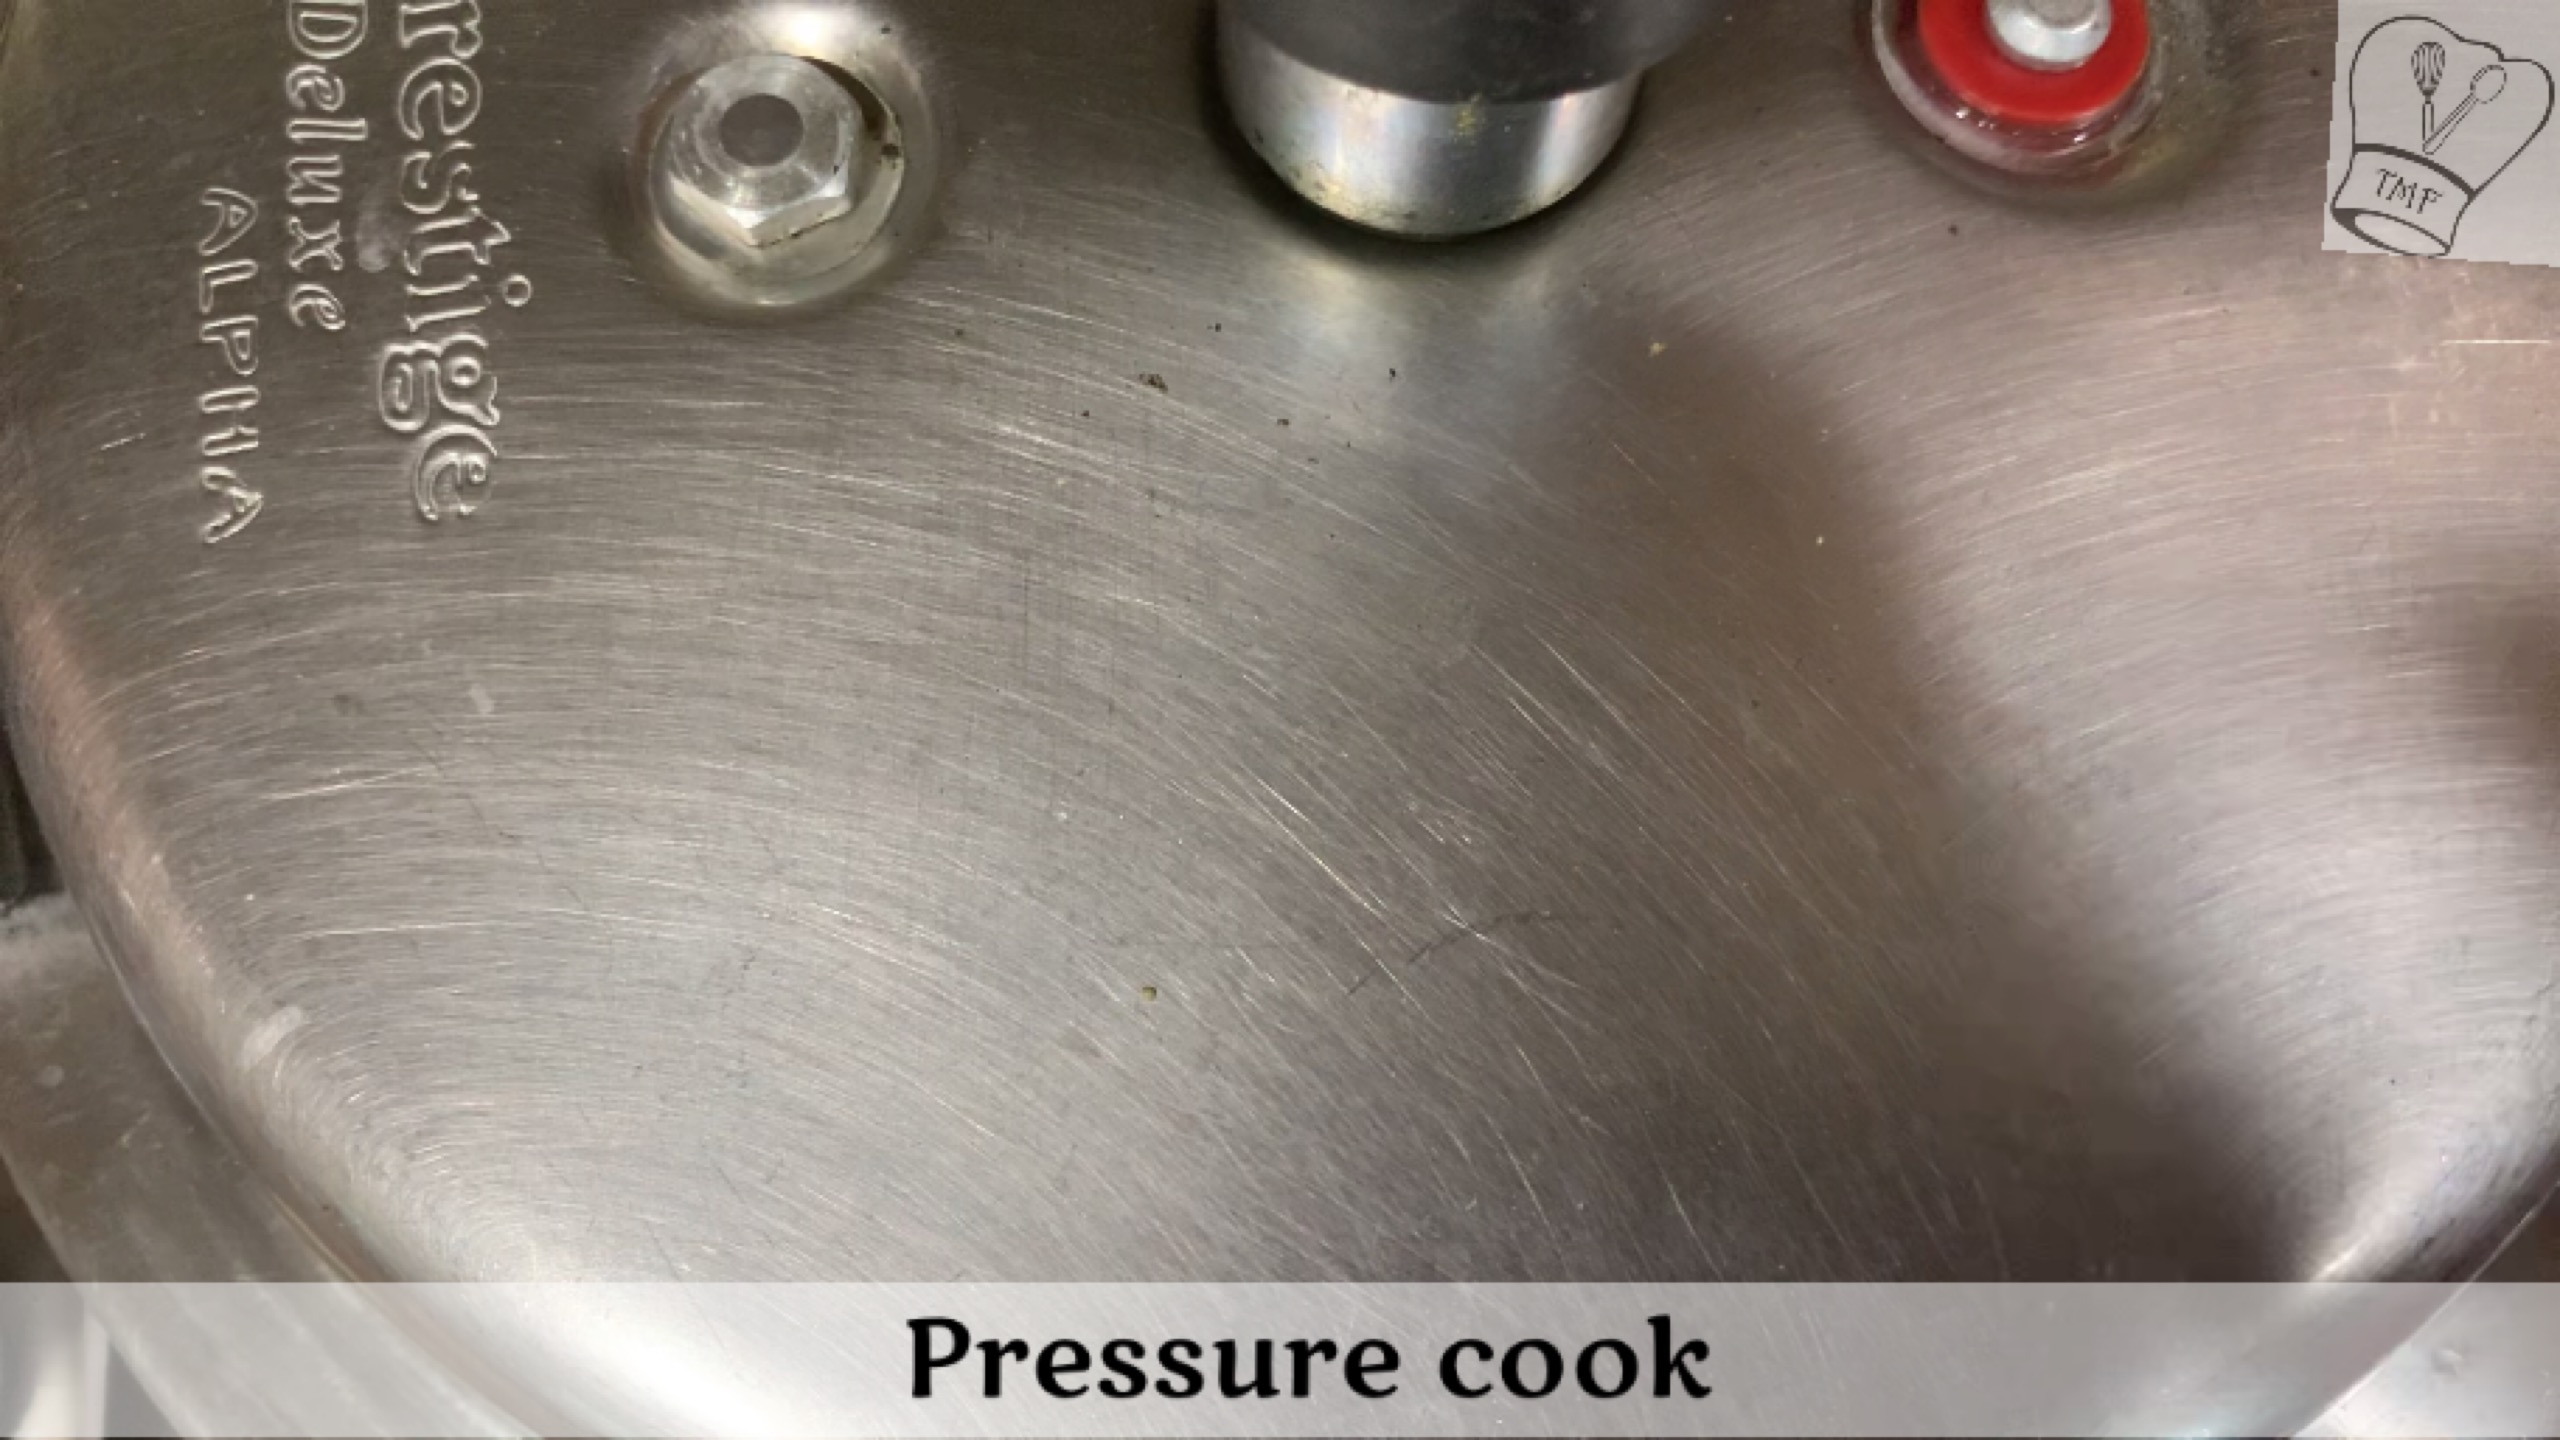
- Pour water and cook medium flame after the mixture turns frothy mix well and close the pressure cooker lid and cook for 3-4 whistles
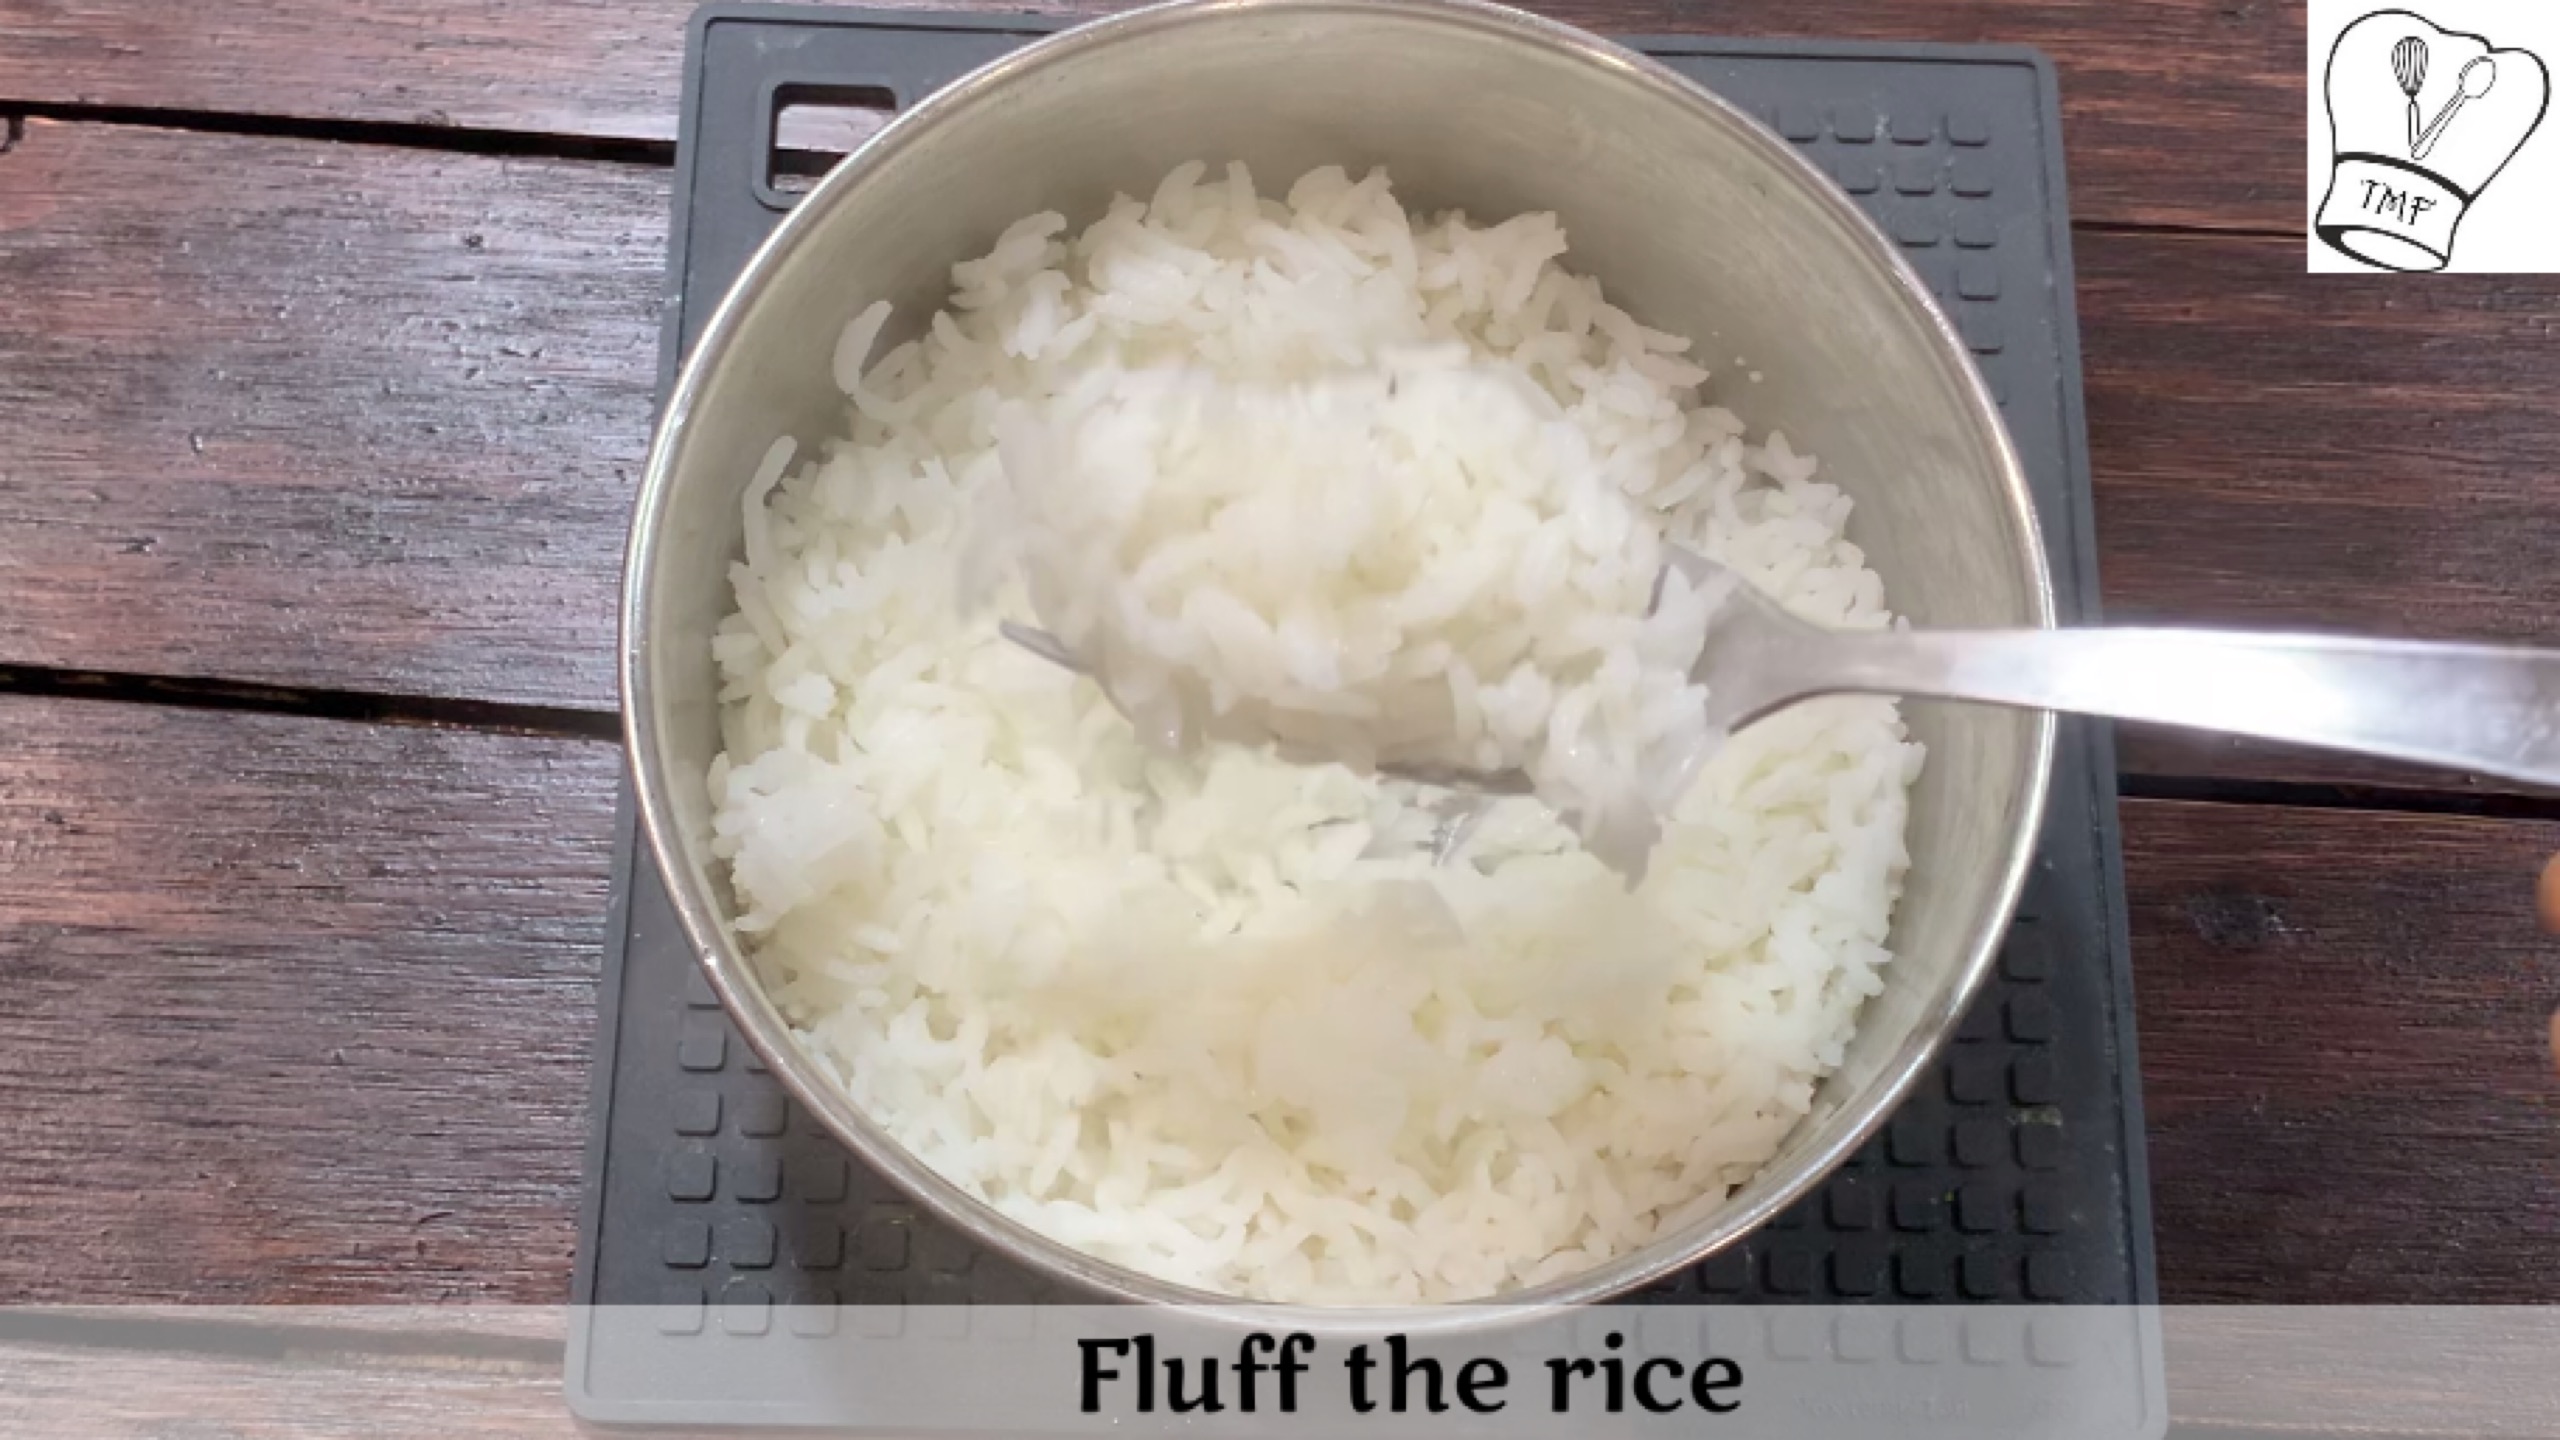
- After the pressure releases naturally mash it well with a ladle
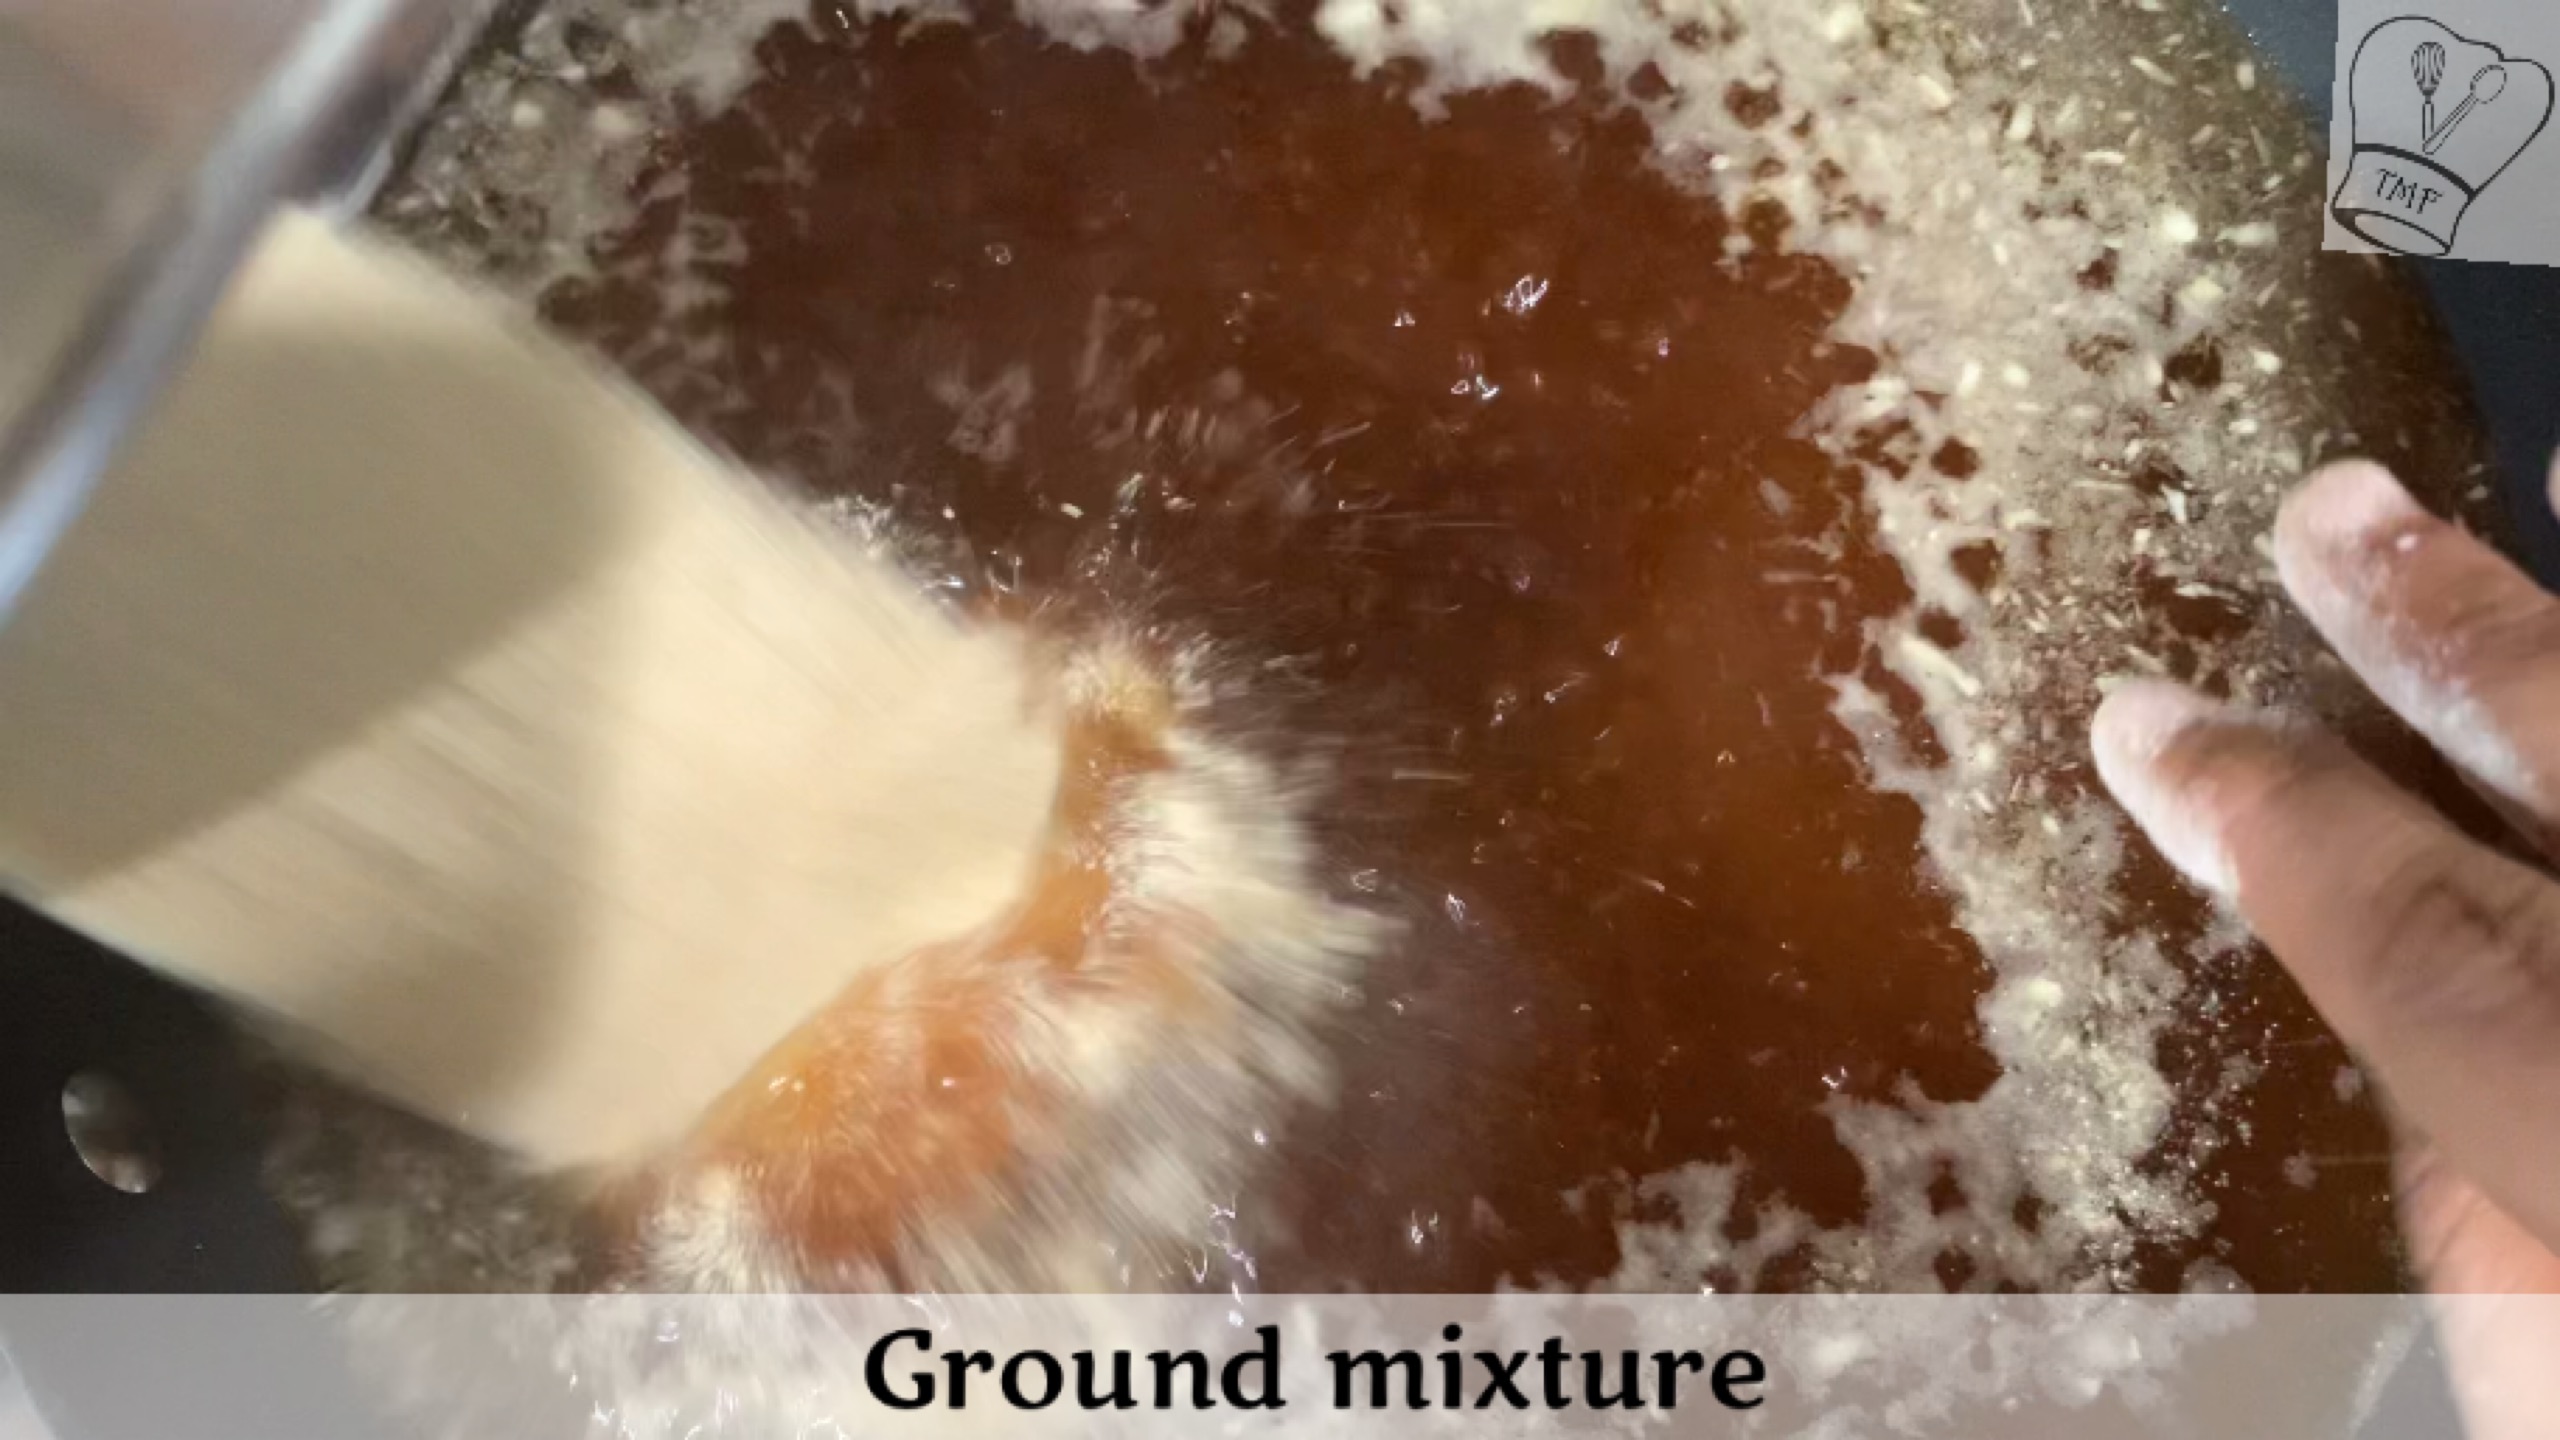
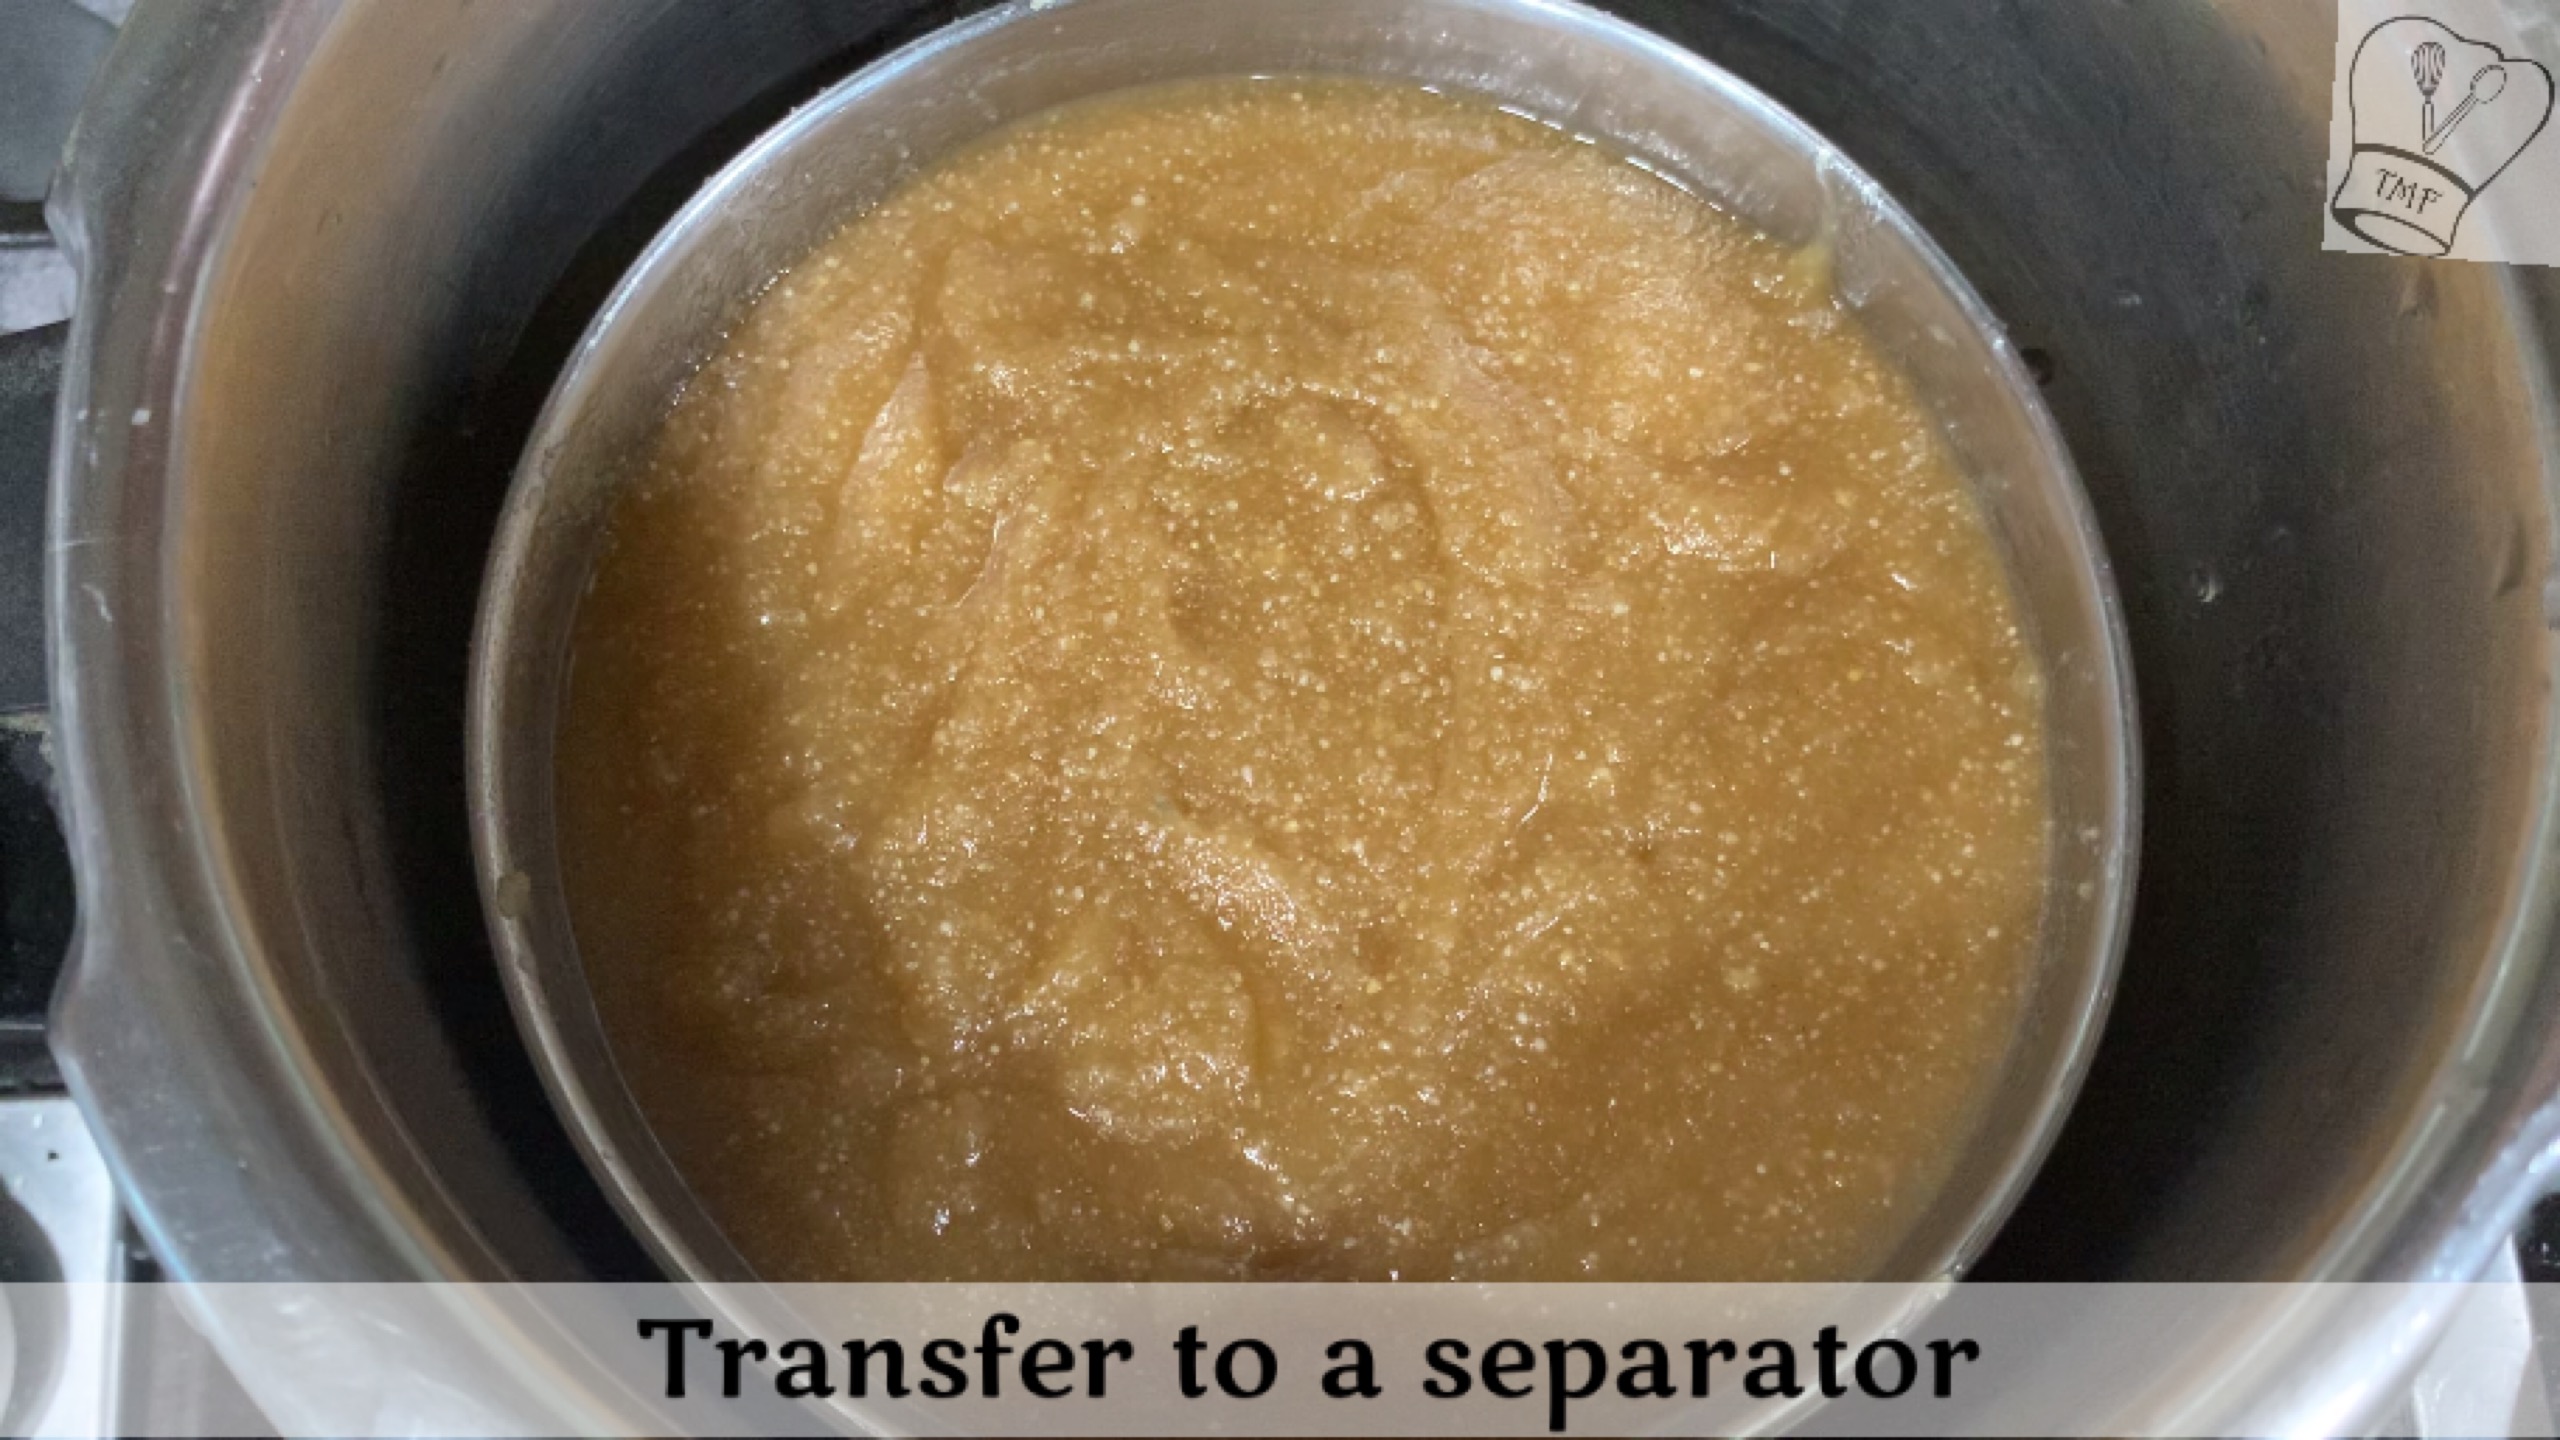
- Transfer the mixture into a heavy-bottomed pan and add milk; mix well
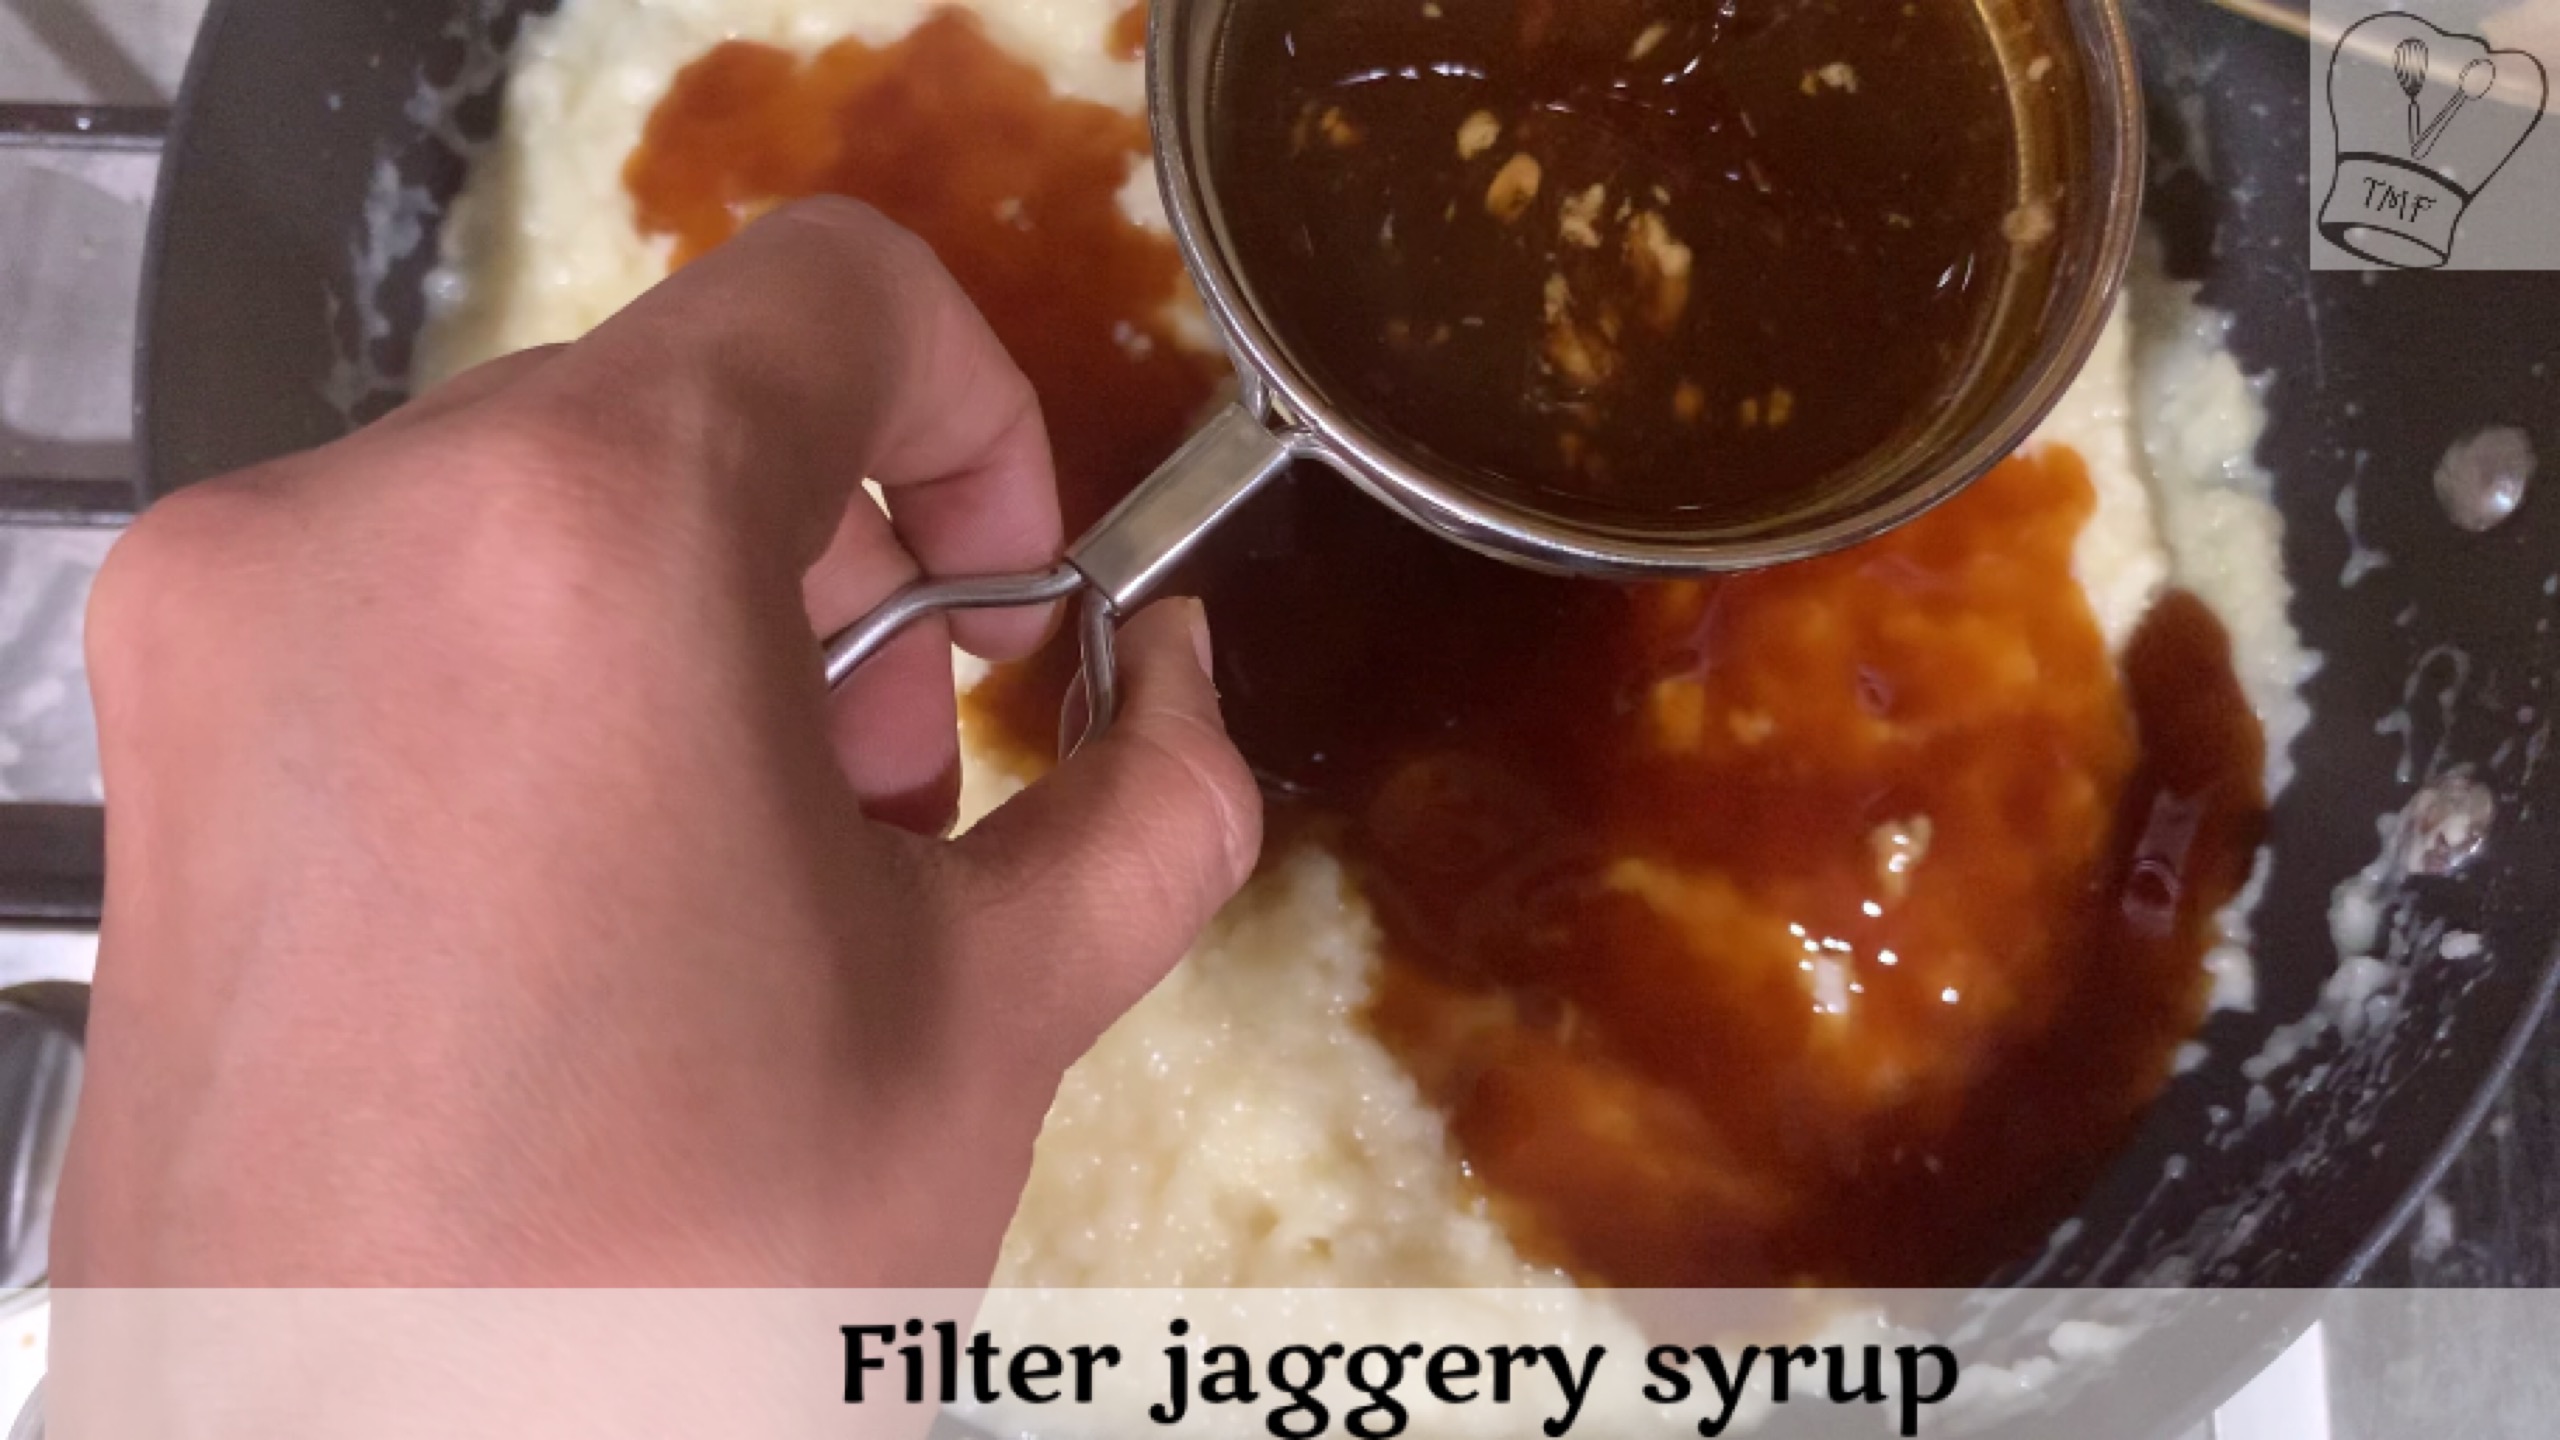
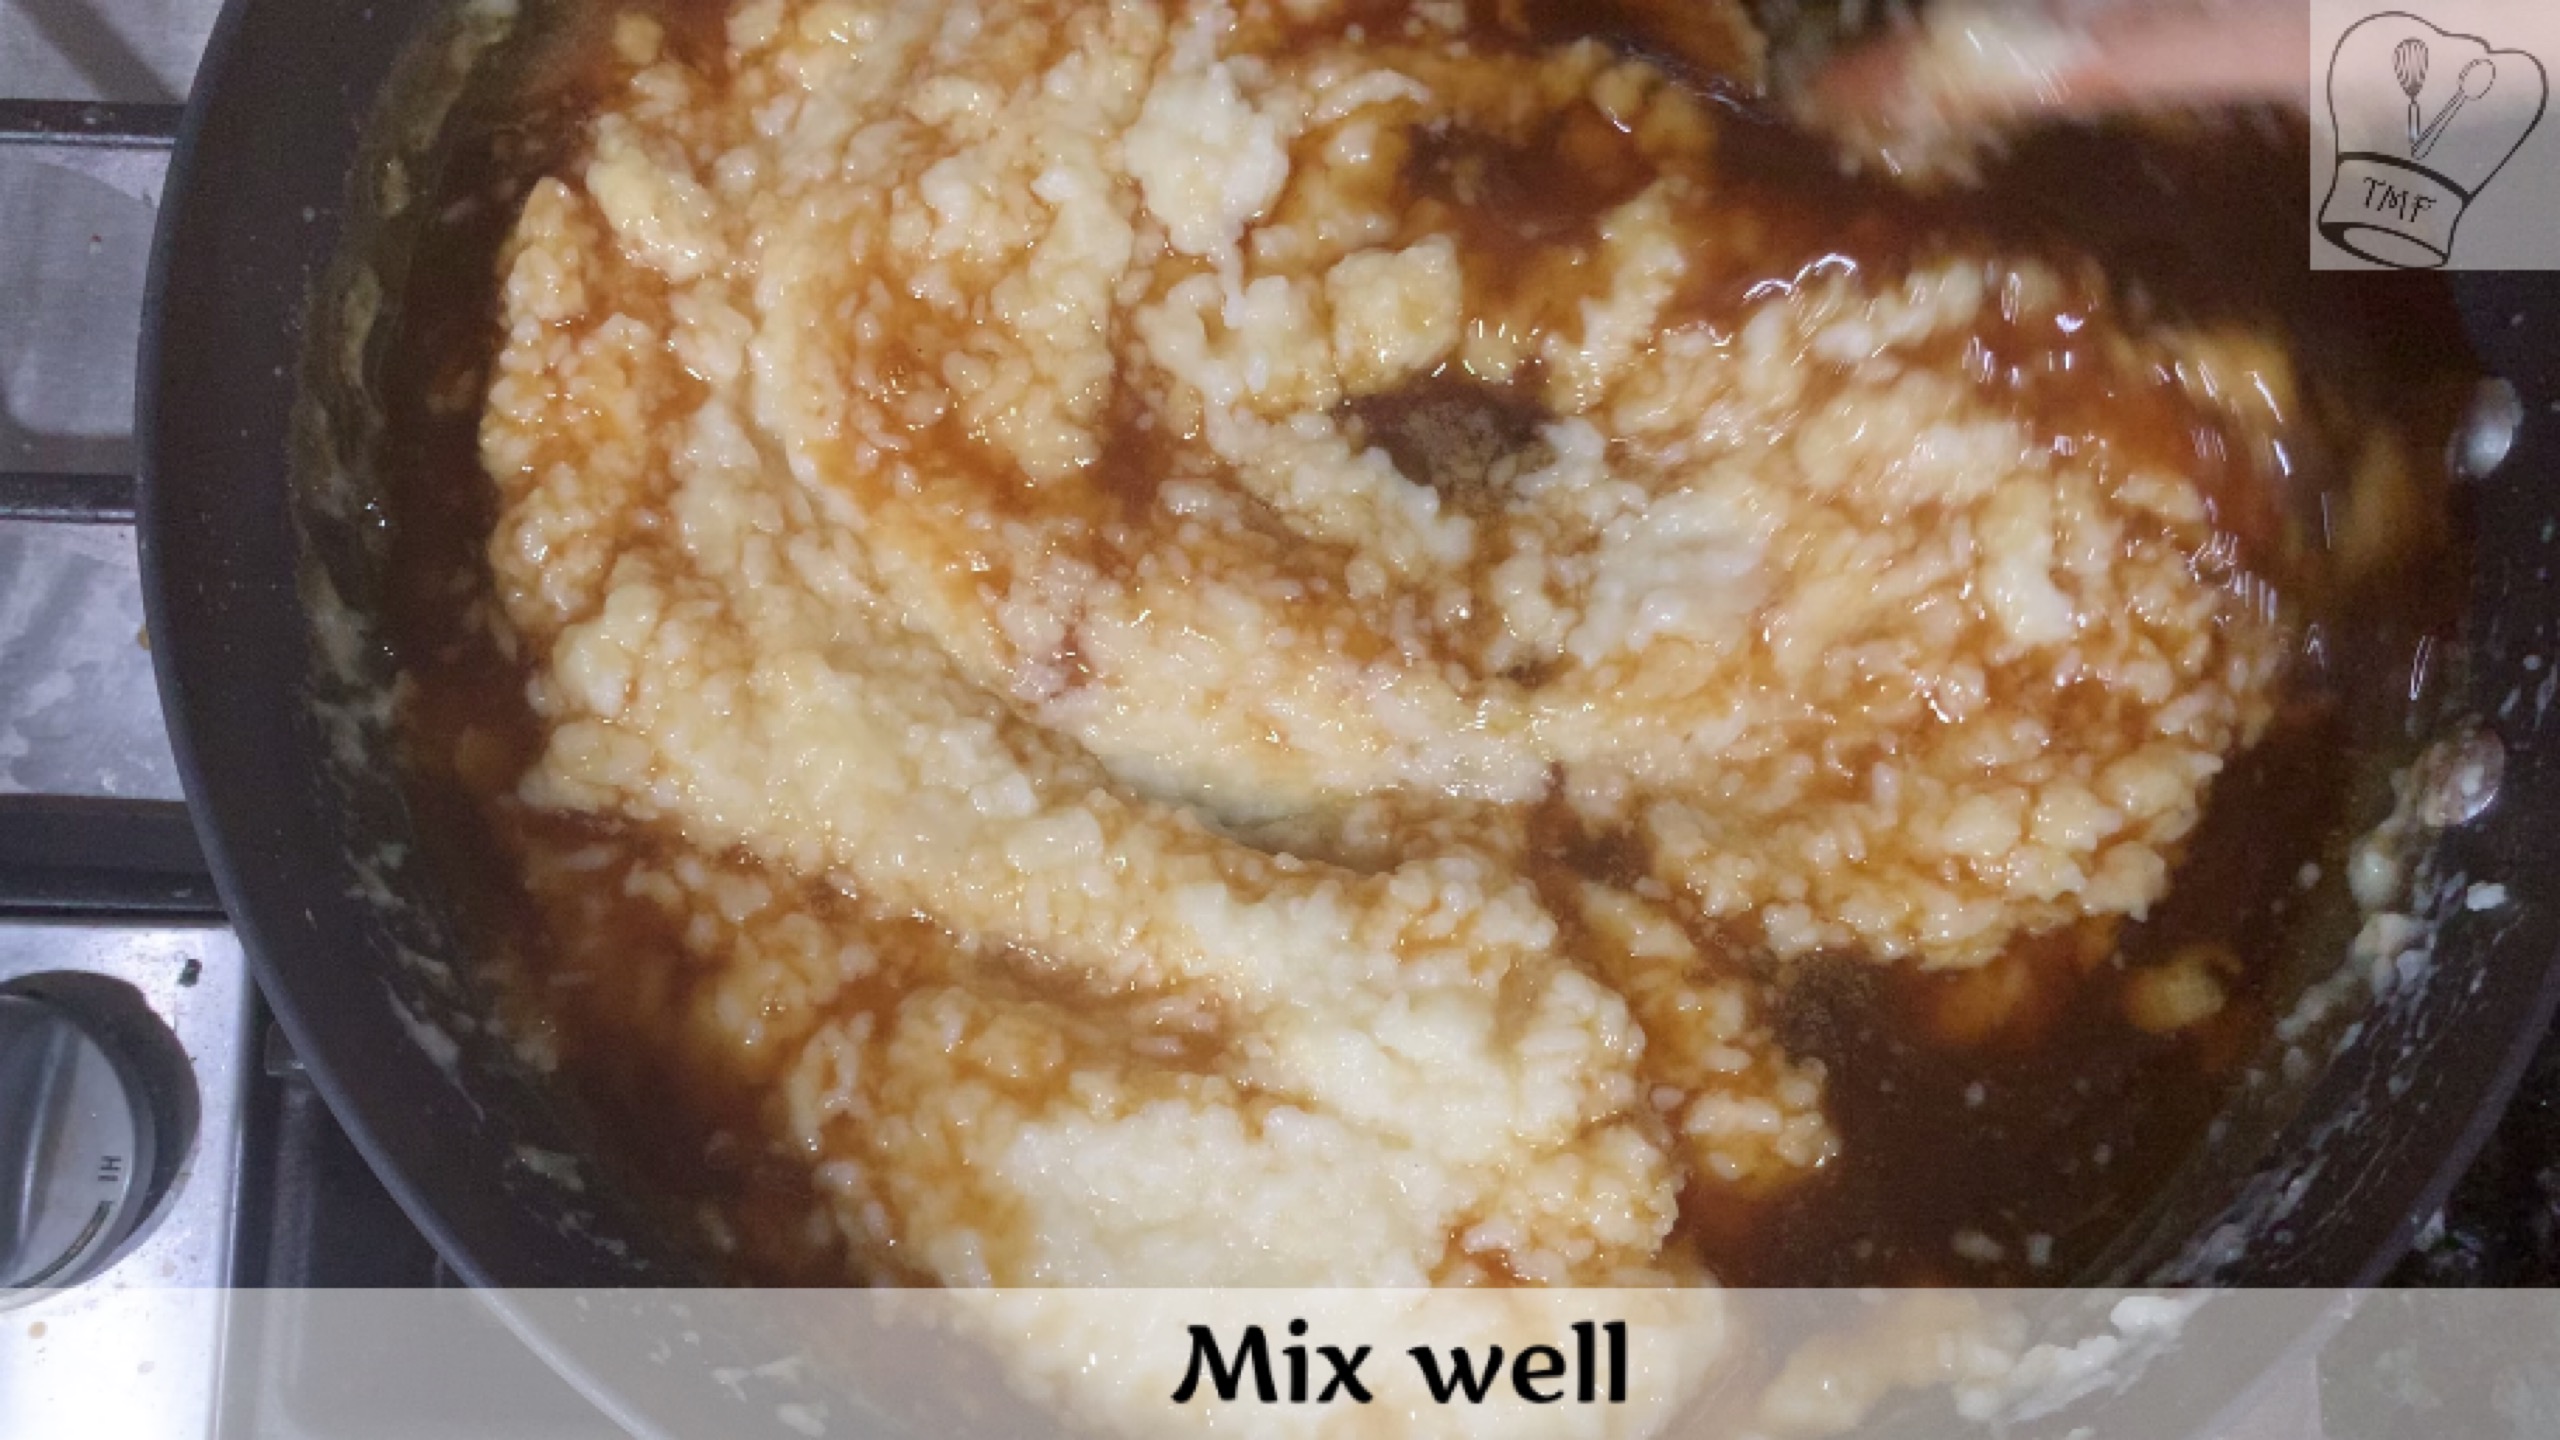
- Furthermore, add salt. Strain and add the jaggery syrup and mix well
- Turn on the stove to medium flame and add 2 tablespoon of ghee; mix well and cook
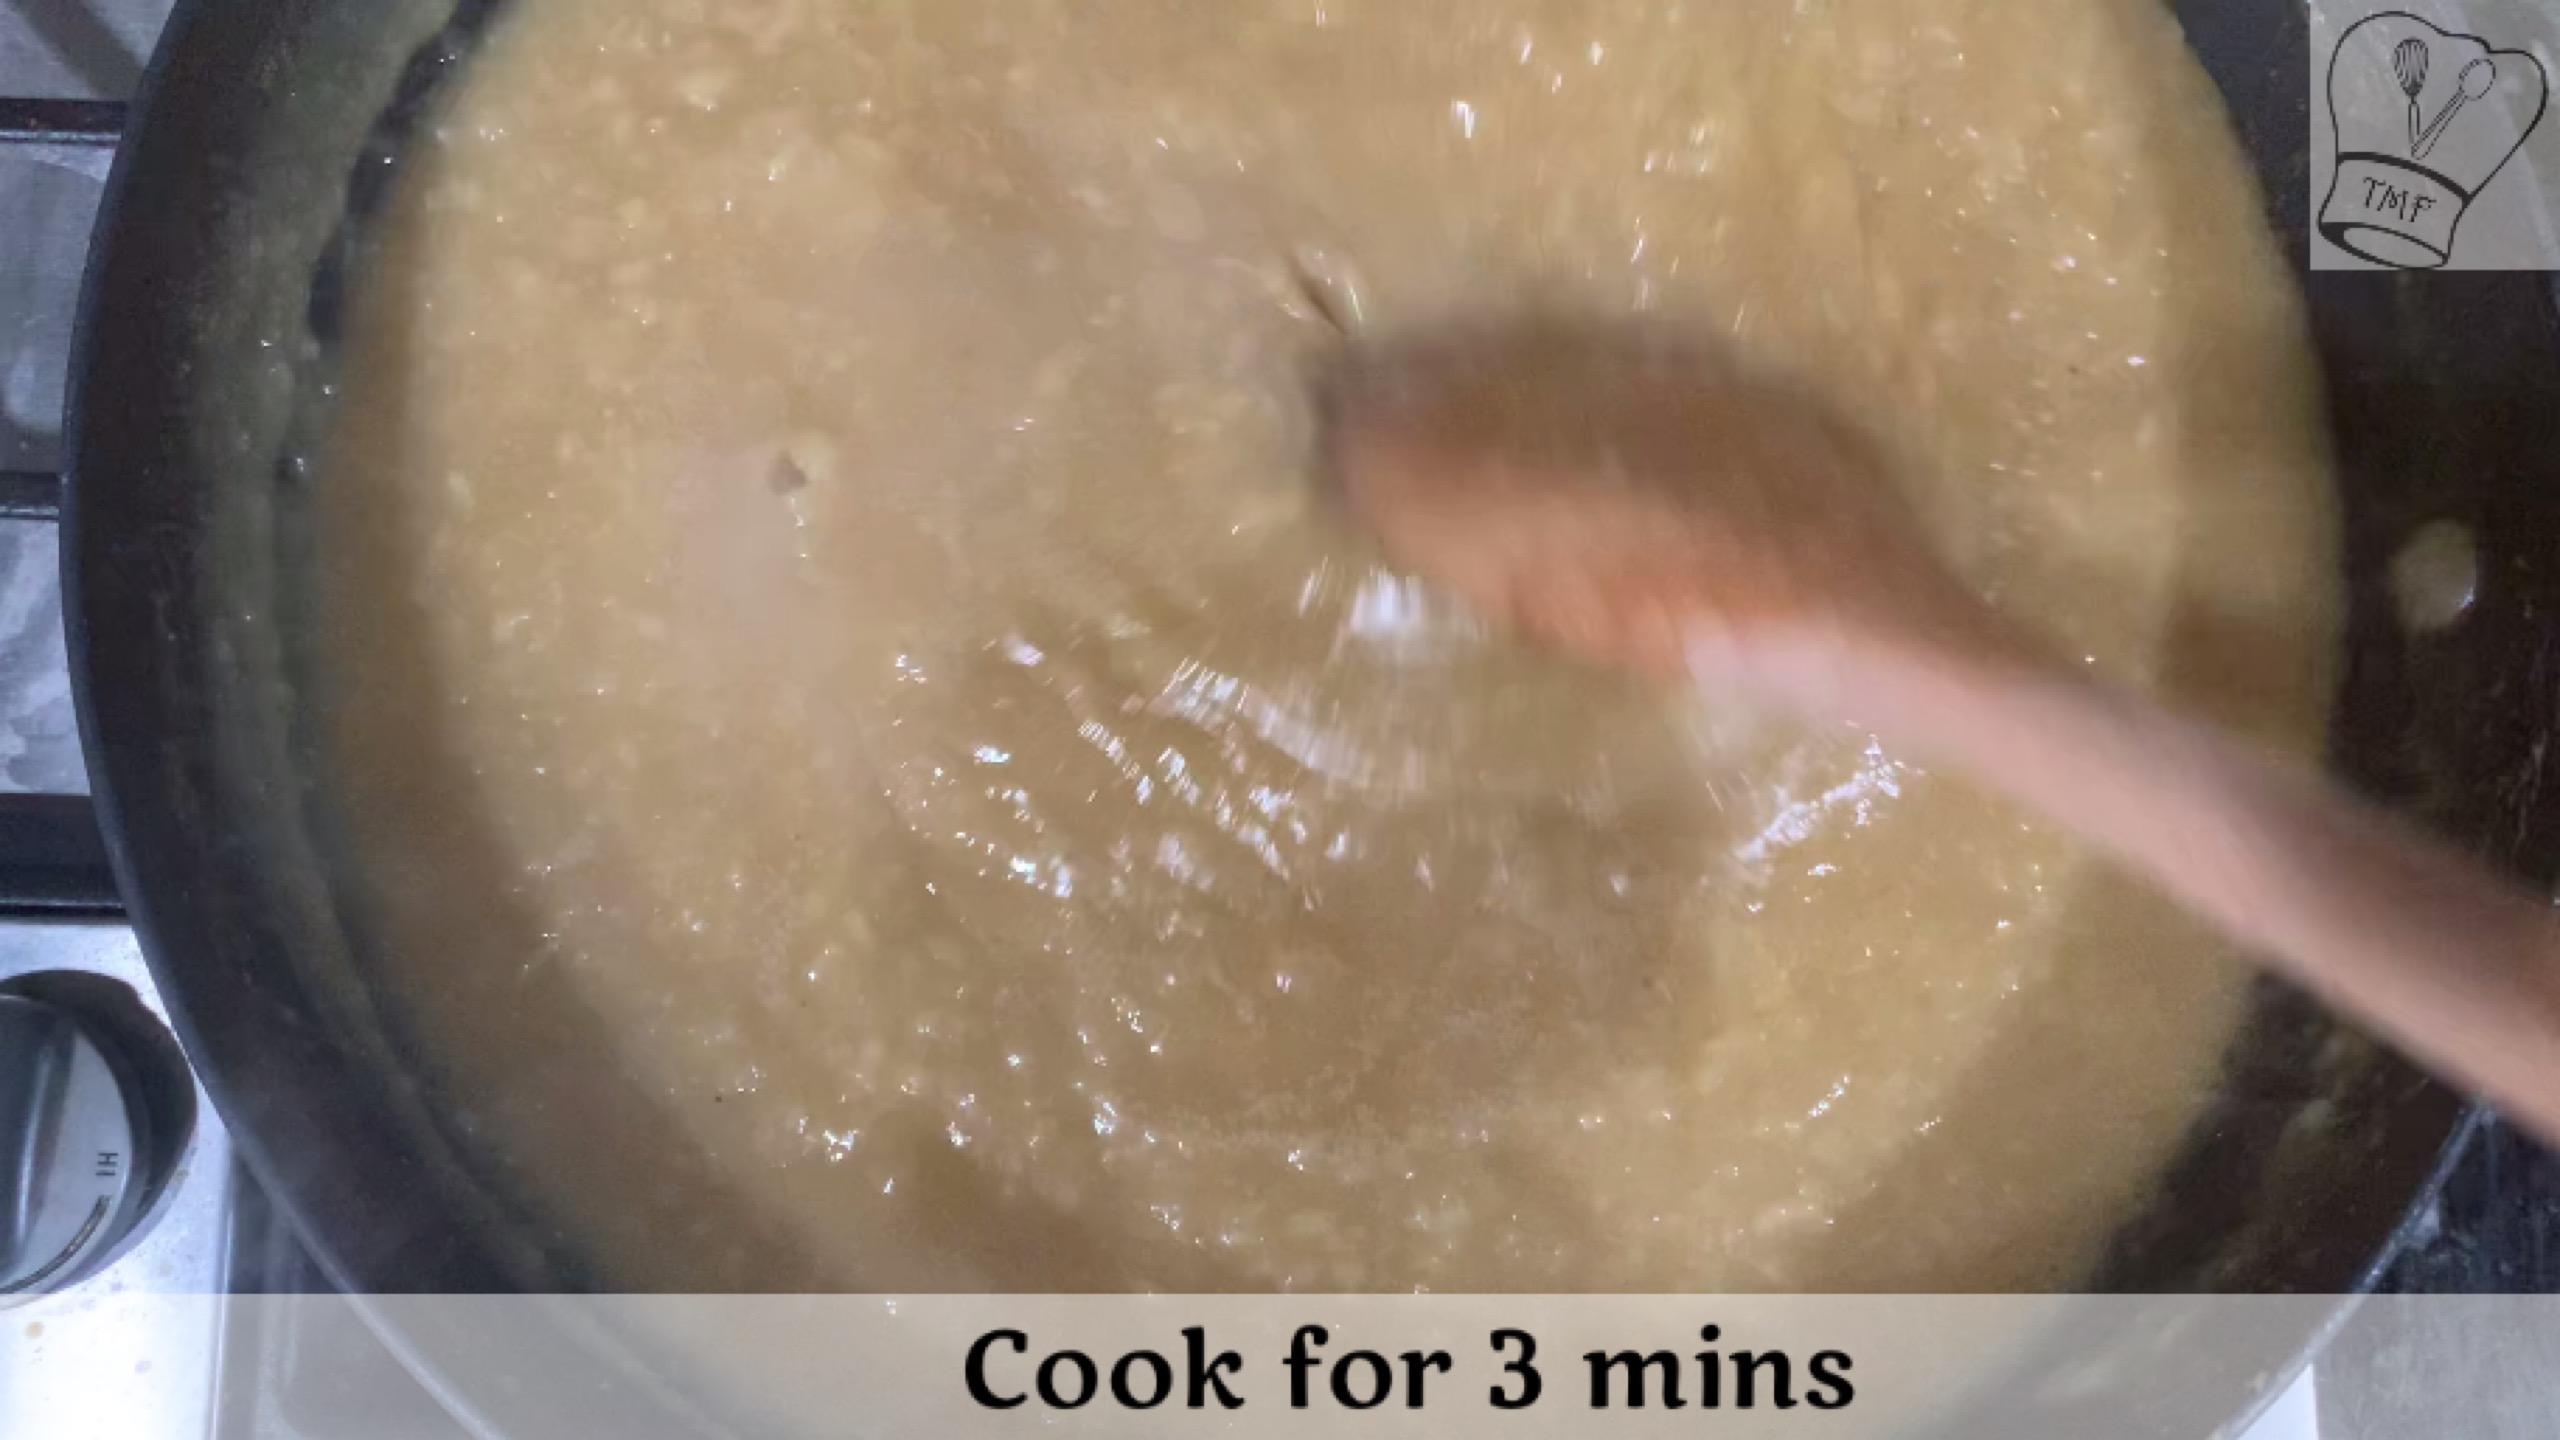
- Keep mixing and continue cooking for 3 minutes
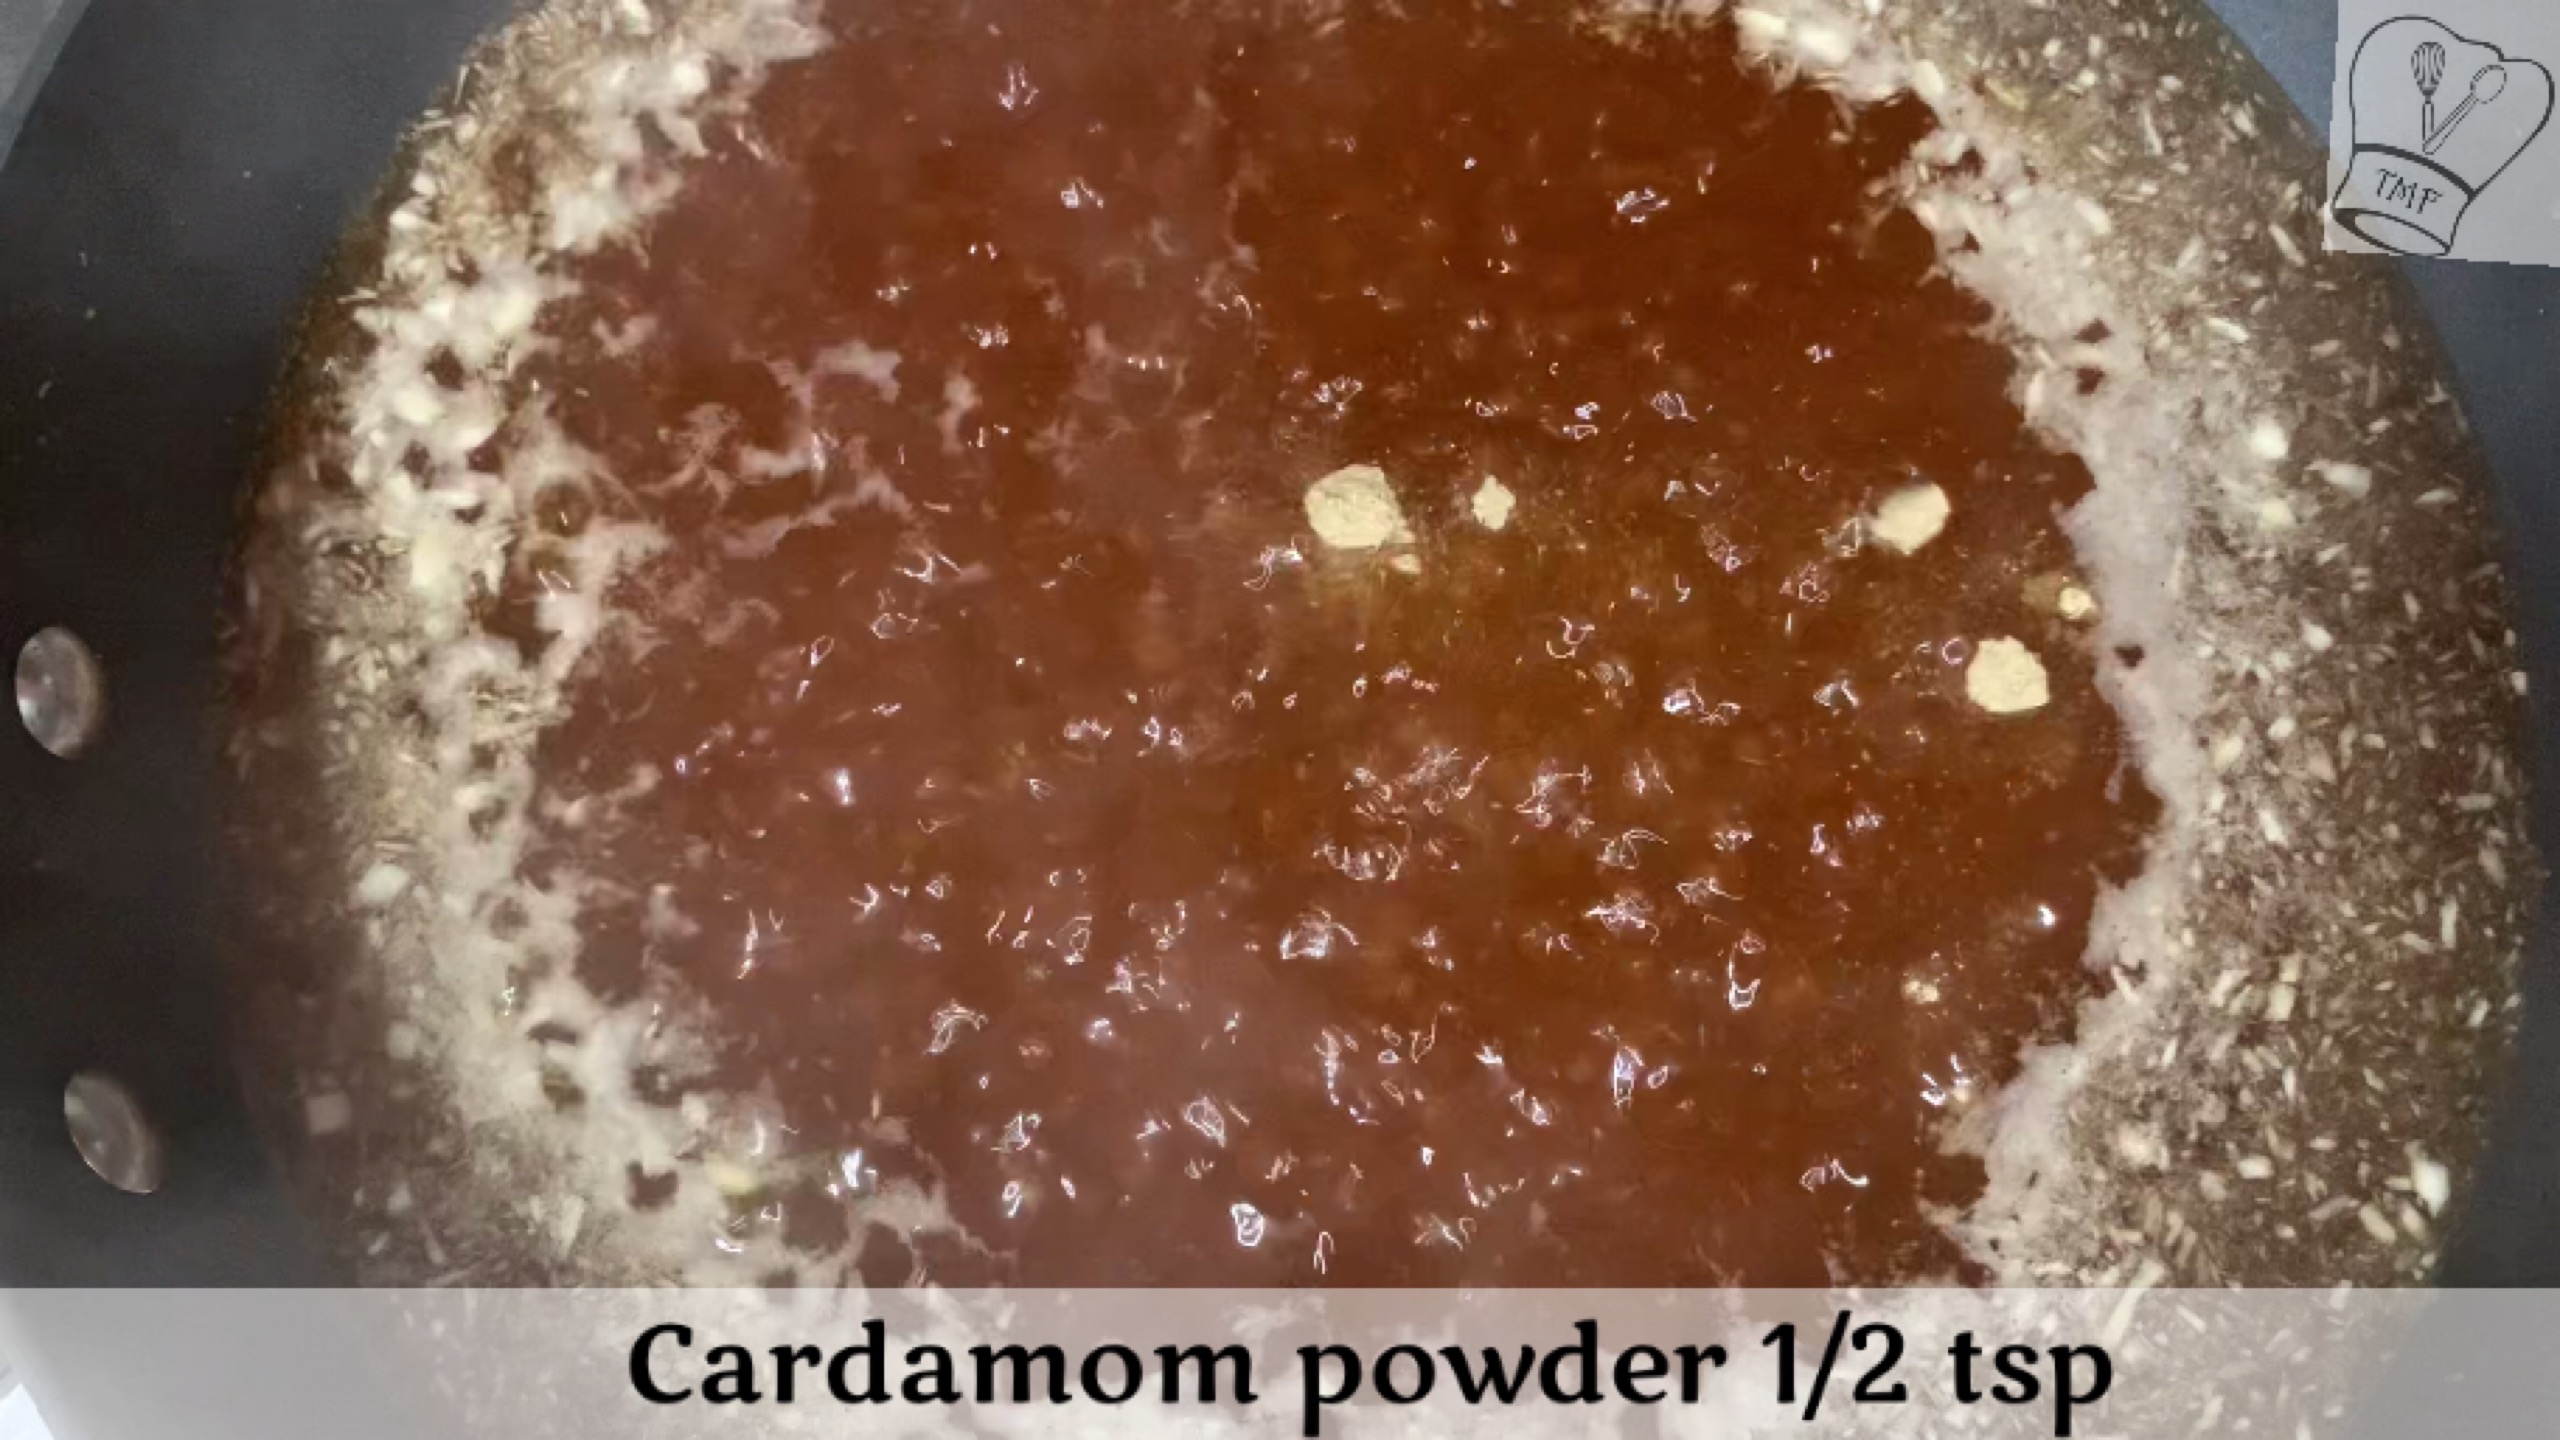
- Add cardamom powder and mix well
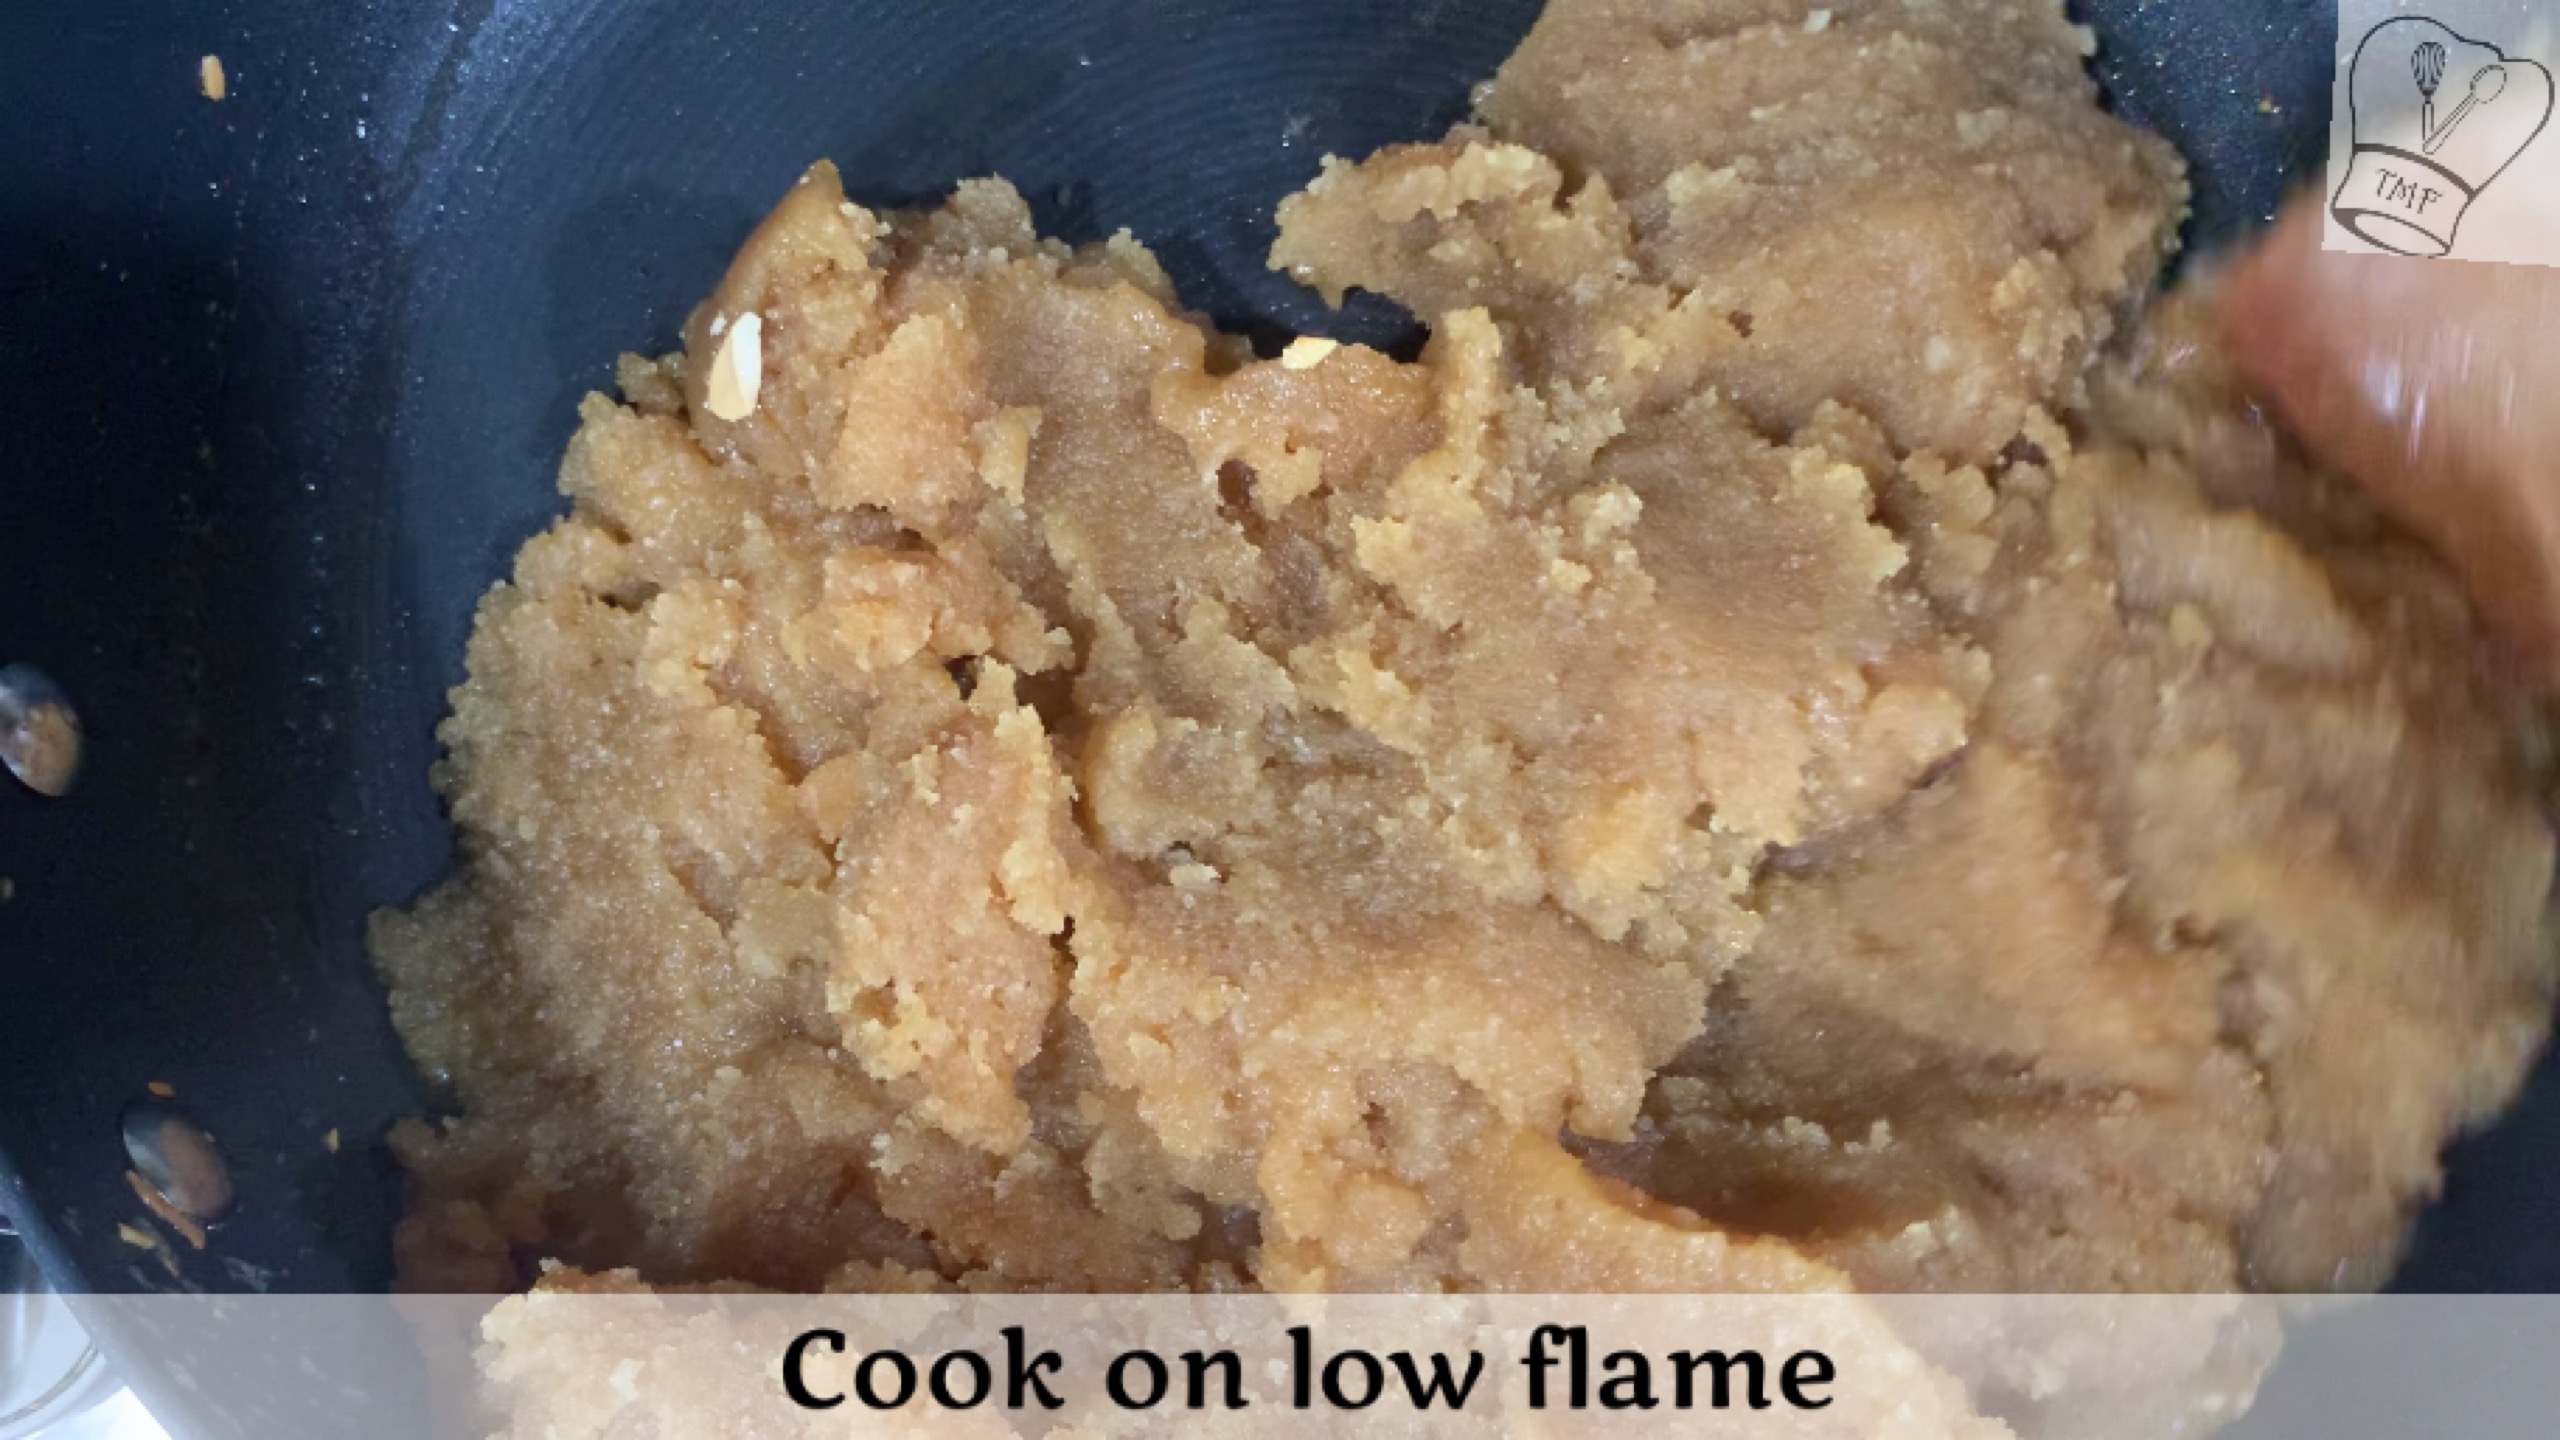
- cook for 3 minutes or until Pongal comes together
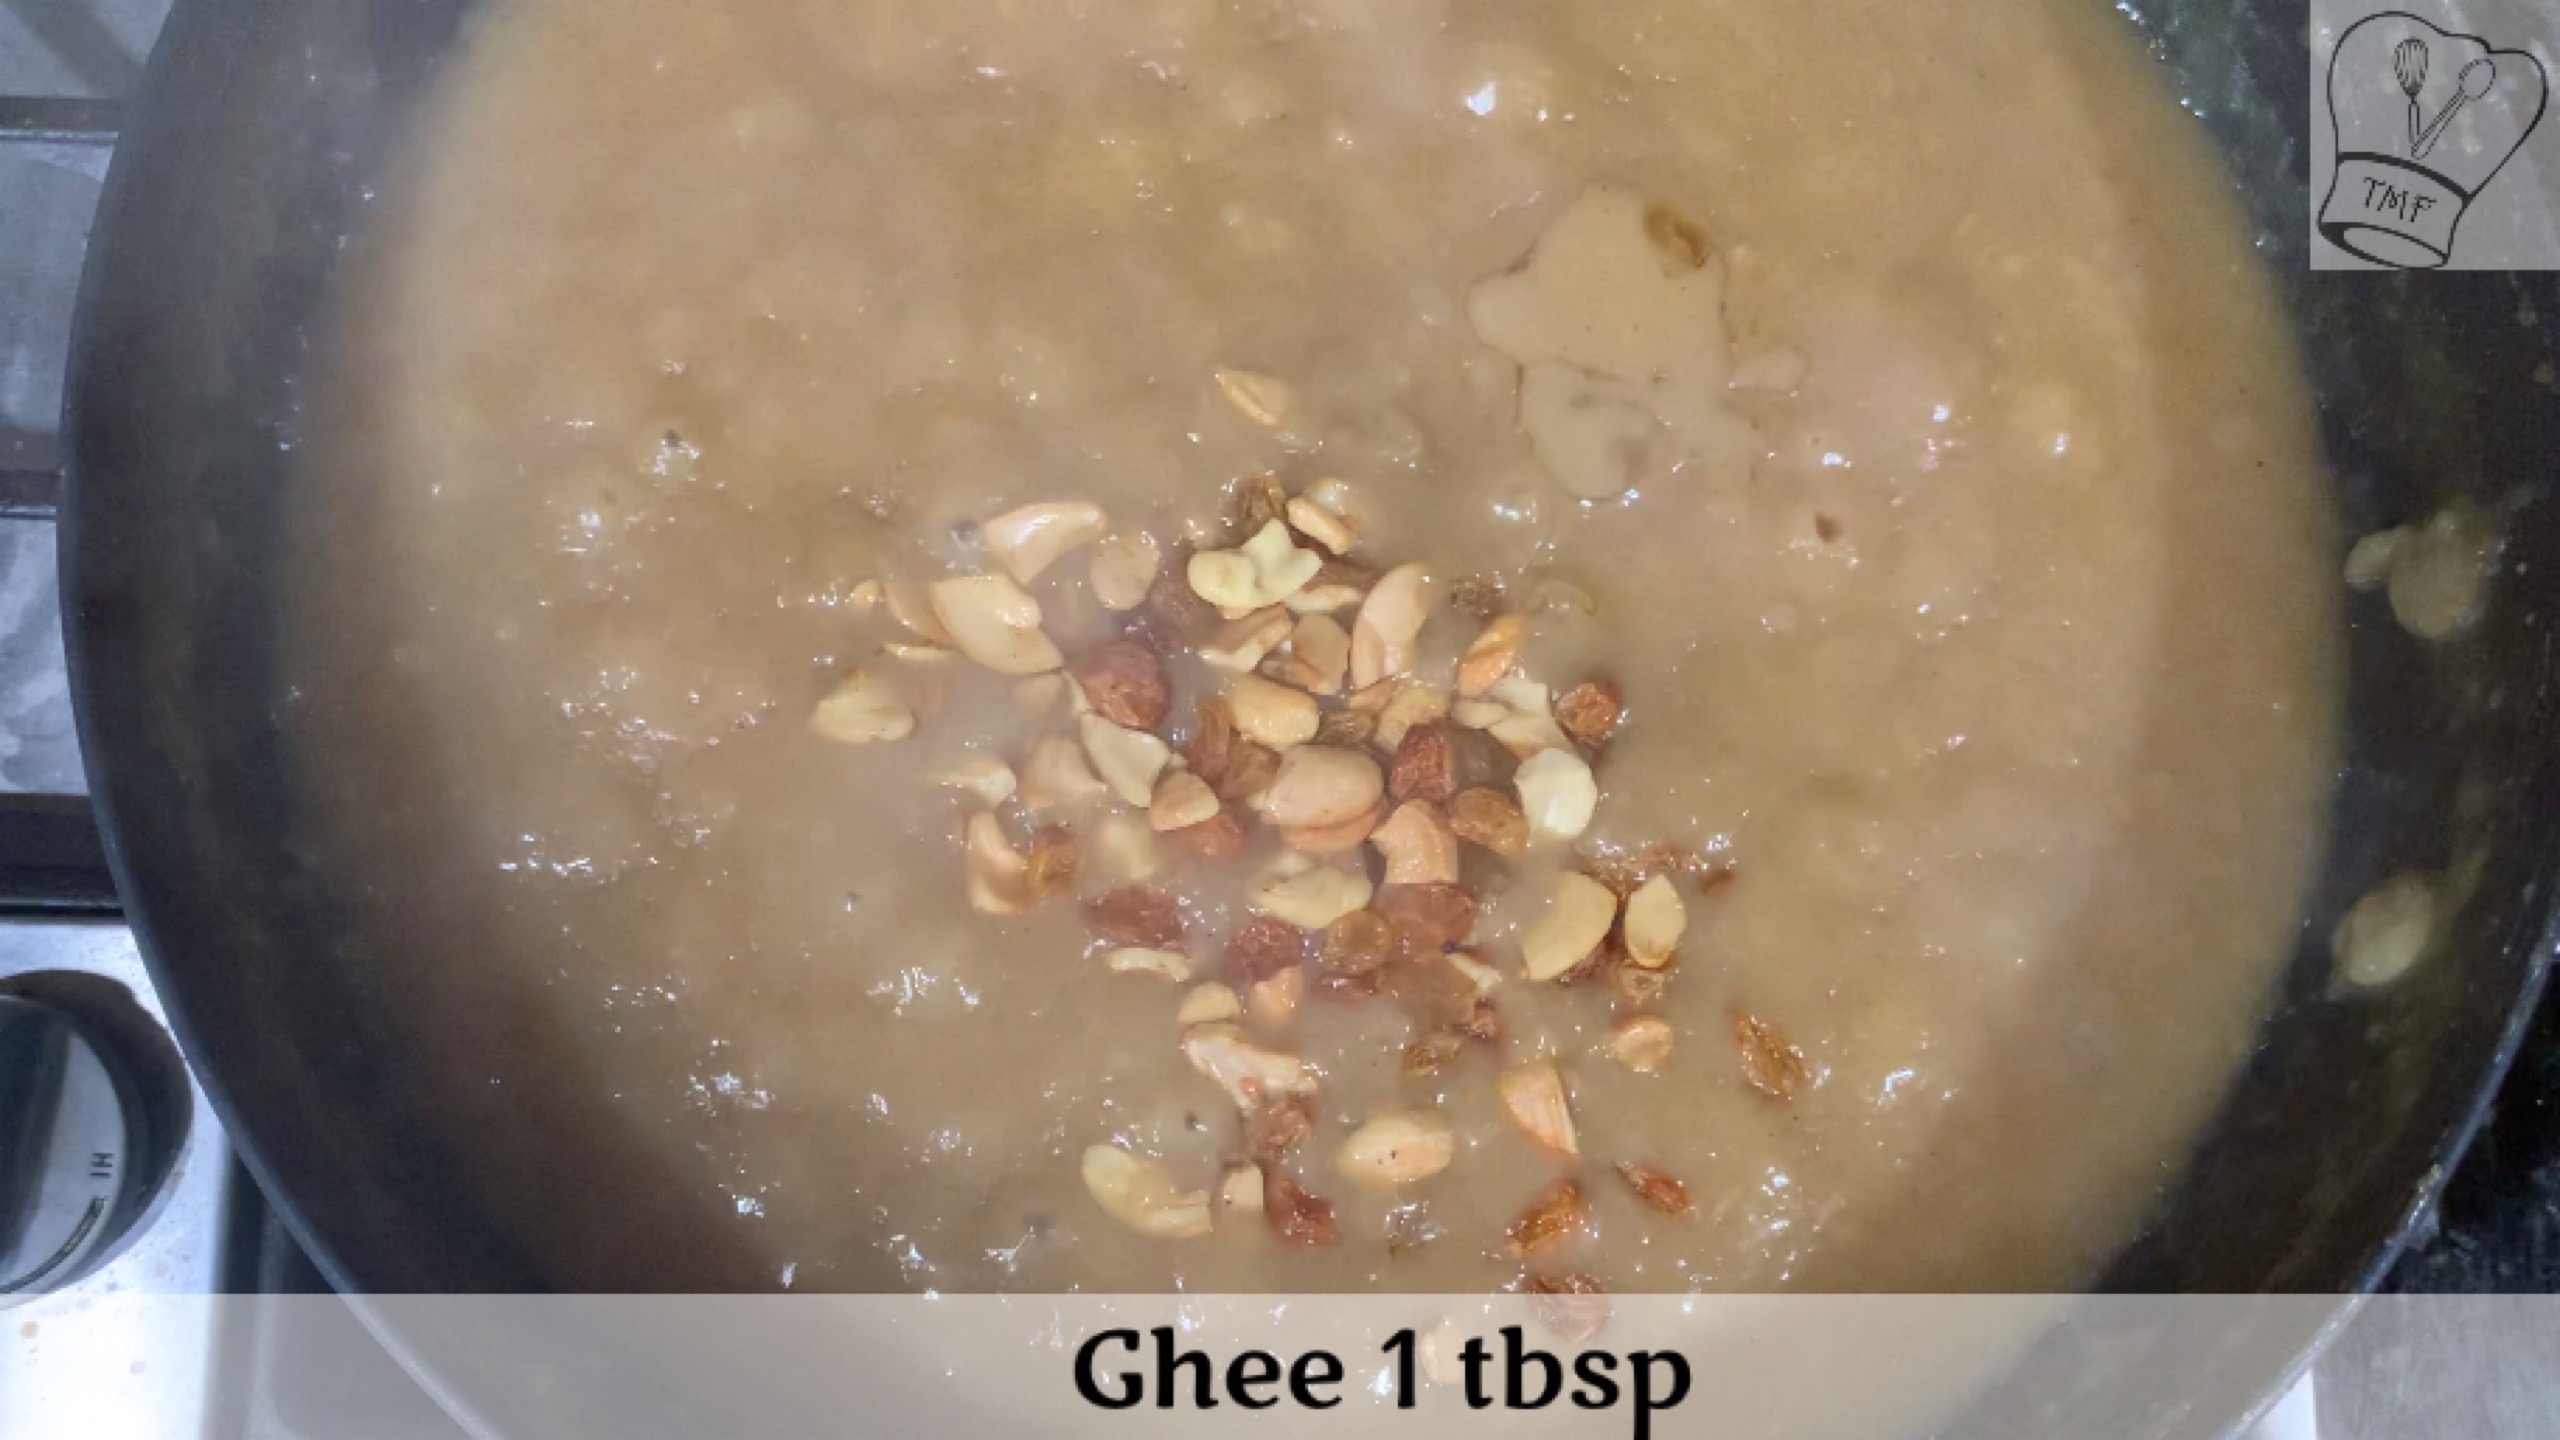
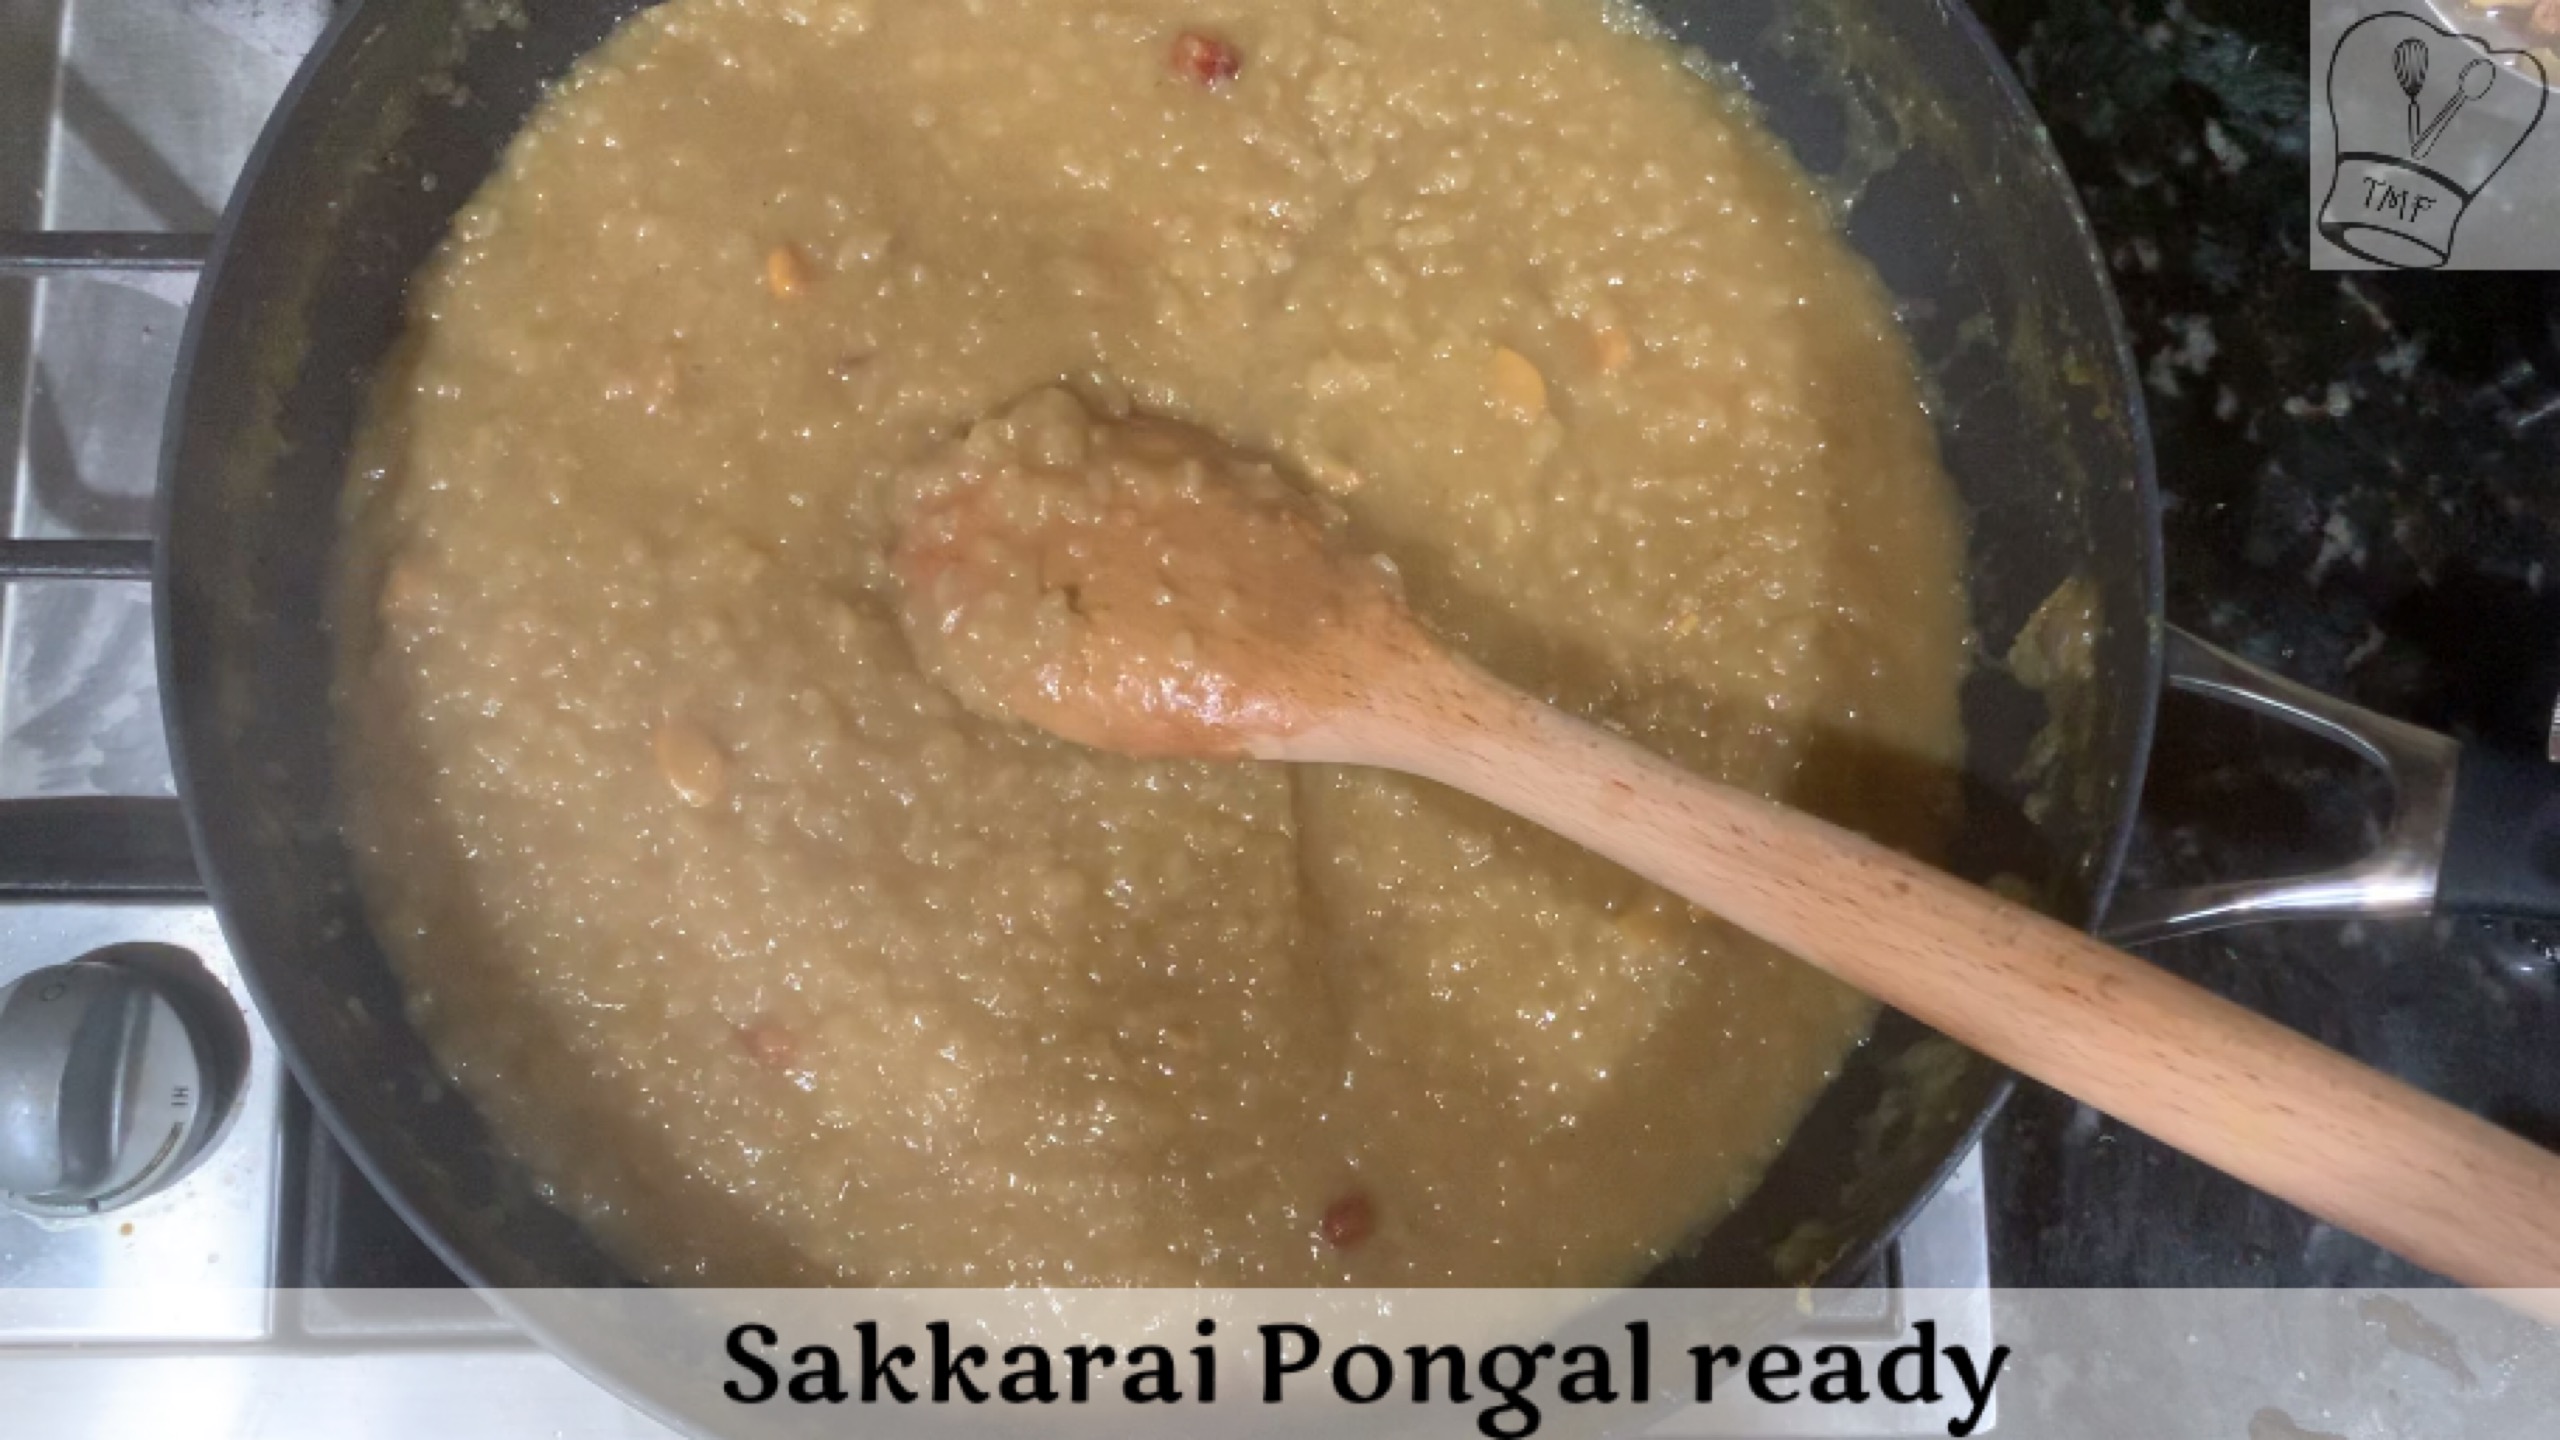
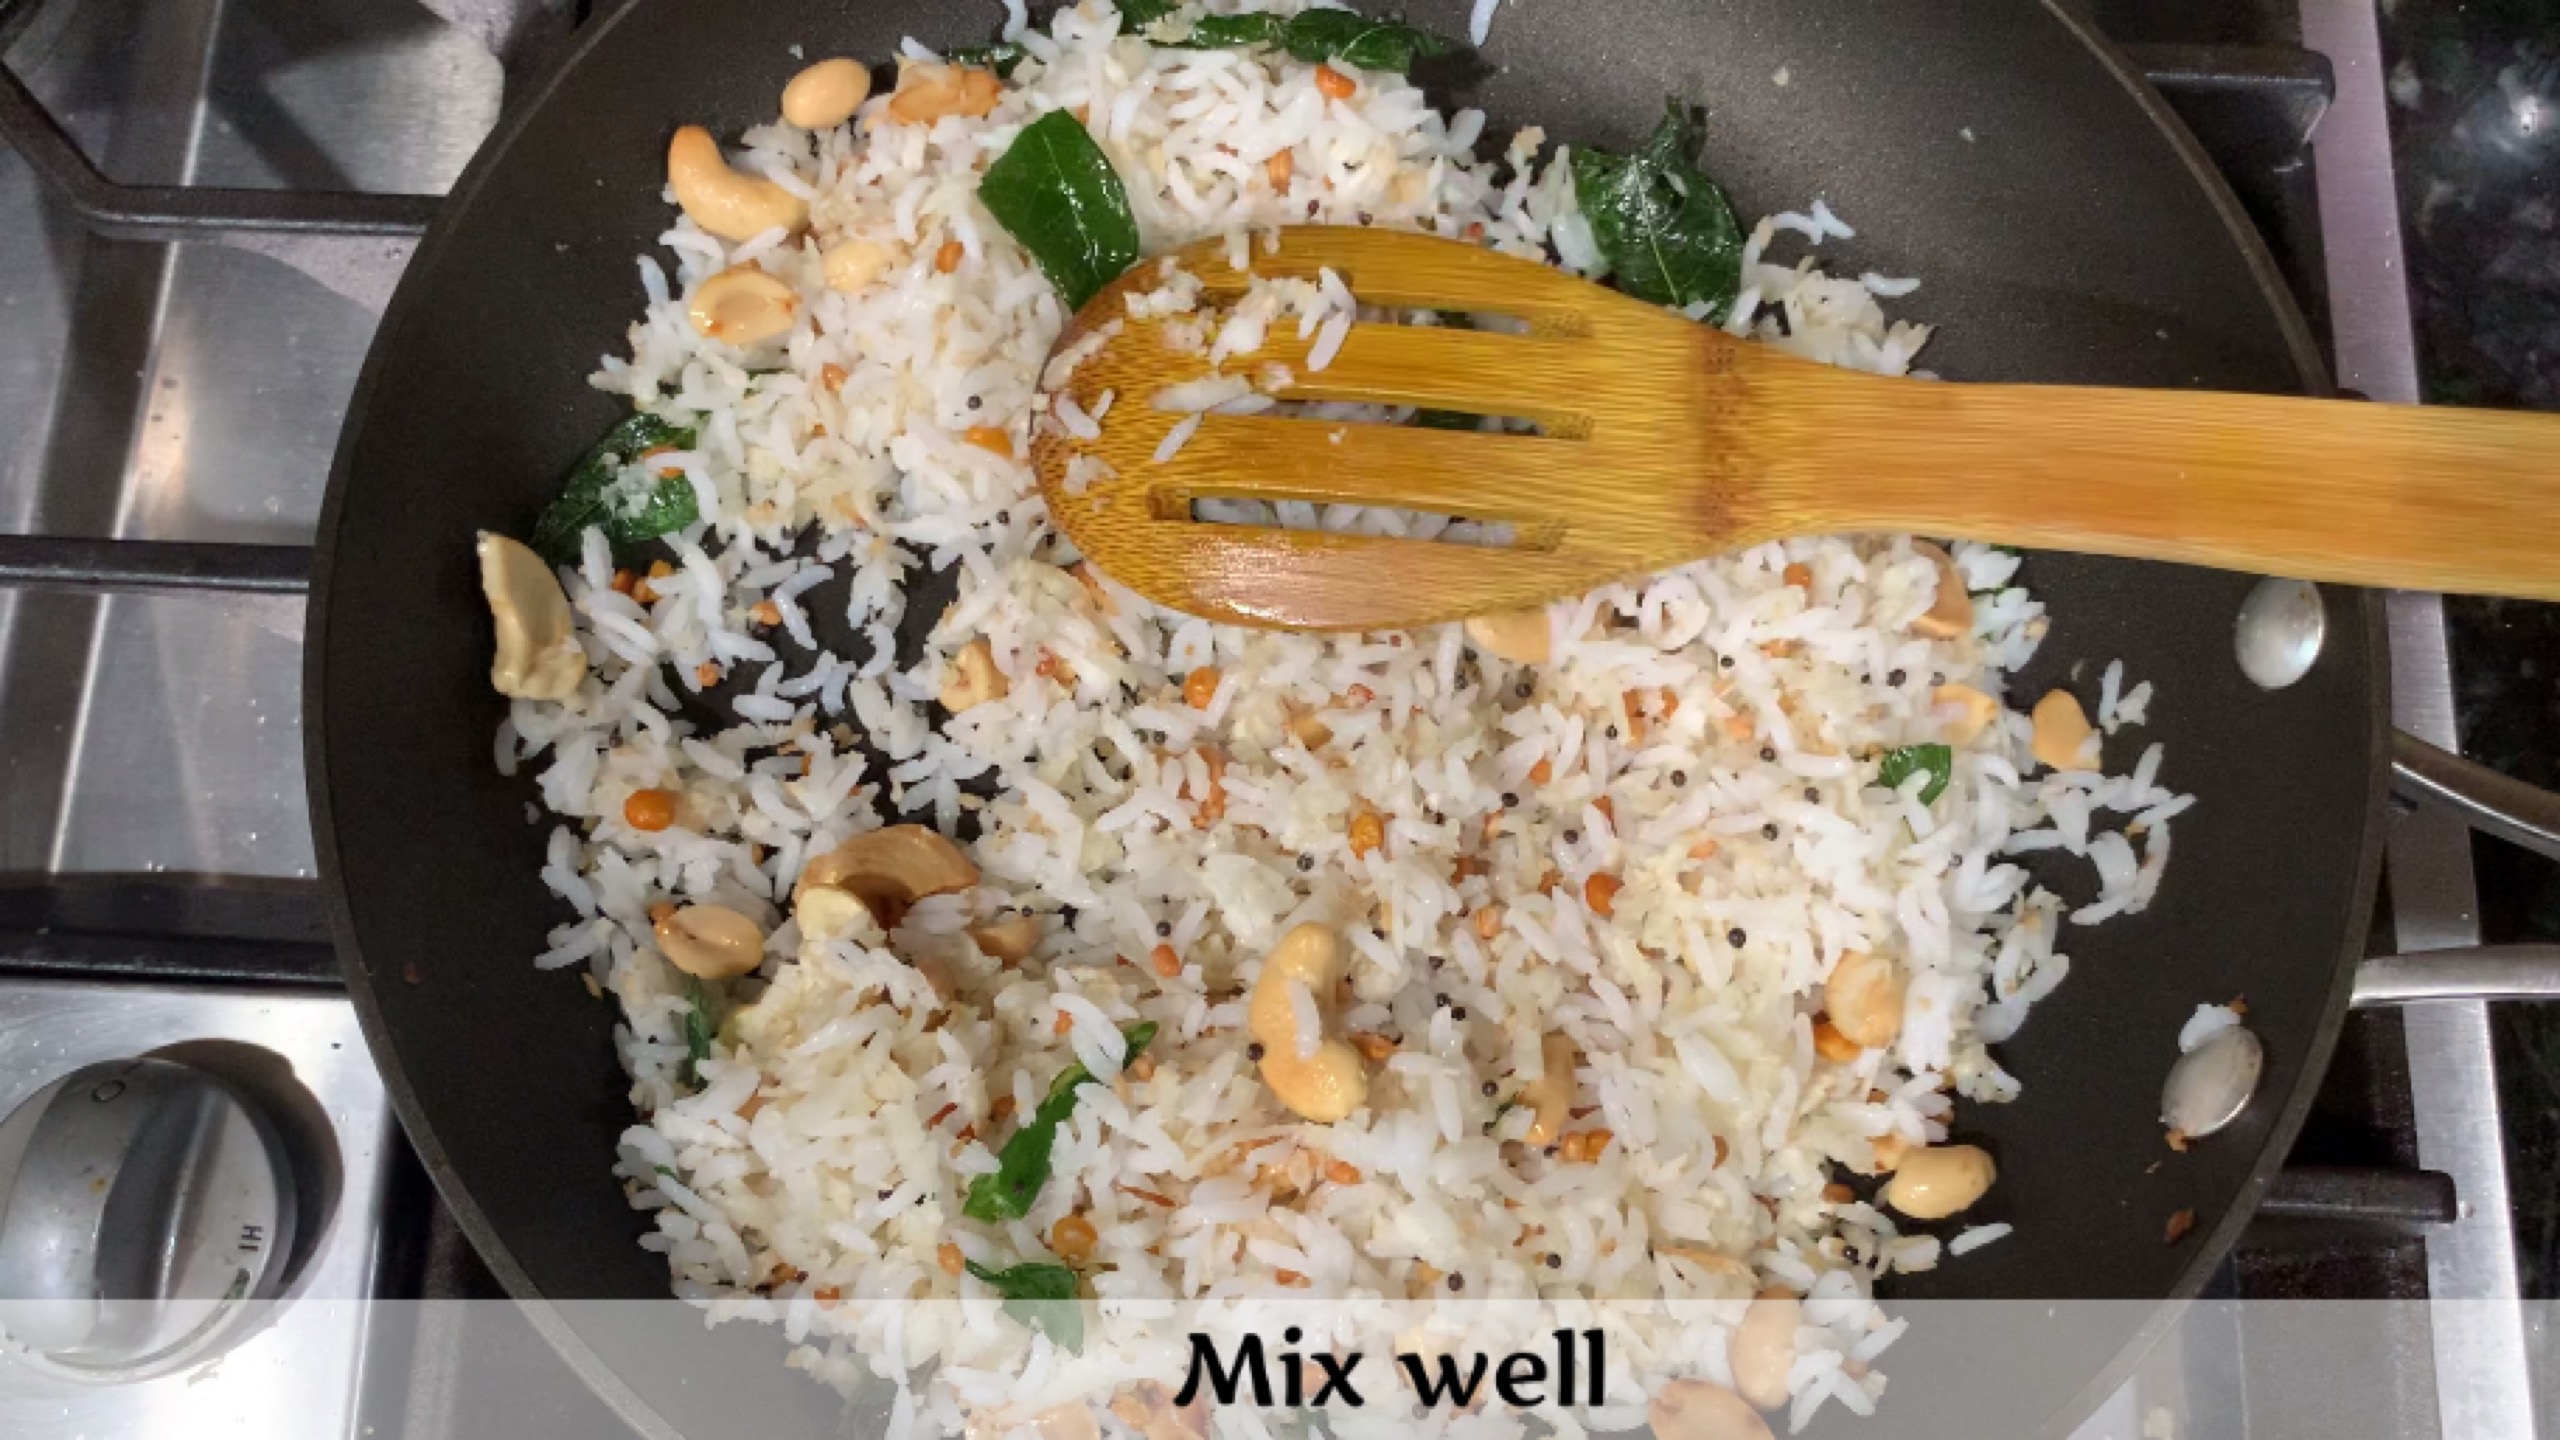
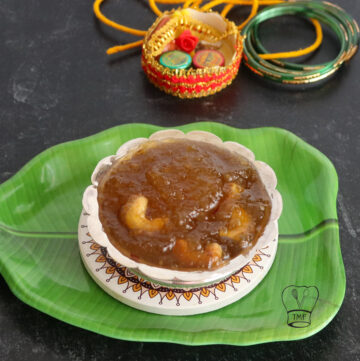
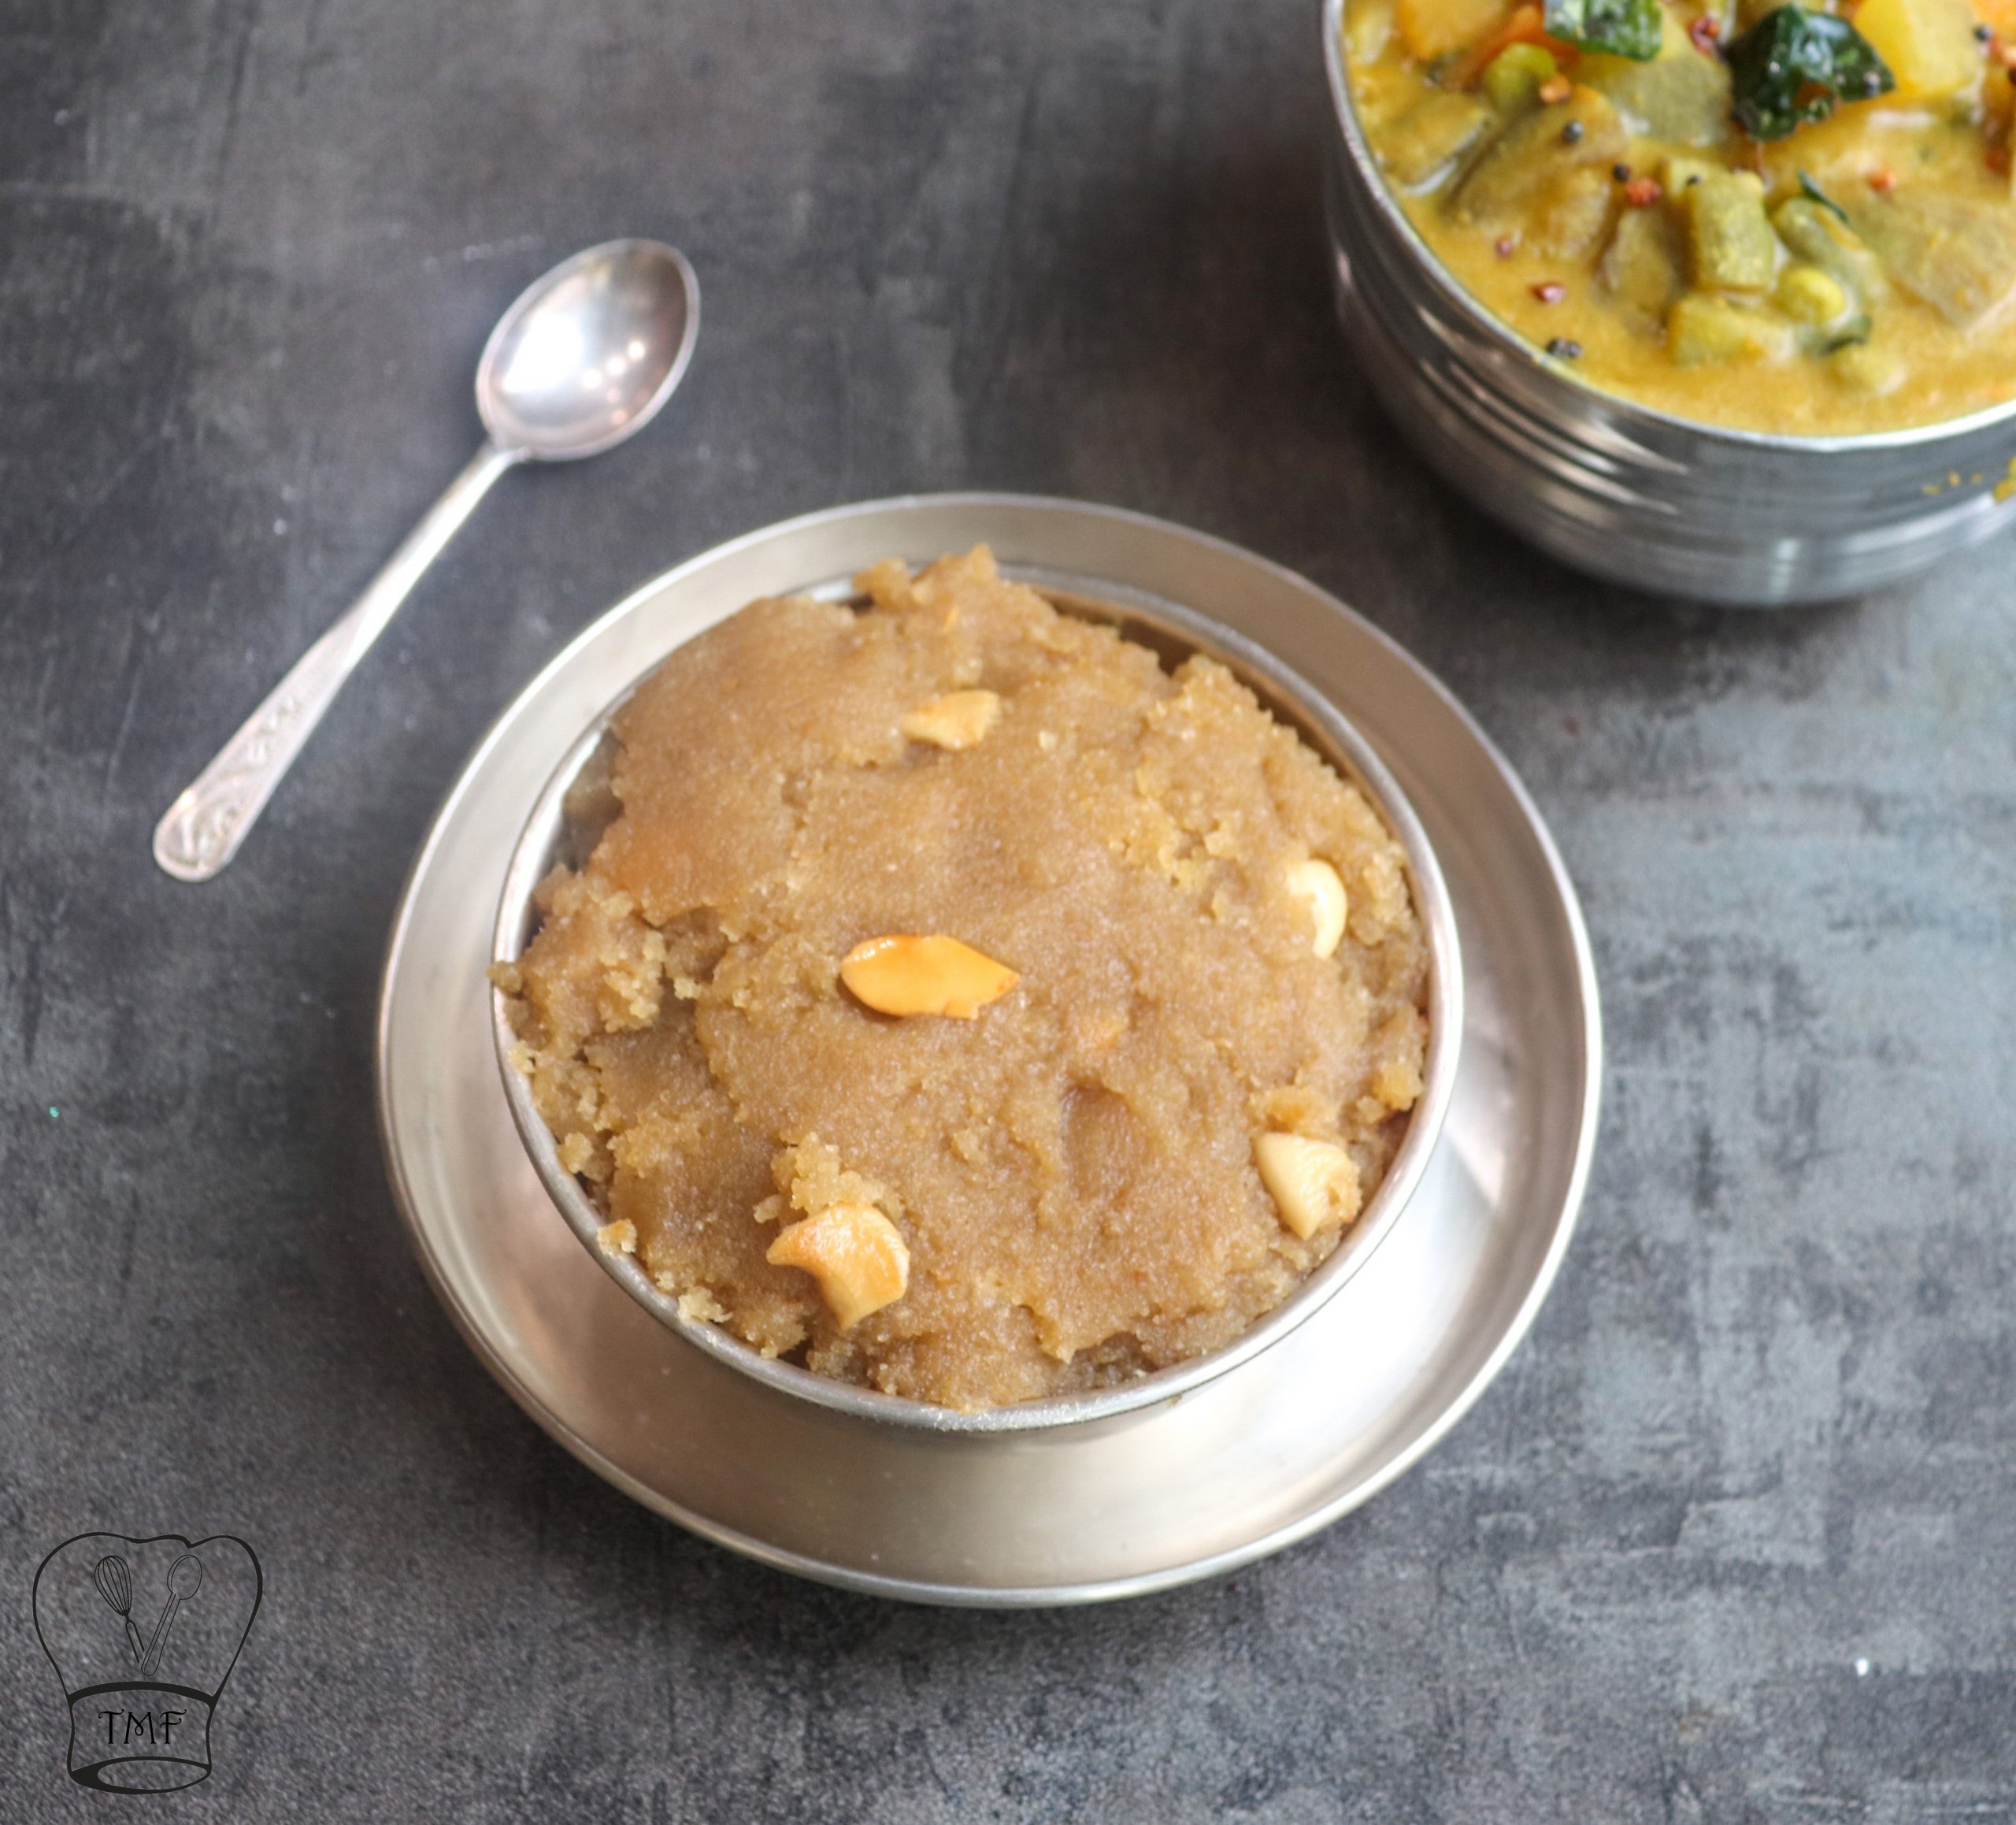
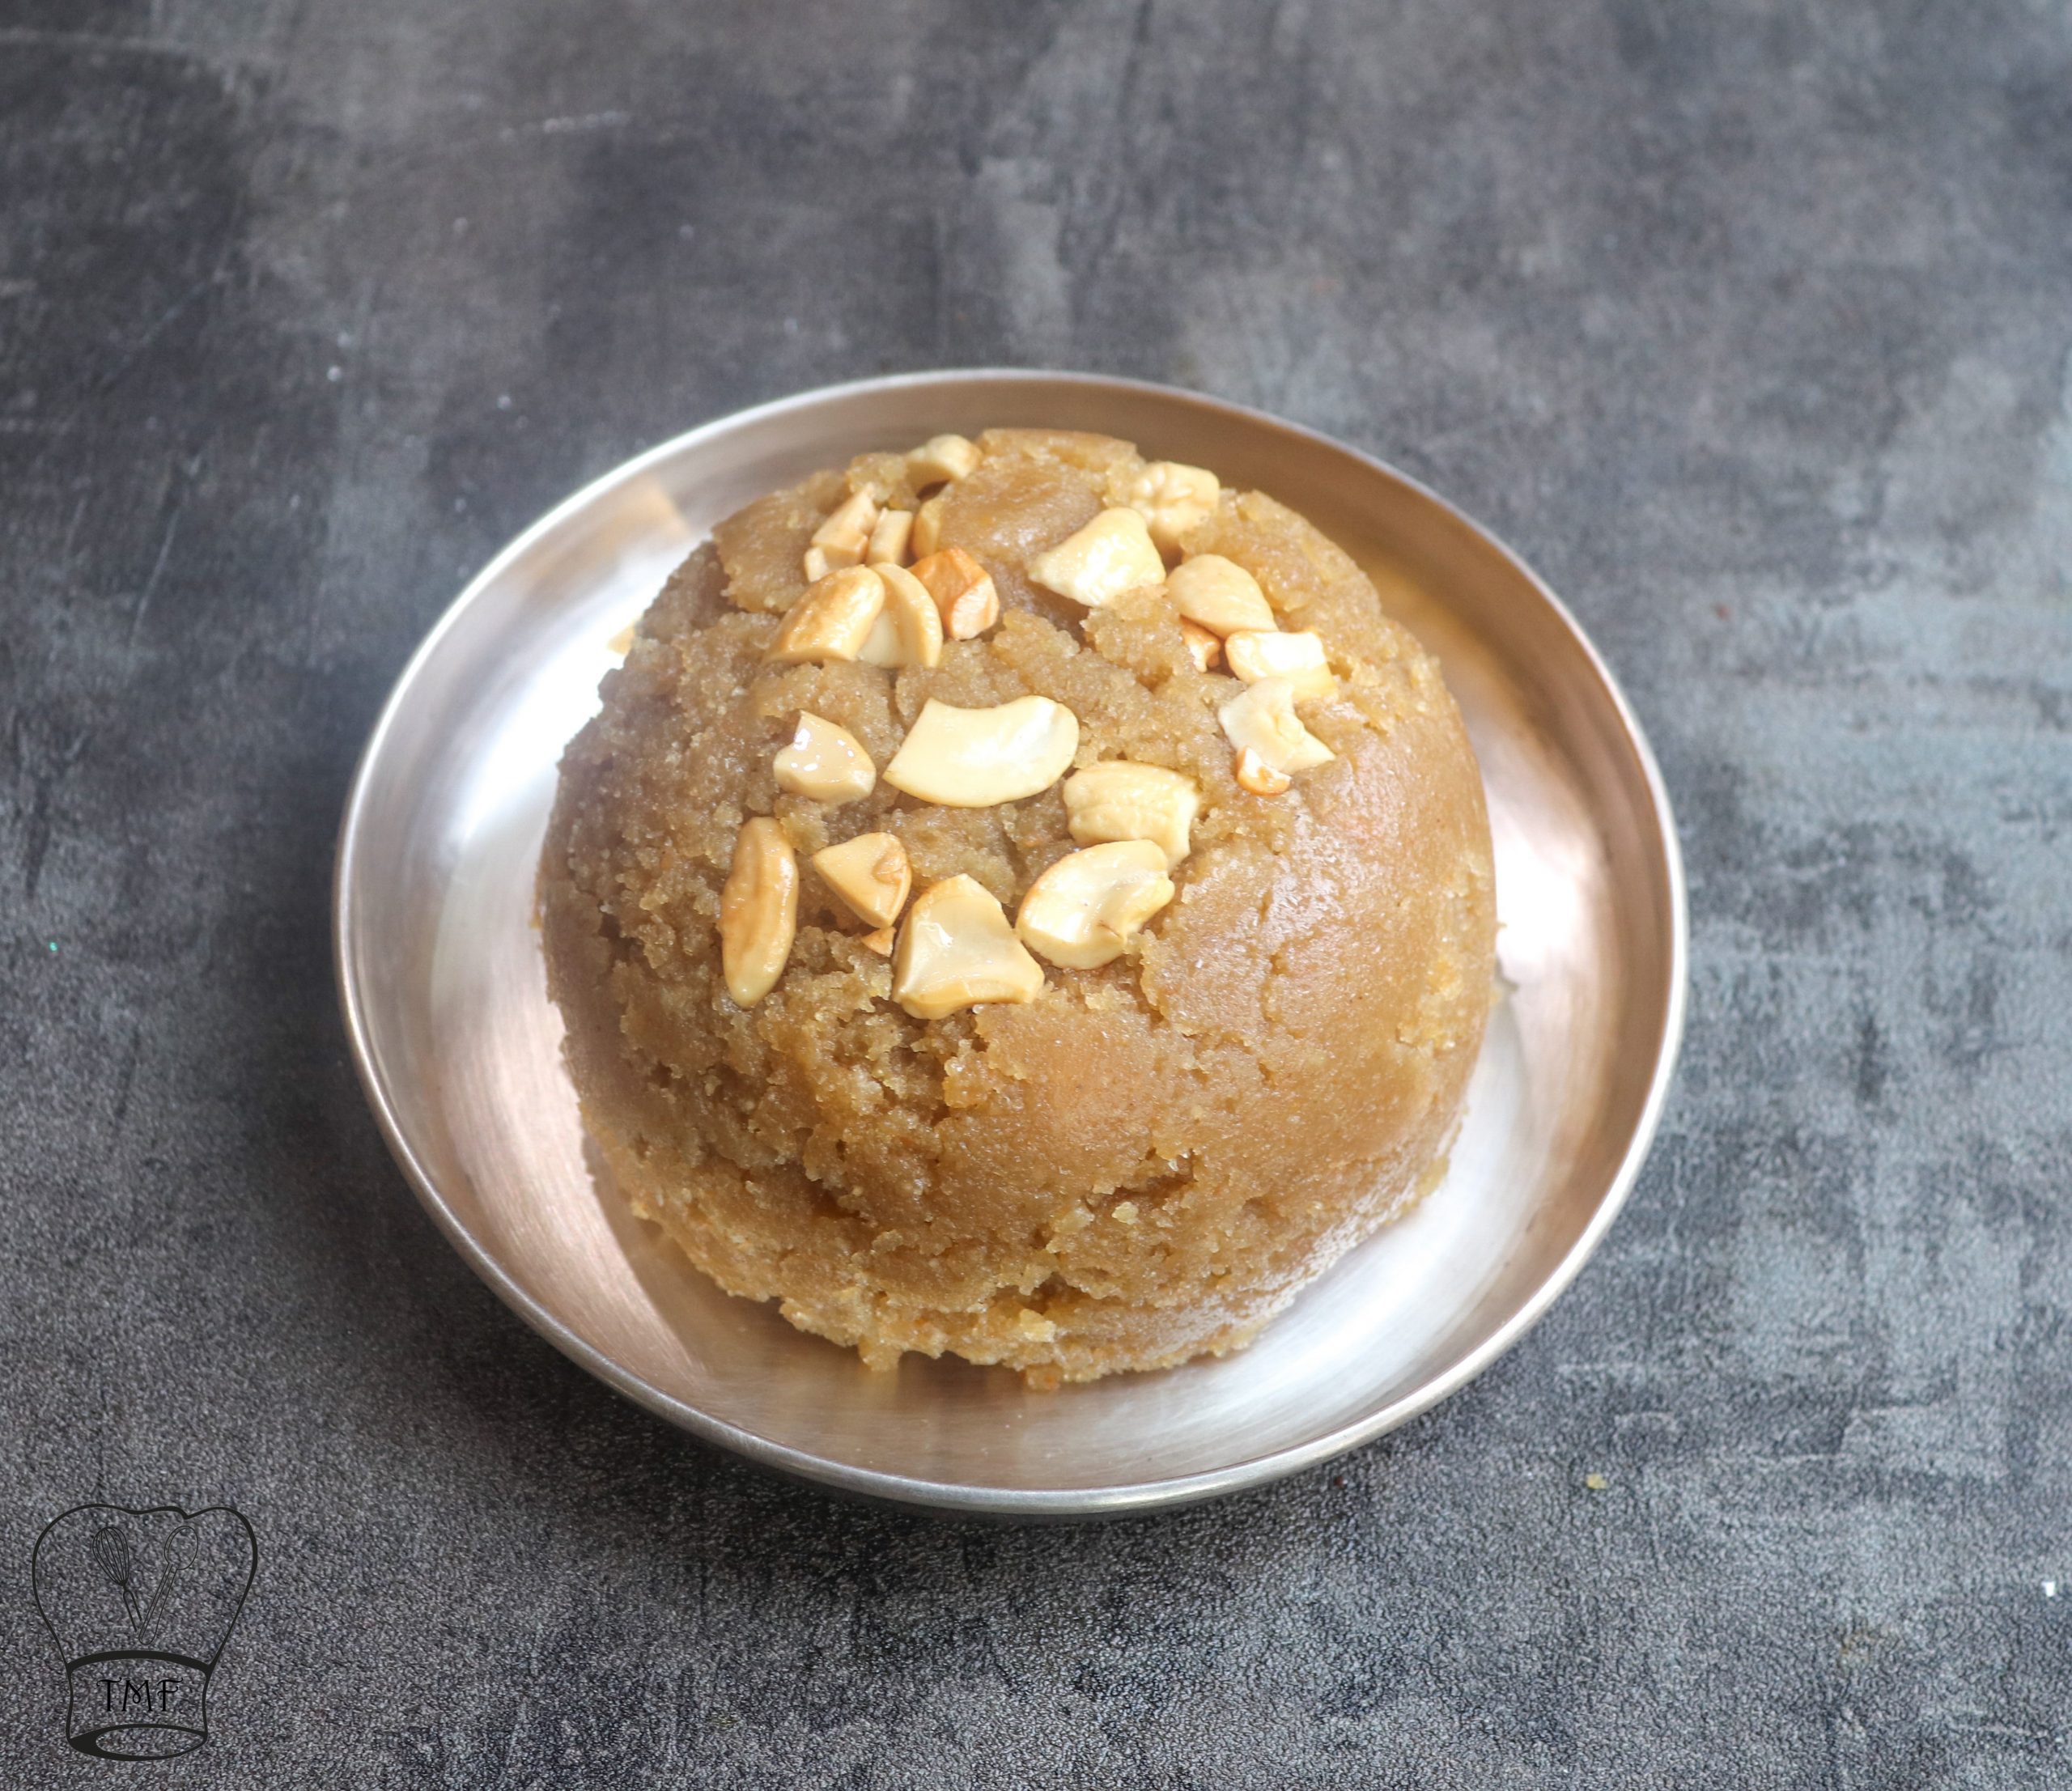
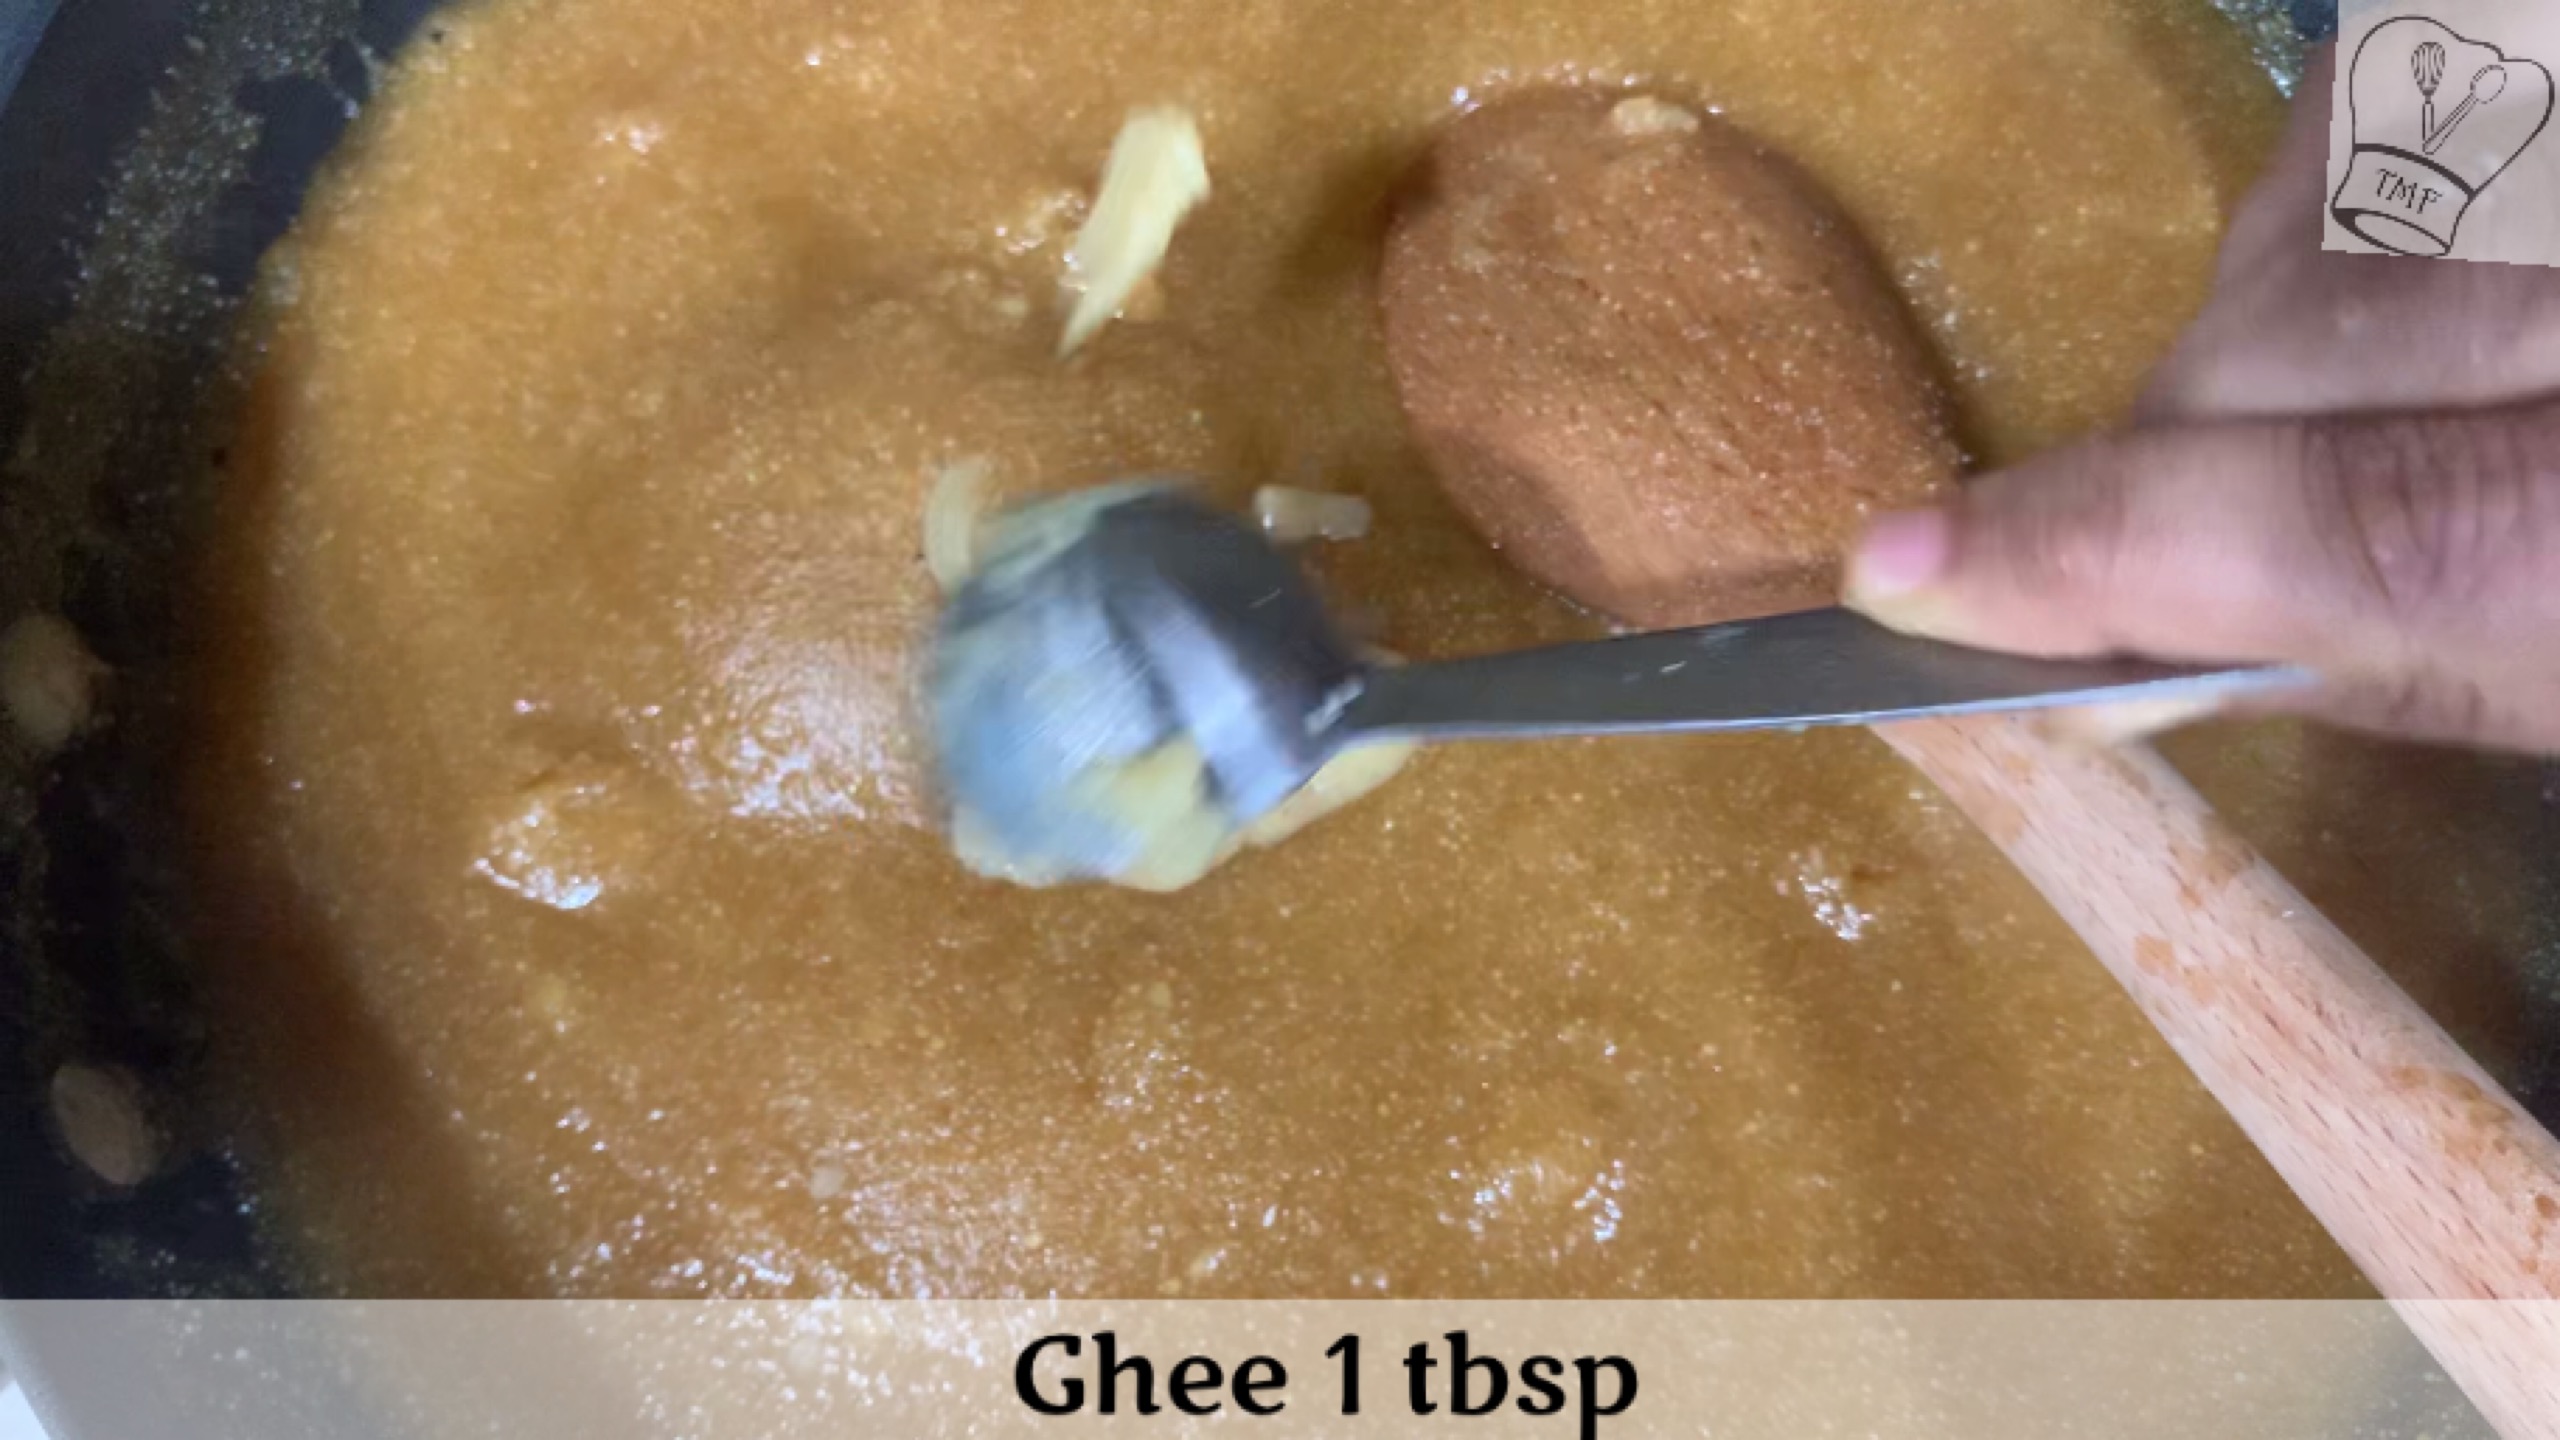
- Finally, add the roasted nuts and 1 tablespoon of ghee; mix well and turn off the stove. Pongal is ready😊
Video
Notes
- A pinch of Edible camphor can be added for extra taste
- Milk is optional for Sakkarai Pongal but it gives a nice taste
- Adjust jaggery according to your taste
- Instead of rice, oats/cracked wheat/quinoa/Millet can also be used
Sweet Pongal
Ingredients:
Raw Rice - 1/2 cup
Moong Dal - 1/4 cup
Jaggery - 1 + 1/2 cup, tightly pressed (Adjust sweetness according to your taste)
Milk - 1/4 cup
Water - 3 cups
Cardamom powder - 1/4 tsp
Ghee - 5 tbsp
Cashews and raisins - for taste
Salt - a pinch
Method:
- Wash rice and dal and soak for at least 30 mins in hot water

- In a microwave-safe bowl take jaggery and water; microwave for 2 minutes or until the jaggery is melted in water. Let it cool


- In a pressure cooker take 2 tablespoon of ghee and let it gets warm
- Add cashews and roast them, once when they start changing color
- furthermore, add raisin and roast both, Transfer it to a small bowl
- Add soaked dal and rice and sauté in the remaining ghee for a minute
- Pour water and cook medium flame after the mixture turns frothy mix well and close the pressure cooker lid and cook for 3-4 whistles

- After the pressure releases naturally mash it well with a ladle

- Transfer the mixture into a heavy-bottomed pan and add milk; mix well
- Furthermore, add salt. Strain and add the jaggery syrup and mix well
- Turn on the stove to medium flame and add 2 tablespoon of ghee; mix well and cook
- Keep mixing and continue cooking for 3 minutes
- Add cardamom powder and mix well

- cook for 3 minutes or until Pongal comes together
- Finally, add the roasted nuts and 1 tablespoon of ghee; mix well and turn off the stove. Pongal is ready😊


